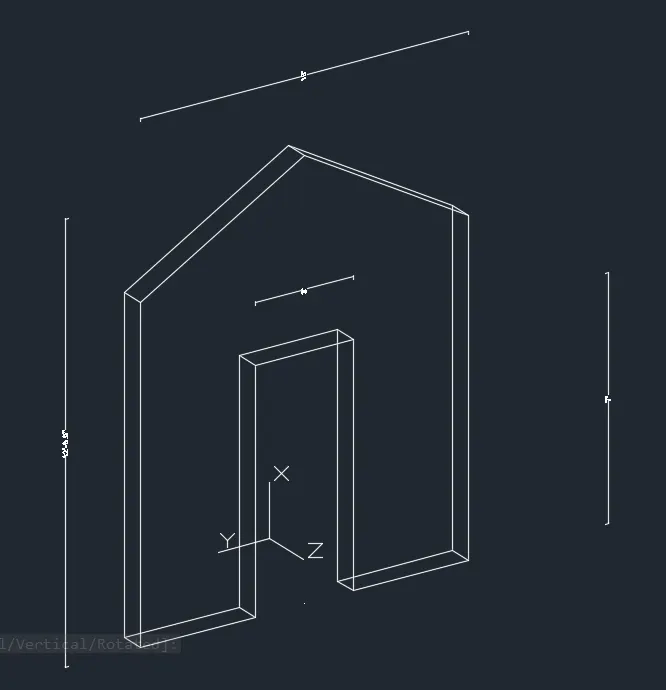
Creating various 3D Models like Furniture, Footing, Girder, Column drop with panel and Gable Wall in AutoCad
AIM:
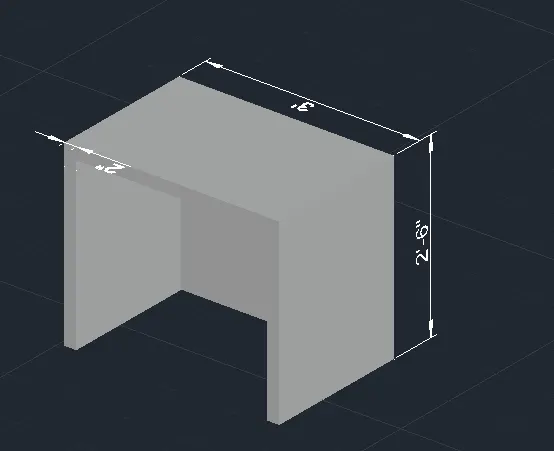
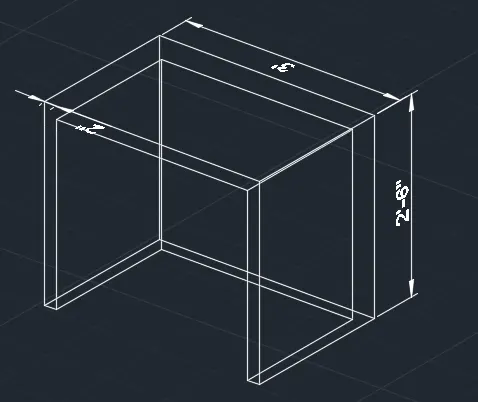
Create a 3D Furniture element as shown in the Figure. Assume dimensions which are missing.
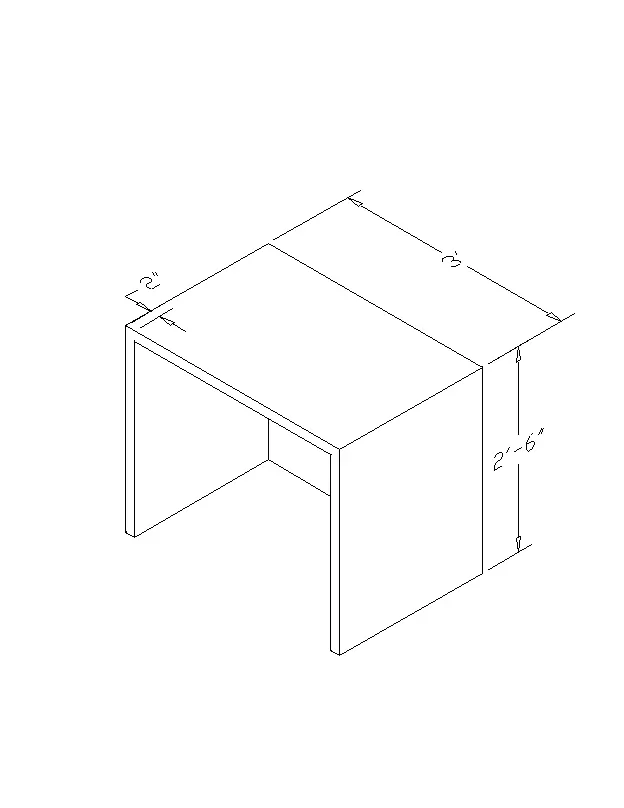
INTRODUCTION:
- Draw the drawing in the 3d modeling and use the various 3d command and use the ucs to make easy and fast to the drawing amd show in the wirefram and realstic
PROCEDURE:
- Open the new autocad file and change the units to decimanls to engineering
- and change the Drafting and anootation to 3D modeling
- And draw the required rectangle
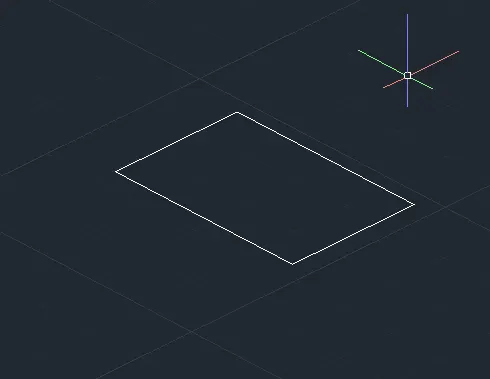
- And use the extrude command and extrude towards the Z direction with the distance of 2'6"
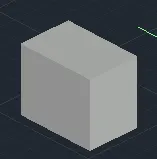
- and use the ucs command and draw the required rectangle on the face of the extruded object
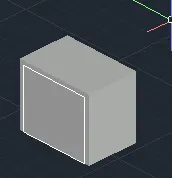
- And use the extrude object and use the presspull command and use to the suprate the inside of the extruded object
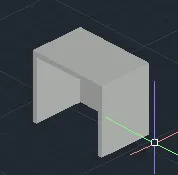
RESULT:
AIM:
Create the 3d Model of an Isolated footing as shown in Figure.
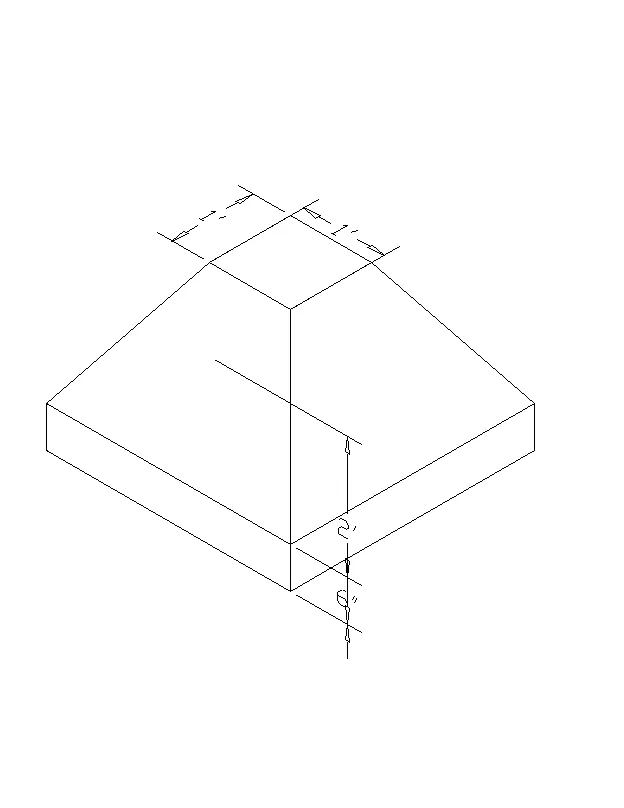
INTRODUCTION:
- Draw the drawing in the 3d modeling and use the various 3d command and use the ucs to make easy and fast to the drawing amd show in the wirefram and realstic
PROCEDURE:
- Draw the recquired rrectangle and enter
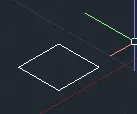
- and move the rectangle object towards the Z direction
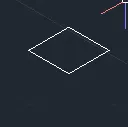
- and use the extrude command and extrude towards the bottom direction and enter
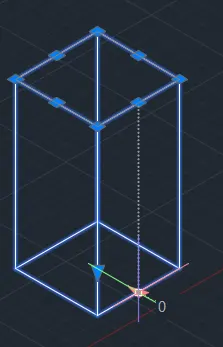
- and use the the arrow symbols to draw the tamper type and
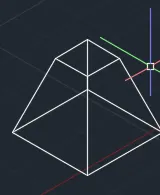
- and use the presspul command and use the bottom face
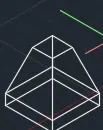
RESULT:
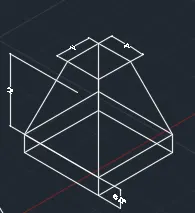
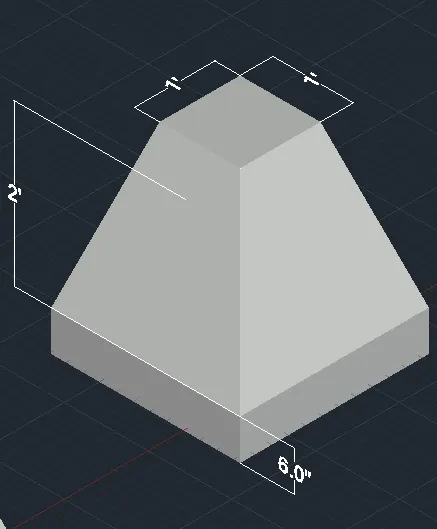
AIM:
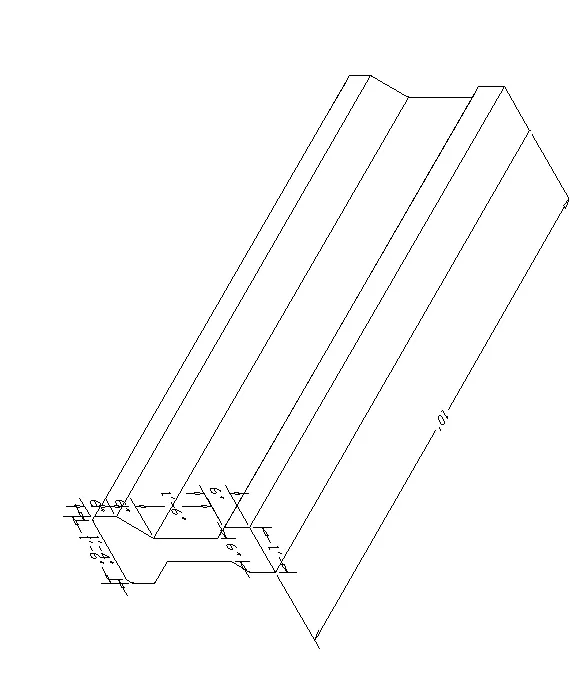
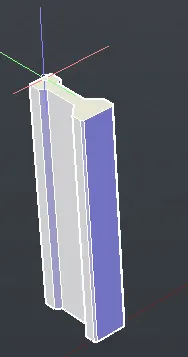
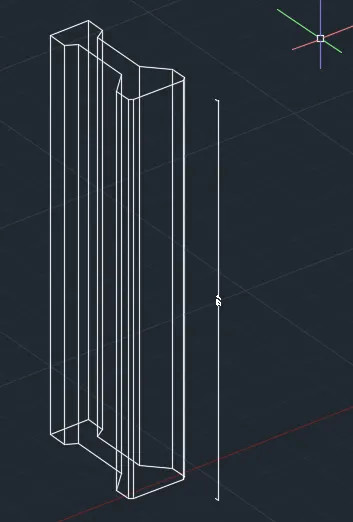
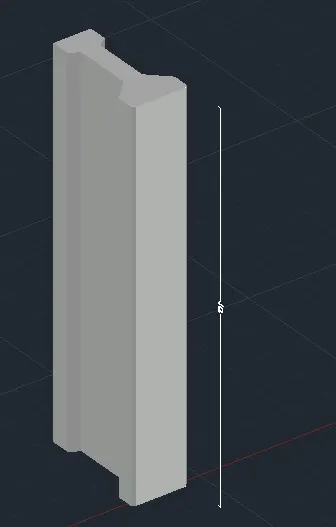
Create the 3D view of the AASTHO Type Girder.
INTRODUCTION:
- Draw the drawing in the 3d modeling and use the various 3d command and use the ucs to make easy and fast to the drawing amd show in the wirefram and realstic
PROCEDURE:
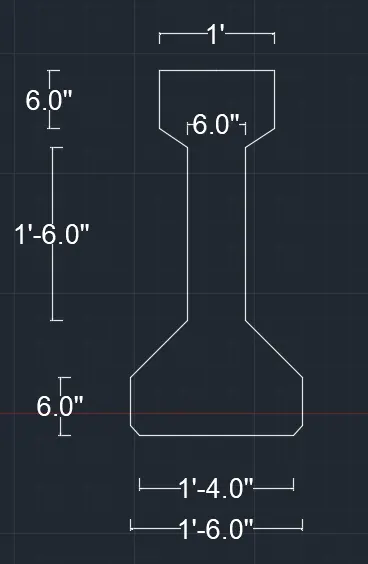
- Draw the i section type rail with the dimensions
- and also use the chamfer command to chamfer the edges and enter
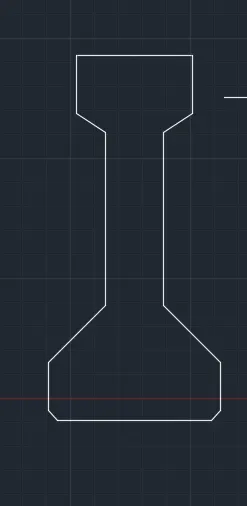
- Withe the required dimenstions and enter
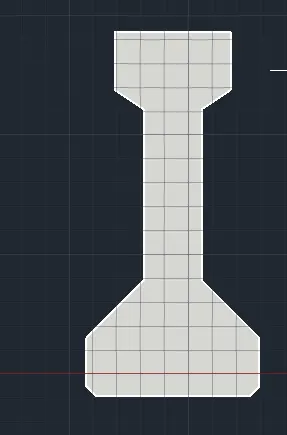
- and use the regien command to to create the face of the rail
- Make it into the 3D Modeling and extrude upto 10'
RESULT:
AIM:
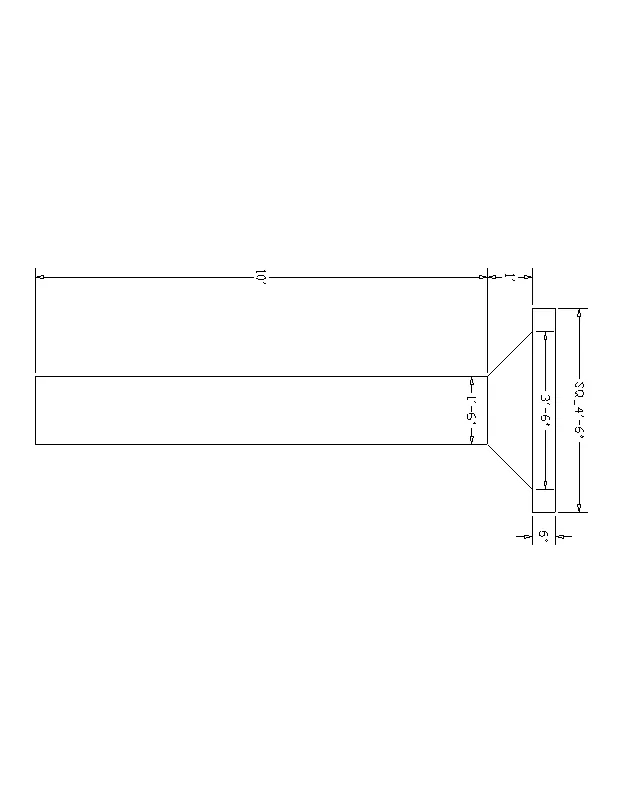
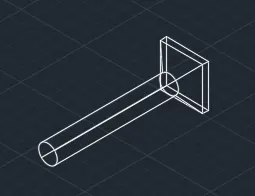
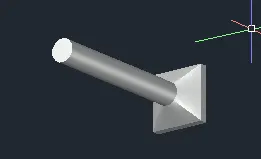
reate a 3d Model of a drop column with panel as shown in section and isometric view.
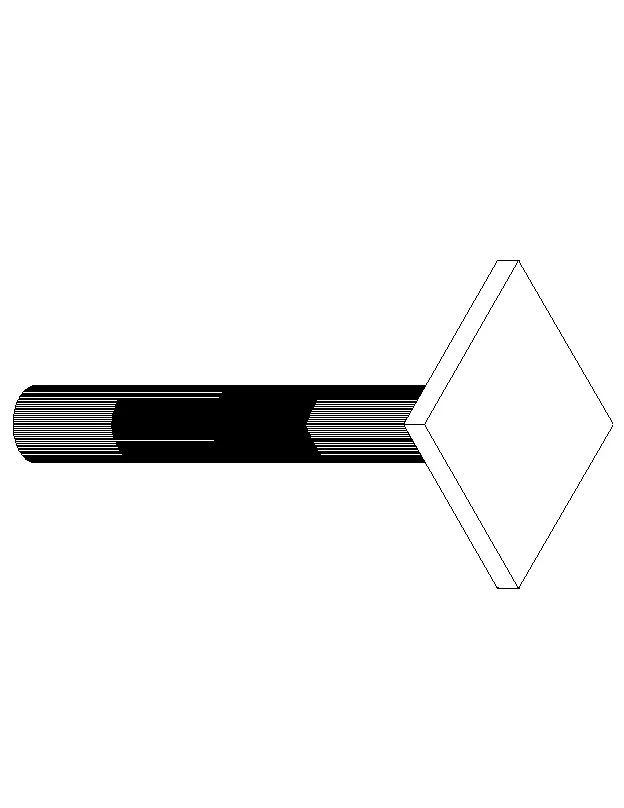
INTRODUCTION:
- Draw the drawing in the 3d modeling and use the various 3d command and use the ucs to make easy and fast to the drawing amd show in the wirefram and realstic
PROCEDURE:
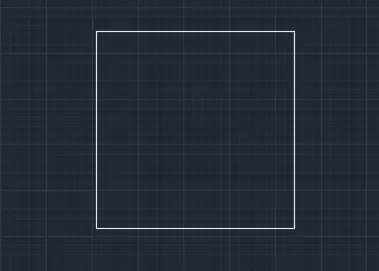
- Draw the required rectand use using rec command in the 2d plan
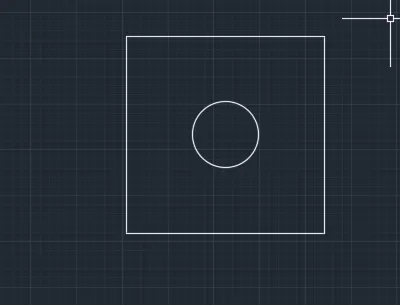
- use the circle command and draw the circle with required dia
- and move the circle with the distance of 1'
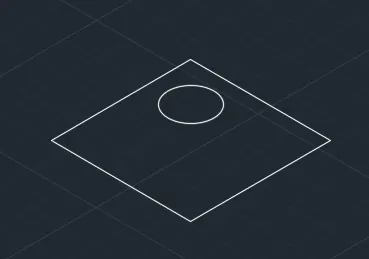
- and use the loft option and create the face to the rectangle and circle and rectangle
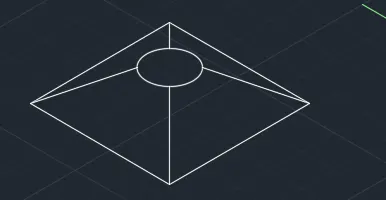
- use the presspul option and do prespull towards the z direction and enter
- and again use the press pull comand towards -z direction and enter
RESULT:
AIM:
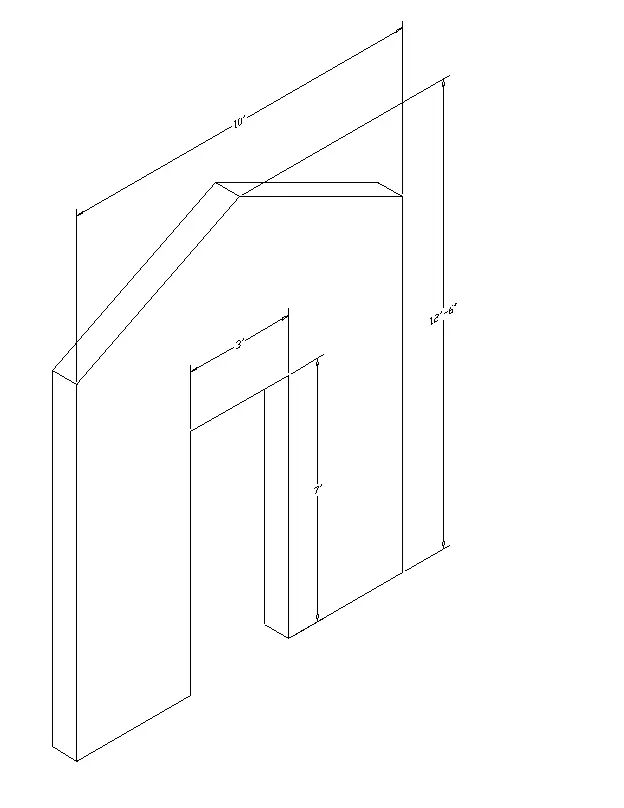
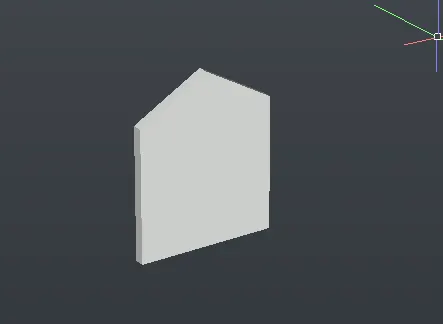
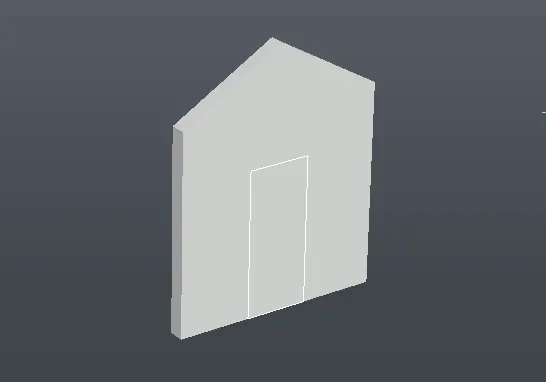
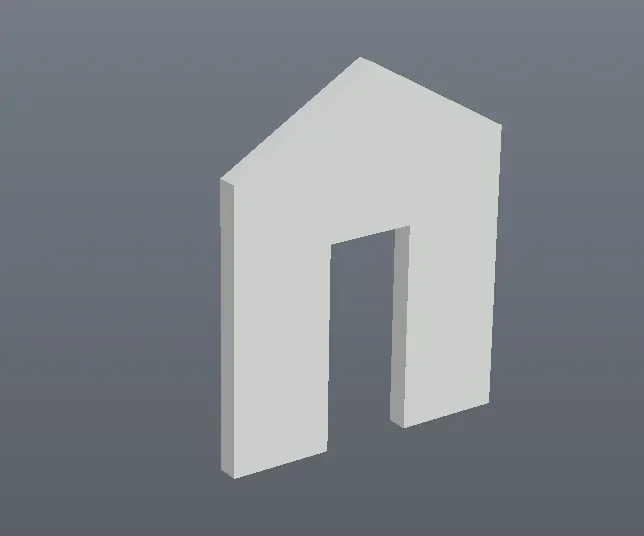
Create the 3d model of a wall as shown in Figure. Consider wall thickness as 9”.
INTRODUCTION:
- Draw the drawing in the 3d modeling and use the various 3d command and use the ucs to make easy and fast to the drawing amd show in the wirefram and realstic
PROCEDURE:
- Draw the required rectangle by using rec enter in the 2d plane
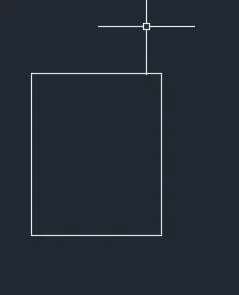
- and make it to into the door required shape
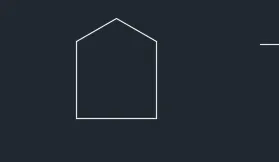
- And make it to a region to create the face
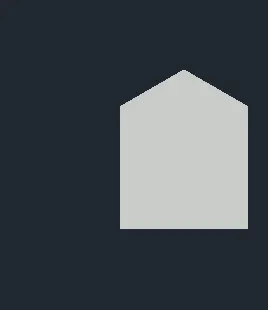
- Use the extrude command and extrude towards the Z direction 9"
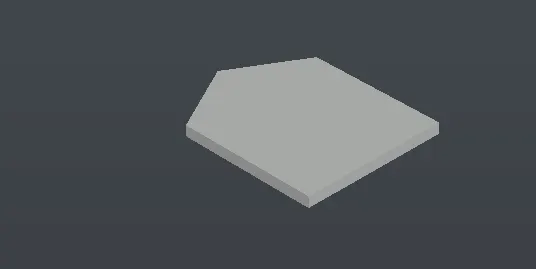
- Abd make the face to the side and rotate to the face direction
RESULT: