Creating various 3D Models like Furniture, Footing, Girder, Column drop with panel and Gable Wall in AutoCad
Week 11-Assignment 11-Module 2
Aim: To create a various 3D Models like Furniture, Footing, Girder, Column drop with panel and Gable Wall in AutoCad using its basic 3d modelling tools and techniques.
Introduction: For these exercises, this is just a matter of applications of what have been covered from week 11 titled Introduction to AutoCAD 3D. Below are the topics covered from week 11;
- Types of 3D models, so far there are 3 types of 3D modeling namely, solid, wireframe and surface.
- Coordinate systems for 3D such as the absolute and relative coordinate systems.
- Extrude, this command is used to create a surface or a solid of a 2D surface or a 3D curve.
- Sweep, this creates a 3D solid or a 3D surface by sweeping a 2D object or sub-object along and open or closed path.
Procedure:
A. Setting the Drawing Parameters;
- Set up the measurement units according to sketched information provided.
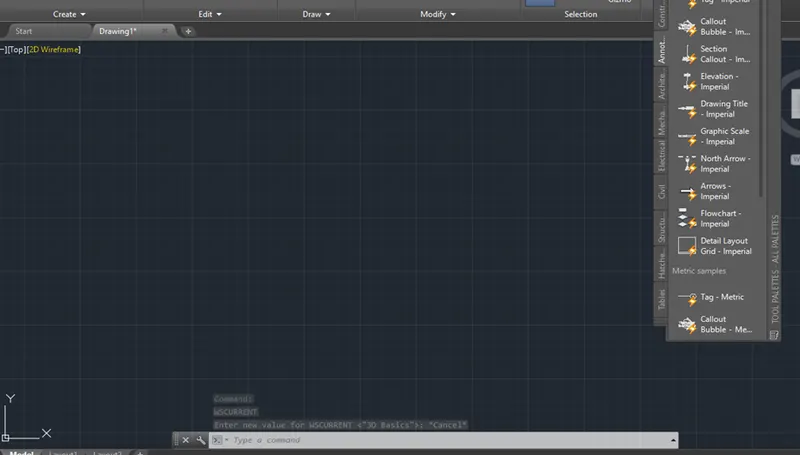
- In the status bar, click workspace switching icon and select 3D basics or 3D modeling to enable workspace capable of working on 3d models with the appropriate 3D tools.
B. Starting the exercise;
- Combination and manipulation of all the different coordinate entry methods, drawing and modifying tools learned from weeks 1 to 11 were being used here in the completion of all the exercises given and result as pasted below.
- I have attached some screenshots while working on the exercises to show the procedure on how it was done to come out with the requested plot layouts.
C. Challenge;
- In general, below commands/functions were being used while working on the exercises.
- Units
- LIMMAX
- DDIM
- LINE
- OFFSET
- MLINE
- TRIM
- ERASE
- EXTEND
- DIM
- COPY
- POL
- REC
- JOIN
- C
- UCS
- EXTRUDE
- SWEEP
- LOFT
- UNION
- PRESSPULL
- REGION
- BOUNDARY
- VISUAL STYLES
Challenge 1: Below are the brief steps while working on the 3d Furniture with assumed dimension if not given.
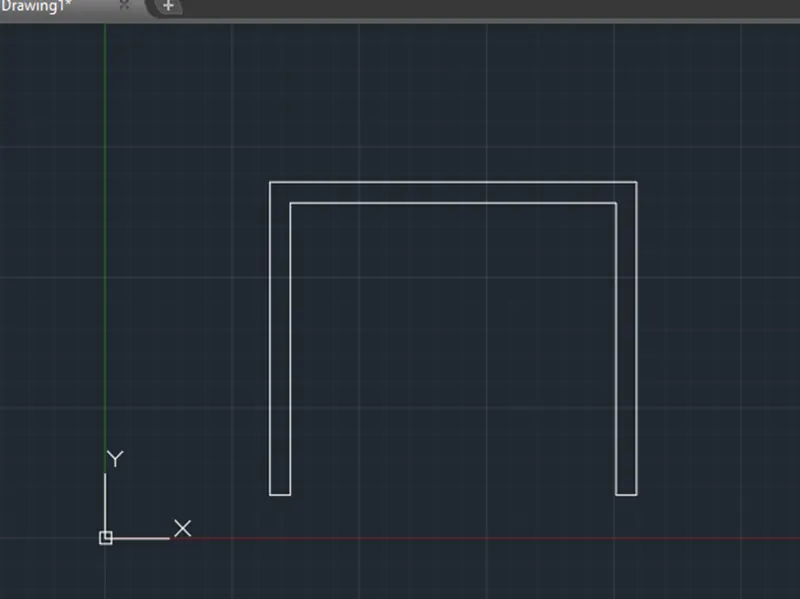
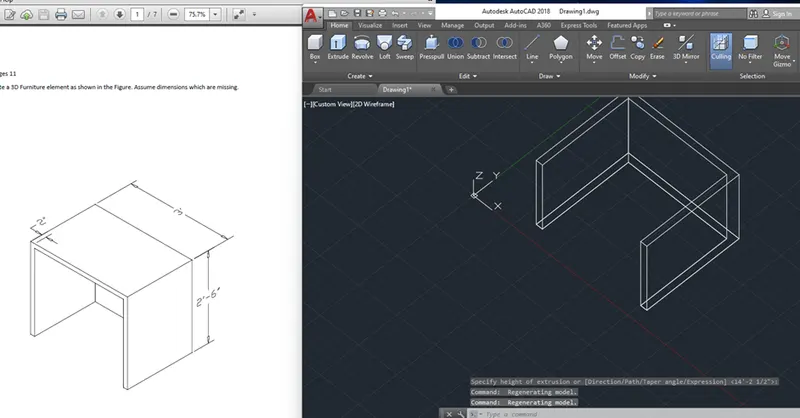
- On the TOP View, draw the section using the ML command with two parallel lines of 2” spacing following the geometries given for the height and width of the figure.
- Closed the boundary by drawing a line to both ends.
- Proceed with the region command.
- Extrude the created surface into a solid one at an assumed height of extrusion (which will be the length of the furniture).
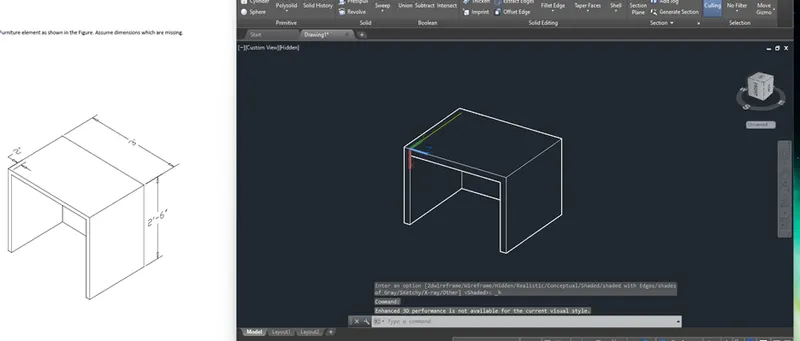
- Work for the closing end of the furniture by setting the UCS on axis or plane you are working with also the aid of the view cube to have a proper orientation.
- Similar use ML with same spacing and proceed with region of boundary on the bottom level of the Furniture’s top part.
- Extrude it following the dimension given from the figure.
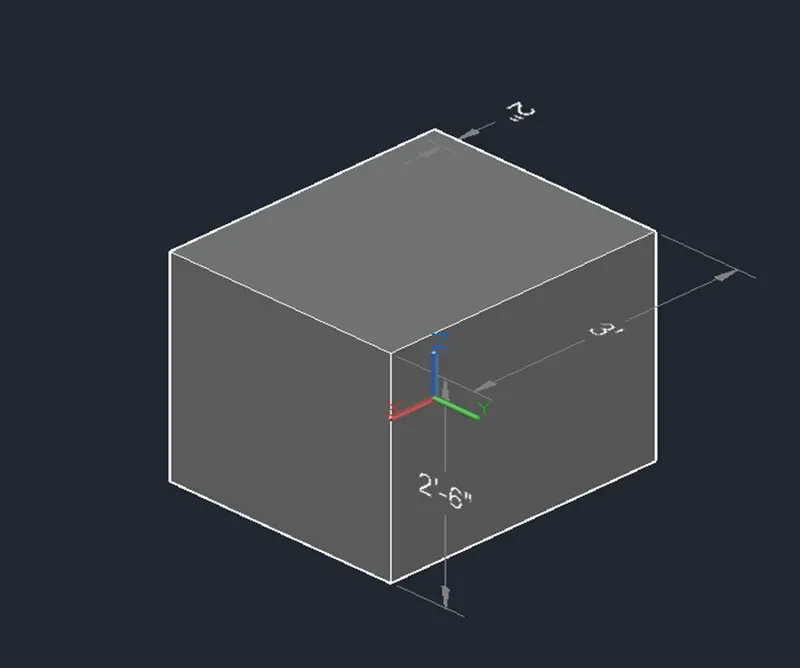
- You may join 3D objects created using the UNION command.
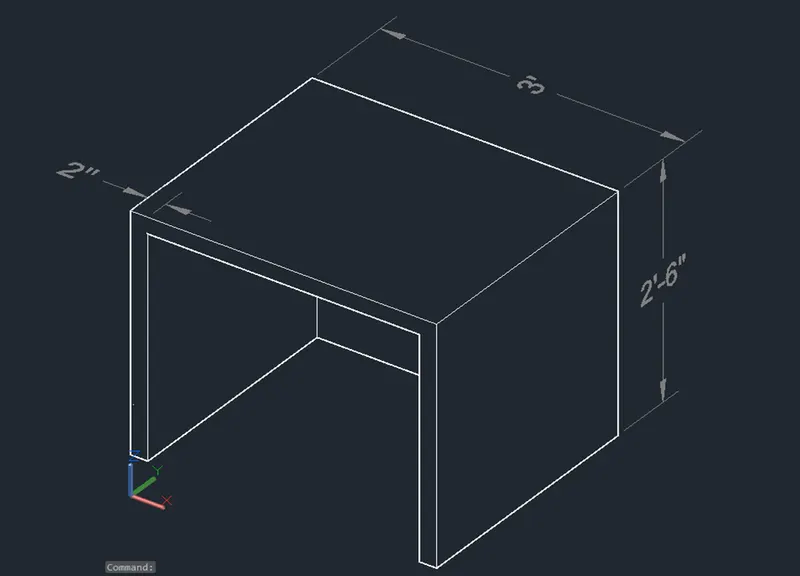
- Position the completed 3D figure to its desirable view and proceed with the dimensions.
- Working with dimension is in line with the proper positioning of the UCS to have a readable result with visual style as HIDDEN.
Challenge 2: Below are the brief steps while working on the Isolated footing.
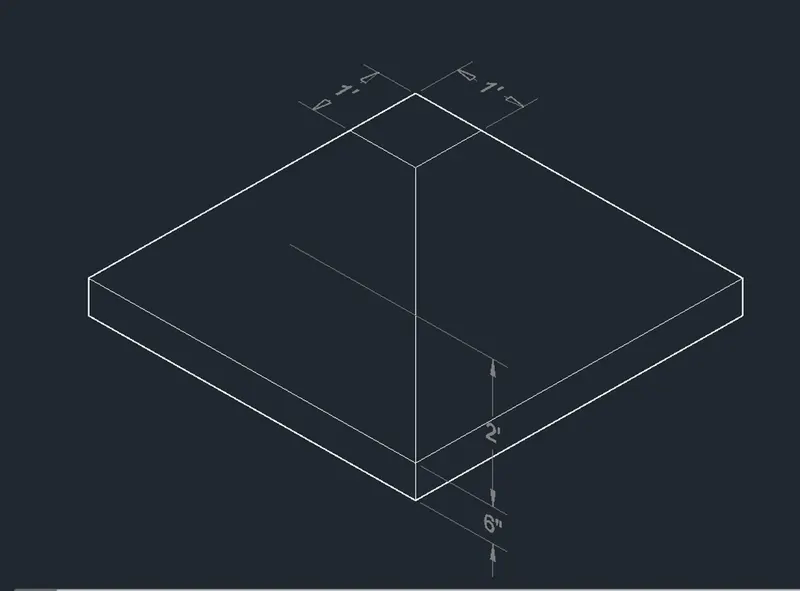
- On the TOP View, draw a rectangle or a polygon with 4 equal sides of 1’.
- Proceed with the region or boundary command.
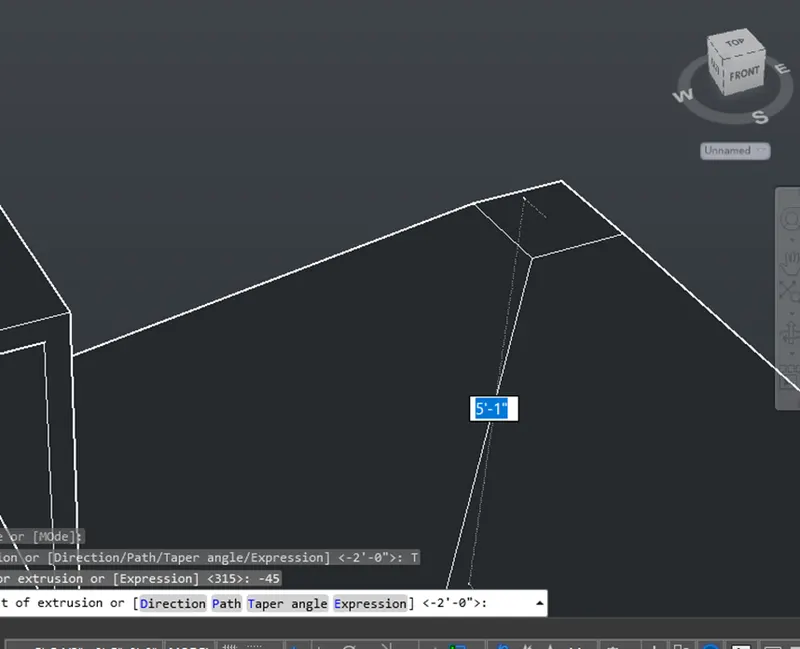
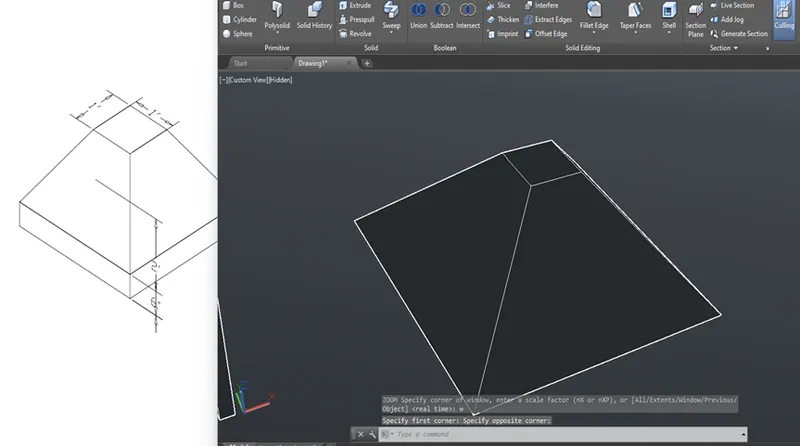
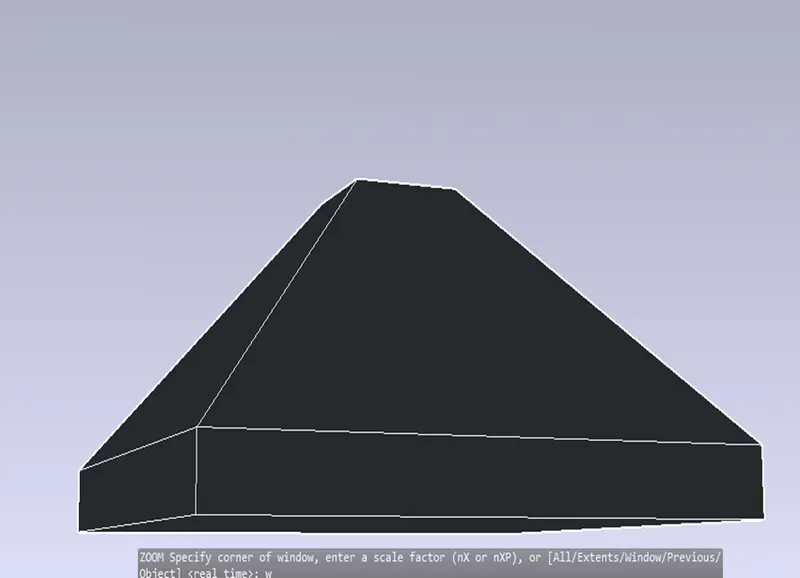
- Extrude the created surface into a solid one with a height of 2’ and a taper angle of -45degrees.
- You may then PRESSPULL the bigger side of the created figure for another 6” of height.
- Position the completed 3D figure to its desirable view and proceed with the dimensions.
- Working with dimension is in line with the proper positioning of the UCS to have a readable result with visual style as HIDDEN.
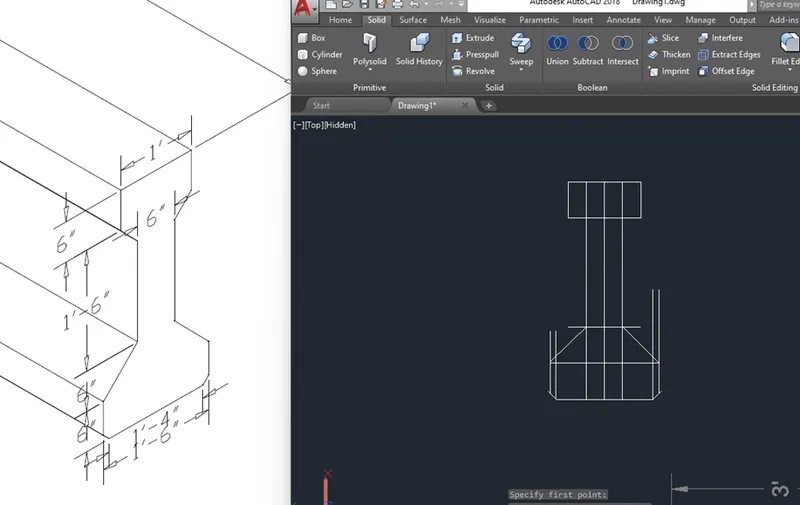
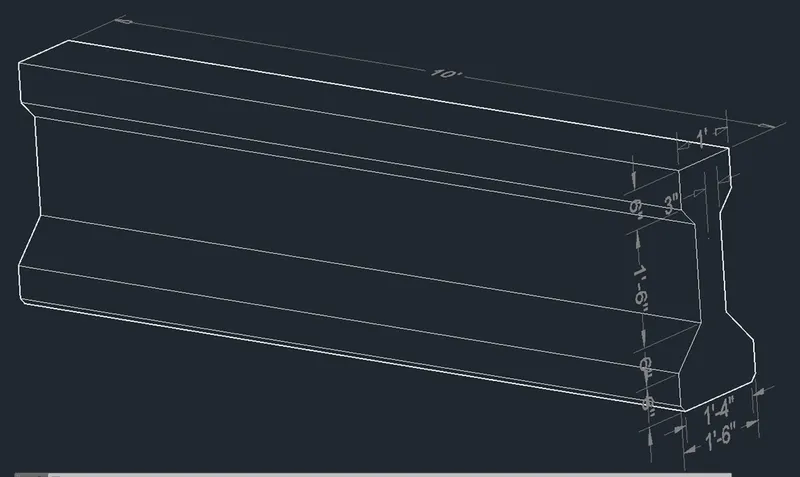
Challenge 3: Below are the brief steps while working on the AASTHO Type Girder.
- On the TOP View, draw the section using the Line considering ortho mode, offset, trim, extend and erase commands as applicable following the given dimensions.
- Join them as to create a single object.
- Proceed with the region or boundary command.
- Extrude the created surface into a solid one with a height of 10’.
- Position the completed 3D figure to its desirable view and proceed with the dimensions.
- Working with dimension is in line with the proper positioning of the UCS to have a readable result with visual style as HIDDEN.
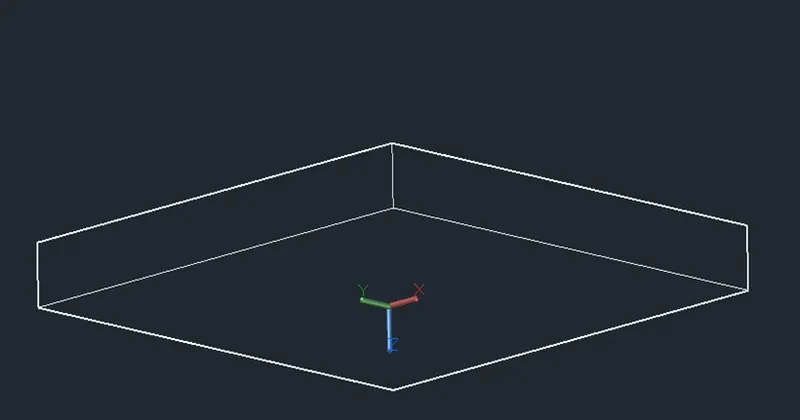
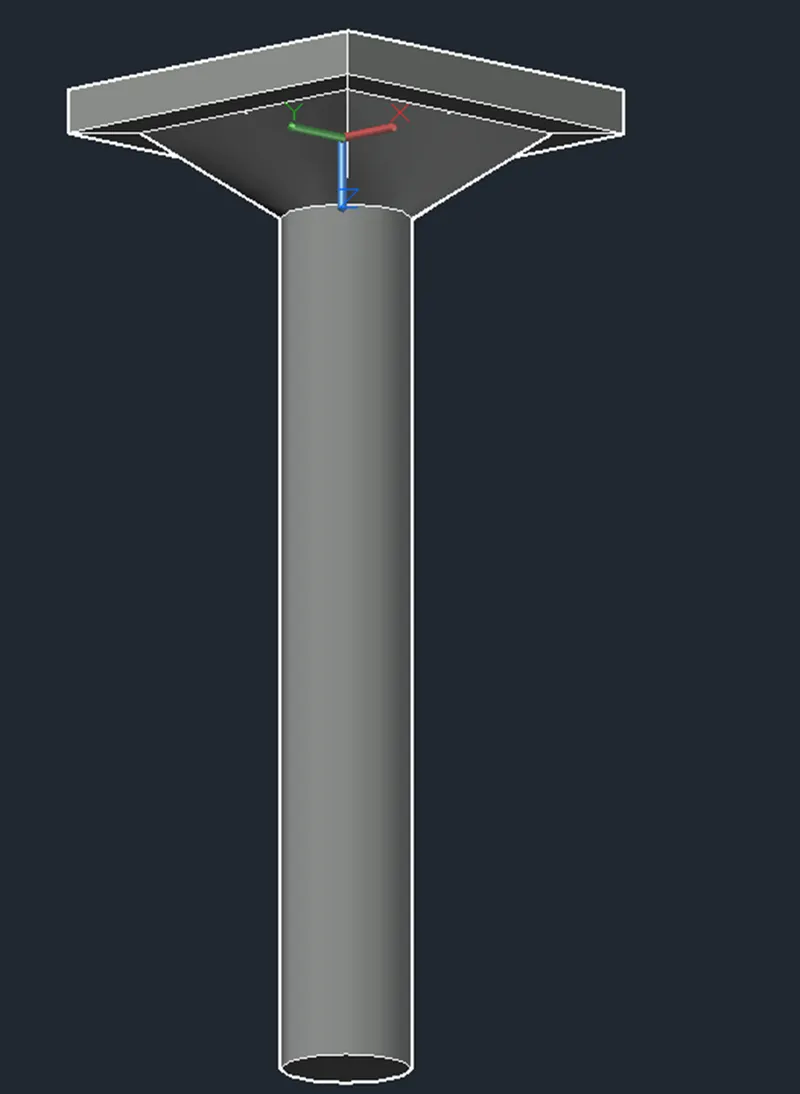
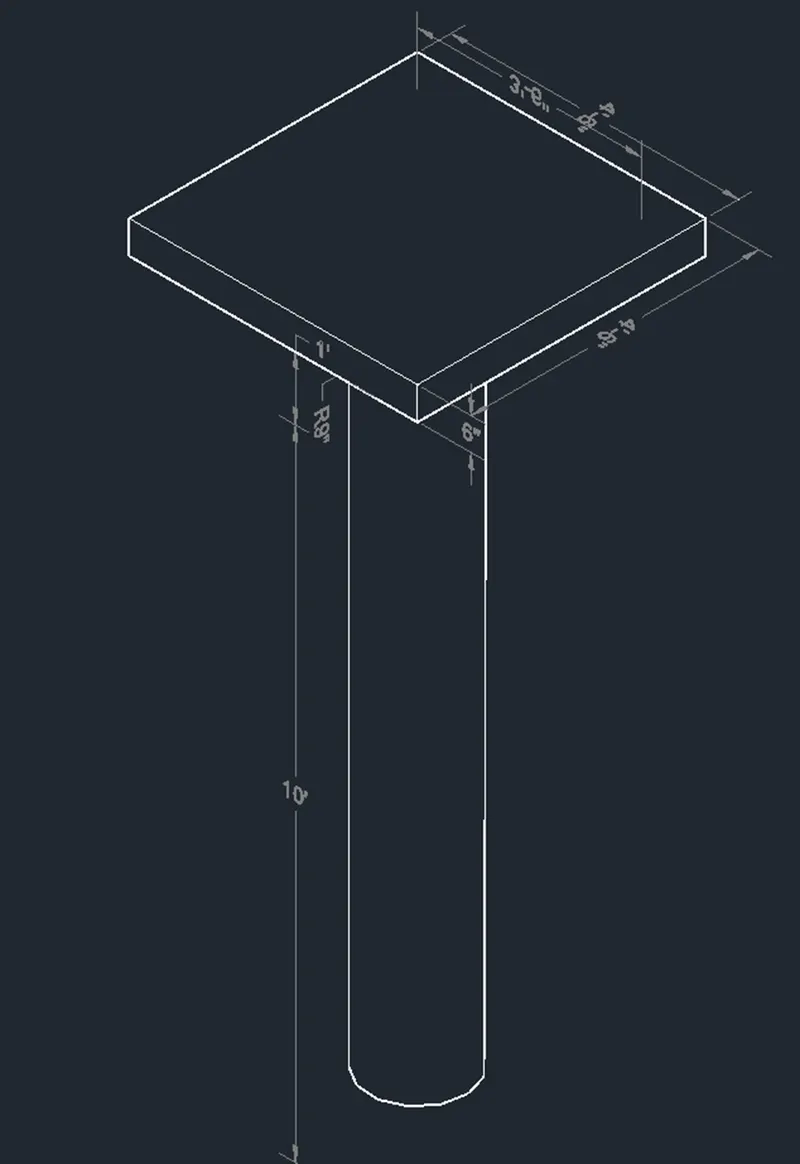
Challenge 4: Below are the brief steps while working on a Drop Column with Panel.
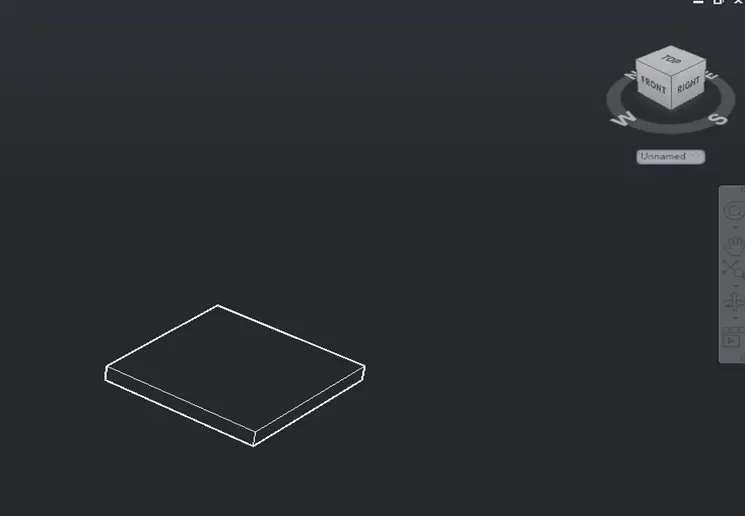
- On the TOP View, draw a rectangle or a polygon with 4 equal sides of 4’6”.
- Proceed with the region or boundary command.
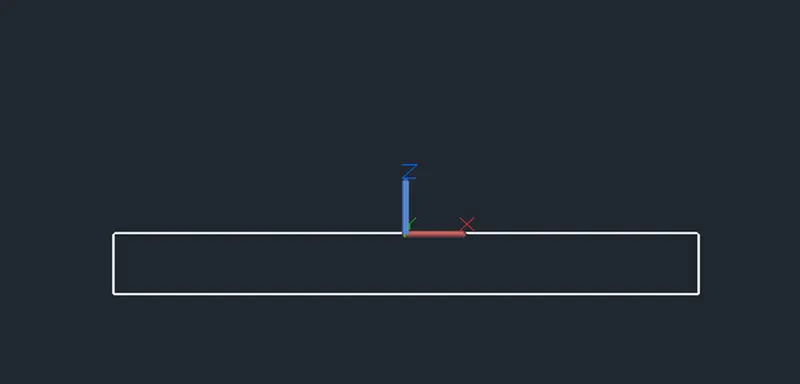
- Extrude the created surface into a solid one with a height of 6”.
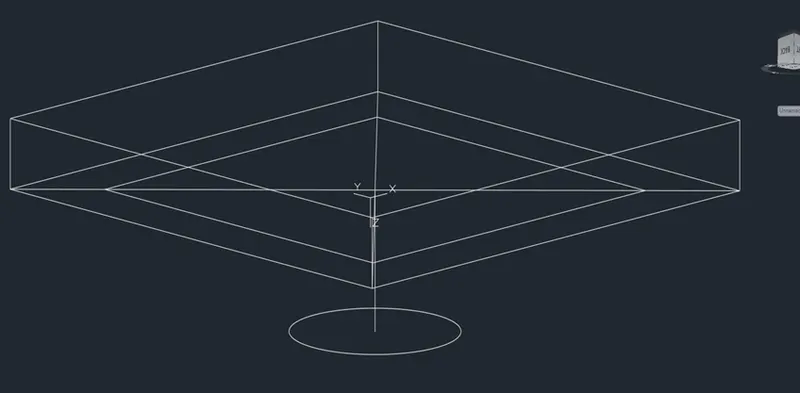
- From the bottom surface of a created box draw a rectangle or a polygon with 4 equal sides of 3’6” with proper positioning of the UCS.
- From the center of that, draw a line with a length of 1’ going out of the box and perpendicular to the surface.
- You may then a draw a circle with 1”6” diameter with center from that end point of a line.
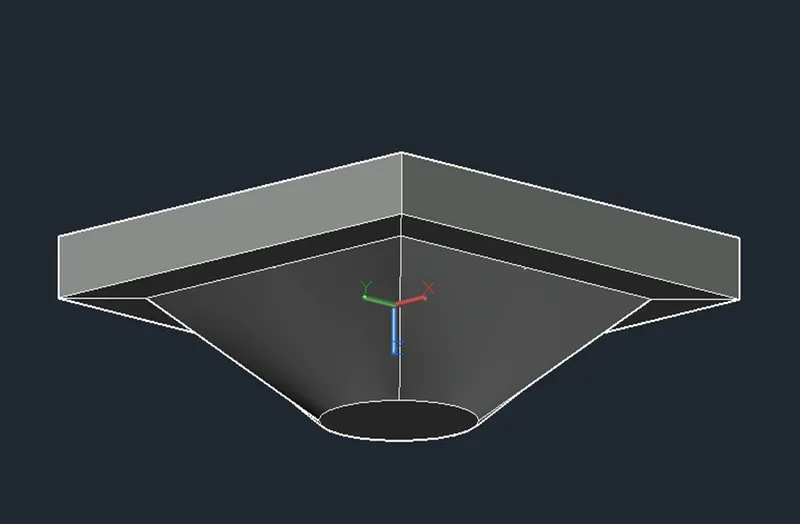
- Proceed with LOFT command for both the created square and circle.
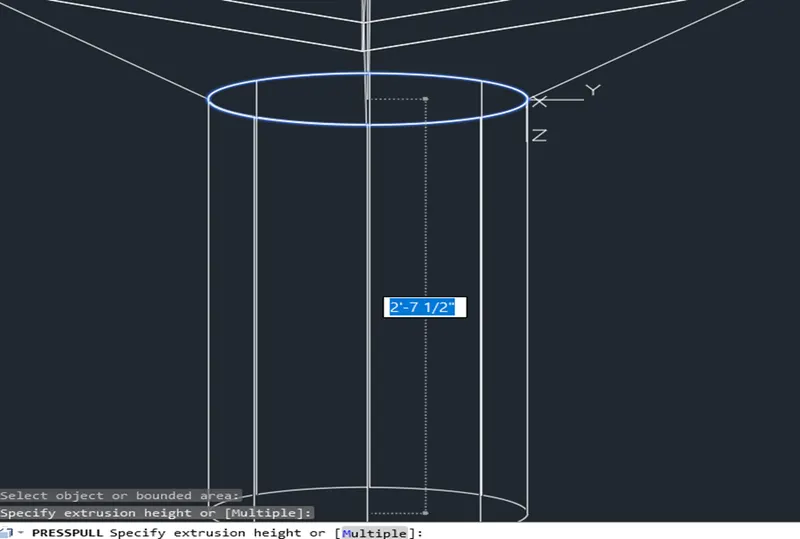
- You may then PRESSPULL further the surface of the circular side to a height of 10’ away from the previous created solid.
- Position the completed 3D figure to its desirable view and proceed with the dimensions.
- Working with dimension is in line with the proper positioning of the UCS to have a readable result with visual style as HIDDEN.
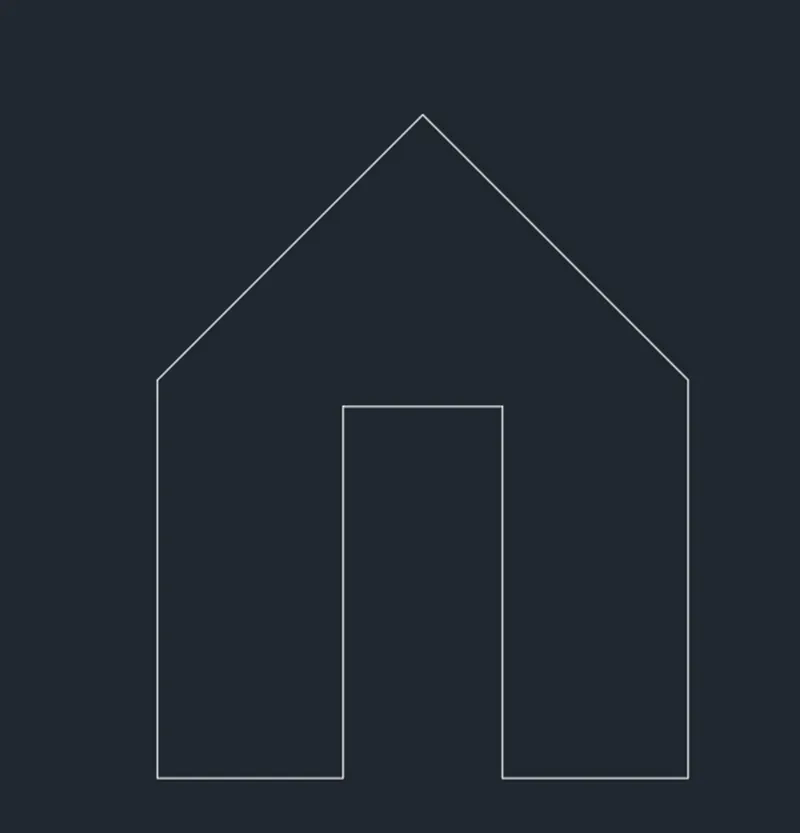
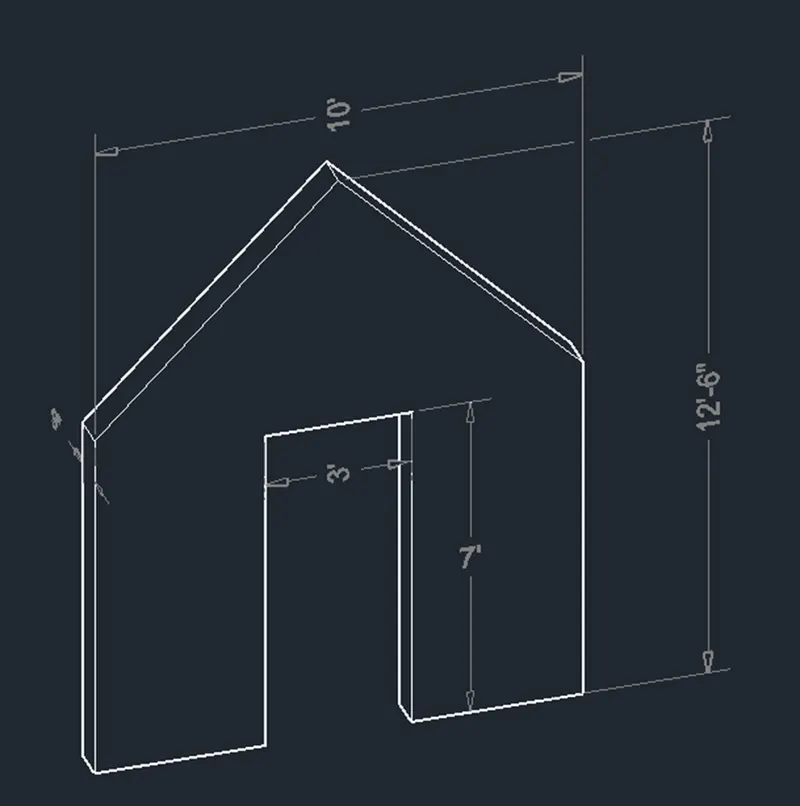
Challenge 5: Below are the brief steps while working on a Gable Wall with opening and a wall thickness of 9”.
- On the TOP View, draw the section using the Line considering ortho mode, offset, trim, extend and erase commands as applicable following the given dimensions.
- Join them as to create a single object.
- Proceed with the region or boundary command.
- Extrude the created surface into a solid one with a height of 9”.
- Position the completed 3D figure to its desirable view and proceed with the dimensions.
- Working with dimension is in line with the proper positioning of the UCS to have a readable result with visual style as HIDDEN.