Creating various 3D Models like Furniture, Footing, Girder, Column drop with panel and Gable Wall in AutoCad
ANS 1:
AIM:
To create a 3D Furniture element as shown in the Figure.
PROCEDURE:
- Open AutoCAD and click the workspace icon
- Enter Units and limits
- Line command is used to draw the 3D object
- Command-line draw 2'6" in the Z direction
- Line of 3' in the Y direction
- Line 2'6" in a negative Z direction
- Offset 2" as the thickness of the 3D object
- Assume the width of the object as 2'3"
- Move USC and face in the desired manner
- Use face command place the particular face and show dimensions
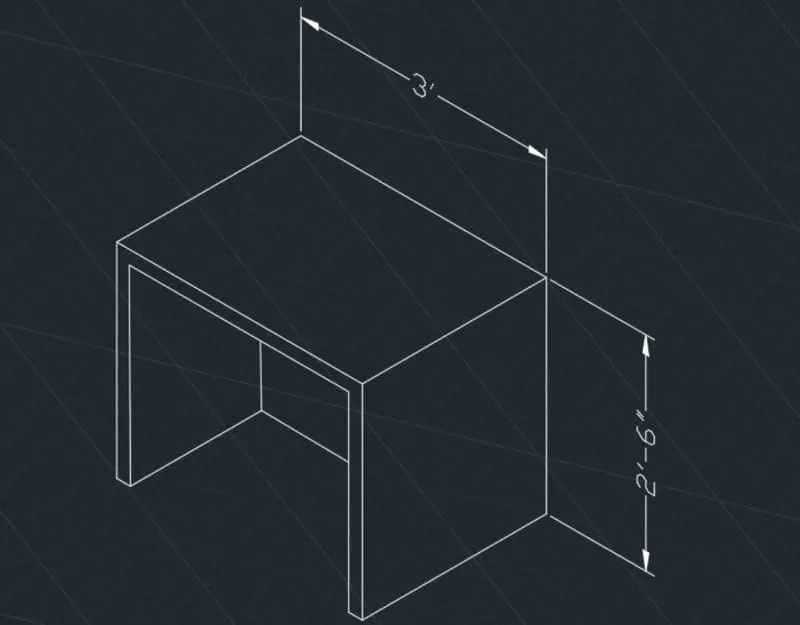
RESULT:
The given diagram is created using AutoCAD.
ANS 2:
AIM:
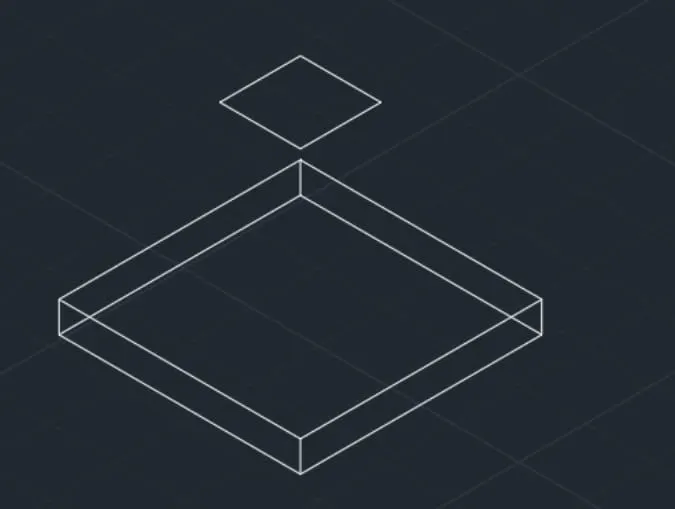
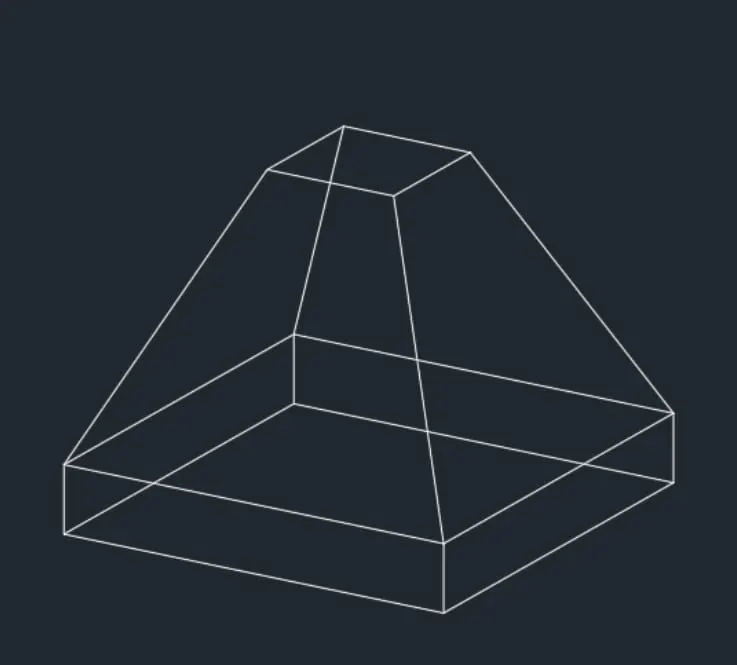
To create the 3d Model of an Isolated footing as shown in Figure
PROCEDURE:
- Open AutoCAD and click the workspace icon
- Enter Units and limits
- Line command is used to draw the 3D object
- Draw a rectangle (1',1') in the 3D view
- Give offset of 1' to the rectangle on the outside of the rectangle
- Extrude the bigger rectangle to the height of 6"
- Move the inner rectangle at the height of 2'6"
- Join all corners points
- Use the command 3D orbit to move the object in the degree manner and join all the corner points
RESULT:
The 3D model of isolated footing is created.
ANS 3:
AIM:
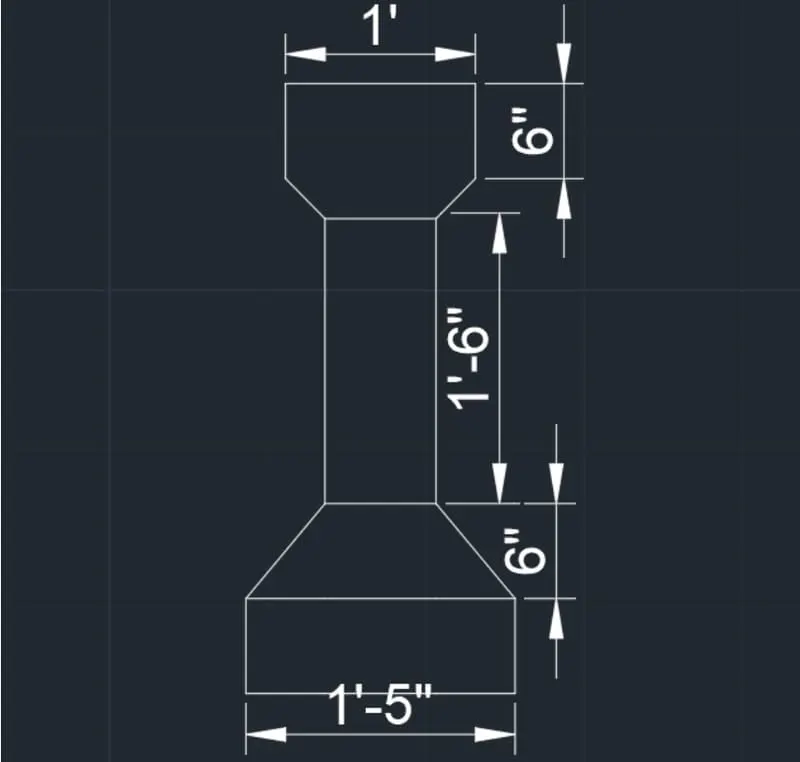
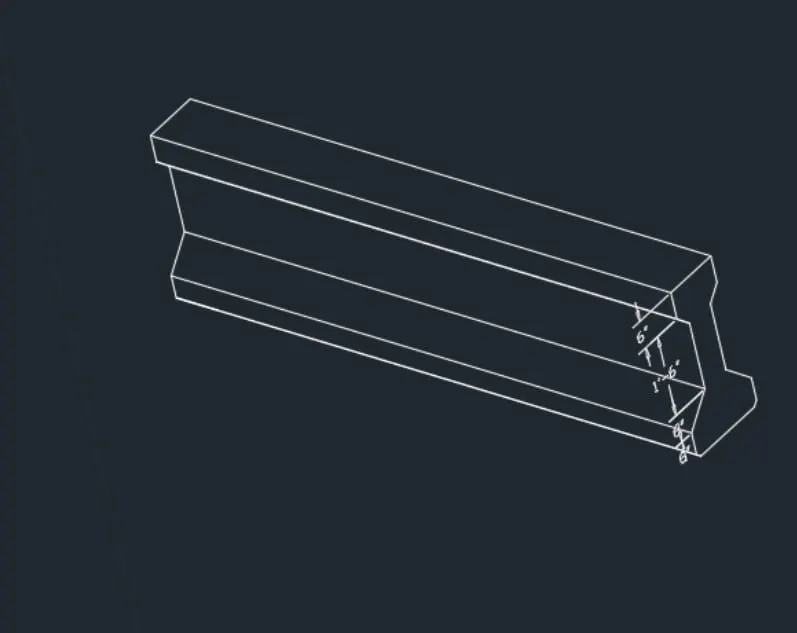
To create the 3D view of the AASTHO Type Girder.
PROCEDURE"
- Open AutoCAD and click the workspace icon
- Enter Units and limits
- Line command is used to draw the 3D object
- Create the front view of the plan
- Then turn to the 3D view and Extrude them
- Use 3D orbit command and move the object as desired.
RESULT:
The 3D view of the AASTHO Type Girder is created.
ANS 4:
AIM:
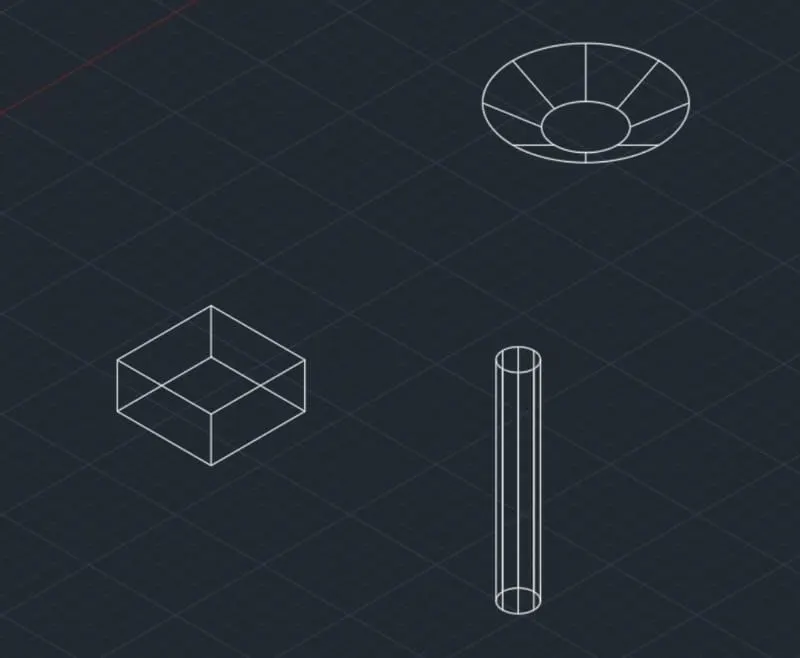
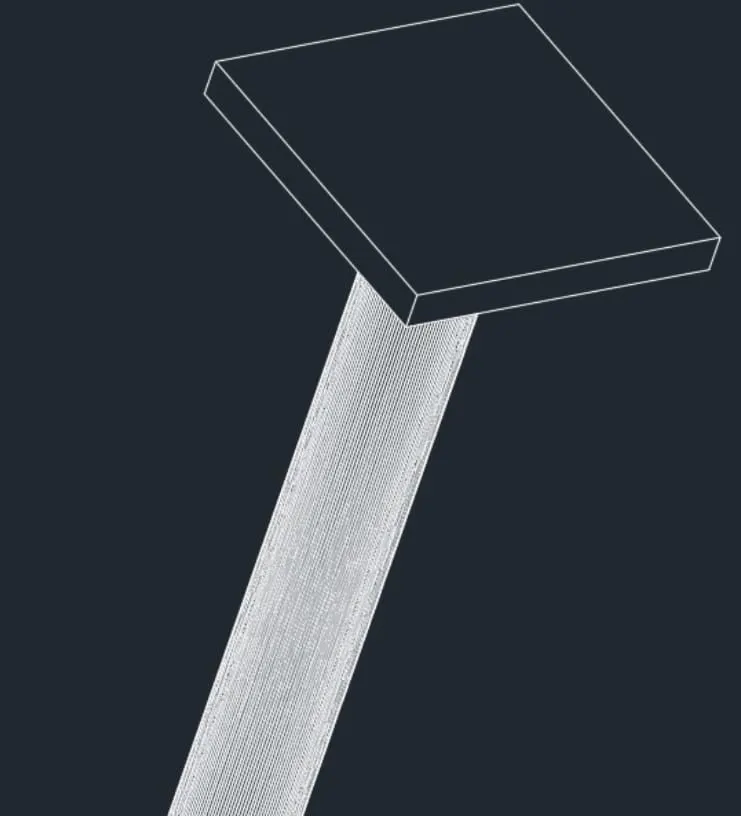
To create 3d Model of a drop column with the panel as shown in section and isometric view.
PROCEDURE:
- Open AutoCAD and set units
- In 3D mode draw a circle of radius 1'6"
- Extrude the circle up to 10'
- Draw cone of 3'6" and bottom side of 1'6" with a height of 1'
- Draw a rectangle of 4'6" and extrude with thickness of 6"
- Use 3D orbit command to align the figure
- Use dim linear command to give dimension.
RESULT:
The given 3d Model of a drop column with the panel as shown in section and the isometric view is created.
ANS 5:
AIM:
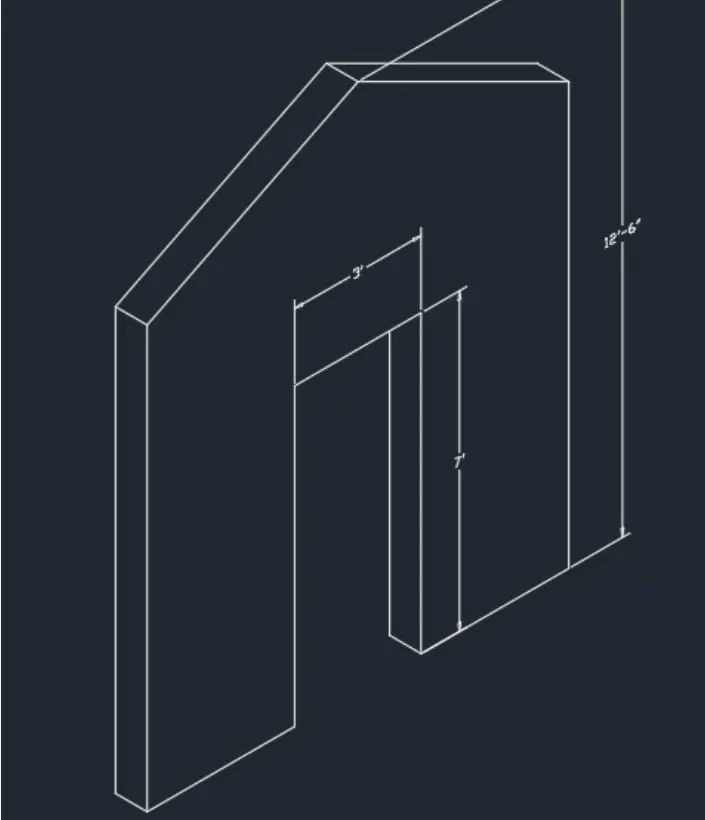
To create the 3d model of a wall as shown in Figure
PROCEDURE:
- Open AutoCAD and click the workspace icon
- Enter Units and limits
- Line command is used to draw the 3D object
- Draw a line of 10' in the X direction
- Specify the center of line 1'
- Draw a line of 1'5" in both directions with a height of 7' to draw the door of the wall
- The thickness of the wall is considered as 9"
- Draw the top of the wall on the distance of 12'6" from the bottom. offset 9" to draw the roof of the wall
- Use dim linear command to give the dimension
- Move UCS using the command 3 points from the ribbon and give dimensions.
RESULT:
The 3d model of a wall is created as shown in Figure.