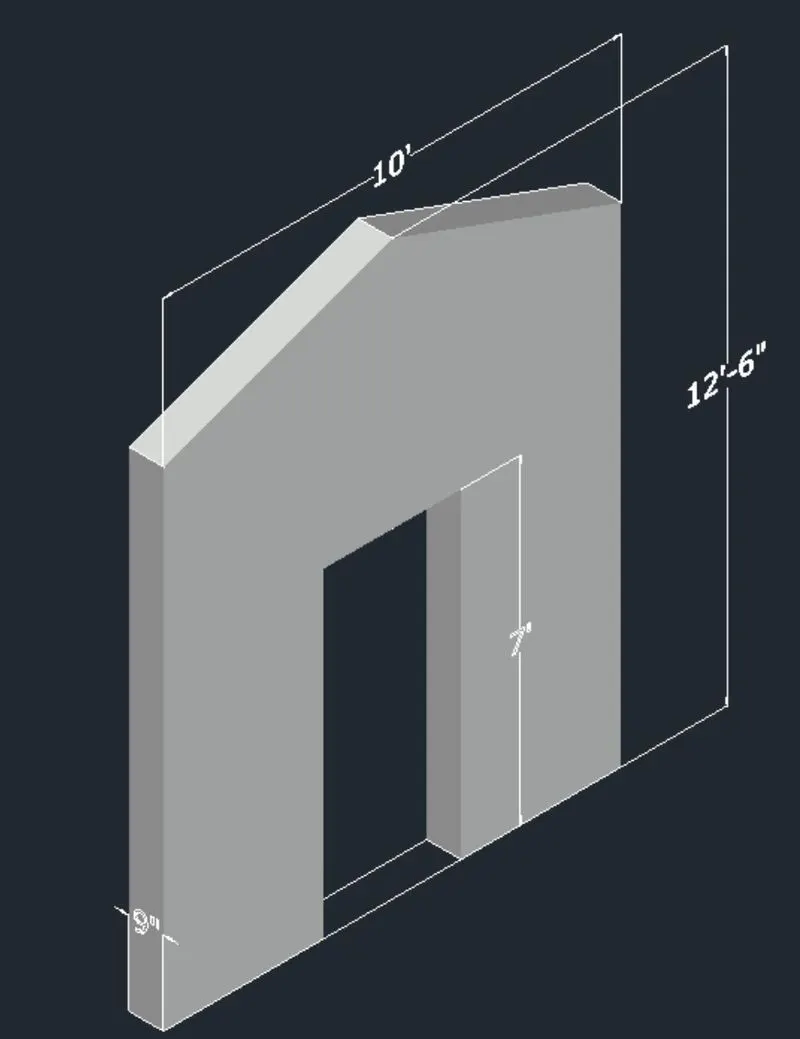
Creating various 3D Models like Furniture, Footing, Girder, Column drop with panel and Gable Wall in AutoCad
1. AIM:
To create 3D model and view of
- Furniture element
- Isolated footing
- AASTHO type girder
- Drop column with panel
- Gable wall
Commands used:
- Limits
- Zoom
- Box
- Extrude
- UCS
- Offset
- Move
- Subtract
- 3D orbit
- Loft
- Region
Introduction:
Change the workspace. You have to change the workspace, and then you have to open a new file by using a 3D template.
Click the Application button and choose New. Once this is done click Drawing and the Select Template dialog box will appear
Finally choose the units.
DRAWING 3D FURNITURE ELEMENT:
Procedure:
STEP 1:
Open AutoCAD, select imperial as the units are in feet and inches. Go to UNITS command and set it to engineering and in insertion scale insert Inches
STEP 2:
Create a box by clicking from the toolbar or box command . Click on length . Give the length as 3' and width 2'-6". Height is to be specificied . Give the height 2'-6"
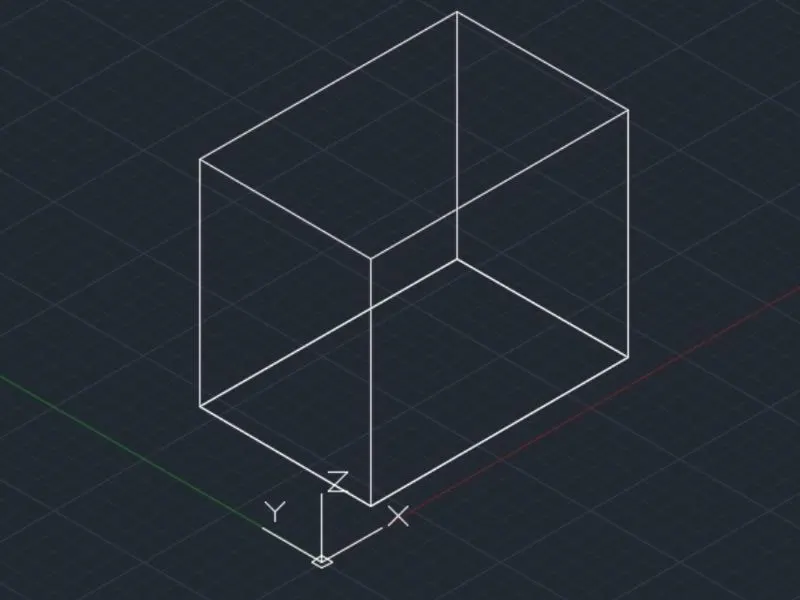
STEP 3:
Select the front face command UCS give the x and y coordinate in the front face horizontally and vertically respectively or click on face and select the Front face .
Type the command PLAN so that the front face is aligned correctly
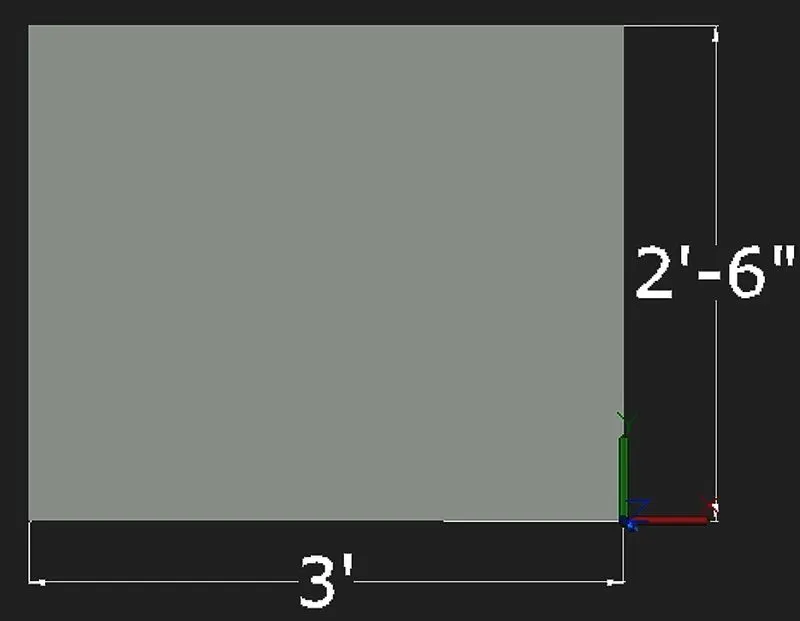
STEP 4:
Draw the line of 2" from the right side of the front view .
STEP 5:
Move the rectangle to the line drawn earlier 2" from the right of the face
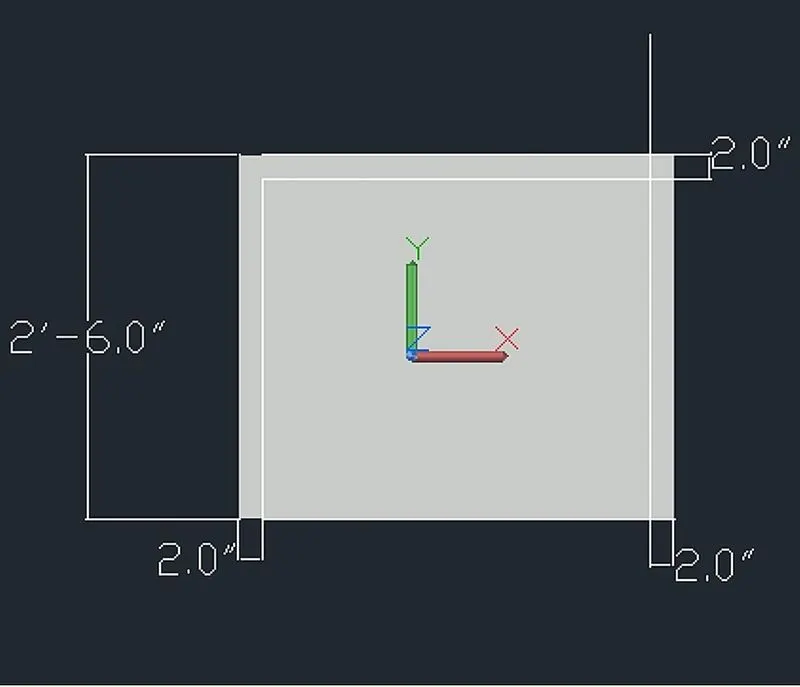
STEP 6:
Delete the line created earlier. Now with command 3do orbit the object and select the rectangle
STEP 7:
Extrude the rectangle to z axis 2'-4" leaving 2" thickness.
Now give the command subtract . Select the larger object then the smaller extruded rectangle in 2d wireframe
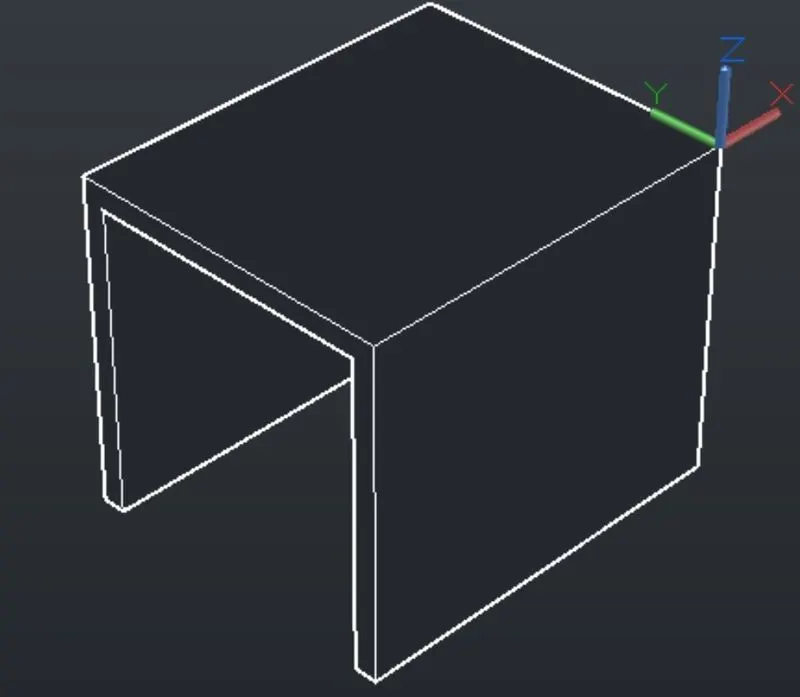
STEP 8:
Dimensions are given by DIMLIN command by switching the UCS
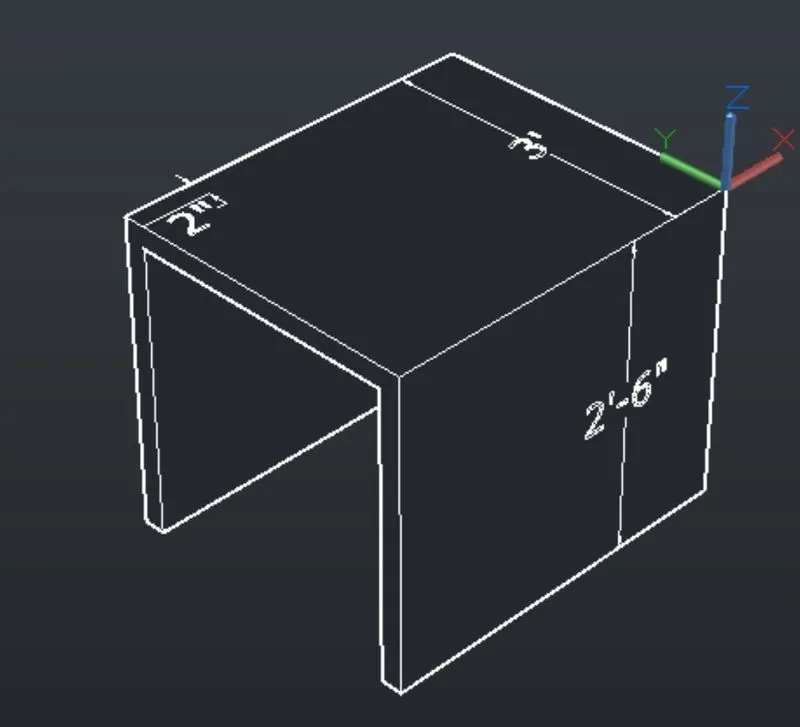
RESULT
Change 2D Wireframe to realistic
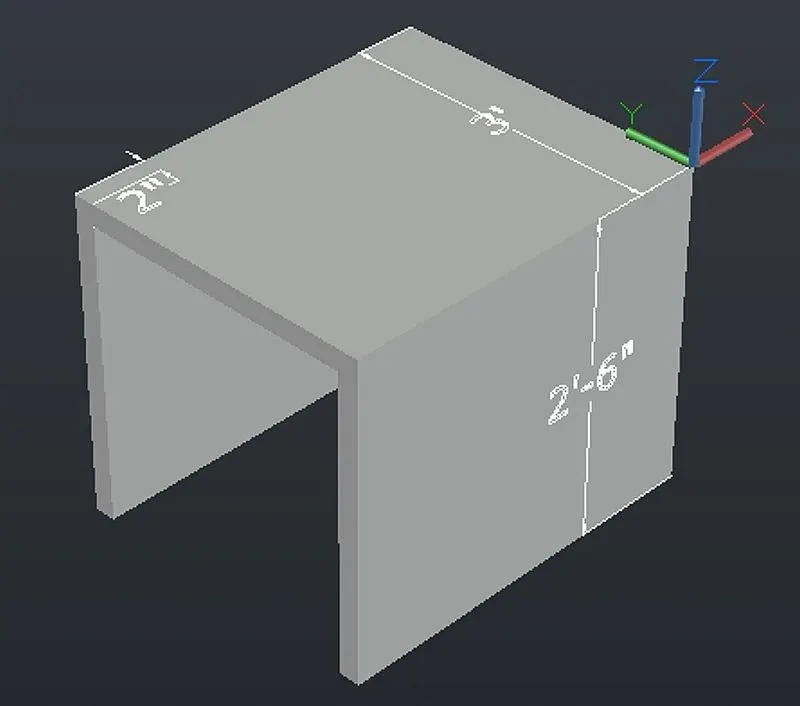
2.AIM:
3D MODEL OF ISOLATED FOOTING
Procedure:
STEP 1:
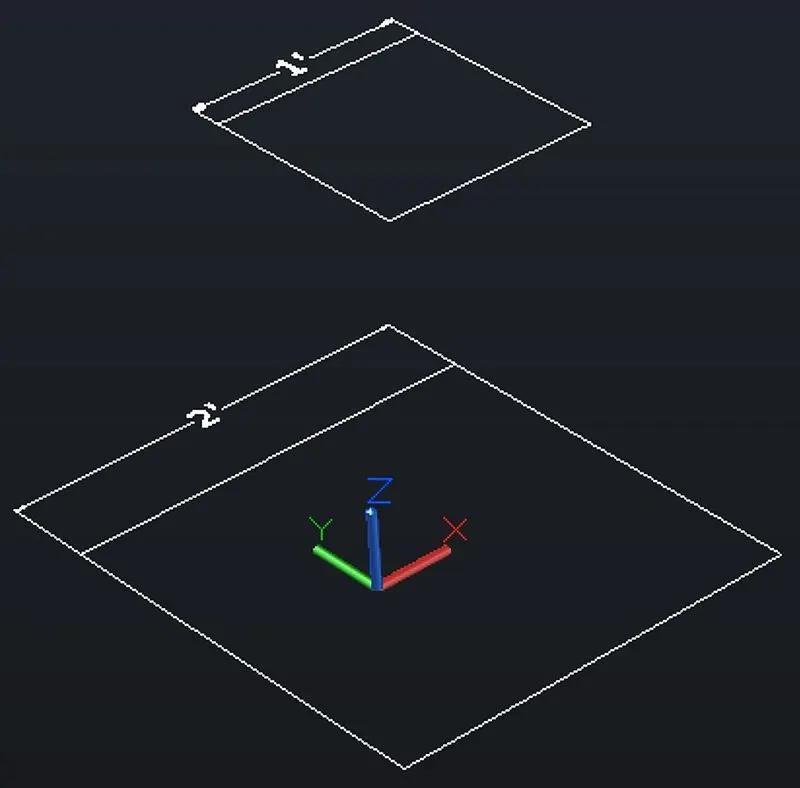
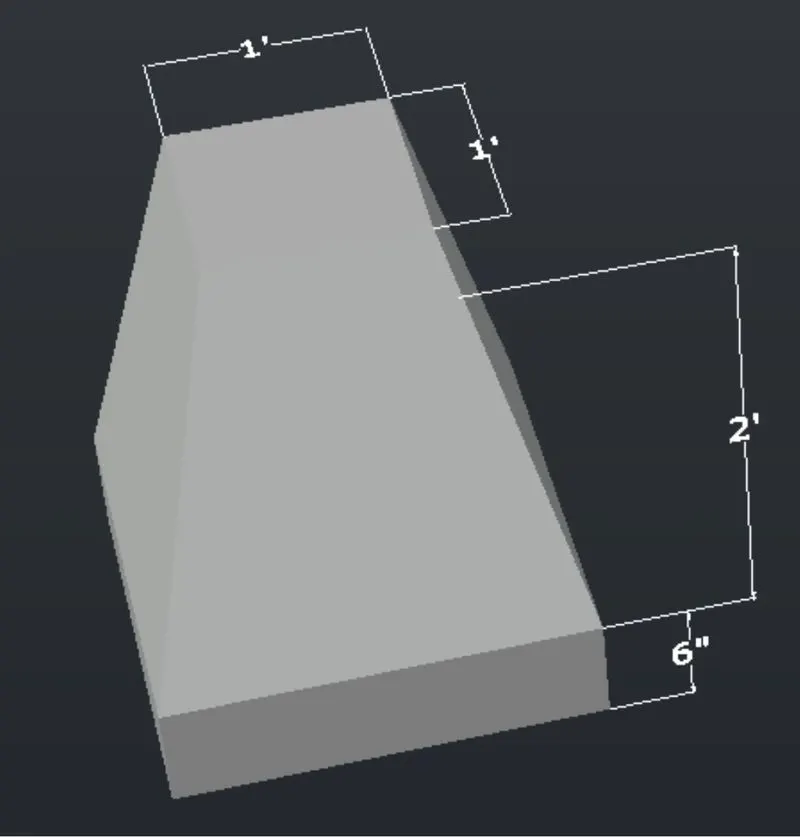
Create a rectangle 2' x 2' on the top view. Create another rectangle of 1' x 1' on the top view
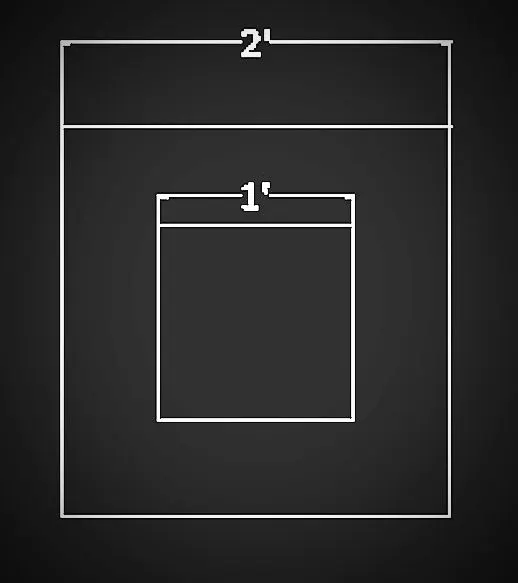
STEP 2:
With command 3do 3d orbit the view to a suitable one. With M move command move the small rectangle of 1' x 1' by 2' in the Z direction
STEP 3:
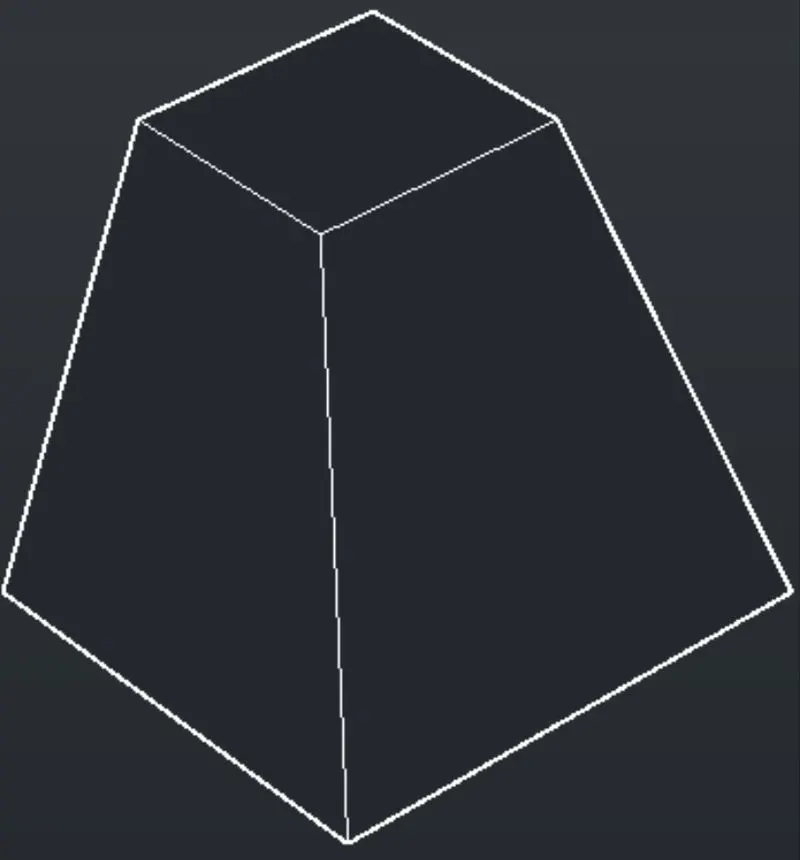
Click on the loft from the home toolbar and select the two rectangles to loft
STEP 4:
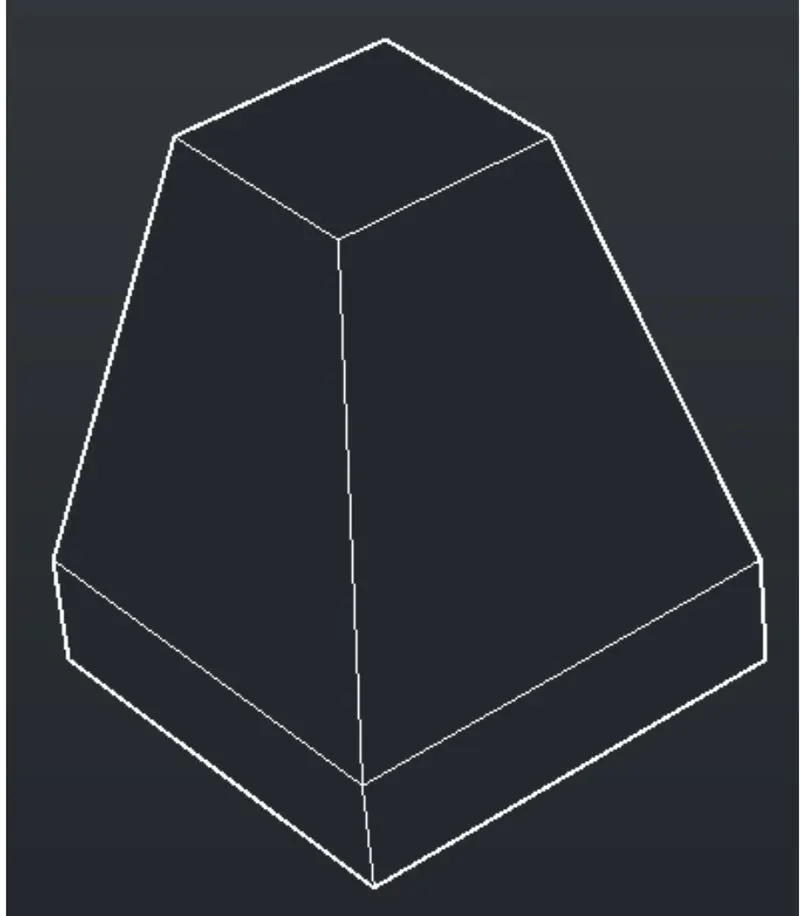
Again go to the top view create rectangle on the top of the bigger rectangle of same size. Click on extrude from the home toolbar and select the creae recatngle and give tehe extrude height as 6" and the direction is pointed by the mouse
STEP 5:
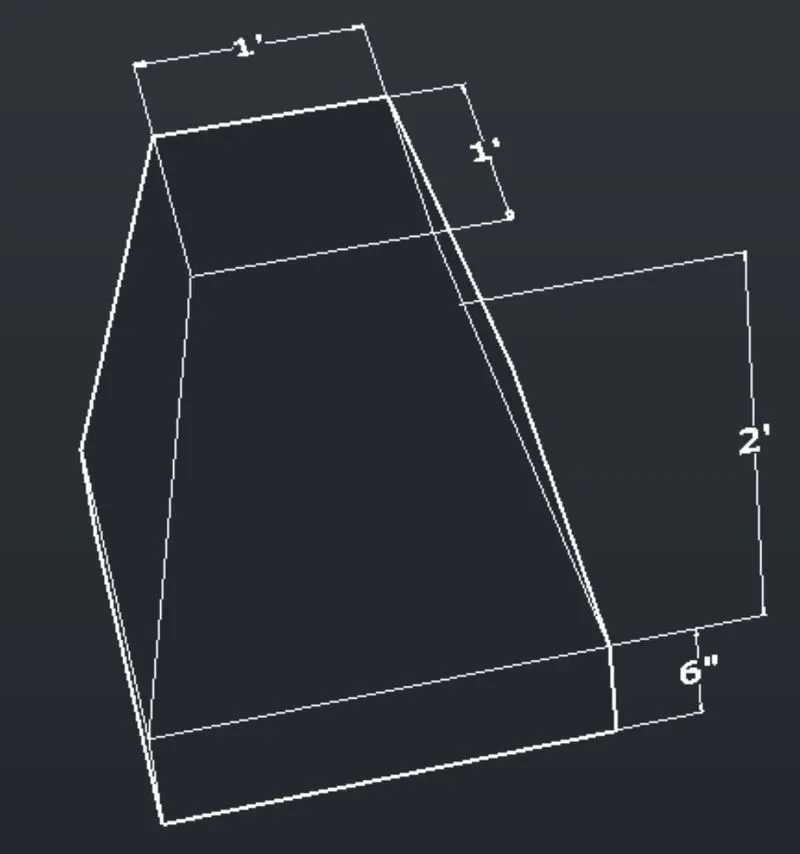
By using UCS command give the dimensions
RESULT:
Change 2D Wireframe to realistic
3.AIM:
3D MODEL OF AASTHO TYPE GIRDER
Procedure:
STEP 1:
Click on the front view. Use UCS command and make the x and y axis in the front view plane
STEP 2:
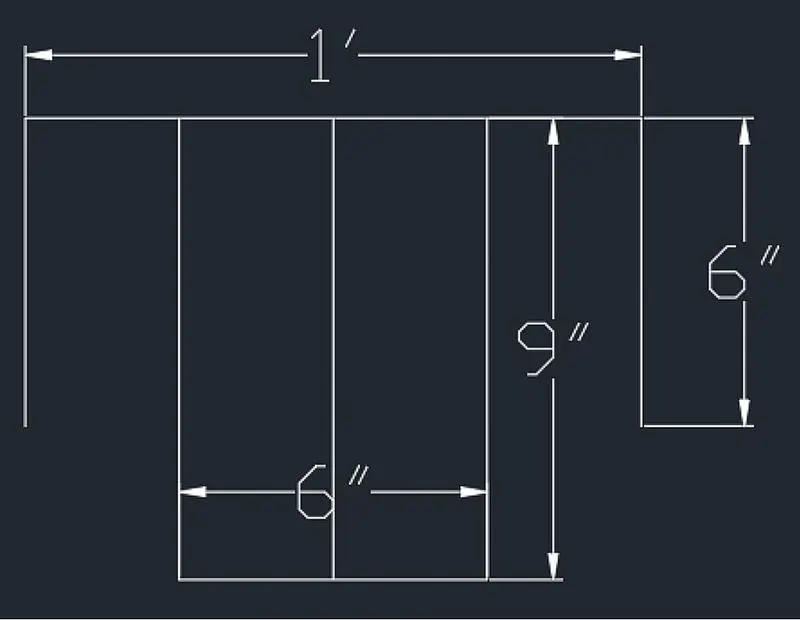
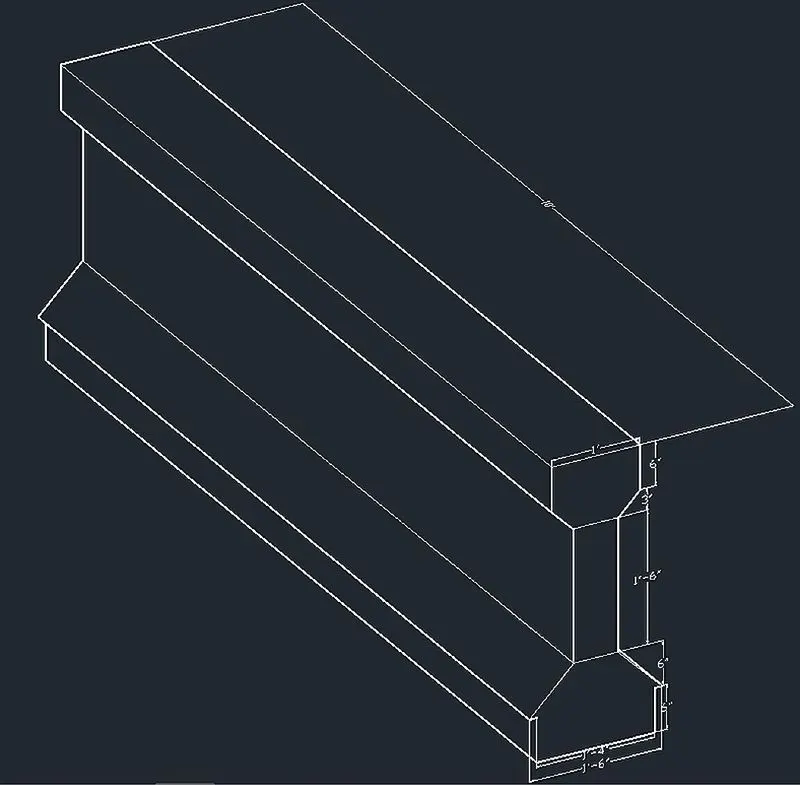
Using line command draw the I section with the given dimension. Command L draw a line of 1' that is the top width of the girder
With the line draw 6" downwards with snap on draw a line from the center of 1' and offset 3" on both sides such that the width of web becomes 6"
STEP 3:
Give a taper distance and join the web and the flange. Mirror the same on the other side
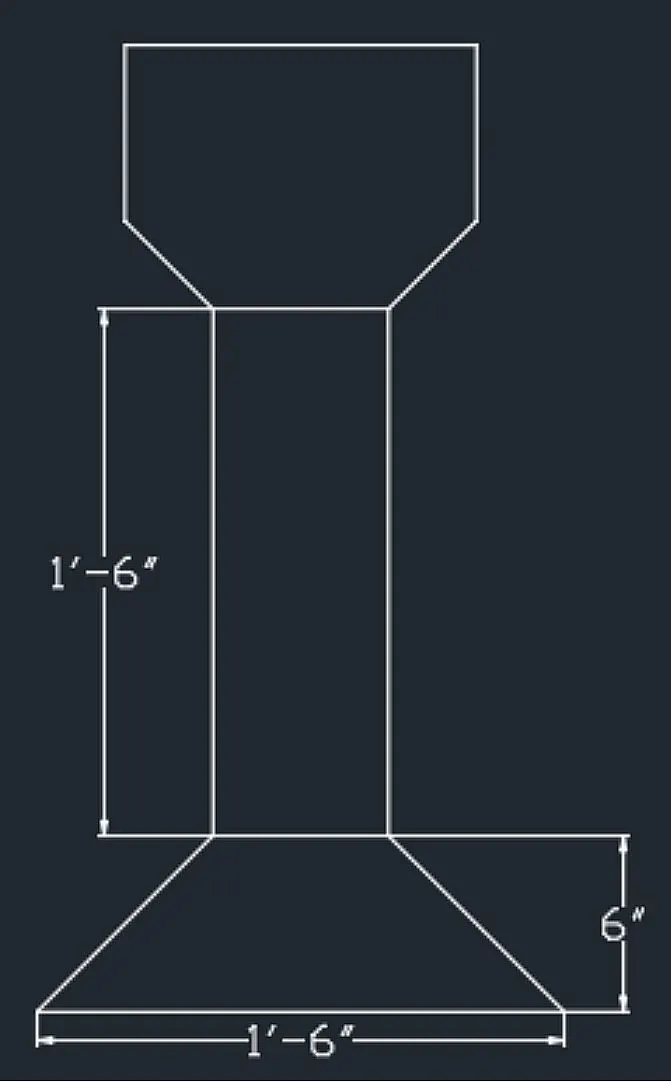
The web is given a height of 1'-6",offset the distance 1'-6" from the end of tapering of the flange portion 1'. Delete the center line drawn for the offset and also trim off the extra lines in flange
STEP 4:
Extend the web to the offset line . Again offset 6" from the last line and taper the sides. Mirror the tapered portion to the other side.The sides should be tapered such that the bottom should be 1'-6". Draw a center line and offset 9" on both sides,then join the taper
STEP 5:
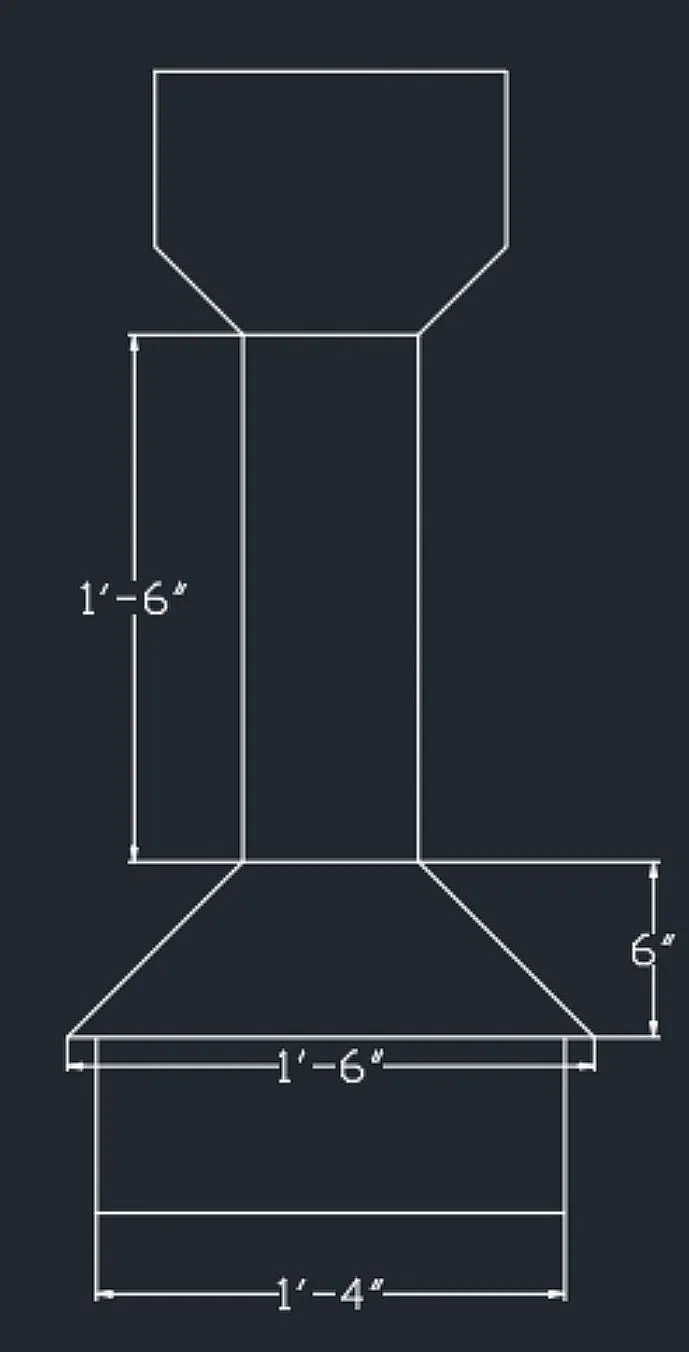
Offset 6" downwards from the bottom horizontal line to define the height. To draw the taper at the bottom 1'-4" from the center draw a line and offset 8" on both sides
STEP 6:
Extend the 6" offsite line and trim the rest of lines. Draw the vertical line downwards and the tapering also
STEP 7:
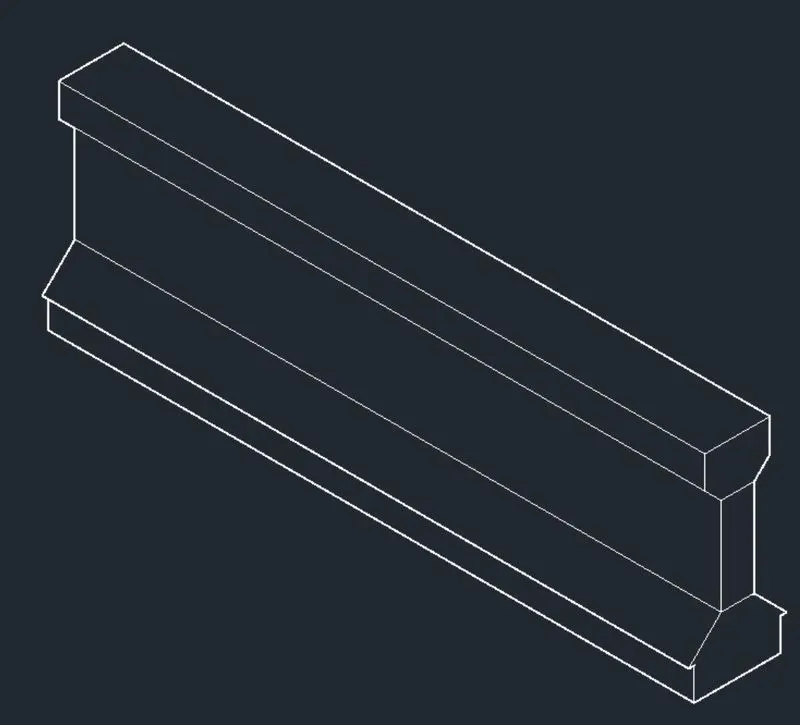
With 3d orbit turn the view and draw a line of 10' in z direction.Click on sweep from the home toolbar and select the section and then the path through which the section to be swept ie the line
STEP 8:
By using UCS command give the dimensions
RESULT:
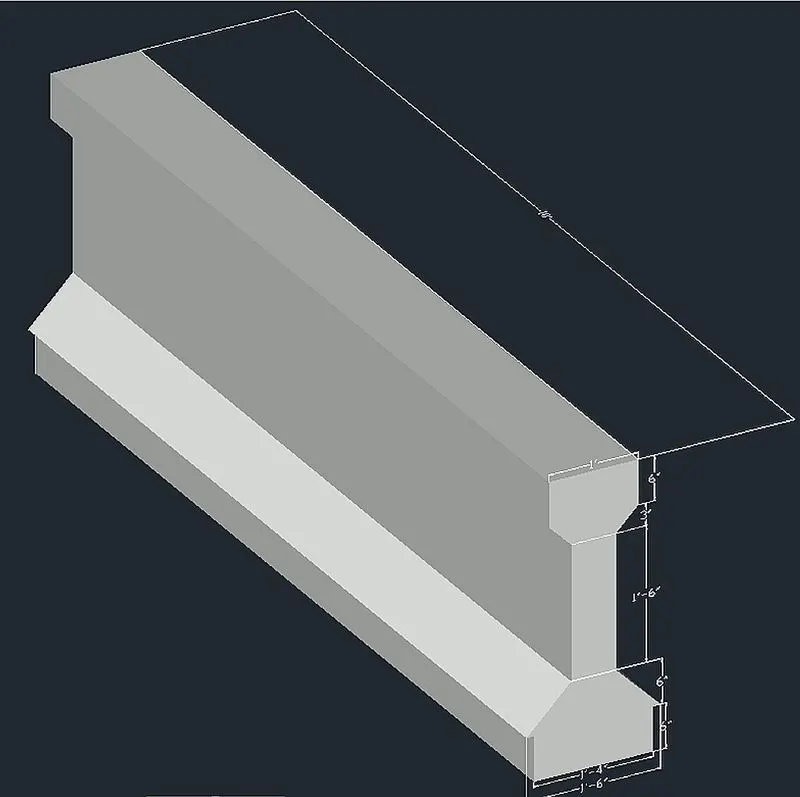
Change 2D Wireframe to realistic
4.AIM:
3D MODEL OF A DROP OLUMN WITH PANEL
PROCEDURE:
STEP 1:
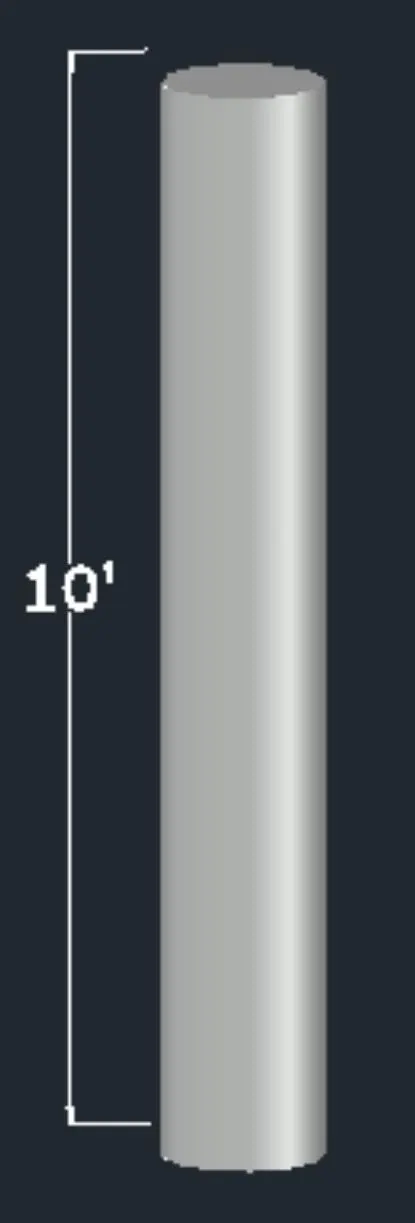
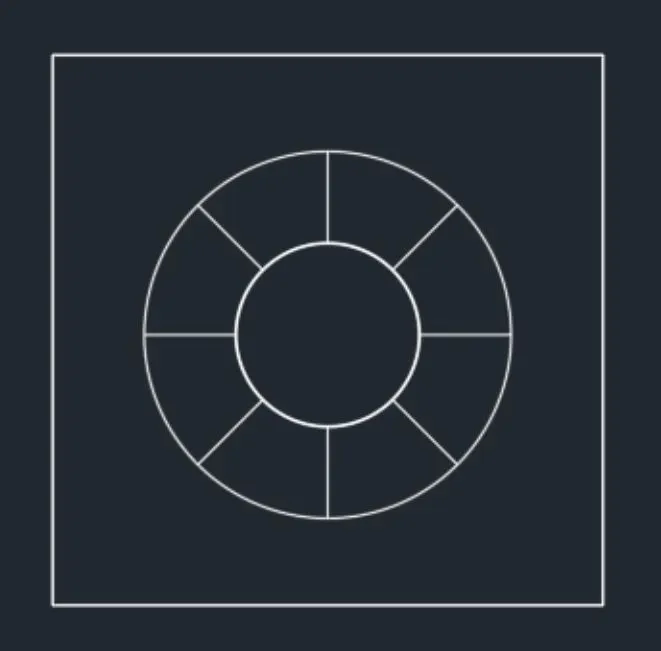
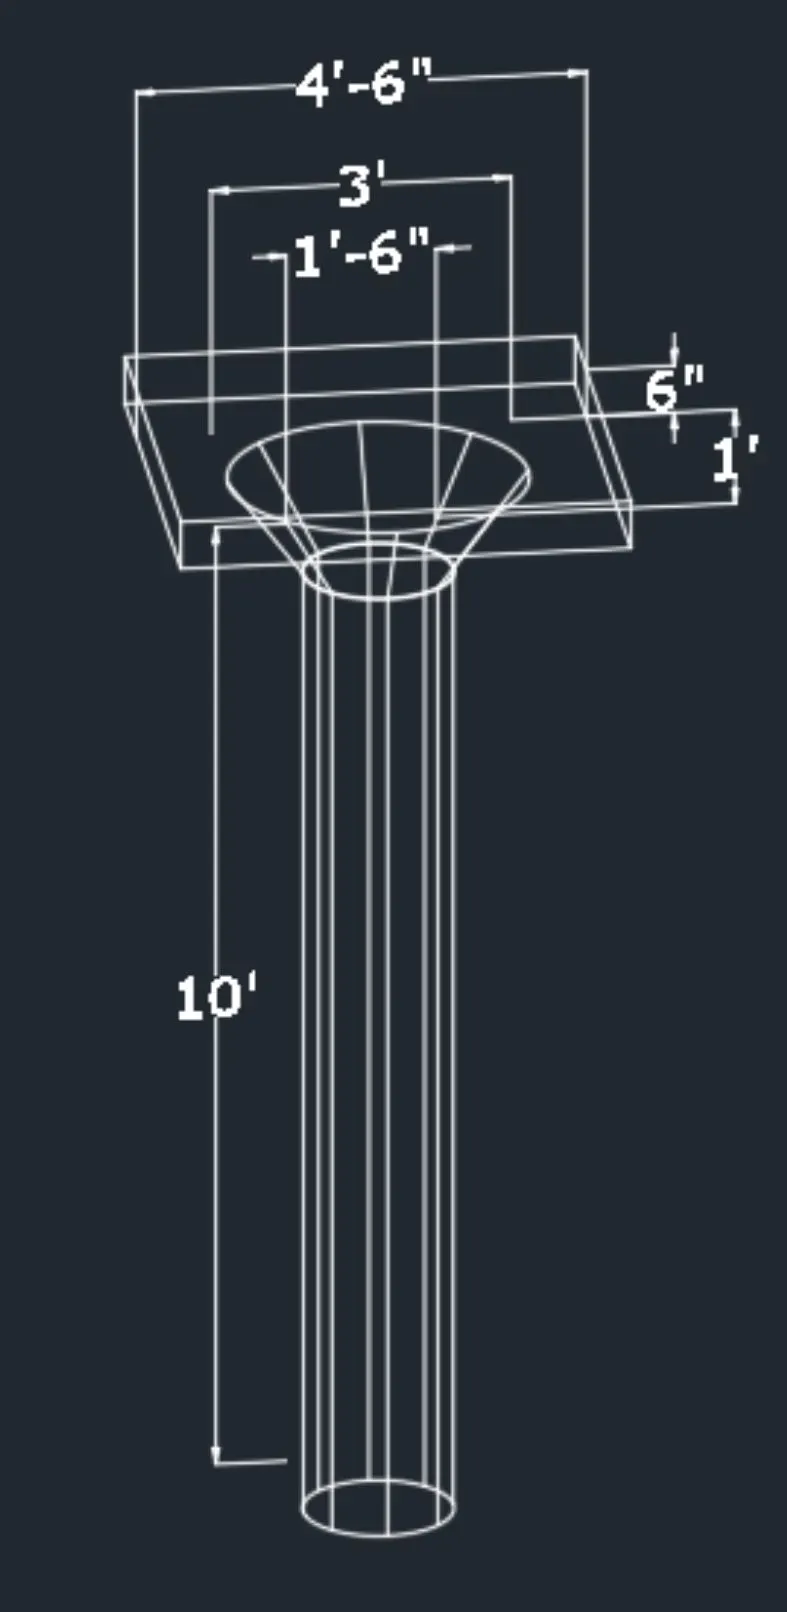
Create a circle of dia 1'-6" in the top view
STEP 2:
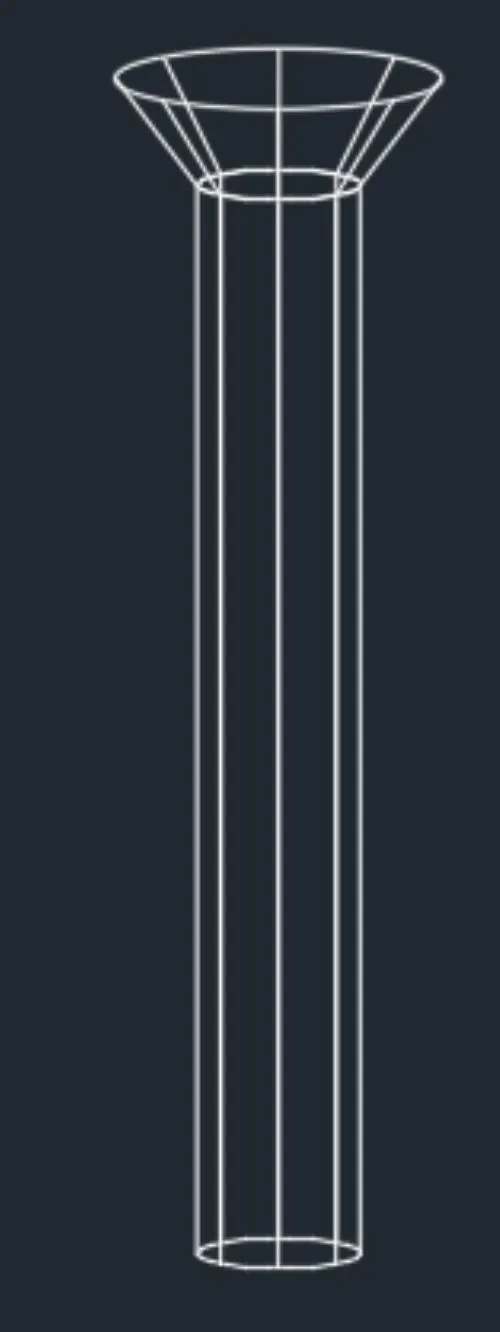
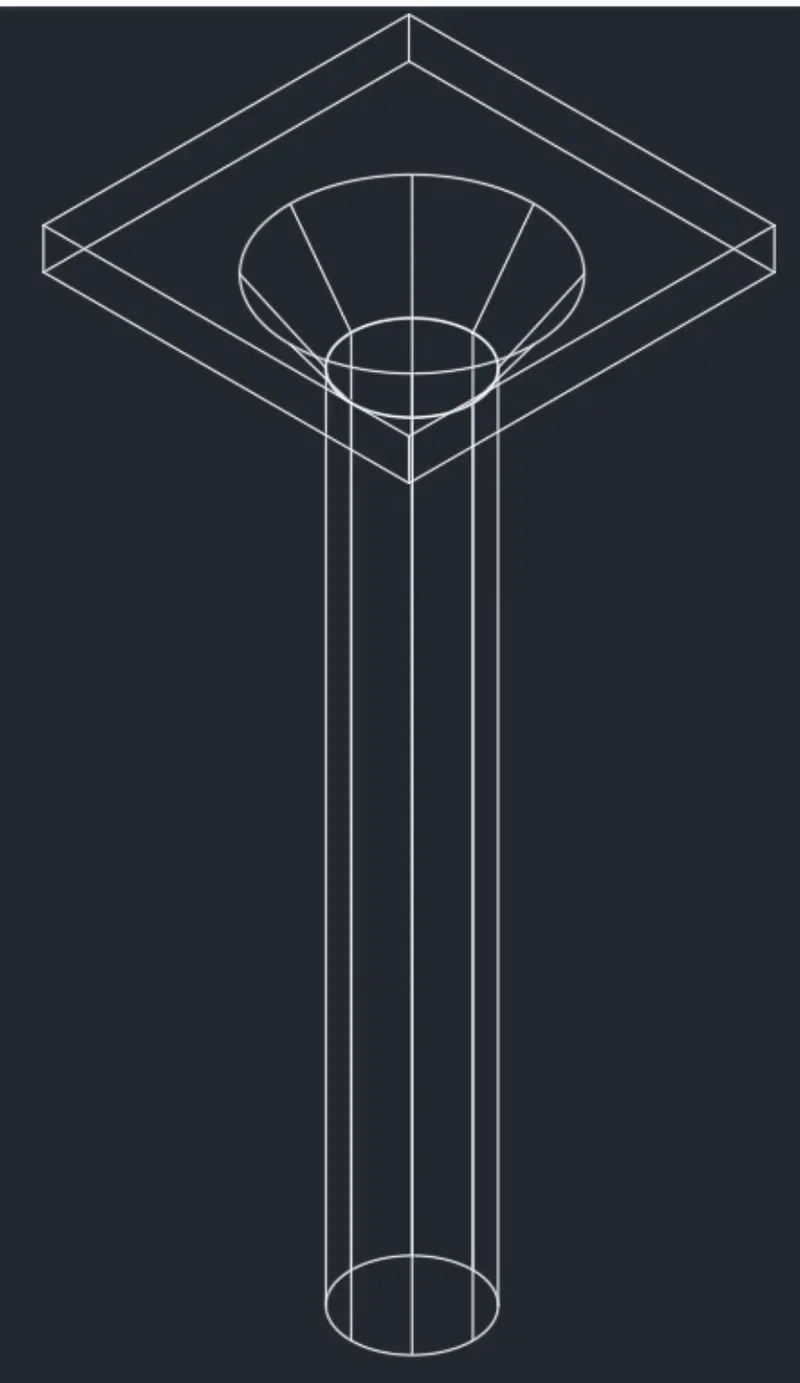
Create a region by region command and select the rectangle. Extrude it with extrude in home toolbar and give a distance of 10'
STEP 3
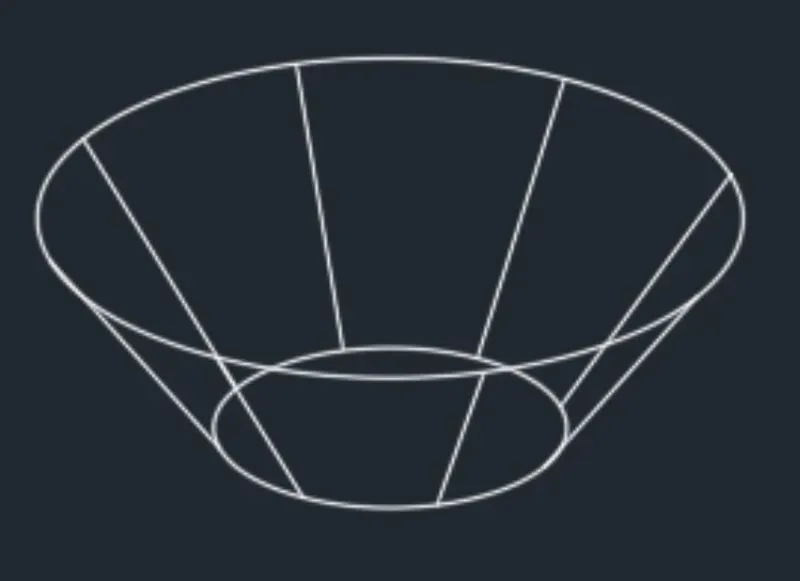
Create a cone by clicking on cone from the home toolbar, Click on dia and give the base dia as 1'-6"
STEP 4:
Click on the top radius and give the value as 1'-6" and give the height of the cone as 1"
STEP 5:
Place the frustum of the cone on top of the extruded circle ie the column in the front view with snap option place such that te center of two objects coincide also place the center of frustum with center of column in the top view
STEP 6:
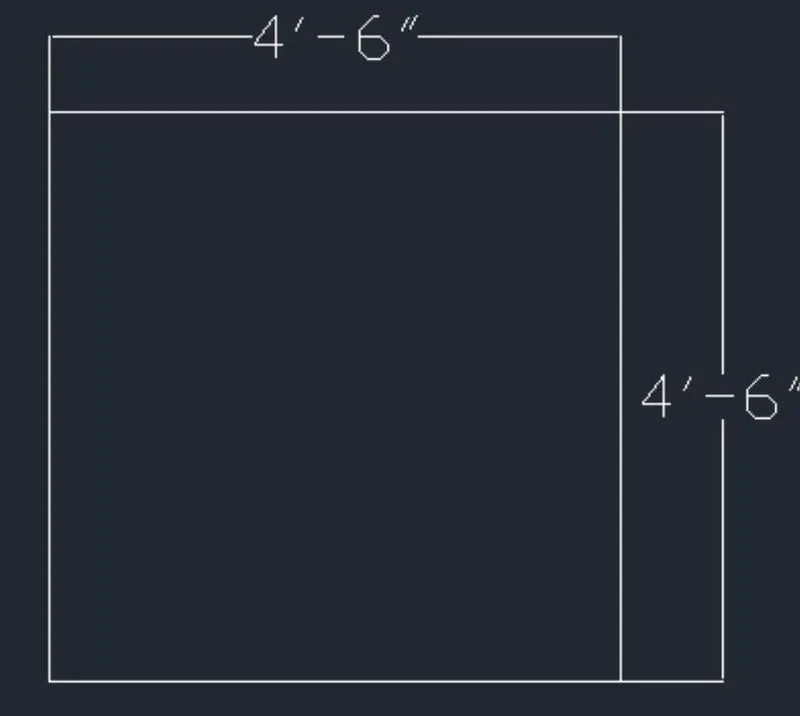
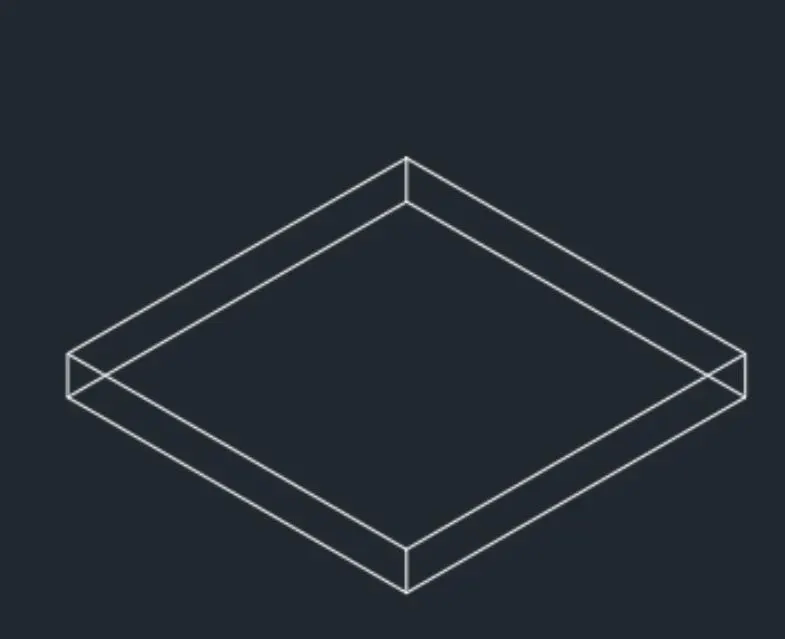
In the top view,create a rectangle of dimensions 4'-6" x 4'-6". Extrude it to a height of 6"
STEP 7:
In the top view,place the rectangle at the center of cone and also adjust in the front view or give move command and giv the coordinate as 0,10'
STEP 8:
By using UCS command give the dimensions
RESULT
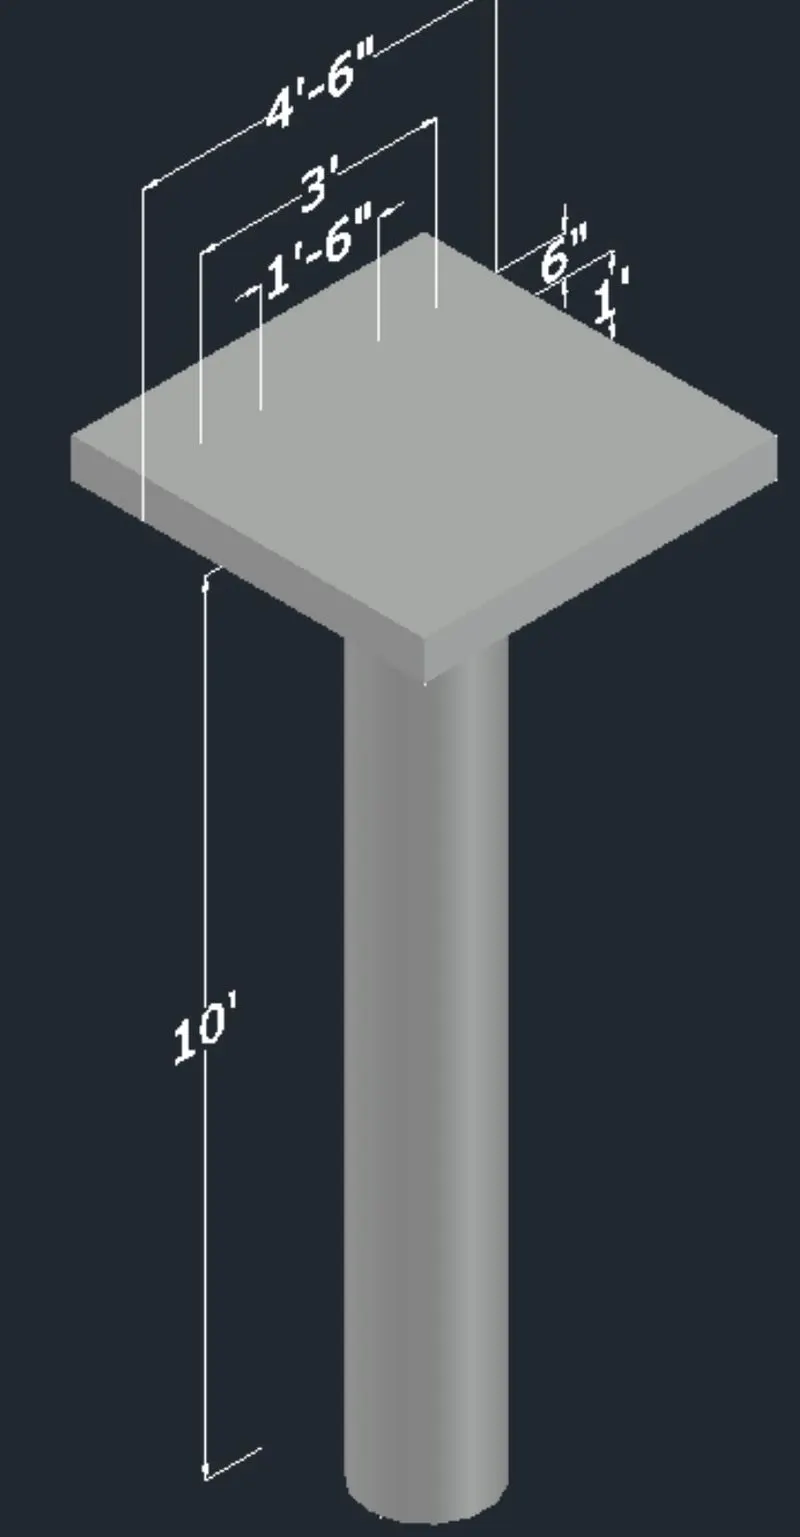
Change 2D Wireframe to realistic
5.AIM:
3D MODEL OF GABLE WALL
PROCEDURE
STEP 1:
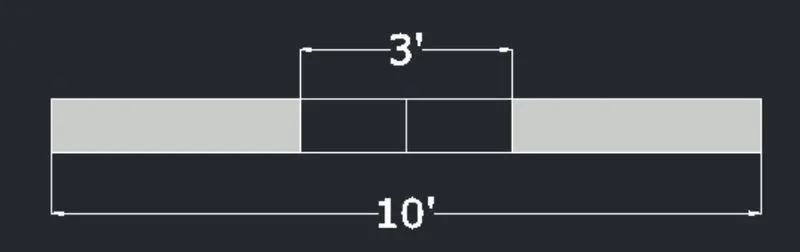
Draw a rectangle 10'x 9". Create a line in the center and offset 1.5" on both sides as 3" is the width of door opening
STEP 2:
Use the command BO fror boundary and create a region ie both the region on either sides of the door opening
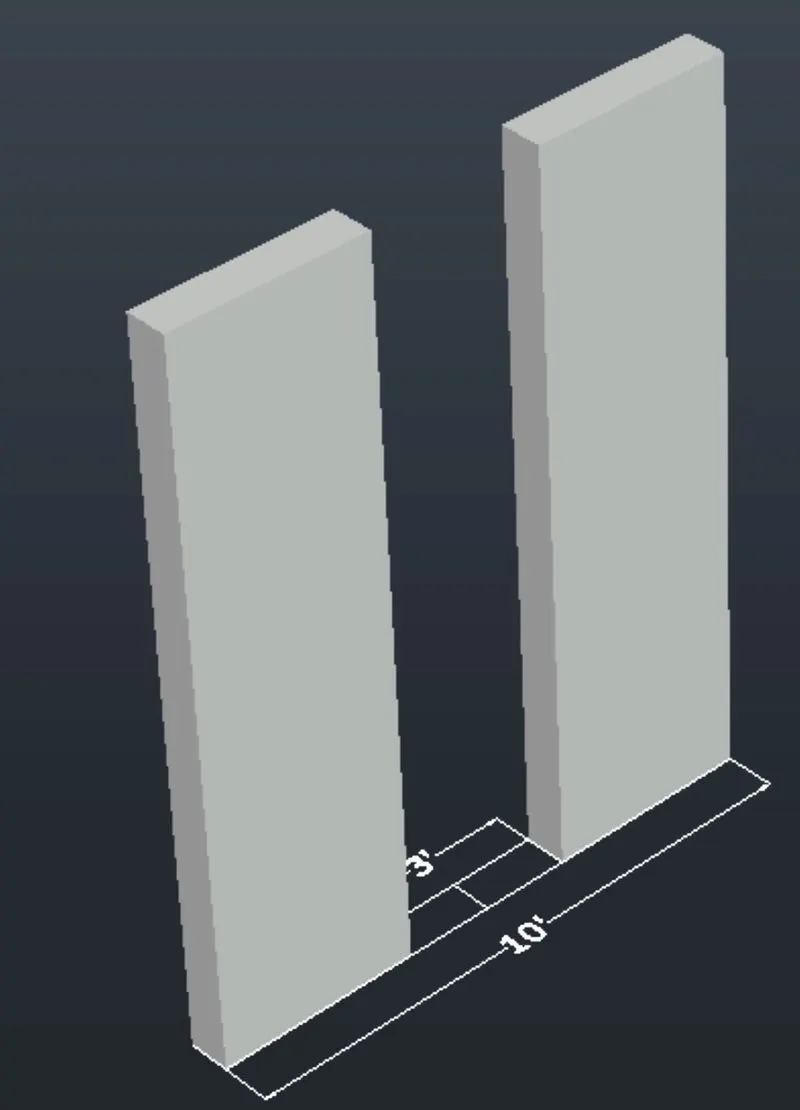
STEP 3:
Extrude the region to aheight of 12'-6" total height
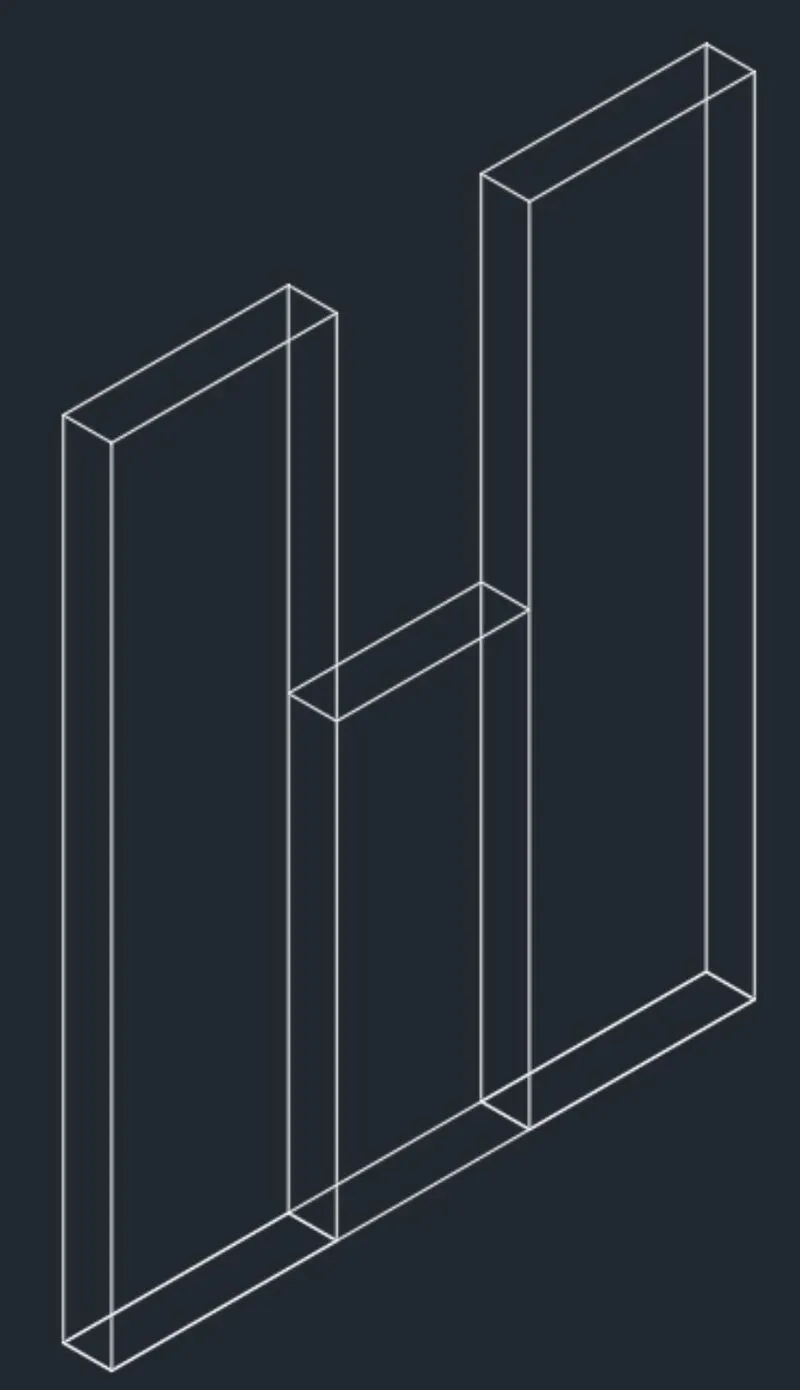
STEP 4:
Create a rectangle in place of door in the top view.Move the rectangle in z axis at the height of 7' from the bottom
STEP 5:
Go to front view and draw a line from the center of the moved line of door.Draw slanting line from the total heiht from the center line interecting the edge
STEP 6:
Mirror the line to the other side.Draw the horizontal line to join
STEP 7:
Trim the extra lines and the center line and join the triangle with join command
STEP 8:
Select the extruded rectangle and with the help of grip bring down to the level of the traingle base on both sides.Extrude the rectangle of door to a height equal to the base of the traingle
STEP 9:
By using UCS command give the dimensions
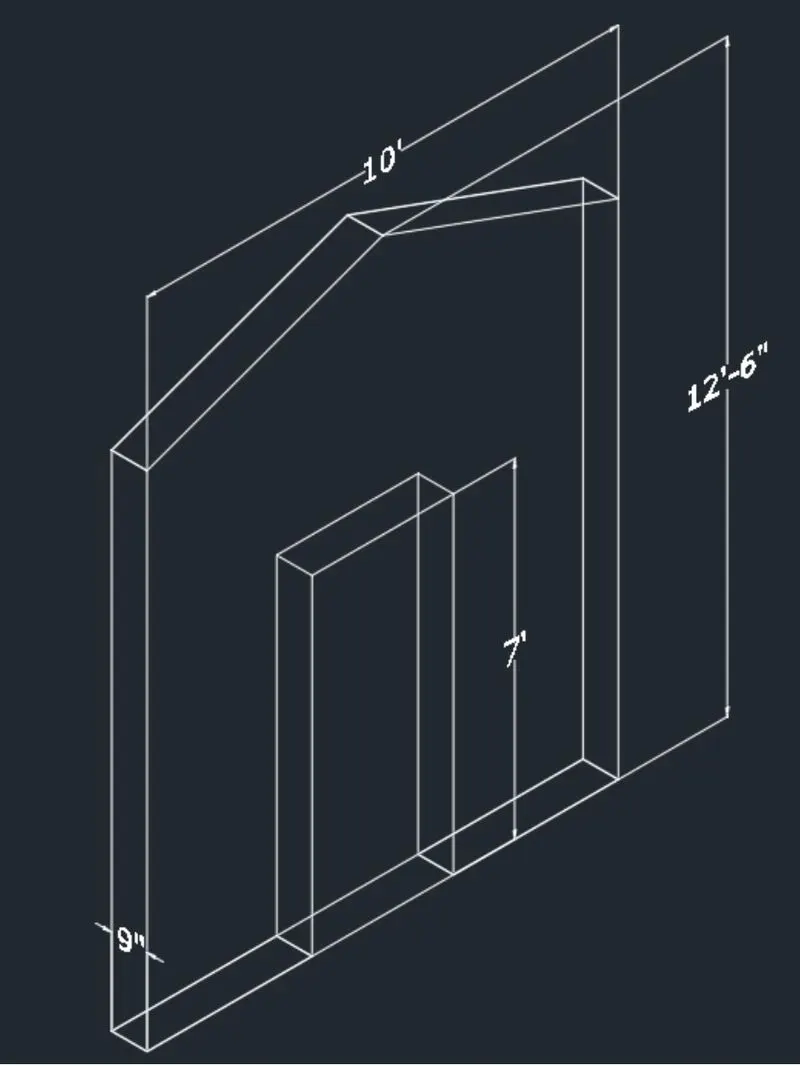
RESULT:
Change 2D Wireframe to realistic