Creating Levels, Grids, Layout and model elements for a residential unit using REVIT
A1) BIM stands for Building Information Modelling. It is a process which helps architects, engineers and construction professionals think and improve the way they design and carry out projects. It allows sharing of information through Cloud data Environment. it can be used for designing a project or making renovations to existing ones.
The benefit of BIM over CAD is that BIM allows to work in 2D,3D, 4D whre as CAD only allows 2D. BIM allows cloud sharing and multiple people to work on a single project together which CAD doesnt allow.
A2) Aim - Setting up a Project – Open a project file with architectural template. Save the file with appropriate name. Set up the project units to Imperial / Metric based on your convenience of modelling. Complete the project information under Manage tab. Set up the maximum backups for project file to 3
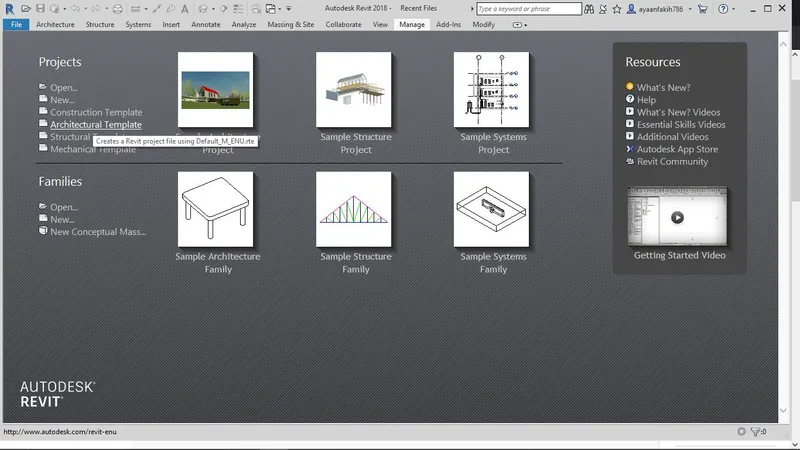
Procedure - Open revit App. from the home page select the Architectural template.
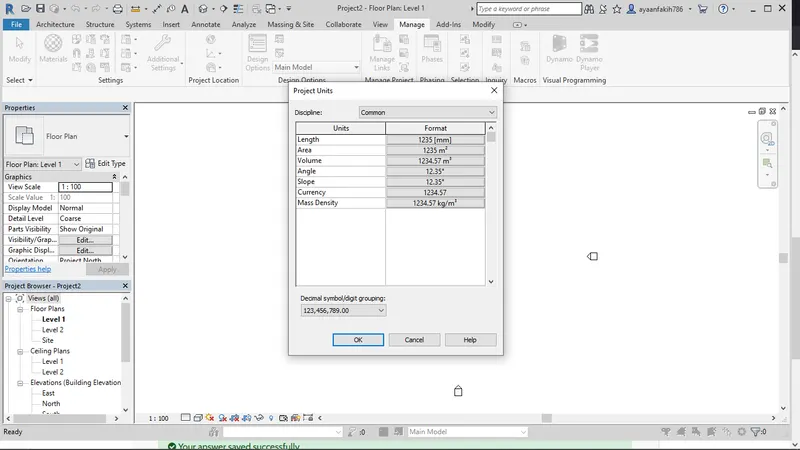
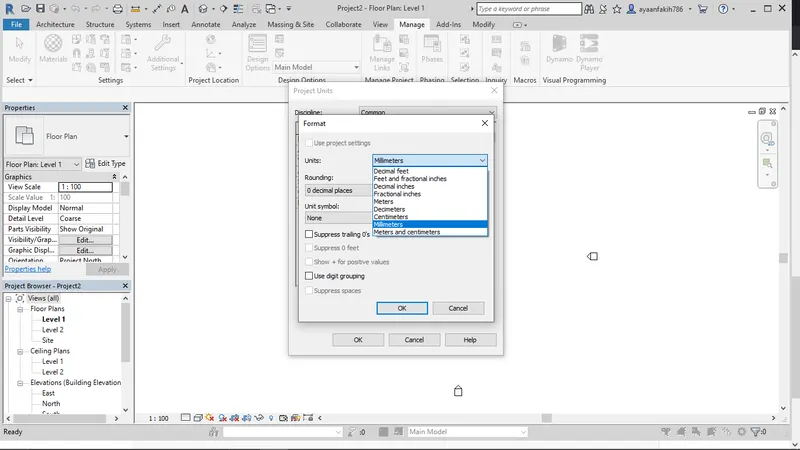
Once the project opens, from the manage tab click on the Project units to change the units of the project
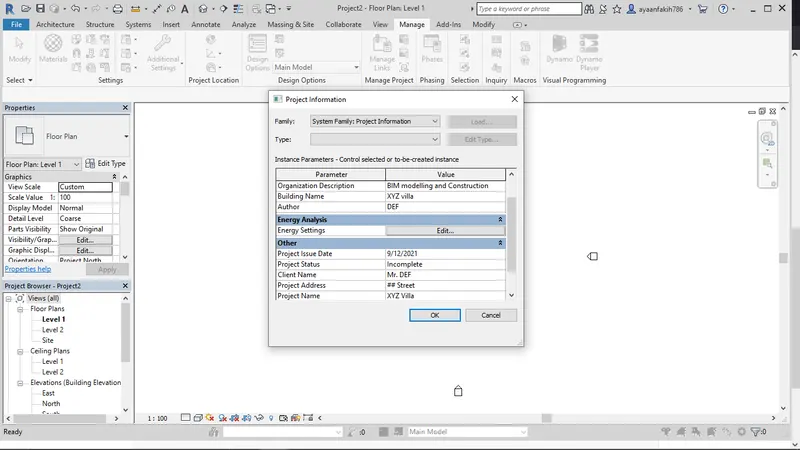
under the manage tab select the Project Information option
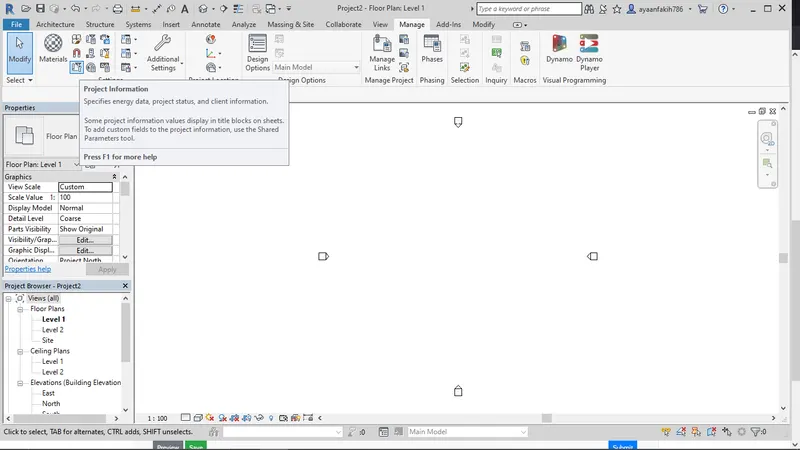
Fill in the information for the project management
in the file tab, click on save as, select template and then click on options to sepcify the number of maximum backups as 3
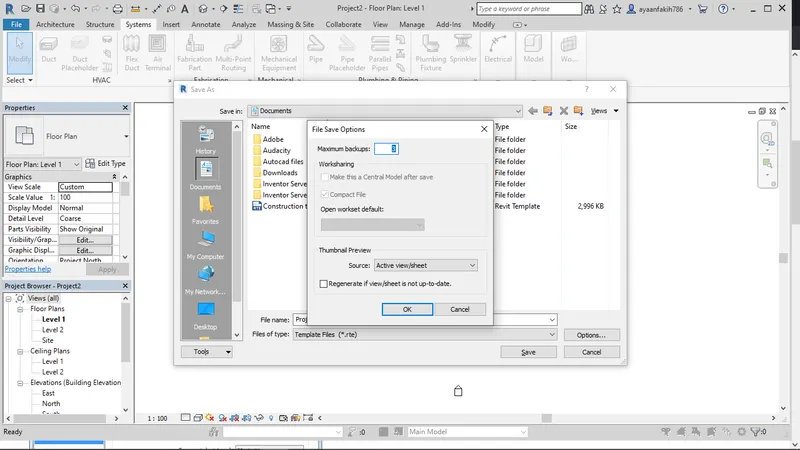
Result - Successfully Set up a Project – Opened a project file with architectural template. Saved the file with appropriate name. Set up the project units to Imperial / Metric based on convenience of modelling. Completed the project information under Manage tab and Set up the maximum backups for project file to 3
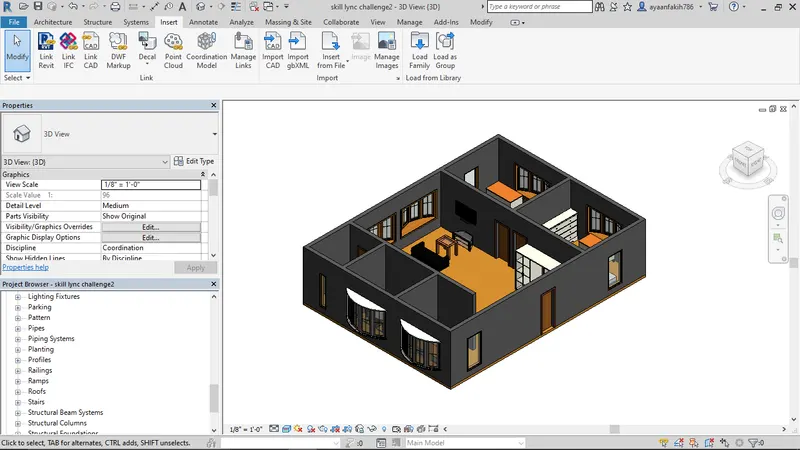
A5) Aim - 3D modelling of residential unit
procedure - open revit and select the architectural template.
in the 2d view, select the architectural wall, 8" generic wall option to start drawing the layout
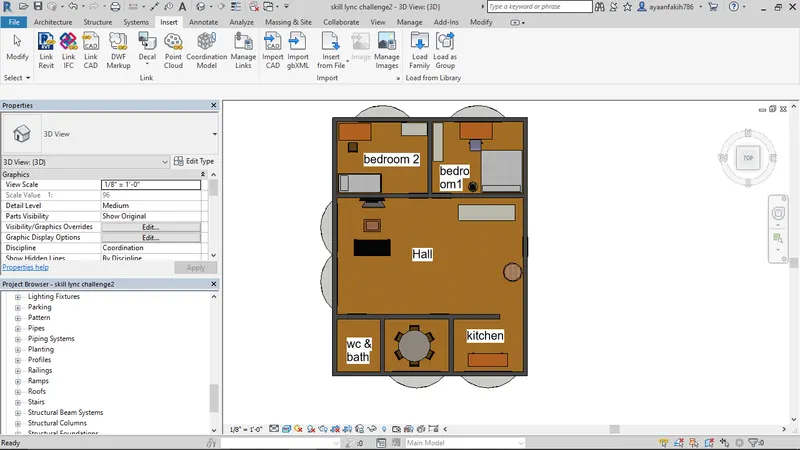
i have created a plan of 30' x 40' which is a 2BHK
after creating the plan insert the floor with the help of boundary line by selecting the exterior walls and then select the wooden floor option.
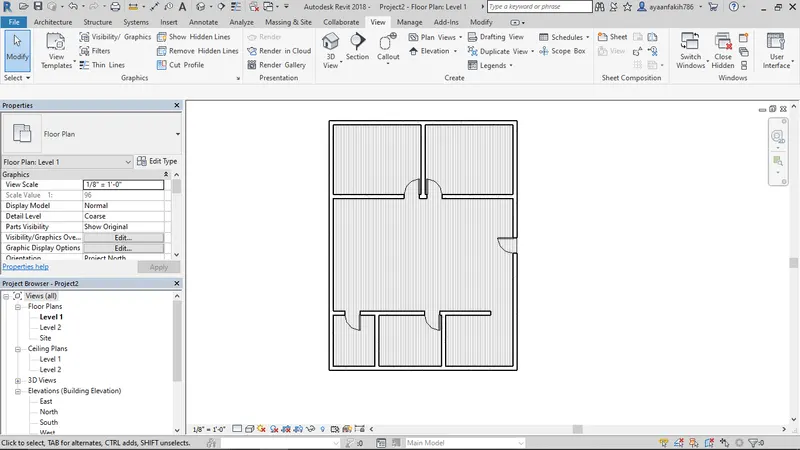
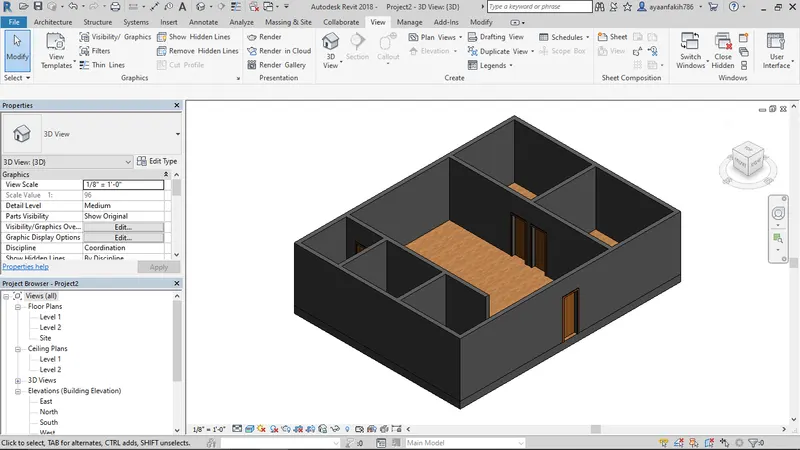
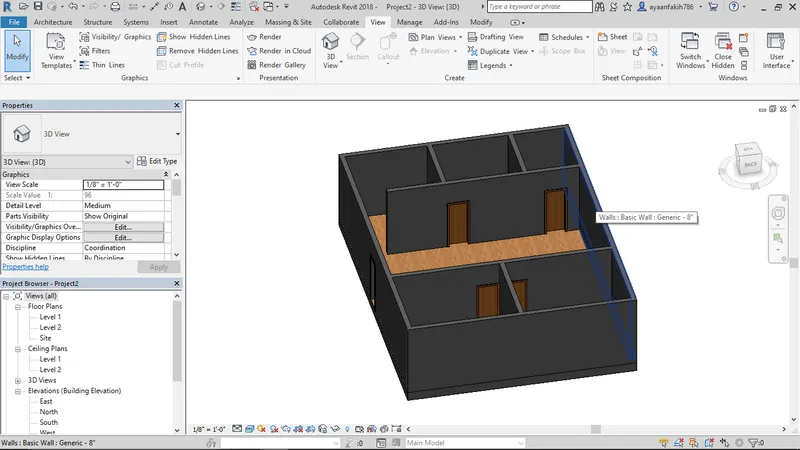
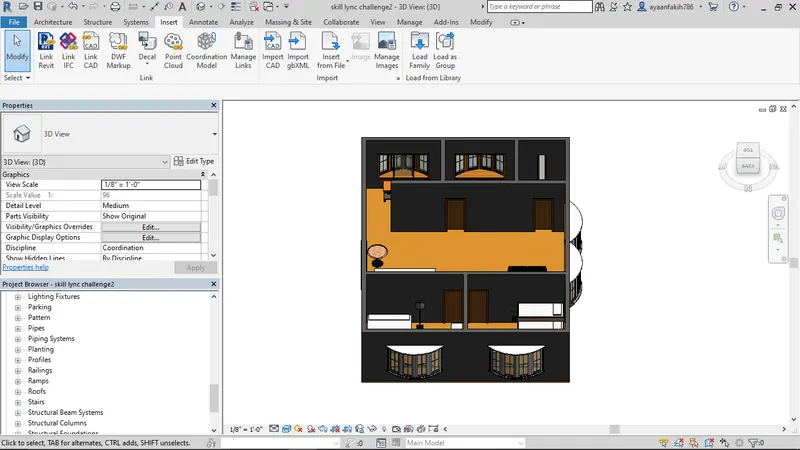
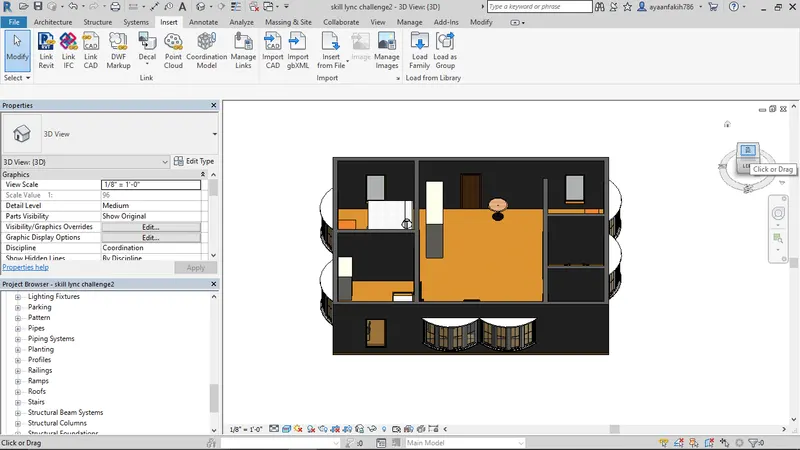
result - successfully created a 3d residential plan successfully.
a6) aim - In the layout created draft the level of details you are planning to include – Dimensions of room, components you plan to add in the residential unit.
procedure - in the annotate tab, use the Linear dimension tool to add dimensions to the layout.
after the dimensioning has been done, select the text tool and add text to the layout.
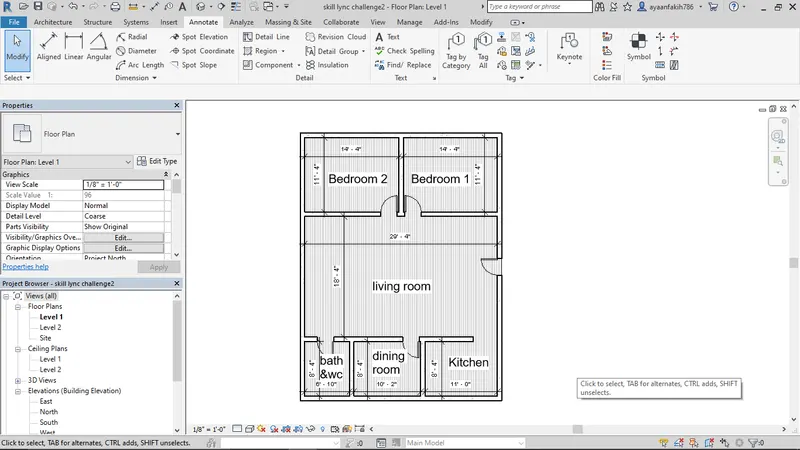
result - successfully added dimension and named the componenets of the layout created using the anootate and text tool
A7) aim - to Identify the residential model elements such as Door, Windows, Tables, Chair, Couch, Bed, Lamps from the library and insert them to the model .
procedure - in the insert tab, click on load from family
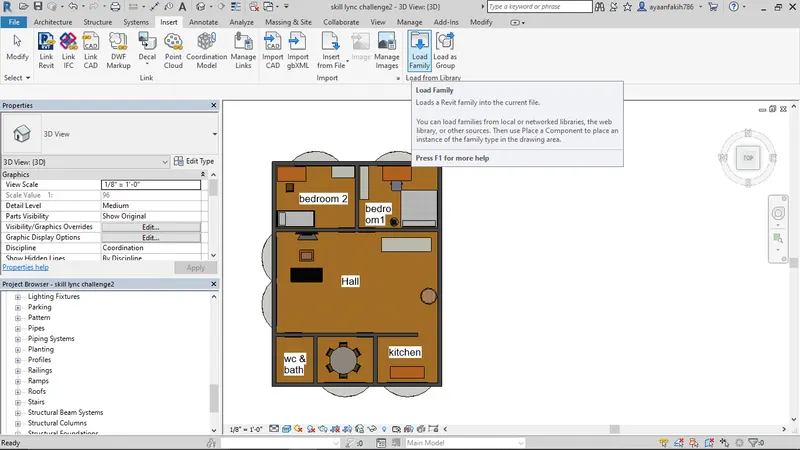
find the destination folder and open RVT 2018, libraries, india and then load the items you need
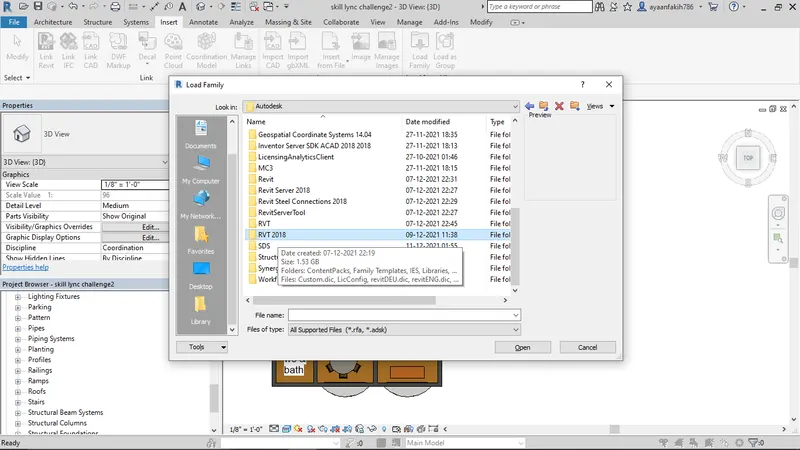
after items have been loaded, from the project browser, select the items like bed, table, desk, chair etc to laod in the project