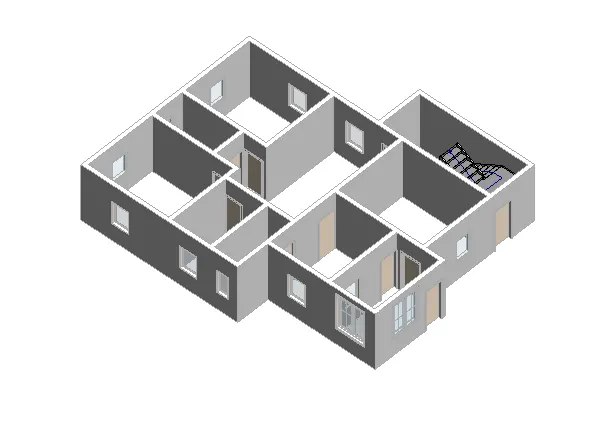
Creating Levels, Grids, Layout and model elements for a residential unit using REVIT
1) What is BIM? Summarize the features of BIM and benefits of using BIM over 2D CAD tools.
- BIM is an acronym for Building Information Modeling or Building Information Management. It is a highly collaborative process that allows architects, engineers, real estate developers, contractors, manufacturers, and other construction professionals to plan, design, and construct a structure or building within one 3D model.
- It can also span into the operation and management of buildings using data that building or structure owners have access to (hence the Building Information Management). This data allows governments, municipalities, and property managers to make informed decisions based on information derived from the model— even after the building is constructed.
- In the past, blueprints and drawings were used to express information about a particular building plan. This 2D approach made it very difficult to visualize dimensions and requirements. Next came CAD (Computer Aided Design), which helped drafters see the benefit of plans in a digital environment. Later on, CAD turned 3D, which brought more realistic visuals to blueprints. Now, BIM (Building Information Modeling) is the standard— but it is much more than just a 3D model.
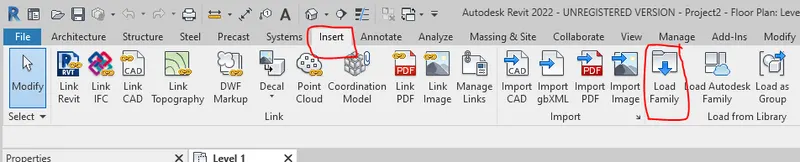
2) Understand the concept of Categories, Families, Elements, Instances in Revit. Go to Insert Tab, choose a category. Pick a family and element. Understand the instances and insert it to Revit model.
- Go to Insert toolbar.
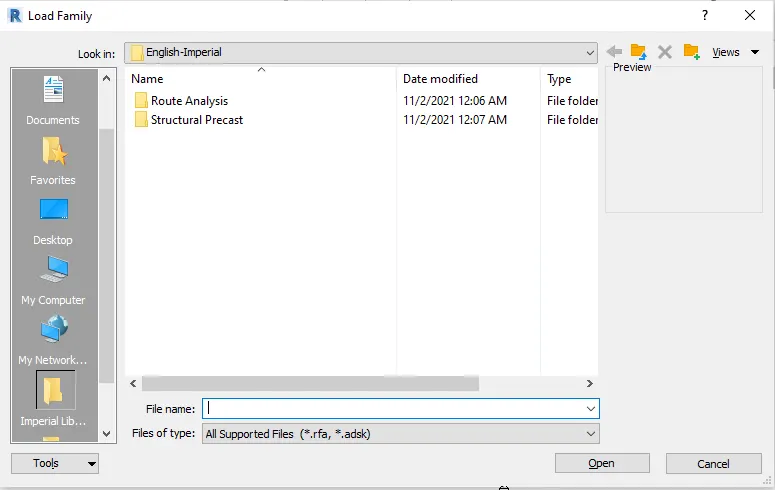
- Select Load Family option to load family from the component library.
- After family is loaded we can edit the family.
- Any single change in the family will affect the same items of the famliy.
3) Setting up a Project – Open a project file with architectural template. Save the file with appropriate name. Set up the project units to Imperial / Metric based on your convenience of modelling. Complete the project information under Manage tab. Set up the maximum backups for project file to 3.
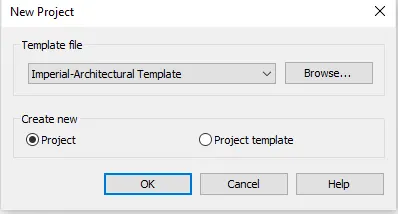
- Open Revit and go to File>New.
- Select Imperial-Architectural template.
- Press ok.
- Now go to Manage tab > Project information

- Fill the desired information of the project.
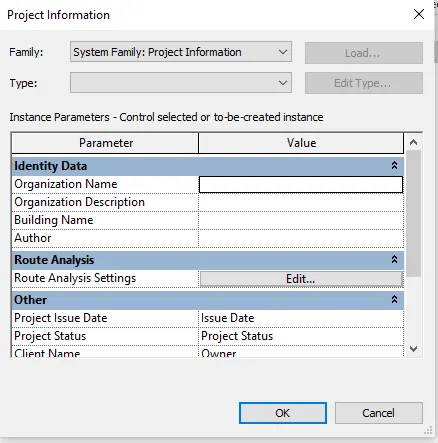
- Now go to file toolbar.
- Select save as > project
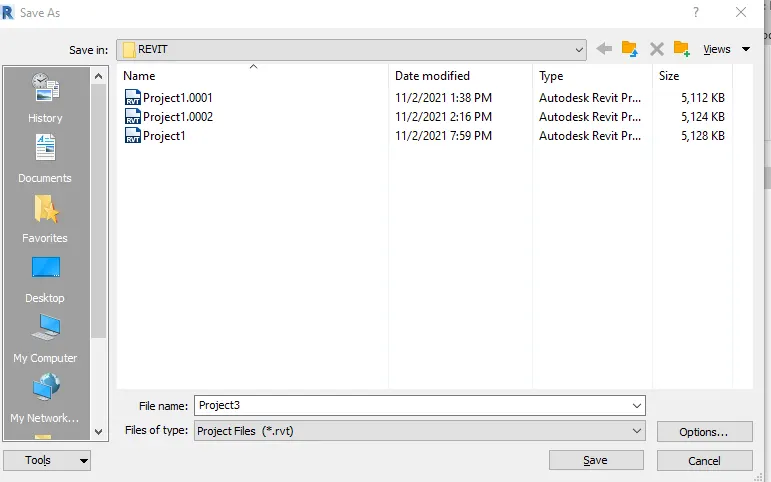
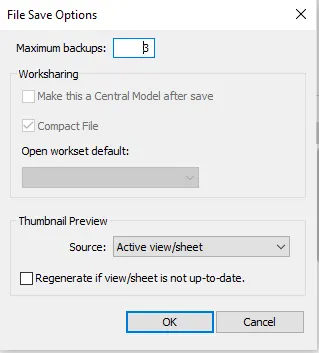
- Select option from the diaog box.
- set maximum backups:3
- press ok.
4) Understand the concept of Levels and Grids. Follow the naming and conventions. Create the following Levels: ( Convert to metric equivalents if metric is your units)
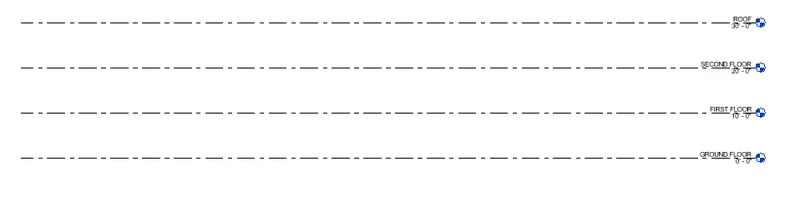
Ground Floor @ 0’
First Floor @ 10’
Second Floor @ 20’
Roof @ 30’
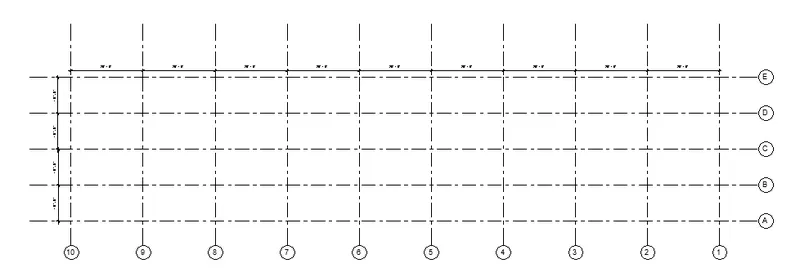
Grids Transverse Grids A, B,C,D, E @ 10’ spacing
Longitudinal Grids from 1 to 10 @ 20’ spacing
- Open Revit and go to File>New.
- Select Imperial-Architectural template.
- Press ok.
- Go to any elevation such as North,East,South or West.
- Select the Levels from Architectura toolbar.

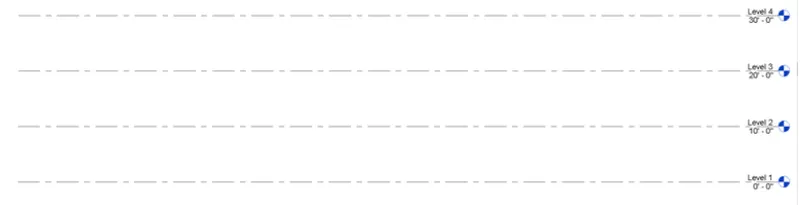
- Now rename the level as ground floor,first floor,second floor and roof .
- Now for the Grids go to top view on the ground floor level.
- Select the grid option from the architecture toolbar.

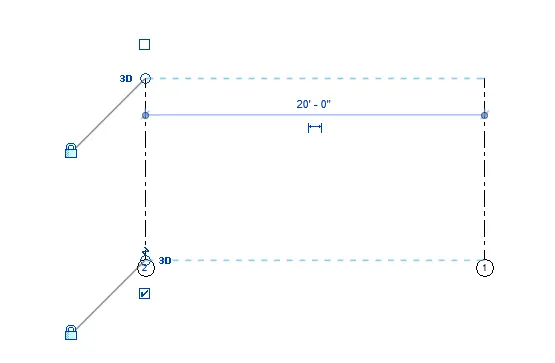
- Numberings will automatically given to grids.
- Do it for all horizontal and vertical grids.
5) 3D modelling of residential unit. Create a conceptual layout of the residential unit.
- Open Revit and go to File>New.
- Select Imperial-Architectural template.
- Press ok.
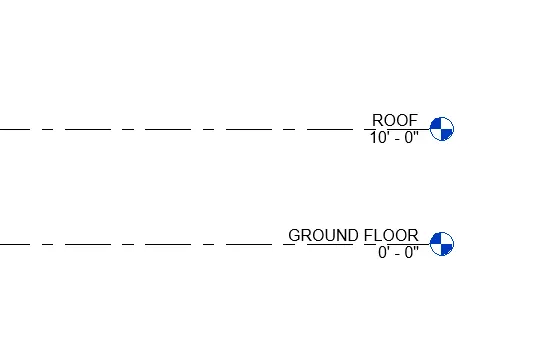
- Go to any elevation such as North,East,South or West.
- Select the Levels from Architectura toolbar.
- Now rename the level as ground floor and roof.
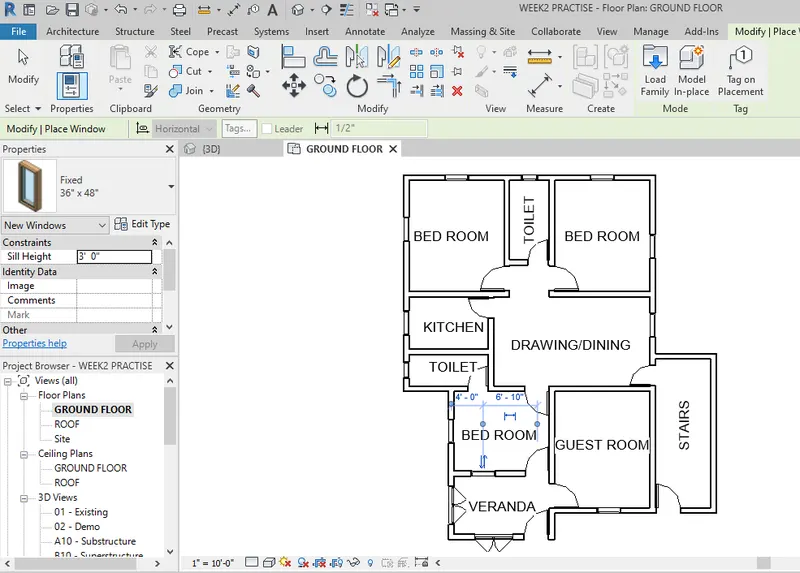
- Go to Architectura toolbar and select wall.
- Draw the layout of the building.
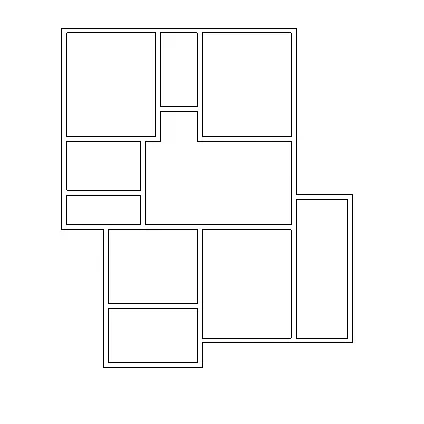
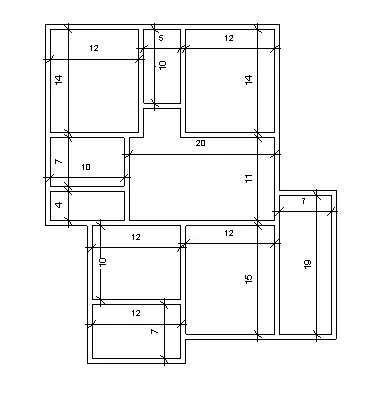
6) In the layout created draft the level of details you are planning to include – Dimensions of room, components you plan to add in the residential unit.
- Go to annotate and give the dimensions.
- Using TEXT give the components of residential building.
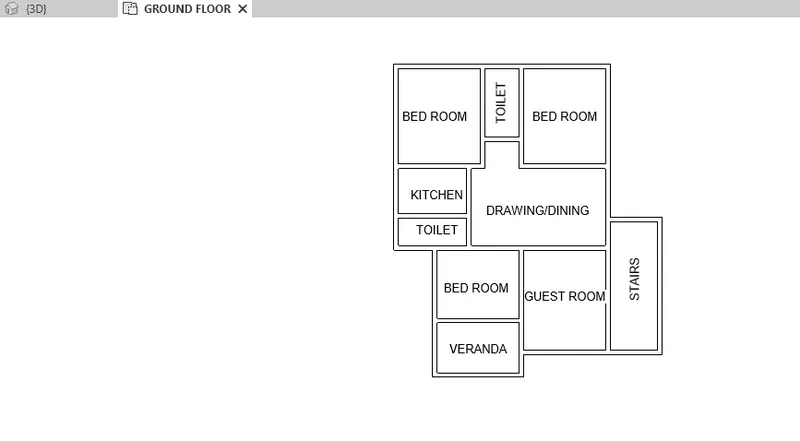
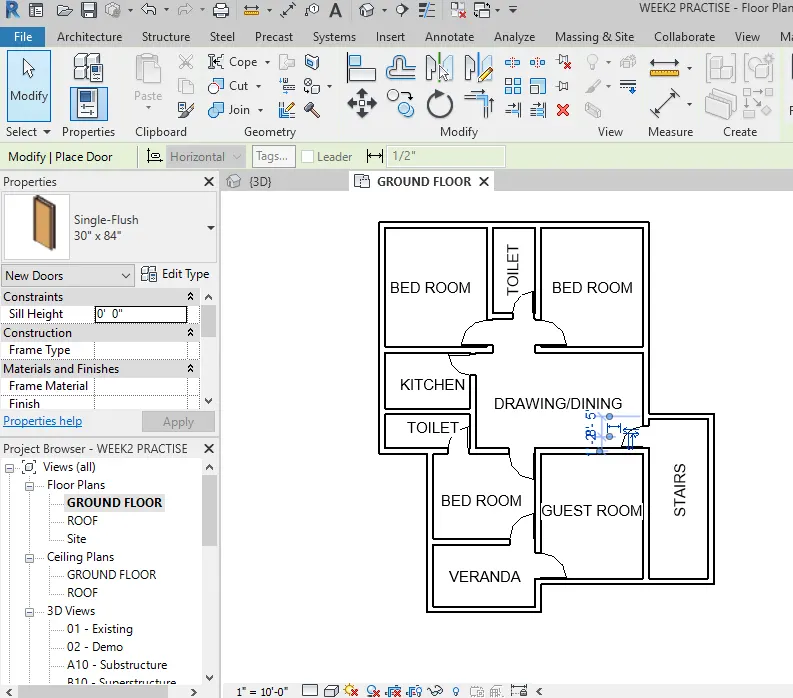
7) Identify the residential model elements such as Door, Windows, Tables, Chair, Couch, Bed, Lamps from the library and insert them to the model .
- Go to Architectura toolbar and select door.
- Draw the door of the building.
- Go to Architectura toolbar and select window.
- Draw the window of the building.
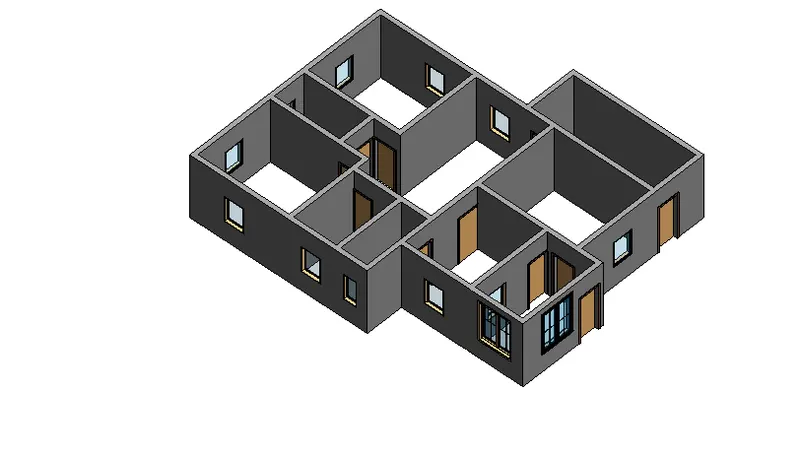
- 3-D view of the building.
- Go to Architectura toolbar and select stair.
- Draw the stair of the building.
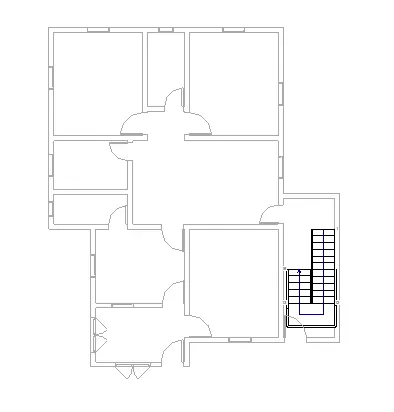
RESULT:-