Creating Levels, Grids, Layout and model elements for a residential unit using REVIT
1) What is BIM? Summarize the features of BIM and benefits of using BIM over 2D CAD tools.
A)
-
Building Information Modeling (BIM) is the holistic process of creating and managing information for a built asset.
-
BIM drawing tools have the advantage of being faster than 2D drawing tools, and each object is connected to a database. The database aids such steps as the number and size of windows for quantity takeoffs that are updated automatically as the model evolves.
-
Building Information Modeling (BIM) is a process that begins with the creation of an intelligent 3D model and enables document management, coordination and simulation during the entire lifecycle of a project (plan, design, build, operation and maintenance).
benefits of using BIM over 2D CAD tools ;
2) Understand the concept of Categories, Families, Elements, Instances in Revit. Go to Insert Tab, choose a category. Pick a family and element. Understand the instances and insert it to Revit model
A)
Category ;
a category controls the organization,visibility,graphical,reprensentation,scheduling options of families within the project
Family ;
A family is a grouping of 2d /3d information that serves to represent a discrete builiding or documentation element in the project.
there are 3 kinds of revit families ;
1)system
2)loadable
3)in-place
To create a family in revit ;
1)Go to insert tab as shown below abd click on load family
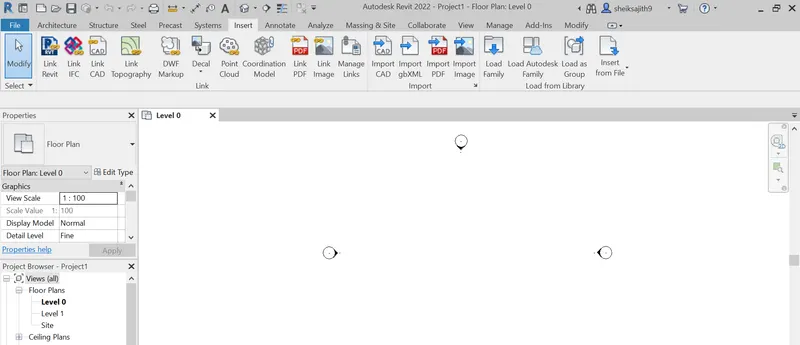
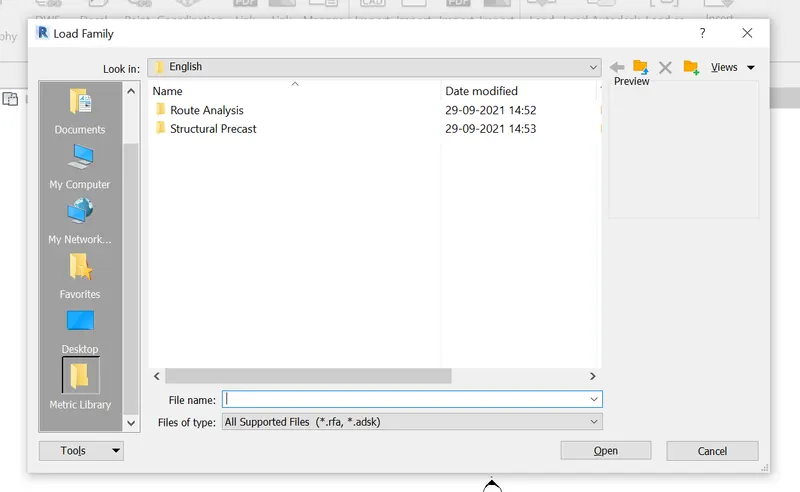
2)here add the family
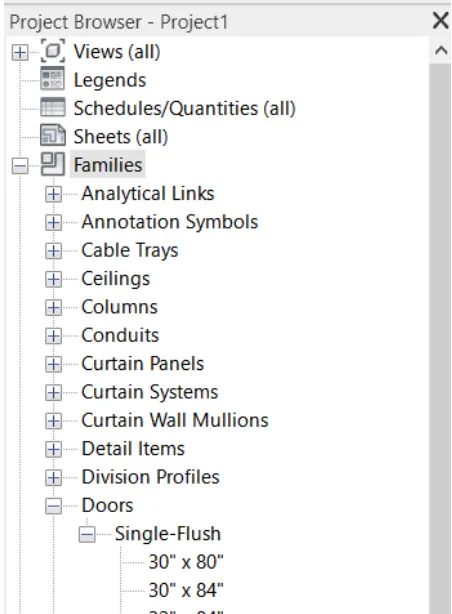
3) families can also be added from the project broswer as follows
3) Setting up a Project – Open a project file with architectural template. Save the file with appropriate name. Set up the project units to Imperial / Metric based on your convenience of modelling. Complete the project information under Manage tab. Set up the maximum backups for project file to 3
A)
1)Open the revit software
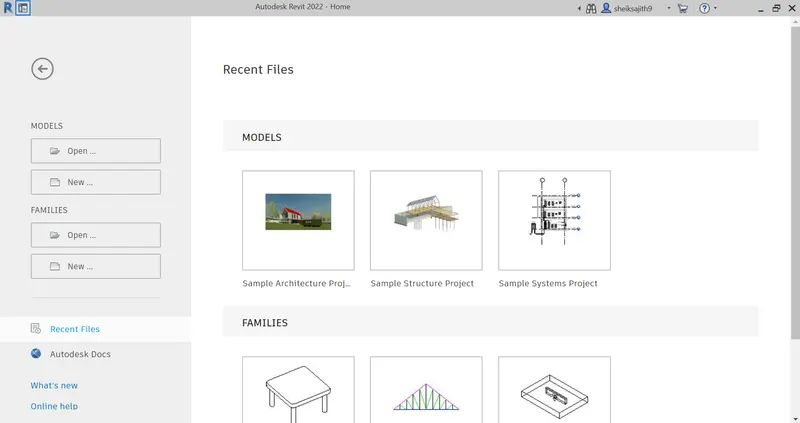
2)click on he new on home page and in dailog box click on architectural template.
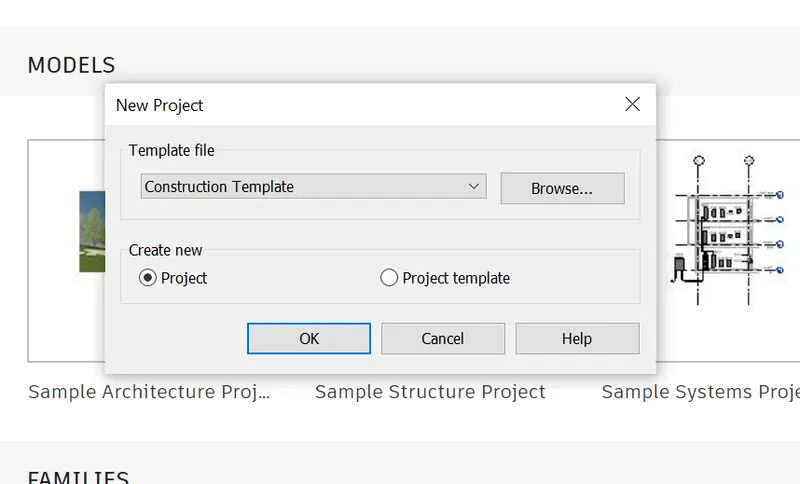
3) click on new project
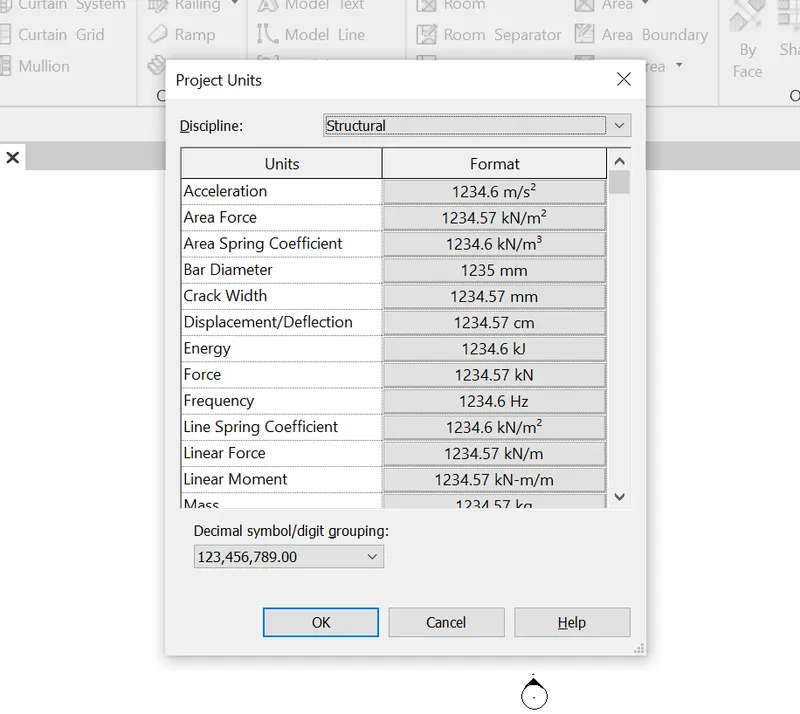
4) click on project units and change the unitsaccordingly
5)click on project information and enterd the require details.
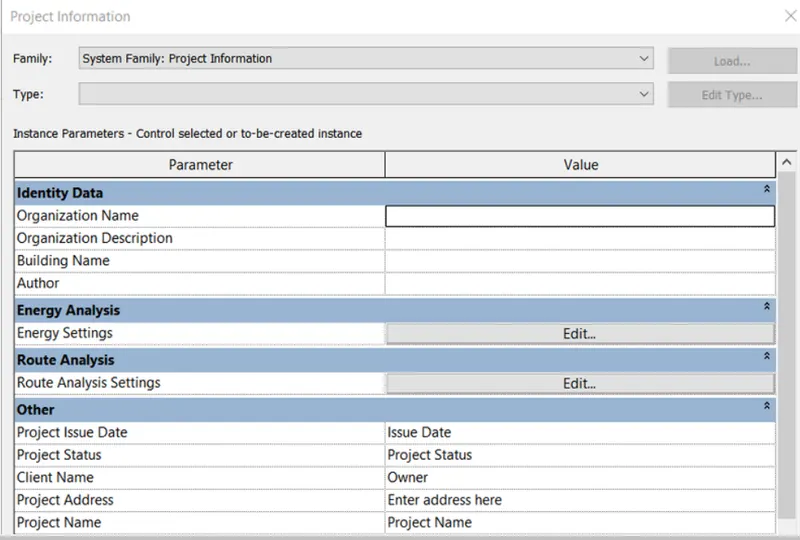
6)and click on the requrie dimensions.
4) Understand the concept of Levels and Grids. Follow the naming and conventions. Create the following Levels: ( Convert to metric equivalents if metric is your units)
Ground Floor @ 0’
First Floor @ 10’
Second Floor @ 20’
Roof @ 30’
Grids Transverse Grids A, B,C,D, E @ 10’ spacing
Longitudinal Grids from 1 to 10 @ 20’ spacing
A)
1)Open the revit software
2)click on he new on home page and in dailog box click on architectural template.
3) click on new project
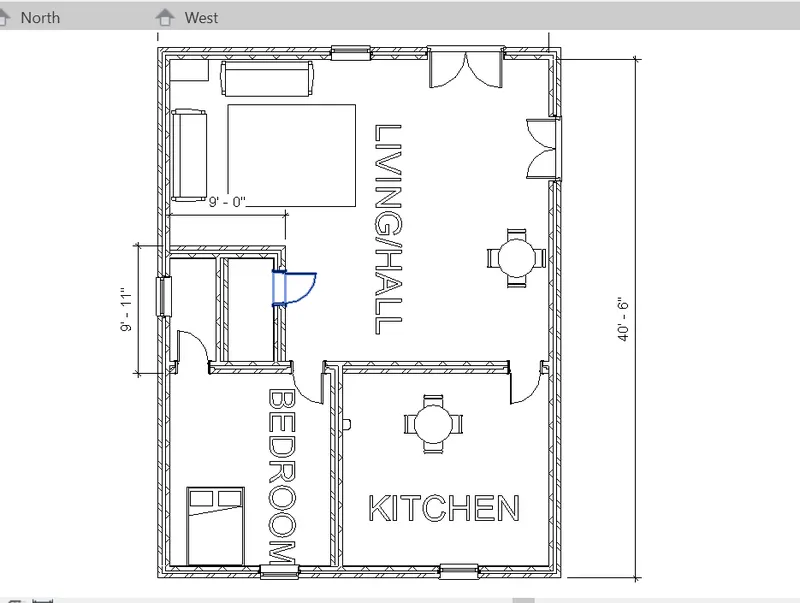
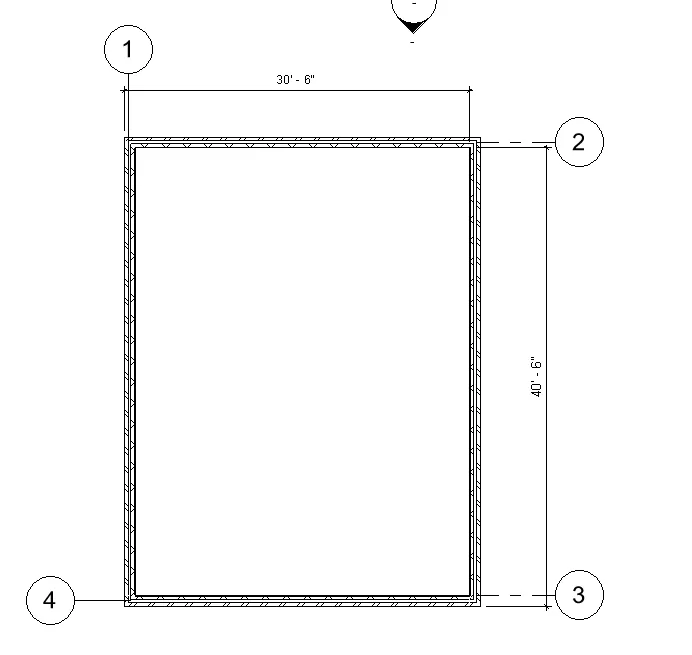
4) Creat a layout of 30'6"x40'6" as shown in figure
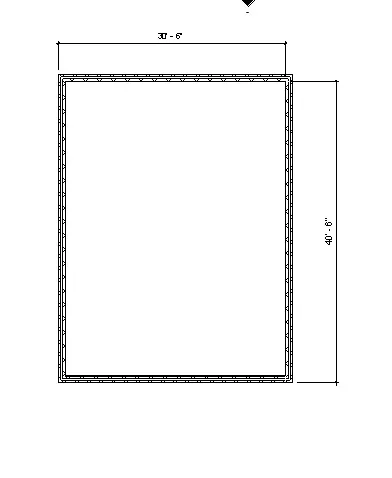
5)go to the elevation view .
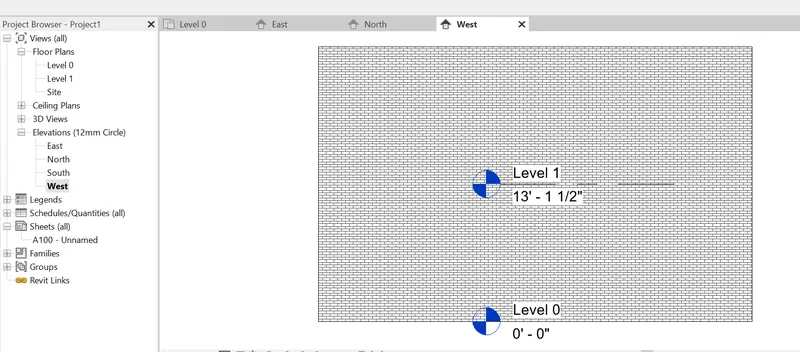
6)creating a grids as alphabets A,B
5) 3D modelling of residential unit – From looking at your house / or a place you aspire. Create a conceptual layout of the residential unit. You can measure using a tape or
you can access your residential plan to create a similar layout.
A)
1)Open the revit software
2)click on he new on home page and in dailog box click on architectural template.
3) click on new project
4) Creat a layout of 30'6"x40'6" as shown in figure
6) In the layout created draft the level of details you are planning to include – Dimensions of room, components you plan to add in the residential unit.
A)
1)Open the revit software
2)click on he new on home page and in dailog box click on architectural template.
3) click on new project
4) Creat a layout of 30'6"x40'6" as shown in figure
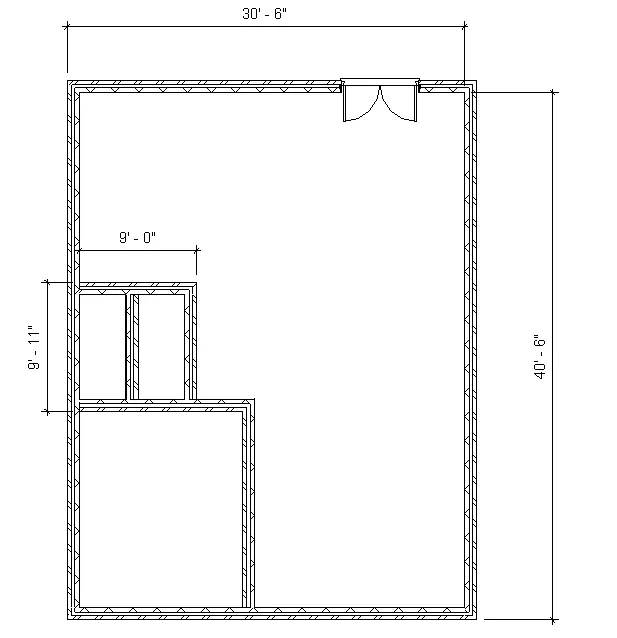
7) Identify the residential model elements such as Door, Windows, Tables, Chair, Couch, Bed, Lamps from the library and insert them to the model . Save the project for use
for Assignment 3
A)
Go to the insert tab and click onload families
1) from the popup,click libaries
2)select the components from various options given
3)place the componets as it respective location.