Creating Levels, Grids, Layout and model elements for a residential unit using REVIT
Challenge 2
1.
BIM is the acronym for Building Information Modeling. BIM is an intelligent 3D model-based process that gives Architectural, Engineering and Construction (AEC) professionals that insight and tools to more efficiency plan, design, construct and manage buildings and infrastructure. This is supported by various tools, technologies and contracts involving the generations and management of digital representations of physical and functional characteristics of places. It is ahighly collaborative process that allows architects, engineers, real estate developers, contractors, manufacturers and other professionals related to construction to plan, design and construct the structure as a 3D model. Building Information Models are computer files which can be extracted, exchanged or networked to support decision making regarding a built asset. BIM softwares are used by individuals, businesses and government agencies for planning, designing, constructing, operating and maintaining buildings and diverse physical infrastructure such as water, electricity, gas, communication utilities, roads, railways, bridges etc.
Features of BIM
- BIM is a physical representation of the functional and physical characteristics of the structure, that provides each and every detail of the work, which improves productivity due to easy retrieval of information
- Since the BIM can provide 3D models as well as more comprehensive overview of the entire building it gives improved visualization
- Embedded and linking of vital information such as vendores for specific materials, location details and estimation and tendering can be done easily.
- Reduced Cost and increased speed of delivery, which means, one can easily acess the right information at the right time that provides a reliable basis for decision making during a structure's entire span.
- It covers every components of this process from geometrical aspect of the design to spatial relationships, from light analysis to provision of various services, from topographical information to quantities or properties of building components
- The design tools allows us to obtain views from different angles of the building and produce high quality, accurate drawings
Benefits of using BIM over 2D CAD tools
- The vast capabilities of parametric modeling provides more advantages to BIM over 2D CAD
- Every component in the BIM software contains real world information about that component, which makes the rendered model looks more real as compare to the 2D CAD model.
- It is easy to translate the details of 3D BIM drawings into schedules, drawings and project management, since all the informations will be automatically included once we use start doing the project.
2.
Aim: To understand the concept of Categories, Families, Elements, Instances in Revit
Software: AutoDesk Revit 2022
Introduction:
- Family is a group of elements with a common set of properties called parameters and a related graphical properties. Families are grouped and sorted by categories in the content libraries and in the Project browser, the classification of famlies includes doors, curtain walls, furniture, etc., We can not create anything in Revit without using a family.
- Elements are the building blocks of a 3D model, which represents the real-world components that a designer adds to the model.
- Instances are individual graphical/geometric elements placed in a Revit model. Instance inherit a series of parameters from their category and type and might have instance parameters as well that only belong to that single instance.
Procedure:
- Open the Revit Software
- Now select the File toolbar, from that, select New option
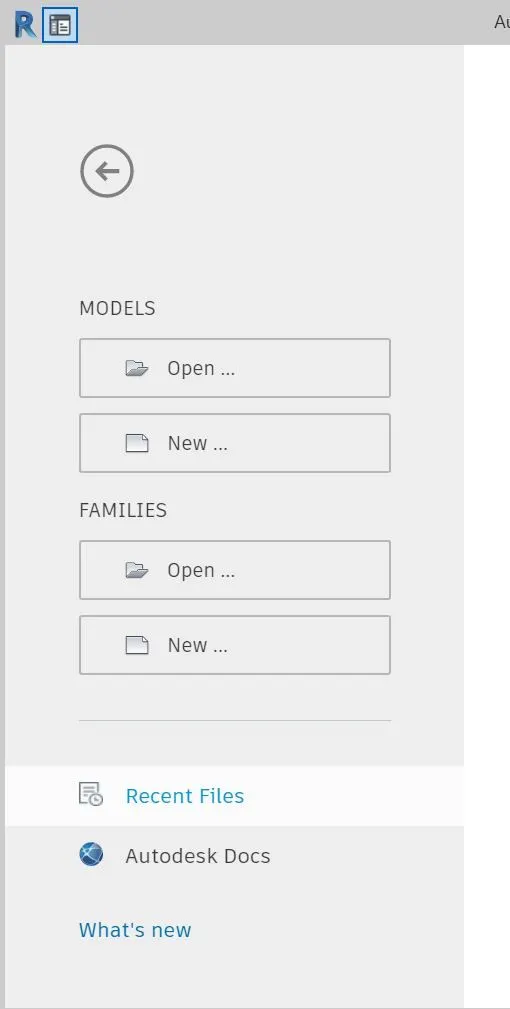
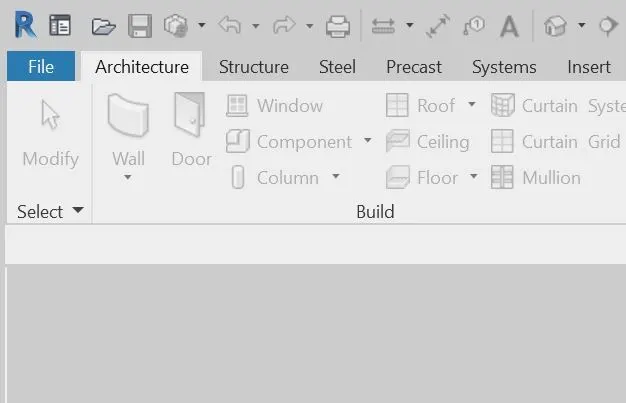
- Select the project and select New Project
- Now the Template file tab will appear, select the Architectural template and click ok
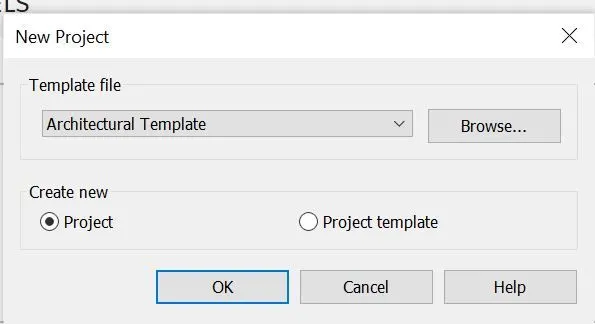
- Now select the Component Menu from the above tab to place a component
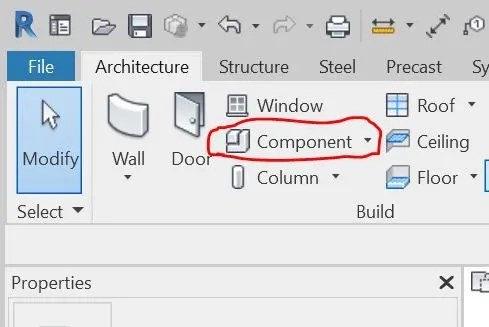
- Now we can either load family or model in place.
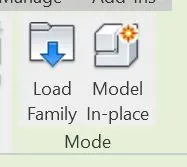
- Now we can place the loaded family where ever we need
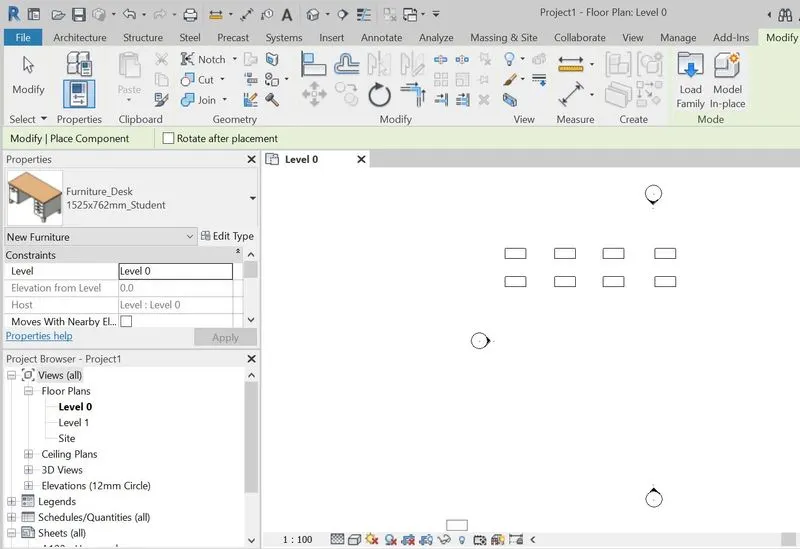
Result:
Understood the concept of Categories, Families, Elements, Instances in Revit
3.
Aim: To set up a project
Procedure:
- Open the Revit Software
- Now select the File toolbar, from that, select New option
- Select the project and select New Project
- Now the Template file tab will appear, select the Architectural template and click ok
- Now save the file with appropreate name
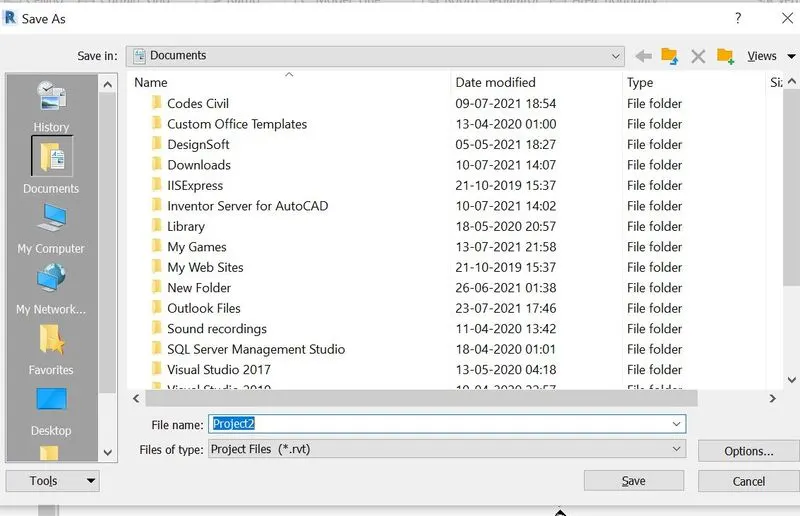
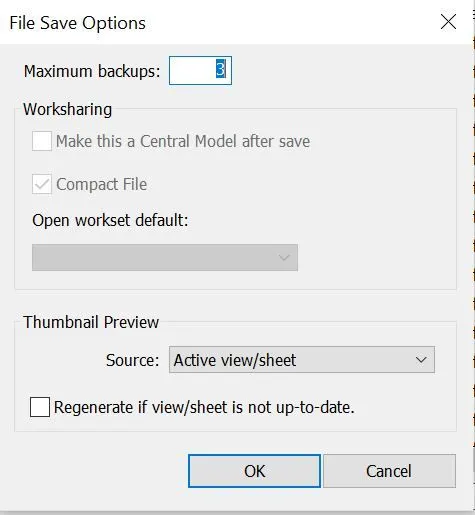
- Before saving the name of the project, click on the Option at the right bottom corner of the Save as tab
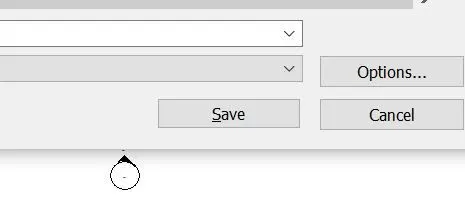
- Now we can put maximum backups for the project file as 3
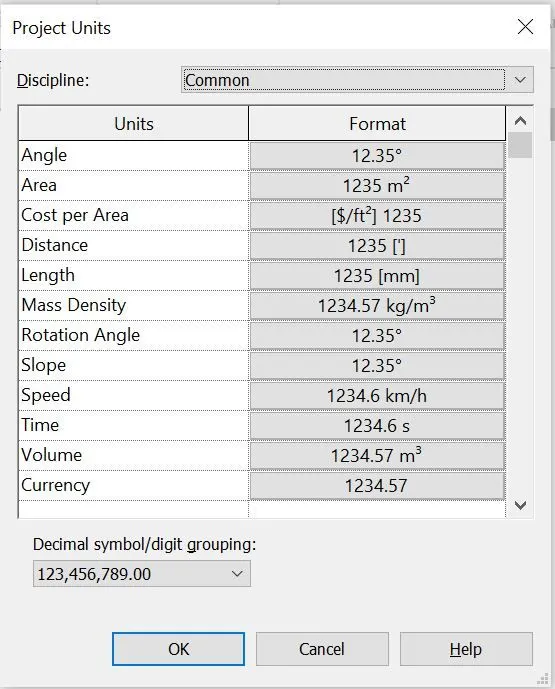
- Now type UN for Units and change it to the desired unit
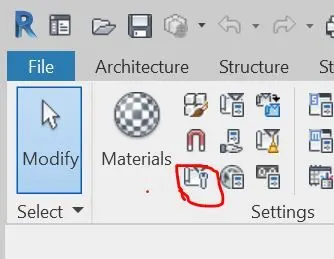
- Now open the Manage toolbar and select Project Information
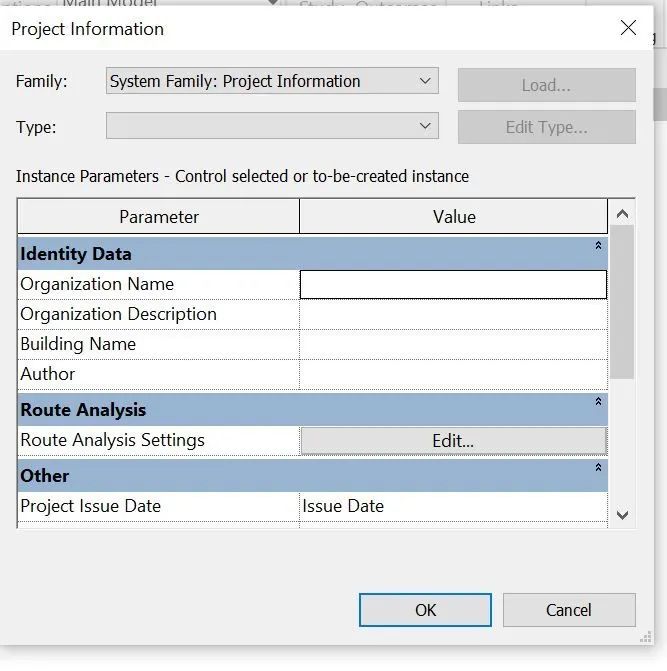
- New tab opens and now enter the project details and click ok
Result: Setting up a project is done
4.
Aim: To create and understand grids and levels
Procedure:
- Open the Revit Software
- Now select the File toolbar, from that, select New option
- Select the project and select New Project
- Now the Template file tab will appear, select the Architectural template and click ok
- For creating the levels, select the level in the project browser
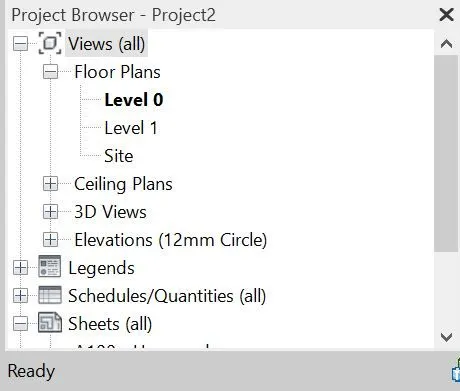
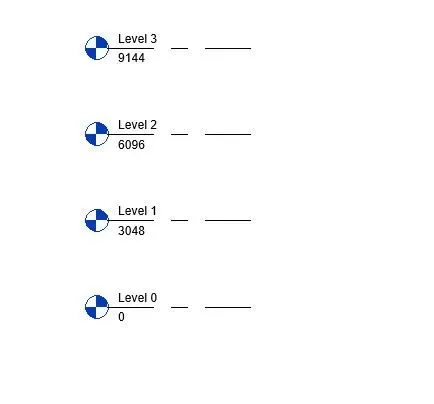
- Now, go to the elevation and click on the levels and create ground floor, first floor, second floor and roof
- Now go to the Architectural tab, select grids
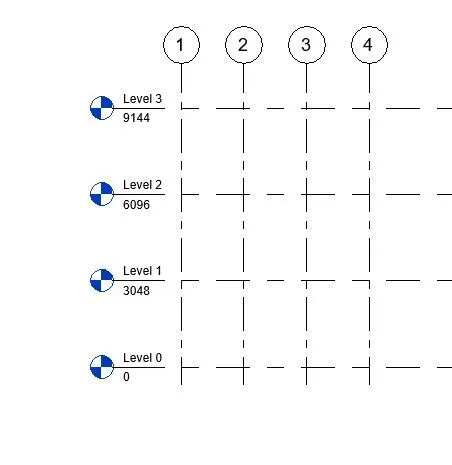
Result: The levels and grids line are drawn
5.
Aim: To create a conceptual layout of the residential unit
Procedure:
- Open the Revit Software
- Now select the File toolbar, from that, select New option
- Select the project and select New Project
- Now the Template file tab will appear, select the Architectural template and click ok
- Now select the Wall from the Architecture option and fraw the layout
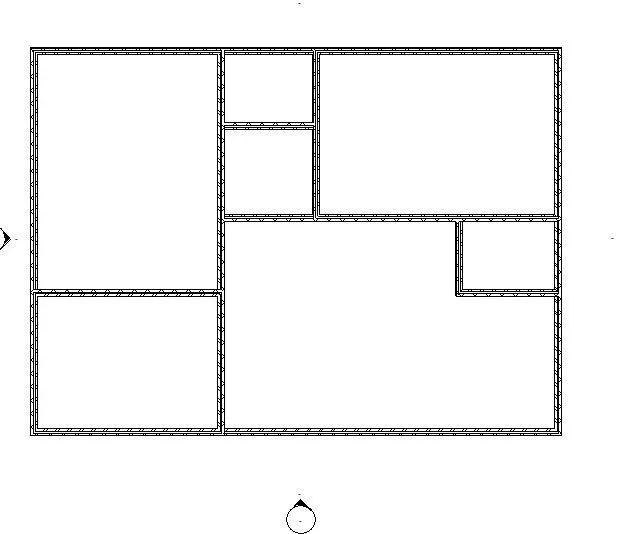
- Now change the visibility of the layout as shaded
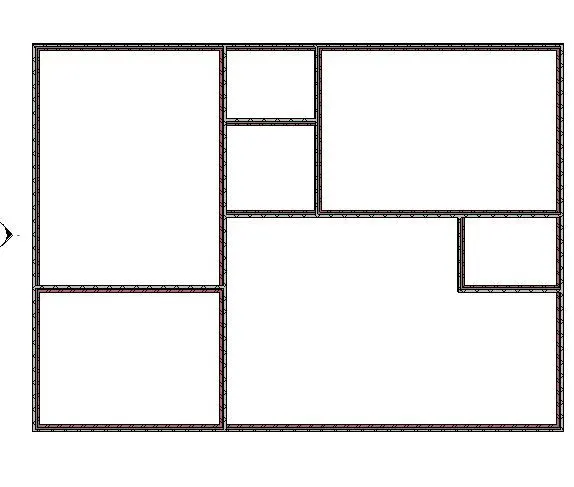
- Now dimension the layout plan
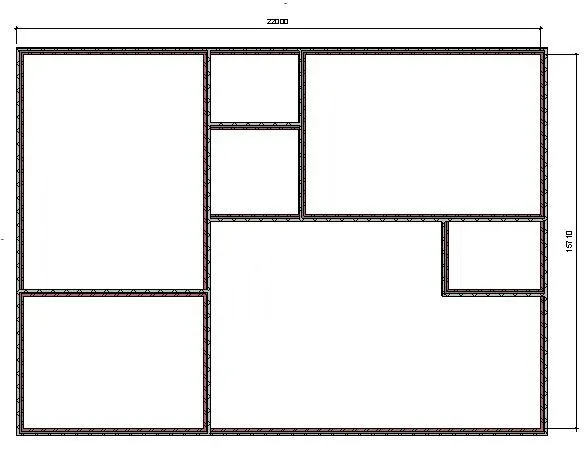
- Upon changing the plan to 3d view, we can see the 3d model of the residential unit
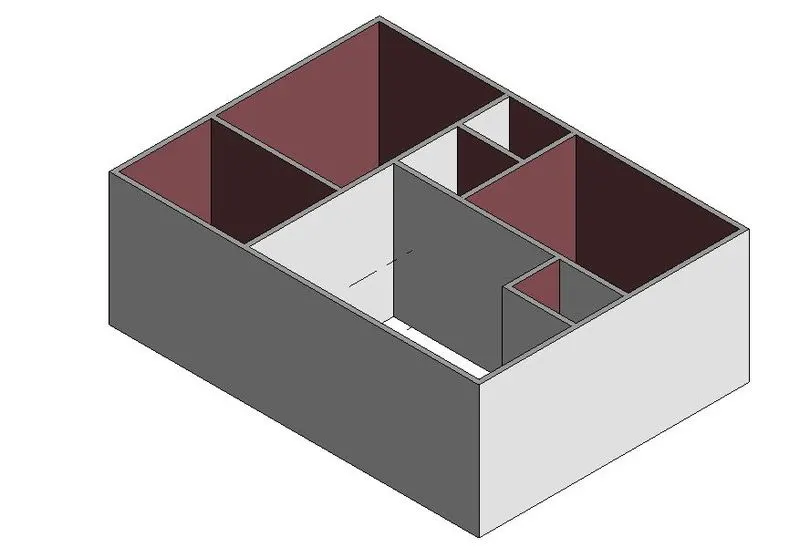
Result: Layout for Residential building is created
6.
Aim: To created draft the level of details you are planning to include – Dimensions of room, components you plan to add in the residential unit
Procedure:
- Open the Revit Software
- Now select the File toolbar, from that, select New option
- Select the project and select New Project
- Now the Template file tab will appear, select the Architectural template and click ok
- Now select the Wall from the Architecture option and fraw the layout
- Now change the visibility of the layout as shaded
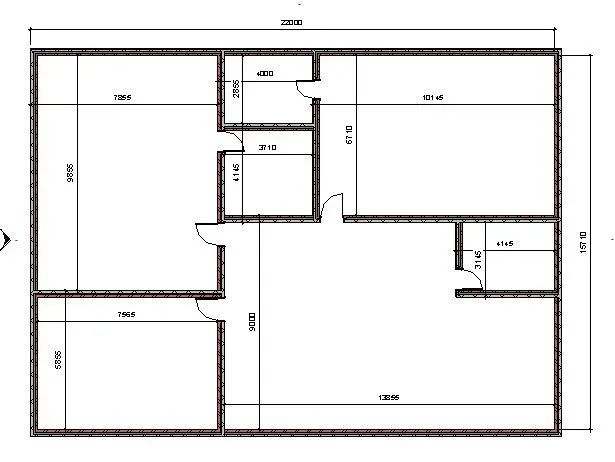
- Now dimension the layout plan
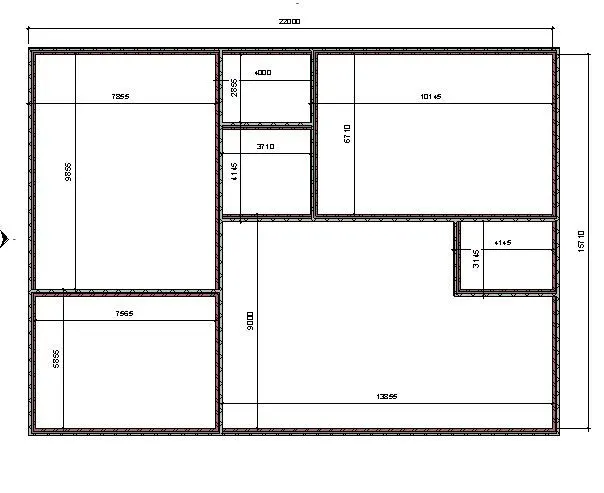
- Now add the doors to the layout using Doors, from the Architectural toolbar
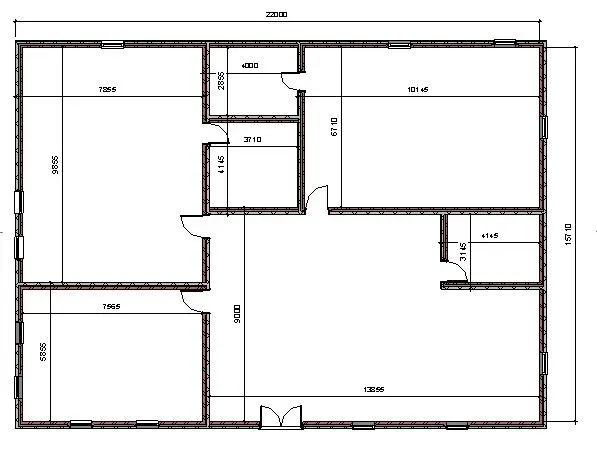
- Now add the windows to the layout using Windows, from the Architectural toolbar
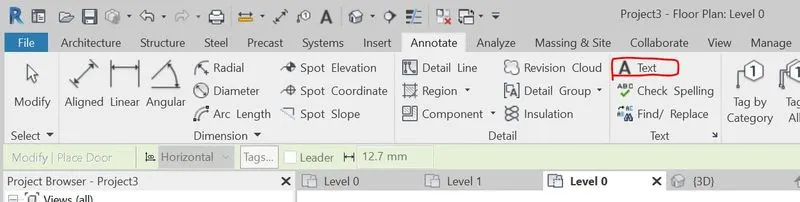
- Now write the rooms specification and dimension using text tool
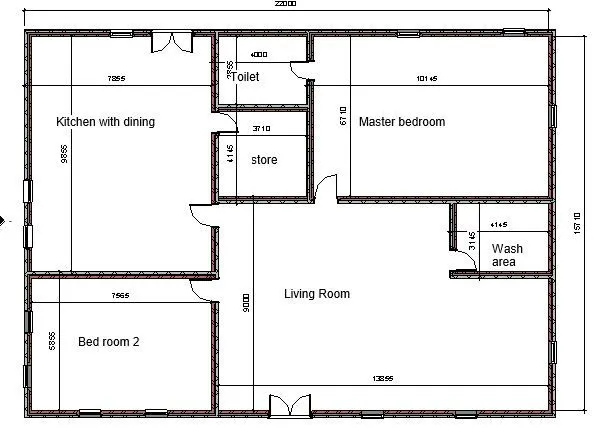
- Using the floor option in the Architectural toolbar, provide floor for the residential unit
- Now change the view to 3D
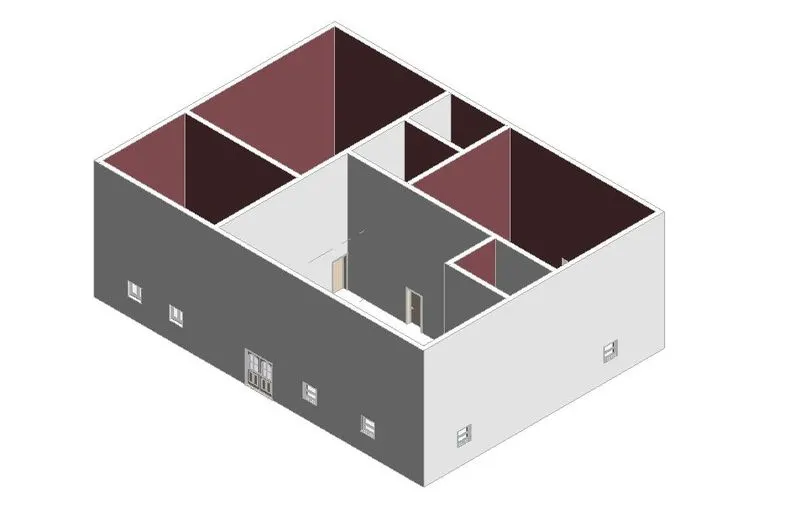
Result: The level of details which include dimension of room components are added
7.
Aim: To identify the residential model elements such as Door, Windows, Tables, Chair, Couch, Bed, Lamps from the library and insert them to the model
Procedure:
- Open the Revit Software
- Now select the File toolbar, from that, select New option
- Select the project and select New Project
- Now the Template file tab will appear, select the Architectural template and click ok
- Now select the Wall from the Architecture option and fraw the layout
- Now change the visibility of the layout as shaded
- Now dimension the layout plan
- Now add the doors to the layout using Doors, from the Architectural toolbar
- Now add the windows to the layout using Windows, from the Architectural toolbar
- Now write the rooms specification and dimension using text tool
- Now select Floor from the Architectural toolbar and enter the walls
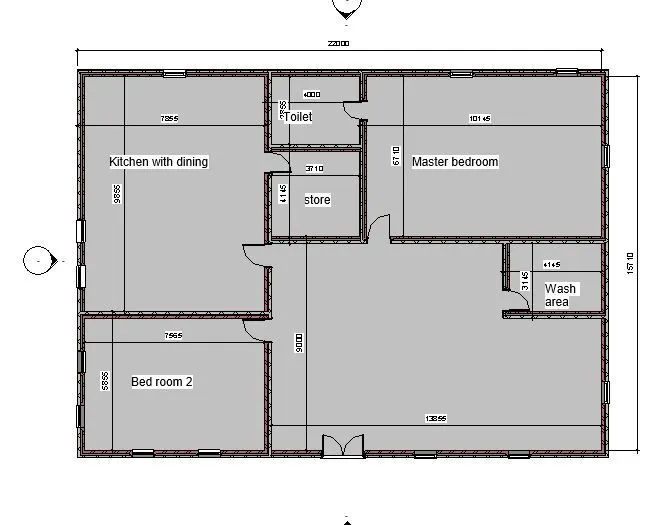
- Now again select Furniture from the Achitectural toolbar and select the required furnite by Load family
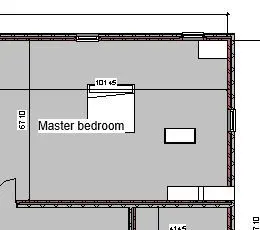
RESULT: Identified the residential model elements