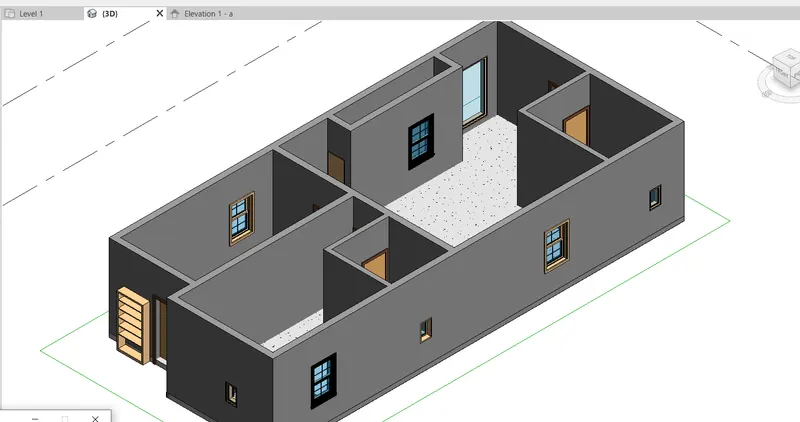
Creating Levels, Grids, Layout and model elements for a residential unit using REVIT
19/07/21
Answers
1) What is BIM? Summarize the features of BIM and the benefits of using BIM over 2D CAD tools.
BIM
- BIM stands for building information modeling or building information management
- it helps to in all categories people such as architects, structural engineers, HVAC engineers, Electrical engineers, mechanical engineers, plumbing engineers.
- information is the most valuable and to collect too difficult.in BIM we have the standards for the defined format.
Features of BIM
- We are having the Features like
- Collaboration
- linking
- import
- insert
- cloud storage
- altogether we can say it as,
- coordination
- computation
we having the tool to model, analyze, and store the information.
benefits of using BIM over 2D tool
- basically, we are dealing with CAD and BIM, the major point is identified.
- CAD the computer-aided design help to draw the project.
- BIM the building information modeling help to see the project and feel how it was.
- i.e,3d,rendering,making the location.
2) Understand the concept of Categories, Families, Elements, Instances in Revit. Go to Insert Tab, choose a category. Pick a family and element. Understand the instances and insert them into the Revit model
Categories, Families, Elements, Instances in Revit
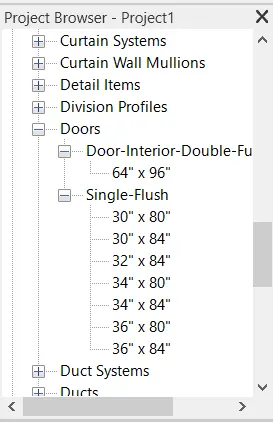
from this, we can find out the concept.
Categories
the door is a category
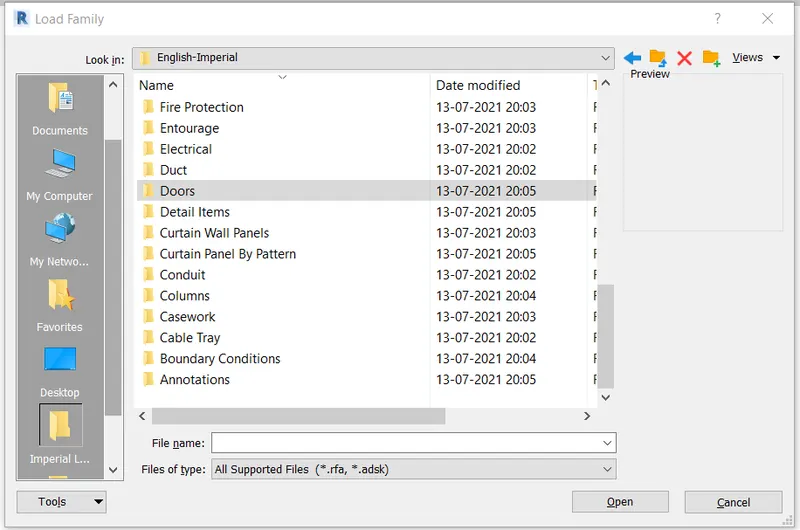
Families
type of door is a family
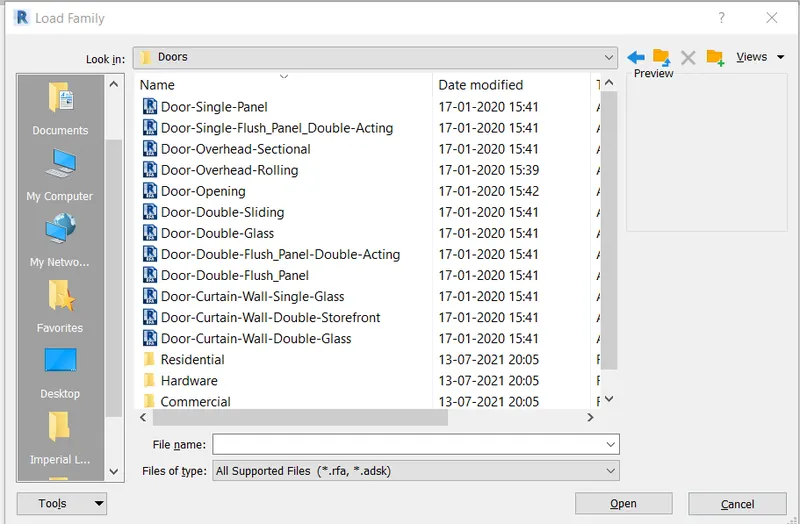
Elements
size of the door is an element.
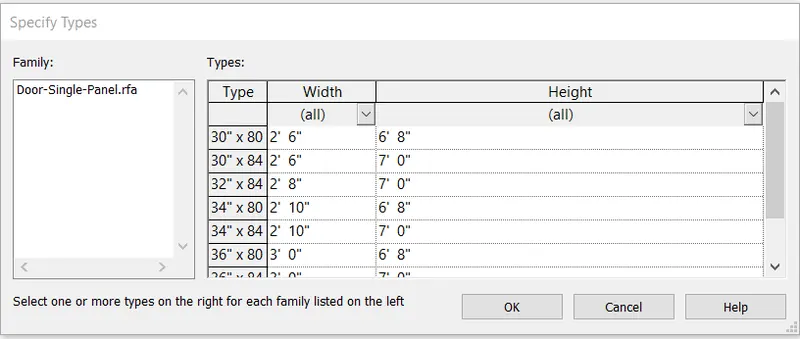
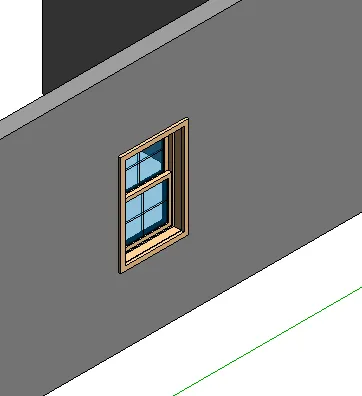
Instances
the object that was created no the model space.
3) Setting up a Project – Open a project file with an architectural template. Save the file with an appropriate name. Set up the project units to Imperial / Metric based on your convenience of modeling. Complete the project information under the Manage tab. Set up the maximum backups for project files to 3
Setting up a Project
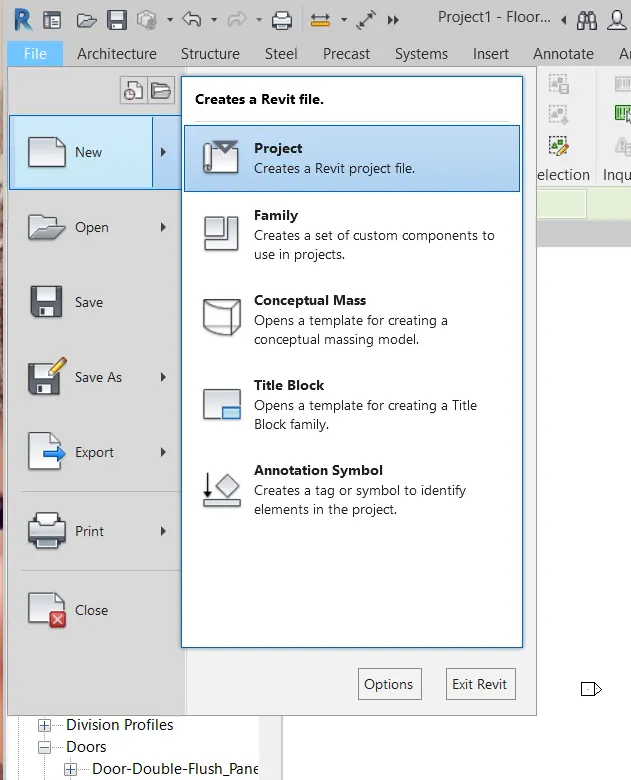
- open the file in the File menu> new options
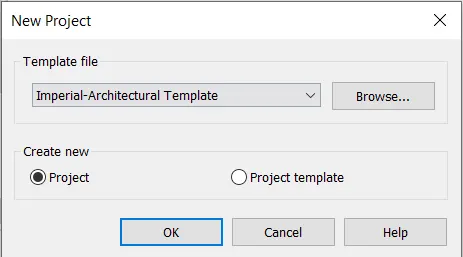
- pop up the new project dialog box and select an architectural template with metric /imperial.
- and provide the name for it.
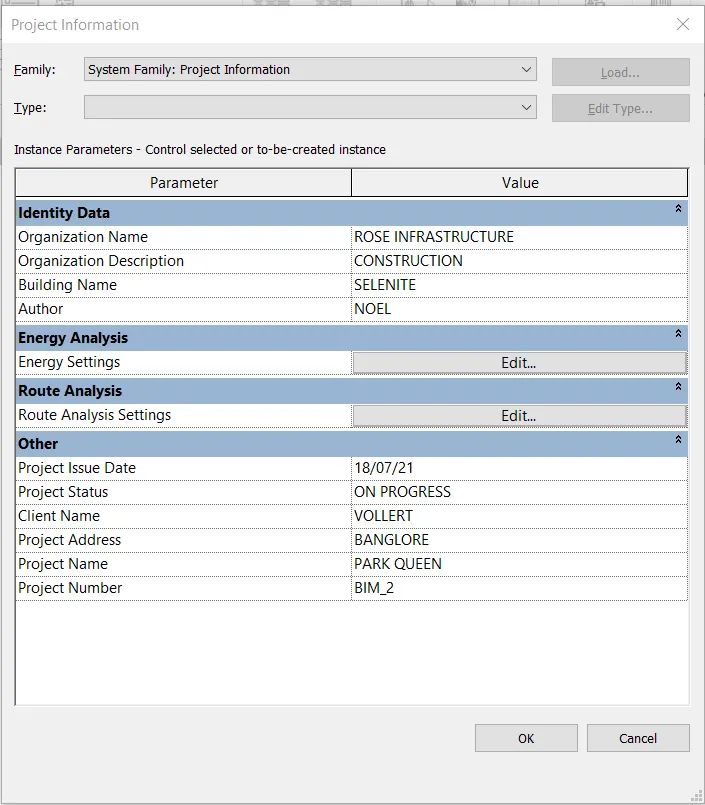
- in the manage tab> project information option.
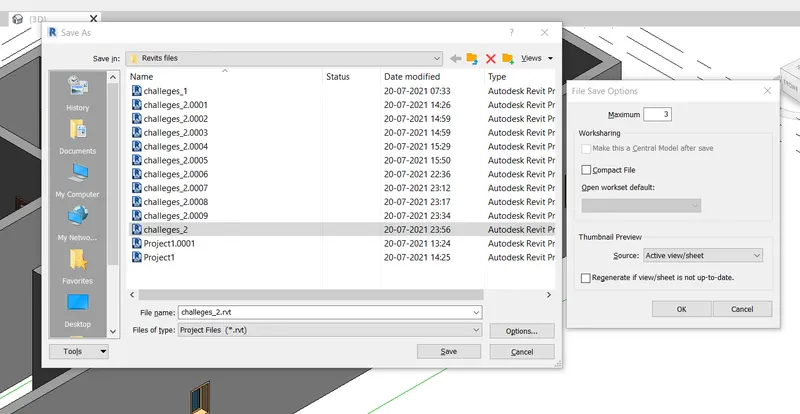
while saving the file pop up the save as dialog box in that option icon to select.
- maximum backup was 3 files to put in it.
- and save
4) Understand the concept of Levels and Grids. Follow the naming and conventions. Create the following Levels: ( Convert to metric equivalents if the metric is your units)
Ground Floor @ 0’
First Floor @ 10’
Second Floor @ 20’
Roof @ 30’
concept of Levels
- we want to have a basic idea about the level concepts.
- it only uses in the elevation view, not in the plan view
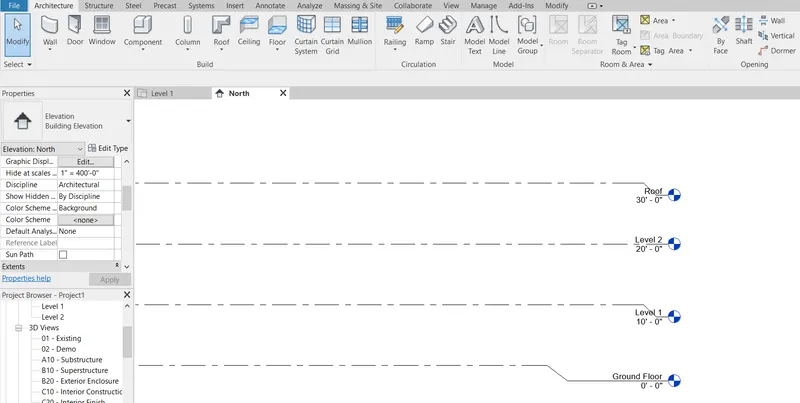
how to obtain the action:
- go to architecture menu> datum tab>level.
and we want to make it as,
- Ground Floor @ 0’
First Floor @ 10’
Second Floor @ 20’
Roof @ 30’
for the time constraint.
Also level is a point that we can do about the horizontal leveling.
concept of Grids
- we want to have a basic idea about the Grids concepts.
- we can use the plan view and the elevation view also.
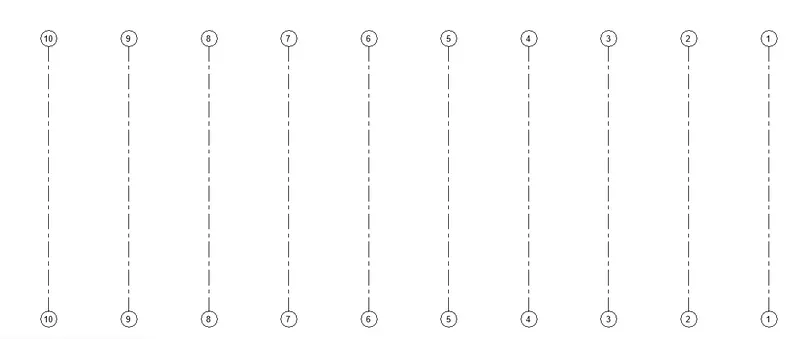
how to obtain the action:
- go to architecture menu> datum tab> grids
- we want to action toward the vertical and the horizontal
- And we can use the modify tab to cut, copy, rotate, etc
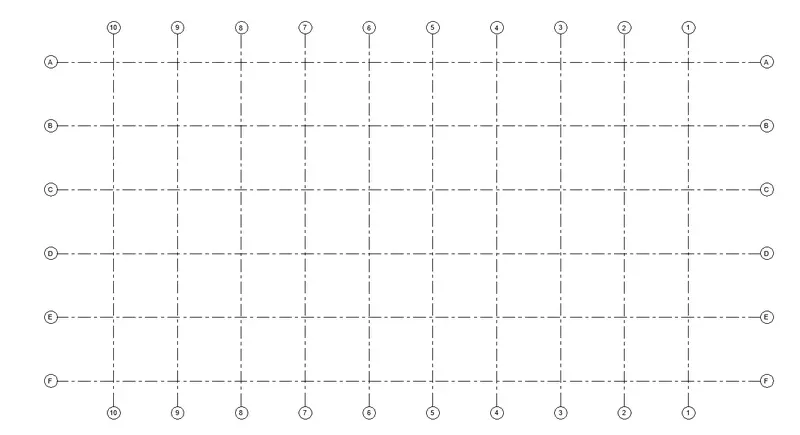
at the specification :
- Grids Transverse Grids A, B, C, D, E @ 10’ spacing
- Longitudinal Grids from 1 to 10 @ 20’ spacing
5) 3D modeling of the residential unit – From looking at your house / or a place you aspire. Create a conceptual layout of the residential unit. You can measure using a tape or
you can access your residential plan to create a similar layout.
we are planning for the process of creating the residential units.
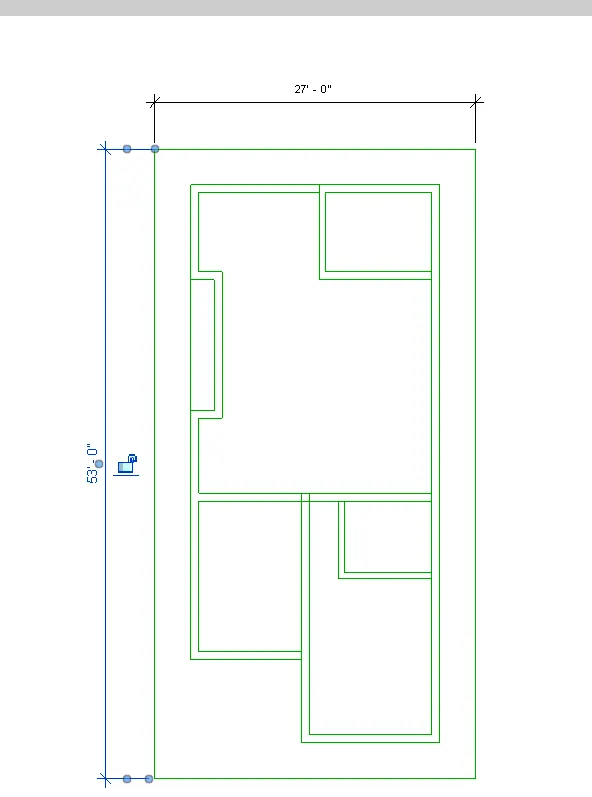
Create a conceptual layout of the residential unit
- starts from the model tab> model line
help to draw the residential in a 2-D manner.
- from the annotate tab> linear dimension option
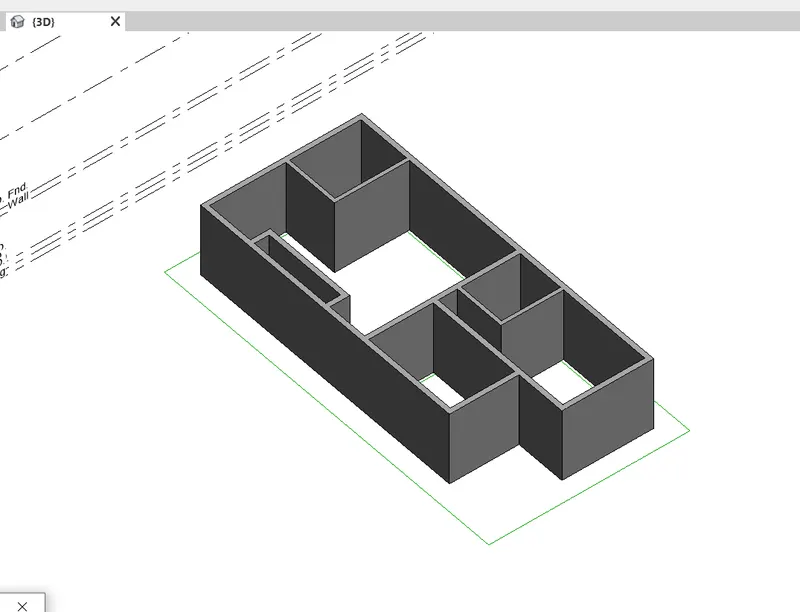
we can use it for the dimension purpose.
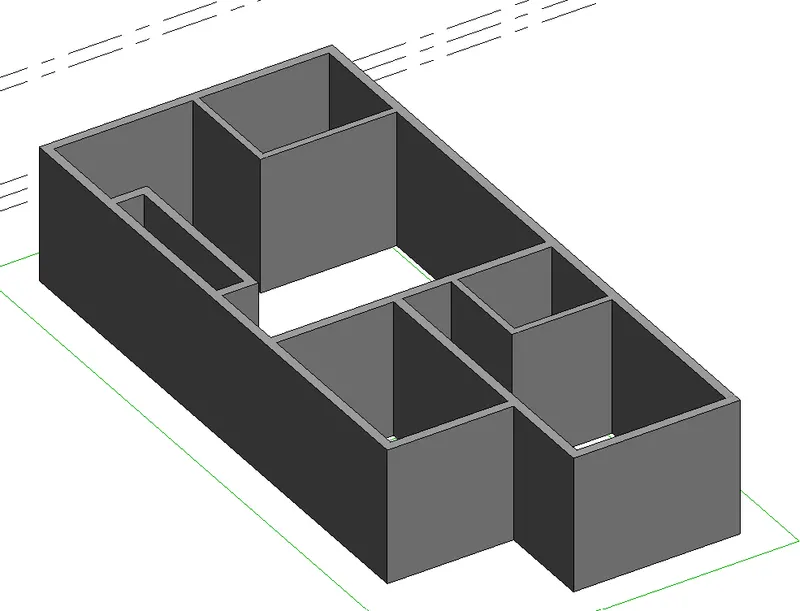
Conceptual layout in 3-D face
- we can perform the wall, floor, etc.
- from the architectural tab>wall option to cover all boundaries.
6) In the layout created draft the level of details you are planning to include – Dimensions of room, components you plan to add in the residential unit.
Dimensions of room
from the annotate tab>linear dimension option to measure the room size.
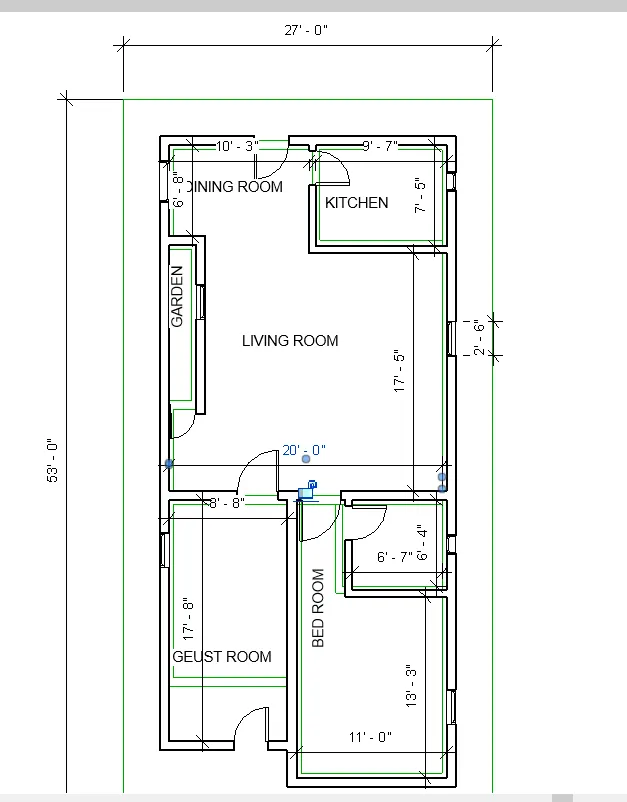
components
- from the architectural tab>door
help to select the defined size in the design
- from the architectural tab>window
help to select the defined size in the design
- edit type dialog box help to load the in-built object
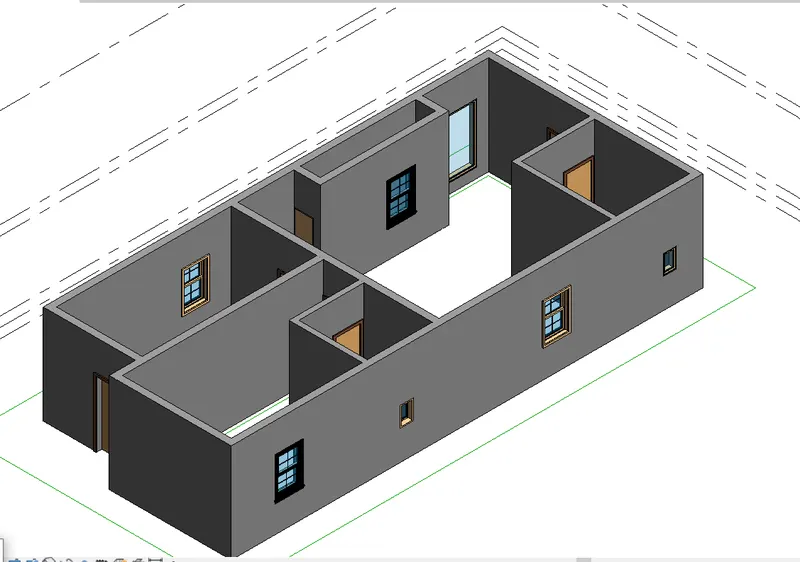
such as
- Door
- Windows
- Tables
- Chairs
- Couch
- Bed
- Lamps
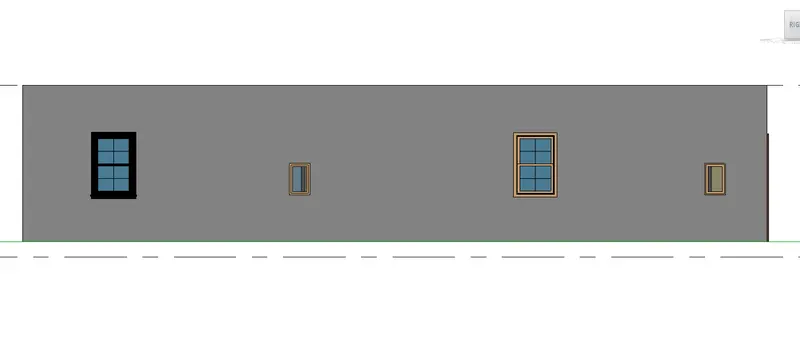
7) Identify the residential model elements such as Door, Windows, Tables, Chairs, Couch, Bed, Lamps from the library and insert them into the model.
components
- from the architectural tab>door
help to select the defined size in the design
- from the architectural tab>window
help to select the defined size in the design
- edit type dialog box help to load the in-built object
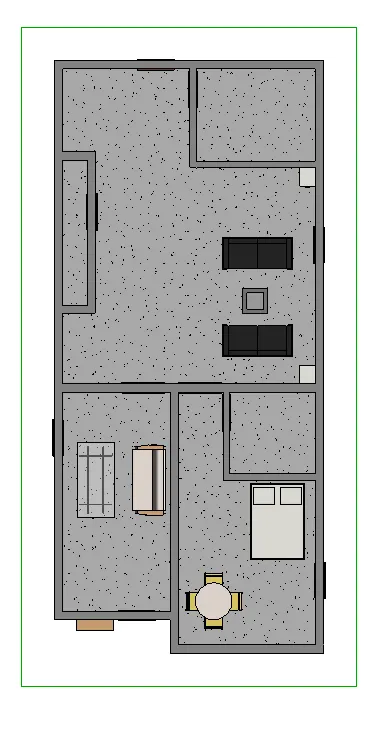
such as
- Door
- Windows
- Tables
- Chairs
- Couch
- Bed
- Lamps
we have the characteristic behaviors to import all required objects into the plan.
all objects are in the architectural tab