Creating Levels, Grids, Layout and model elements for a residential unit using REVIT
1.)
Aim :
What is BIM? Summarize the features of BIM and benefits of using BIM over 2D CAD tools.
Result
Three types namely
- View elements
- Model elements
- Annotate elements
- Annotation elements
- Datum elements
- Bim is a visual representation of tyhe pysical and fundametal characteristics of a facility from inception onwards.As such it servs as a shared information repositary for collabaration throught out a facilitys life cycle.
Features of BIM
- Easy acess to information
- Making the process more expresive
- Comprehensive of the project
Benefits of BIM
- Complete representation
- Instant updates
- Time constrain
- Rsaourse traking
2.)
AIM
To Understand the concept of Categories, Families, Elements, Instances in Revit. Go to Insert Tab, choose a category. Pick a family and element. Understand the instances and insert it to Revit model
- Category
- family
- type
- instance
Procedure
- Select the architectural template
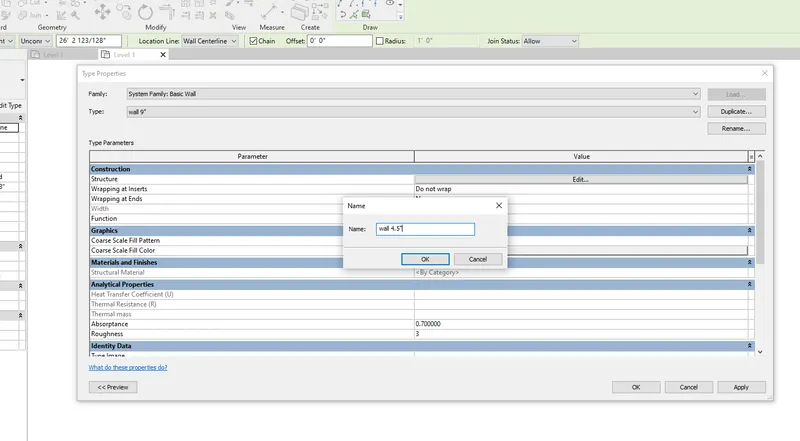
- Duplicate the wall
- To 4.5"& 9 "
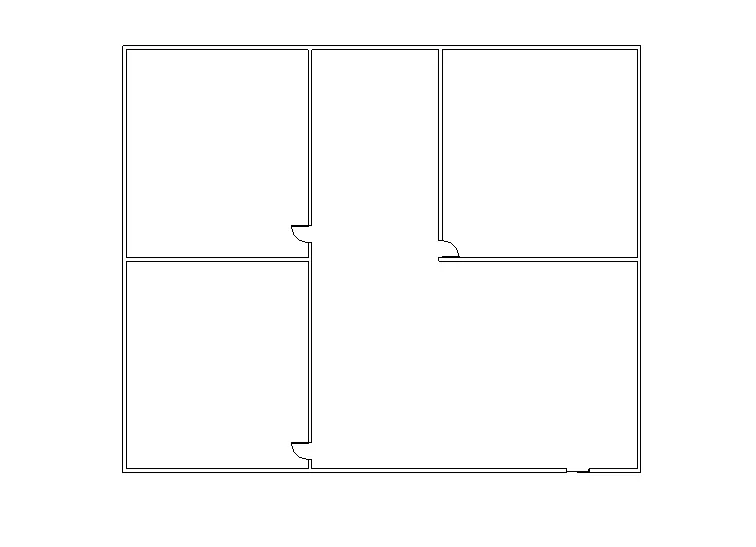
- Provide the doors as the known.
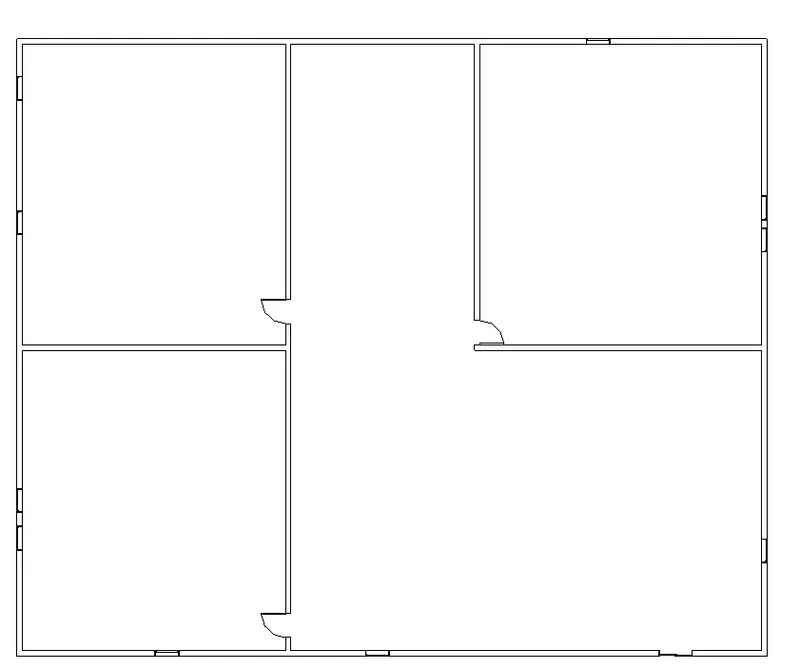
RESULT
3.)
AIM
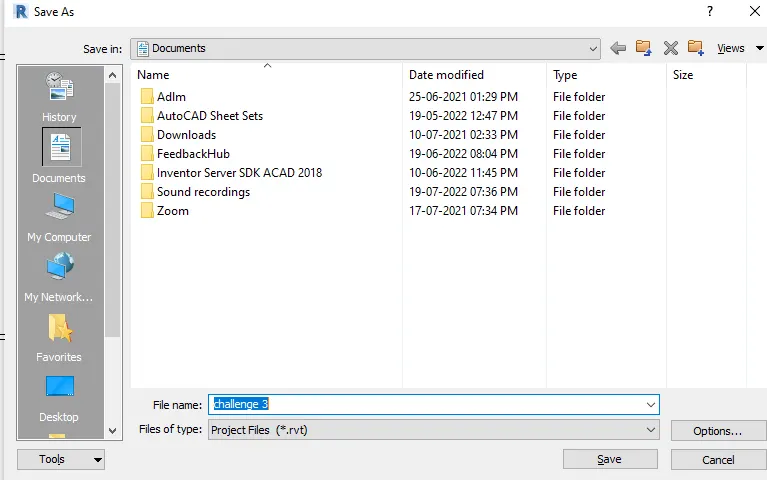
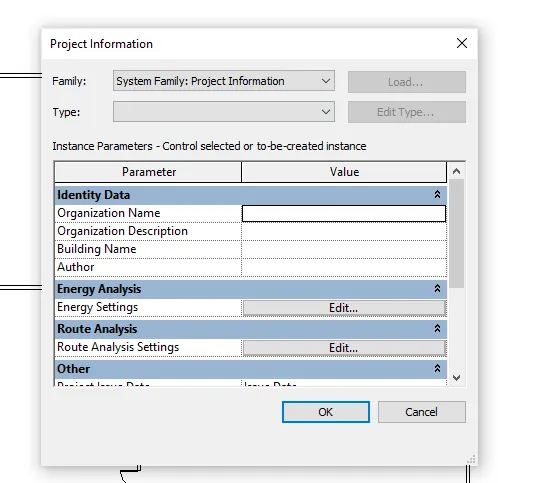
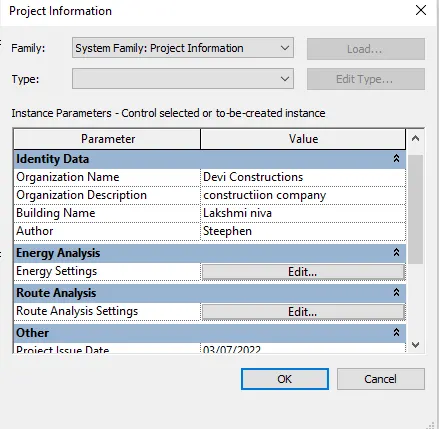
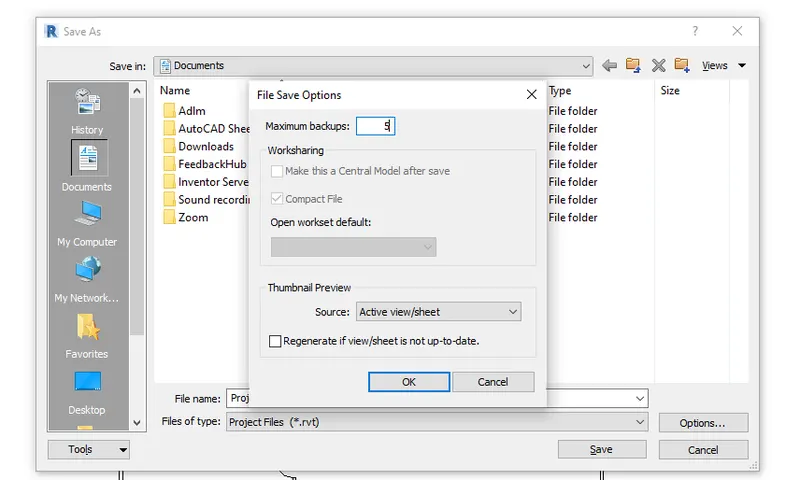
- Setting up a Project – Open a project file with architectural template. Save the file with appropriate name. Set up the project units to Imperial / Metric based on your convenience of modelling. Complete the project information under Manage tab. Set up the maximum backups for project file to 3
Procedure
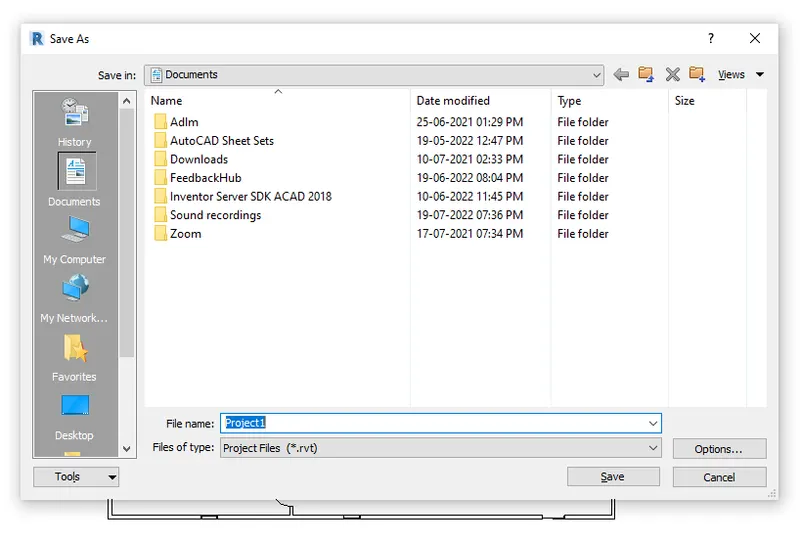
- Save the project
- Change the units as shown
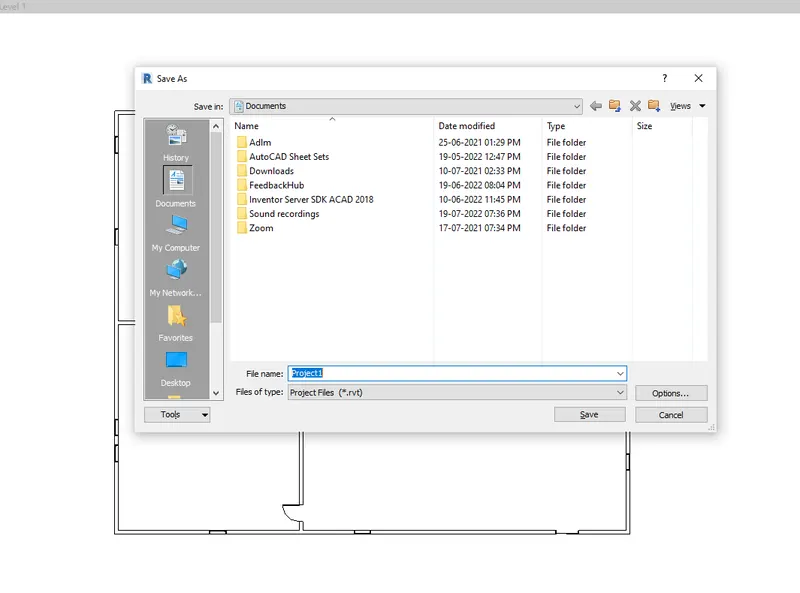
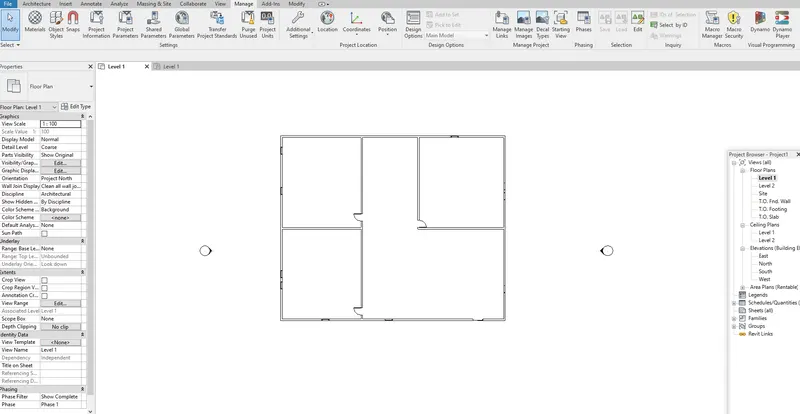
- Draw the walls
- As per the thickness
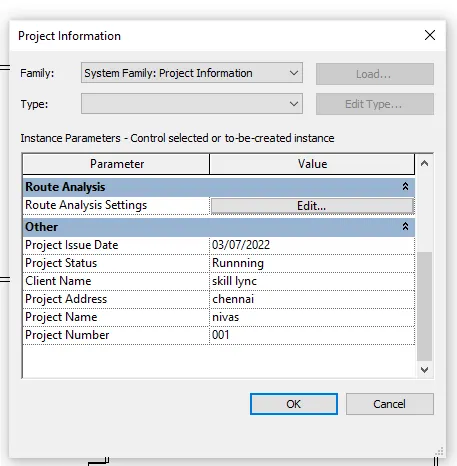
- Make the project information
- Type all the information
- Make the step for saving the project.
Result
4.)
AIM
- TO CUnderstand the concept of Levels and Grids. Follow the naming and conventions. Create the following Levels: ( Convert to metric equivalents if metric is your units)
Ground Floor @ 0’
First Floor @ 10’
Second Floor @ 20’
Roof @ 30’
Procedure
- Open the revit
- select the floor plan
- select the levles
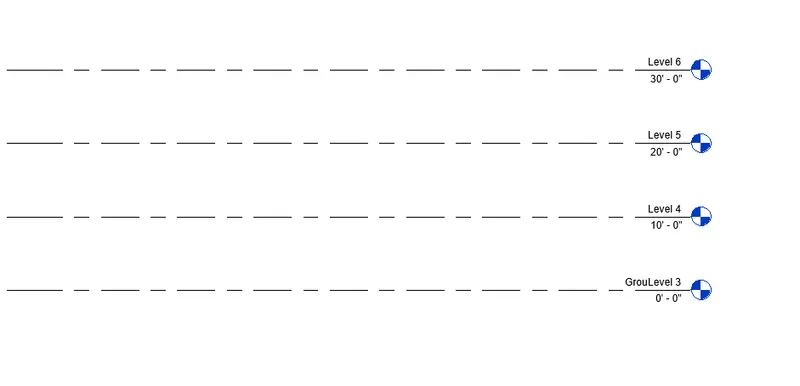
- Pickline selected
- Draw as the known procedure
- At several distance
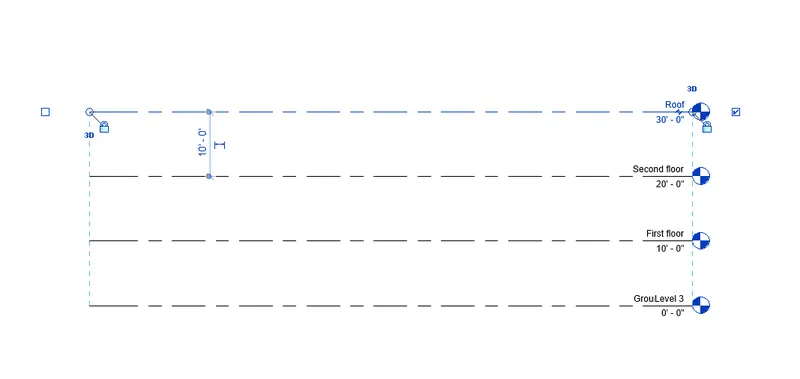
- Change the text
- As per the known type
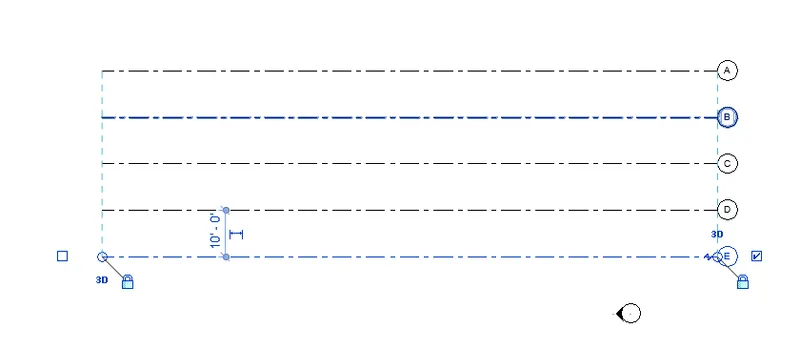
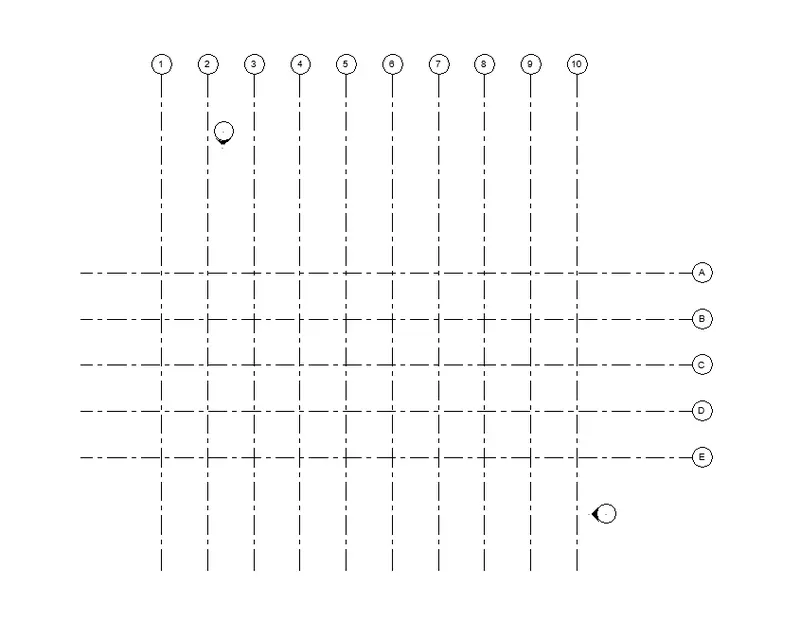
- Now select the grids
- vertically numerics
- horizontaly albhabets
Result
5.)
Aim
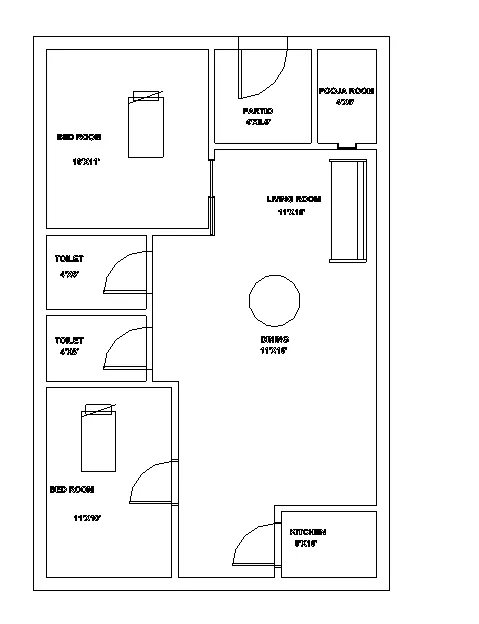
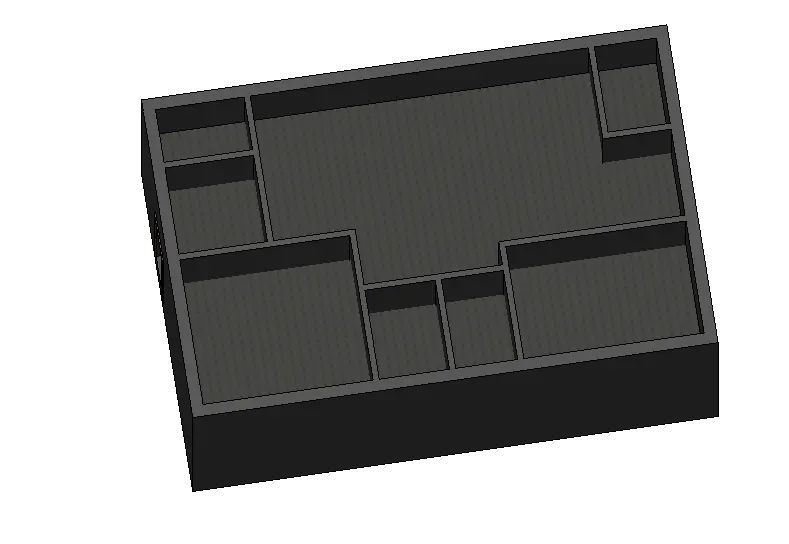
- To creat 3D modelling of residential unit – From looking at your house / or a place you aspire. Create a conceptual layout of the residential unit. You can measure using a tape or
you can access your residential plan to create a similar layout.
procedure
- Select the arch template
- Set the units as need
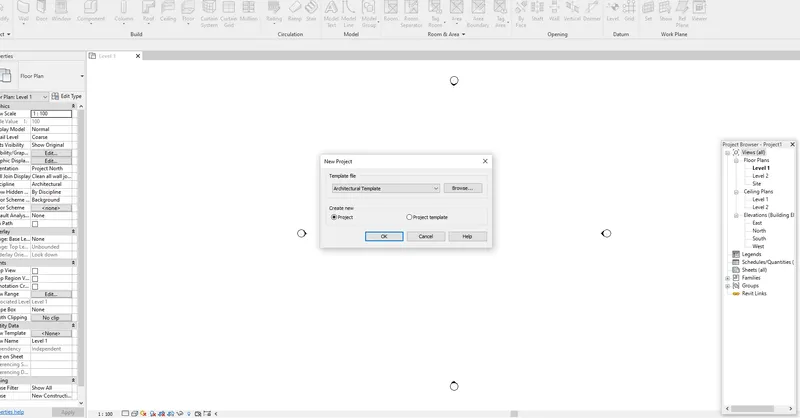
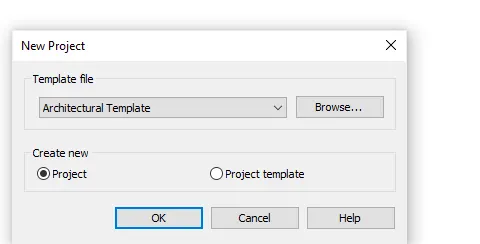
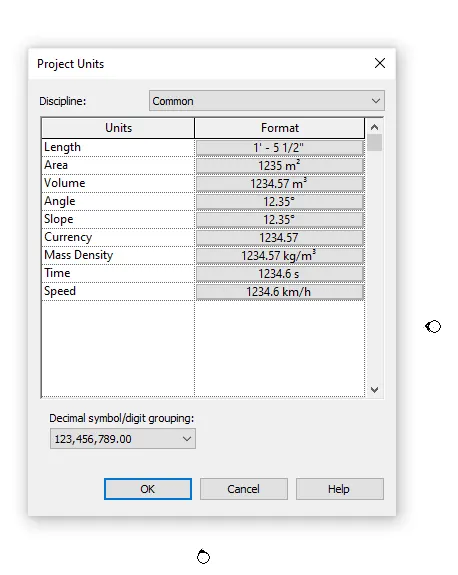
- now proceed with the given form
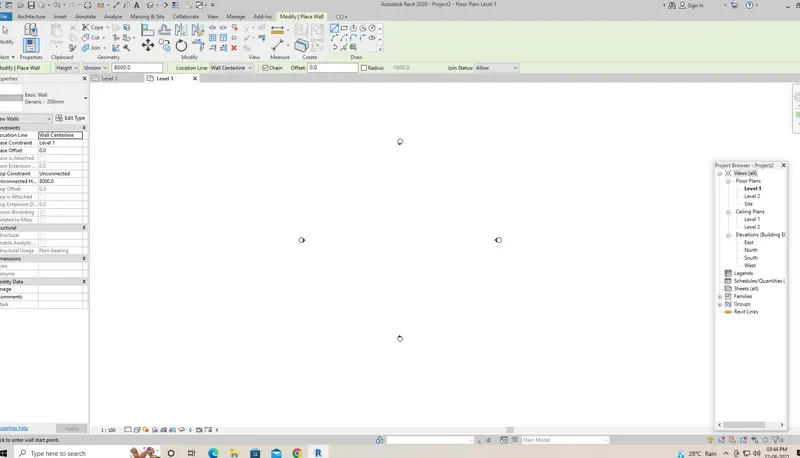
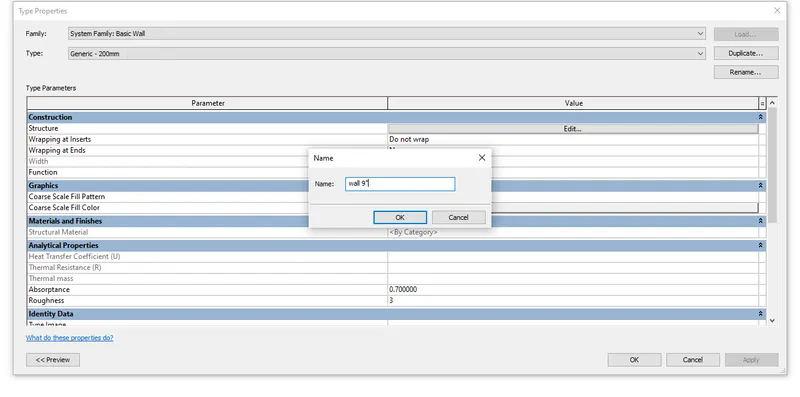
- Edit the walla s shown
- The wall shoultd be in 4.5" and 9"
- The inner and outer wall
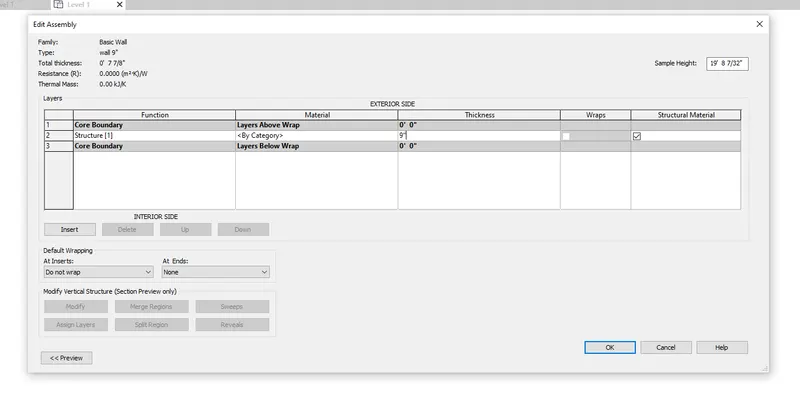
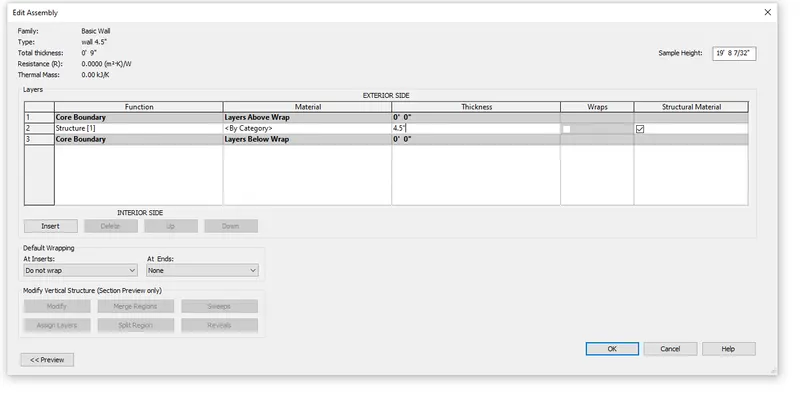
Result
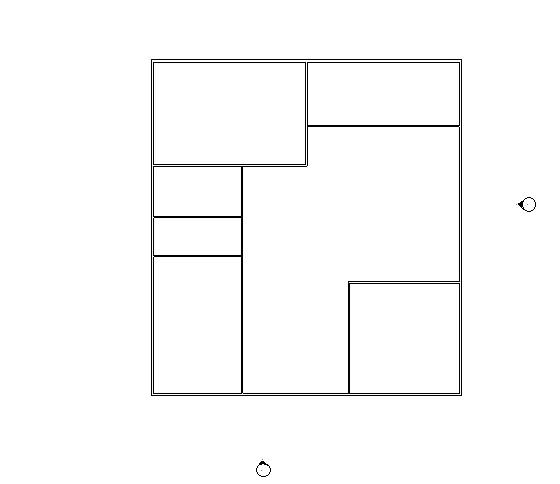
6.)
Aim
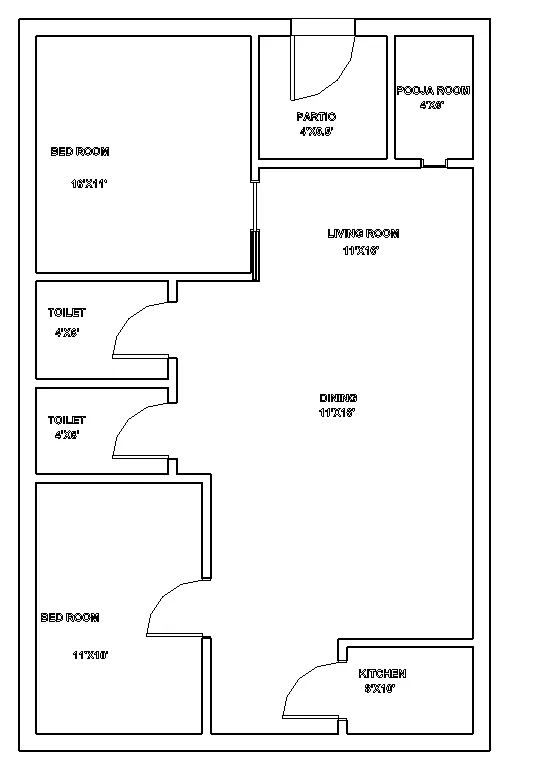
- TO creat the layout created draft the level of details you are planning to include – Dimensions of room, components you plan to add in the residential unit.
procedure
- Open the arch template
- open the new file
- open the units
- set the units as in needed form
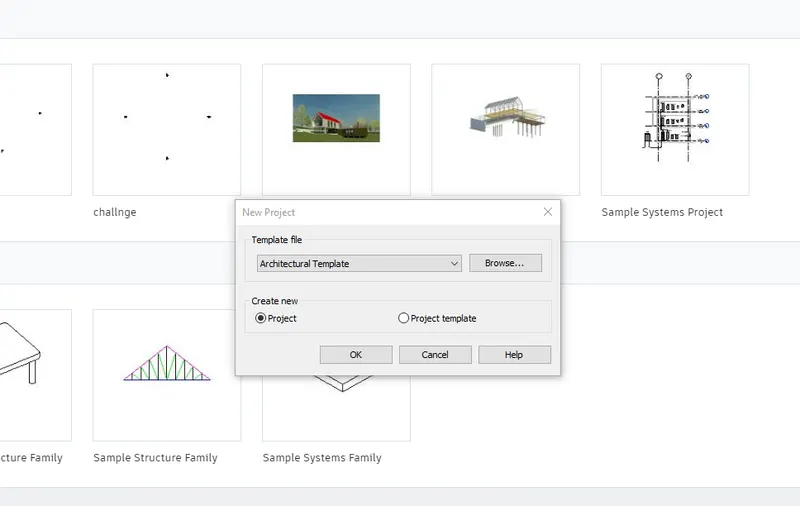
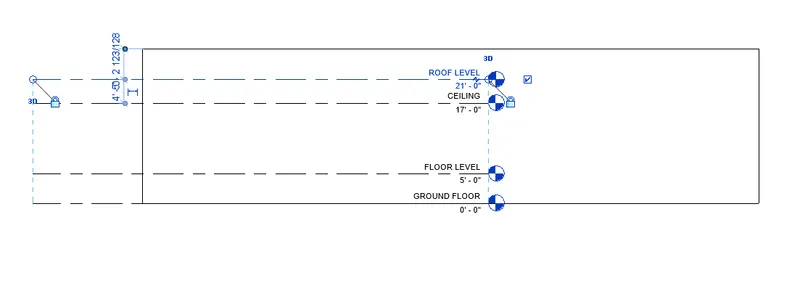
- setup the levels as shown in the form
- produce the level
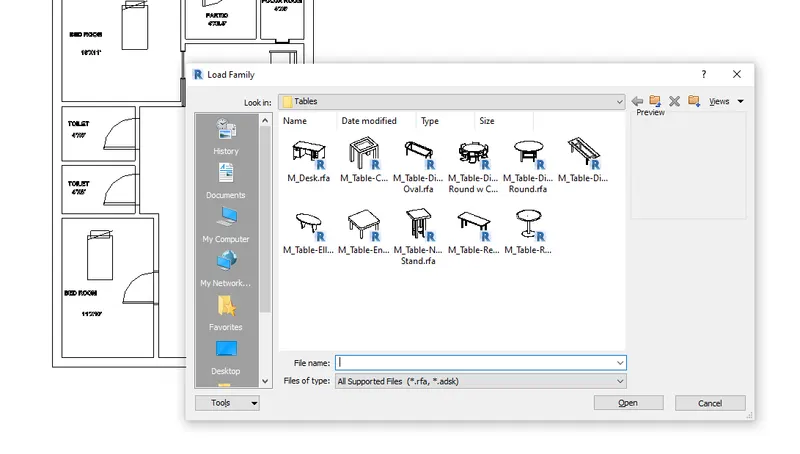
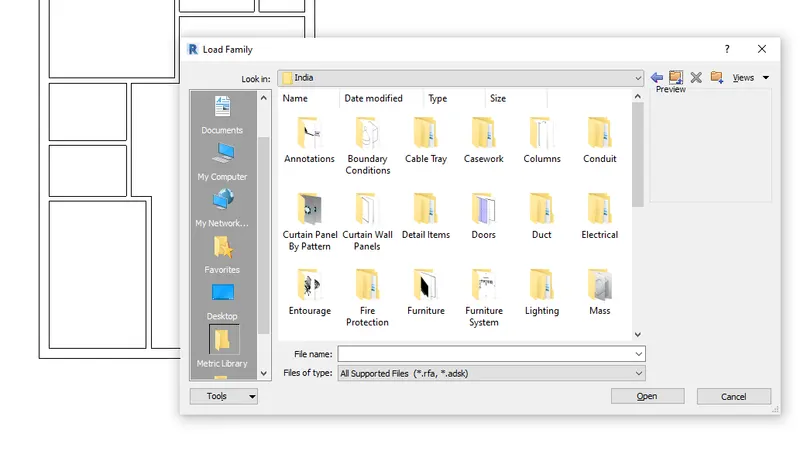
- Load the familuy
- Provide the doors
- Type the text
- Notedown the dimensions
Result
7.)
Aim
- To creat the residential model elements such as Door, Windows, Tables, Chair, Couch, Bed, Lamps from the library and insert them to the model . Save the project for use
for Assignment 3
procedure
- open the revit
- Select the arch template
- Select the placing component
- open the diffrent folders
- Which contain several faqmily
- Which includes doors windows bed etc
- Place the component in the layout
- Select as needed
- Setup the ceiling as using the ceiling sketch option
- As known form
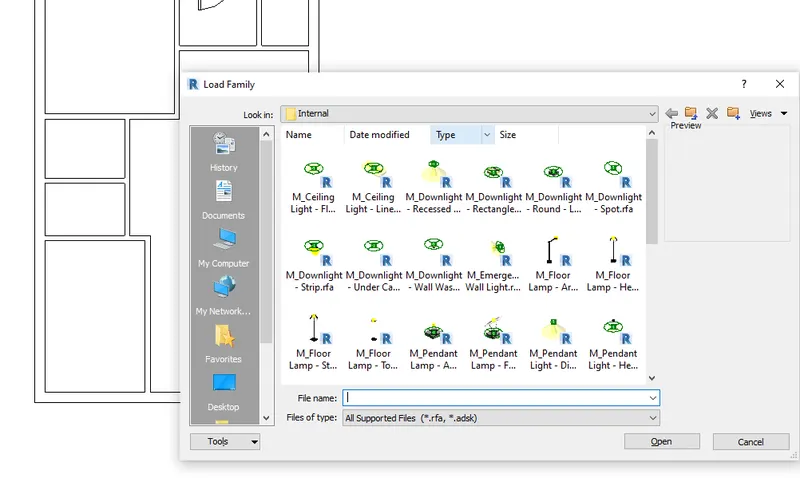
- Select the family as needed
- open the neede foldresw as shown
- Place the ceiling light
- Select as per the known form
- Place the doors
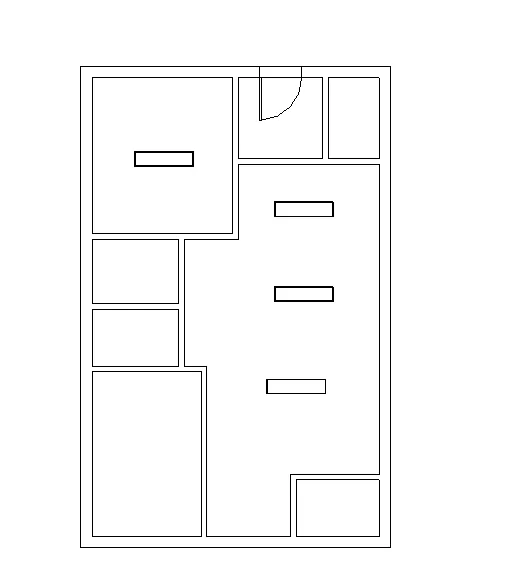
- Draw the ceilling
- As th known form
Result: