Creating Levels, Grids, Layout and model elements for a residential unit using REVIT
1. BIM
Building information modeling is the holistic process of creating and managing information for a build asset. Based on an intelligent model and enabled by a cloud platform, BIM integrates structured, multi-disciplinary data to procedure a digital representation of an asset its lifecycle, from planning and design to construction and operations.
Features of BIM:
Through connecting teams, workflows and data across the entire project lifecycle from design to construction to realize better ways of working and better outcome. BIM integrates multi disciplinary data to create detailed digital representations that are managed in an open cloud platform for real time collaboration.
Benifits of BIM over 2D CAD tools:
BIM provides complete representation throughout the project, If any changes made in the model it will instantly updated on the other views, BIM reduce the time when compared to do the model in 2D CAD. These are the benifits of BIM compared to 2D CAD tools.
2.
Aim:
To understand the concept of categories, families, elements, instances in revit.
Introduction:
- Categories are located at the top of the hierarchy within the revit families. Categories control the organisation, visibility, graphical representation and scheduling options of a particular set of families with in the project.
- Family is a group of elements with in a common set of properties called parameters and a related graphical representation.
- Elements or instances belonging to a family may have different values for some or all their parameters.
Procedure:
- Procedure to insert a element in revit.
- Open revit in architectural template.
- Open the insert tab.
- Click load families.
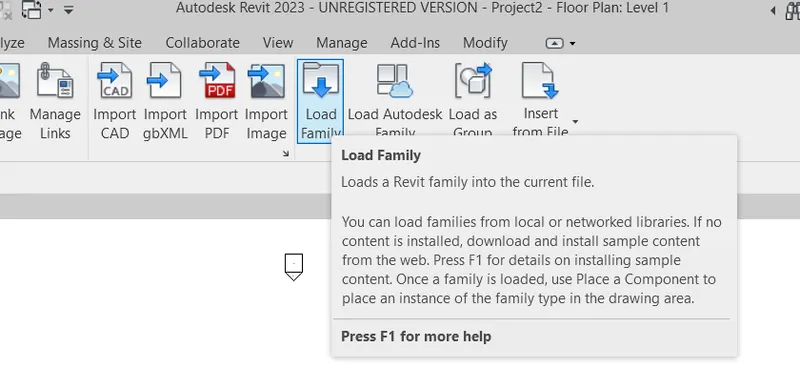
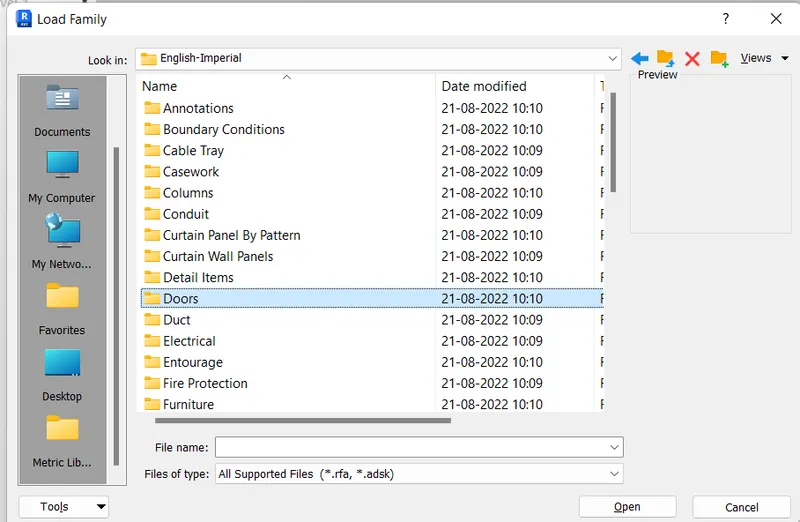
- Select english-imperial.
- Select the category>select doors
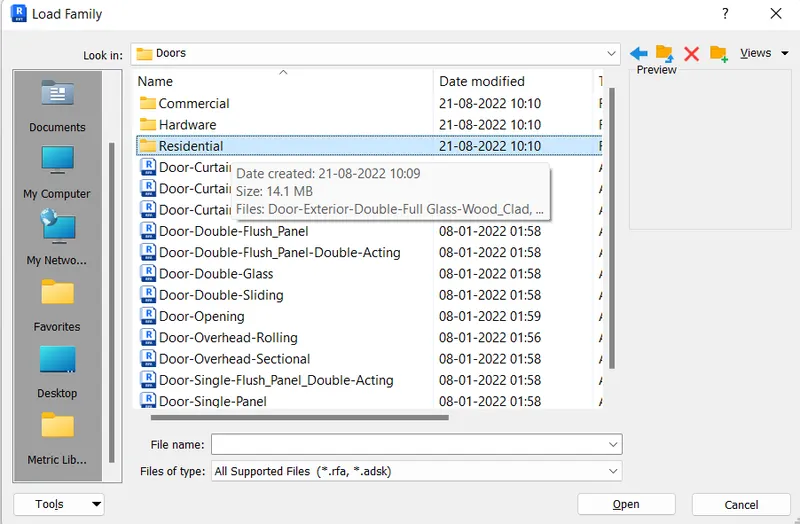
- Select family as residential.
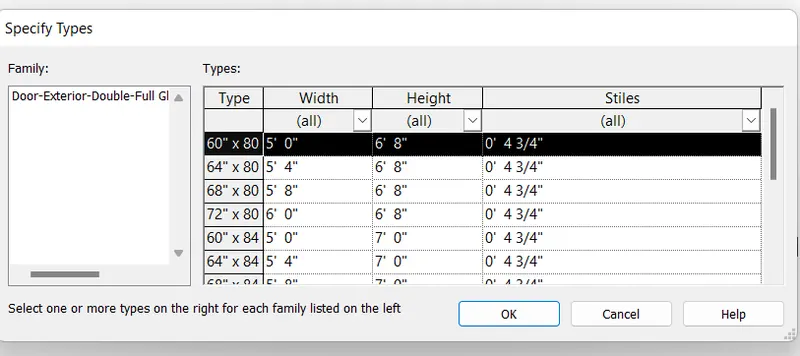
- Select the element as door- exterior-double full glass.
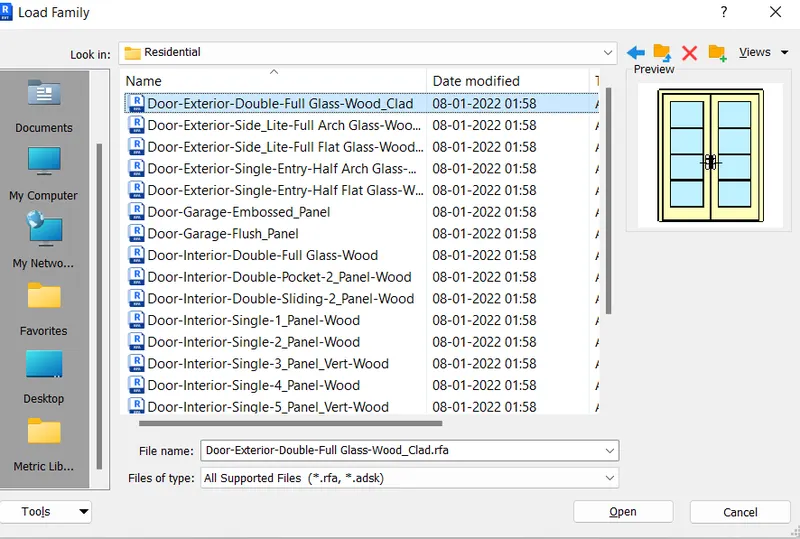
- Select the type as 60''X80''
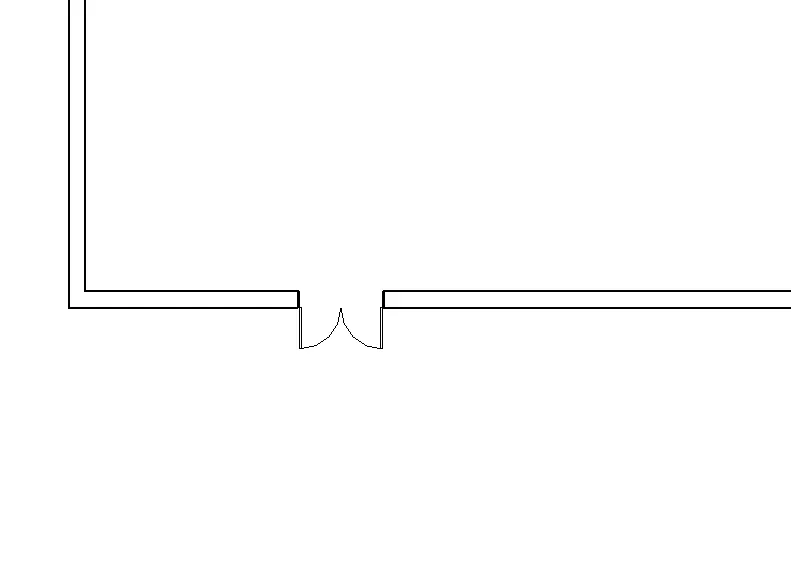
- Insert into the model.
Result:
The concept of categories, families, elements, instances in revit is understood and using insert tab the element is inserted into the revit model.
3.
Aim:
To setting up a project. Save the project with appropriate name. Complete the project information using manage tab. Set up maximum project backups for project file to 3.
Introduction:
The project information option is used to save the project information of the project. Backups option is used to save the backups in the destination folder.
Procedure:
- Open Revit softwate.
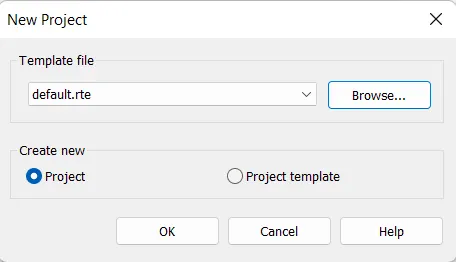
- Use new option in the home page. Create a new project with architectural imperial template.
- Use browse option>click english imperial>select defalut template.
- The default template is the architectural imperial template.
- Click the file tab.
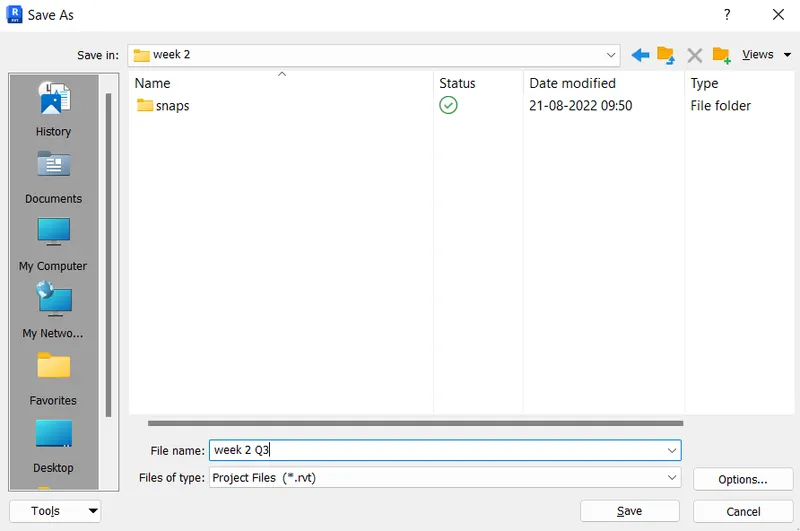
- Select save option.
- Rename the project as 'Week 2 Q3'
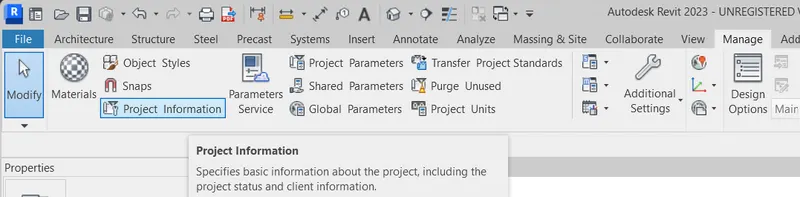
- Open manage tab.
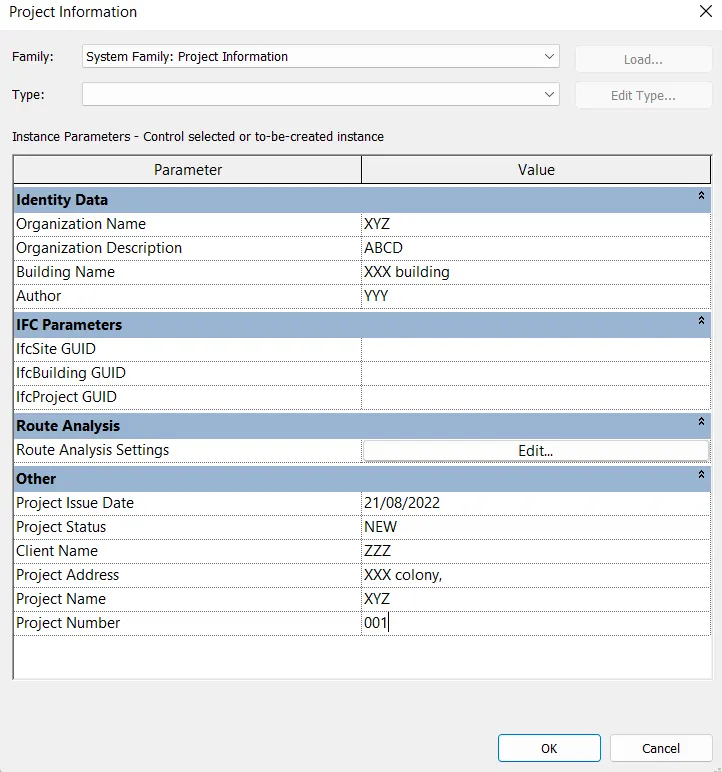
- Click project information.
- Fill the project information.
- Click flie tab>Save as.
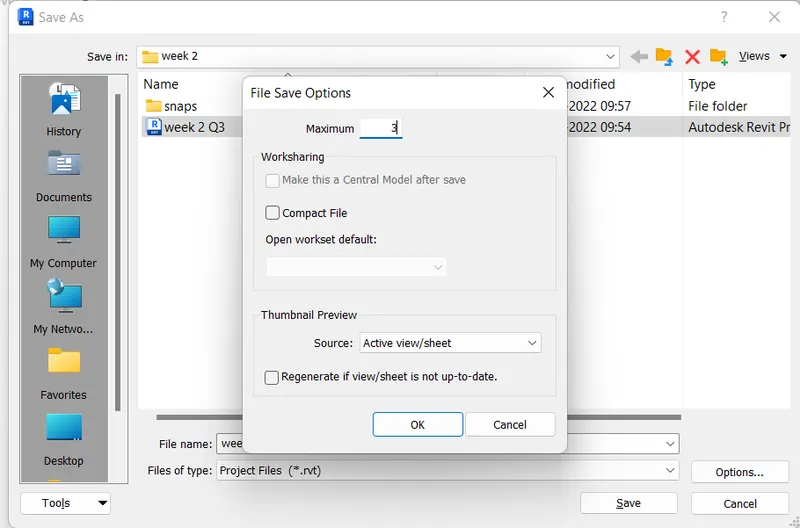
- Click options
- Set the backups to 3
- Click ok
Result:
The Project is setted. The project is saved by the name as 'Week 2 Q3'. The project informations are filled. Maximum project backups is setted as 3.
4.
Aim:
To understand the concept of levels and grids and follow the naming and conventions given create levels and grids in the project.
Introduction:
Levels are finate horizontal planes that act as a reference for level hosted elements such as roofs, floors and cealings.
Grids are annotation elements that helps organize the design and also act as a reference for placing columns, creating walls etc...
Procedure:
- Open a new project in revit.
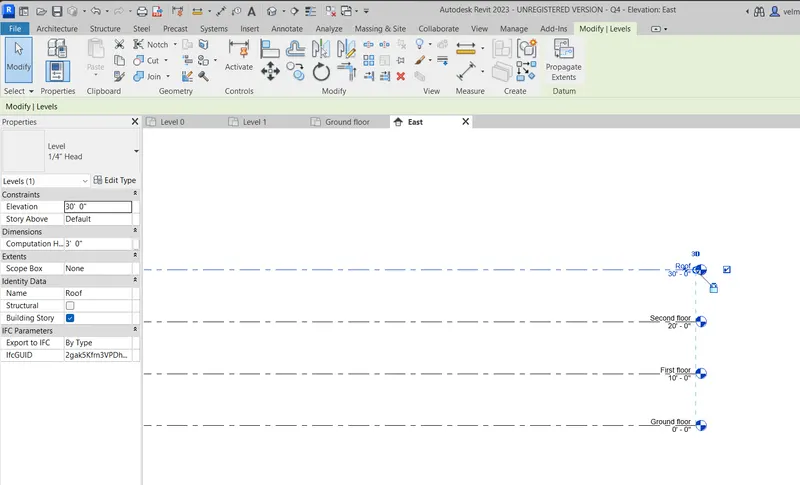
- Switch to east elevation view by using project browser.
- Select levels option under architectural tab.
- Already two levels are created by the software.
- Use pick line option set the offset at 10'0''
- Pick the level two create the next levels.
- Select the grids under architecture tab.
- Switch to first floor.
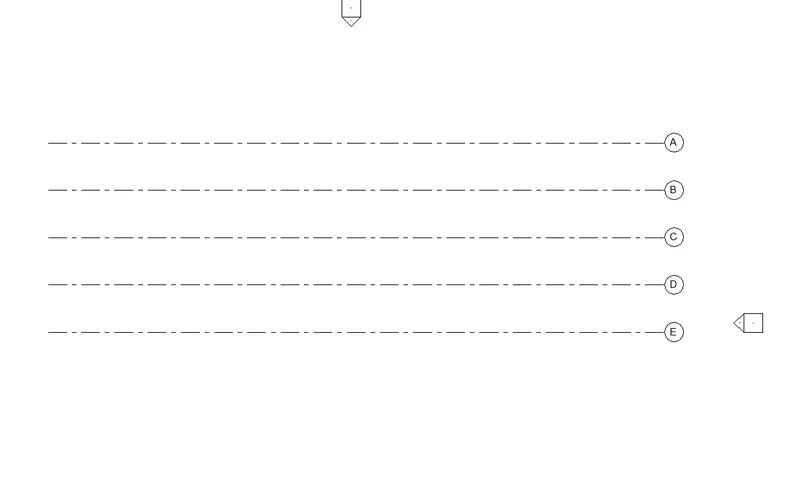
- Create transverse grids.
- Use line option create first grid in transverse direction.
- Use pick line option, set the offset at 10'0''
- pick the first grid and create 4 more grids.
- Rename it as from A to E.
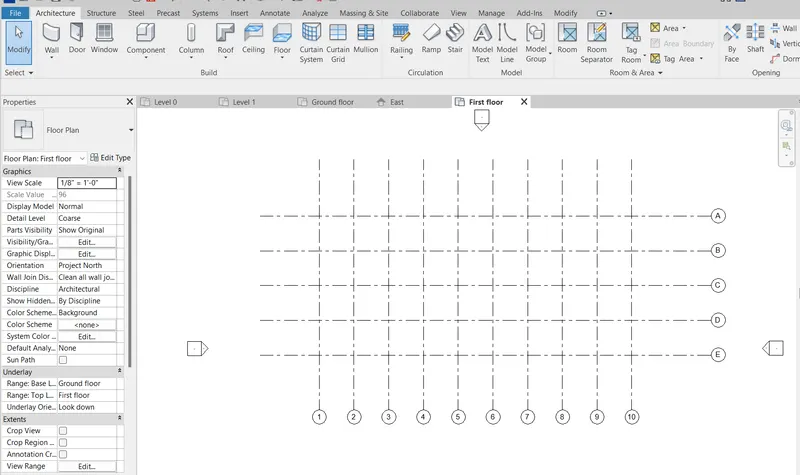
- Create longitudinal grids.
- Use line option create first grid in transverse direction.
- Use pick line option, set the offset at 10'0''
- pick the first grid and create 9 more grids.
- Rename it as from 1 to 10.
Result:
The concept of levels and grids is understood. Levels and grids are created by following the names and conventions given in the question.
5.
Aim:
To create 3D model of residential unit. Create a conceptual layout of a residential unit.
Introduction:
Create a layout by using the wall element under architecture tab. The layout of residential unit consists of patio, living, bed room, dining and kitchen.
Procedure:
- Open Revit software.
- Create new project by using architectural imperial template.
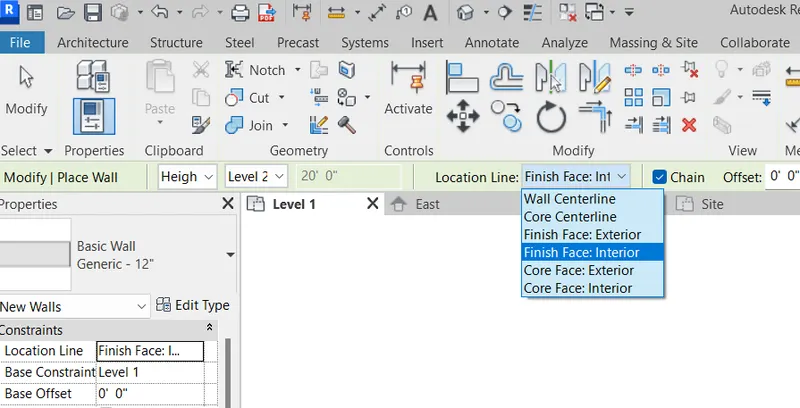
- Select generic 12'' wall.
- Click walls under architecture tab.
- Set the top constraints as level 2.
- Set location line as finfish face interior.
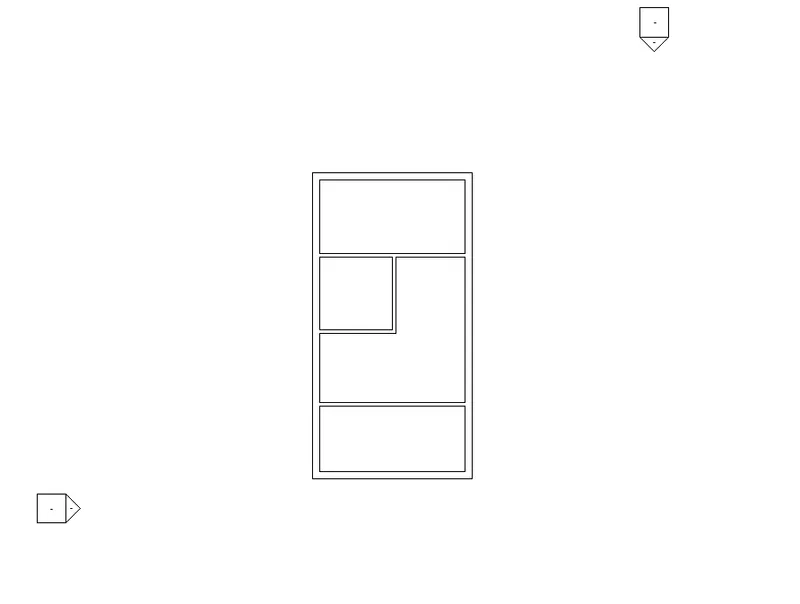
- Start creating the wall layout by using line option.
- Pick start point and pick the second point at 20'.
- Pick next point at 40' downwards and pick the next point at 20'
- Close the created wall.
- Select generic 6'' wall.
- Create the internal walls.
- Create floor in the layout.
- Choose architectural floor under architecture tab.
- Select generic 12'' floor.
- Use rectangle option create a floor.
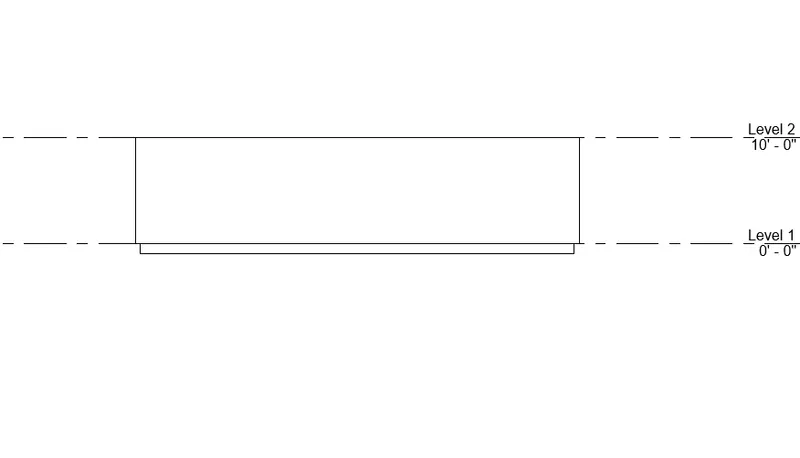
- Set the view as default 3D model
- Change the visual style as realistic.
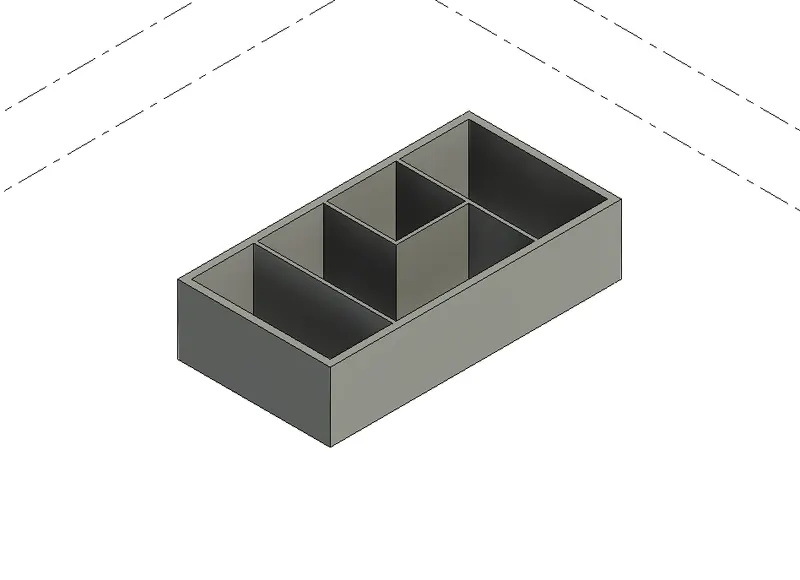
Result:
The 3D model of residential unit is created and the layout of the residential building is also created.
6.
Aim:
To add level of details like dimensions of room in the created layout.
Introduction:
Create dimensions in the created layout. annotate the rooms name. Annotations are used to give details to the created layout. Tools used to annotate this layout are aligned dimension, room seperate, room tag.
Procedure:
- Open the project residential layout which is created in the previous question.
- Click annotate tab.
- Select aligned dimensions.
- Dimension the layout.
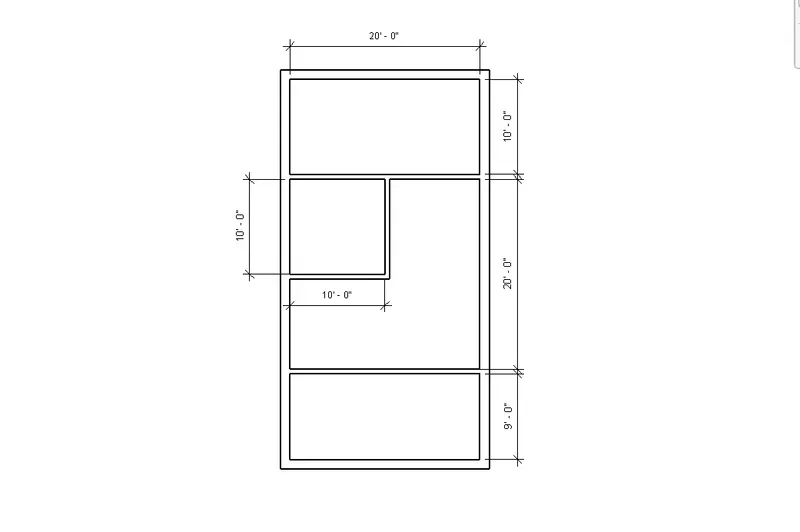
- Use room seperate option under architecture tab.
- Seperate living and dinning area.
- Use room tag option.
- Create a room tag.
- After creation rename it.
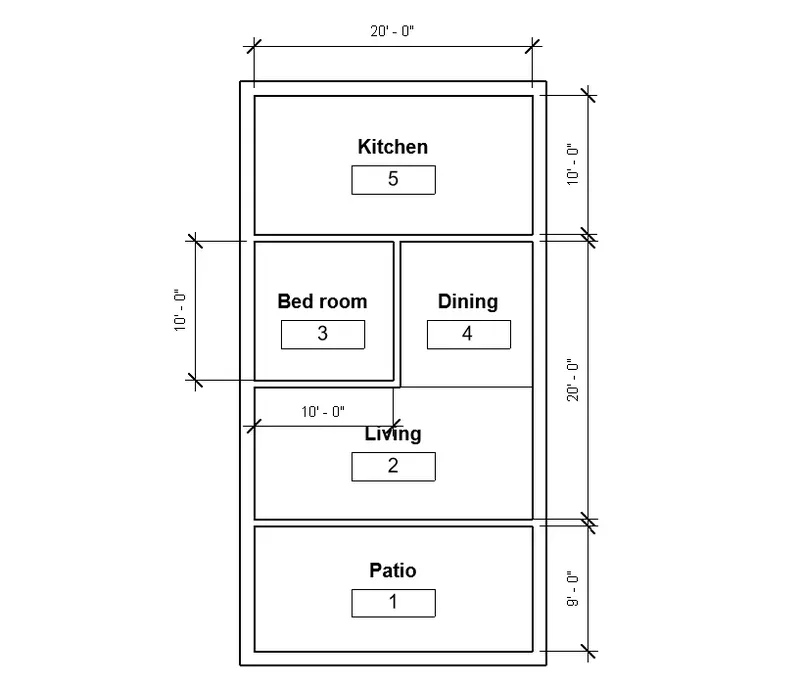
Result:
The level of details in the created layout is drafted.
7.
Aim:
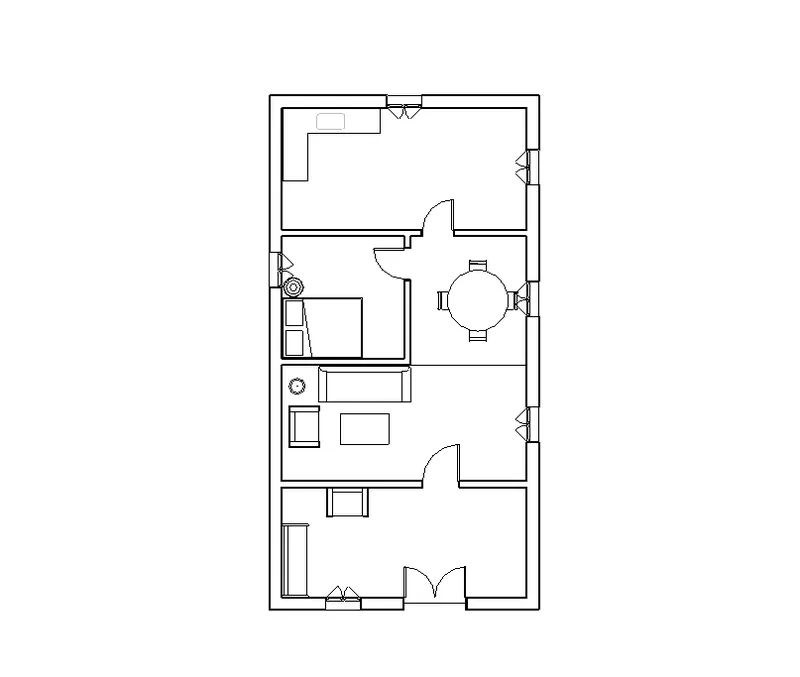
To identify the residential model elements such as door, windows, tables, chair, coach, bed, lamps from the library and insert them to the model.
Introduction:
The elements such as door, window, tables etc.. are used to add the level of details to the project. In this layout door, windows, tables and other elements are going to be inserted.
Procedure:
- Open the last created residential layout project.
- Click place a component under archirtectural tab.
- Select category>select family>select elememt.
- Insert into the layout as per the requirements.
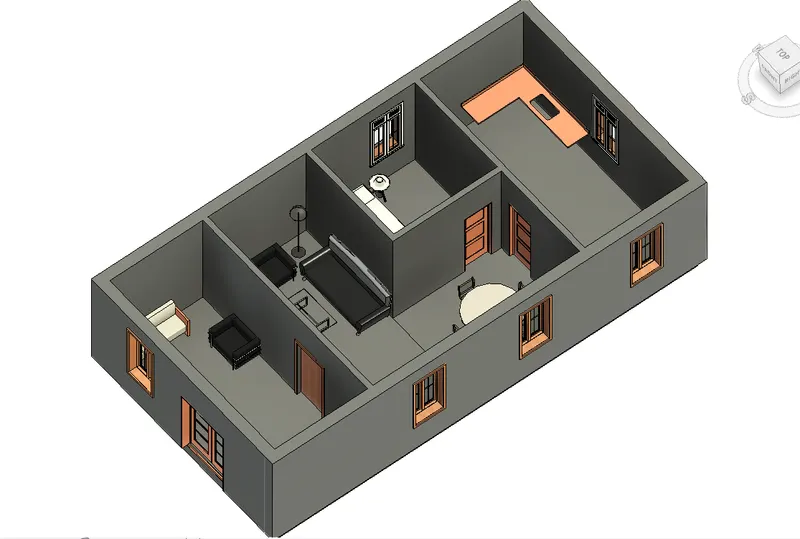
- Switch to default 3D view.
- To see how the elements are placed in realistic view.
Result:
The residential model elements such as door, windows, tables, chair, coach, bed, lamps from the library are identified and inserted them to the model.