Creating Levels, Grids, Layout and model elements for a residential unit using REVIT
1. Aim: To Define the BIM and summerizing the features of BIM and benefits of using BIM over 2D CAD tools.
Introduction: To Define the BIM and summerizing the features of BIM and benefits of using BIM over 2D CAD tools.
Procedure:
- The Revit platform for the building information is design and documentation system that supports the dsign, drawings and schedule that requires for the building project.
- Revit Building elements are of 3 types.
- A. View Elements
- B. Model Elements
- C. Annotate elements- 1. Annotation elements 2. Datum elements
- BIM is a creating and manging information for a project.
- Based on this, BIM integrats structure multi disciplinary data to produce a digital representation of an acsets from planning and designing.
- BIM is a isual representation of the physical and functional charecteristics of a facility from inception onwards.
- As such it serves as shared information repository for collaboration throughout a facilities life cycle.
Features of BIM:-
- Easy access to information:- It is the Physical representation of the bothe physical and functional characteristics of a building project that provides minute details of the project.
- Making the process more expressive:- Cad software allows the users to work accurately in 3 dimensions. i.e,. length, breadth and depth.
- Comprehensive view of the project:- BIM model not only presents the 3D geometrical of the structure, they provide more compensive ovver view of the project.
- It covers every component of the process from the geometrical aspects of the topographical information.
- However BIM allows to works in 5 dimensions. i.e., length, breadth, depth, time and cost.
- They give accurate time cost of the project even the design is being developed.
Benefits of BIM:
- Complete representation: BIM allows you to get complete representation of the project.
- Instant updates:- Bim allows you to get the instant updates of all the information which is going on the construction.
- TIme constraint: Bim allows you to adjust the time constraint at the site of the construction.
- Resource tracking: Resource components is a key component of the BIM.
2. Aim: To understand the concept of categories, families, elements, Instances in Revit.
Introduction: To understand the concept of categories, families, elements, Instances in Revit.
Procedure:
- Category:- It controls the organization, Disability, Graphical representation and scheduling of families, with in the project.
- Then after the category you will be entering into family.
- Family: Family is a group of 2D and 3D information that serves to representation building or documentation element in the project.
- Actually, it defines parametrical, Graphical and documentation requirementation also.
- Type:- Type is a specific representation in a family defined by distinct parameters, and documentation charecteristics which makes unique from other tpes in the family.
- Instance:- An instances is an indiidual representation of an type in the project defined by the unique parametric, graphical and documentational charecteristics which makes unique from other instances in the project.
3. Aim: To setting up the project with architectural template with appropriate name.
Introduction: To setting up the project with architectural template with appropriate name and to set up the project units to Imperial/Metric based on modelling.
Procedure:
- After opening the revit page, first we have to save the project.
- For saing the project, go to the file menu option.
- Then choose the save option.
- Then it will ask for the place of storage.
- Choose the option to save the project.
- Then give the name to the file to save the project.
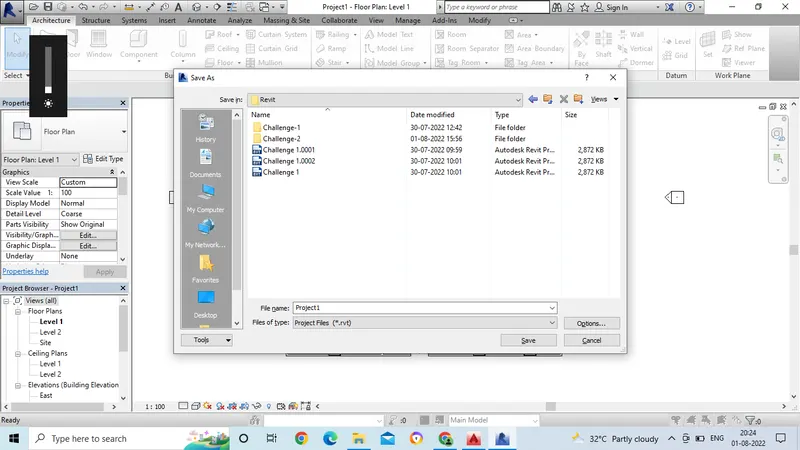
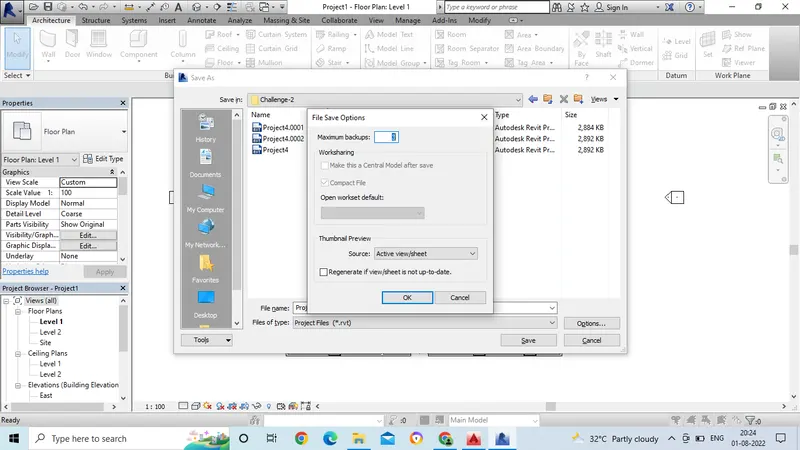
- Now after giing the name to the file, There is an option button.
- If you click on that it will ask for the number of backup files to save.
- Then by default it will give for 3 options.
- We can choose for maximum number of backup fiels in thet by giving the number.
- After saving the file, now we have to give the project information.
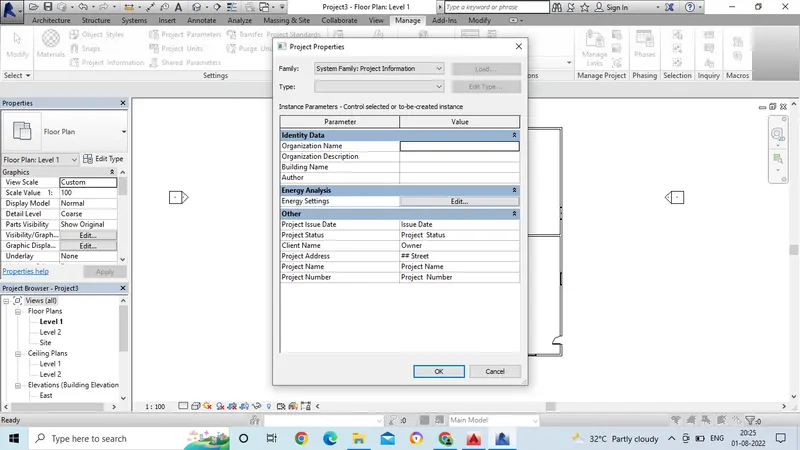
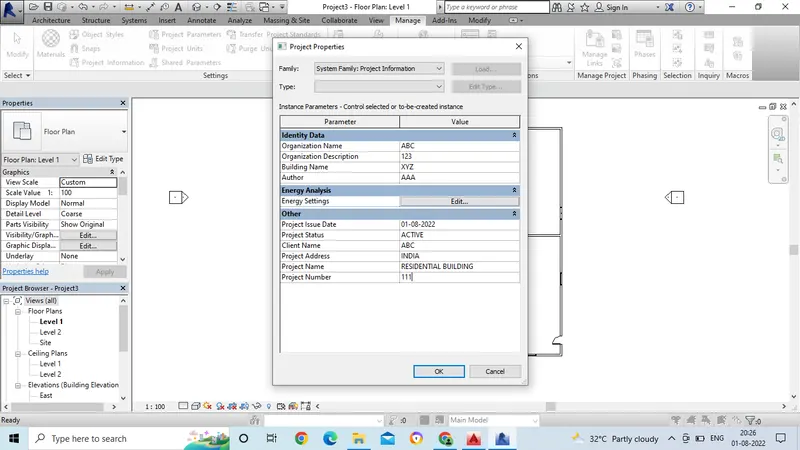
- Go to manage tab, in that select project information.
- Then the dialogue box will get open.
- In that dialogue box give the proper information regarding drawing.
- Then click on OK button.
Result:
4. Aim: To understand the concept of Levels and Grids.
Introduction: To understand the concept of Levels and Grids and follow the naming and conventions.
Procedure:-
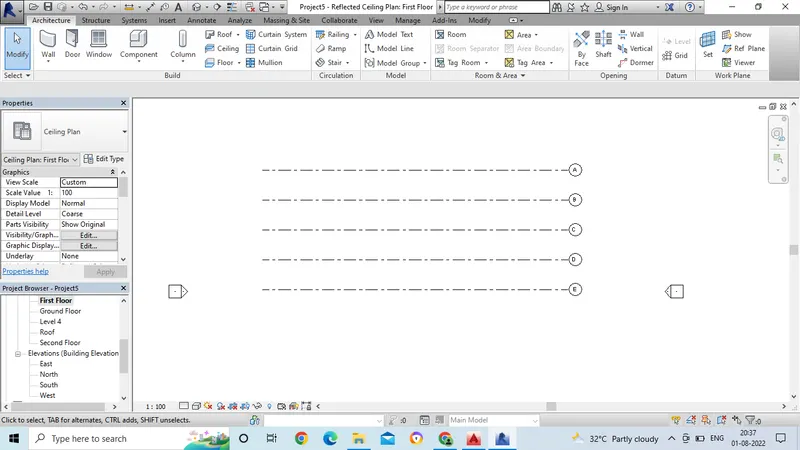
- To draw the girds, we have to choose the girds option from the architecture tab.
- Then from that by selecting girds, draw the horizantal lines as girds.
- In the same way, we have to draw the girds upto the level.
- Or you can draw the girds by giving the offset to some distance.
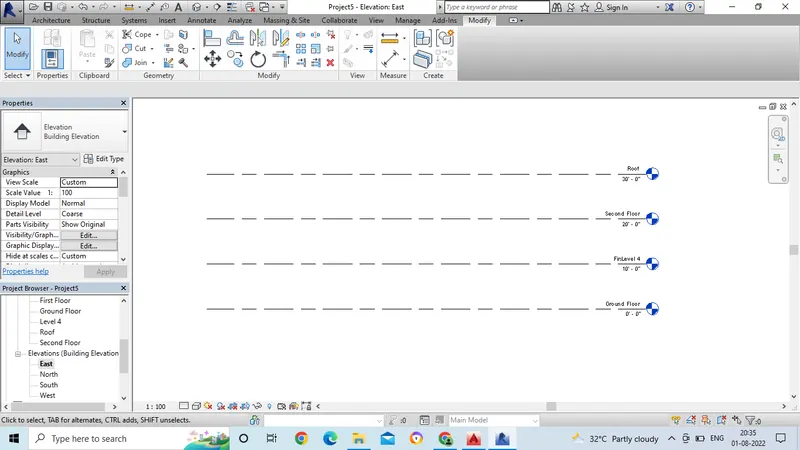
- After drawing the grids, then give the name to the grid lines.
- Either alphabetical or numeric for your conenience.
- In the same way, Draw the vertical grids by choosing the grids option.
- Then place the vertical grids by giving names to the lines.
- By taking line command from the grids draw the lines to the vertically.
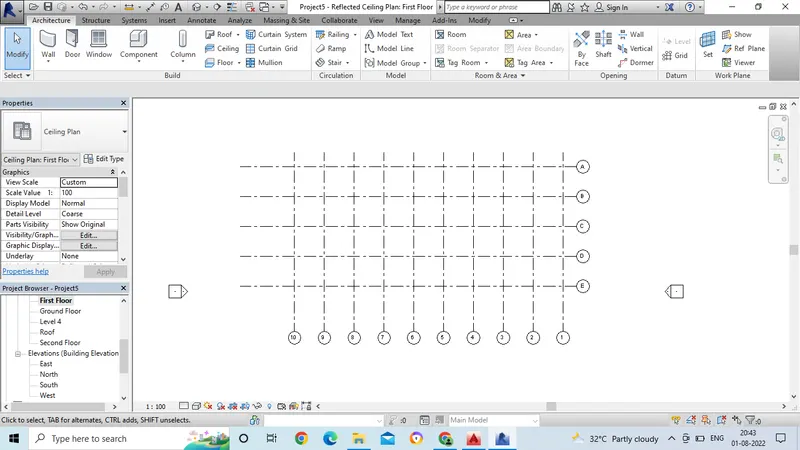
Result:-
5. Aim:- To create the 3D modelling of residential unit.
Introduction:- To create the 3D modelling of residential unit.
Procedure:-
- To create residential building, we have to open the revit page by choosing templete.
-
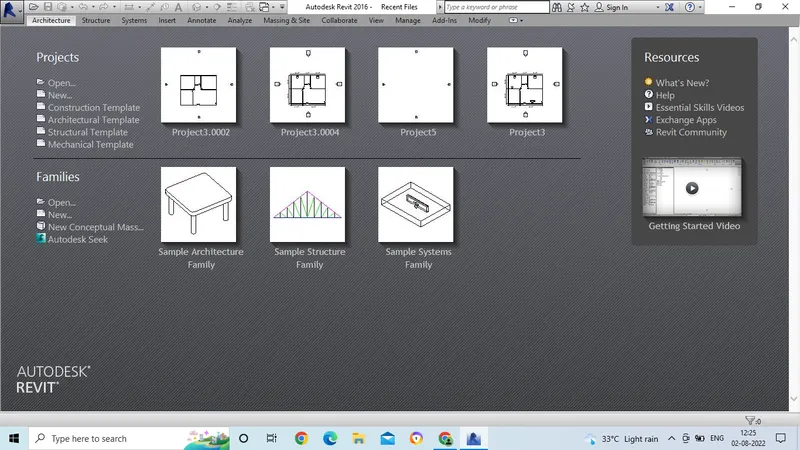
- After selecting the template, the page will get open.
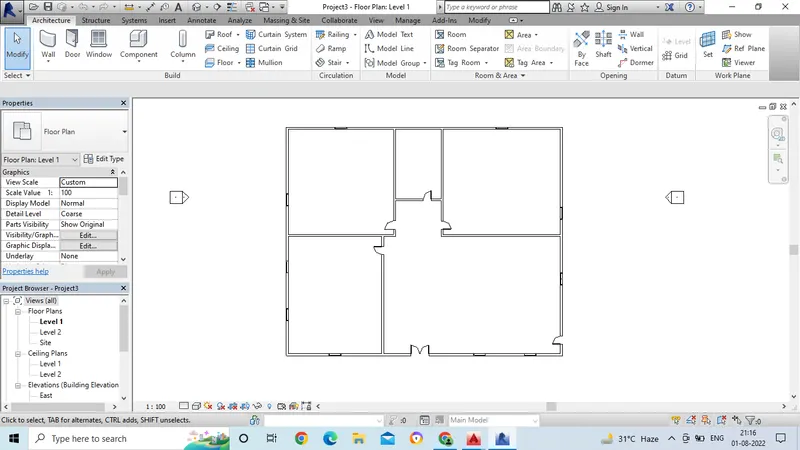
- Then from the architecture tab, take the wall option and draw the wall by taking rectangle or line option.
- Then divide to the rooms by using wall command.
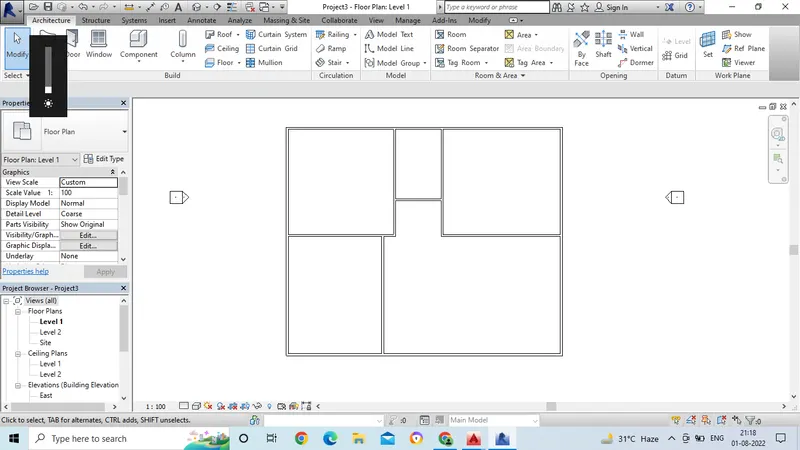
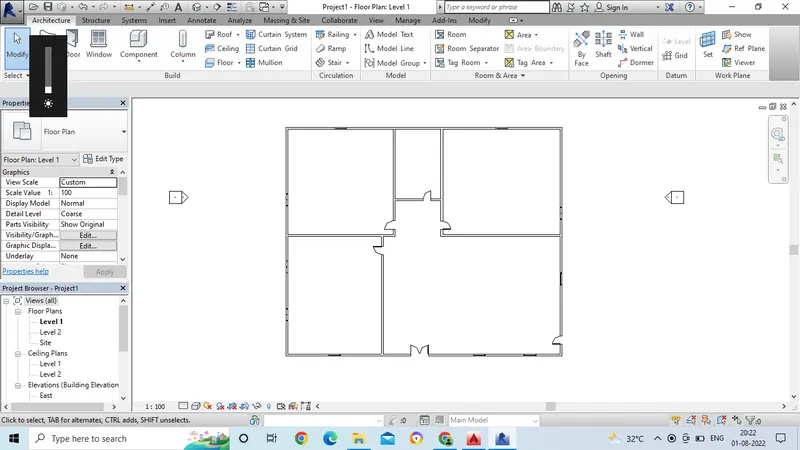
- After completing the rooms, then we have to place the doors and windows.
- For placing the doors and windows we have to select form the load families.
Result:-
6. Aim: To the layout created draft the level of details by giving dimesnions of room, components to add in the residential unit.
Introduction: To the layout created draft the level of details by giving dimesnions of room, components to add in the residential unit.
Procedure:
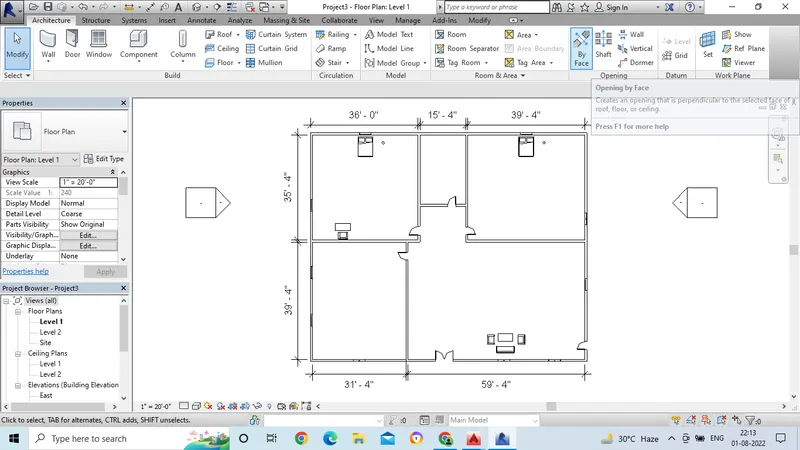
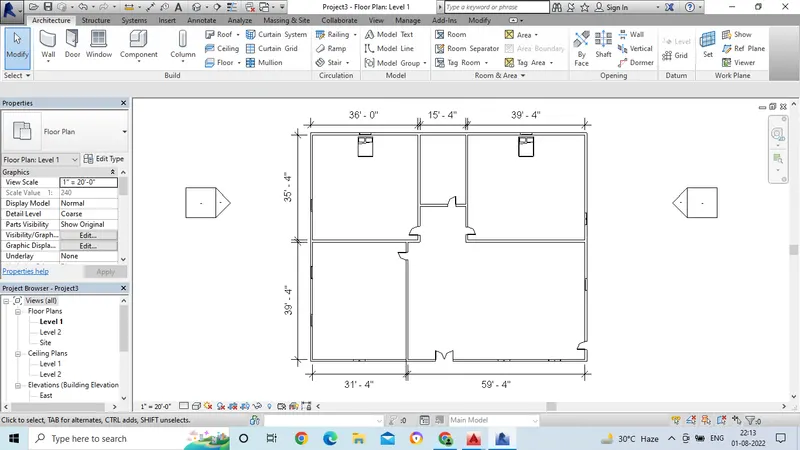
- After completing the residential drawing, we have to mention dimensions to the rooms.
- For this we have 3 options to mention the dimensions.
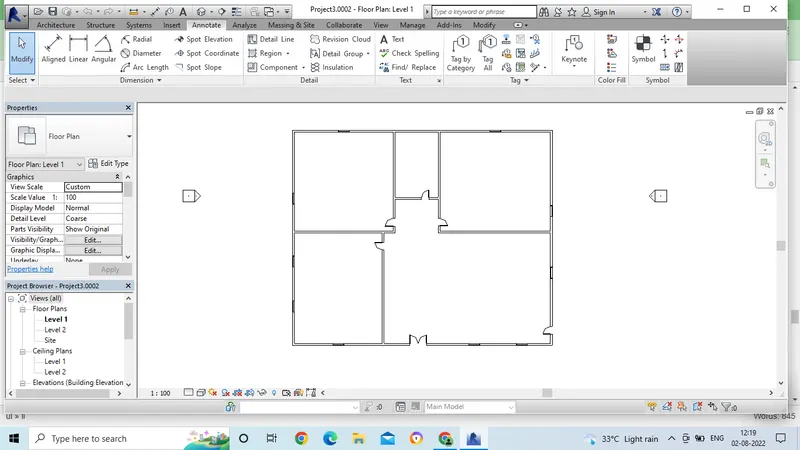
- By choosing the option from the Annotate tab, we can give the dimensions.
- By taking the points from one edge to the other edge we can give the dimensions.
-
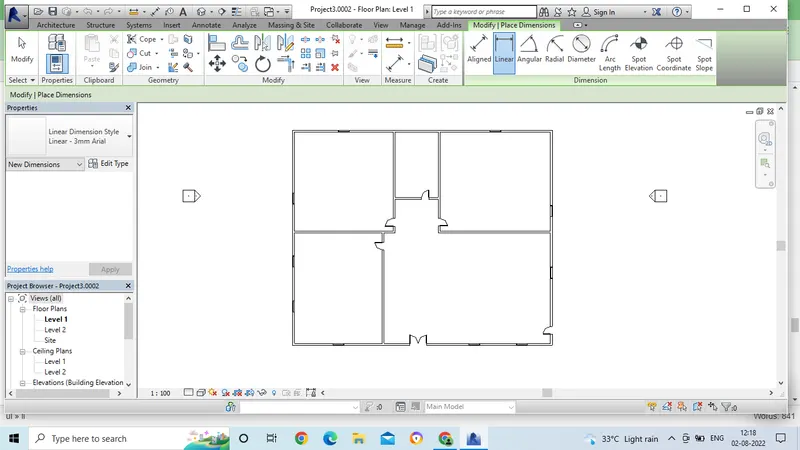
- By taking linear dimensions also we can give the dimensions.
- By typing DI command also we can give the dimensions.
-
Result:-
7. Aim: To identify the residential model elements such as doors, windows, tables, chair and all the furiniture details.
Introduction: To identify the residential model elements such as doors, windows, tables, chair and all the furiniture details.
Procedure:-
- After completing the residential drawing, we have to place doors and windows.
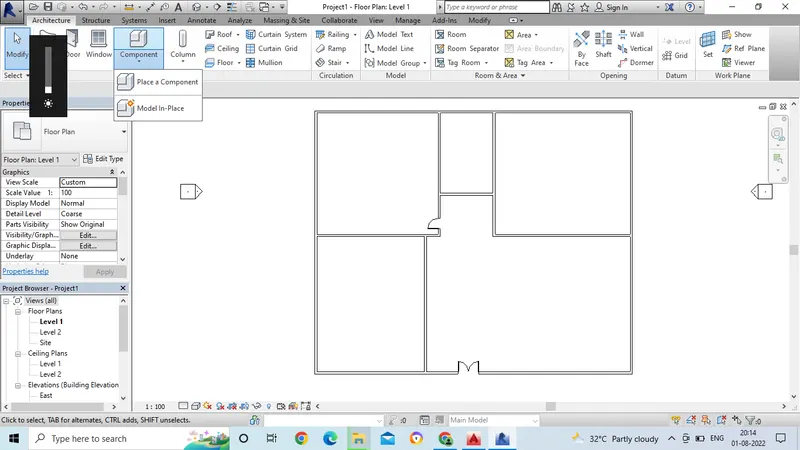
- To place the doors and windows, take the option for component in the Architecture tab.
- Then from that tab, you have to choose place the component.
- Then from that we have to choose load families and in that load families we have to take doors options.
- From that we have to take door options which is suitable for the house.
-
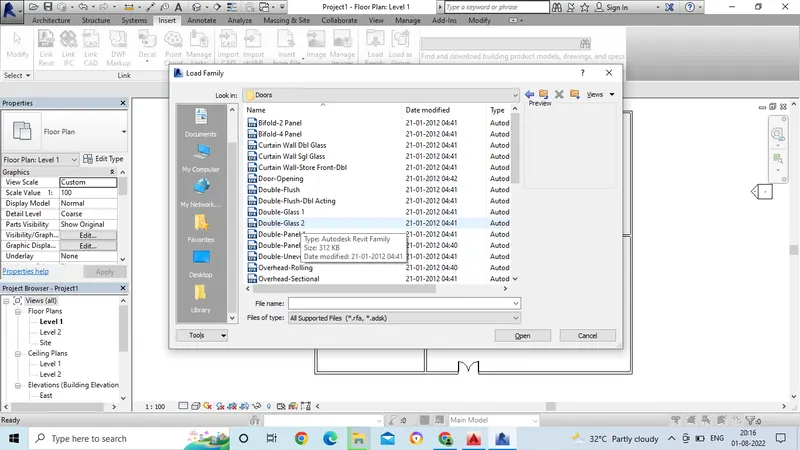
- In the same way by choosing revit libraries, we have to place windows.,
-
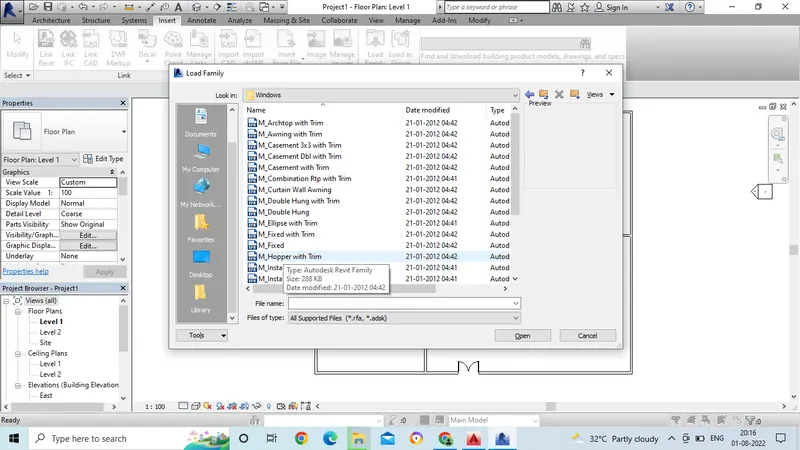
- In this drawing, we have to add the furniture to the house.
- Take the component command, in that we have to select place the component
- Then click on load families.
- From the load families, we have to choose the furniture which is suitable for tha house.
- Now in this drawing we have to insert the furniture bed in bed room.
- Select the bed from the load families and insert the bed in the bed room position.
- In the same way, place the furniture like table, chair and lamp in the house.
- Then the drawing is finished and attached in the result.
Result:-