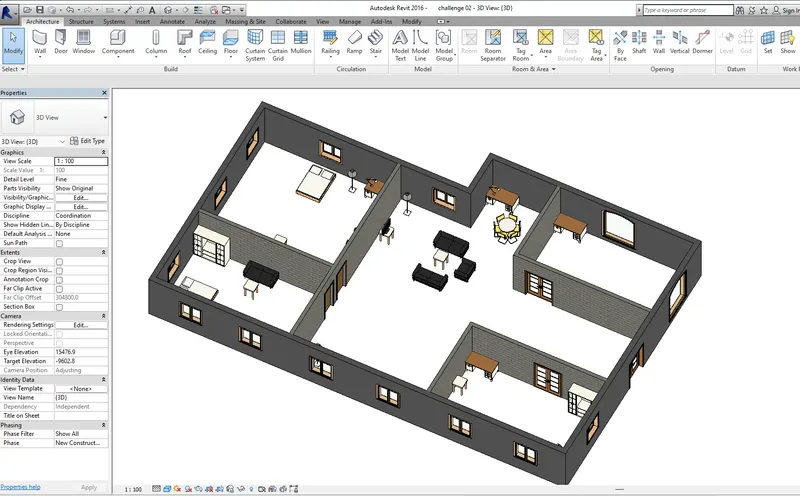
Creating Levels, Grids, Layout and model elements for a residential unit using REVIT
Q. 1) What is BIM? Summarize the features of BIM and the benefits of using BIM over 2D CAD tools?
Answer:- Building Information Modelling (BIM) gives real-time information about our project and it helps Architectural, Structural, MEP, and construction professionals to improve the way they design, construct and operate using tools that are more useful and increase efficiency & easy access to information. It enables data sharing about building to all engineers or people who are working on the same project and any person can change make the required changes, the main point is that change will be visible to everyone. BIM allows sharing of information through a mutually accessible online space knową as a common data environment (CDE). Using this changes can be made at all stages of building, from starting to operation and even renovation and renewals. In BIM we can work from 3D to 6D. The purpose of these levels is to gauge how effectively, or how much information is being shared and managed throughout the process. Computation is also a major discussable aspect, it mainly involves energy evaluation, load calculation, and schedule planning. we can do resource tracking also, which is a very big advantage.
The benefit of using BIM over 2D CAD tools is that in BIM we can even work in 3D, 4D, 5D, or even 6D Whereas in 20 CAD only 2D can be viewed. BIM is one of the newest concepts in the construction field, it has even more advanced features, The major benefit is that BIM is a multi-user interface whereas CAD is a single user interface so, any changes can be done easily and accurately throughout the project.
Q. 2) Understand the concept of Categories, Families, Elements, and Instances in Revit. Go to Insert Tab, and choose a category. Pick a family and element. Understand the instances and insert it to the Revit model.
Aim:- To insert Categories, Families, Elements, and Instances in Revit.
Introduction:- Let's understand the basic concepts of all these four as a fellow,
- Categories:- It is one in the Revit elements hierarchy and it controls the organization's visibility, graphics representative, and schedule option of family within the project.
- Families:- It is a group of 2D and 3D information that helps to modify the building very easily. Actually, it defines parametric, graphical, and document requirements.
- Type:- After Family, you can see type. It is a specific representative in the family defined by distinct parameters, and graphical and document characters, which make it a unique type in the family.
- Instances:- Elements or instances, it is an individual representative of type in the project defined by unique parameters graphical and documents characters, which make it unique from other instances in the project
Procedure:-
- First, create a new project.
- Go insert the menu in the toolbar.
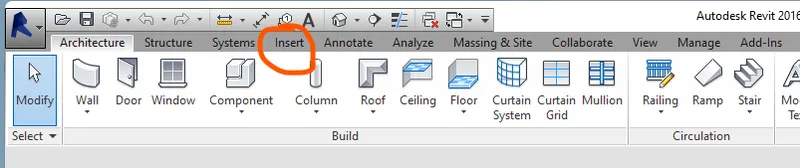
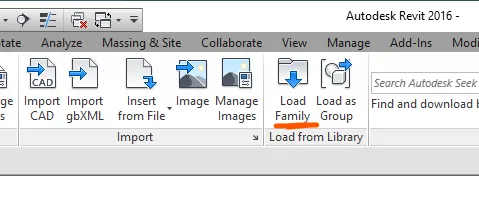
- In the Insert menu click Load family.
- This is the 'Load Family' dialogue box, from this we can choose the required components.
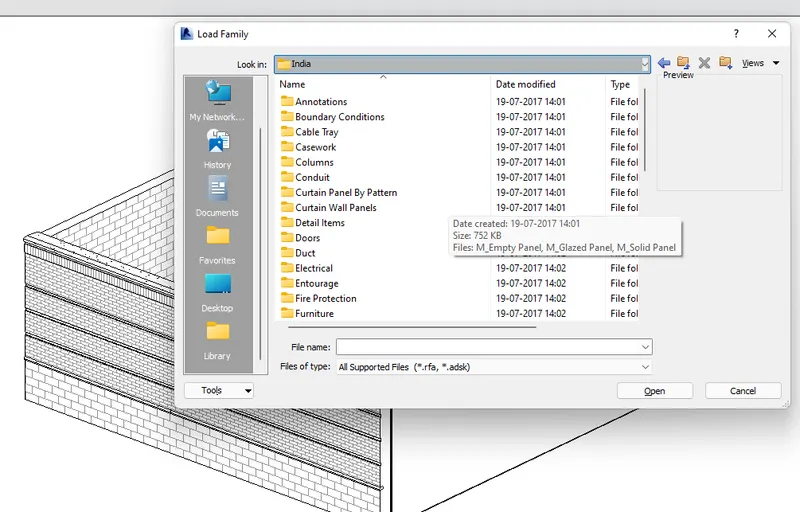
- Now, I am going to take a window from this.
Result:-
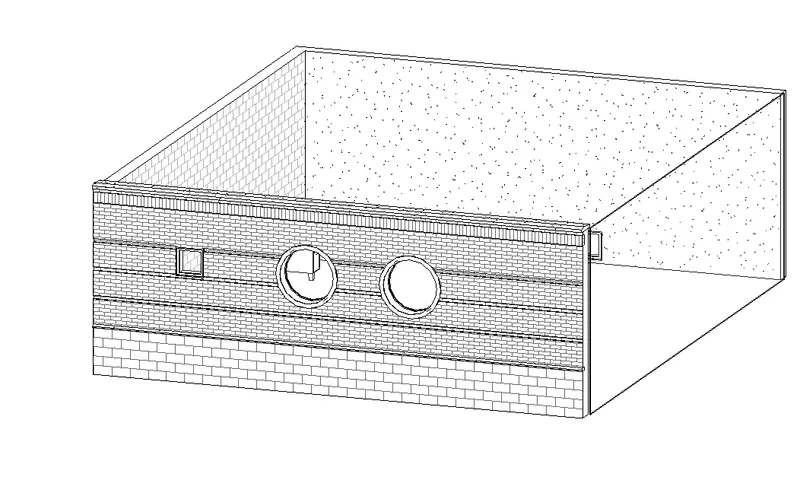
Q. 3) Setting up a Project – Open a project file with an architectural template. Save the file with an appropriate name. Set up the project units to Imperial / Metric based on your convenience of modeling. Complete the project information under the Manage tab. Set up the maximum backups for project files to 3.
Aim:- To open a project file with Architectural templet, save the file with an appropriate name, set up the project units and complete the project information under the manage tab.
Procedure:-
- First I had open a new file with Architectural templet.
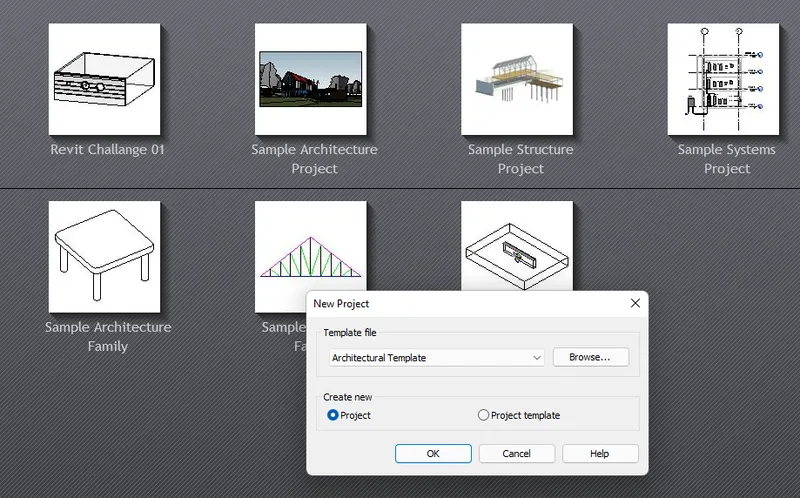
- Saving the file with "challenge 02" named in my system.
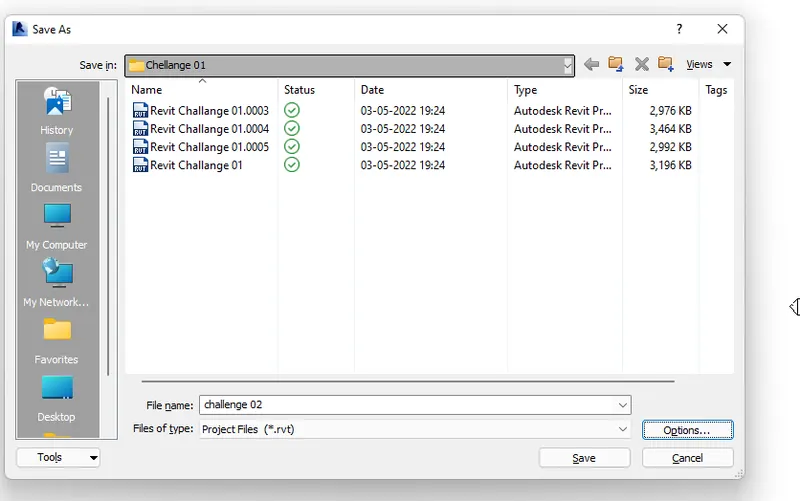
- To set up project units go to the 'Project Unit ' tool in the Manage menu or use the shortcut key "UN".

- Now, I am setting the units as a Metric unit system, as you can see below the image.
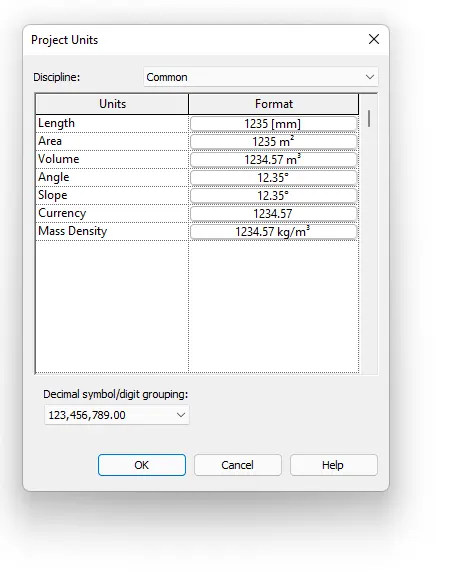
- To set the information about the project go to the "Project Information' tool in the Manage toolbar.

- And we can fill the Project Information dialogue box as per our requirement.
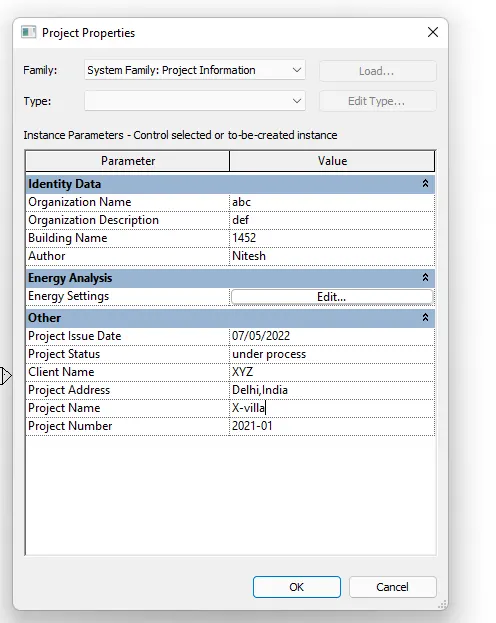
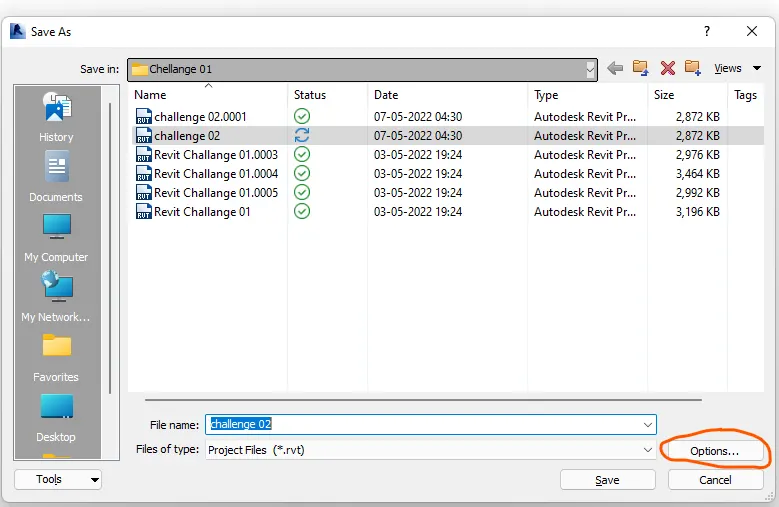
- To set up a backup file, we have to go save the file and click on 'OPTION'.
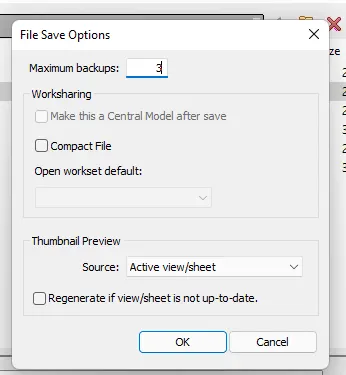
- Now, we can set a number of backup files as our requirement.
Result:-
we can see the total 3 number of backup files.

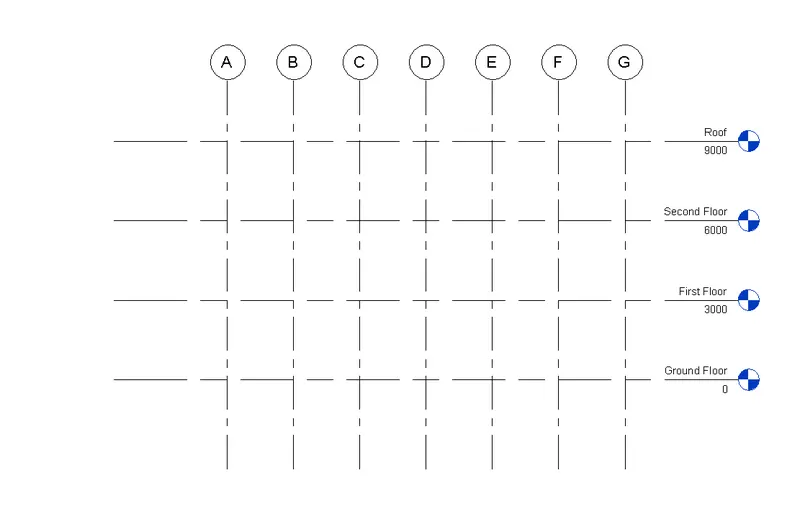
Q. 4) Understand the concept of Levels and Grids. Follow the naming and conventions. Create the following Levels: ( Convert to metric equivalents if the metric is your unit). Ground Floor @ 0’(00mm), First Floor @ 10’(3000mm), Second Floor @ 20’(6000mm) and Roof @ 30’(9000mm)
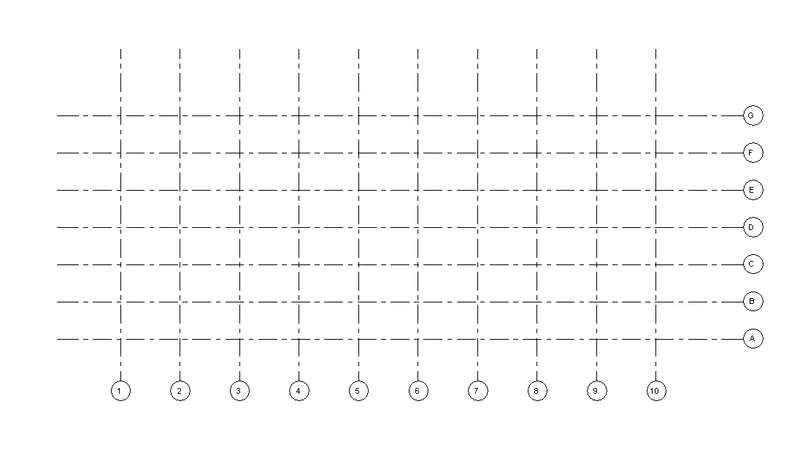
Aim:- 1) To create the following Grids:-
- Transverse Grids A,B,C,D,E,F @ 2500MM spacing.
-Longitudinal Grids 1 to 10 @ 4000MM spacing.
2) To create the following Levels:-
-Ground Floor @ 000mm,
-First Floor @ 3000mm,
-Second Floor @ 6000mm and
-Roof @ 9000mm
Procedure:-
- I had opened my previous file, and the units are already set.
- Let's Create grids. to create grids we have to go Architecture>Datum>grids.

- now, we can draw the Transverse and Longitudinal Grids as per our required spacing.
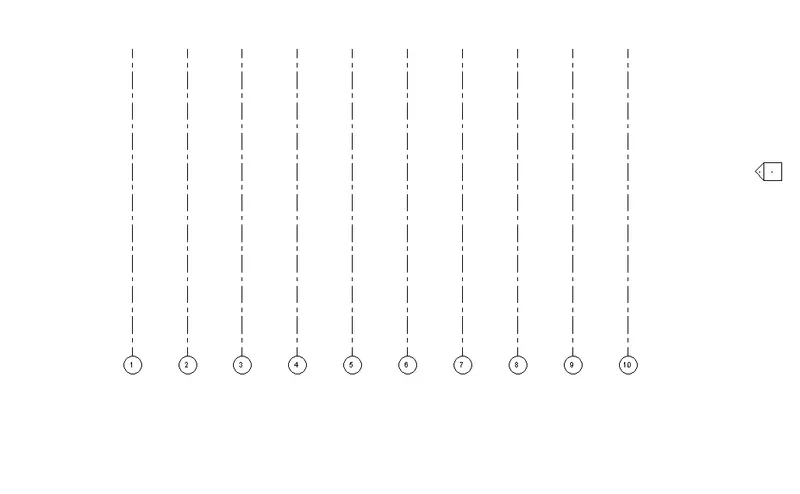
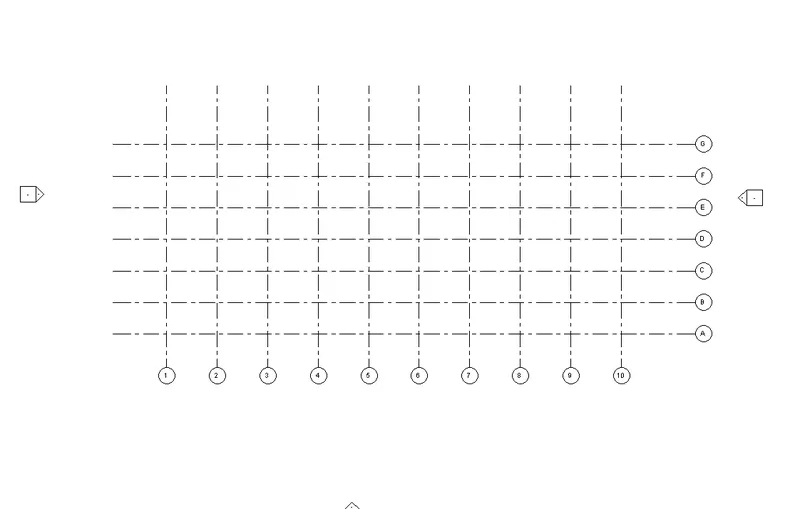
- To create Levels, go to any elevation view.
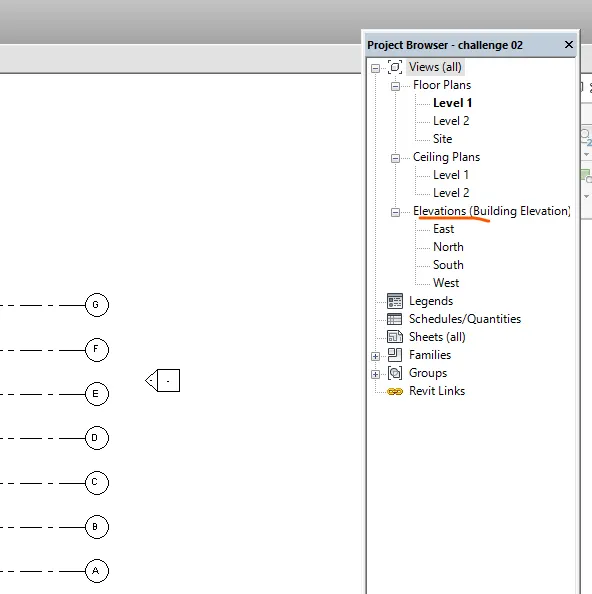
- Now I can see some default system-generated levels.
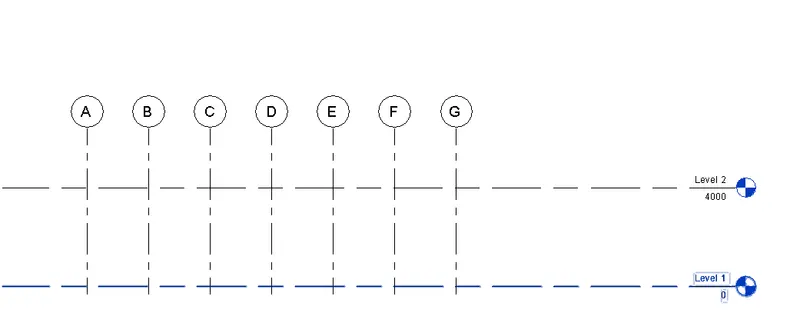
- Let's draw levels as per our height and change the name.
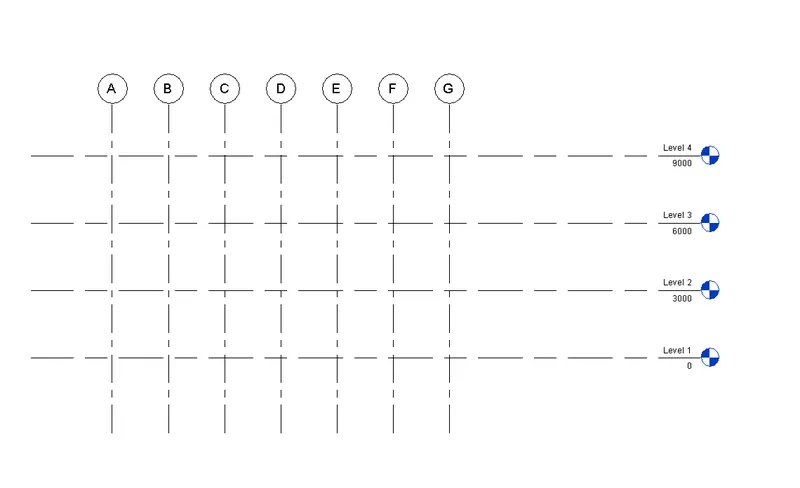
Result:-
Q. 5) 3D modeling of the residential unit – From looking at your house / or a place you aspire. Create a conceptual layout of the residential unit. You can measure using a tape or
you can access your residential plan to create a similar layout.
Aim:- To create the conceptual layout and 3D modeling of a residential unit in REVIT software.
Procedure:-
- First, open a new project file with an architectural template.
- By using the wall tool (WA) draw exterior and interior walls as per the required thickness. we can see the floor plan.
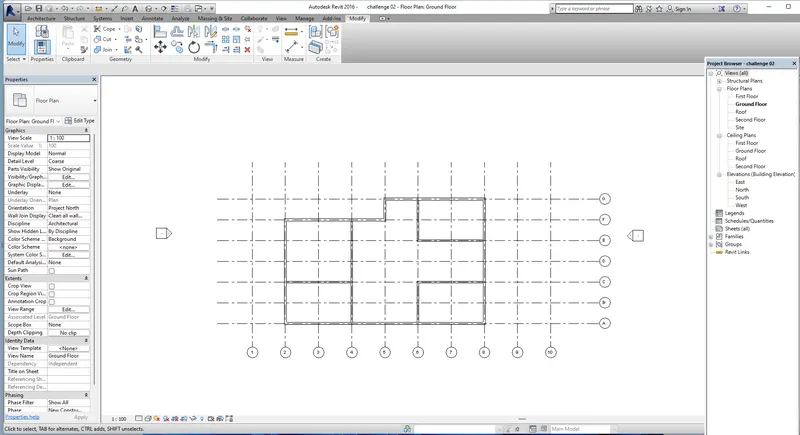
- Click on 3D view in the menu tab.
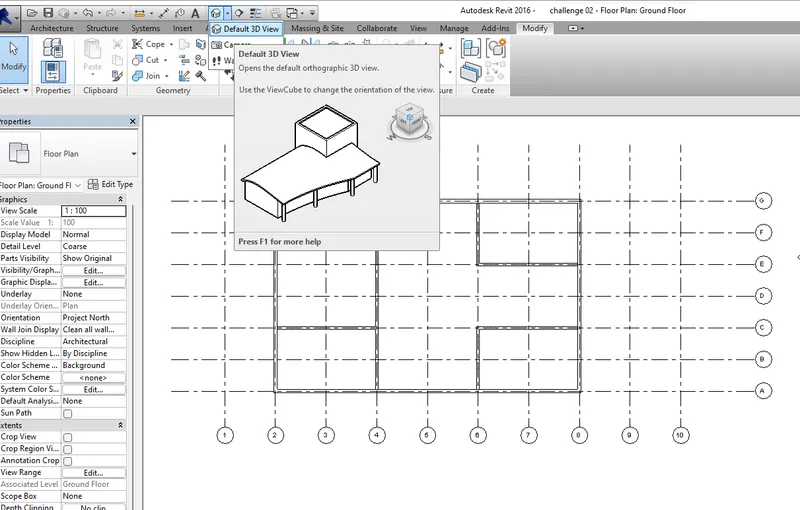
- The required 3D modeling of a residential unit is created.
Result:-
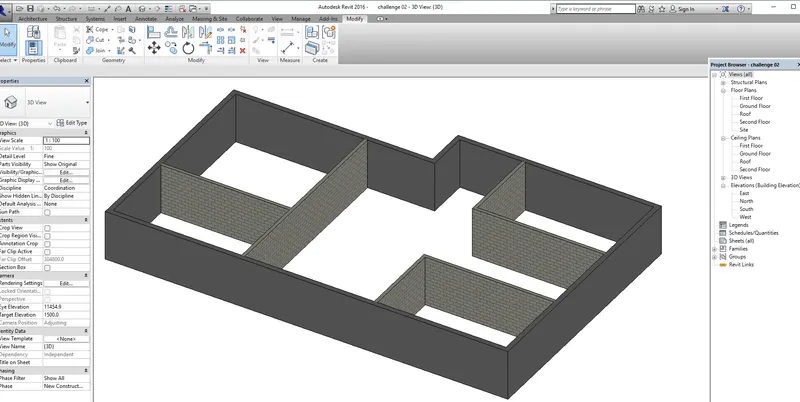
Q. 6) In the layout created draft the level of details you are planning to include – Dimensions of the room, and components you plan to add to the residential unit.
Aim:- To add dimensions of the room, and componeents in your residentail unit.
Procedure:-
- Open the residentail unit plan, which we had drawn in previous question.
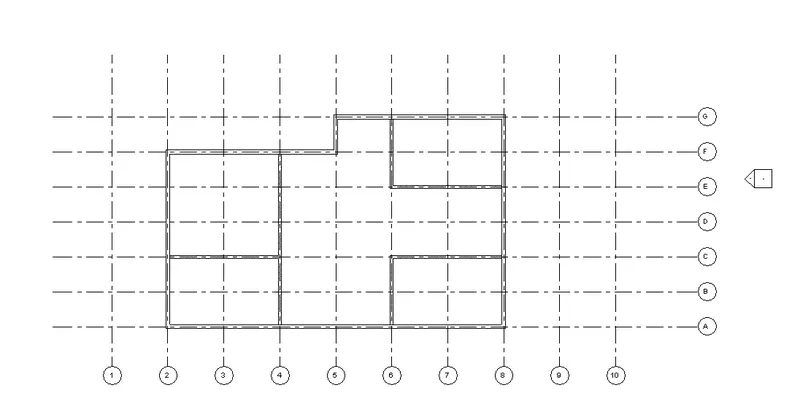
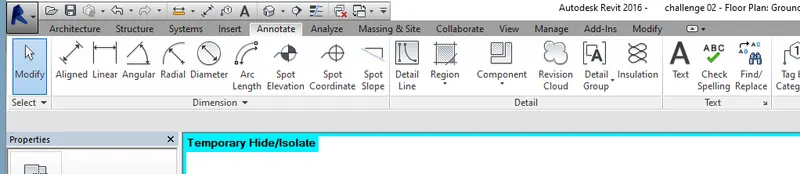
- To provide dimension in plan, go to annota tab in menu bar. And select aligned or linear or any of those and start giving dimension to plan.
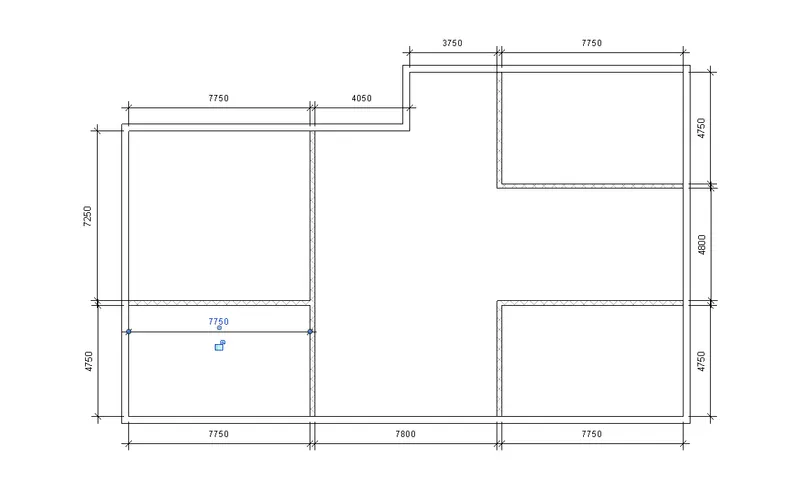
- now, we can see the given dimension in residentail unit plan.
- check Text option in Annote menu bar and we can text each room.
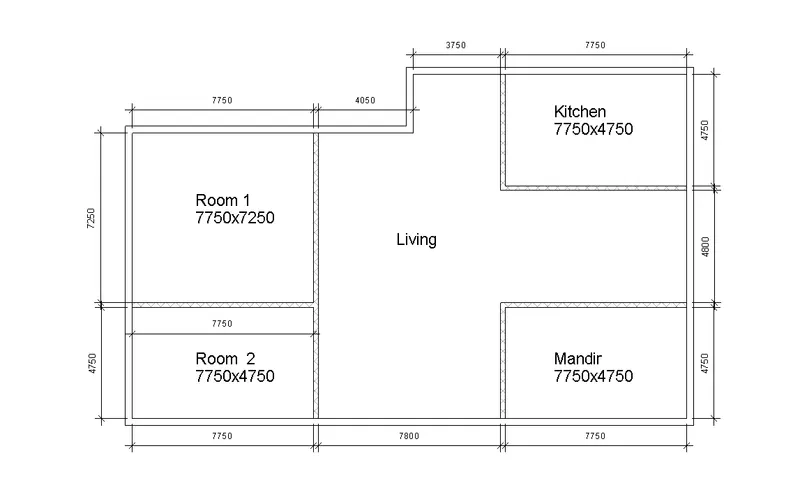
Result:-
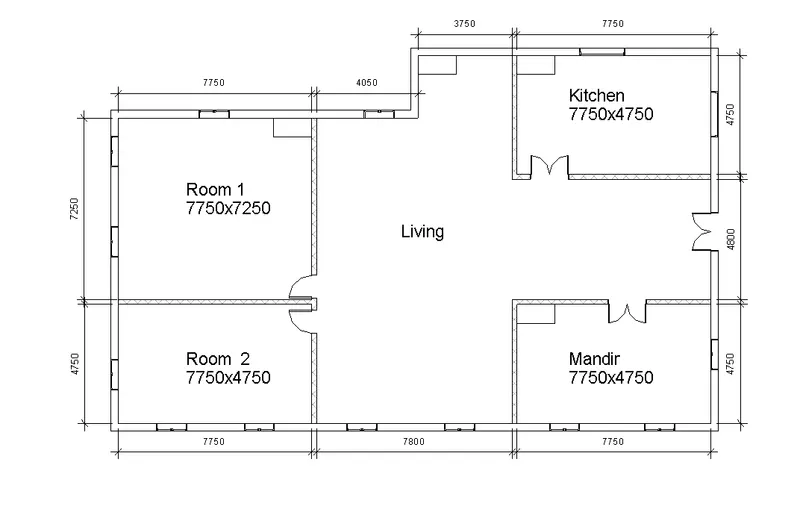
Q. 7) Identify the residential model elements such as Door, Windows, Tables, Chairs, Couch, Bed, and Lamps from the library and insert them into the model. Save the project for use
for Assignment 3
Aim:- To add residential model elements such as Door, Windows, Tables, Chairs, Couch, Bed, and Lamps from the library and insert them into the model.
Procedure:-
- we can add door, window from architecture>door or window, To add special Door, Windows, Tables, Chairs, Couch, Bed, and Lamps we have to select from 'Component' tool bar.
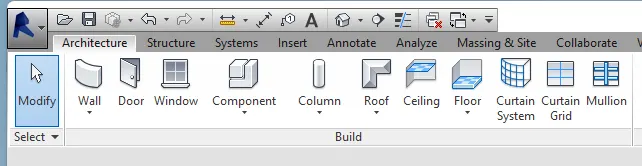
- And we can load same new componet form Load family.
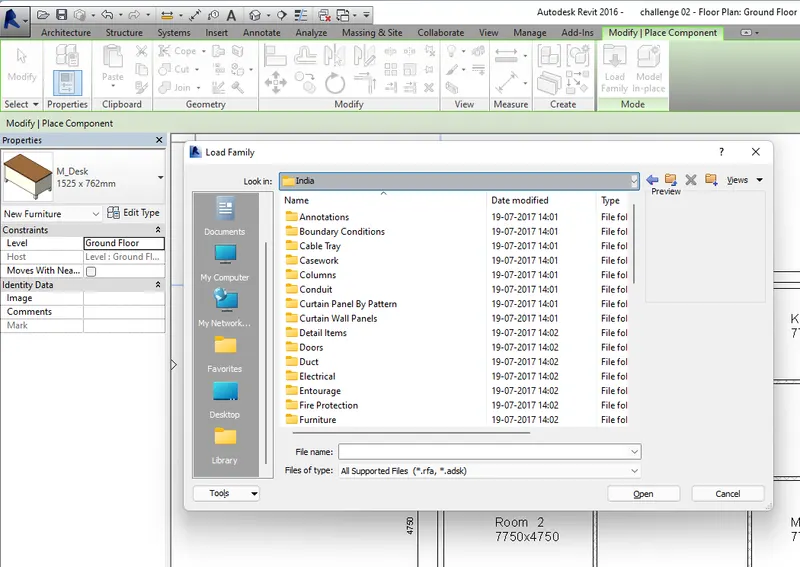
Result:-
a) Plan View:- 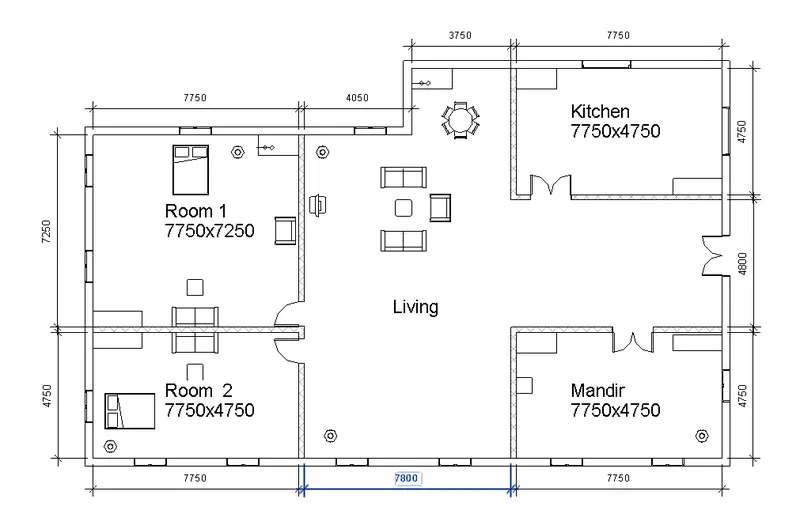
b) 3D View:-