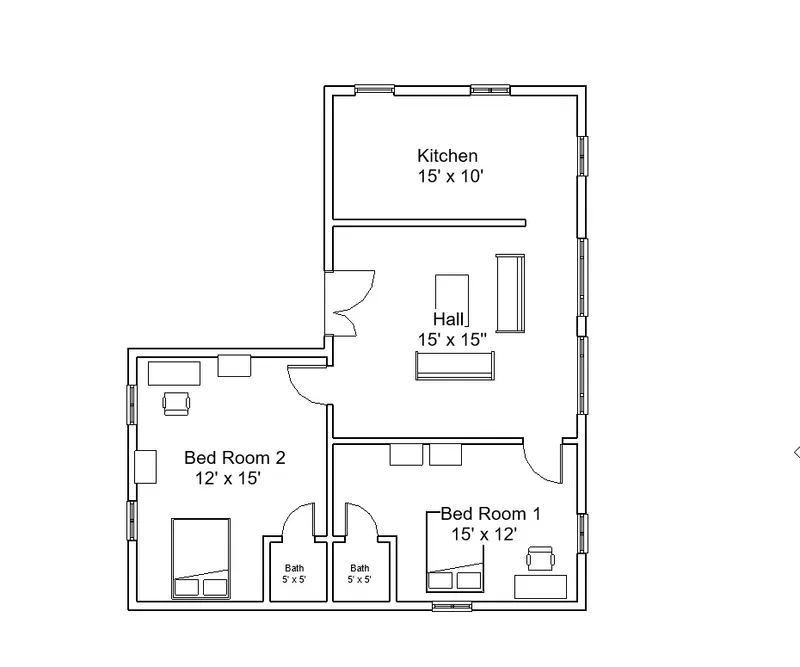
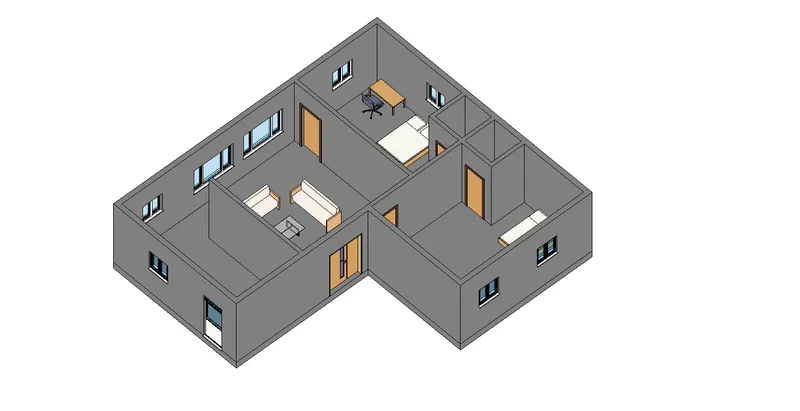
Creating Levels, Grids, Layout and model elements for a residential unit using REVIT
1. What is BIM? Summarize the features of BIM and the benefits of using BIM over 2D CAD tools.
- BIM integrates multi-disciplinary data to create detailed digital representations that are managed in an open cloud platform for real-time collaboration.
- Using BIM gives you greater visibility, better decision-making, more sustainable options, and cost savings on AEC projects.
Features of BIM:
- BIM is a physical representation of the physical and functional characteristics of the building process, that provides every minute detail of the project.
- Every stakeholder makes their discipline-specific input to make it comprehensively shared information resource about the structure.
- BIM enables the designers to hand over a virtual information model of the project to the principal contractor and other sub-contractors, and then subsequently this model is transferred to the owners or the operators of the facility. The architect, structural, civil, and building services engineers, surveyors, etc, can make inputs regarding discipline-specific data to the model which is shared by each stakeholder.
- BIM spans the entire life cycle of a structure, as mentioned above, right from the initial design conceptualization to its full occupancy tenure till its demolition. A BIM manager is essential to ensure efficient management of information systems during the complete building life cycle.
Benefits of applying BIM over 2D Cad tools.
- Early detection of a collision.
- Faster design and construction.
- More precise planning.
- Visualization at an early stage of the project.
- Higher quality of performed work.
- Better communication in the project.
- Reducing delays and errors.
- Increasing efficiency and productivity.
- Competitiveness.
- Easy access to information.
2) Understand the concept of Categories, Families, Elements, Instances in Revit. Go to Insert Tab, choose a category. Pick a family and element. Understand the instances and insert it to Revit model
Category: It controls the organization, visibility, graphical representations, and scheduling options of Families within the project.
Family: A family is a grouping of 2D and 3D information that serves to represent a discrete building or documentation element in the project.
Instance: It is an individual representation of the type in the project defined by unique parametric, Graphical, and documentation.
LOADING THE FAMILY FROM REVIT:
- Open Revit 2023
- Go to the insert tab
- Select the option load families
- Select the particular family and enter Revit.
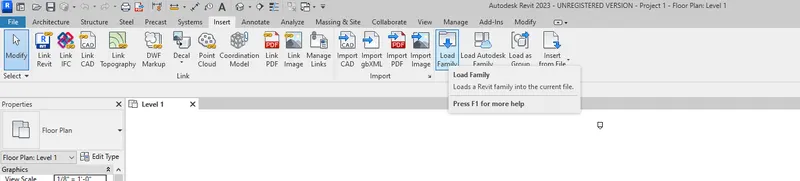
Load Families from the current version of Revit
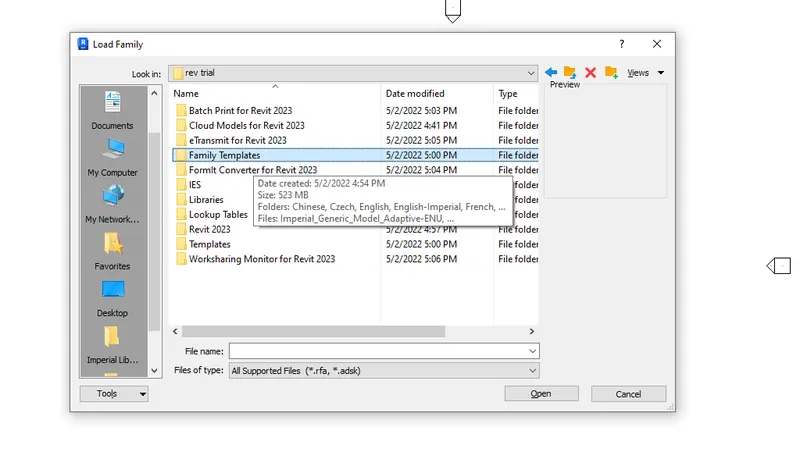
Load in the components you needed
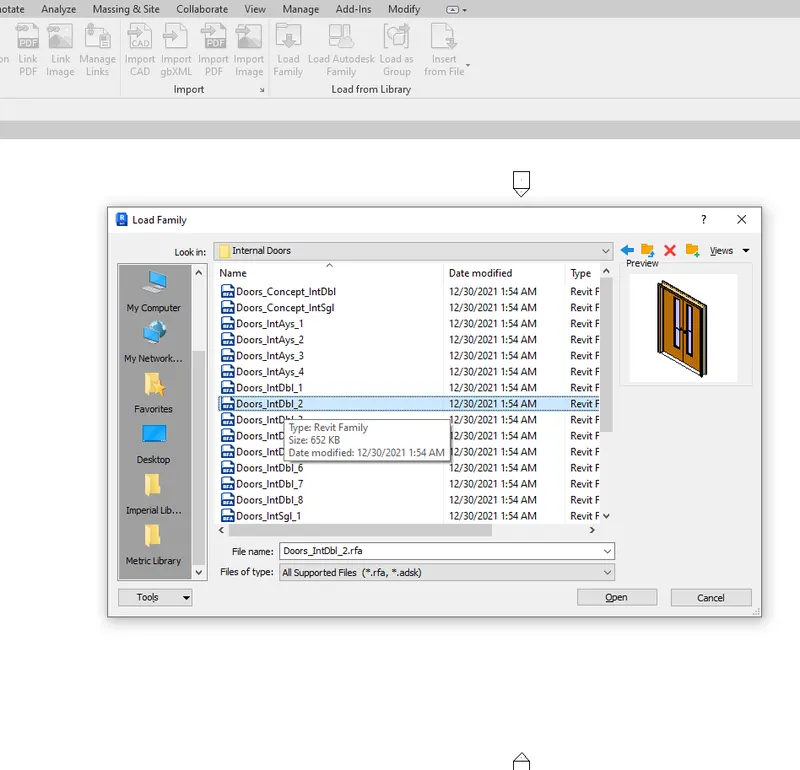
These are the families in Revit
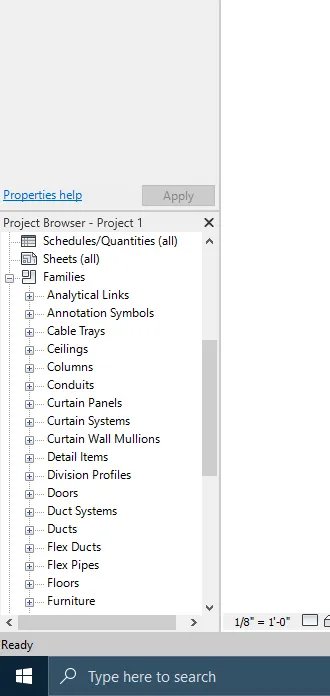
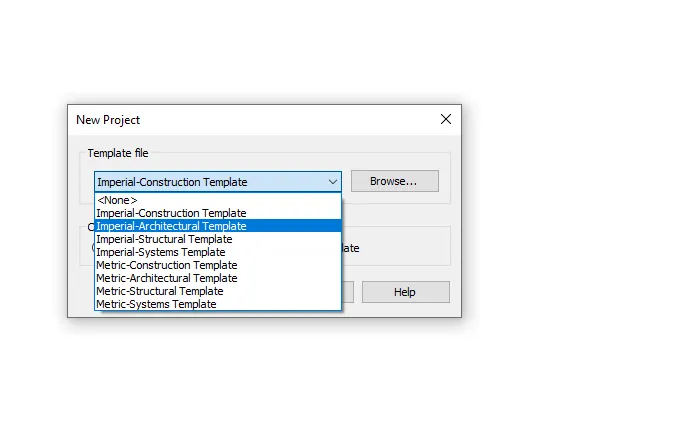
3) Setting up a Project – Open a project file with architectural template. Save the file with appropriate name. Set up the project units to Imperial / Metric based on your convenience of modelling. Complete the project information under Manage tab. Set up the maximum backups for project file to 3
Open the project with Architectural Template:
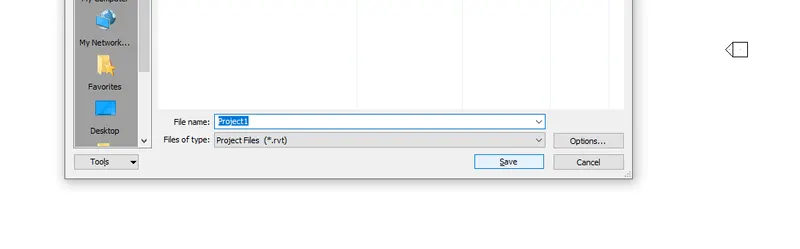
Save the project
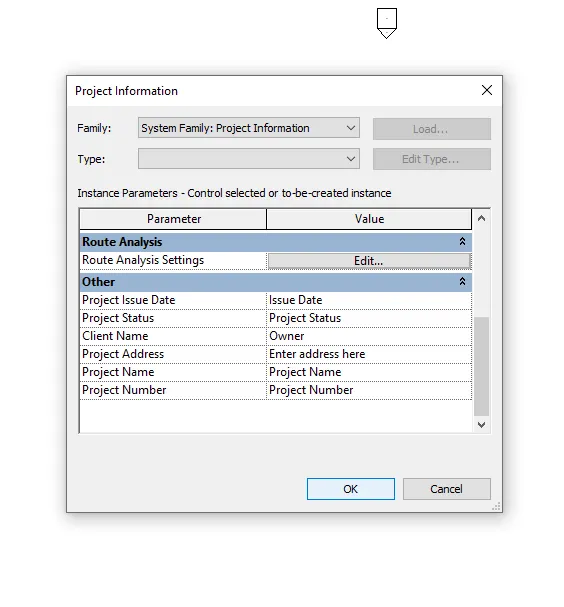
Project information in the manage tab
- Go to the Manage tab
- Select the options project information
- Fill in the details needed - OK
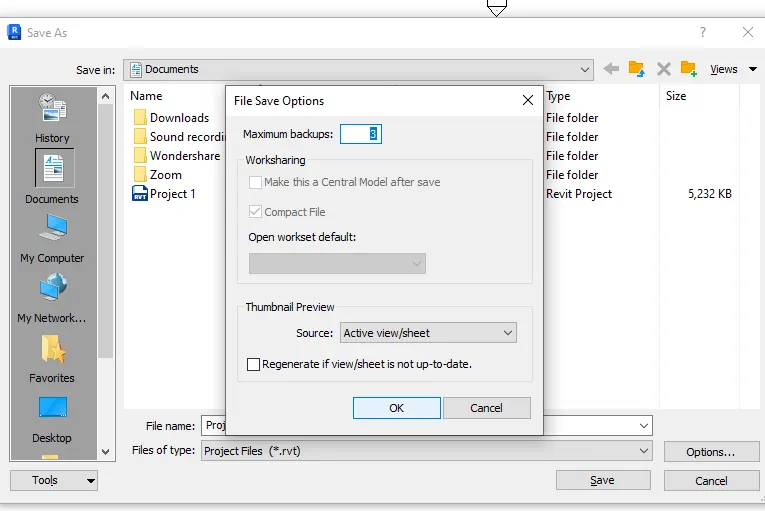
Creating Backup Files:
- Go to the File menu
- Select save as an option and select project.
- A save as dialog box will be appearing on the screen
- Click on the Options tab at the left bottom of the dialog box and set the max backups as 3.
4) Understand the concept of Levels and Grids. Follow the naming and conventions. Create the following Levels: ( Convert to metric equivalents if metric is your units)
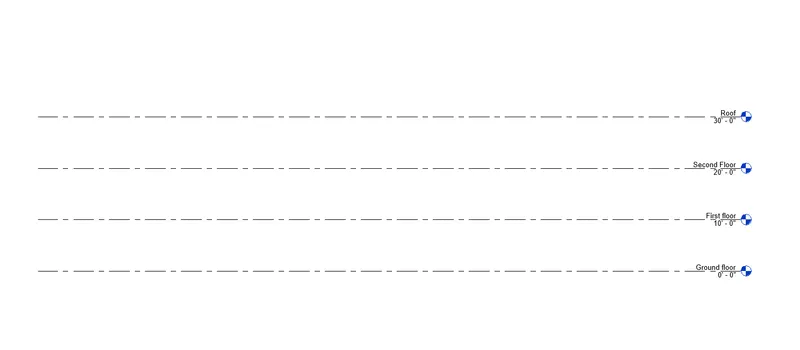
Ground Floor @ 0’
First Floor @ 10’
Second Floor @ 20’
Roof @ 30’
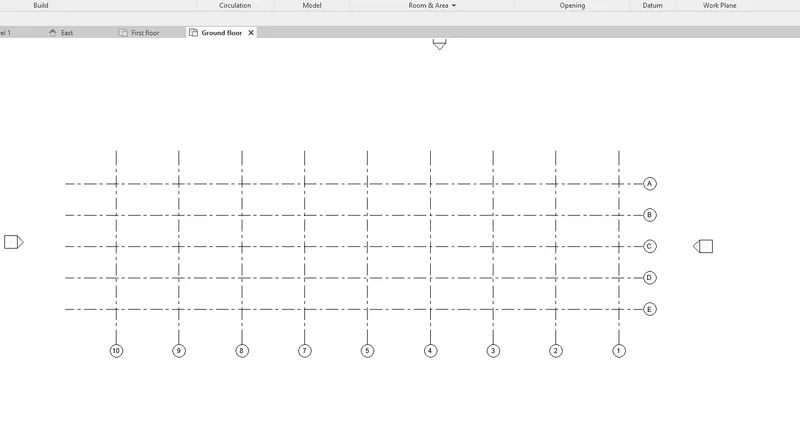
Grids Transverse Grids A, B,C,D, E @ 10’ spacing
Longitudinal Grids from 1 to 10 @ 20’ spacing
Answer:
- Open Revit 2023
- Open the Architectural template and select the project.
- Change the units to feet
- For creating levels go to elevation in the project browser- select east elevation.
- Two basic levels will be displayed on the screen.
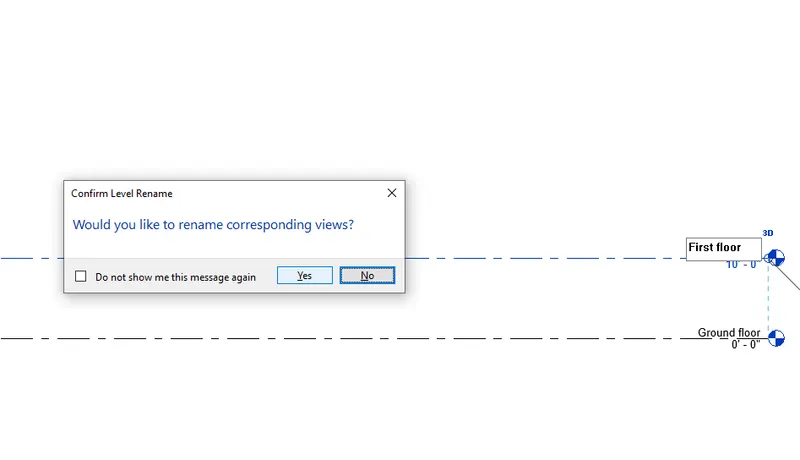
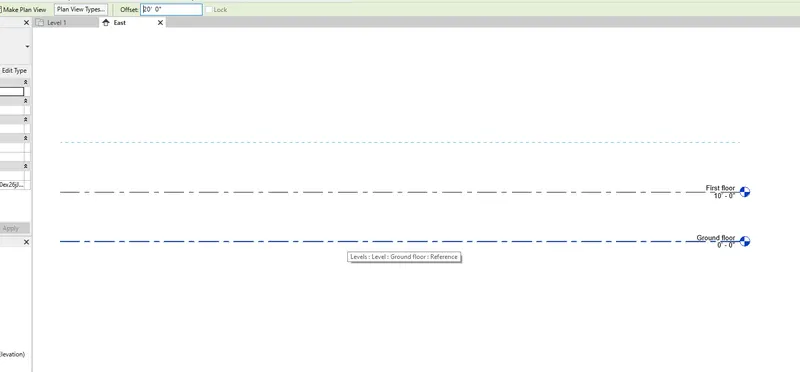
- Keep the bottom-most level and rename it the ground floor.
- Then the level 2... rename it as the First floor
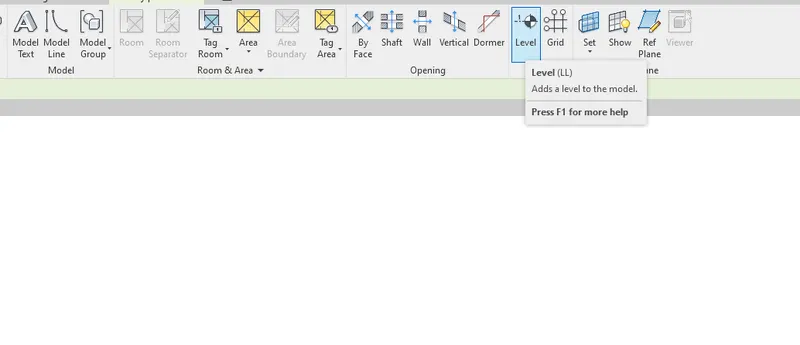
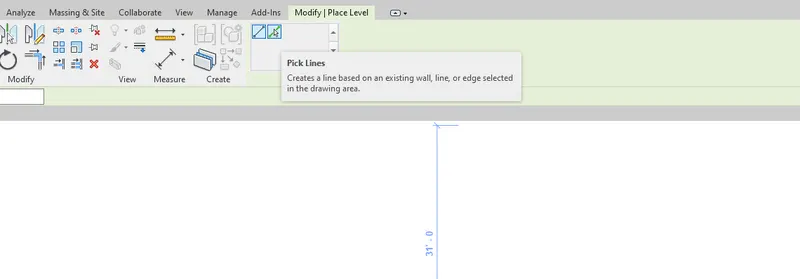
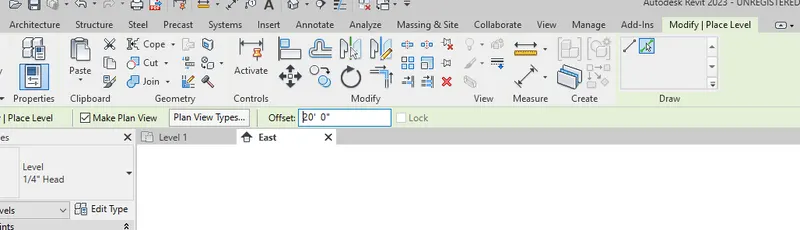
- Then Click on levels from the Architecture tab and select the pick line option
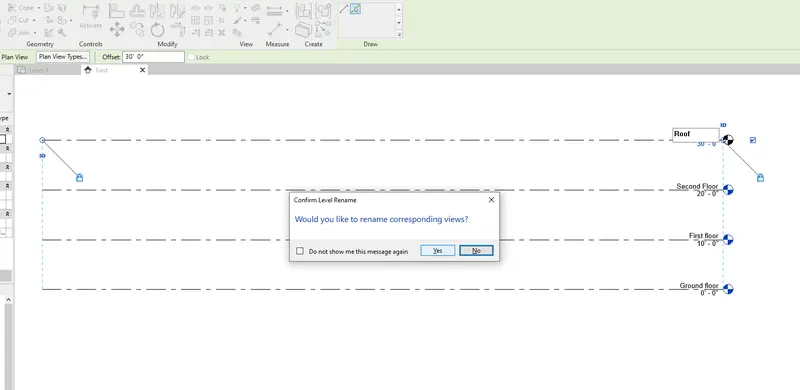
- Type the offset distance as 20' from the ground floor and align the cursor to create the level at the top.
(also we can use a 10' offset from the first floor) - Then create a roof level of offset 30'.
For creating grids:
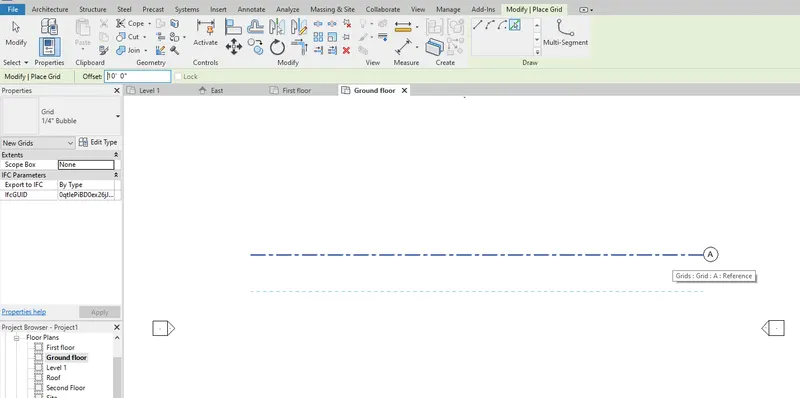
Go to the architecture tab
Click on Grids
Create a grid line from left to right.
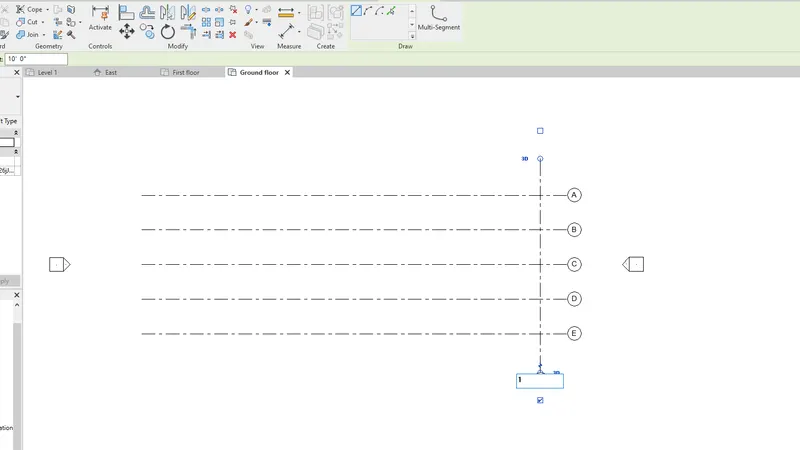
Then select the option pick line and give the offset distance as 10'
Create the number of grids we needed A, B, C, D, and E.
Then create a grid from top to bottom and Rename it as 1.
Then select pick line and give offset of 20' and create up to 10 grids.

5) 3D modelling of residential unit – From looking at your house / or a place you aspire. Create a conceptual layout of the residential unit. You can measure using a tape or
you can access your residential plan to create a similar layout.
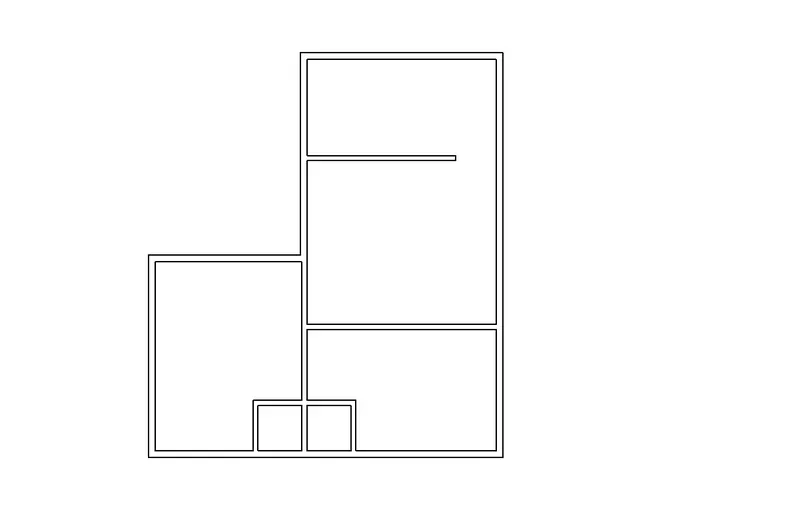
- Open Revit 2023 with architectural template
- Enter UN(units) command and set the dimensions to feet and inches
- Go to the wall option in the architectural tab
- Draw the external walls
- Again, go to the wall option and draw the internal walls by creating the wall settings
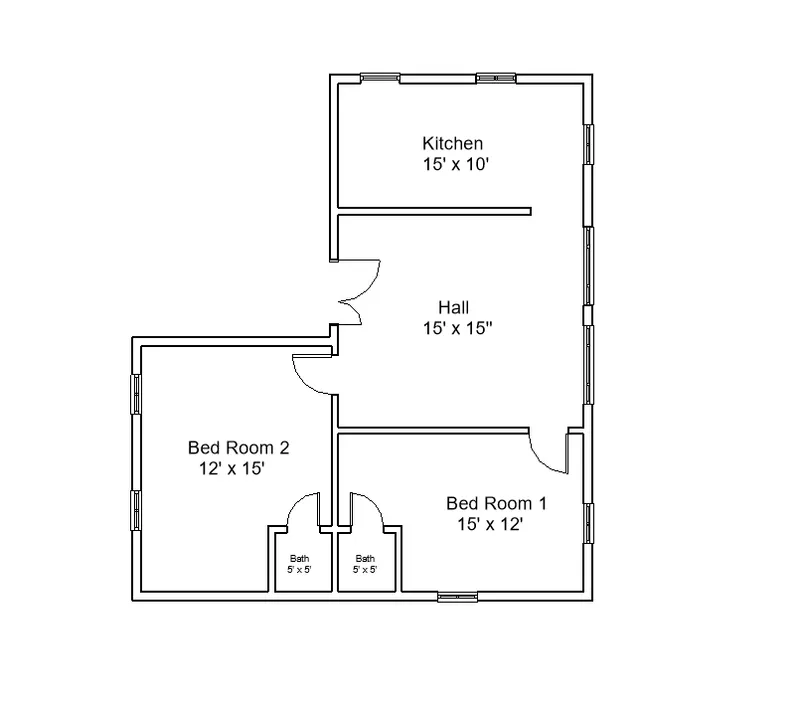
6) In the layout created draft the level of details you are planning to include – Dimensions of room, components you plan to add in the residential unit.
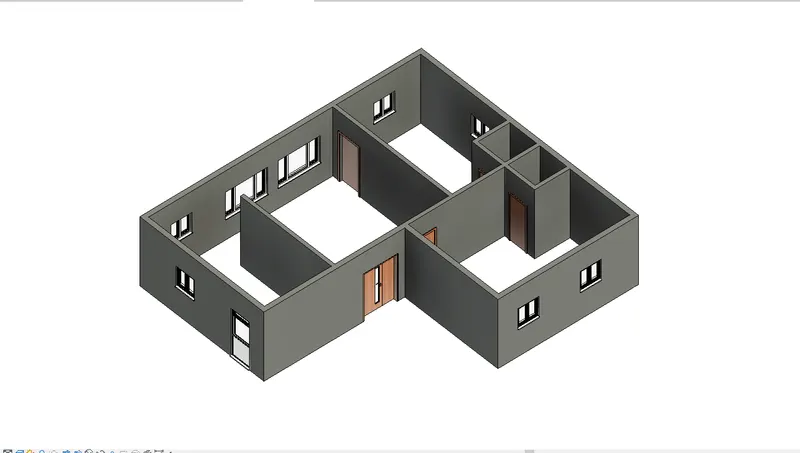
7) Identify the residential model elements such as Door, Windows, Tables, Chair, Couch, Bed, Lamps from the library and insert them to the model .