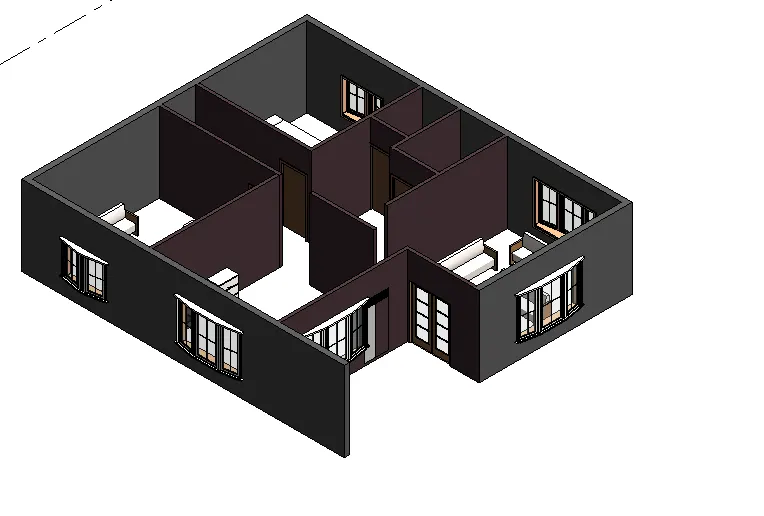
Creating Levels, Grids, Layout and model elements for a residential unit using REVIT
1)What is BIM? Summarize the features of BIM and benefits of using BIM over 2D CAD tools.
ANS:-BIM
- BIMis the tool for thebuilding information modeling.
- its a procss of creating and managenig information for a builet asset
- its used by profession to plan design of constructed a str building
- its like all of the information of building gatherd from conception to completion
feature:-
- better 3d visualization of the entire project
- easy collabration bet multiple teams and treds
- real time cost valluation
- more effcient site planing and sheduallin
benifites:-
- Cad deals with the process of design models and floorplans but BIMincludesso much more thendesigin.
- BIM pulls your doct into asingledatabase
- resources tracking is akey componet of BIM models
- easy collboration bet multiple tems nd treds
- BIM gives us more realistics and accurate idea of the final str.
2)- Understand the concept of Categories, Families, Elements, Instances in Revit. Go to Insert Tab, choose a category. Pick a family and element. Understand the instances and insert it to Revit model
ans:-
INTRODCATION
CATEGORIES:-
- Classification for familes for example door,windows,furnitureelwmnts.
- Families are grouped and sorted by categories in the project browser.
families:-
- a families is a group of elements with acommon set of properties called paramentres and a releted graphicalrepresention.
elements:-
- elements are the building blocks a 3d model;
instance:-
- instance are a individual graphical,geometrice elements placed in a REVIT model e.g.a single wall ,single Door or any other single elements.
Procedure:-
3:- AIM:-Setting up a Project – Open a project file with architectural template. Save the file with appropriate name. Set up the project units to Imperial / Metric based on your convenience of modelling. Complete the project information under Manage tab. Set up the maximum backups for project file to 3
PROCEDURE:-
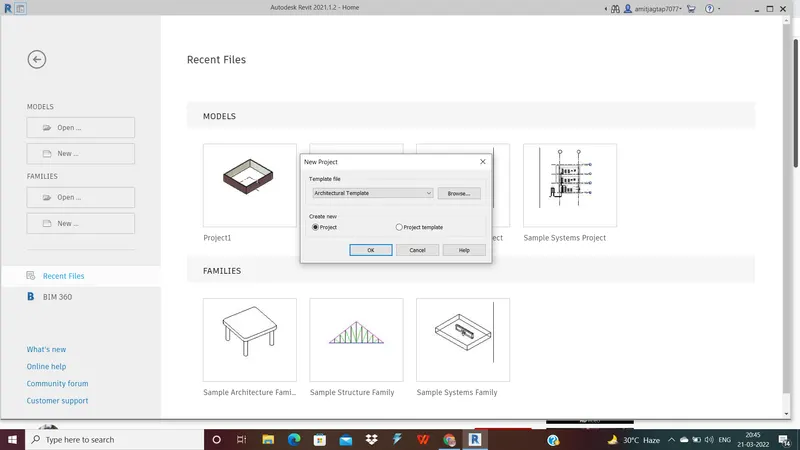
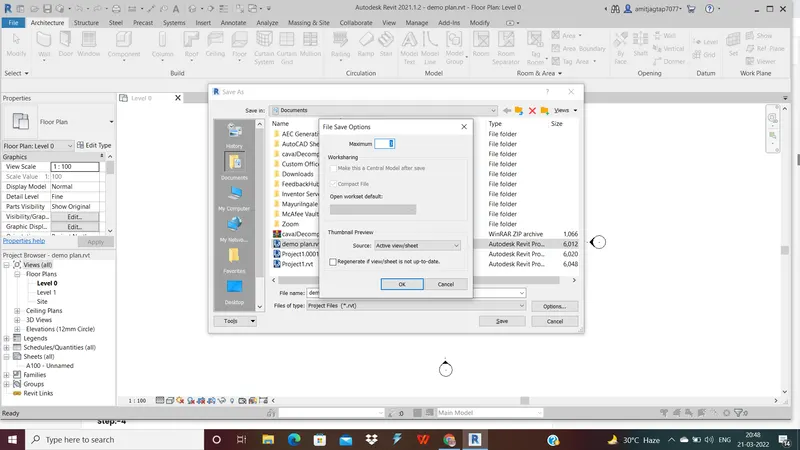
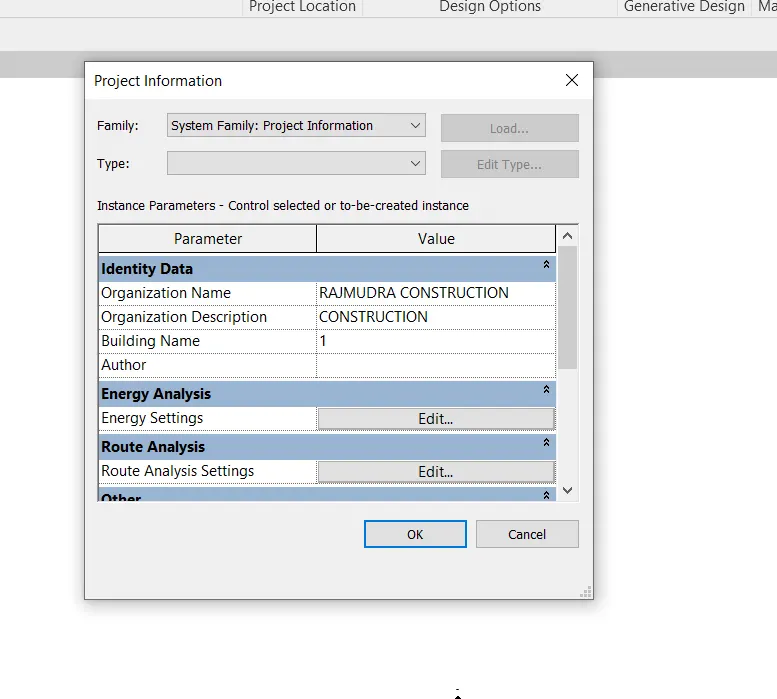
RESULET:- TO SET ALL PROJECT INFORMATION AND MAX Backup in 3 times,
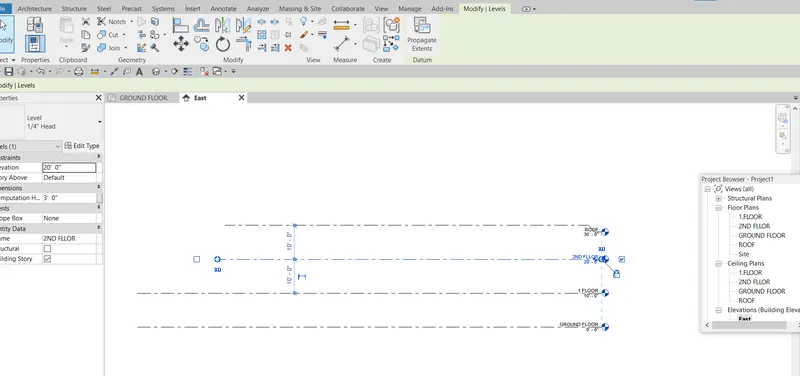
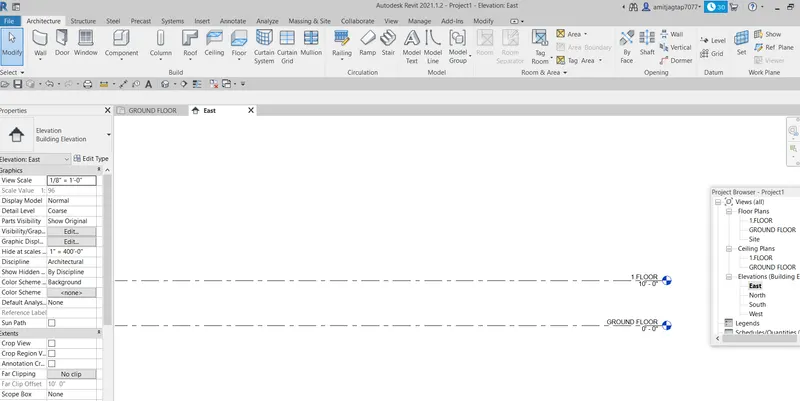
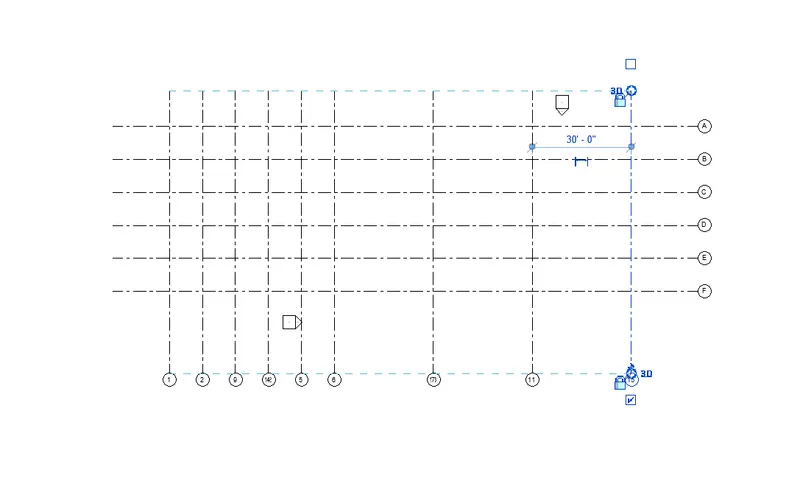
4:-AIM:-Understand the concept of Levels and Grids. Follow the naming and conventions. Create the following Levels: ( Convert to metric equivalents if metric is your units)
Ground Floor @ 0’
First Floor @ 10’
Second Floor @ 20’
Roof @ 30’
PROCEDURE:-
5):-ans:-aim3D modelling of residential unit – From looking at your house / or a place you aspire. Create a conceptual layout of the residential unit. You can measure using a tape or
you can access your residential plan to create a similar layout.
preocedure:-
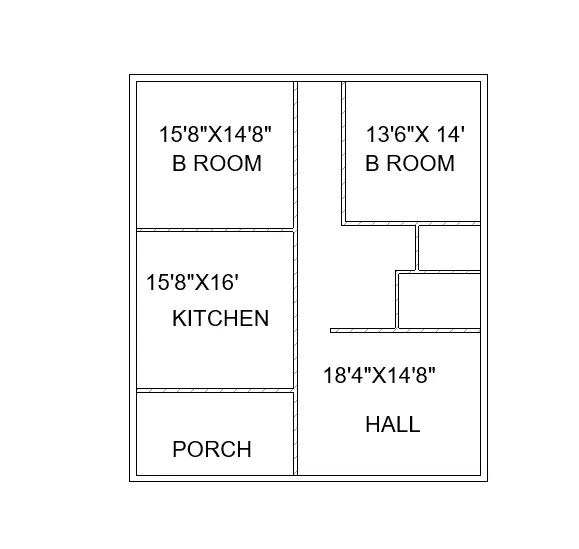
6:-aim:-n the layout created draft the level of details you are planning to include – Dimensions of room, components you plan to add in the residential unit.
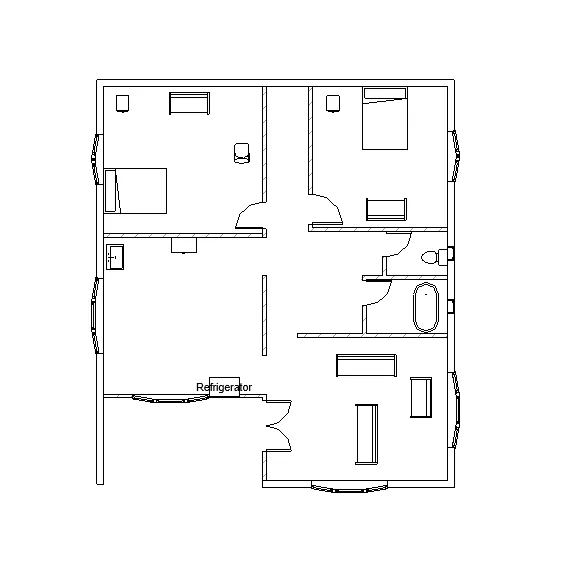
7:-aim:-Identify the residential model elements such as Door, Windows, Tables, Chair, Couch, Bed, Lamps from the library and insert them to the model . Save the project for use
for Assignment 3
procedure:-