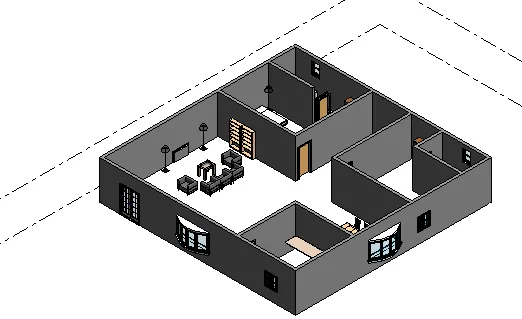
Creating Levels, Grids, Layout and model elements for a residential unit using REVIT
AIM:
1) To Describe BIM and Summarize the features of BIM and benefits of using BIM over 2D CAD tools.
2) To explain concept of Categories, Families, Elements, Instances in Revit. Go to Insert Tab, choose a category. Pick a family and element. Understand the instances and insert it to Revit model
3) To Set up a Project – Open a project file with architectural template. Save the file with appropriate name. Set up the project units to Imperial / Metric based on your convenience of modelling. Complete the project information under Manage tab. Set up the maximum backups for project file to 3
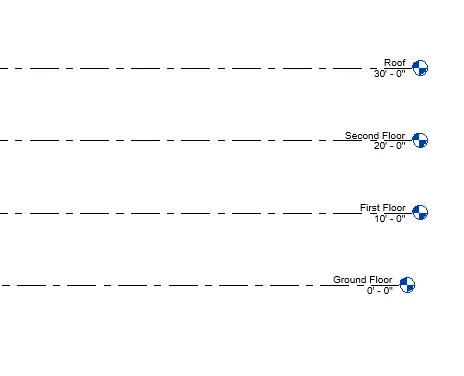
4) To Understand the concept of Levels and Grids. Follow the naming and conventions. Create the following Levels
Ground Floor @ 0’
First Floor @ 10’
Second Floor @ 20’
Roof @ 30’
and create the
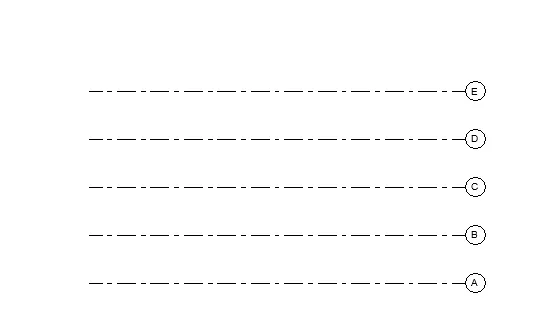
Grids Transverse Grids A, B,C,D, E @ 10’ spacing
Longitudinal Grids from 1 to 10 @ 20’ spacing
5)To create a 3D modelling of residential unit. Create a conceptual layout of the residential unit.
6) In the layout created draft the level of details you are planning to include – Dimensions of room, components you plan to add in the residential unit.
7) To Identify the residential model elements such as Door, Windows, Tables, Chair, Couch, Bed, Lamps from the library and insert them to the model . Save the project for use
for Assignment 3
PROCEDURE:
1) BIM is a visual representation of physical and functional characteristicts of a facility from inception onwards, assuch it serves as a shared information repository for collaboration throughout a facility's life cycle
Features of beam:
Easy access to the project .
Making the project more expressive.
comprehensive view of the project.
Benefits of using BIM over 2D and 3D CAD tools.
Complete representation.
Resource tracking .
Instant updates.
Time constraint.
2) Category: It controls the organisation visibility, graphical representation and scheduling options of families within the project.
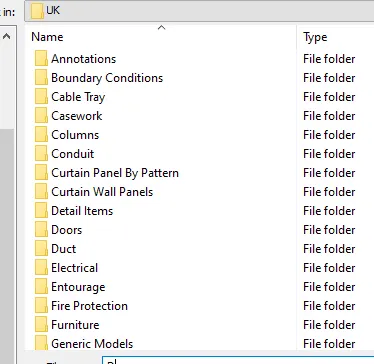
Families: After category we enter into family . It is a group of 2D and 3D elements that defines the parametrical graphical and documentation characteristics of the element.
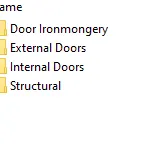
Types: After selecting family we enter into elements which is the distinct parametrical,graphical and documentation characteristics of which makes it unique from other types in the families.
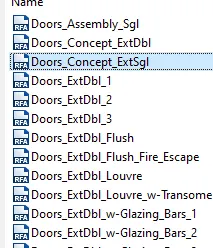
Instances:After selecting type we enter into instances which is an individual representation of a type defined by unique parametrical graphical and documentation characteristics which makes it unique from other instances in the project.
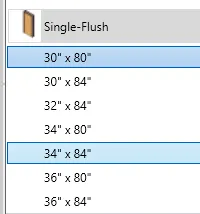
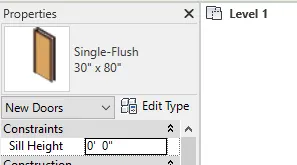
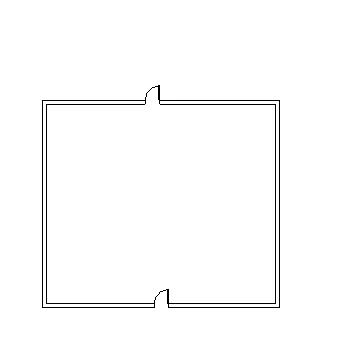
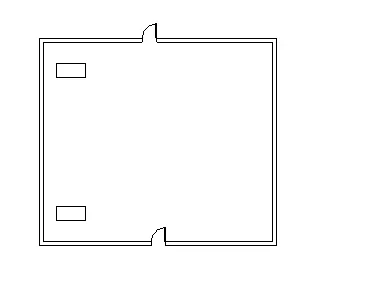
Go to the Insert tab and select load family and then select door which is the category and then select family residential and select type single flush door with instance ofdesired size add it to the drawing created in the last assignment .
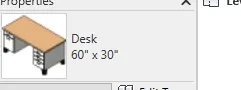
can also insert another category by same process as above such as desk.
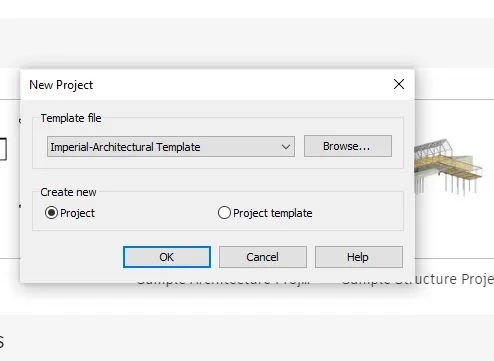
3) open a new file with -architectural template
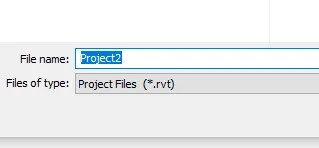
then save it with name project 2
then go to the options and select the maximum backup as 3.
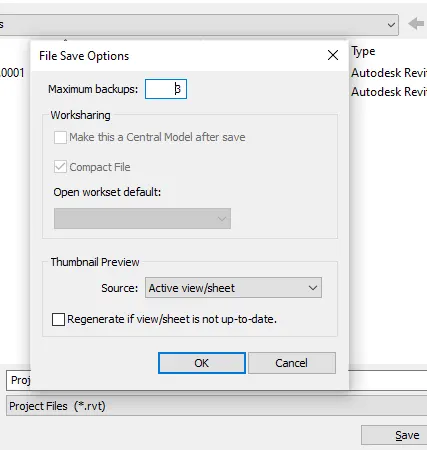 and save.
then go to the project information from manage tab and give the appropriate information.
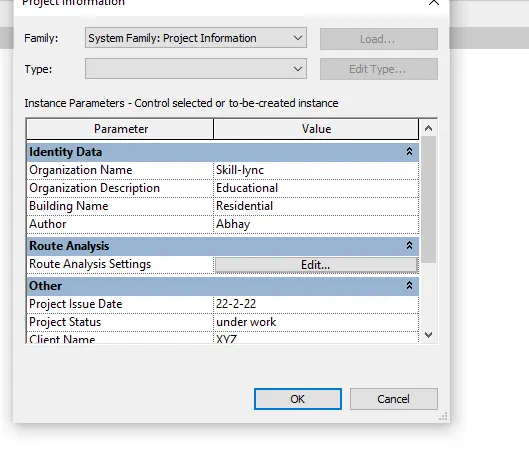 then press ok.
4) Go to the elevation view two levels are there by default at a distance of 10' change the name of the levels to ground floor and first floor.
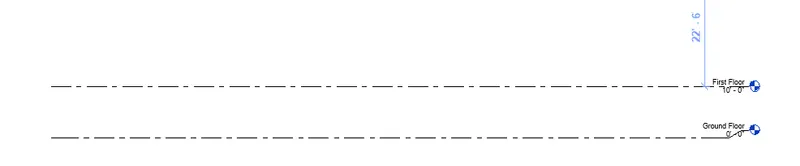
then go to the architectural tab to create new levels select level and select option pick point give offset 10' and create two more levels and rename them as second floor and roof.
then go to floor plan view select grid from architecture and select line and draw a grid and then select pick point and offset 10' and then similary draw 4 more transverse grids and rename them as A,B,C,D,E and
then similarly draw the longitudnal grids with offset 20' and rename them as 1 to 10.
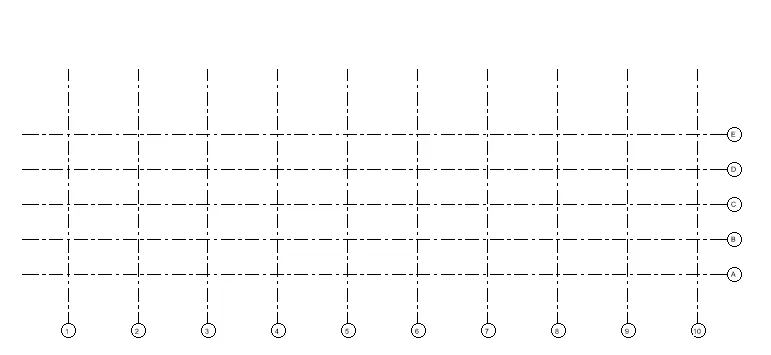
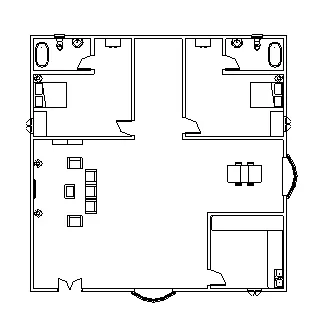
5) create a new drawing with imperial architecture template draw a layout as per your own choice .
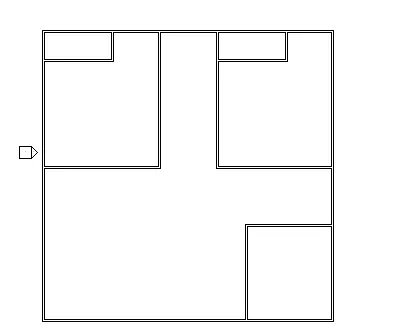
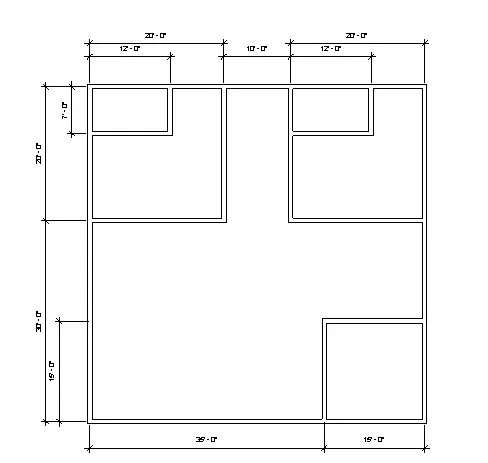
select floor plan view rename it as groundfloor and select option wall draw layout with wall option. draw the outline of the layout with wall as 50' ,50' then draw the bedroom as 20'*20' and washroom as 10'*7' and kitchen as 15'*15' and the area for staircase 10'*15'
6) Go to the annotate tab and select aligned dimension option and give dimension to all the components such as rooms and washroom kitchen and livng room and the area for staircase.
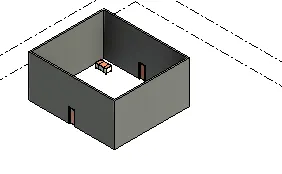
7) Go to the architecture tab select components place components select door load family select category door and family residential and select the type of door and instance. and then add the door to the drawing. and also the windows similarly.
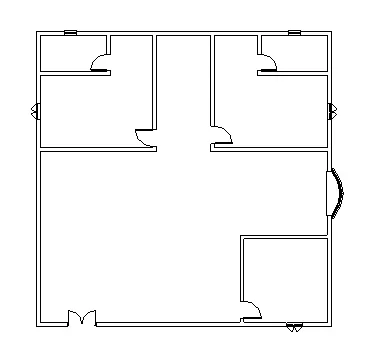
similarly load families for bedrooms washrooms living room and kitchen such as beds bathtub sofa desk lamp table dining table sinks etc.
RESULT:
2)
4)
5)
6)
7)