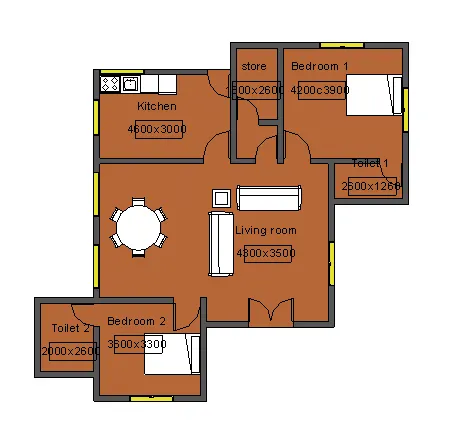
Creating Levels, Grids, Layout and model elements for a residential unit using REVIT
Q1. What is BIM? Summarize the features of BIM and benefits of using BIM over 2D CAD tools.
Ans :
Building information modeling, sometimes known as building design, generates a 3D representation of a physical structure and all of its characteristics.
BIM Software products are frequently used in the architecture and construction industries because these industries are entirely focused on building large structures. Since these industries make up the vast majority of BIM software users, these solutions tend to offer tool sets specifically for users in these fields.
BIM tools are popular in these industries because its 3D design capabilities take drafting a step further than traditional 2D design. BIM software allows users to visualize what their buildings will look like upon completion.
BIM has been the talk of the town in the AEC industry for several years. Yet, for all the talk, there is a lot of confusion about BIM in construction and how it can help contractors. One common misconception is that BIM is merely a technology, or that it only refers to 3D design (though 3D models are indeed at the core of BIM). BIM is actually a process for creating and managing all of the information about a project, leading to an output known as a Building Information Model, which contains digital descriptions for every aspect of the physical project.
While BIM is mostly associated with design and preconstruction, it absolutely benefits every phase of the project life-cycle, even well after building is complete. Building Information Modeling allows projects to be built virtually before they are constructed physically, eliminating many of the inefficiencies and problems that arise during the construction process.
Following are some features of Building Information Modelling
- Easy access to information
BIM is a physical representation of the physical and functional characteristics of the building process, that provides every minute detail of the project. Every stakeholder makes their discipline-specific input to make it a comprehensive shared information resource about the structure. One can easily access the right information at the right time that provides a reliable basis for decision making during a structure’s entire lifecycle.
- Making the process more extensive
CAD software enables users to work accurately in 3 dimensions- length, breadth and depth. However, BIM Modelling services providers are allowed to work in five dimensions, time and cost being the additional dimensions. They are thus able to produce accurate cost and material estimates and precise time schedules of the project even as the design is being developed.
- More comprehensive overview of the project
BIM models not only present 3D geometric view of the structure, they provide a more comprehensive overview of the entire building process. It covers every component of this process from geometrical aspect of the design to spatial relationships, from light analysis to provision of various services, from topographical information to quantities or properties of building components, and so on.
- Lifelike views
BIM design tools allow you to obtain various views from a building model and produce high-quality, accurate drawings. These views are based on a single definition of each object and thus gives a more realistic and accurate idea of the final structure.
The process used by reputed providers of BIM Modelling services is very revolutionary and path-breaking. It’s quite complex in nature, but can make the entire system very simple and consistent. The key lies in implementing BIM across all the disciplines and stages of a project to make full use of its potential.
Benefits of BIM
- Improve Onsite Collaboration and Communication
Digital BIM models allow for sharing, collaborating, and versioning that paper drawing sets don’t. With cloud-based tools such as Autodesk’s BIM 360, BIM collaboration can seamlessly occur across all disciplines within the project. The BIM 360 ecosystem allows teams to share project models and coordinate planning, ensuring all design stakeholders have insight into the project.
Cloud access also allows project teams to take the office to the field. With apps such as Autodesk’s BIM 360 tools, teams can review drawings and models onsite and on their mobile devices, ensuring they have access to up-to-date project information at any time.
- Model-Based Cost Estimation
Many AEC firms are realizing that including estimators earlier in the planning stage allows for more effective construction cost estimation, which has led to the growth of model-based cost estimating (also known as 5D BIM). Using BIM tools such as Autodesk’s Revit and BIM 360 Docs automates the time-consuming task of quantifying and applying costs, allowing estimators to focus on higher value factors, such as identifying construction assemblies and factoring risks.
- Visualize Projects in Preconstruction
By using BIM, you can plan and visualize the entire project during preconstruction , before the shovel hits the ground. Space-use simulations and 3D visualizations allow clients to experience what the space will look like offering the ability to make changes before construction start. Having a greater overview from the beginning minimizes expensive and time-consuming changes later.
- Better Coordination and Clash Detection
BIM allows you to better coordinate trades and subcontractors, detecting any MEP, internal, or external clashes before construction begins. Will the electrical conduits clash with a steel beam? Do the doorways have enough clearance? With Autodesk’s BIM 360 Glue you can avoid clashes withautomated clash detection.
Reduce the amount of rework needed on any given job by avoiding clashes. With BIM, you have the opportunity to plan it right before you build onsite. You can avoid last-minute changes and unforeseen issues by enabling easy reviewing and commenting across multiple disciplines.
- Mitigate Risk and Reduce Cost
One study by McKinsey found that 75% of companies that have adopted BIM reported positive returns and on their investments. But BIM can save you money in a myriad of ways if you take advantage of it. Closer collaboration with contractors can lead to reductions in tender risk premiums, lower insurance costs, fewer overall variations, and fewer opportunities for claims. Better overview of the project before starting allows for more prefabrication and reduces waste on unused materials. Prefabricated elements can be easily bolted in place rather than created on-site. Labor costs spent on documentation work and miscommunications are reduced. Many companies are using BIM and construction technology to reduce costs and mitigate risk.
With an ever-increasing number of team members using project data, real-time collaboration and a single document repository such as BIM 360 Docs reduce the risk of any company using outdated information. Making sure the right information is available at the right time is essential to completing a successful quality project.
- Improved Scheduling/Sequencing
In the same way that many of these benefits save money, they save time by reducing the time of project cycles and eliminating construction schedule setbacks. BIM allows design and documentation to be done at the same time, and for documentation to be easily changed to adapt to new information such as site conditions. Schedules can be planned more accurately and communicated exactly, and the improved coordination helps projects be more likely to be completed on-time or early.
- Increase Productivity with Prefabrication
BIM data can be used to instantly generate production drawings or databases for manufacturing purposes, allowing for increased use of prefabrication and modular construction technology. By designing, detailing and building offsite in a controlled environment, you can diminish waste, increase efficiency, and reduce labor and material costs.
- Better Safety on Construction Sites
BIM can help improve construction safety by pinpointing hazards before they become problems, and avoid physical risks by visualizing and planning site logistics ahead of time. Visual risk analysis and safety evaluations can help ensure safety over the course of the project execution.
- Execute Overall Better Builds
The increased reliability of a coordinated model leads directly to greater building quality. By sharing common BIM tools, more experienced team members work together with builders through all phases of the project, providing better control over technical decisions around design execution. The optimal ways to construct a project can be tested and chosen early in the project, and structural deficiencies can be identified before building. With the use of visualizations, better design aesthetics can be more easily chosen, such as modeling the flow of natural light into a building. Then, during construction, reality capture technology can be utilized to improve accuracy.
- Streamline Facility Management and Strengthen Building Handover
The information in a model also empowers operation of the building after construction is over, providing an ROI well after project completion. Using construction software, an accurate, ongoing digital record of building information is valuable for facilities management and renovators for the entire lifecycle of the building. Data can be sent into existing building maintenance software for post-occupancy use. Using a tool such as Autodesk’s BIM 360 Ops, contractors can transform building handover by connecting BIM data generated during design and construction to building operations.
Building Information Modeling has become an invaluable tool with an abundance of benefits for the construction industry. Projects utilizing BIM have a greater chance of success and maximize effectiveness for every stage of the project lifecycle and beyond.
Q2. Understand the concept of Categories, Families, Elements, Instances in Revit. Go to Insert Tab, choose a category. Pick a family and element. Understand the instances and insert it to Revit model
Ans :
AIM : To understand the concept of Categories, Families, Elements, Instances in Revit.
PROCEDURE :
STEP 1 :
Open Revit Software > Click on new > select architectural template > Save the file using save tab
STEP 2 :
Click on architectural tool bar > component tool > place a component
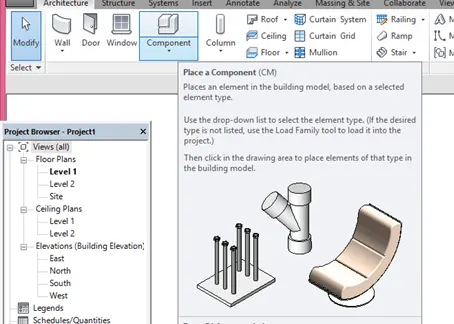
Click on insert tool bar > load family

Click on load family you will get a dialogue box in which you can select category of family of which you need to import to the present working project
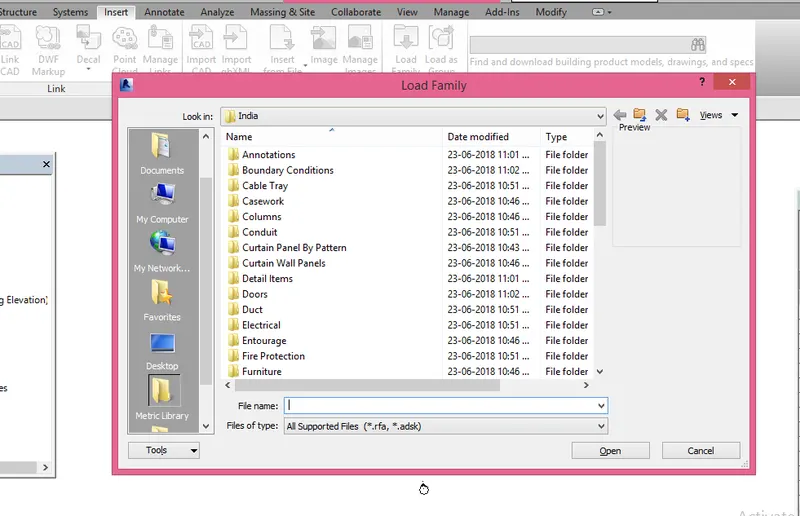
For example i need to select doors. Go to doors folder and select the type of door which you need for the project
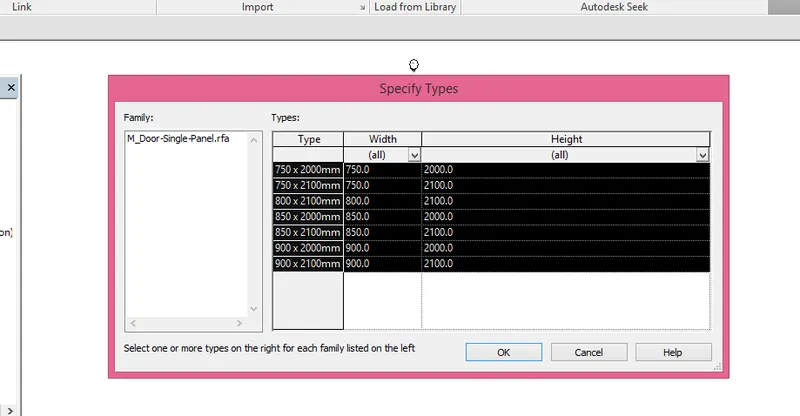
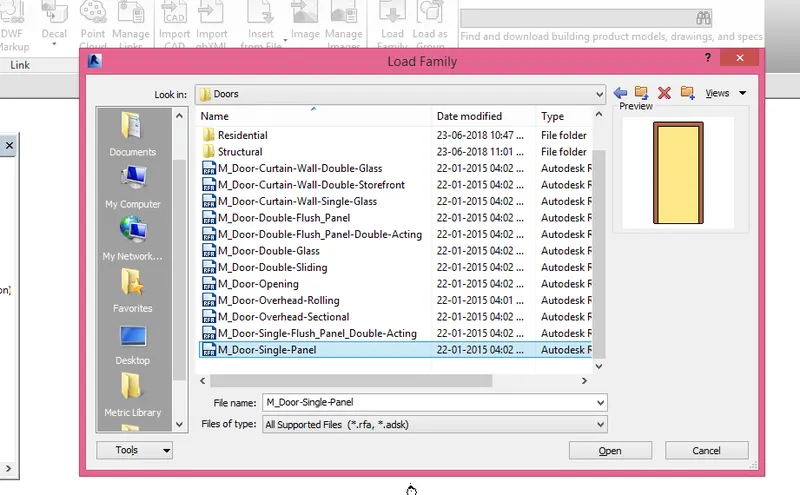 Open the selected door to the project, select the all the specify type so that you can use different sizes of the same door for same project and press ok
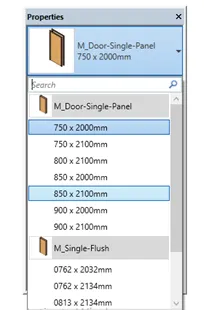
In properties table you can find the door which is been loaded to the family.
RESULT :
Understood the concept of Categories, Families, Elements, Instances in Revit
Q3. Setting up a Project – Open a project file with architectural template. Save the file with appropriate name. Set up the project units to Imperial / Metric based on your convenience of modelling. Complete the project information under Manage tab. Set up the maximum backups for project file to 3
Ans :
AIM : To set up a project
PROCEDURE :
STEP 1 :
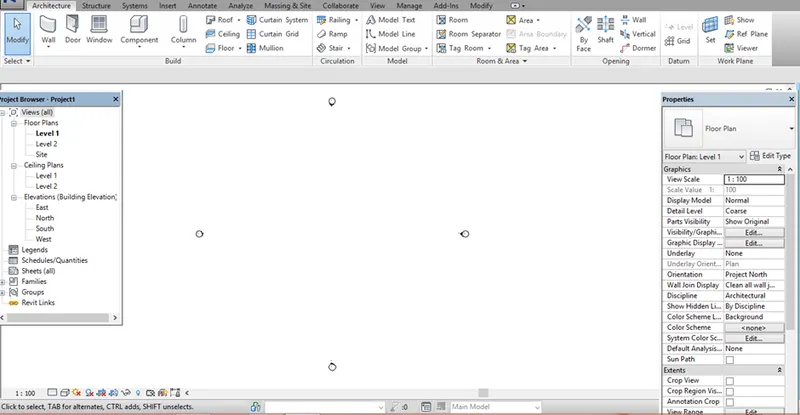
Open Revit Software > Click on new > select architectural template
STEP 2:
Click on save icon or click on the revit software logo 
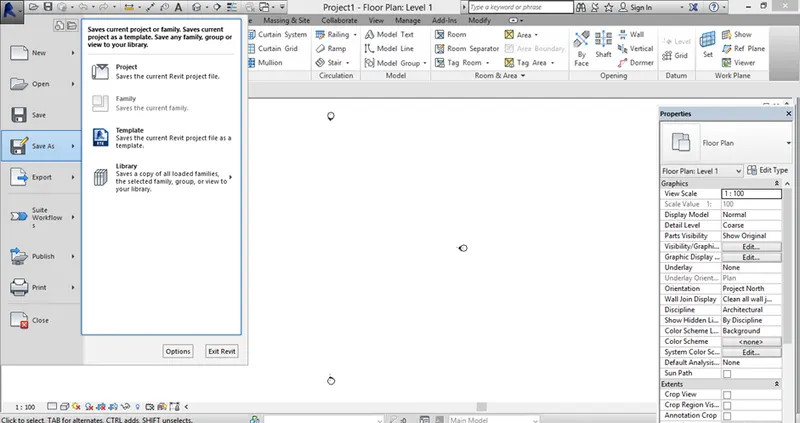
STEP 3 : Save the file giving the path to the file and appropriate name 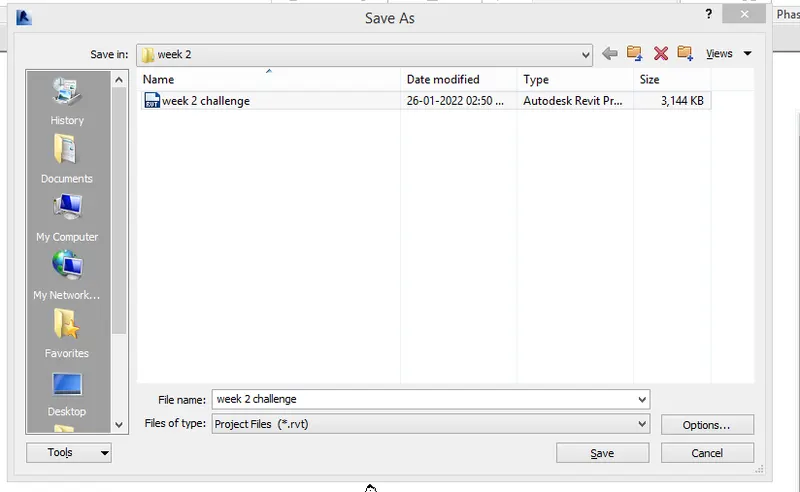
and go to options and give maximum backup as 3 and press ok
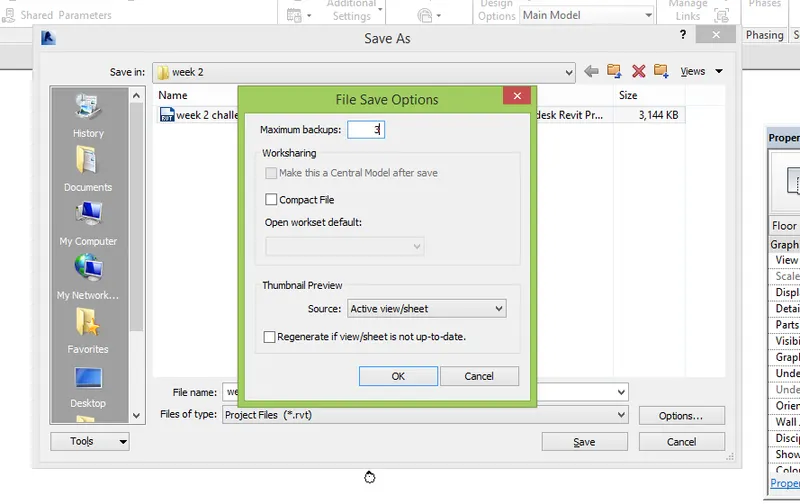
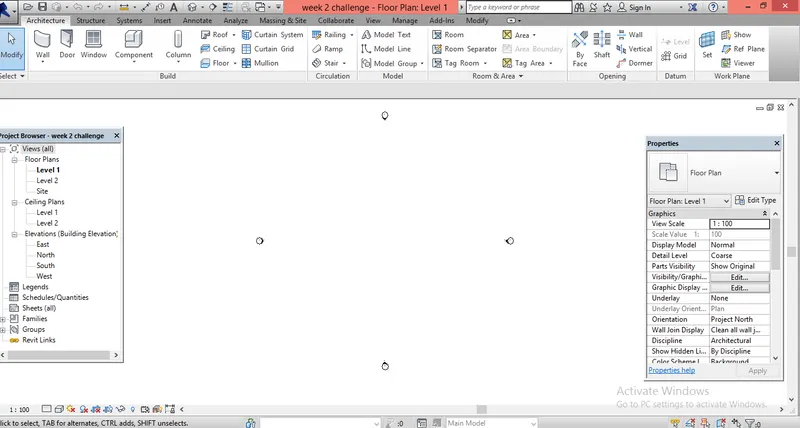
STEP 4 :
Type UN for units or go to manage tool bar and selecy project units and change unit to meters and press ok
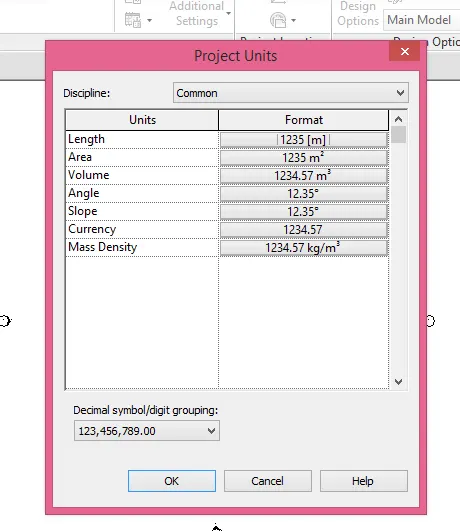
STEP 5 :
Go to manage tool and select project information and give appropriate information required for the project and press ok
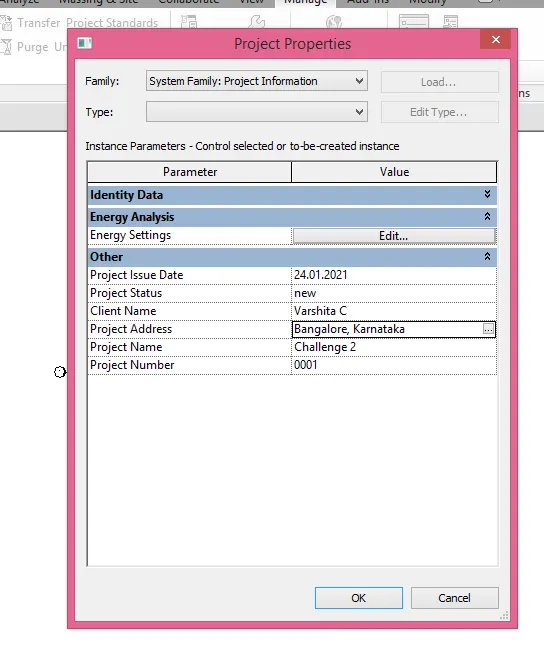
RESULT :
Basic setting of the project is done by using necessary tool in Revit
Q4. Understand the concept of Levels and Grids. Follow the naming and conventions. Create the following Levels: ( Convert to metric equivalents if metric is your units)
Ground Floor @ 0’
First Floor @ 10’
Second Floor @ 20’
Roof @ 30’
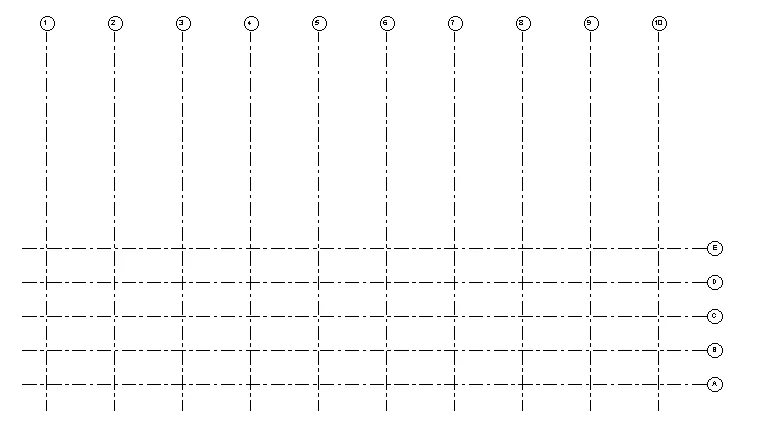
Grids Transverse Grids A, B,C,D, E @ 10’ spacing
Longitudinal Grids from 1 to 10 @ 20’ spacing
Ans :
AIM : To create Levels and Grids for the project by giving required names for levels and grids.
PROCEDURE :
STEP 1 :
Go to elevation view
Go to architectural tool > datum > levels and create ground floor, first floor, second floor and roof levels
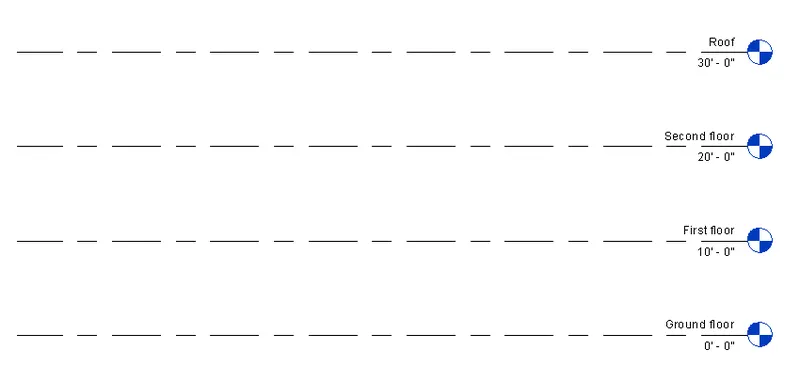
STEP 2 :
Go to Floor plan
Go to architectural tool > datum > Grids and give offset of 20'
Create a longitudinal Grids from 1 to 10 @ 20’ spacing
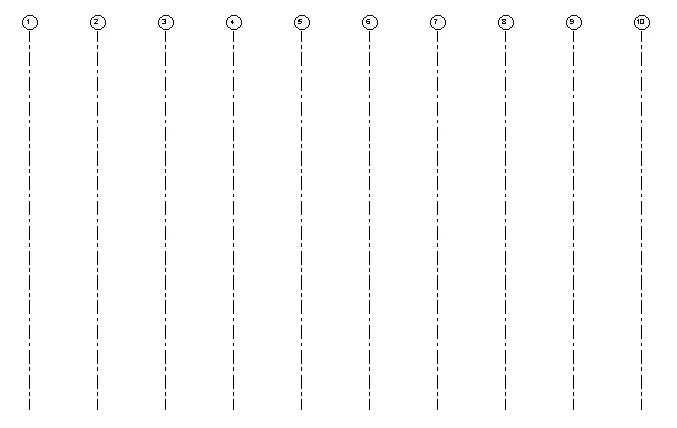
STEP 3 :
Go to Floor plan
Go to architectural tool > datum > Grids and give offset of 10'
Create a Transverse Grids A, B,C,D, E @ 10’ spacing
RESULT :
Levels and Grids are created
Q5. 3D modelling of residential unit – From looking at your house / or a place you aspire. Create a conceptual layout of the residential unit. You can measure using a tape or you can access your residential plan to create a similar layout.
Ans :
AIM : To create 3D modelling of residential unit
PROCEDURE :
STEP 1 :
Open Revit software > new > Architectural Template > Ok
Save the file by giving appropriate name
Go to manage tool select project information and fill the approprite information required for the project
Go to manage tool select project units and give unit as millimeters
STEP 2 :
Go to Architectural tool bar select wall and draw walls
Go to Architectural tool bar select floor and draw floors
Add doors and windows to the project by loading it from the family
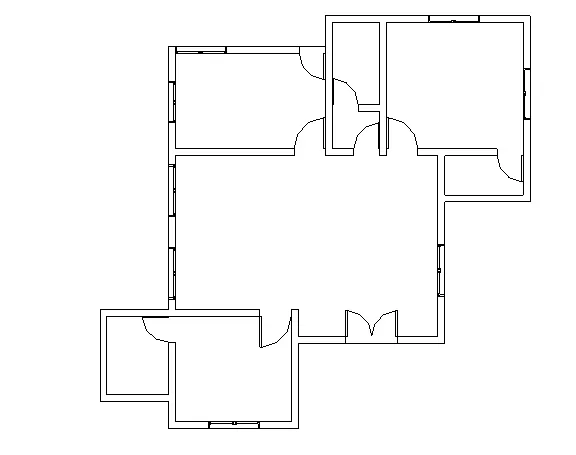
RESULT : 3D modelling of residential unit is created
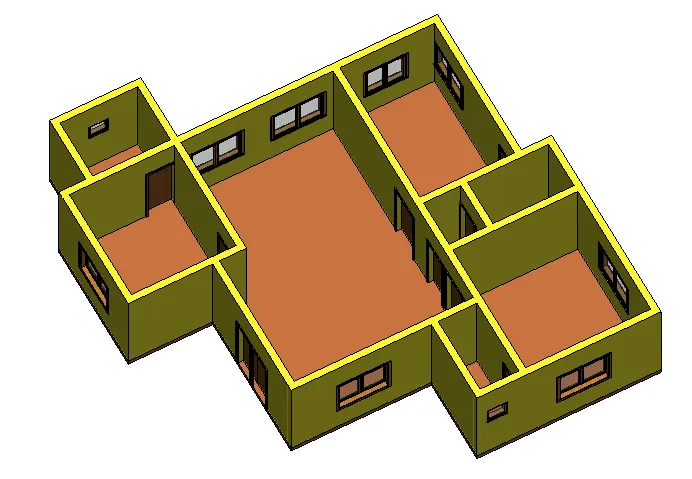
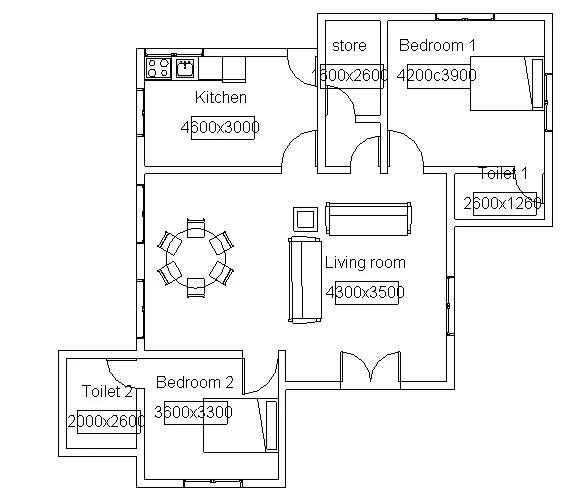
Q6. In the layout created draft the level of details you are planning to include – Dimensions of room, components you plan to add in the residential unit.
Ans :
AIM : To draft the level of details you are planning to include – Dimensions of room, components you plan to add in the residential unit.
PROCEDURE :
Levels are created
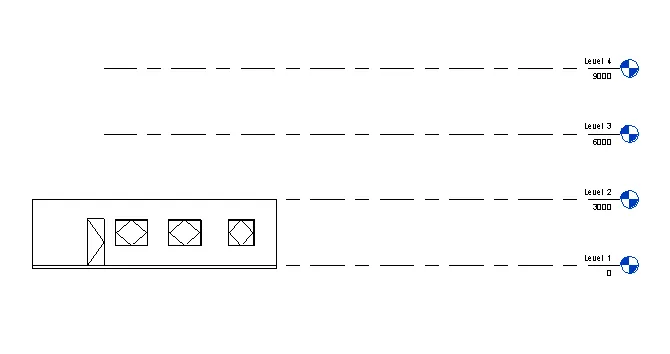
Furniture components are added to residential project by load family and room tags are added to the room
Dimensions are added measuring the room size
RESULT :
The levels, components and dimensions are added to the project
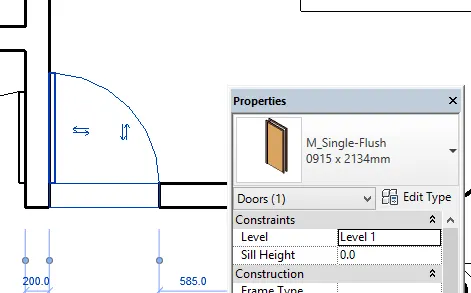
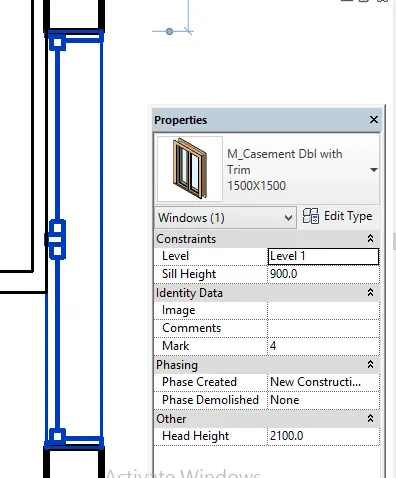
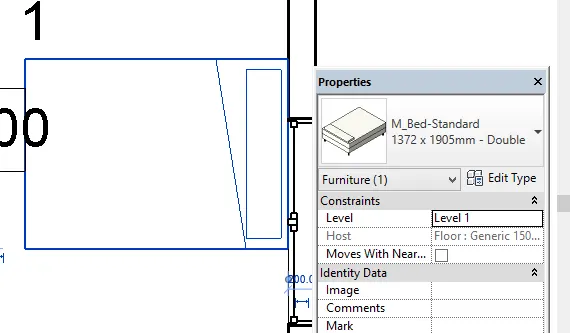
Q7. Identify the residential model elements such as Door, Windows, Tables, Chair, Couch, Bed, Lamps from the library and insert them to the model
Ans :
AIM : To identify the residential model elements
PROCEDURE :
Go to insert tab select load family select the component to be added to the project go to component and place the component in place
Save the project
RESULT :
Door component identification
Window component identification
Bed component identification
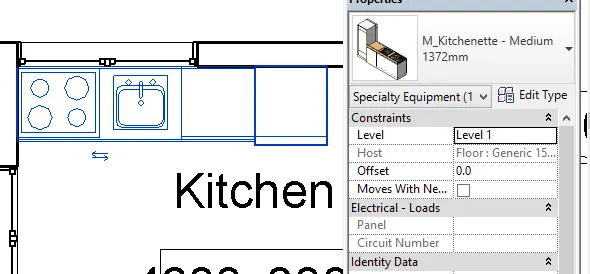
Kitchen component identification
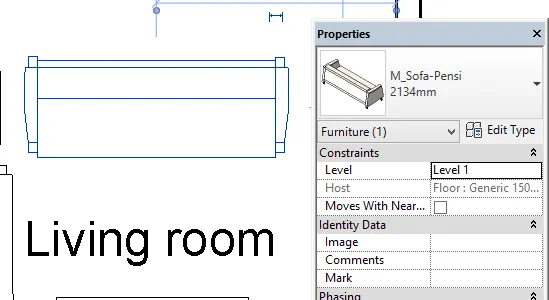
Sofa component identification
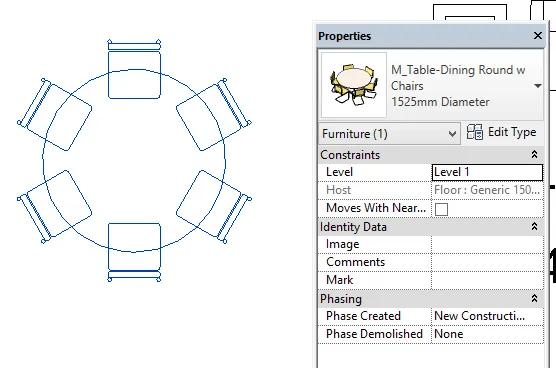
Dining table component identification
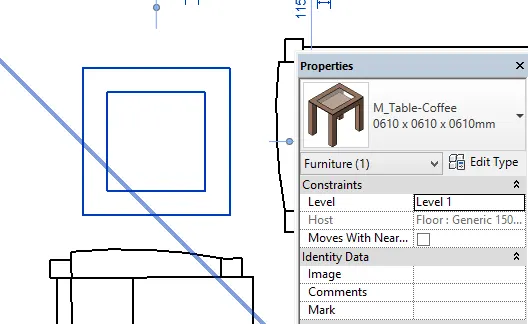
Coffee table identification
FINAL RESULT