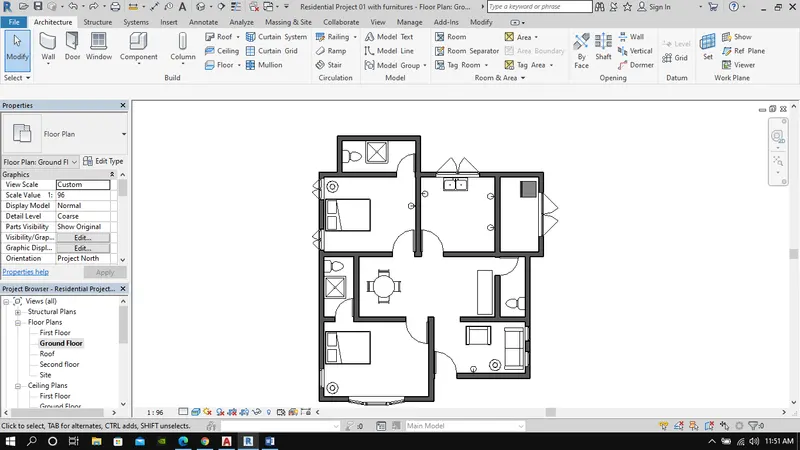
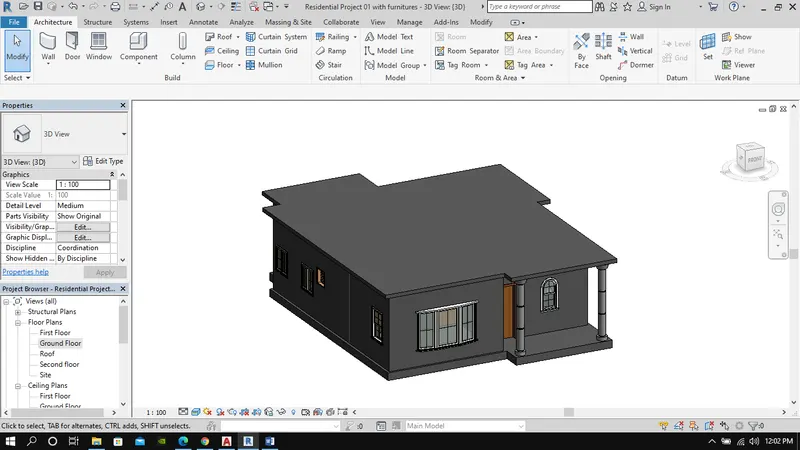
Creating Levels, Grids, Layout and model elements for a residential unit using REVIT
Question:1) What is BIM? Summarize the features of BIM and benefits of using BIM over 2D CAD tools.
Answer. Building information modelling(BIM) is an overall process of creating a building from concept including members from different disciplines by implementing a process and defining an execution plan by sharing information on a common data environment. Members from same team can work on the different stages of the project at the same time. Mainly it creates a common platform for Civil, MEP and architects. It helps in getting a timetrack of different construction stages, schedules of quantity or materials and obtaining daily, montly and weekly reports at ease.
The main benefit over 2D cad tools is that it provides a 3d visualization of the complete project from the planning or drawing stage before construction starts. Thus we can check various issues that may arise during construction and even clashes which may occur with other departments. In addition to representation(2D) and Modelling(3D) BIM also helps with Time(4D), Cost(5D), Lifecycle(6D) and Operations(7D).
Question:2) Understand the concept of Categories, Families, Elements, Instances in Revit. Go to Insert Tab, choose a category. Pick a family and element. Understand the instances and insert it to Revit model
Categories in revit mainly refers to the various components which contribute to the various aesthetic or functional enhancements, structural additions and mechanical, electrical or plumbing installments to complete a building.
Families are the main point where the type of category required for a particular use is selected. it depends on the functionality. For example door and cutain wall has different purpose on a building.
Type is an branch of families depending on the numerical and graphical representation. Elements maily refer to column, wall, roof and foundation.
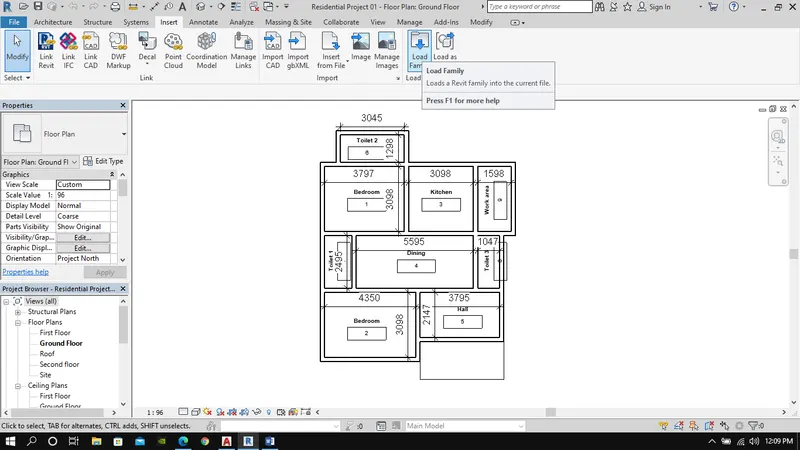
Aim : To add an column component
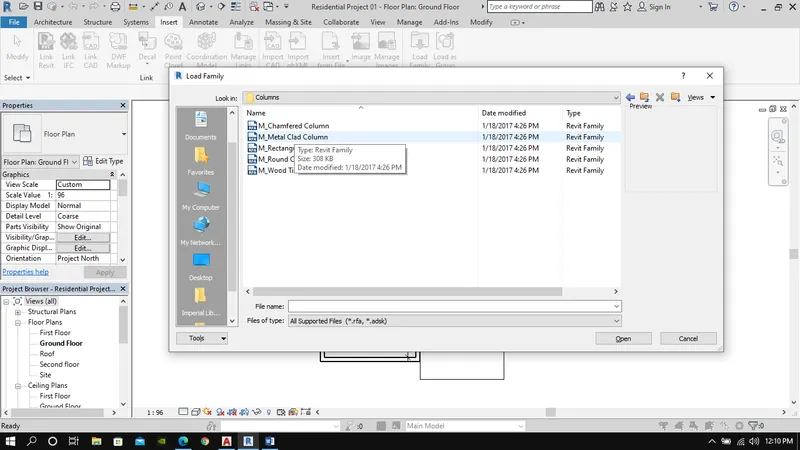
Step 1: Insert > Load family
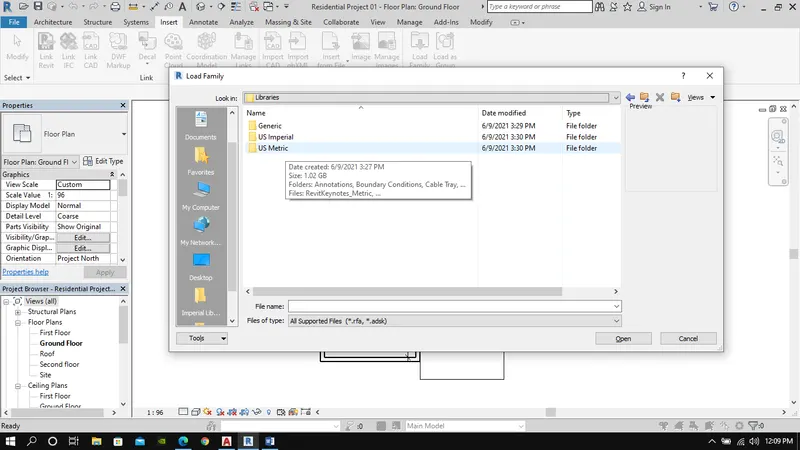
Step 2: Libraries > Metric/Imperial > Column( choose the required)
Step 3: Component > Place component
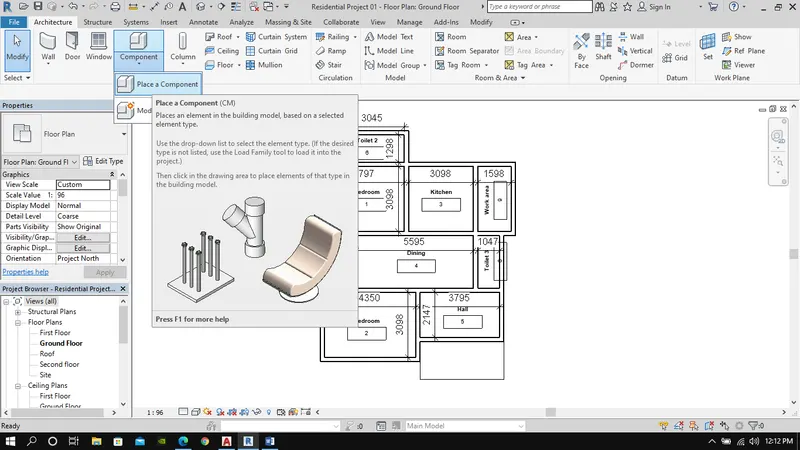
Result: Families loaded in to model
Question:3) Setting up a Project – Open a project file with architectural template. Save the file with appropriate name. Set up the project units to Imperial / Metric based on your convenience of modelling. Complete the project information under Manage tab. Set up the maximum backups for project file to 3
Aim: To create a new project with primary details
Step 1: File > New >Project
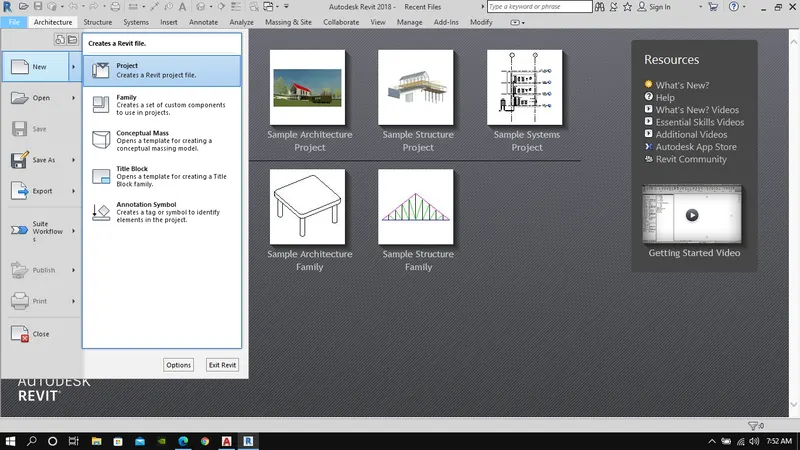
Step 2: New Project > Architectural template > OK
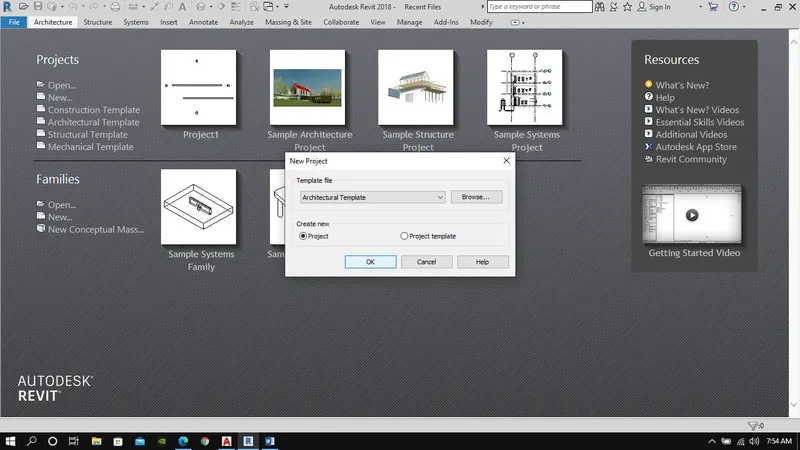
Step 3: File > Save
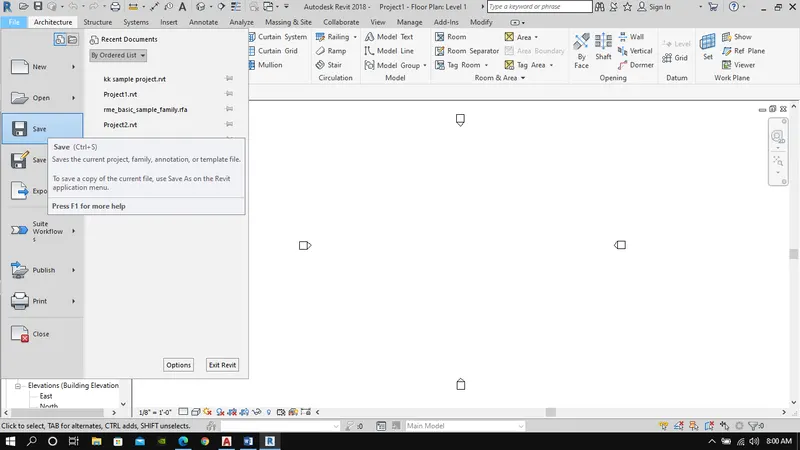
Step 4: Save As > File name "Residential project 01" >Options >"Maximum backup 3" > Ok > Save
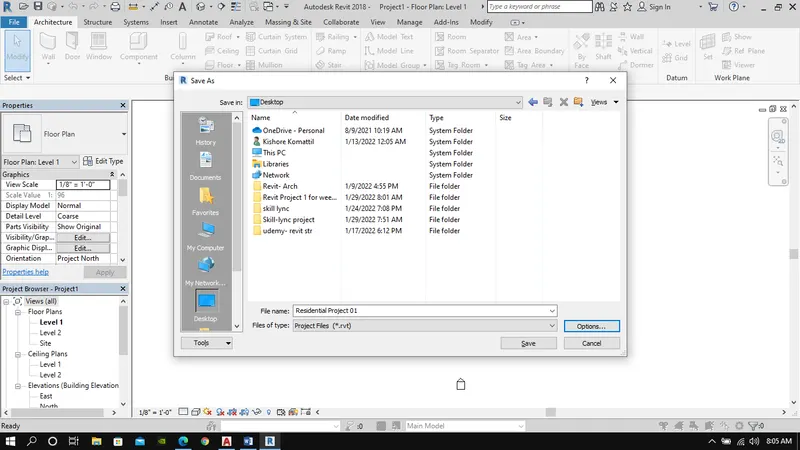
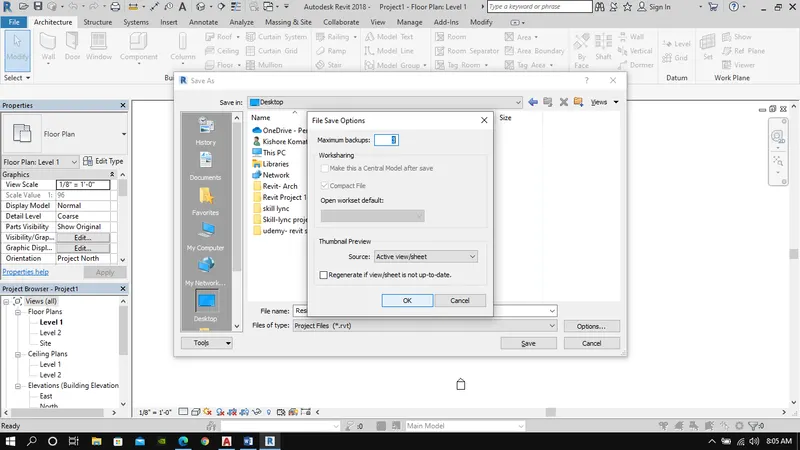
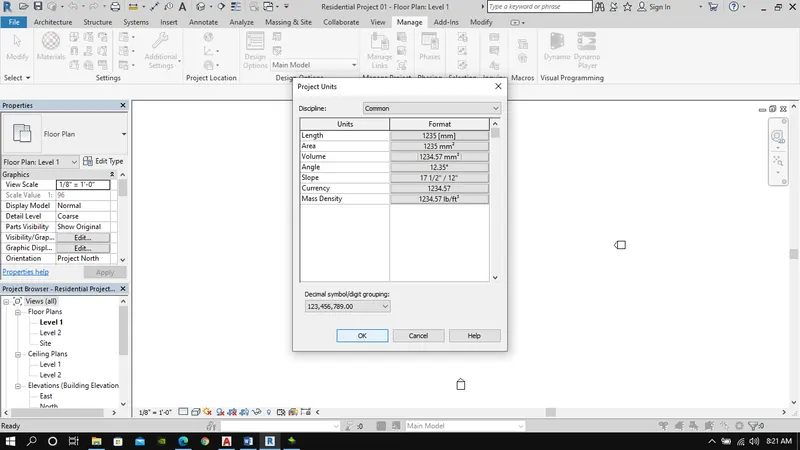
Step 5: Manage > Project units
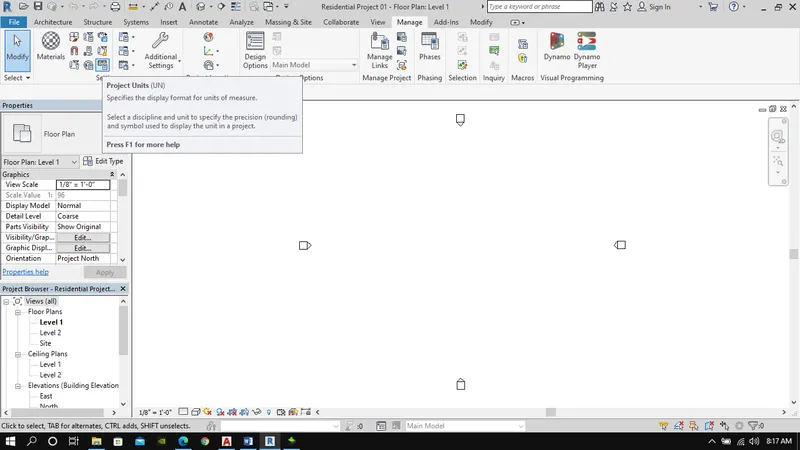
Step 6: Change units to Millimeters (L,A,V)
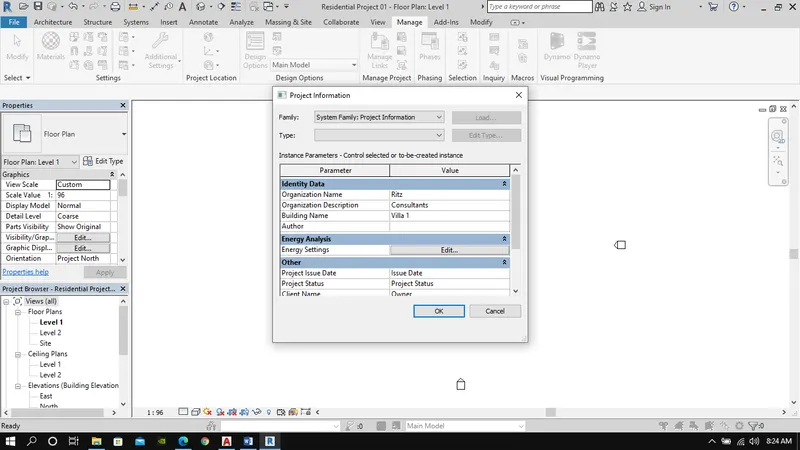
Step 7: Manage > Project information >Identity data
Step 8: Manage > Project information >Other
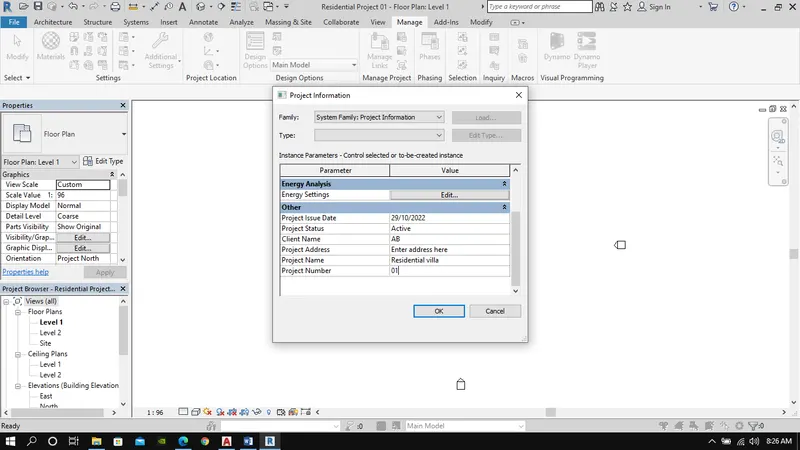
Result: Project was created
Question:4) Understand the concept of Levels and Grids. Follow the naming and conventions. Create the following Levels: ( Convert to metric equivalents if metric is your units)
Ground Floor @ 0’
First Floor @ 10’
Second Floor @ 20’
Roof @ 30’
Aim: To create levels & Grids
Step 1: Project browser > Elevation > "Choose a direction"
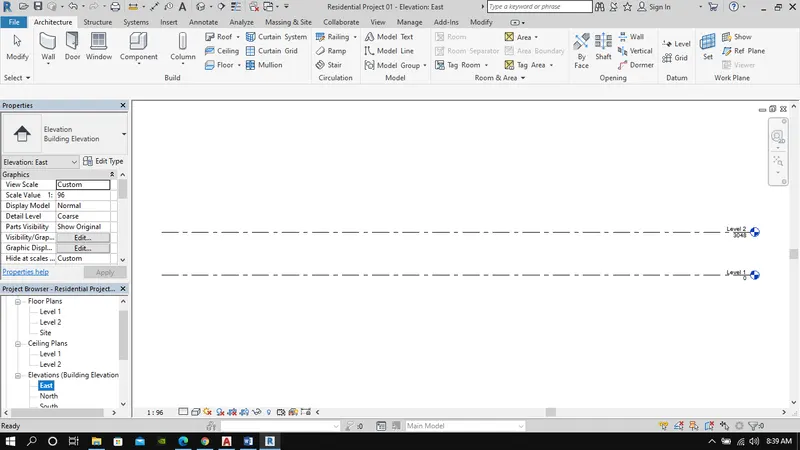
Step 2: Architecture > Datum > Level
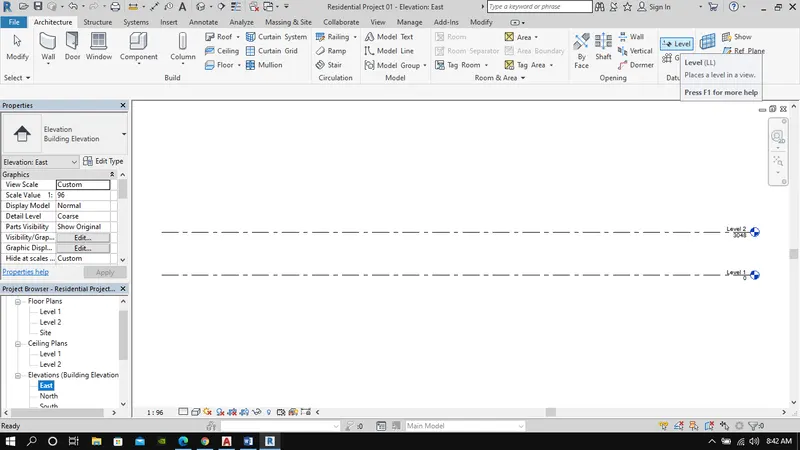
Step 3: Create Ground floor, First floor, Second Floor & Roof (Units in Millimeters)
Level > Pick line > offset
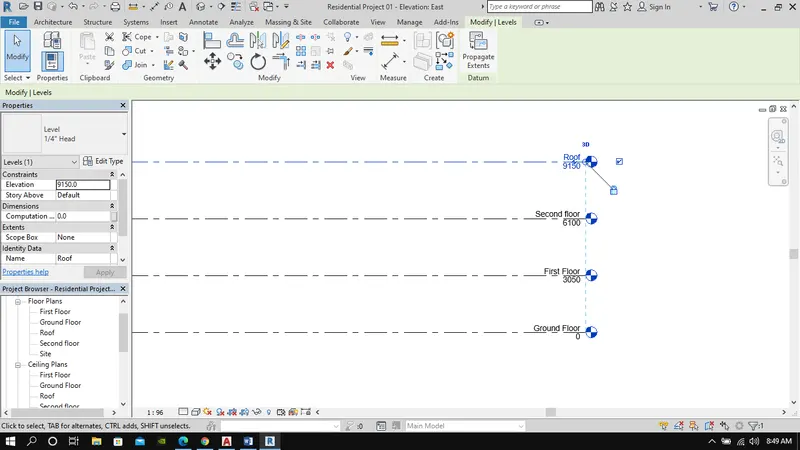
Step 4: Project browser > Elevation > "Choose a base level (Ground level)"
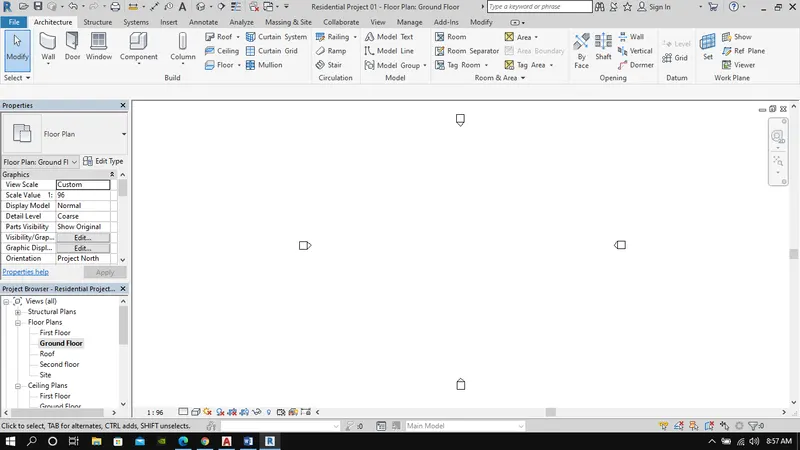
Step 5: Architecture > Datum > Grid
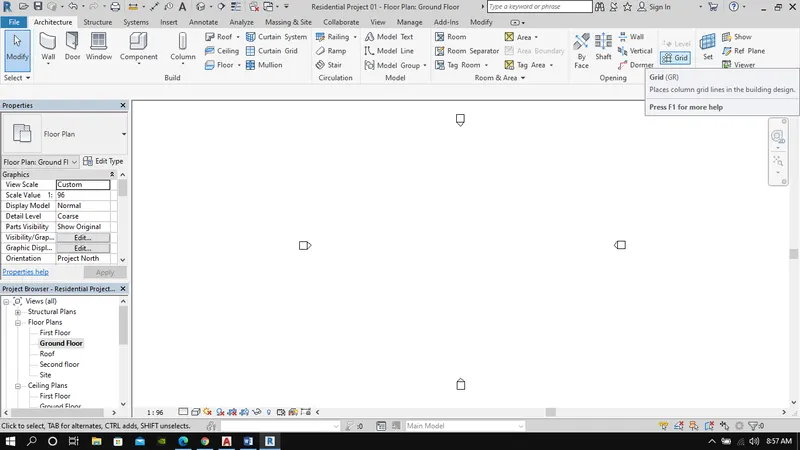
Step 6: Grids Transverse Grids A, B,C,D, E @ 10’ spacing
Longitudinal Grids from 1 to 10 @ 20’ spacing
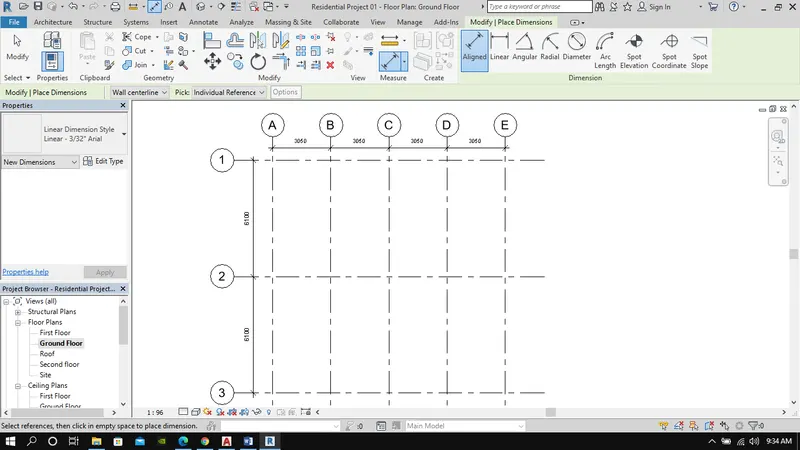
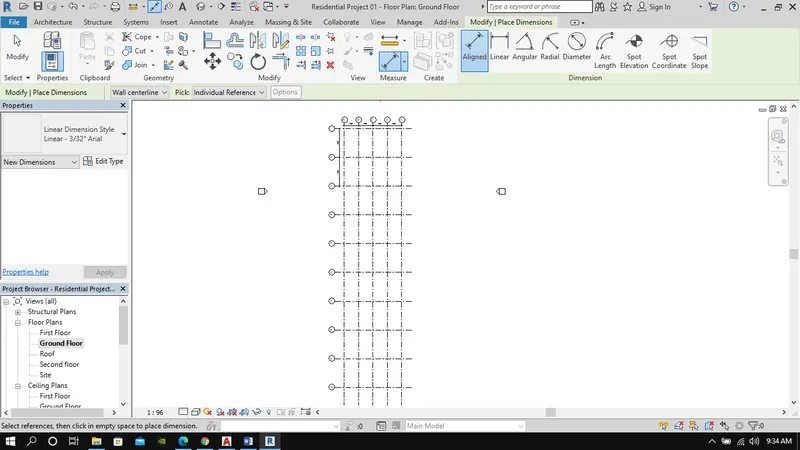
Result: Grids & Levels are created
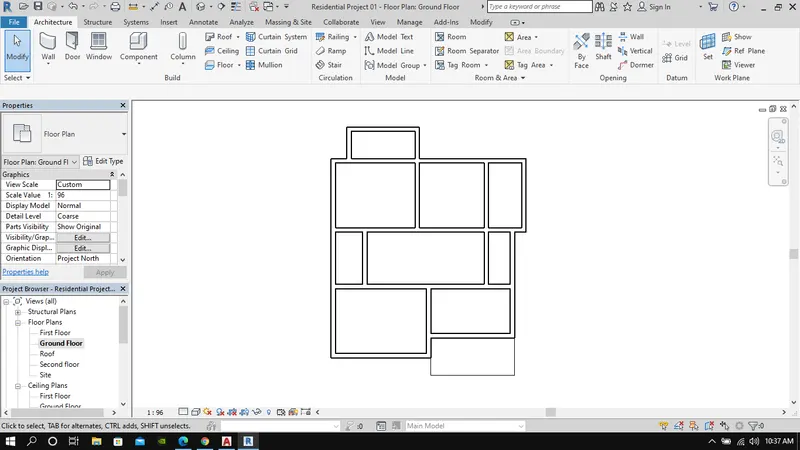
Question:5) 3D modelling of residential unit – From looking at your house / or a place you aspire. Create a conceptual layout of the residential unit. You can measure using a tape or you can access your residential plan to create a similar layout.
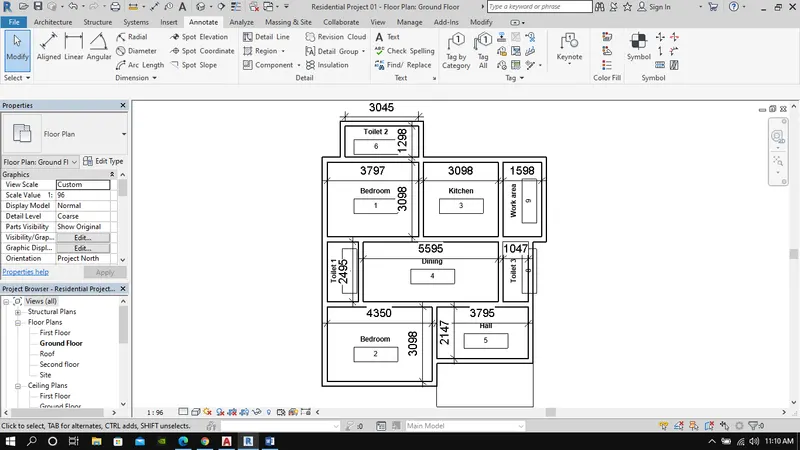
Question:6) In the layout created draft the level of details you are planning to include – Dimensions of room, components you plan to add in the residential unit.
Question:7) Identify the residential model elements such as Door, Windows, Tables, Chair, Couch, Bed, Lamps from the library and insert them to the model . Save the project for use
for Assignment 3