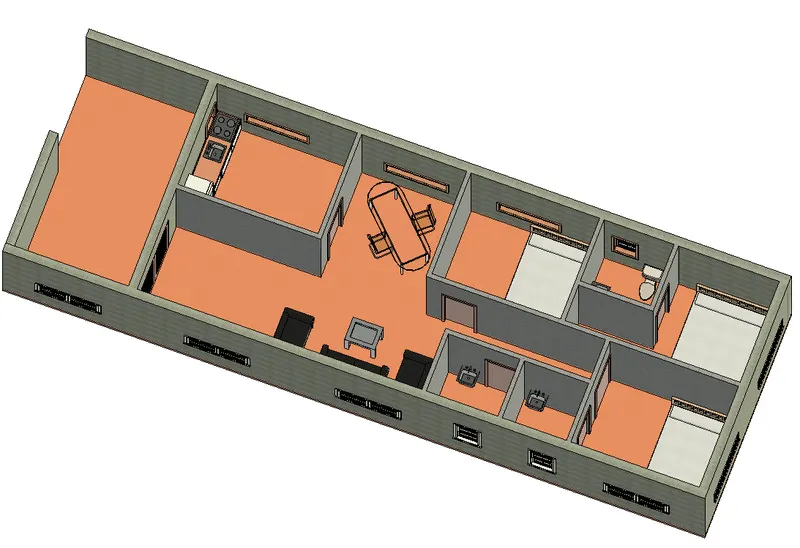
Creating Levels, Grids, Layout and model elements for a residential unit using REVIT
1) What is BIM? Summarize the features of BIM and benefits of using BIM over 2D CAD tools.
ANS:
Building information modelling (BIM) is the foundation of digital transformation in the Architecture, engineering, and construction (AEC) industry and the designers from this industry hugely benefited. With BIM, designers create 3D models that include data associated with the physical and functional characteristics of places. BIM connects the AEC professional so they can more efficiently Design, Build, and Operate Buildings and infrastructures. BIM allows architects, engineers, and contractors to collaborate on models, giving everyone better insight into how their work fits into the overall project, ultimately to work more efficiently. The data in the model defines the design elements and establishes behaviour and relationships between model components, that is when an element in a model is updated, every view is updated with the new change appearing in section, elevation and sheet views.
Features of BIM:
- Insights with analysis make
- Experience of the design before it's built i.e., Realistic visualizations
- Retain model information from concept to construction
- Improves the efficiency and effectiveness of the construction phase, helps better understanding of the future operations and maintenance.
- Helps in future renovation and deconstruction of the model
- The data associated with BIM can be used for Building performance analysis (BPA)
- BIM reduces project cost, improved timelines and reduces project risk in the project outcome
2) Understand the concept of Categories, Families, Elements, Instances in Revit. Go to Insert Tab, choose a category. Pick a family and element. Understand the instances and insert it to Revit model
AIM: To understand the concept of Categories, Families, Elements, Instances in Revit
PROCEDURE:
STEP 1:
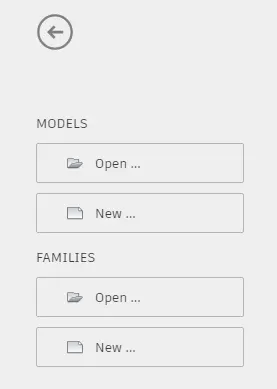
- Open Revit software and select new models
- Select template as Imperial - Architectural template, create new as project
- Save the file by using the windows command or from the file toolbar
STEP 2:
- From the INSERT toolbar select load families
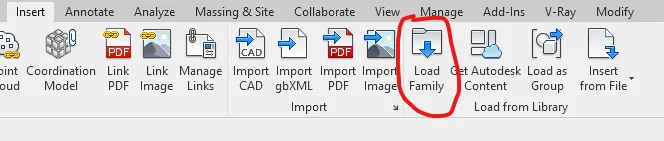
- Pop up of load family dialogue box of CATEGORIES appears
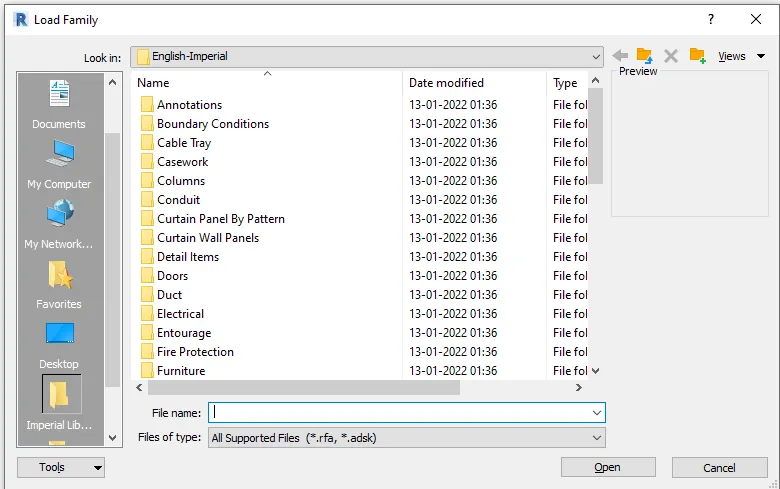
- Select any one of the desired categories like LIGHTNING > External > to select the desired family and select open
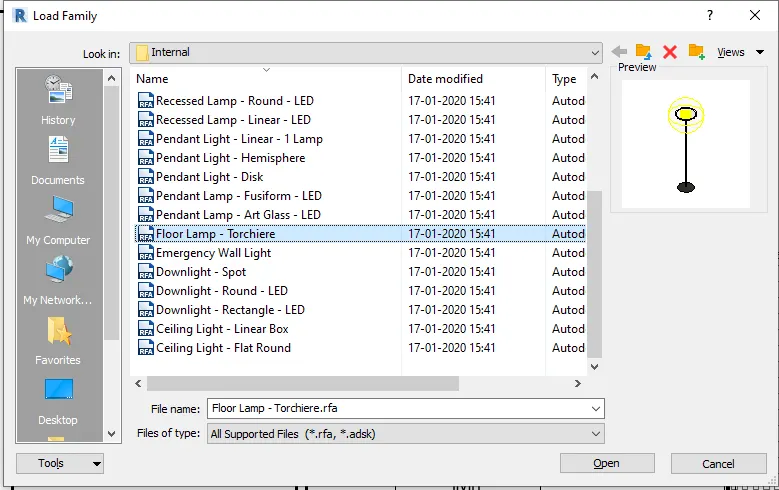
- After opening the family > in project browser select the families > lightning fixtures > select loaded element
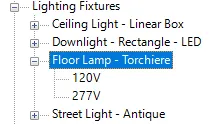
- after selection of element select the type of instance as desired
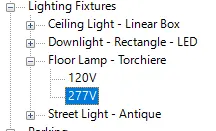
RESULT:
- Understood the concept of categories, families, elements, instances
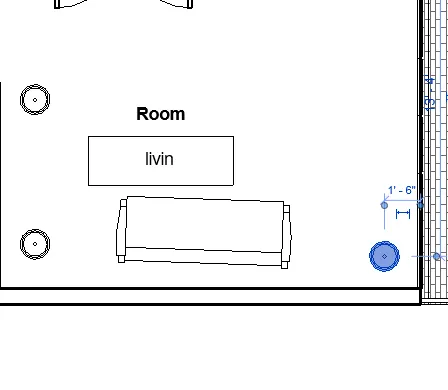
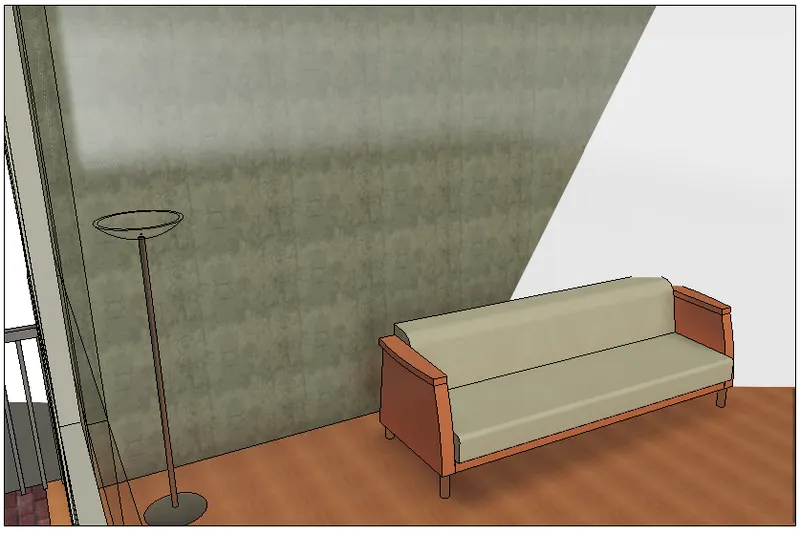
- insert of the selected element and desired instance in model
3) Setting up a Project – Open a project file with architectural template. Save the file with appropriate name. Set up the project units to Imperial / Metric based on your convenience of modelling. Complete the project information under Manage tab. Set up the maximum backups for project file to 3
AIM: To set up a project
PROCEDURE:
STEP 1:
- Open Revit software and select new models and Select template as Imperial - Architectural template, create new as project
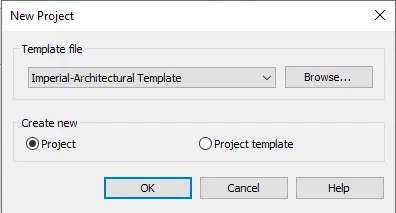
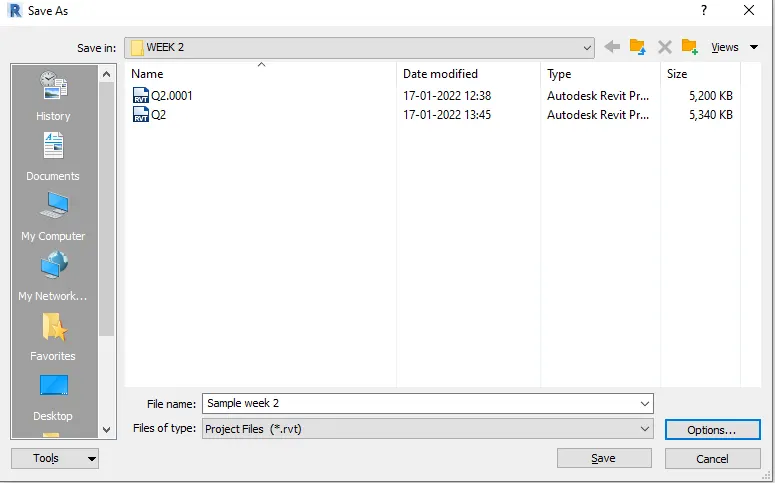
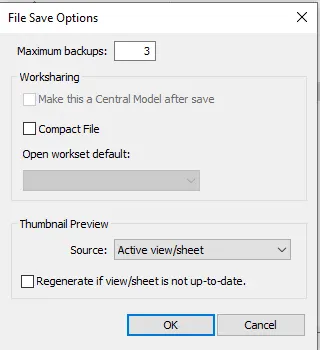
- Save the file by using the windows command or from the file toolbar with an appropriate name and in options assign Maximum backups as 3
STEP 2: Setting units
- Type units the units dialogue box appears and assign desired parameters I'm using Imperial system
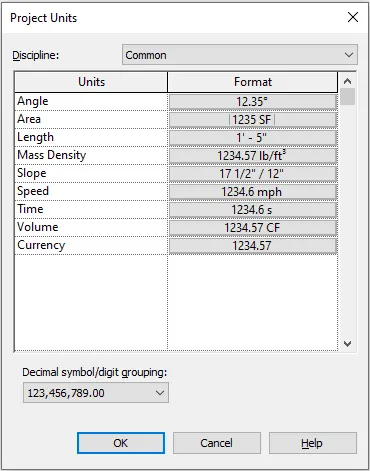
STEP 3: Assigning Project information
- From the manage toolbar select Project information and assign the data in the dialogue box

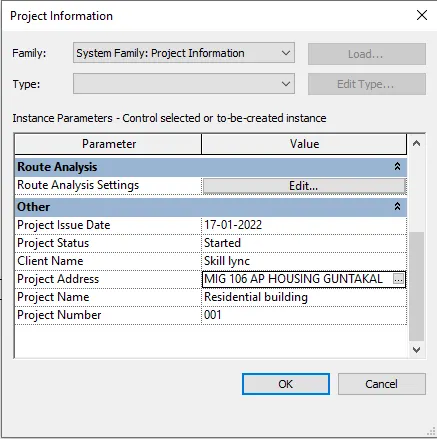
RESULT:
- Setting up of project and project information is done.
4) Understand the concept of Levels and Grids. Follow the naming and conventions. Create the following Levels: ( Convert to metric equivalents if metric is your units)
Ground Floor @ 0’
First Floor @ 10’
Second Floor @ 20’
Roof @ 30’
Grids Transverse Grids A, B,C,D, E @ 10’ spacing
Longitudinal Grids from 1 to 10 @ 20’ spacing
AIM: To understand the concept of Levels and grids
PROCEDURE:
STEP 1:
- Open Revit software and select new models
- Select template as Imperial - Architectural template, create new as project
- Save the file by using the windows command or from the file toolbar
STEP 2: Assigning Levels
- Select the east view in Elevations from the project browser and rename levels 1,2 to the ground floor, the first floor.
- Additional levels are assigned from the Architecture toolbar datum tab assign the second floor and roof to the view.
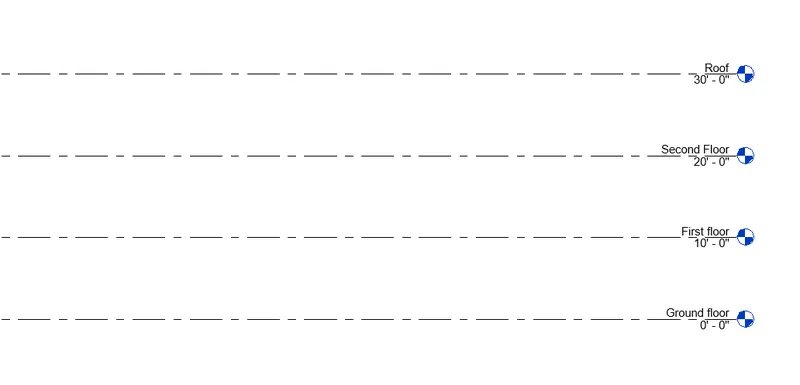
STEP 3: Assigning the grids
- In the Architectural toolbar select grids from Datum palate
- Assign the LONGITUDINAL grids 1 TO 10 @ 20' spacing
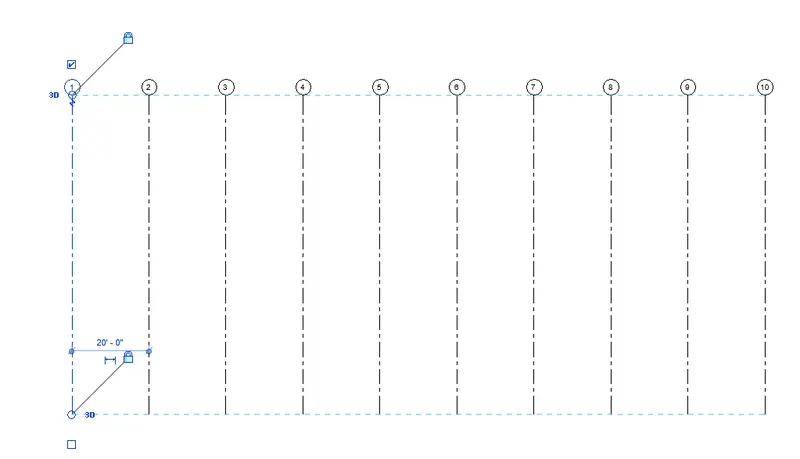
- In the Architectural toolbar select grids from Datum palate
- Assign the TRANSVERSE grids A,B,C,D,E @ 10' spacing
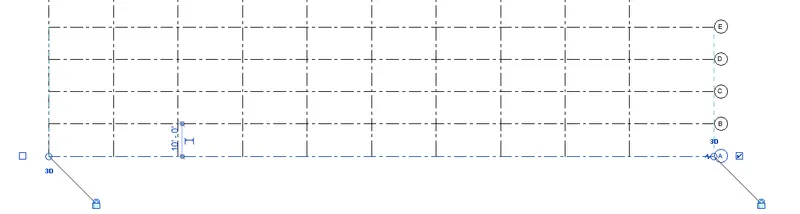
RESULT:
LEVELS
GRIDS - TRANSVERSE AND LONGITUDINAL
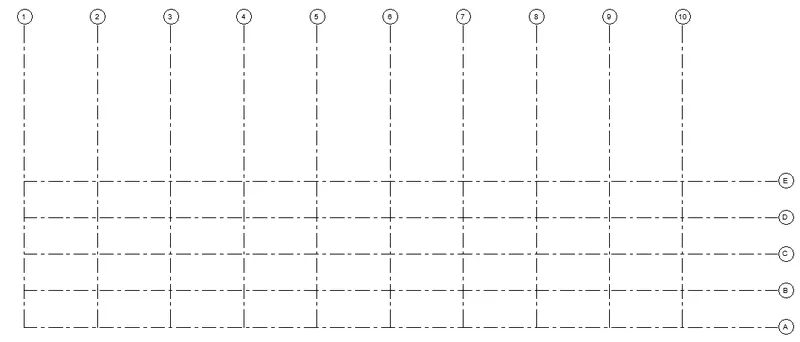
5) 3D modelling of residential unit – From looking at your house / or a place you aspire. Create a conceptual layout of the residential unit. You can measure using a tape or
you can access your residential plan to create a similar layout.
AIM: To create a 3D model of residential unit
PROCEDURE:
STEP 1:
- Open Revit software and select new models
- Select template as Imperial - Architectural template, create new as project
- Save the file by using the windows command or from the file toolbar
STEP 2:
- In the Architecture toolbar select the Architecture wall and assign the layout by desired wall type and in properties, edit desired size and material.
- In the Architecture toolbar select the DOOR and assign it to the wall where ever required and in properties, edit desired size and material
- In the Architecture toolbar select the FLOOR and assign it to the layout and in properties, edit desired size and material
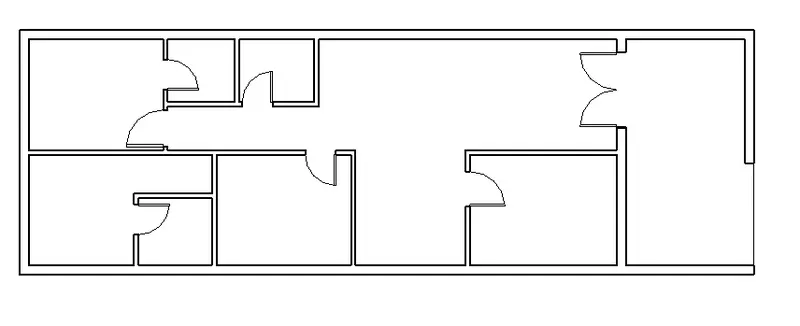
RESULT:
- 3D model of residential building
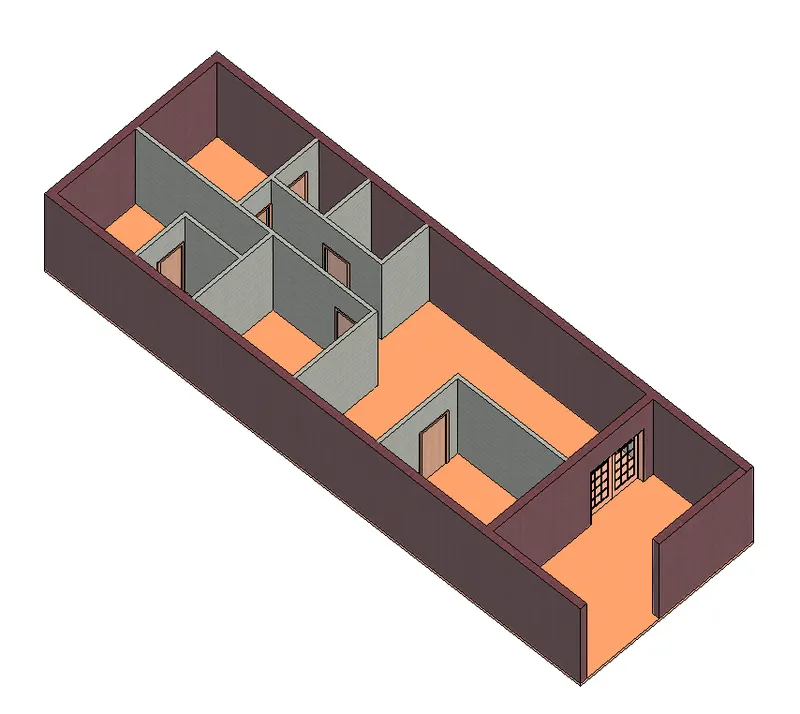
6) In the layout created draft the level of details you are planning to include – Dimensions of room, components you plan to add in the residential unit.
AIM: To create the dimensions to the created layout
PROCEDURE:
- In Annotate toolbar, select linear in dimensions palate and assign to the layout
- In Architecture Toolbar select Room from room & area palate and assign details to the model
RESULT:
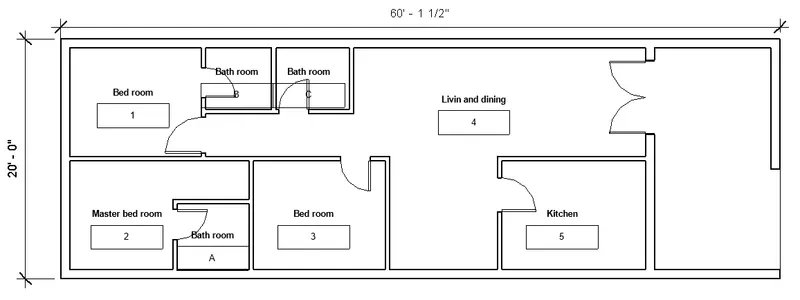
7) Identify the residential model elements such as Door, Windows, Tables, Chair, Couch, Bed, Lamps from the library and insert them to the model . Save the project for use
for Assignment 3
AIM: To Insert model elements from the library as desired into the residential model
PROCEDURE:
- In INSERT toolbar, Load families from Load from library palate
- Load the desired model elements from the families and assign them to the residential model created
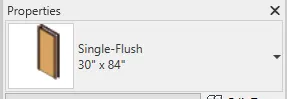
DOORS:
- For the kitchen, bedrooms and bathroom single flush elements and instances are used and for the main door - A double door used
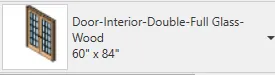
windows and ventilators:
- For windows
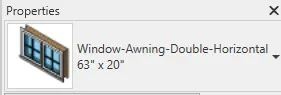 and for ventilators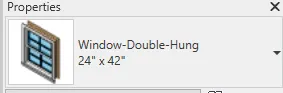
KITCHEN AND DINING:
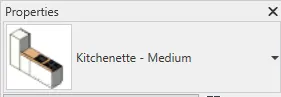
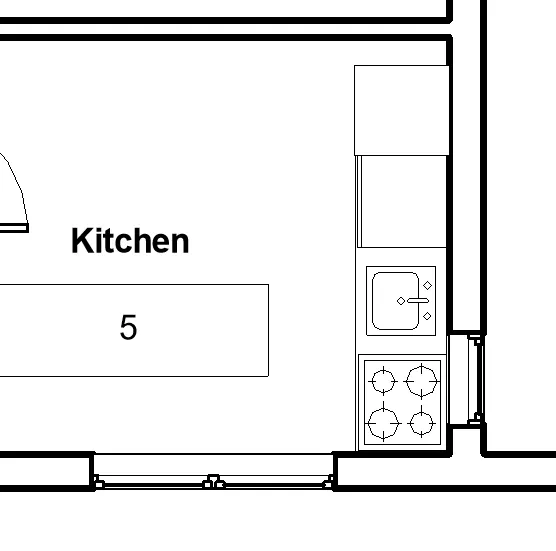
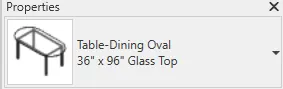
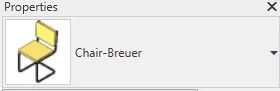
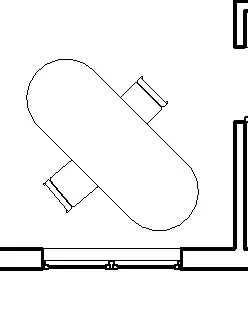
BEDROOM:
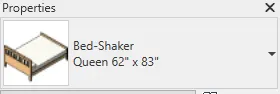
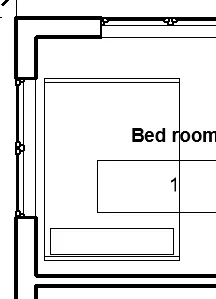
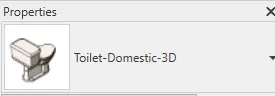
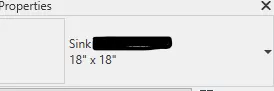
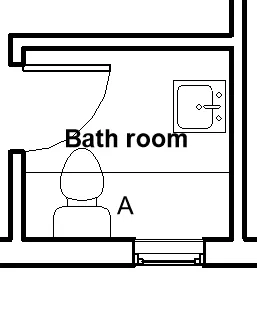
BATHROOMS:
RESULT: