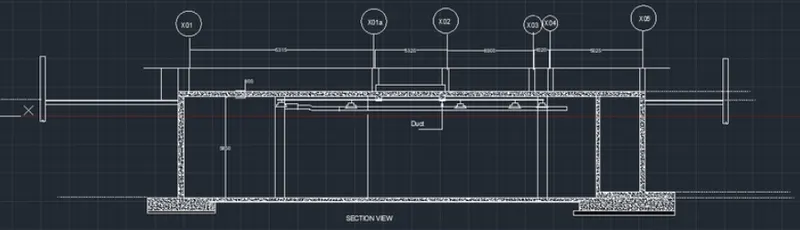
Creating Kitchen layout, Hatching of Architectural elements and sectional view of an Industrial Building in AutoCad
1.
Aim:
To Create the layouts of the Kitchen and provide hatches pattern as shown.
Procedure:
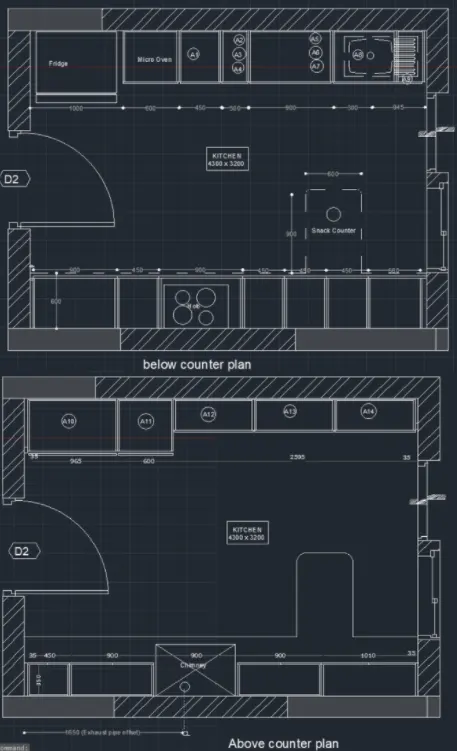
- Draw a rectangle of dimension 4300 X 3200
- Explode it
- Offset the edges to a distance of 230.
- Offset the top to a distance of 600 to draw the kitchen platform and otta
- Offset 90 as fist offset, 1000mm for fridge, 600 for oven, 450 for A1 part, 300 for A2/A3/A4, 900 for A5/A6/A6 and 300, 945 and 35 offset
- Offset 12 mm to both sides in each corner of the room
- Offset 600mm from bottom in the middle for the platform
- Offset - 900,450,900,450,450,560,35
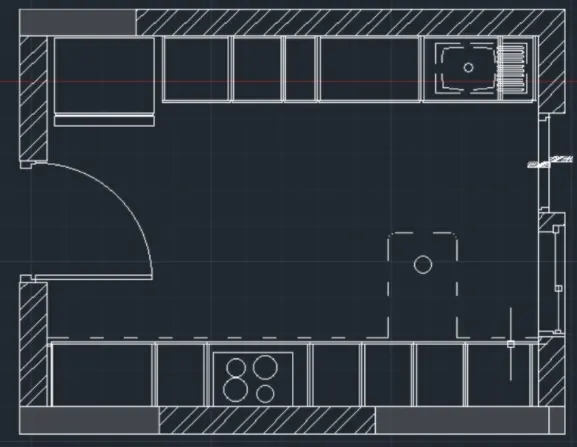
- Draw a rectangle of dimension 4300 X 3200
- Offset the edges to a distance of 230.
- Offset 90 as fist offset, 1000mm for fridge, 600 for oven, 450 for A1 part, 300 for A2/A3/A4, 900 for A5/A6/A6 and 300, 945 and 35 offset
- Offset 12 mm to both sides in each corner of the room
- Offset 600mm from bottom in the middle for the platform
- Offset - 35,450,900,900,900,1010,35
- Home - Draw panel - Hatch
- On the Properties panel, select the hatch type
- On the boundaries panel, specify how the pattern boundary is selected
- Pick points. Insert the hatch fill
Result:
____________________________________________________________________________________________________
2.
Aim:
To create the elevation of the plan created in Challenges 7 and apply proper hatch in the walls, doors, windows, and other architectural elements
Procedure:
- Select the line command and extend the lines from the plan in a downward manner to create projections
- Offset 150mm from ground level
- Offset 2450 for the ground floor, 2850 for the second floor, 2850 for the third floor, 1000 for the parapet wall, and 2500 from terrace level for money.
- Offset 600 and 1200 for OTH
- Offset 1250 for tread and offset 143.75 for the rising of the staircase
- Offset 125 below floor level for slab
- Draw chajjas and windows as per sizes
- Draw the railing of the staircase in-dash manner from the layers and change layer to ACADISO003W100
- Give dimensions and Annotate.
- Home - Draw - Hatch
- On the properties panel Hatch Type list, select the type of hatch you want.
- On the Boundaries panel, specify how the pattern boundary is selected
- Pick points INsert the hatch within a closed area
- Select Boundary Objects
- Selection method is retained until you change it
- On the ribbon, make the required adjustment
- On the expanded Options panel, you can change the draw order to specify whether the hatch and its boundary are displayed in front of other objects
- Apply the hatch
- HAtch the brick wall with hatch type as brick and hatch another part of concrete as air concrete.
Result:
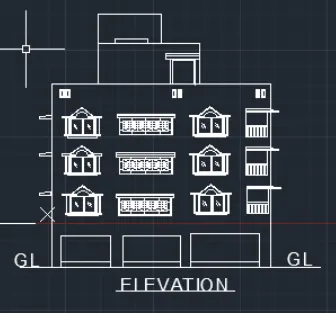
____________________________________________________________________________________________________
3.
Aim:
To create the section view of an industrial building
Procedure:
- In the command prompt type l to draw the lines
- Ribbon bar> Hatch> AR.CONC
- Type rec to draw the rectangle
- RIbbon bar > hatch > ARCONC.
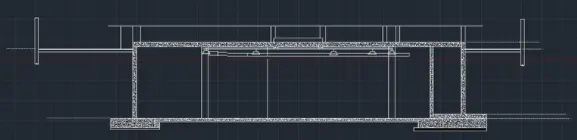
- LT to get the dotted lines
- C to draw the circle
- Give the dimesions and Annotate
Result: