Creating Conceptual mass in REVIT and Creation of Sinusoidal curve and a Parametric stadium using Dynamo
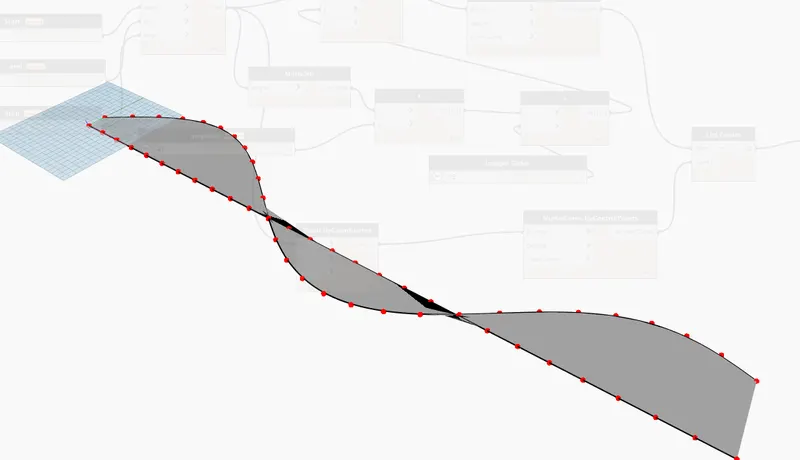
1) Using Dynamo create a set of sinusoidal points and create a curve and create a surface out of the curve.
AIM: To create a set of sinusoidal points and create a curve and create a surface out of the curve
PROCEDURE:
Step1: Open Dynamo
- Open Revit and create a new architecture template
- In manage toolbar select the dynamo
- In dynamo select new
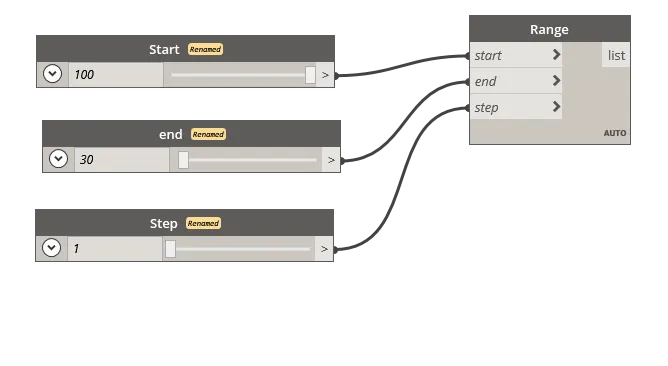
Step 2: Adding sliders and range:
- In the search bar, search for slider and select integer slider and create three sliders for start, end and step and assign values to it
- Search for range and connect the slider nodes to the range
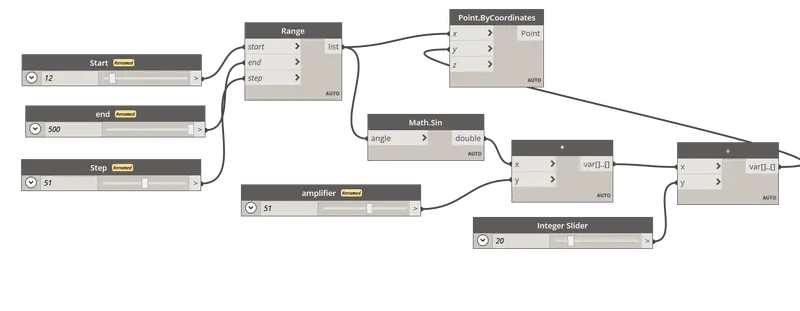
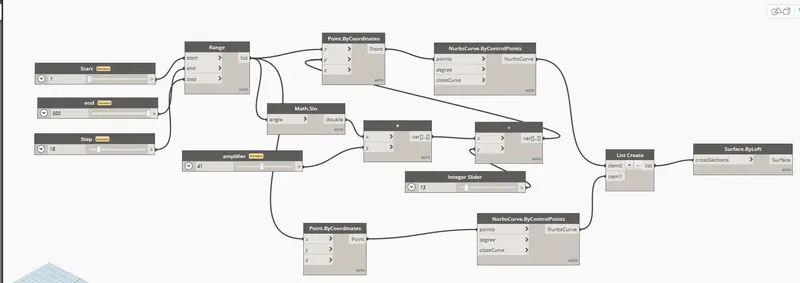
Step 3: Adding math sin, Point block, code blocks, add, product to get sinusoidal points
- Search for Points by coordinates and connect node of range to the x coordinate
- Search for sin and add, connect the range node to the math sin block
- Search for add, product and slider and inter them to points by coordinate, range and slider
- The sinusoidal points are created
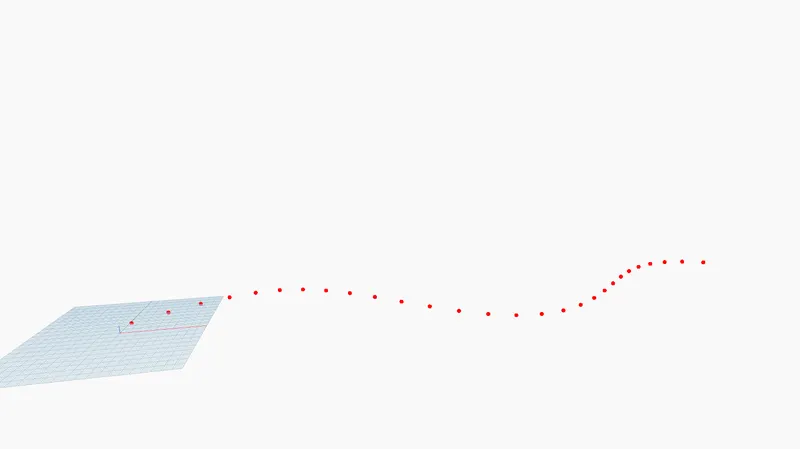
Step 4: Adding a curve and surface to the sinusoidal points
- search for Nurbs curve and connect it to points by coordinate
- Search list and connect it to the NURBS curve blocks
- Search for Surface by the loft and connect it to the list
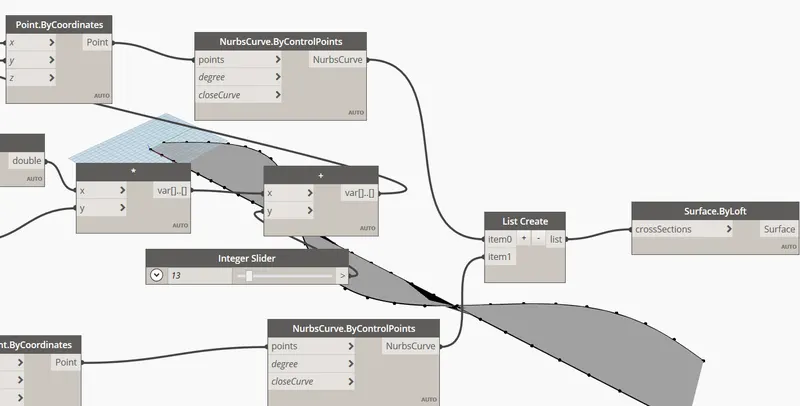
RESULT:
2) Create a conceptual layout of floor plan in dynamo . Using the tools available in dynamo link the lines to appropriate model elements in Revit by choosing the wall types and wall parameters. Make use of the sliders to slide through the height of the wall and length of the wall.
AIM: To create a floor, wall layout using Dynamo
PROCEDURE:
Step 1: Open Dynamo
- Open Revit and select a new architectural template
- In manage toolbar select Dynamo
Step 2: Creation of Wall
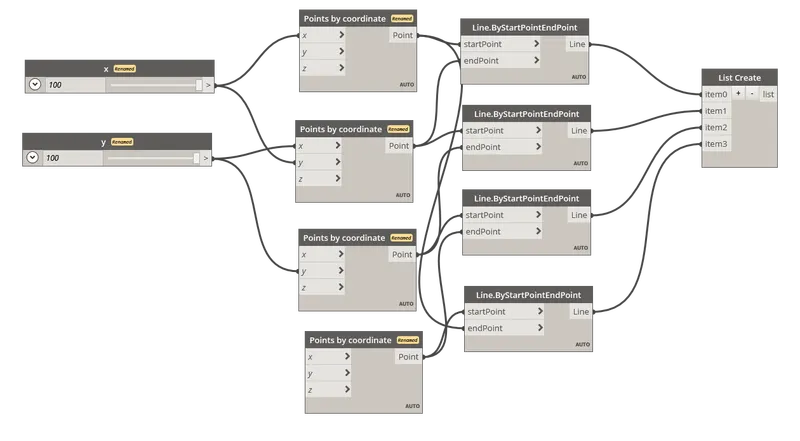
- Add Integer sliders and points by coordinates, for the creation of corner points of the wall
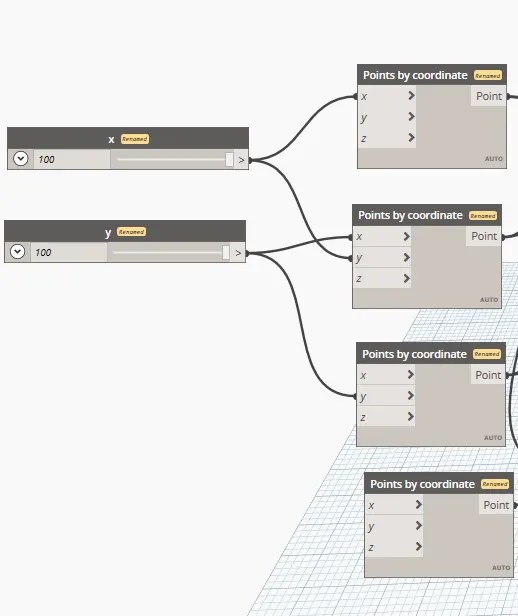
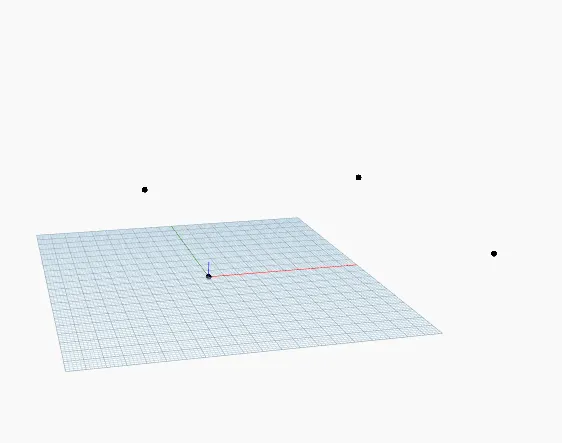
- Connect the created corner points by LINE
- Search line by start point and endpoint and add to the workspace
- Connect the nodes of the Points by coordinates to the line blocks inappropriate manner
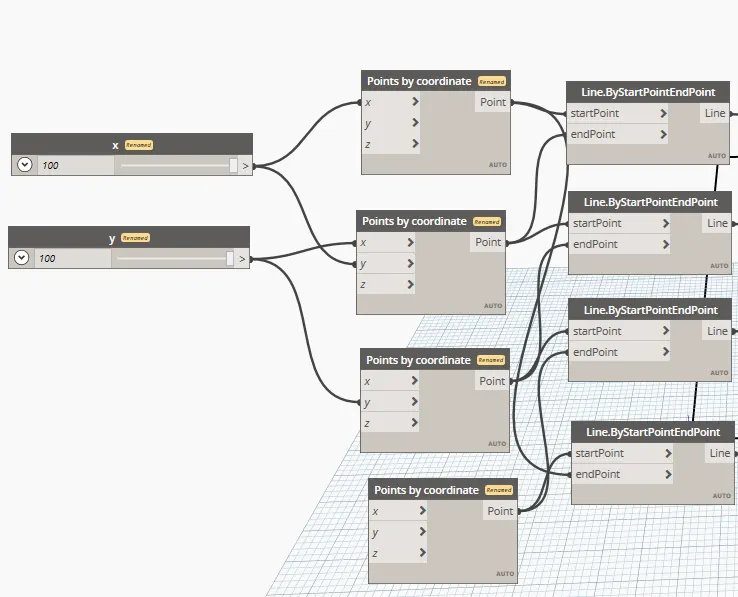
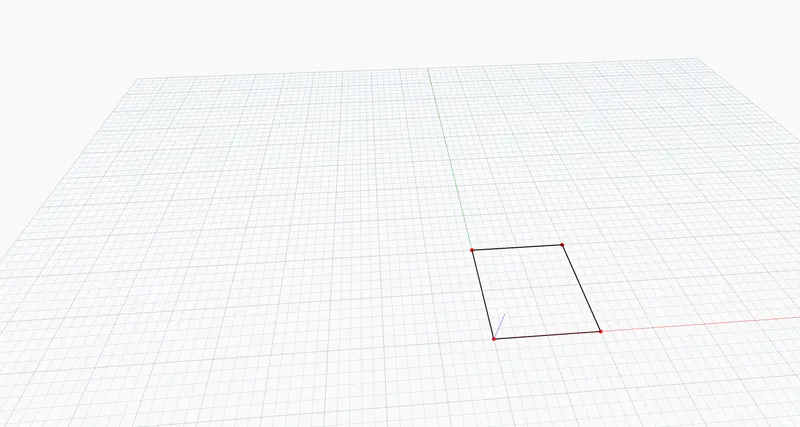
- To complete the wall search list option and add 4 items in the list block and connect the nodes of line blocks to the list block
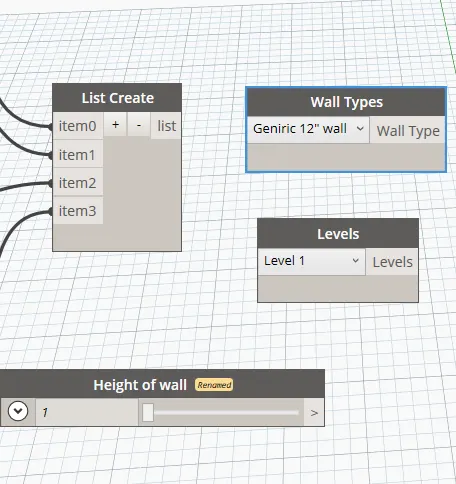
- search Level, Wall types and integer slider and add to the workspace
- Search wall by curve and height and add to the workspace
- Add nodes of height, levels, wall types and list to the wall by curve and height
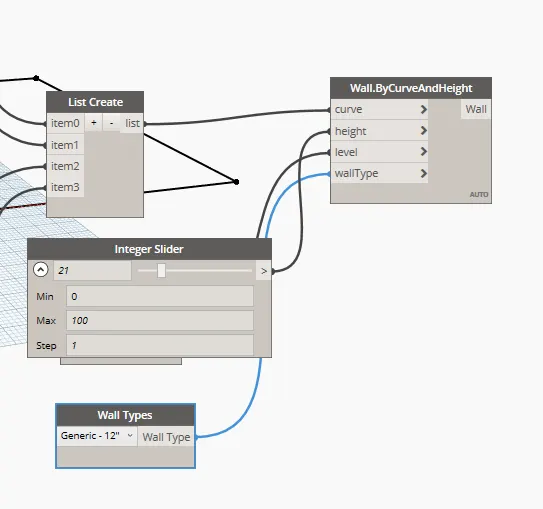
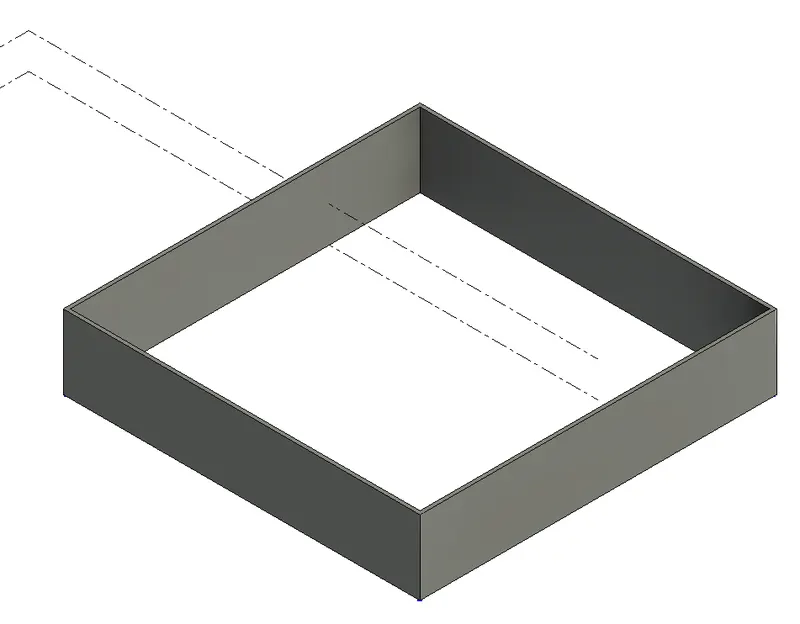
Step 3: Creation of floor
- Search Floor types and Floor by outline type and level add both to the workspace
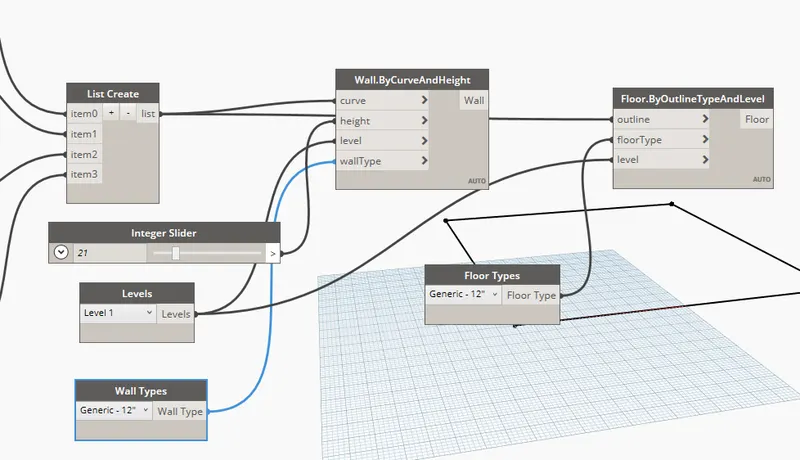
RESULT:
The final flow chart
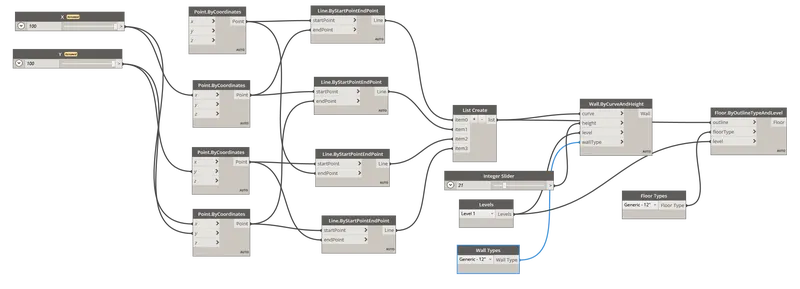
The wall and floor layout is as follows
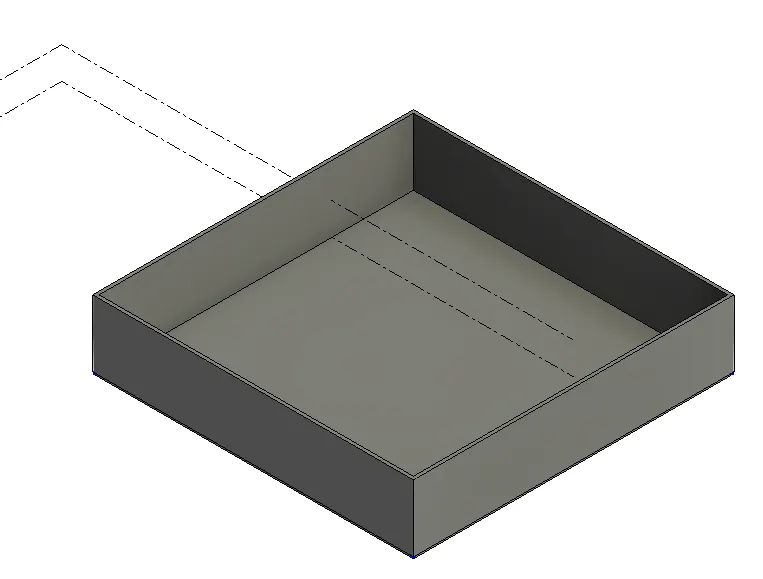
3) Create an array of model elements in Revit. Use dynamo to vary the properties of model elements by using the slider or code block
AIM: To create an array of model elements in Revit
PROCEDURE:
Step 1: Creating Elements in Revit
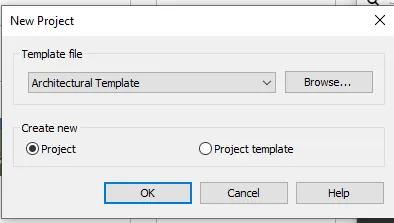
- Open Revit and create a new Architectural template
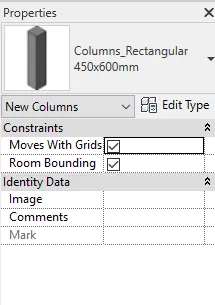
- Create four columns in plan view

Step 2: Open Dynamo:
- In manage toolbar select dynamo
- Select new in dynamo window
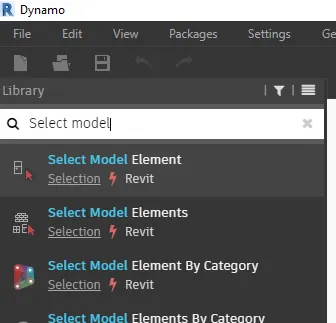
- Search for select model elements and add the block
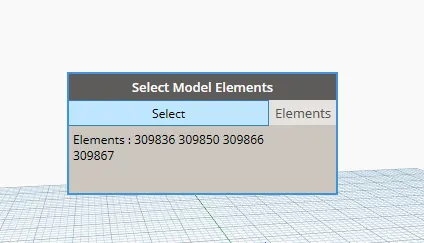
- Select all the columns created in plan view of Revit
Step 3: Add rotation
- Search set rotation
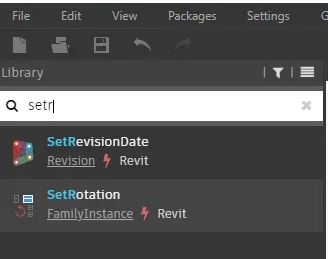
- Click to add to the workspace
- Add number slider for the degree of rotation
- Connect model elements to family instances and number slider to degree
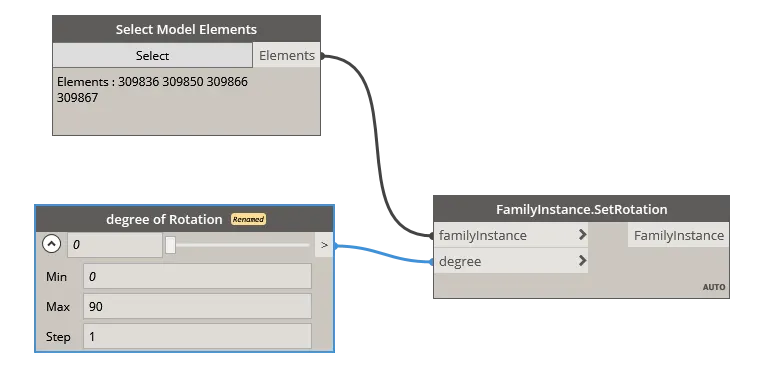
RESULT:
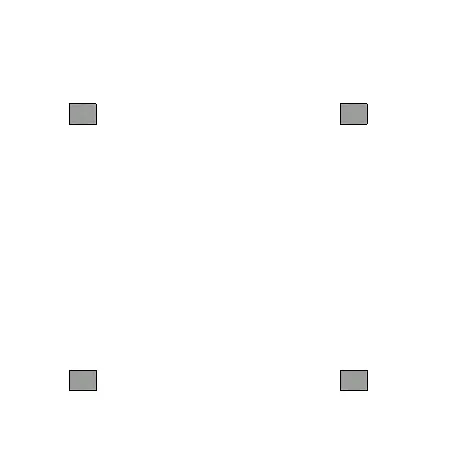
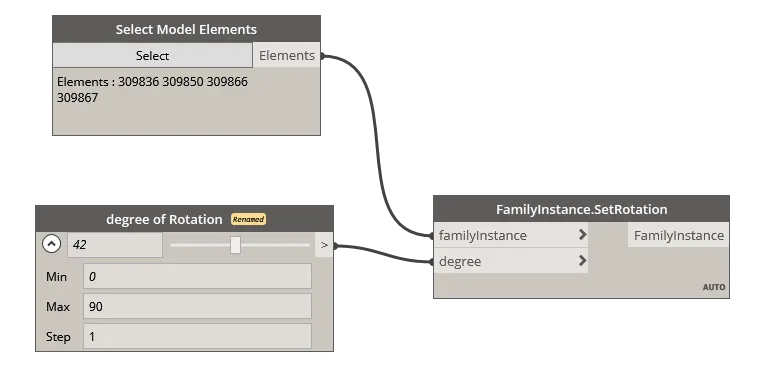
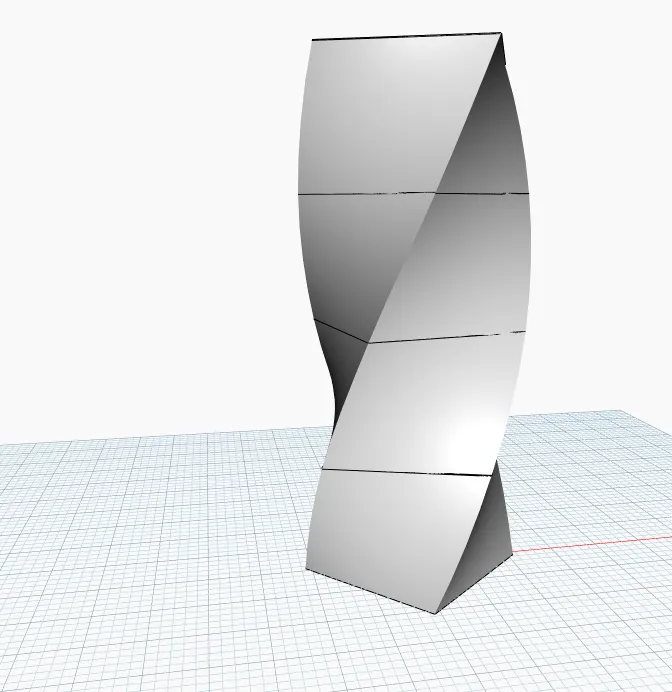
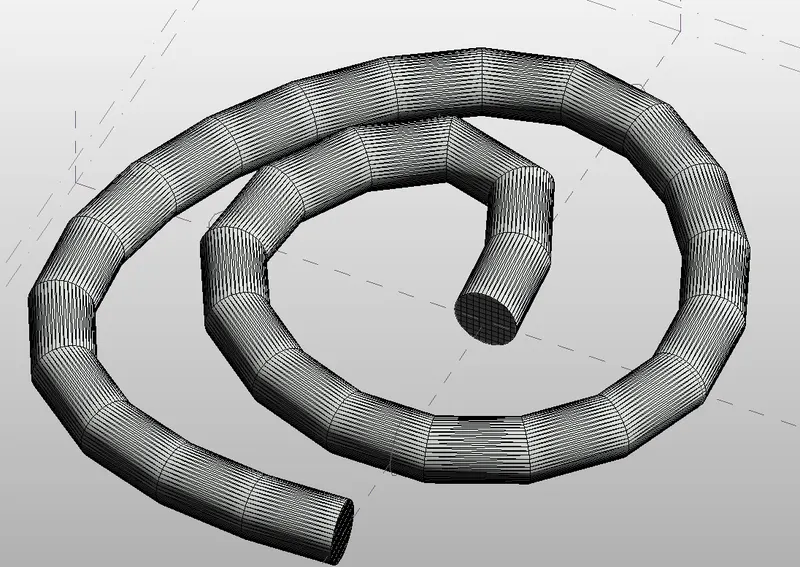
4) Create a conceptual mass in Revit and develop a parametric column by dividing the surfaces and apply the concepts similar to used in parametric walkway modelling. Use triangular bent or square shaped panels to add finish to the parametric column
AIM: To create a conceptual mass in Revit and developed a parametric column
PROCEDURE:
Step 1: Open Conceptual mass
- Open Revit and in families select new conceptual mass
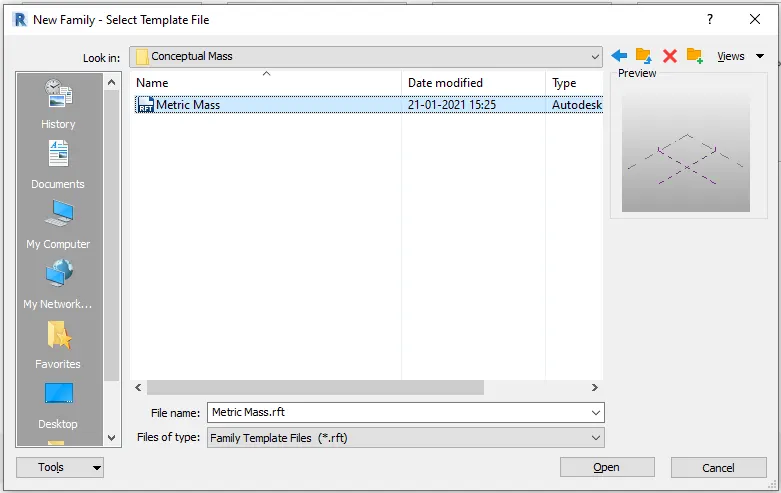
- Click on metric mass to open Conceptual mass
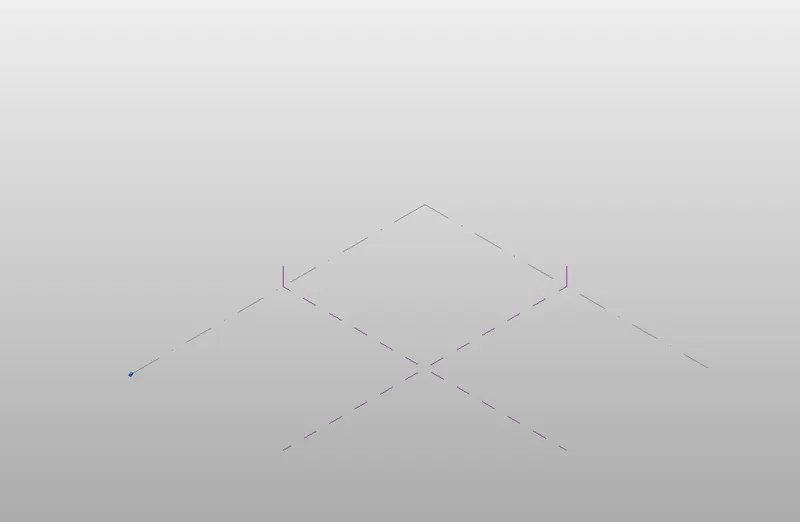
Step 2: Drawing a shape
- Go to north view add a level to the mass
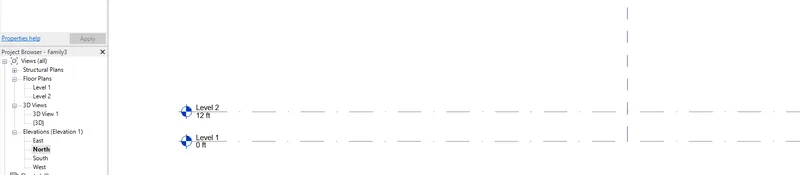
- In-floor plan view draw the curve with the help of a spline
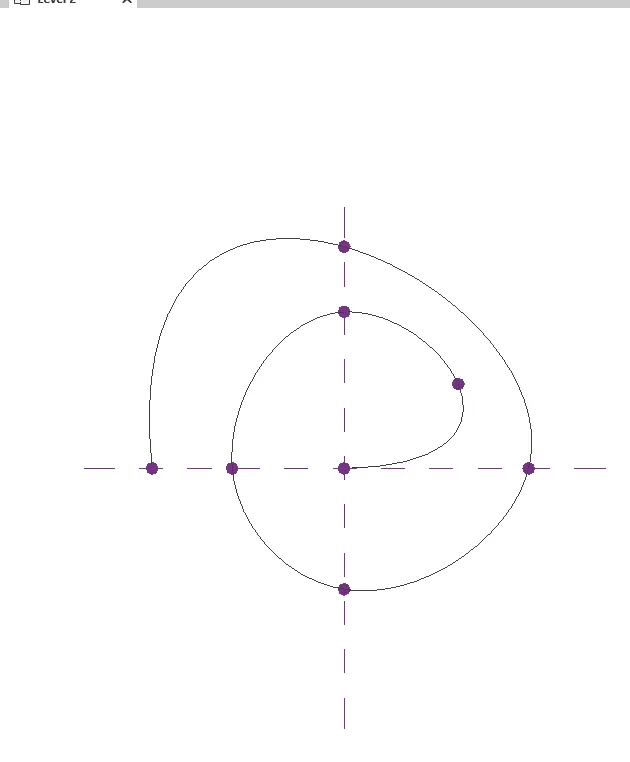
- At every grip set work plane and draw any shape as desired to the workplane
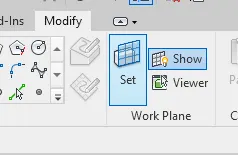
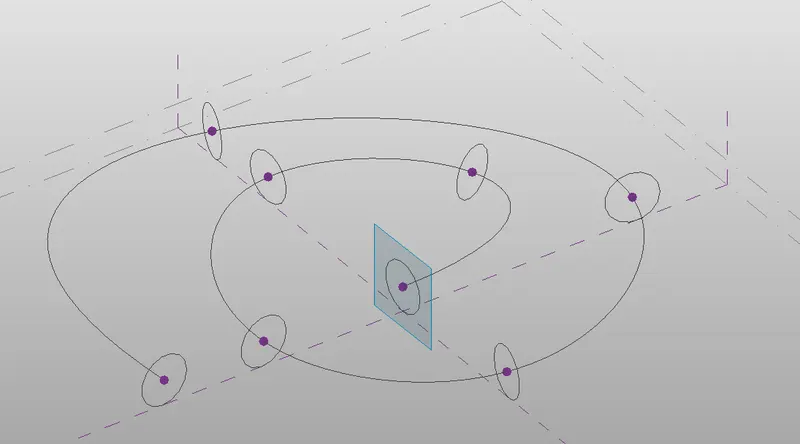
- Select the grip and line both and click on Create form to get the shape
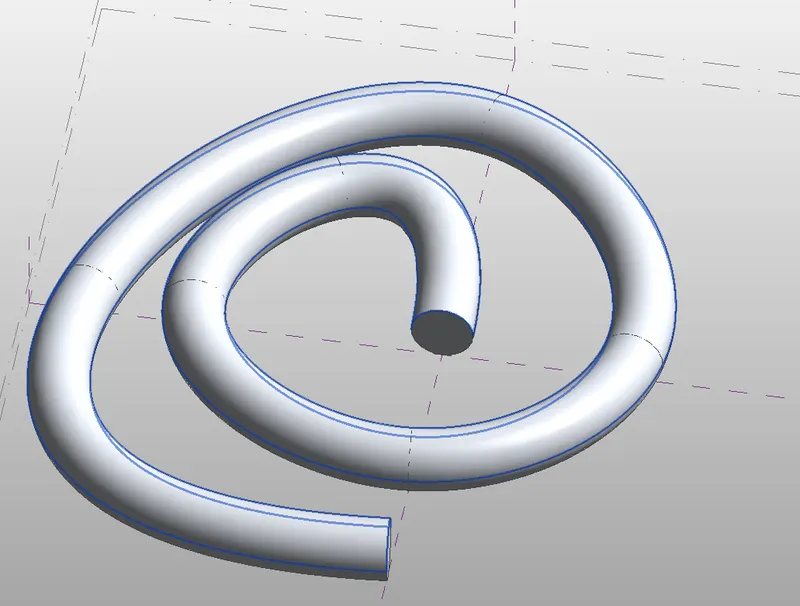
Step 3: Dividing the surfaces
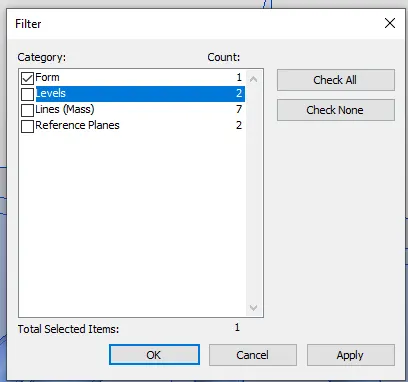
- Select all elements in 3d view and filter only form
- click on divide surface
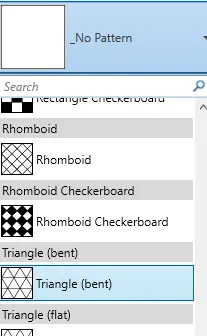
- In properties browser select pattern
- Aligned U and V grids in my Conceptual mass is 30 and 70

RESULT:
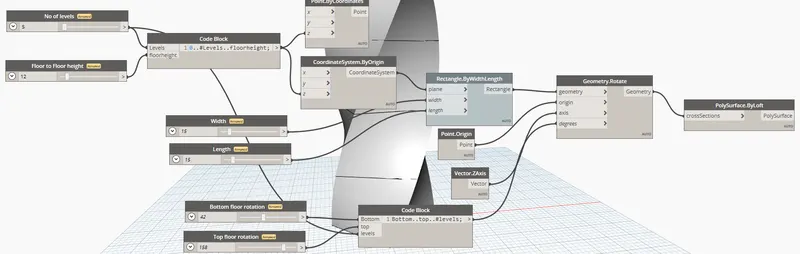
5) Use Dynamo to work on developing a Parametric Stadium. List your parameters and use the visual programming approach to complete the modelling, You can use the concepts discussed in parametric high rise tower in class for reference.
AIM: To use Dynamo to work on developing parametric stadium
PROCEDURE:
Step 1: Open Dynamo
- In manage toolbar select dynamo
- Select new in dynamo window
Step 2: Creation of level and assigning geometry to it
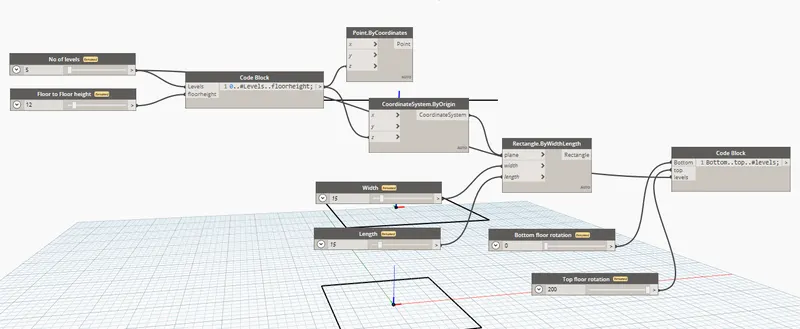
- Search for integer sliders and assign them as the Number of floors and Floor to floor height
- Search code block and to the workspace and assign code as 0..#Levels..Floor height
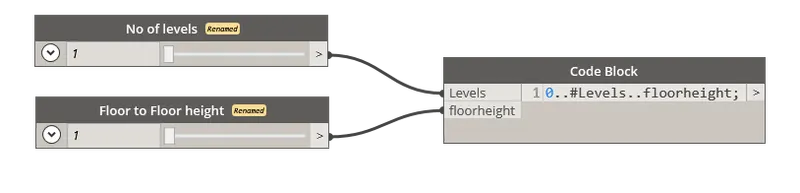
- Add points by the coordinate and coordinate system by origin and connect node from previous code block to the z-axis of them
- Add rectangle by width and length and for its properties add inter sliders and assign them as width and length
- Add Code block and assign code as Bottom..Top..#levels and for its properties add integer sliders and assign them as Botton rotation and top rotation and connect them to the code block and levels integer at starting also connect to this code block
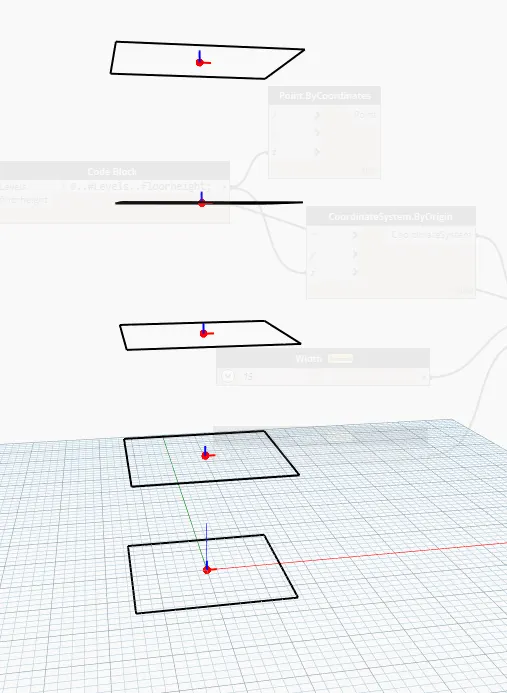
Step 3: Creation of surface and rotation
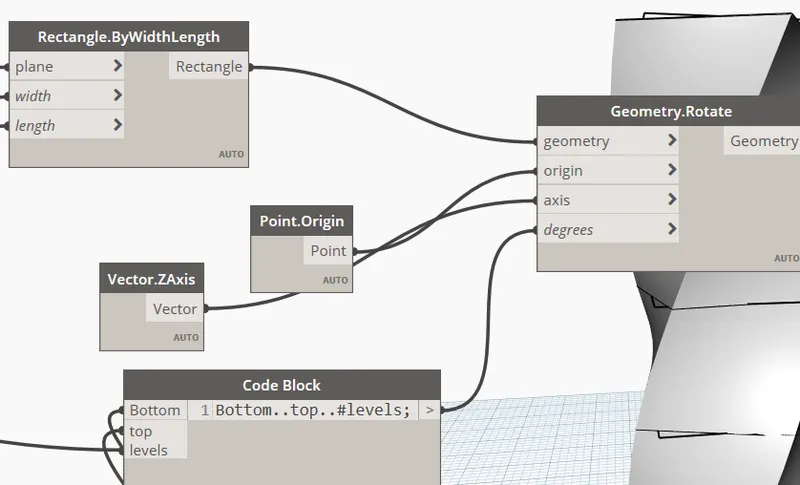
- Add geometric rotation for its properties add origin, z-axis by vector and connect the nodes from rectangle, origin, z-axis and code previously created to the degree
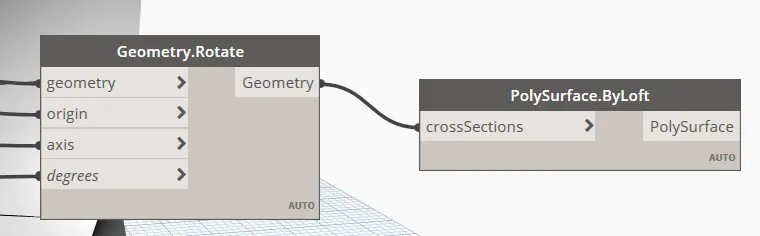
- Add poly surface by the loft and connect the node from geometric rotation to the poly surface
- Disable the rectangle block preview
RESULT:
The flow chart is as follows
3D view