Creating Conceptual mass in REVIT and Creation of Sinusoidal curve and a Parametric stadium using Dynamo
Aim: To create sinusoidal points, curve and surface over the curve by using Dynamo in Revit.
Introduction: To create sinusoidal points, curve and surface over the curve by using Dynamo in Revit.
Procedure:
Step1:
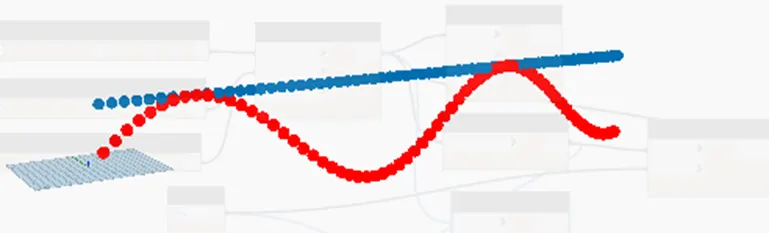
To create sinusoidal points
- Open a revit architecture template from the manage tab open the dynamo window
- Now add the three integer slider parameters from the search bar
- Next add point by coordinate and range math.sin and product
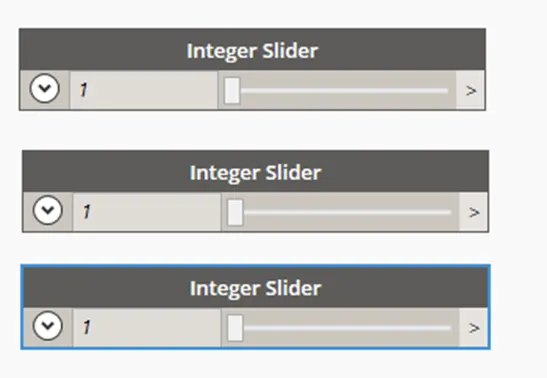
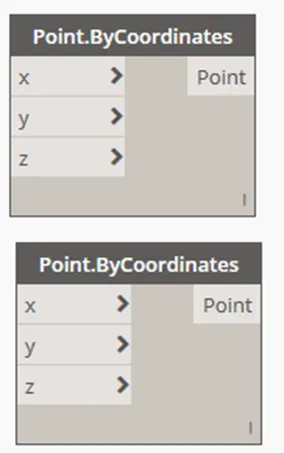
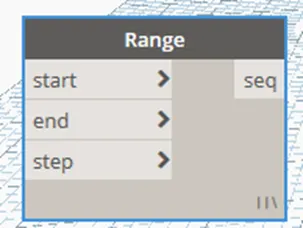
- Next give the slider value and cod block value as 50 link the parameters to create the sinusoidal curve points
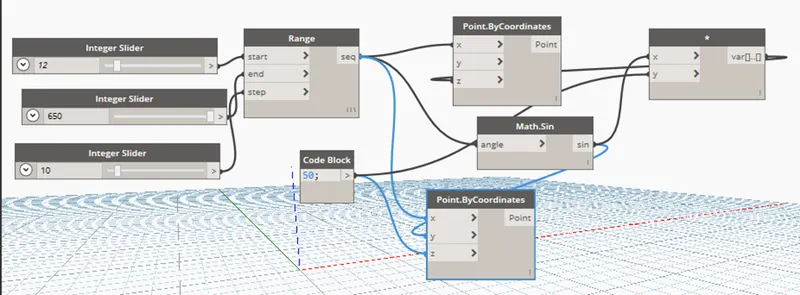
Step2:
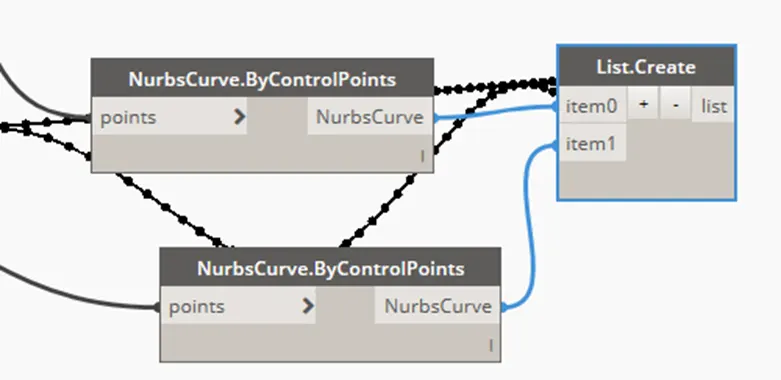
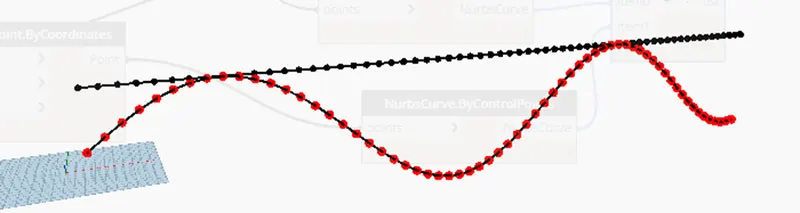
To create line over the point
- Now the add parameters nurb by points and list
- Link the coordinate points with the nurb point and nurb points with the list parameter
Step3:
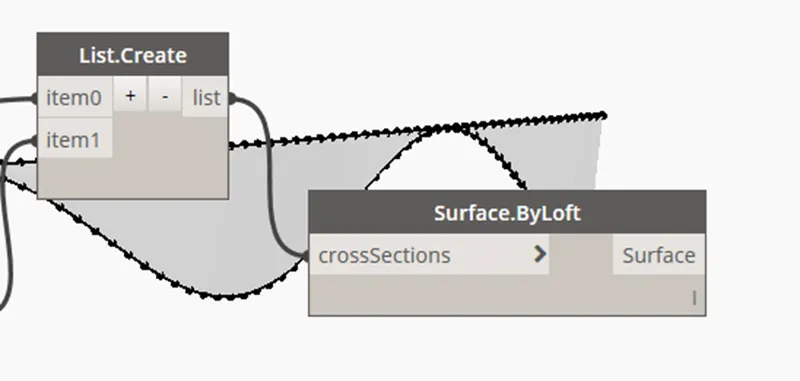
To add surface the curve
- Now take the surface parameter and link list to surface parameter
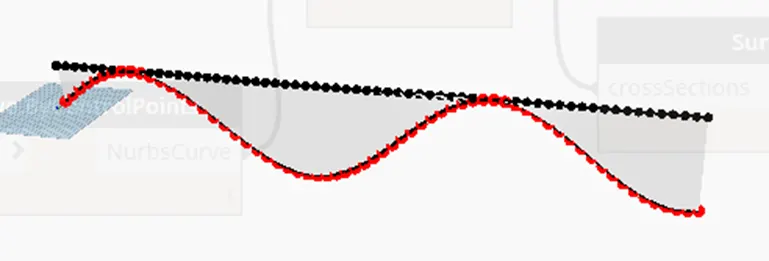
Result:
- From the above steps we created the sinusoidal point and join them with the line next assign the surface to it
- assign the surface to it
2):
Aim: To create a conceptual layout of floor plan in dynamo by using appropriate model elements like, wall parameters and sliders to slide height of wall and length.
Introduction: To create a conceptual layout of floor plan in dynamo by using appropriate model elements like, wall parameters and sliders to slide height of wall and length. By using Revit.
Procedure:
Step1:
To create the floor layout points
- Open the dynamo window from revit manage tab
- From the search tool add the parameter two integer slider, and 4 point by coordinates
- Now connect the sliders with points
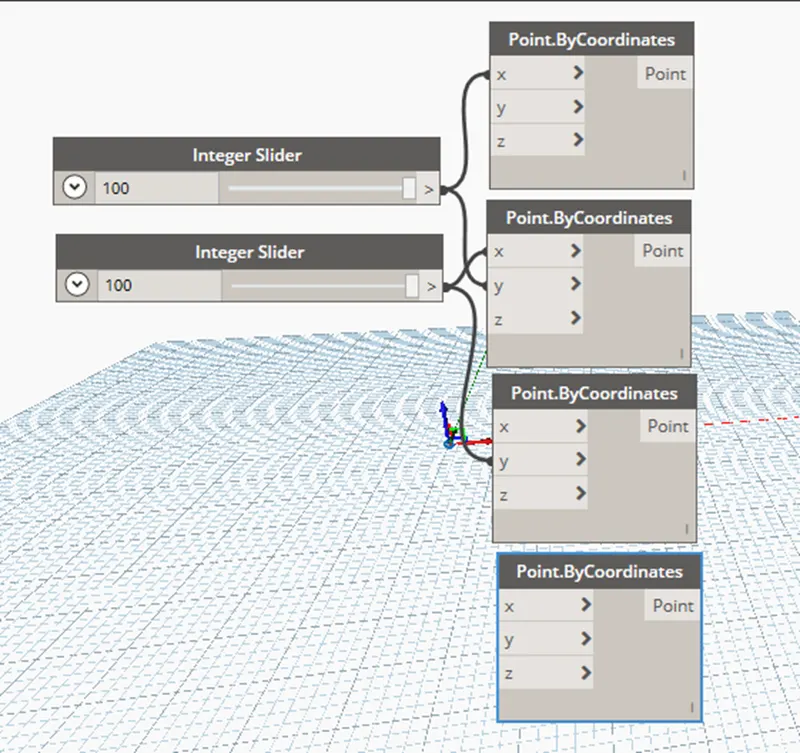
- The layout points has been created
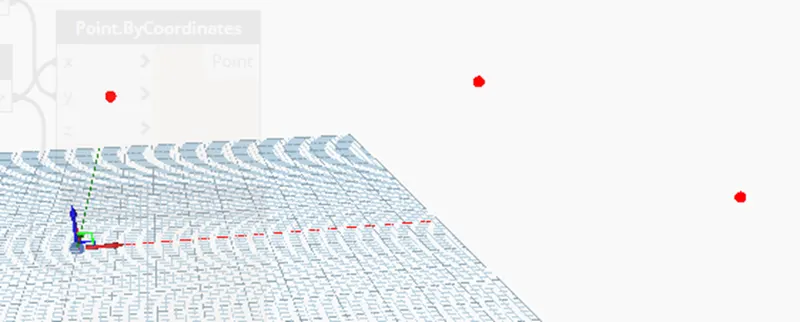
Step2:
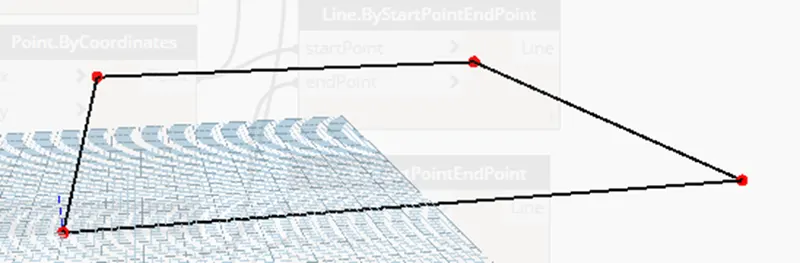
To create the lines over the point
- From the search tool add the 4 parameter of line by coordinate and add list create
- Now connect the points with line and line to list
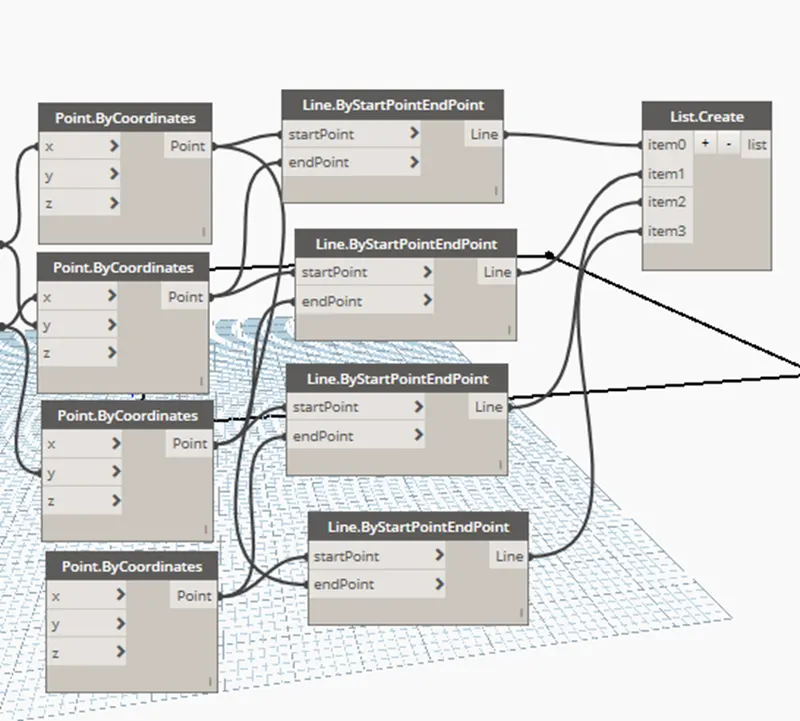
- the line over the points has been created
Step 3:
To create the walls
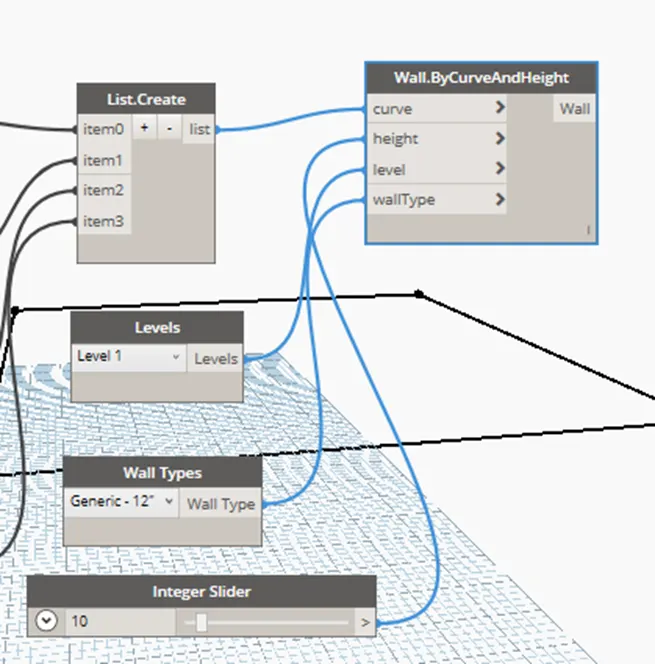
- Now add the codes like level, wall type, integer slider, and wall by curve and height
- Next assign the wall type as 12” and level 1 slider value as 10
- Now connect the parameters
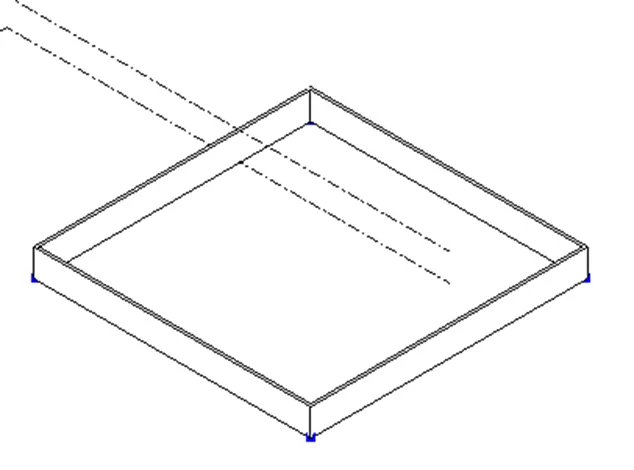
- To see the walls cross check in the revit
- The wall has been created
Step 4:
To create the floor
- Now add the floor type and floor by outline and level
- Now connect the floor type and level
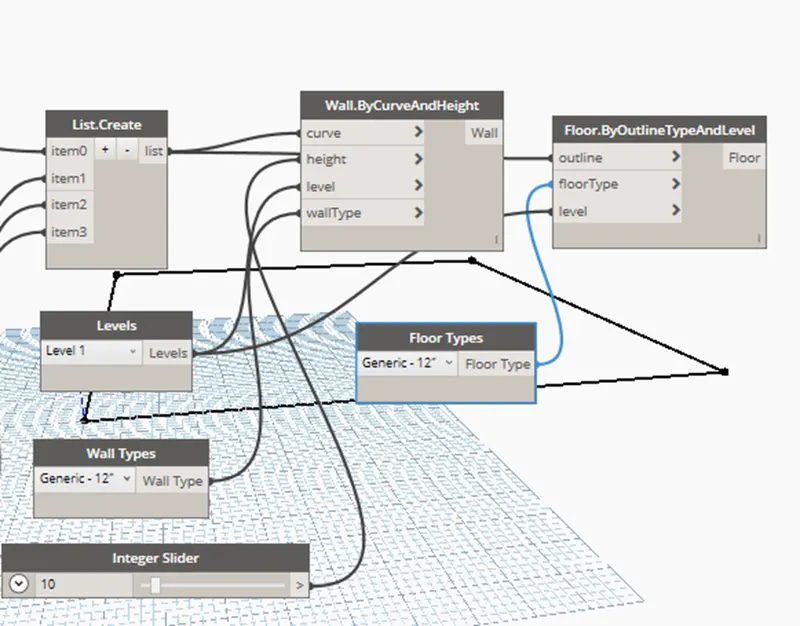
- From the revit we can cross check the floor created
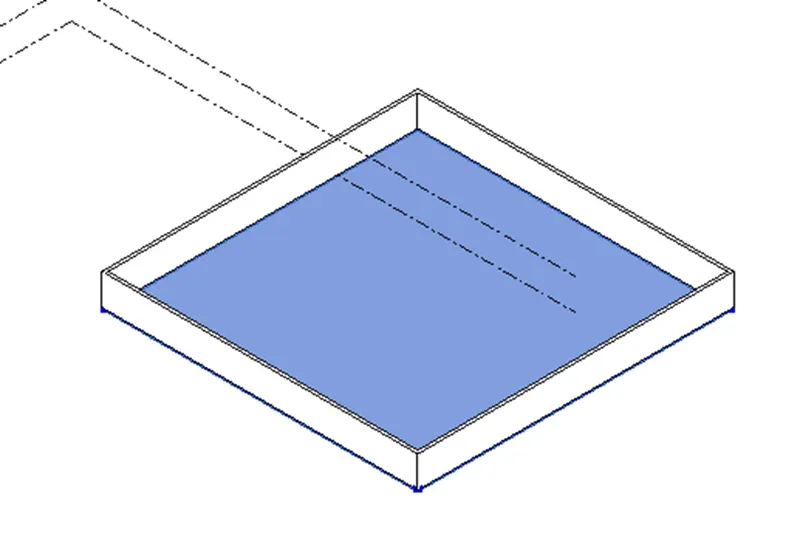
Result:
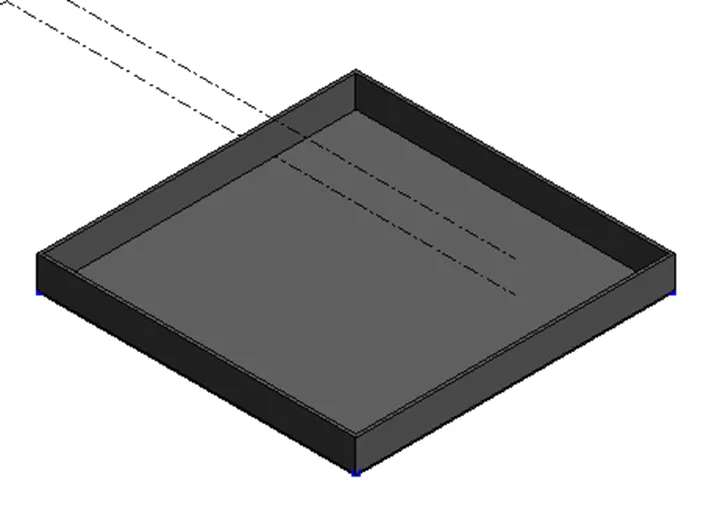
3):
Aim: To create a array of model element in Revit. By using to vary the property of model element. Use the slider or code block
Introduction: To create a array of model element in Revit. By using to vary the property of model element. Use the slider or code block
Procedure:
Step1:
- Open the revit softer from the architecture tab select the architecture column and place the 4 architecture column

Step2:
- Open the dynamo from the manage tab and select the new dynamo work place
- From the search bar add three parameters as select model element, rotation, and slider
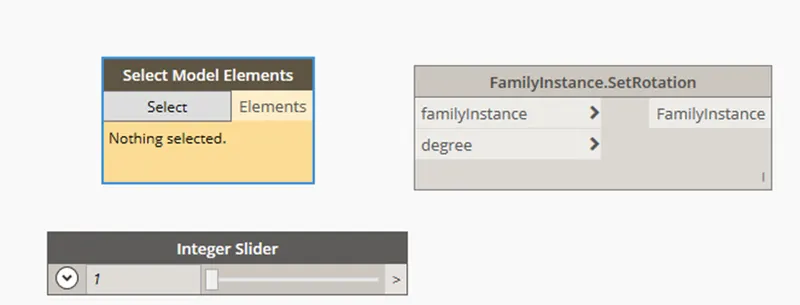
- Next assign the slider value and select the elements from the revit work space
- Now connect the parameters as shown
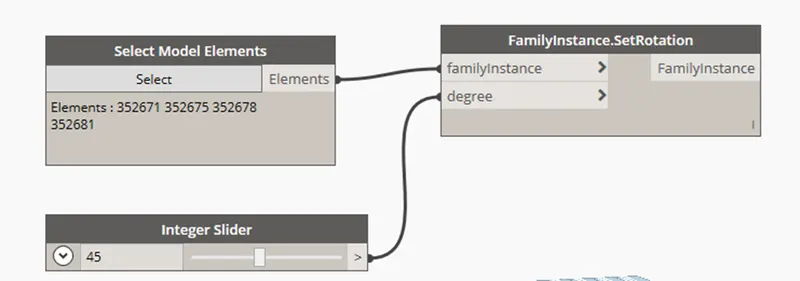
- Now open the revit work space for cross check the components are rotated at 45 degree
Result:

4):
Aim: To create a conceptual mass in revit and develop a parametric column and apply the surfaces similar to used in parametric walkway modelling.
Introduction: To create a conceptual mass in revit and develop a parametric column and apply the surfaces similar to used in parametric walkway modelling.
Procedure:
Step1:
- Open Revit work space from the file select the new option from the select the conceptual mass option
- The conceptual mass family workspace will opens
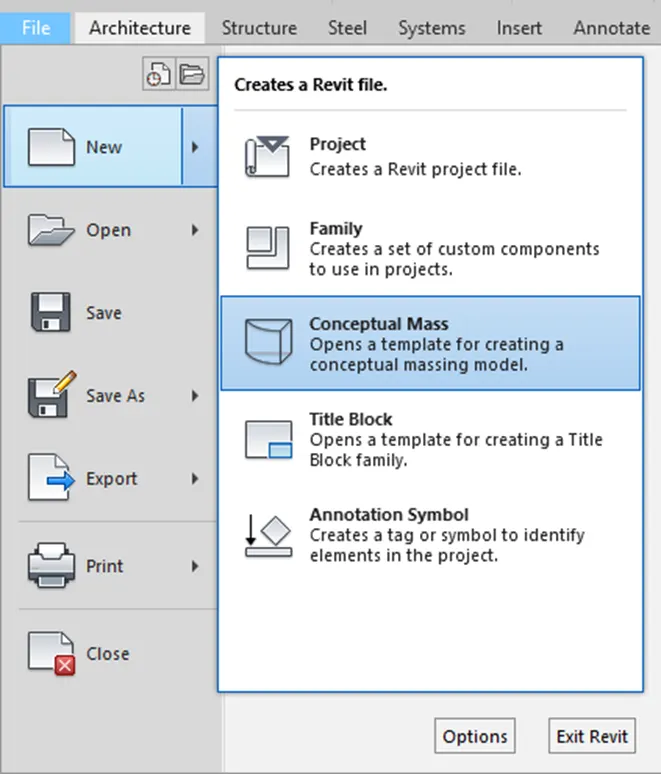
- Now go elevation option and create a new level of 12’

Step 2:
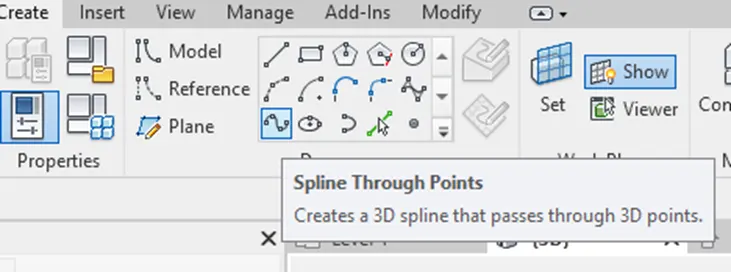
- From the tool bar go create option and select the spline through point
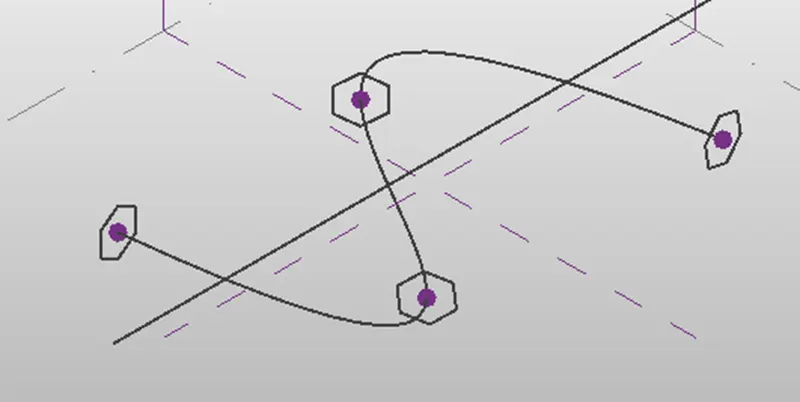
- Now mark the points on work space as shown
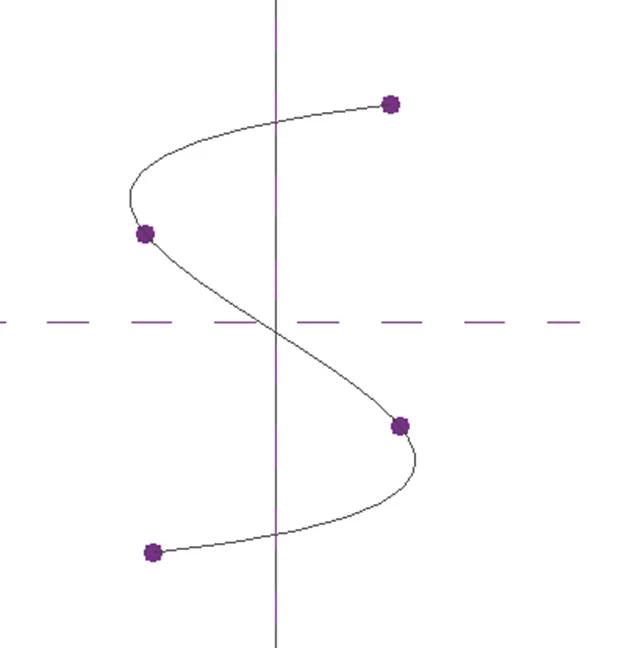
-
Step 3:
- Select 3D view from the tool bar select the set plan option
- Select the point and set the plan
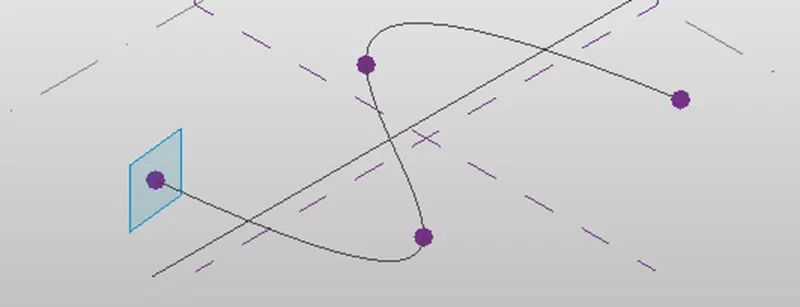
- Now from the toolbar select the polygon option to create a polygon keep the cursor at center of point and give height as 12’
Step 4:
- To create a solid surface
- Frist click on the curve and then by selecting the polygon option
- From the toolbar click on the create form option
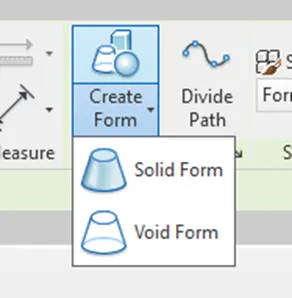
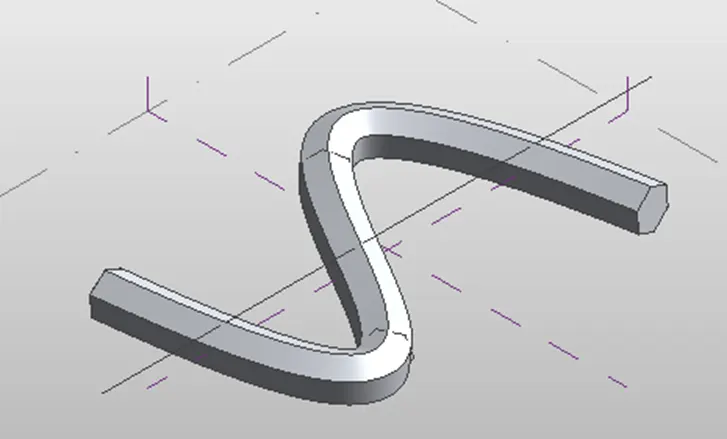
- A solid surface is will form over the curve as shown
Step 5:
- To create tringle pattern over the surface of the curve
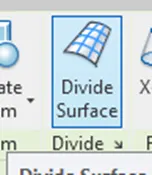
- Select the total solid form from the toolbar click on the divide surface option
- Then select the solid surface option from the property browser select the triangle bent option
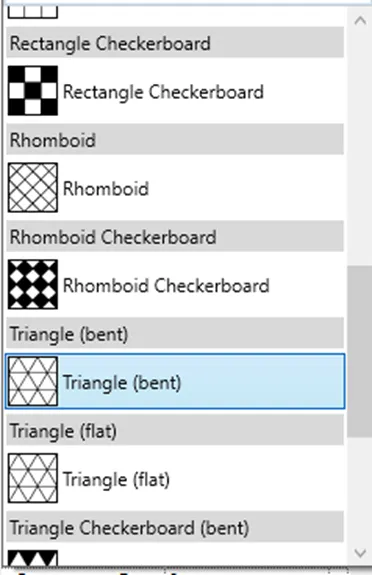
- The triangle bent will form the over the solid surface
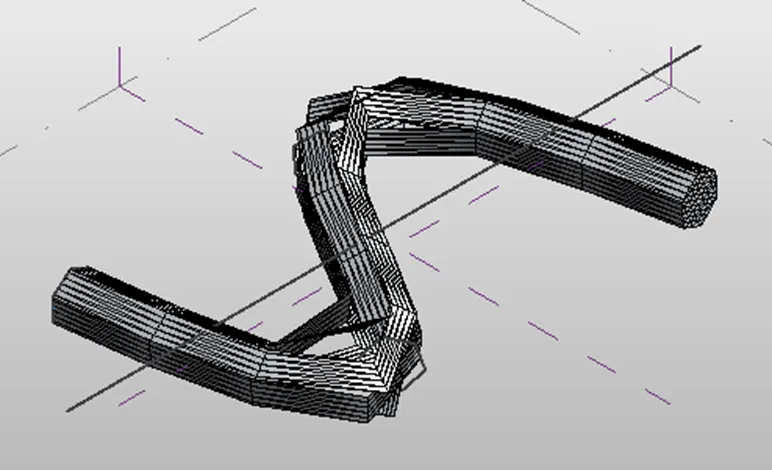
Result:
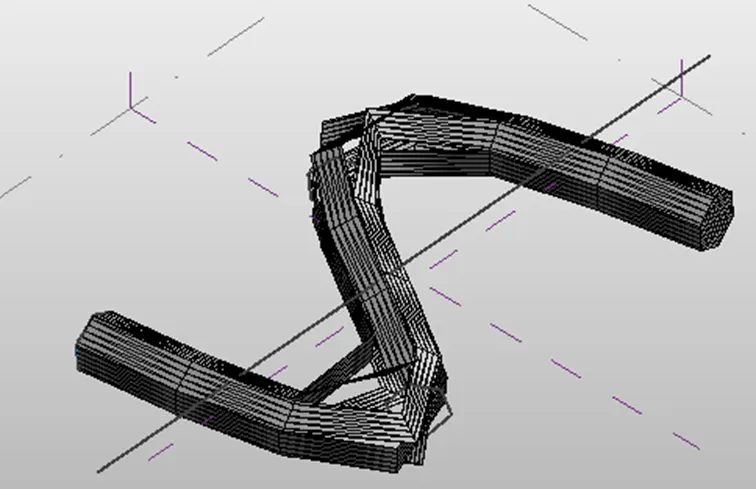
5):
Aim: To develop the stadium by using the dynamo
Introduction: To develop the stadium by using the dynamo. By using the Revit.
Procedure:
Step1:
- Open a new revit template then from the manage tab open new dynamo workspace
- Next from the search tab add as two sliders and a cod block as shown
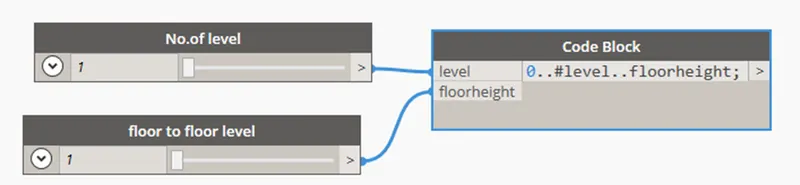
- Next assign the level and floor and connect it
- Now add the two parameters points and origin
- Now connect the cod block to it
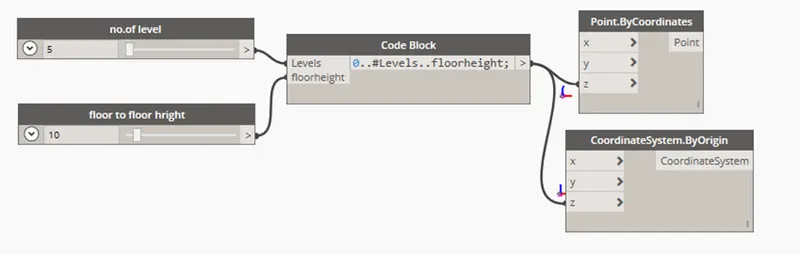
- The points has been added to z axis in dynamo work space
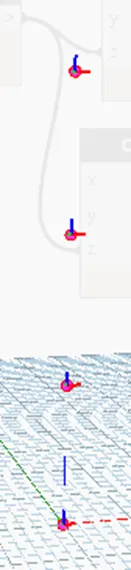
Step 3:
- Now add the four sliders and name it as width, length, top, and bottom
- Next add the rectangle parameters
- Now connect the width and length to rectangle
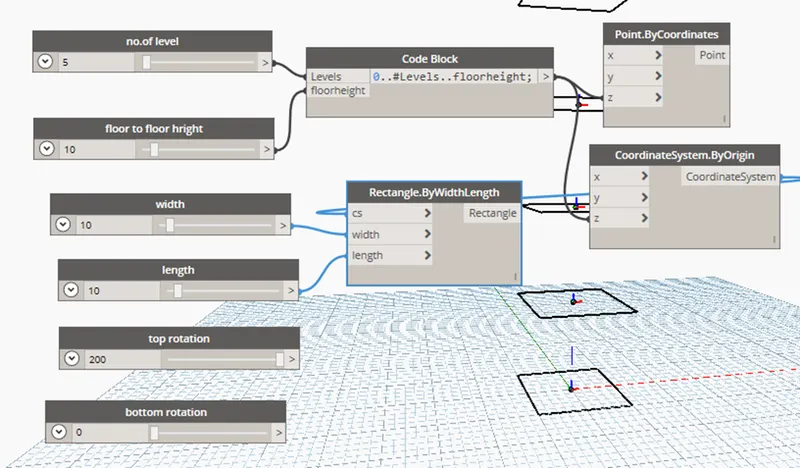
- The rectangle are create at dynamo work space
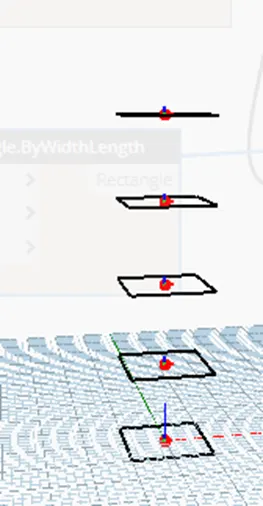
Step 4:
- Now add the new cod block as bottom, top, and level
- Next add origin and z axis
- Next connect it with the cod block
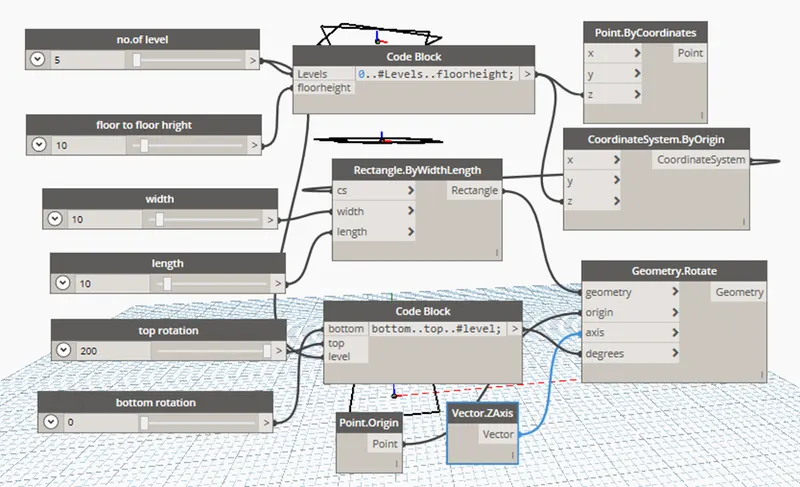
- The block are created at dynamo work space 5 levels with at height of 10 from level.
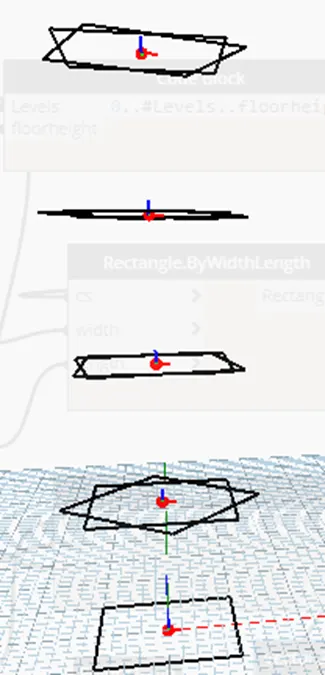
Step 5:
- Now adding surface to it
- Search the poly surface
- Next connect it with geometry as shown
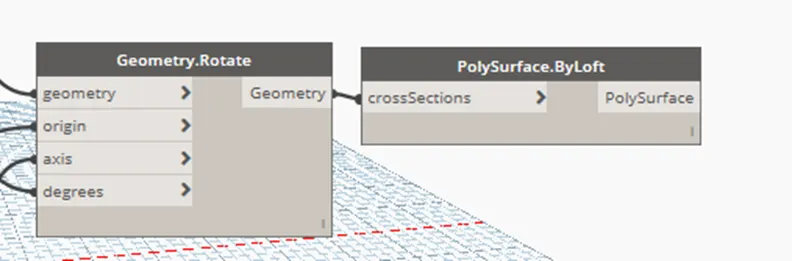
- The surface has been create at dynamo work space
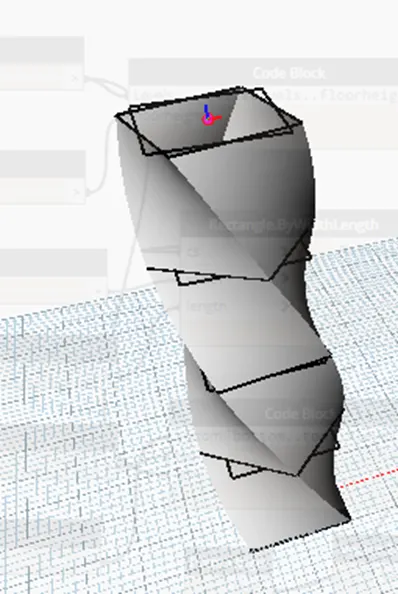
Result:
With the above steps we created the parametric stadium by using dynamo.