Creating Conceptual mass in REVIT and Creation of Sinusoidal curve and a Parametric stadium using Dynamo
1) Use Dynamo to create a set of sine points and create a curve and create a surface from the curve.
Objective: To create a set of sine points, create a curve and Create a surface from the curve.
Method:
Step 1:
Open the Revit software, select the architecture template and click the dynamo option on the administration toolbar.
After opening dynamo, double click on the dynamo screen.
Step 2:
Search the library for integer sliders and create 3 sliders, rename them Start, End, Step.Give the values.
In the library search area and connect all three sliders to the range as appropriate.
When searching in the Point by Coordinates library, click on it to link the range to the X-coordinates.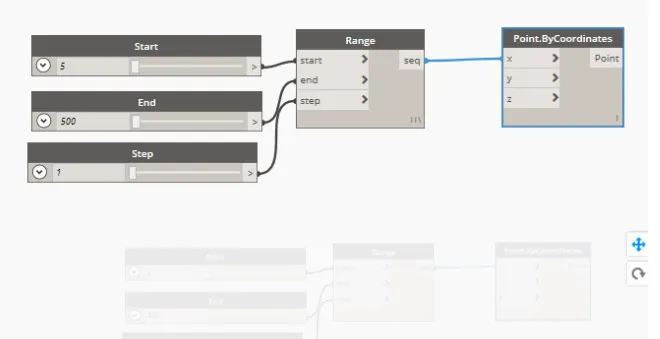
Step 3:
Find the sine curve in the library with the command math.sine.Append the X-coordinates to the sine curve.
Create another slider and name it Amp and enter a value.
Create a product function using the product and connect the sine and amplifier to the product function.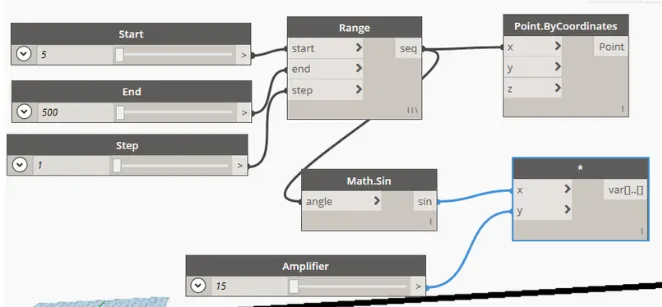
Step 4:
Create an addition function using addition and Create another slider and name it as stage and enter the values.
Connect the product and add the phase.
Connect from add on Y-coordinate.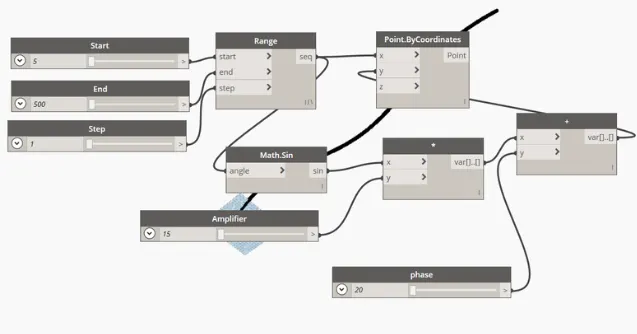
Step 5:
Create a curve using nurbscurve and also create a slider for degree and enter a value of 2 or 3.
Connect the coordinate points with nurbscurve and degree. Connecting all the lines creates a line.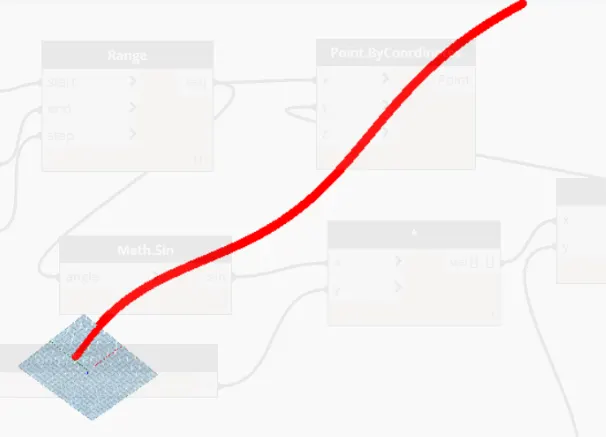
Step 6:
Select all input-based functions and label them as a group. To do this as a group, you need to edit the select'create node from the selection.
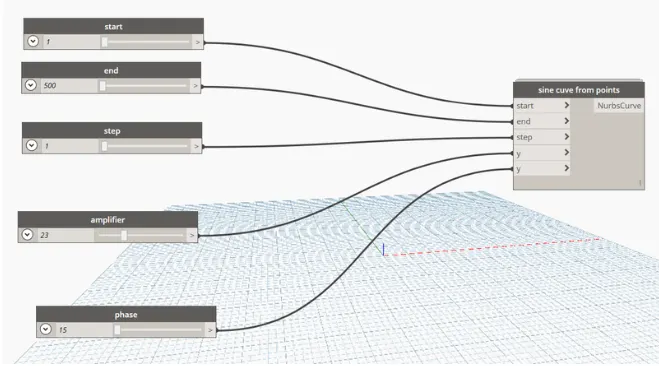
After creating the group, copy and paste it twice and edit the phase value.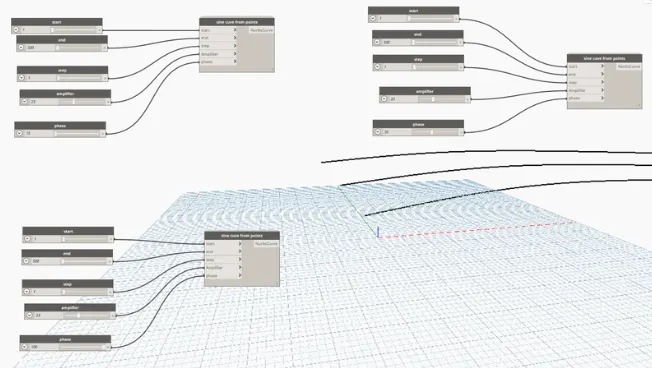
Search the library for list.create and surface by loft .
Attach all sine curves to the .creat list and to the surface list by loft.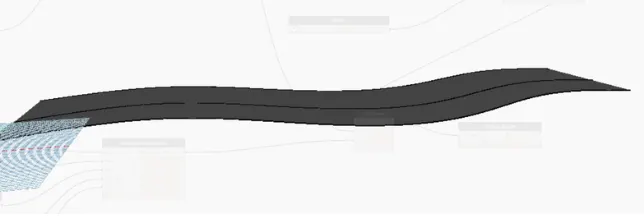
Result:
Created a set of sine points.
Created a sine curve.
Created a surface from a curve.
2) Create a conceptual floor plan layout in dynamo. Using the tools available in dynamo, connect the lines to the appropriate model elements in Revit by selecting wall types and wall parameters. Use the sliders to move the wall height and wall length.
Objective: Create a conceptual floor plan layout in dynamo using the tools available in dynamo link.
Method:
Step 1:
Create two integer sliders and name them as x and y and enter a minimum integer value of 100.
At the library search point by coordinates, make 4 copies of it.
Attach the created integer sliders to the point using coordinates.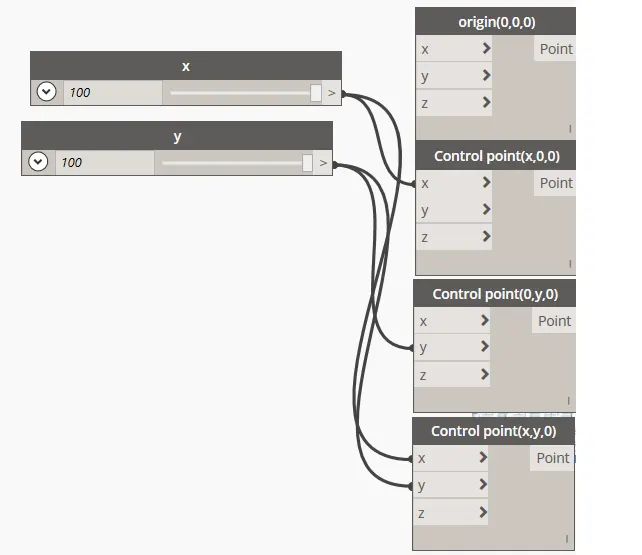
Step 2:
In the search bar of the library by the start and end points, make 4 copies of it.
Connect the point using coordinates to a line.
Then a rectangle is created by the coordinate points.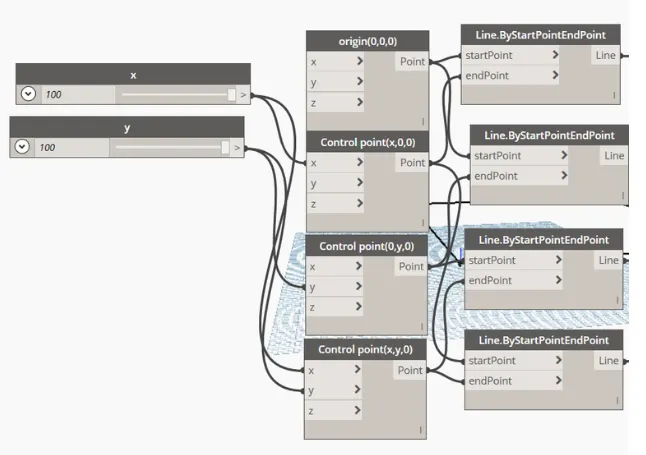
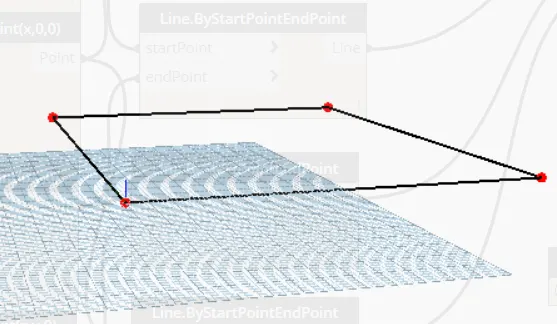
Step 3:
Creating walls:
In the library search list, create, wall types, levels, wall by curve and height, integer slider and place them all in the workspace.
Rename the slider to height and enter a height of 10'.
Select the wall type as general -12" wall.
connect all properly shown in the picture.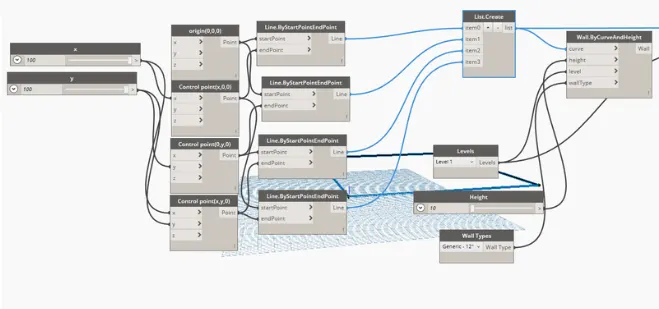
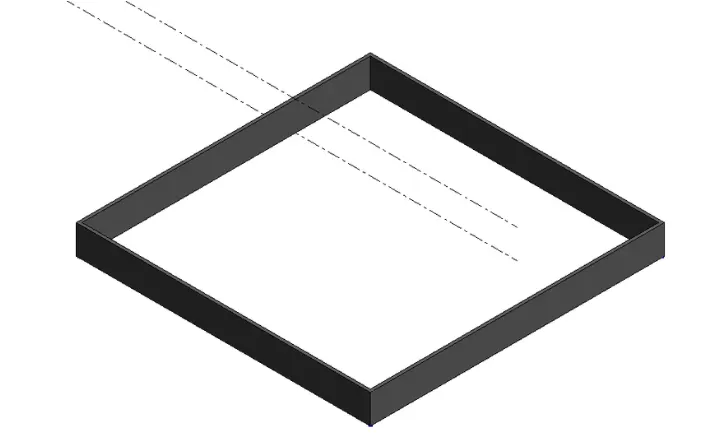
Step 4:
Creating a floor:
Search the library for floor types, floors by contour type and level and place them all in the workspace.
Select floor type as general -6" floor.
connect all properly shown in the picture.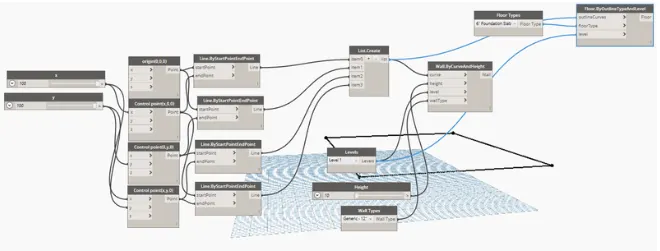
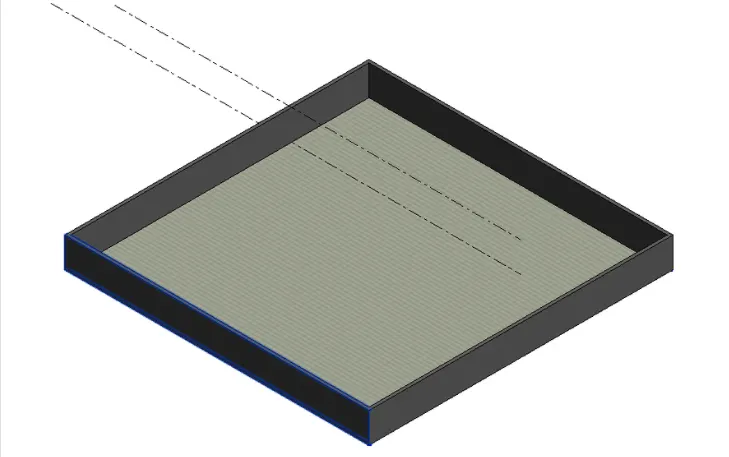
Result:
Created conceptual floor plan layout in dynamo using tools available in dynamo link.
3) Create an array of model elements in Revit. With dynamo, you can change the properties of model elements using a slider or block of code.
Objective: Create an array of model elements in Revit using dynamo to change the properties of model elements using a slider or block of code.
Method:
Step 1:
Open Revit software using an architectural template.
Create 18X24" columns.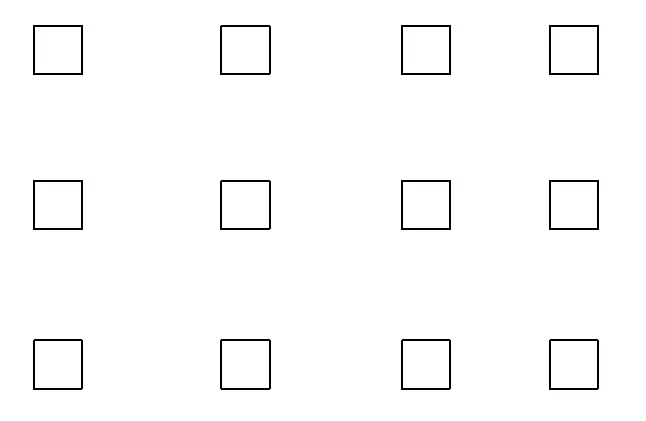
Step 2:
Open dynamo tool and then dynamo will open.
In the library, select the model elements, the integer slider, and the family instance.
Rename the slider and enter a value for rotation.
Attach the elements of the selected model elements to the family instance of the family instance.
Attach an integer slider to the degree of the family instance.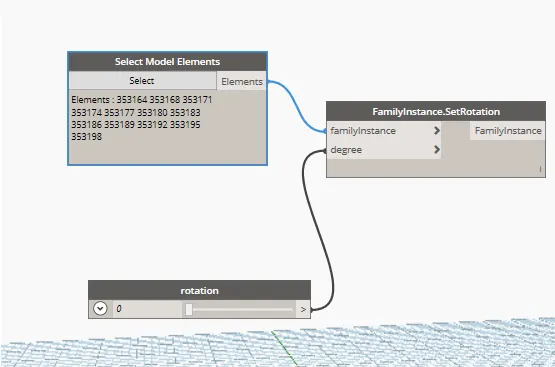
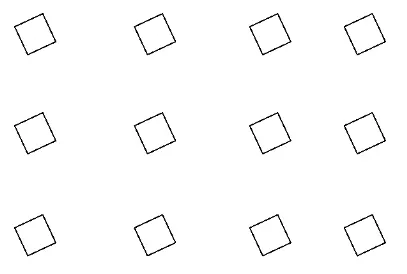
Result:
Created an array of model elements in Revit using dynamo to change the properties of model elements using a slider or block of code.
4) Create a conceptual mass in Revit and create a parametric column by dividing the surfaces and apply concepts similar to those used in parametric pavement modeling. Add a parametric column finish using triangular bent or square panels.
Objective: Create a conceptual mass in Revit and develop a parametric column by dividing surfaces and Apply concepts similar to those used in parametric pavement modeling.
Method:
Step 1:
Open the Revit software and select the new option in the family.
Select the mass in the conceptual mass folder.
Create a level at 10' and rename it roof height.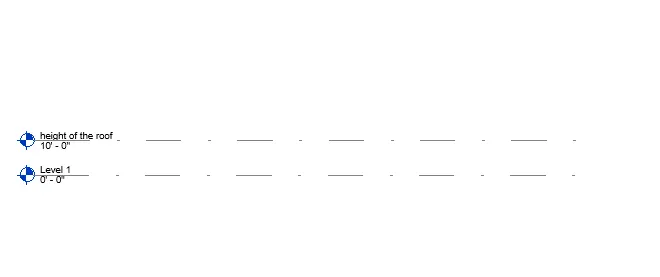
Use the spline tool to draw the curve of the sidewalk.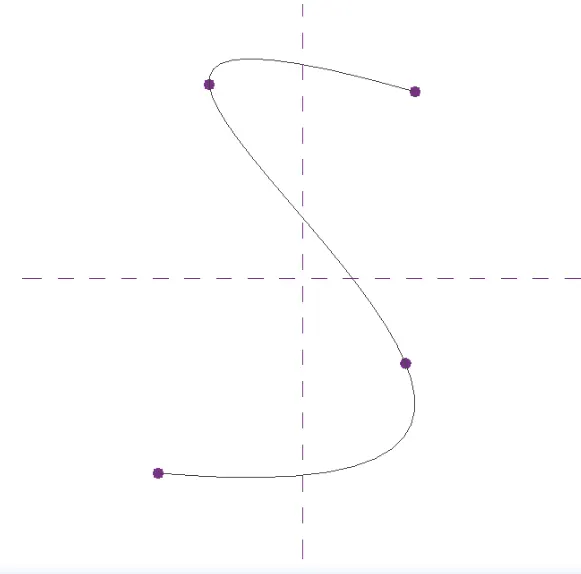
Create a workplace at control points and draw a polygon with four sides to the workplace.
Similarly, create a workplace at the control points and draw a polygon with four sides at different angles as shown below.
Select the curve, control points, work plane and polygon. And then make a foam out of it.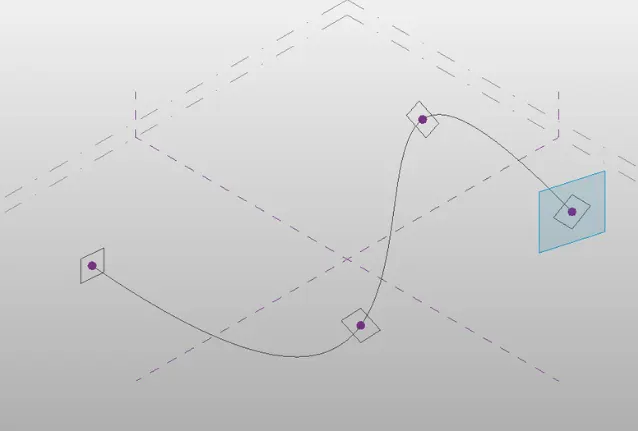
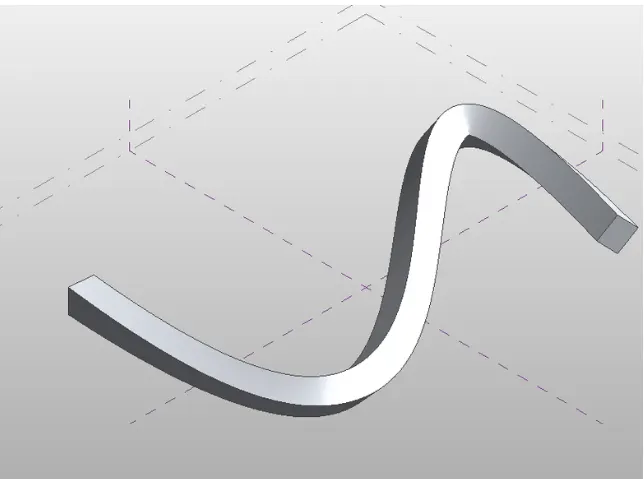
Select all the elements and filter them and select the form and split the form.
After splitting, select the split face and apply a triangle pattern.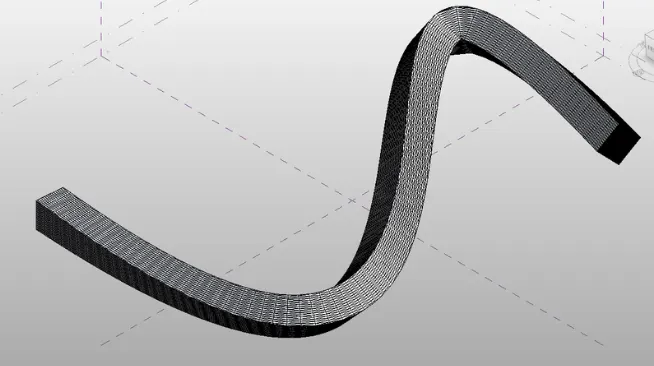
Open a new family and select based on the metric curtain panel pattern.
Select the triangular bent pattern.
Create a plane in the center and also place a 2" diameter circle in the center to create a form.
The triangular bent pattern has been created and then click "load to project".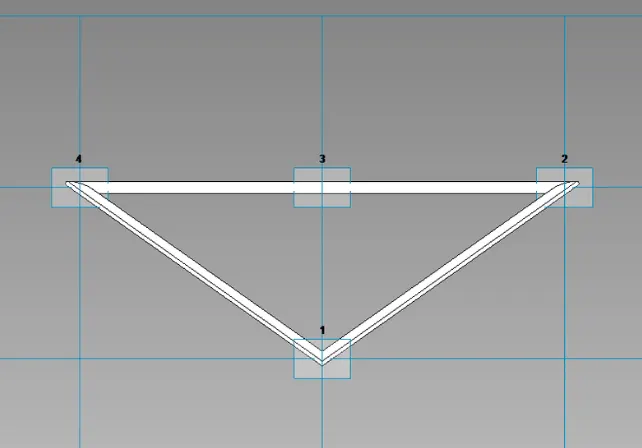
Select the split surface and use the created family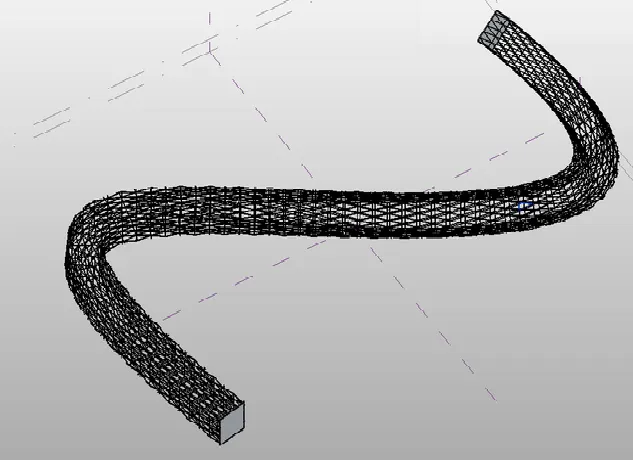
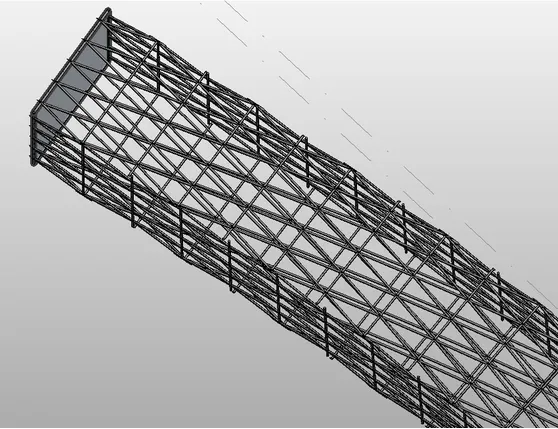
Result:
Created a conceptual mass in Revit and developed a parametric column by dividing the surfaces and also used concepts similar to those used in parametric pavement modeling.
5) Use Dynamo to work on parametric stadium development. Enter your parameters and use a visual programming approach to complete the modeling. You can use the concepts discussed in the parametric tall tower in class for reference.
Objective: Draw a parametric stadium using dynamo.
Method:
Step 1:
Open a new file in Revit and open dynamo.
Insert four sliders into the library search slider and rename them.
Enter a block of code and in that block of code enter (0..#levels..Floor Height) Additional connection levels and height.
Search the library for the coordinate system by origin and attach the code block in z to it.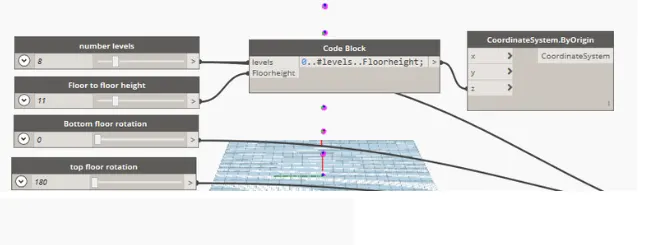
Search the library for the rectangle by width and height and create two sliders for the width and depth of the rectangle. Attach the coordinate system and two sliders to the rectangle by width and height.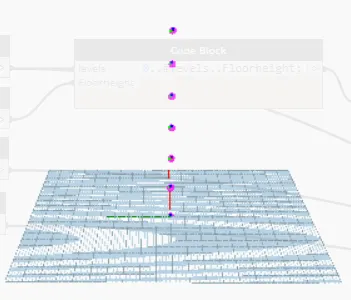
Create a code block and in this code block type (bottom..top..#levels)
Attach the bottom rotation and top rotation and number of levels to the code block created above.
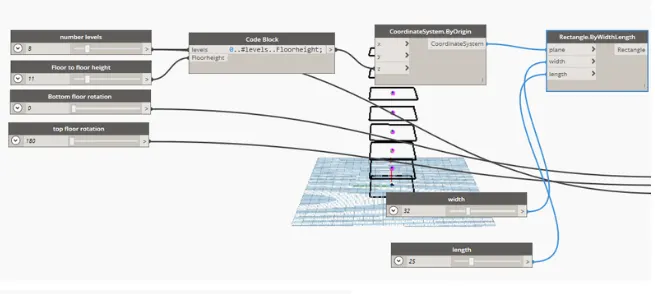
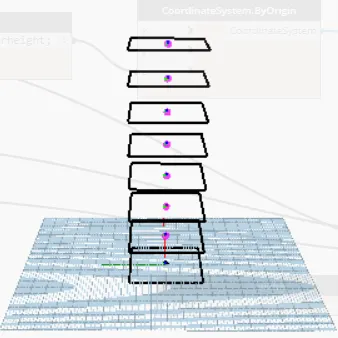
Create the origin, z-axis, geometry rotation and connections
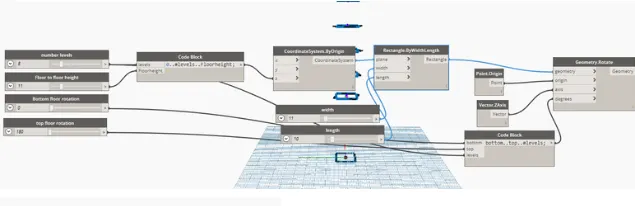
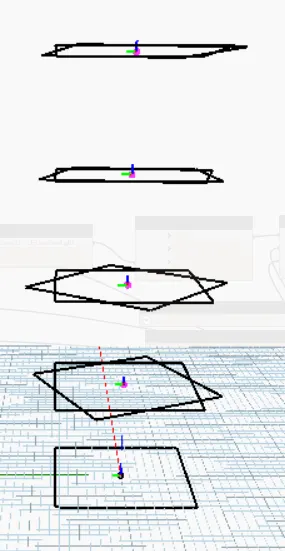
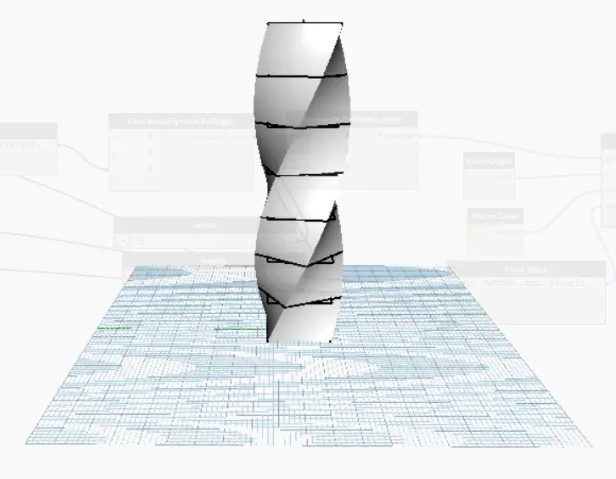
Create a surface by coating and associate the rotation of the geometry with the surface by coating.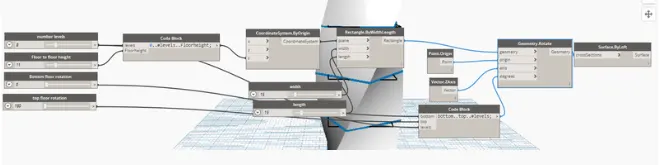
Result:
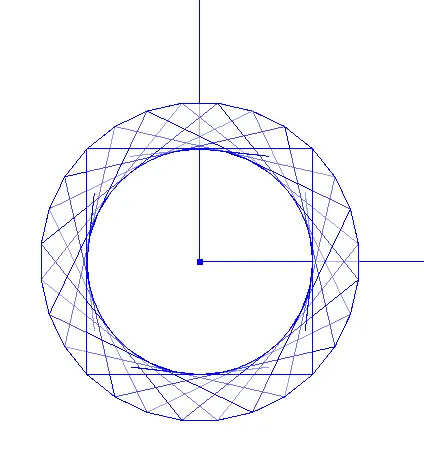
A parametric stadium has been successfully created using a dynamo.