Creating Conceptual mass in REVIT and Creation of Sinusoidal curve and a Parametric stadium using Dynamo
1. Aim: To create a set of sinusoidal points and create a curve and create a surface out of the curve.
Introduction: To create a set of sinusoidal points and create a curve and create a surface out of the curve.
Procedure:
- Open the revit software and open the architectural drawing template for creating dynamo.
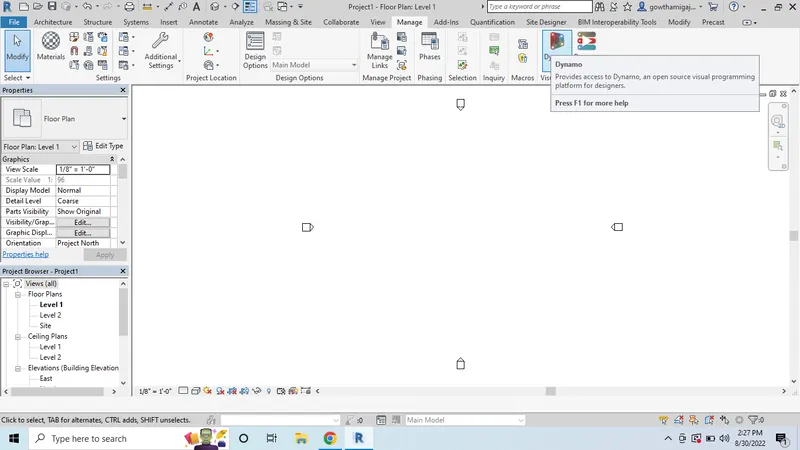
- Go to the manage tab and click on the dynamo icon.
- Then if will redirect you to the dynamo page.
-
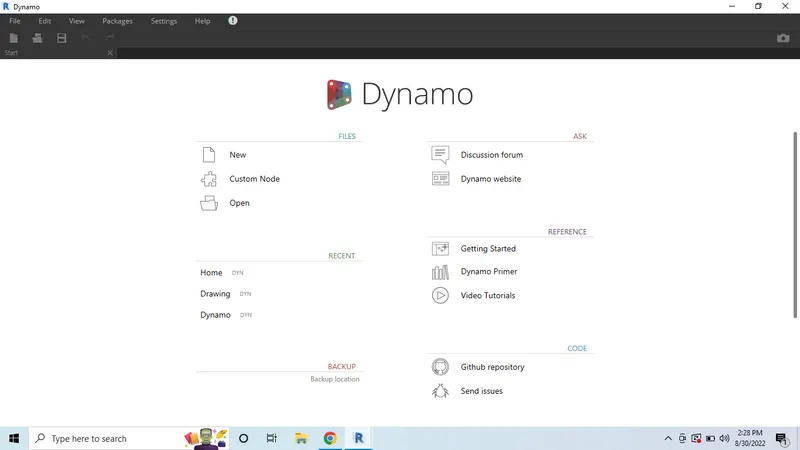
- Now we can see the dynamo work sheet.
- Then select the file or open the new file from the options.
- New file is opened.
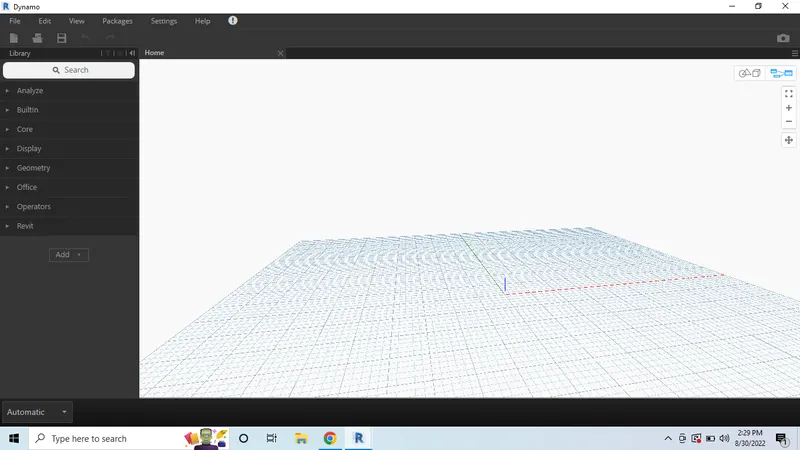
- Now to create the curve, first we need to take the points.
- So, type slider in the search bar and select Numeric or Integer slider.
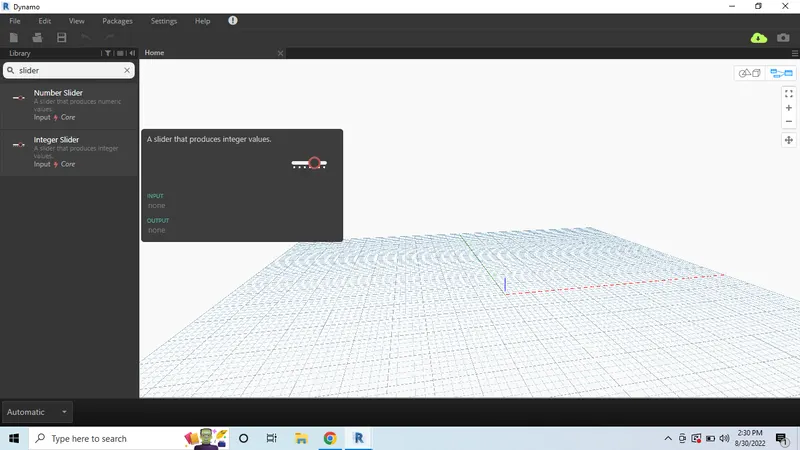
- Now integer sliders are created.
- For creating points, take 3 integer sliders.
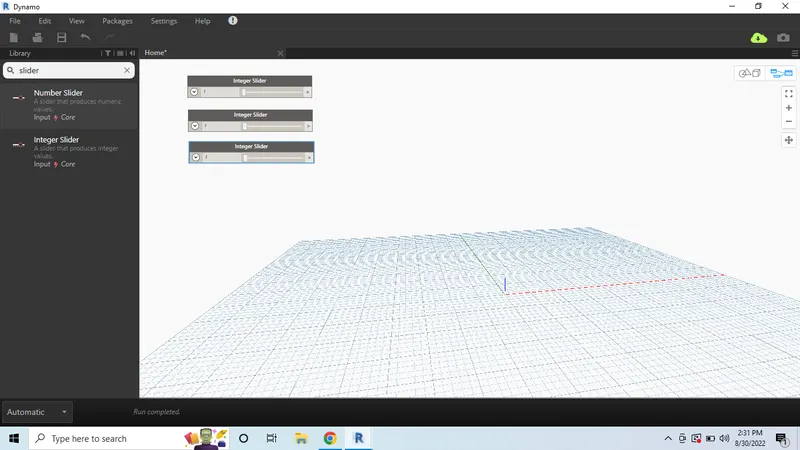
- Now change the name for the sliders as start, centre and End.
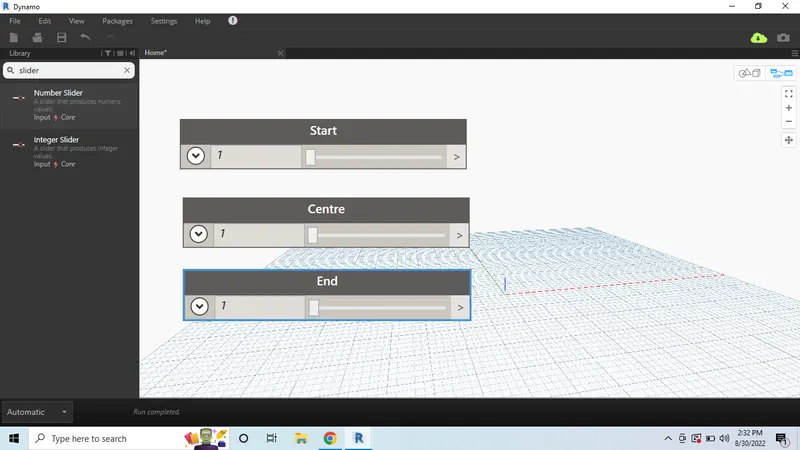
- Now give the values for the 3 sliders.
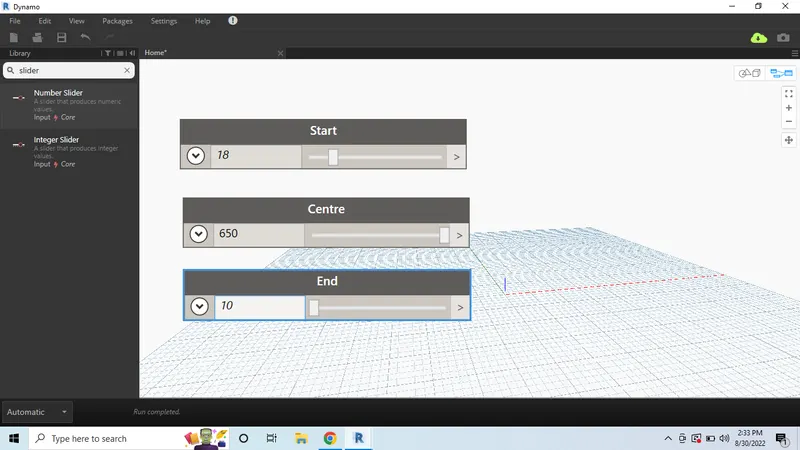
- Now search for the range and click ok.
- Then range icon is displayed.
- Now connect the integer sliders to the range.
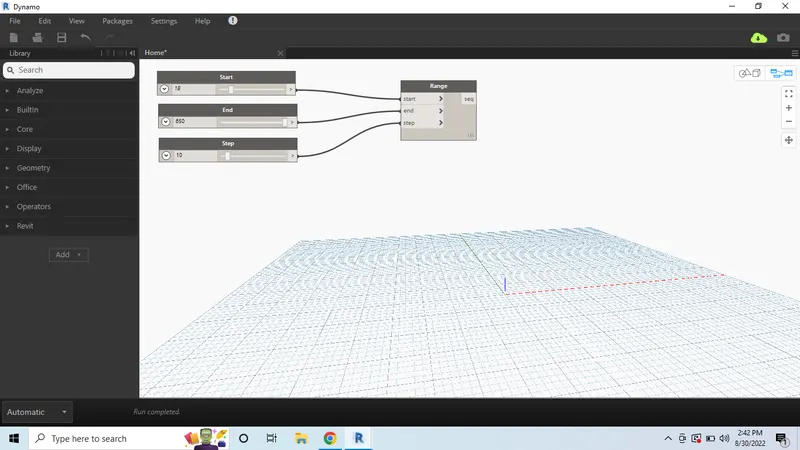
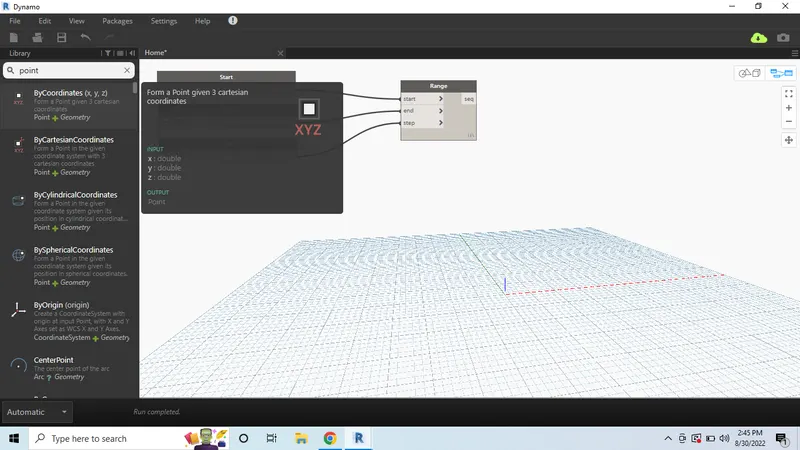
- Then type point on the search option.
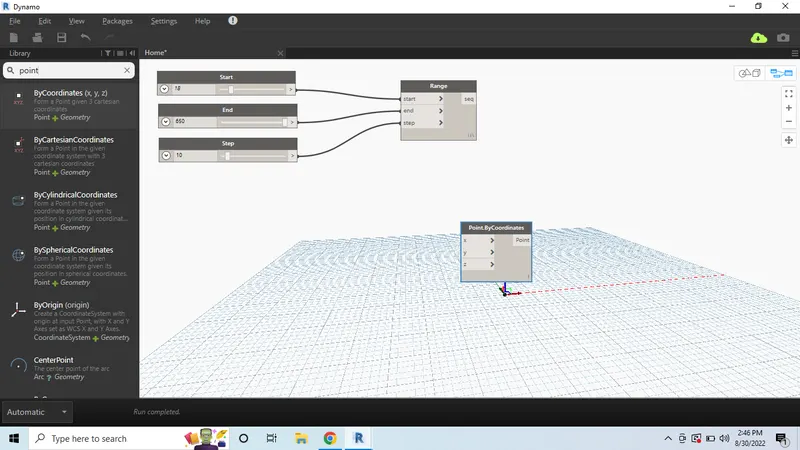
- And select the 3 point x,y,z search option.
- After creating the points, now we can see the points are available on the dynamo icon screen.
- Then type code block in the serch and select code block.
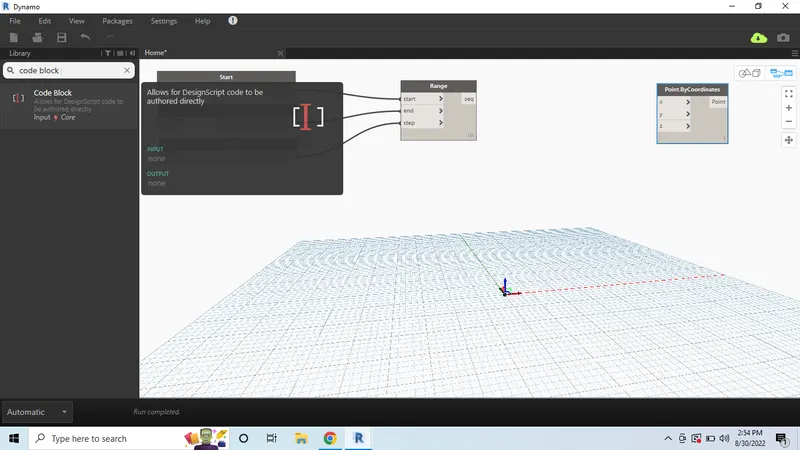
- Now we can see the code block icon.
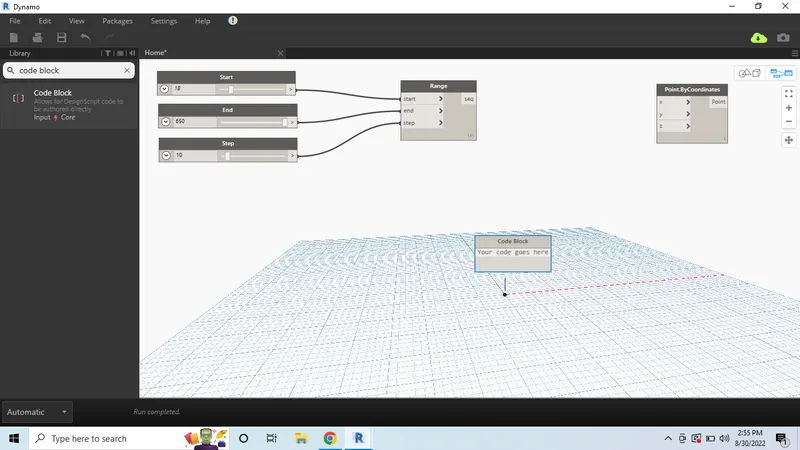
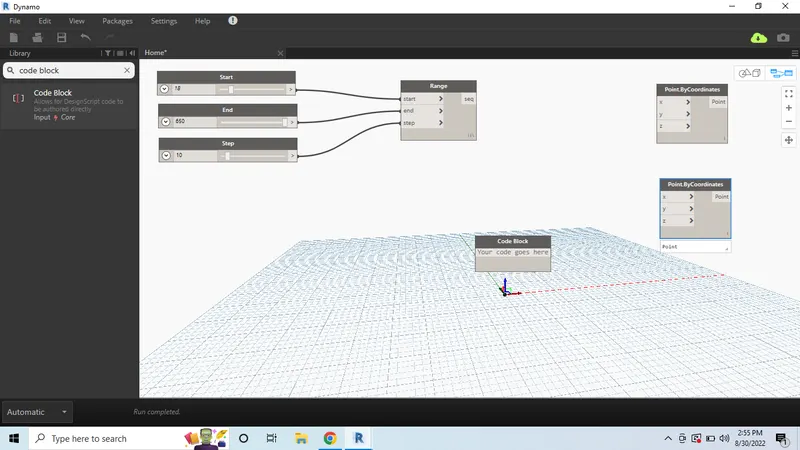
- And again take the point cordinate option.
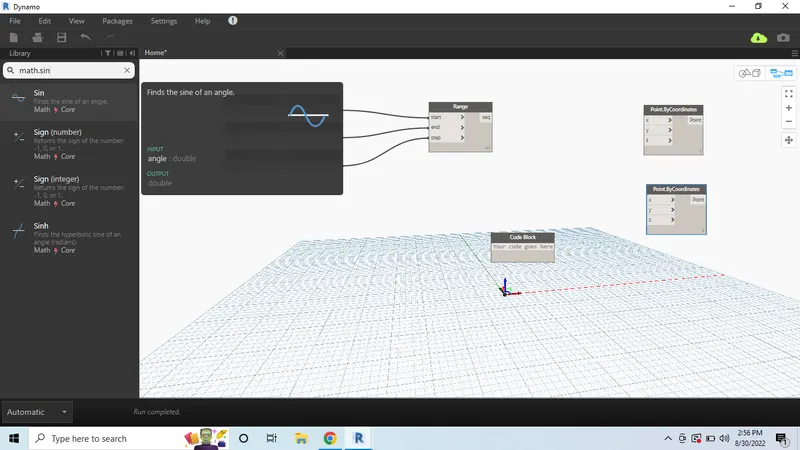
- Now for calculating the points, search for math.sin option.
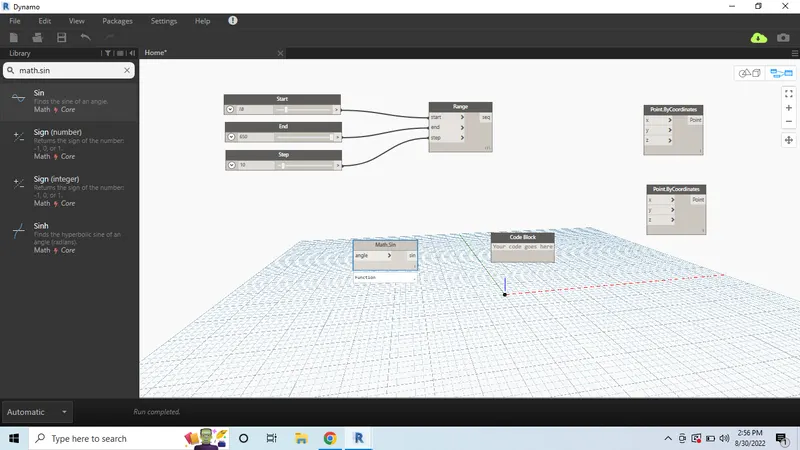
- Select the math.sin option and click ok.
- Now connect range points to the point coordinates.
- After connecting the points, now we can see the sinusoidal points.
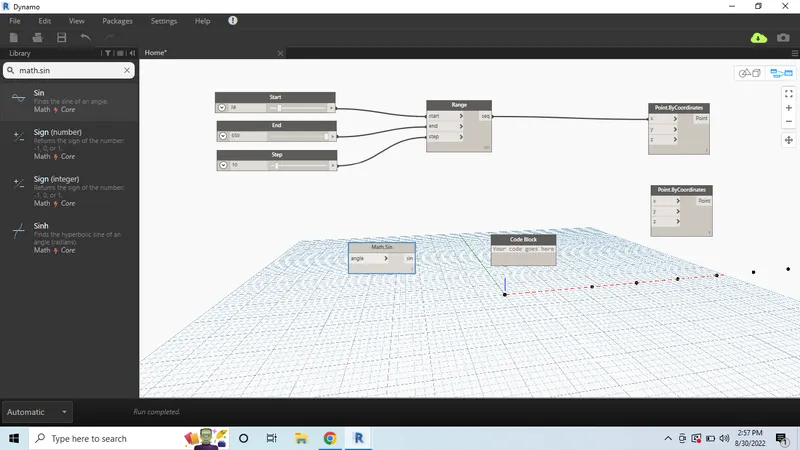
- Now take the math.sin option from the search icon.
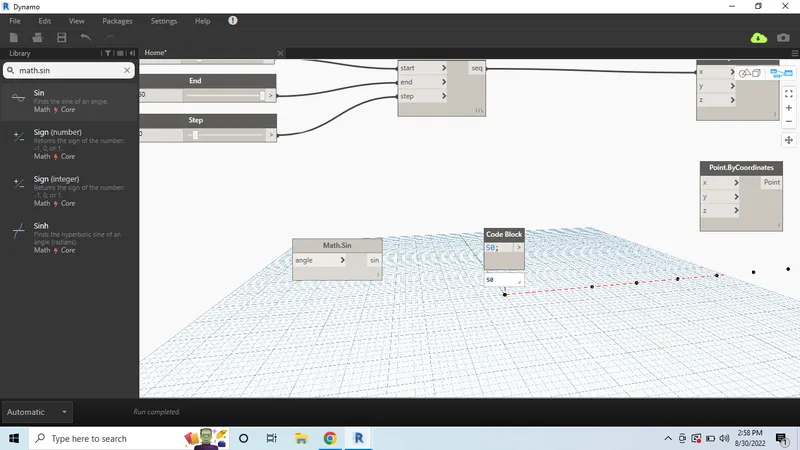
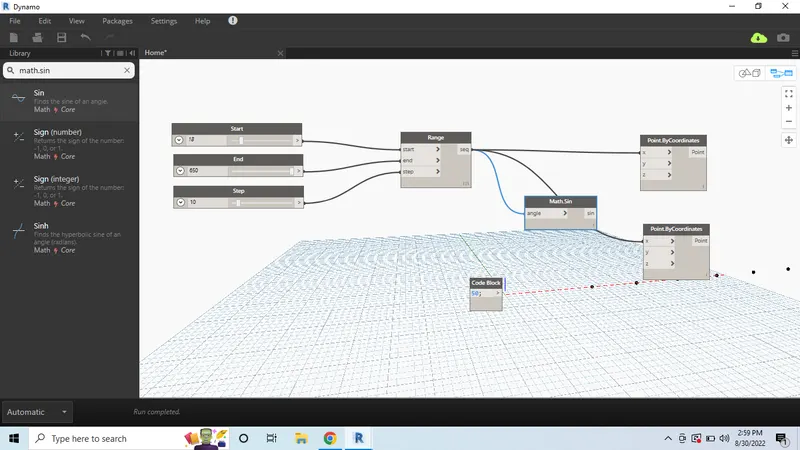
- Then connect the points from the range to the math.sin and to the point by coordinates.
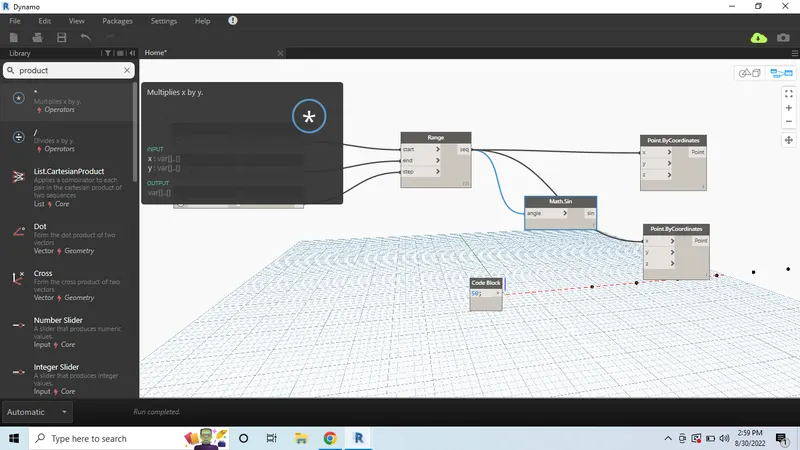
- Now take the product option for the multiples of x and y points.
- Then connect all the points accordingly to the values.
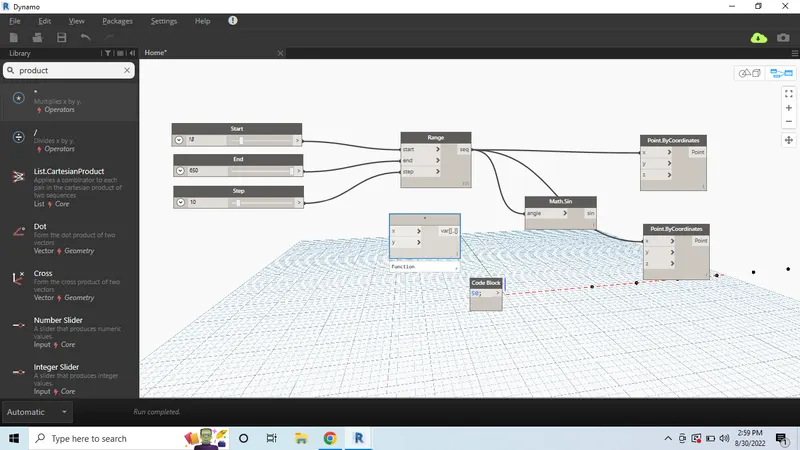
- Now give the values to the code block and connect to the points by coordinates.
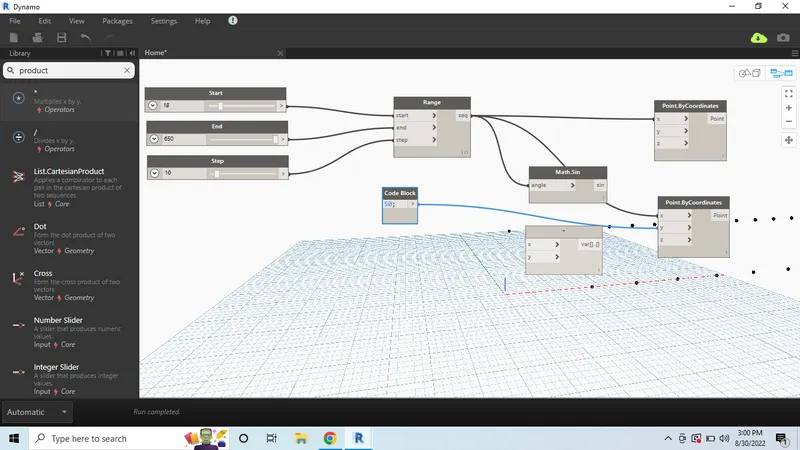
- Then we can see the 2 lines points on the dynamo screen.
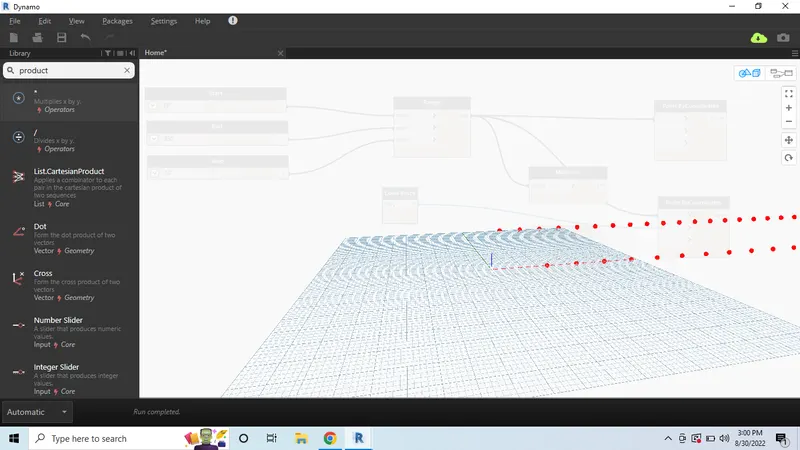
- Now connect code block to z point in the points by coordinates option.
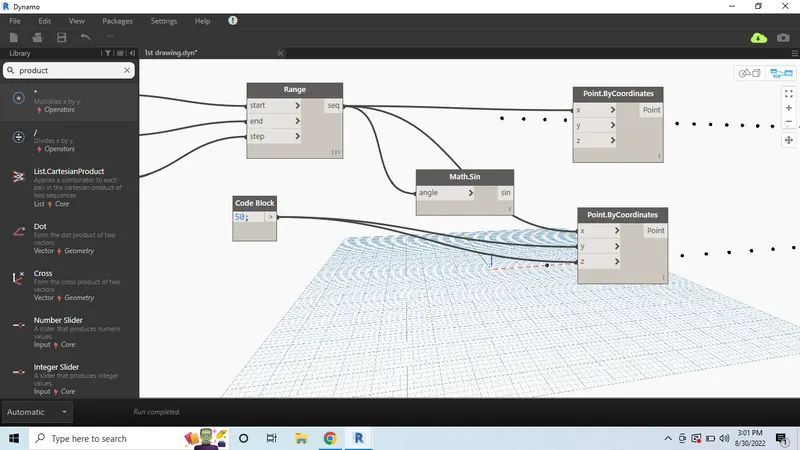
- Connect math.sin point to y point in point cordinates
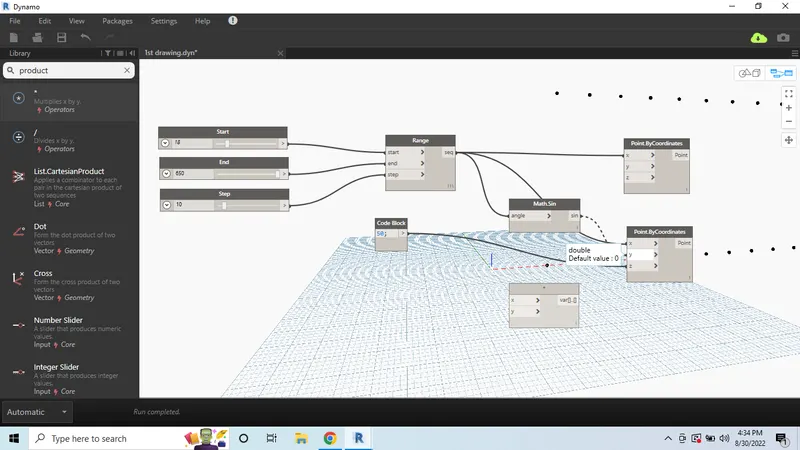
- Now connect Math sin to product X
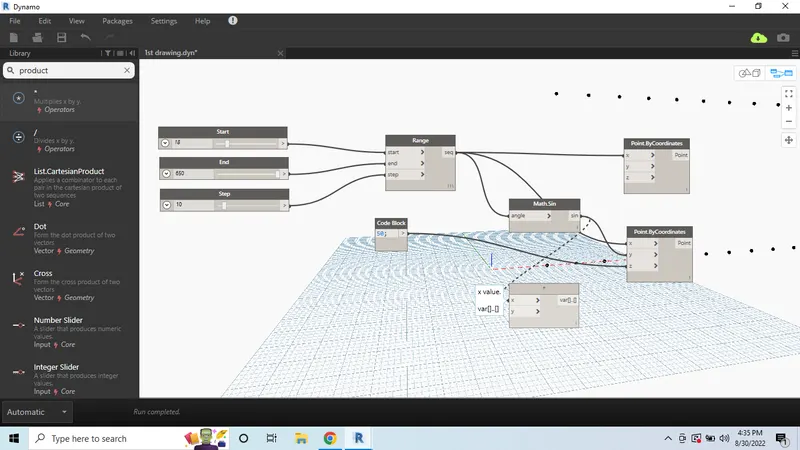
- Now connect code block to product y
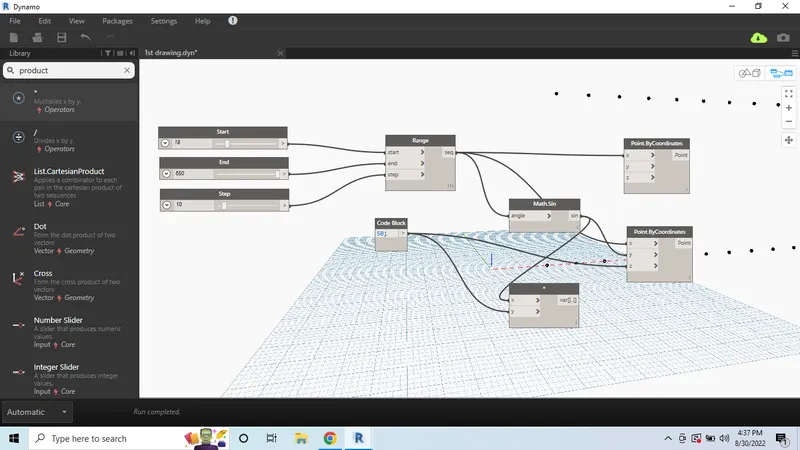
- Then give the product variant to Z point.
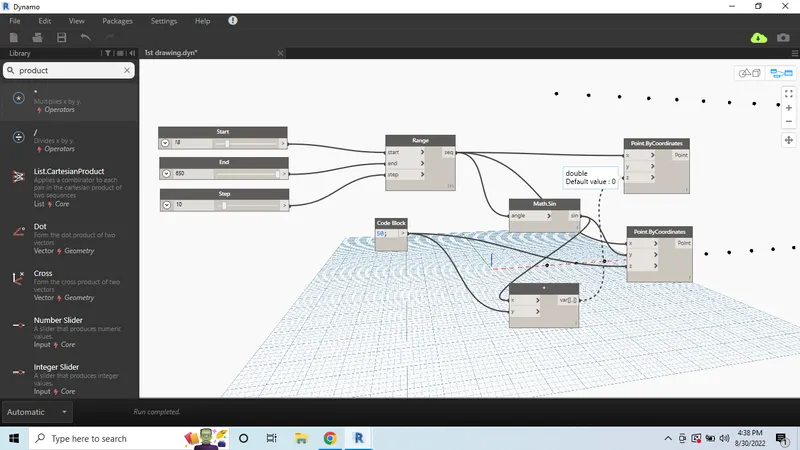
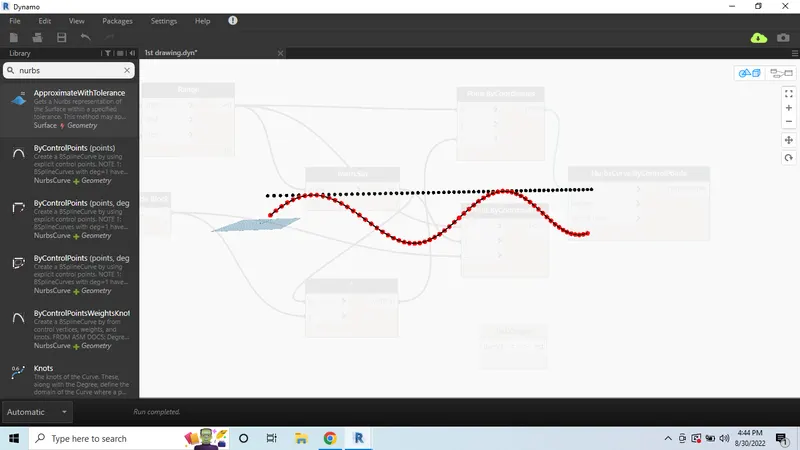
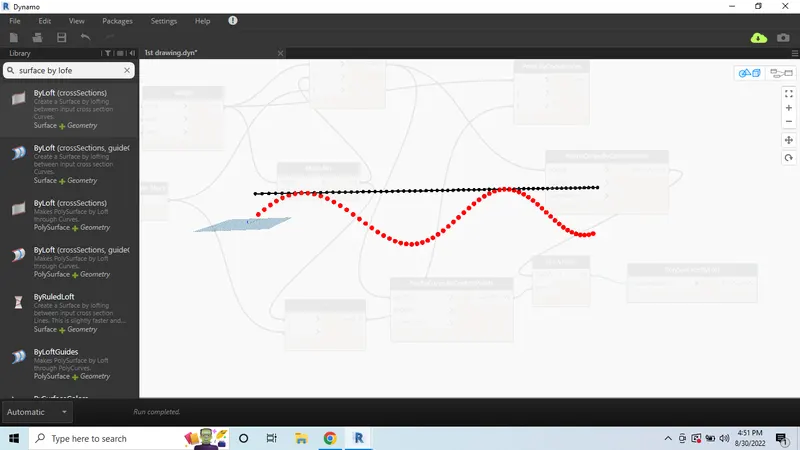
- Now we can see the sinusoidal curves.
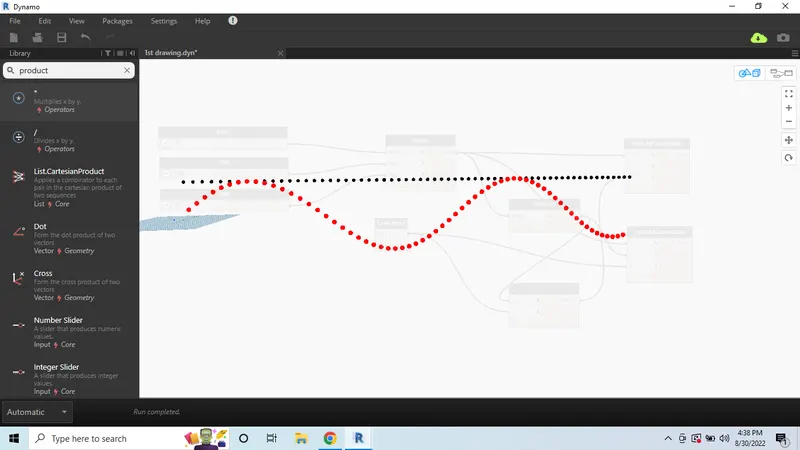
- Now search for Nurbs by control points.
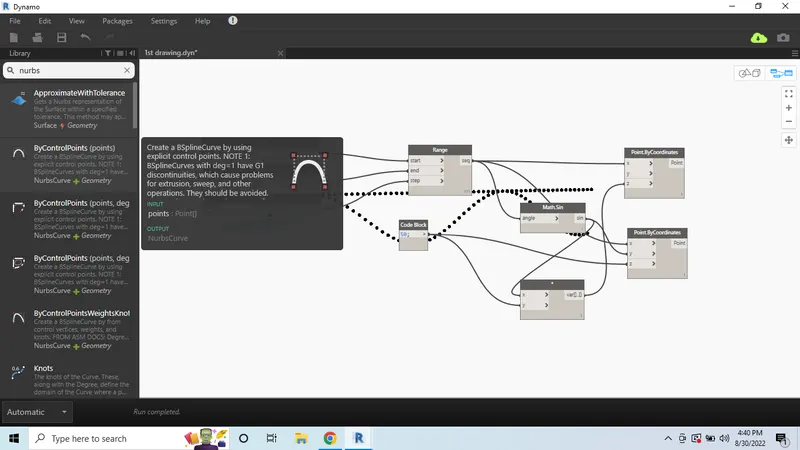
- Then create the list from the search option.
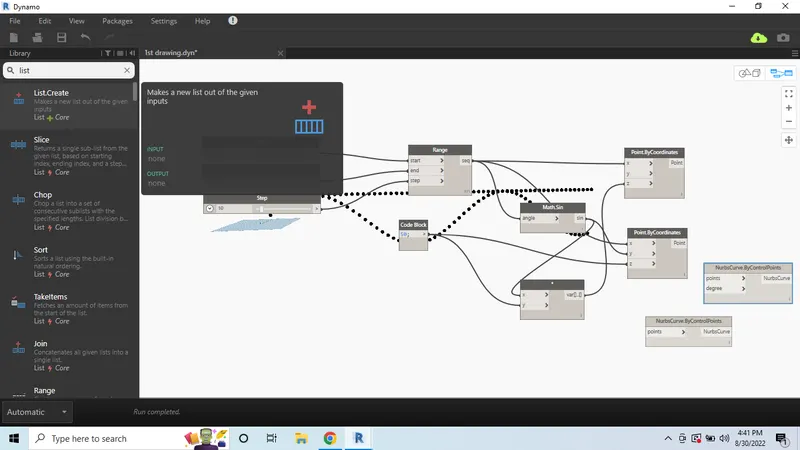
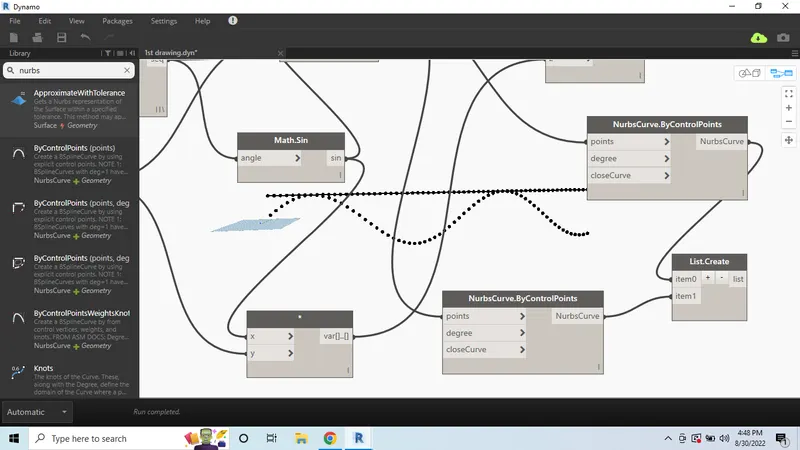
- Now connect point to point by nurbs curve.
- Then we can see the line on the curve.
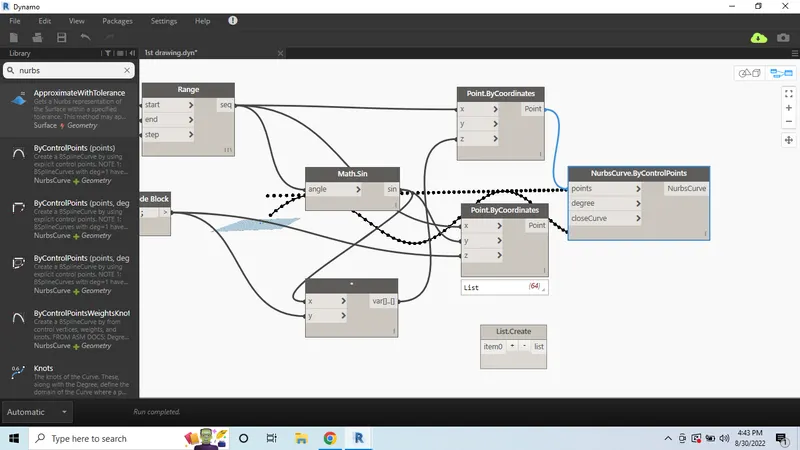
- Now we can see the curve with line.
- connect nurbs curve to list item no. 2
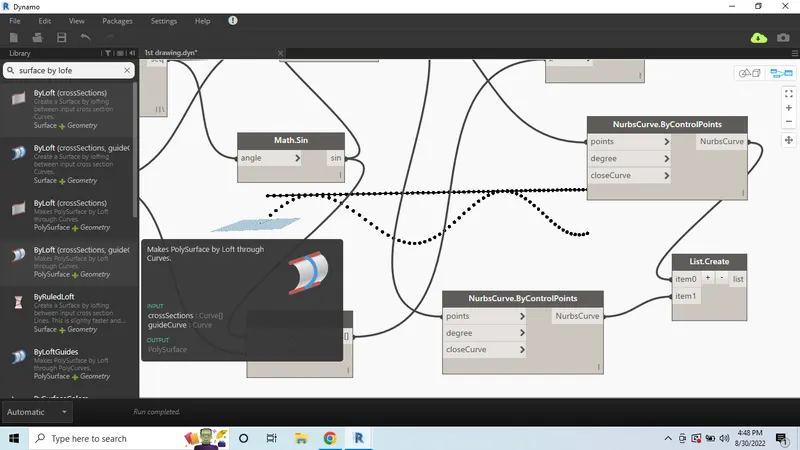
- Now go to Surface by loft option.
- Take the surface of the curve for the sinusoidal curve.
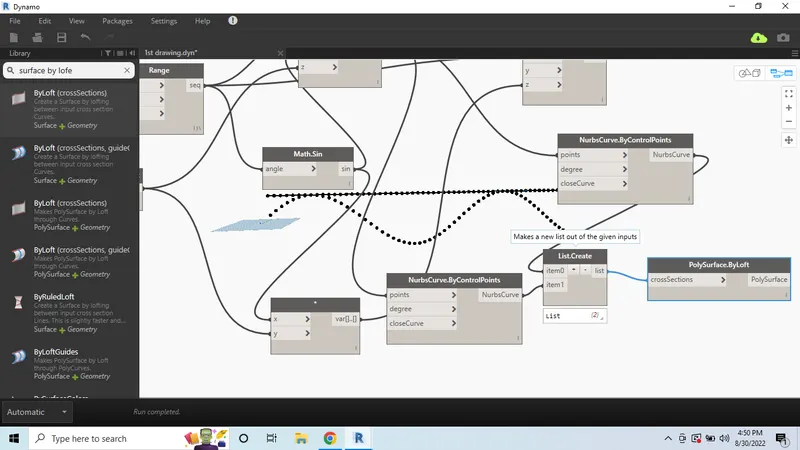
- And finally sinusoidal curve is created.
Result:
2. Aim: To create a conceptual layout of floor plan in dynamo using tool available in dynamo link the lines to appropriate model.
Introduction: To create a conceptual layout of floor plan in dynamo using tool available in dynamo link the lines to appropriate model.
Procedure:
- Open the dynamo file using revit template.
- Click on the slider option and select integer slider.
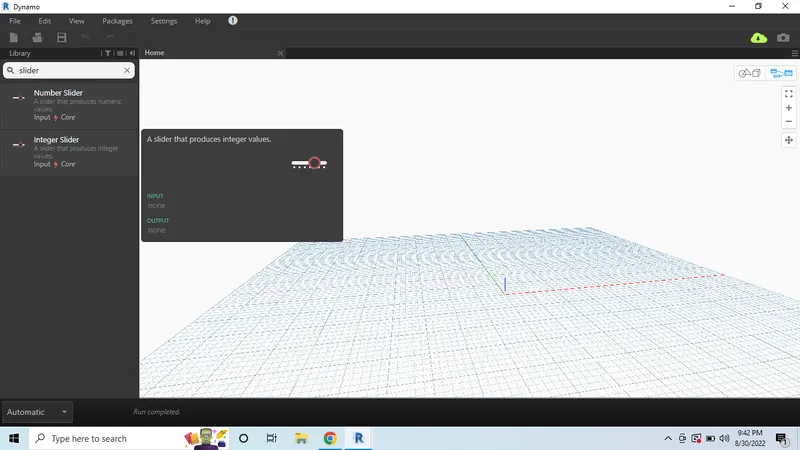
- Place the two integer sliders.
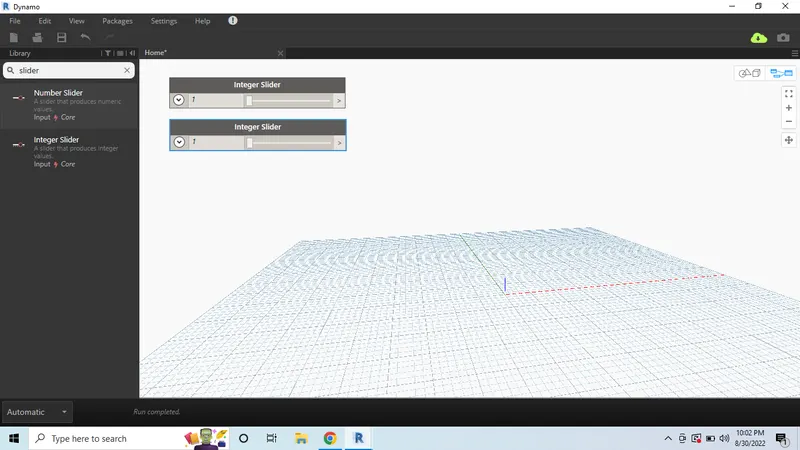
- Assign the values for the integer slider.
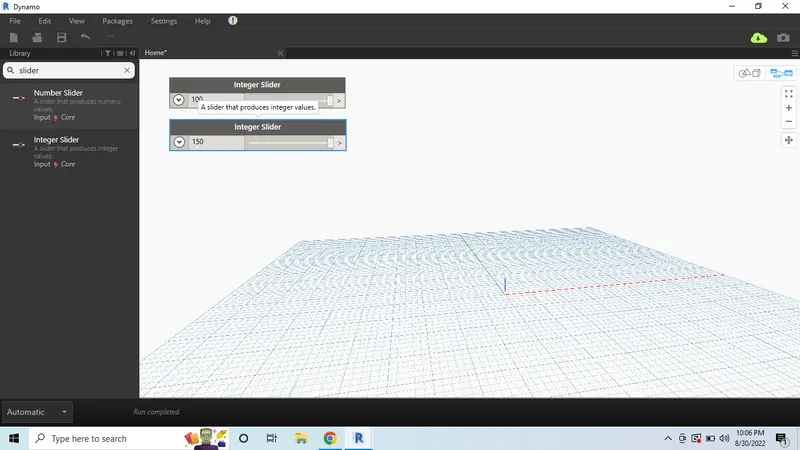
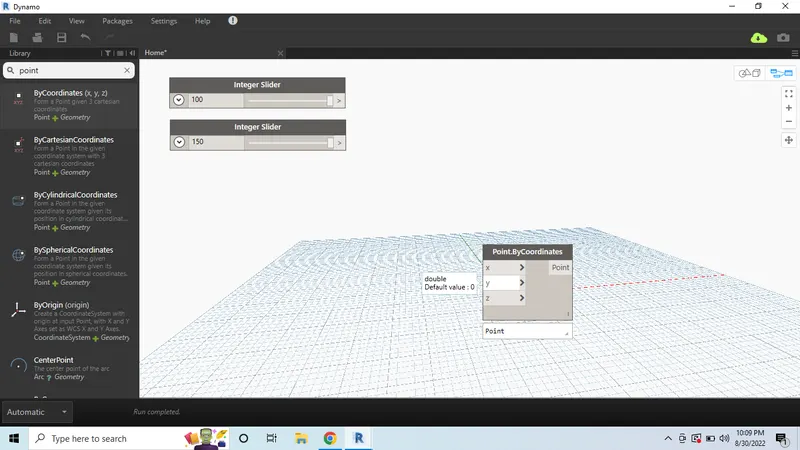
- Now take the point by point coordinate option and select x,y,z coordinate point option.
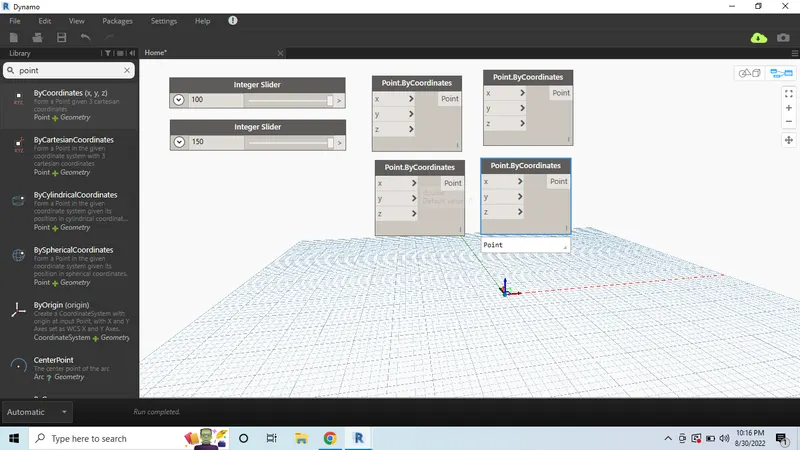
- Then take the four coordinate point option.
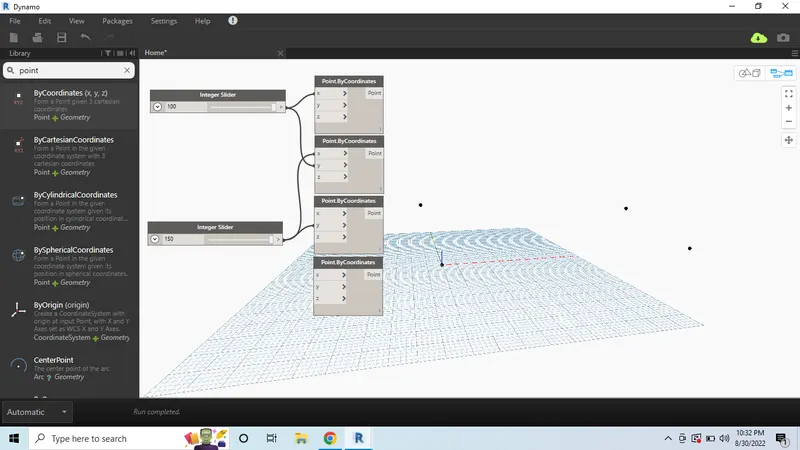
- Now combine the points with the coordinate points.
- Then we can see the four coordinate points on the plane.
- Now type line point by start point and end point.
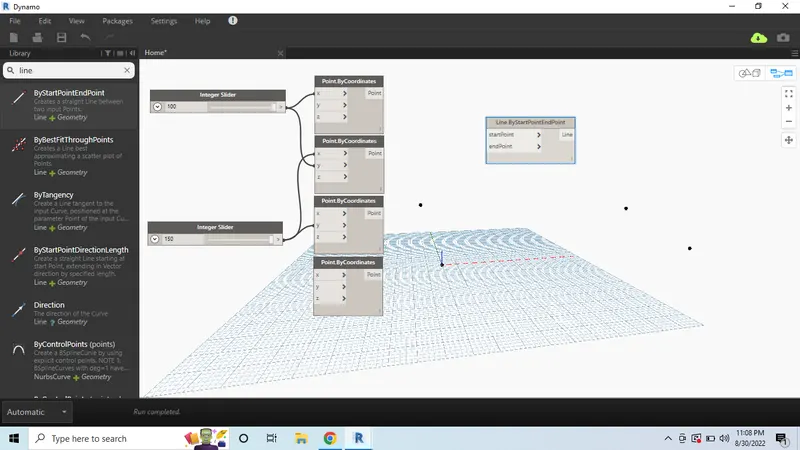
- Take the four line coordinate points as we have four points.
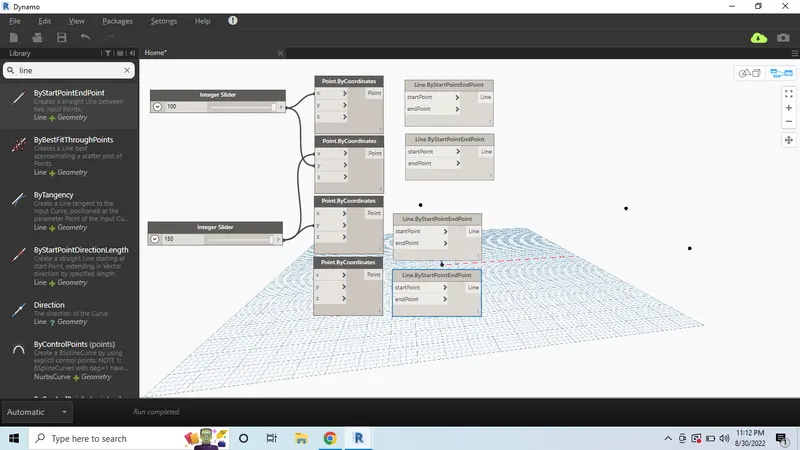
- Now connect all the end point for creating wall line.
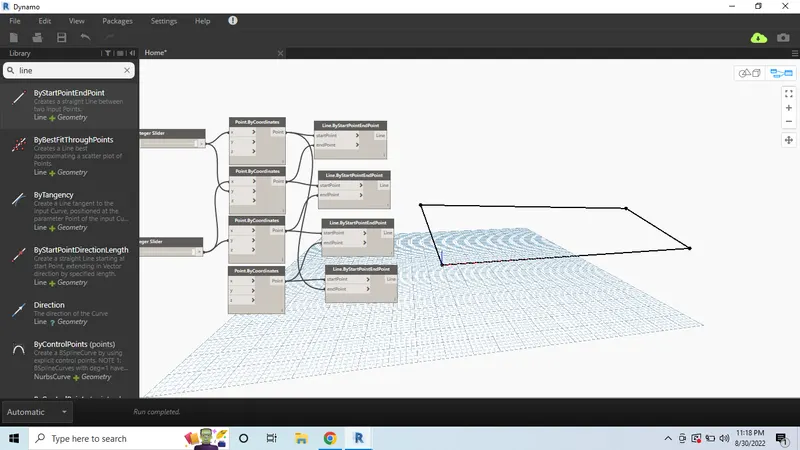
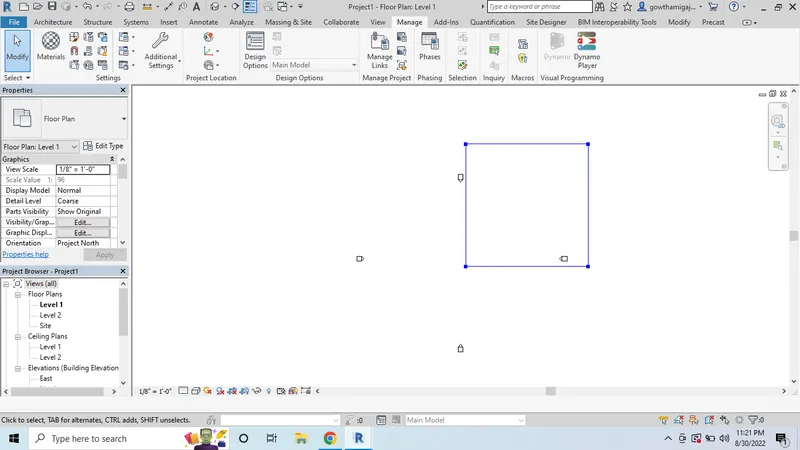
- Now we can see the wall in the revit.
- Create the list for four values.
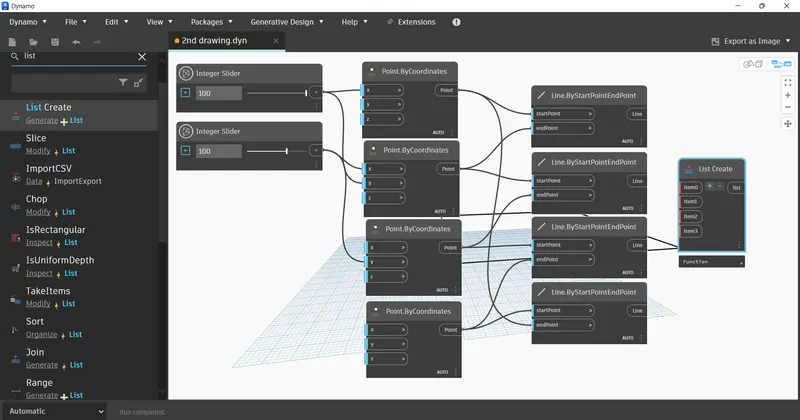
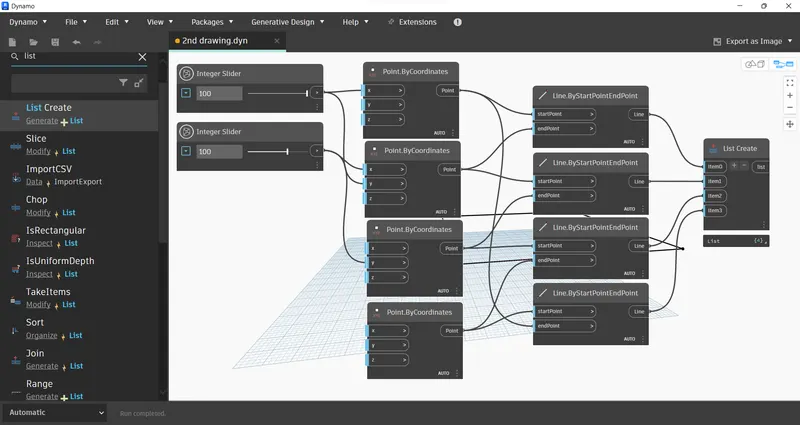
- Connect the list to the four list items.
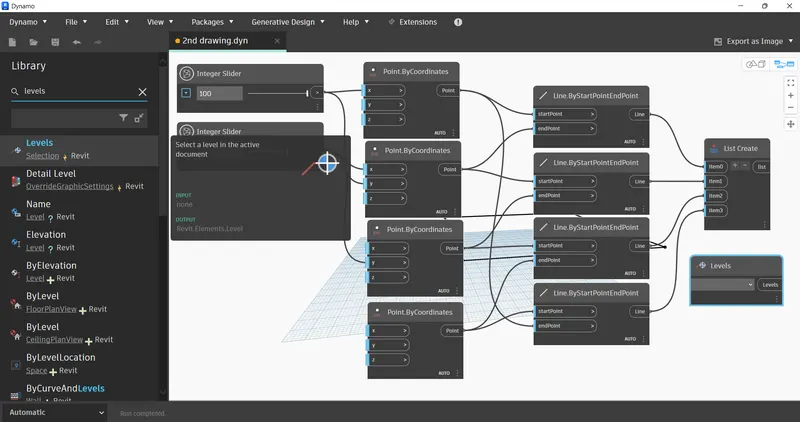
- Now search for levels and create a level.
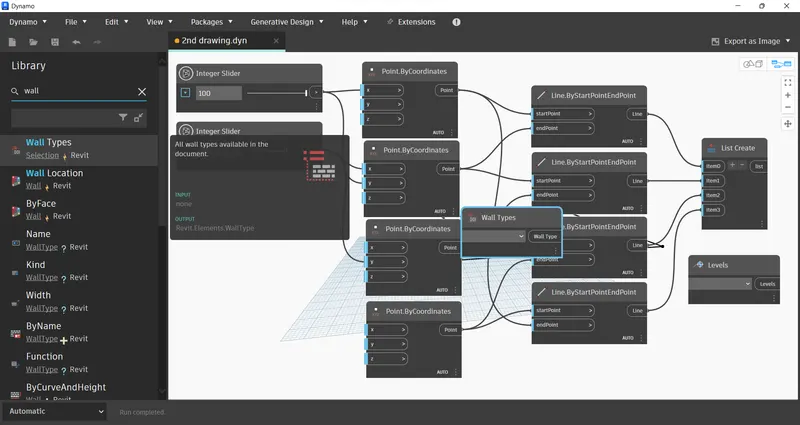
- Then create wall types from the search option.
- Then insert one integer slider.
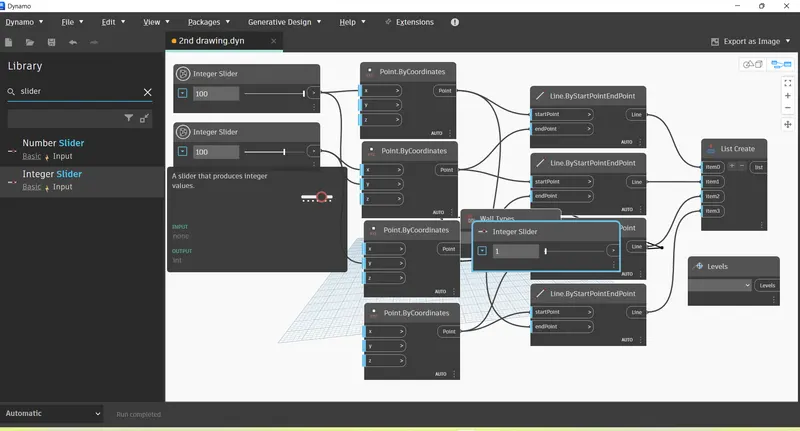
- Now place the level as level 1 from the options.
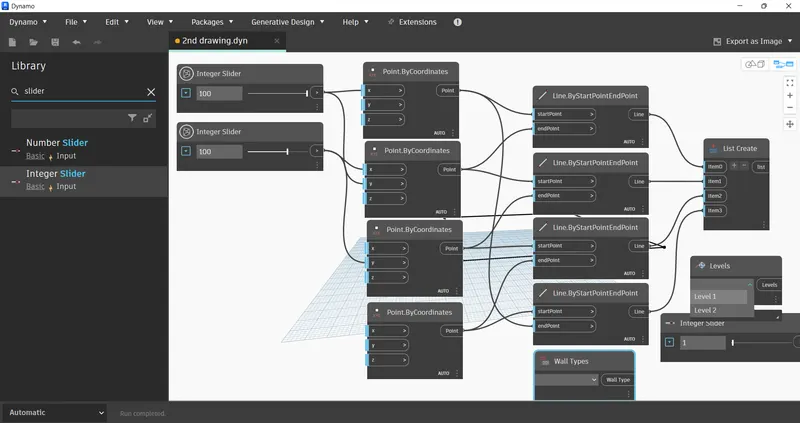
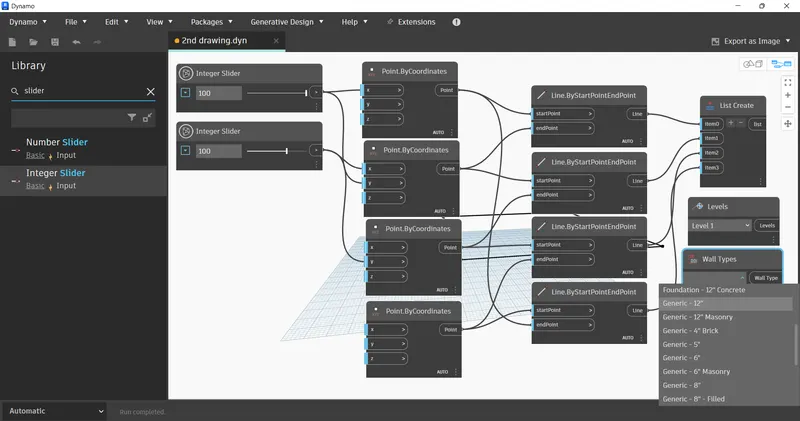
- And select the wall from the given wall type options. '
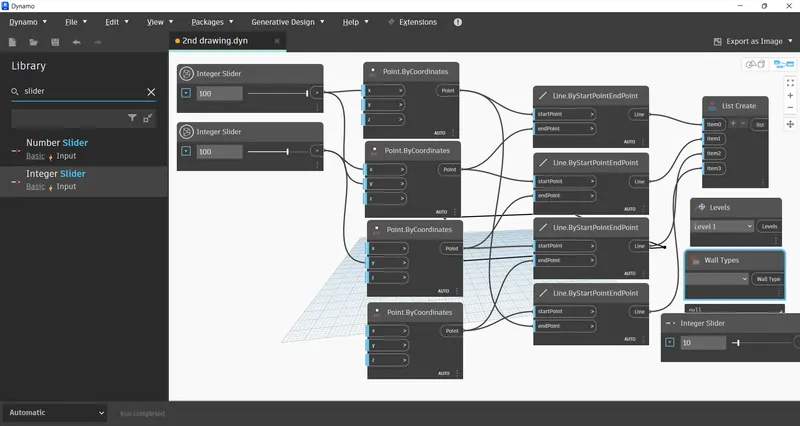
- Then select the integer slider value.
- Now connect wall with by curve options.
- For that select wall by curve option from the search option.
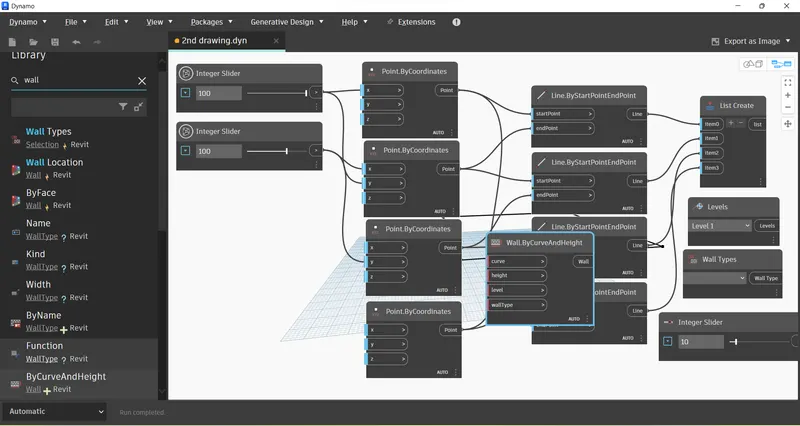
- Then connect all the points to the wall type.
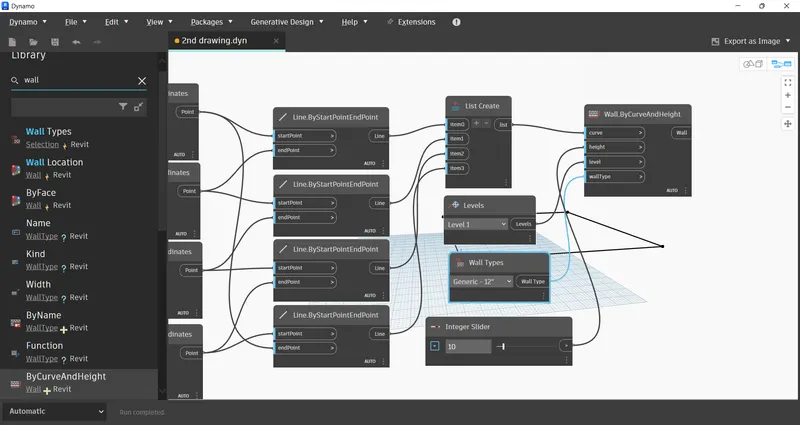
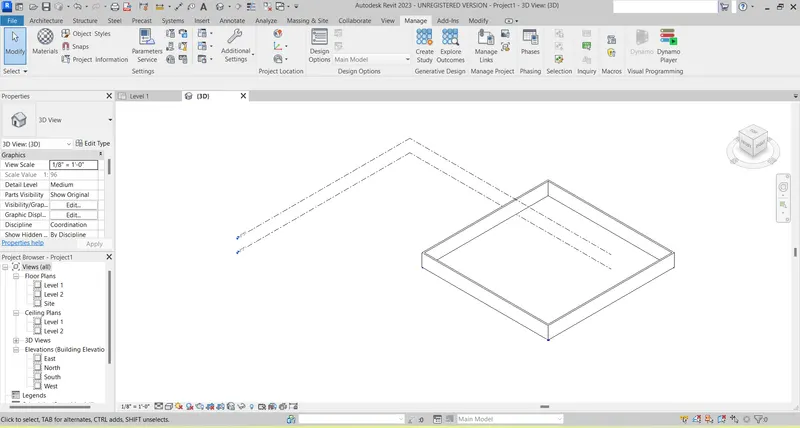
- After that, open the revit and we can see the wall with height.
- And now we have to create the floor for the wall, for that search for floor type option and floor outline type options.
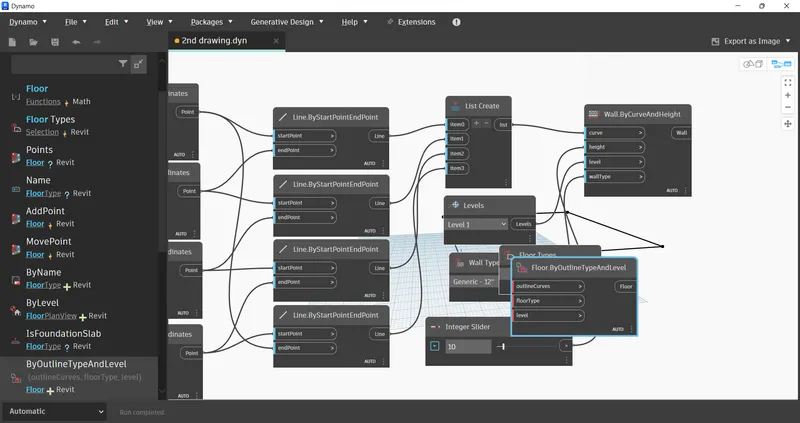
- Now connect the points for the level, floor and outline curve.
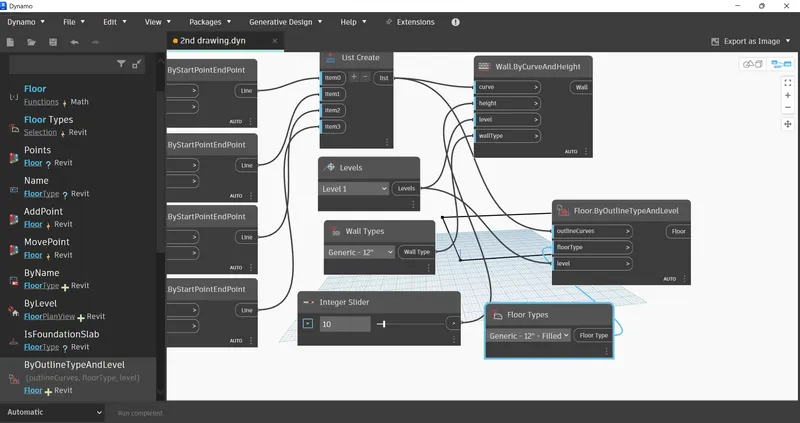
- And then we can see the floor created for the wall.
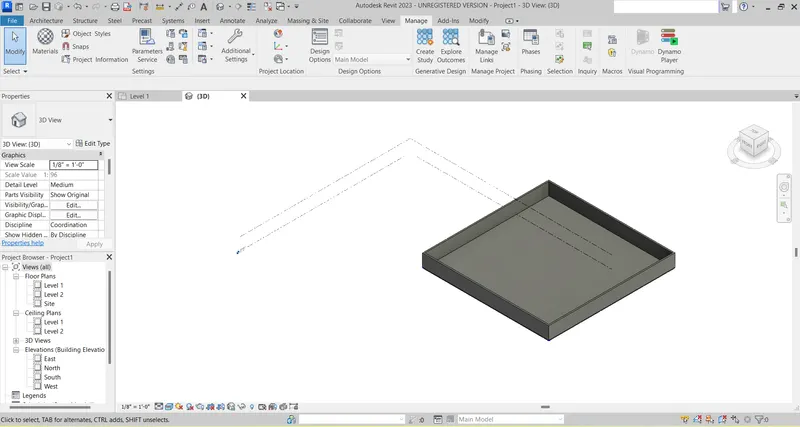
Result:
3.Aim: To create an array of model elements in Revit by using dynamo to vary the properties of model elements by using the slider or code block.
Introduction: To create an array of model elements in Revit by using dynamo to vary the properties of model elements by using the slider or code block.
Procedure:
- First we need to open the revit software by using architectural template.
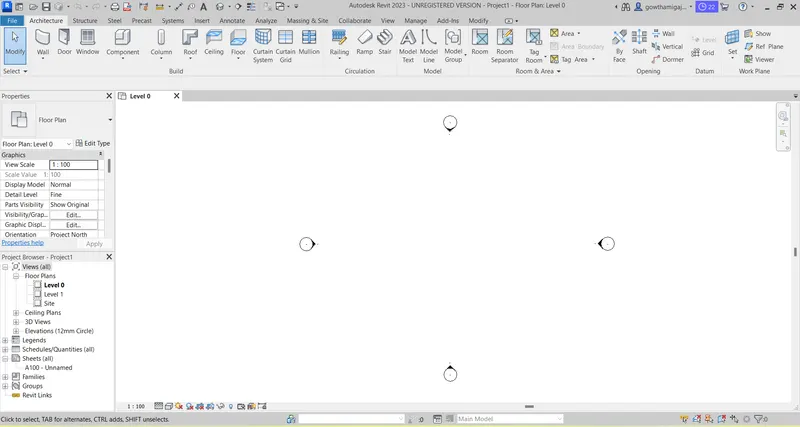
- Then create the four architectural columns by using architectural column.
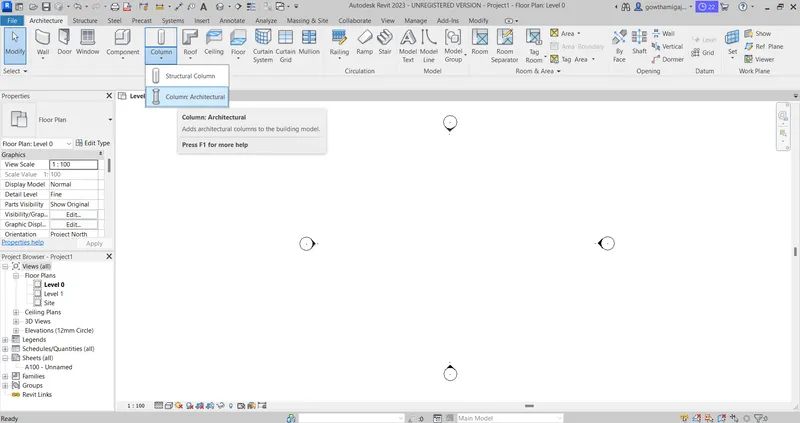
- Then create four architectural columns.
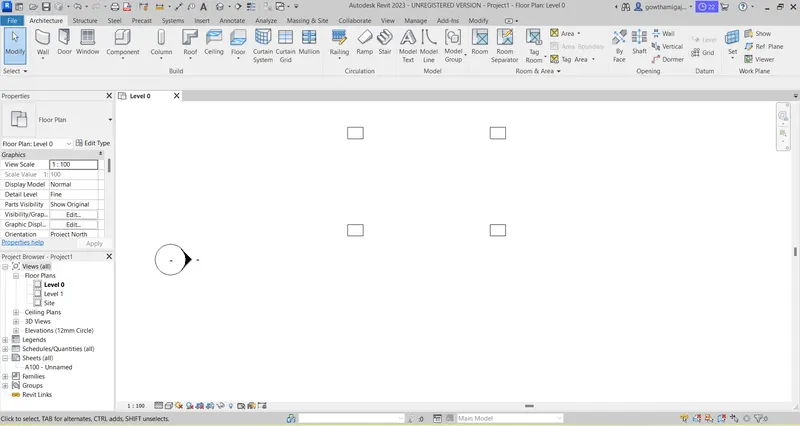
- Now go to manage tab and select for dynamo.
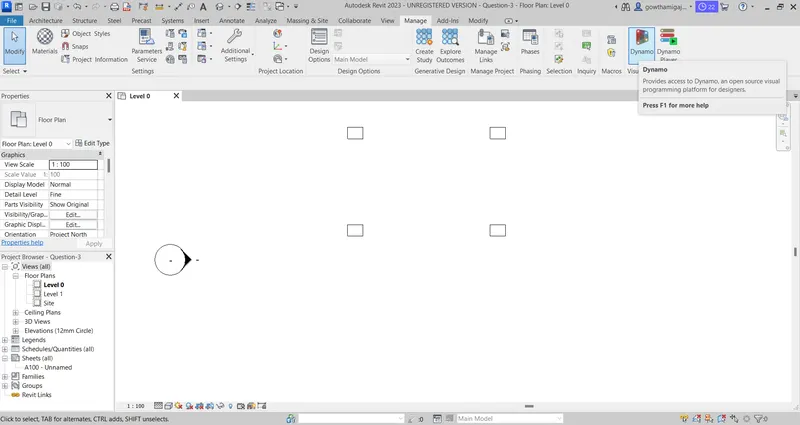
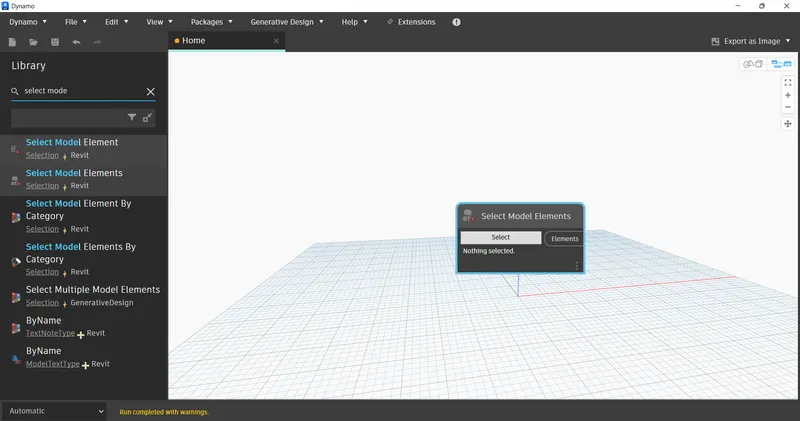
- Now we have to insert the columns to dynamo file.
- For that we need to create select multiple elements options from the search option.
- Then we need to rotate the drawing for 45deg.
- For that select set rotation angle from the search bar.
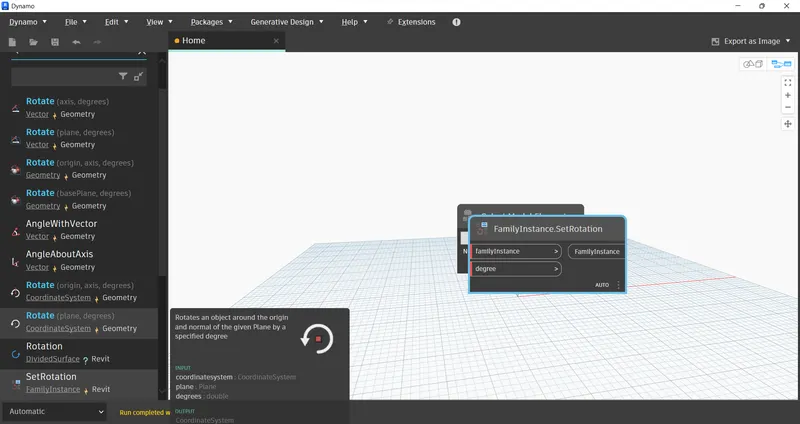
- For assigining the rotation angle, we need integer slider.
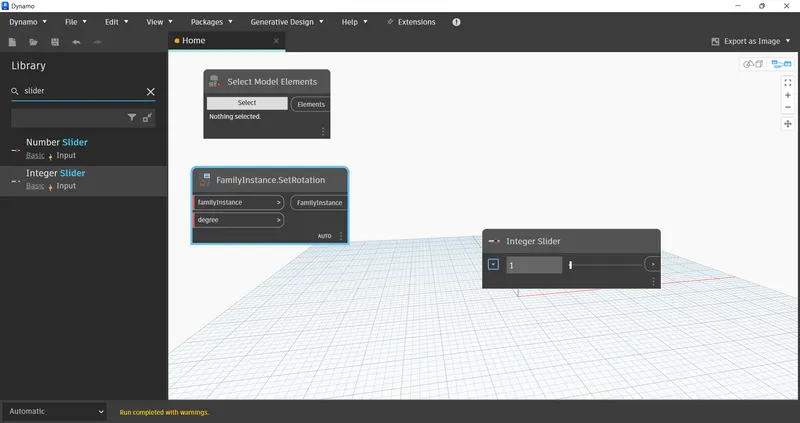
- Now we need to click select option and select the columns in the revit.
- Then we can see the elements value placing in the drawing.
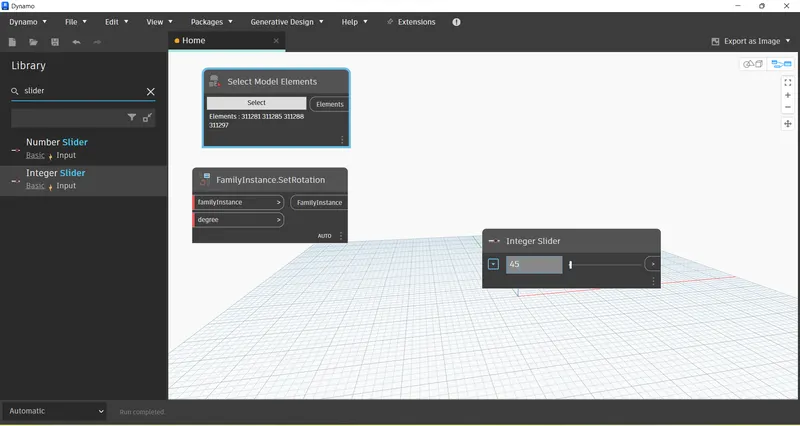
- After that, give the integer value as 45deg,
- Then connect the points as integer slider to family instance and degree as element value.
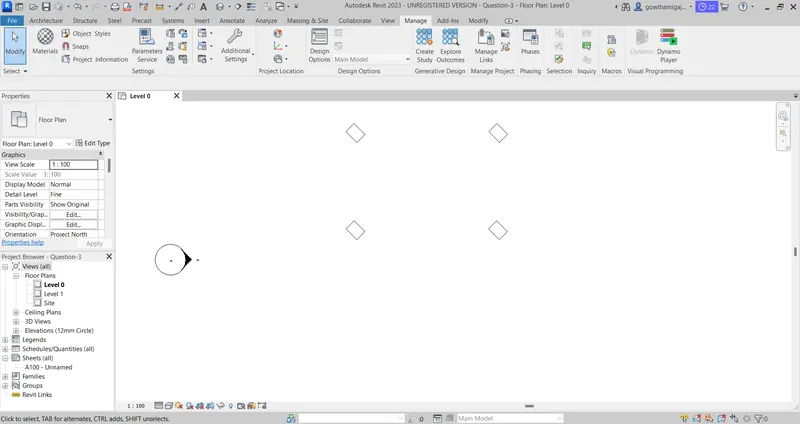
- Now after connecting the points, go to the revit software and there we can see the rotation of columns at an angle of 45deg.
Result:
4.Aim: To create a conceptual mass in revit and develop a parametric column by dividing the surfaces and apply the concepts similar to used in parametric walkaway modeling.
Introduction: To create a conceptual mass in revit and develop a parametric column by dividing the surfaces and apply the concepts similar to used in parametric walkaway modeling.
Procedure:
- First we need to open the revit software.
- Now create a new file and select conceptual mass option.
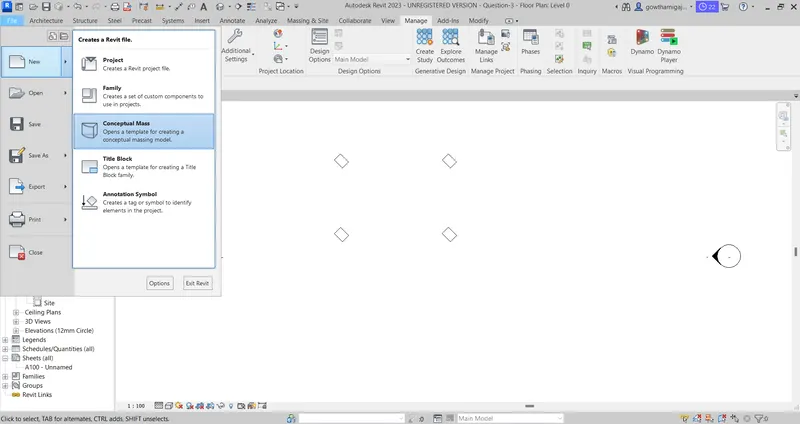
- Now go to the conceptual mass option and select metric mass option.
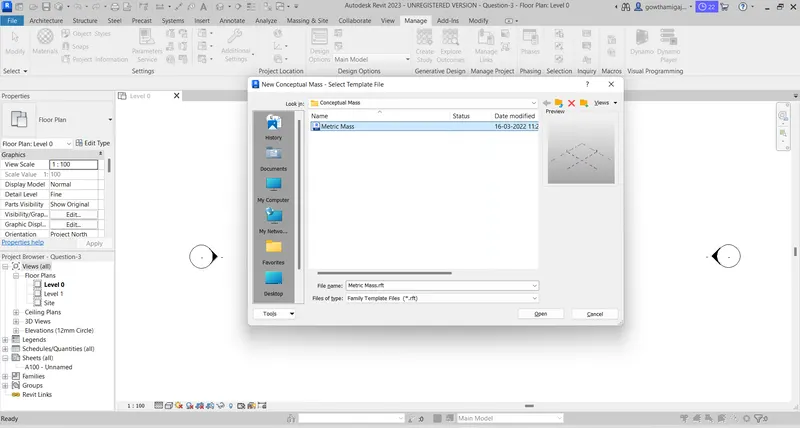
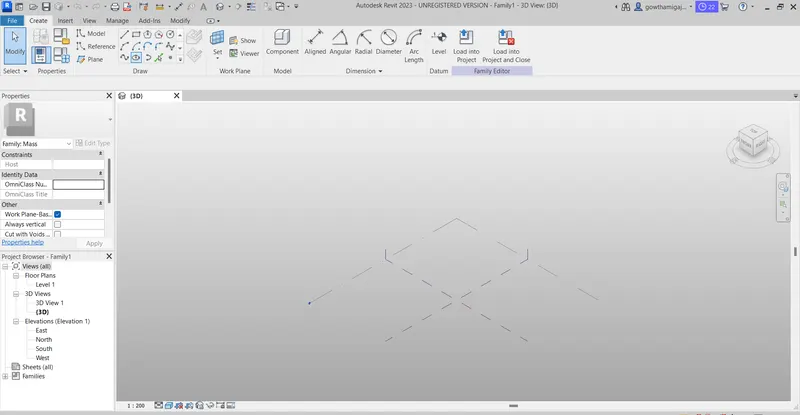
- Then we can see the conceptual mass elements.
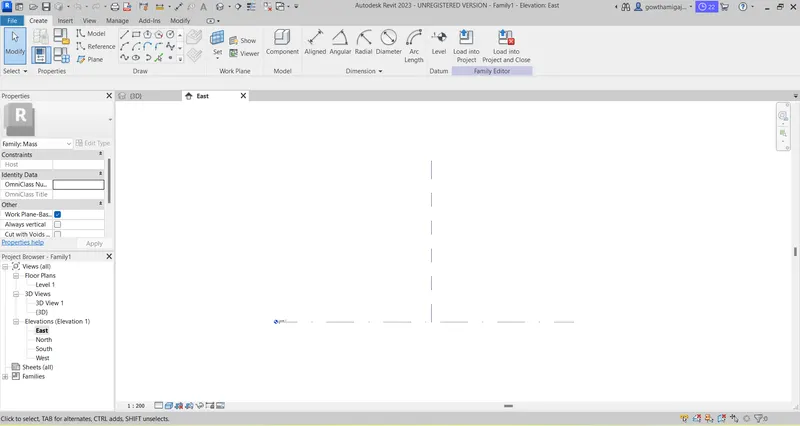
- Now click on the elevation view of the conceptual mass drawing.
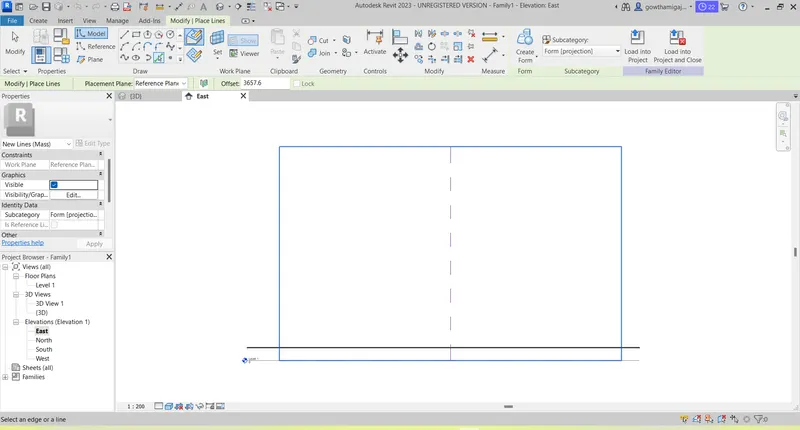
- Then create the pick line option and create one leve with the offset distance of 12' .
- Then go to the floor plan view.
- Select the create tab and select the model line option.
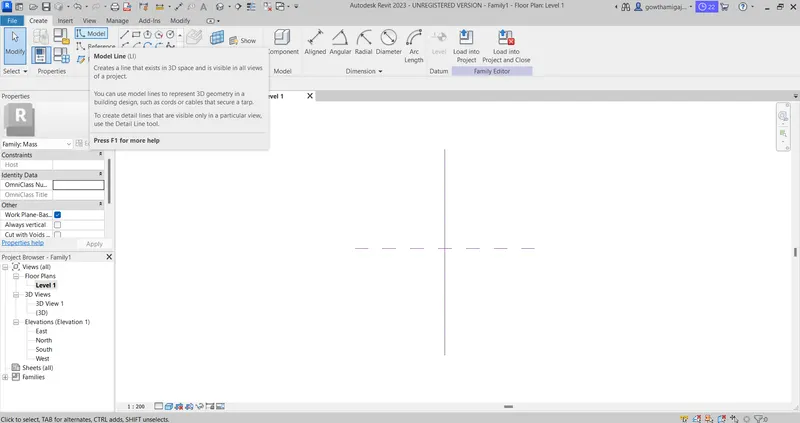
- Now select the model line and select the spline option.
- Then draw the spline line in the floor plan.
- Now we can see the spline line created in the floor plan.
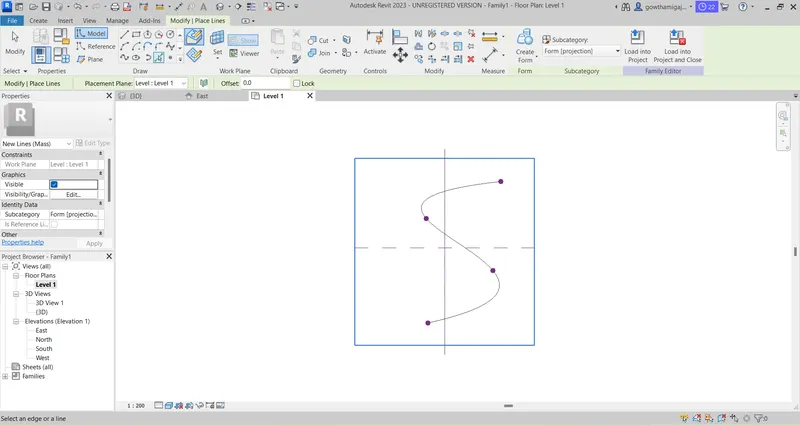
- Now go to the 3D view option.
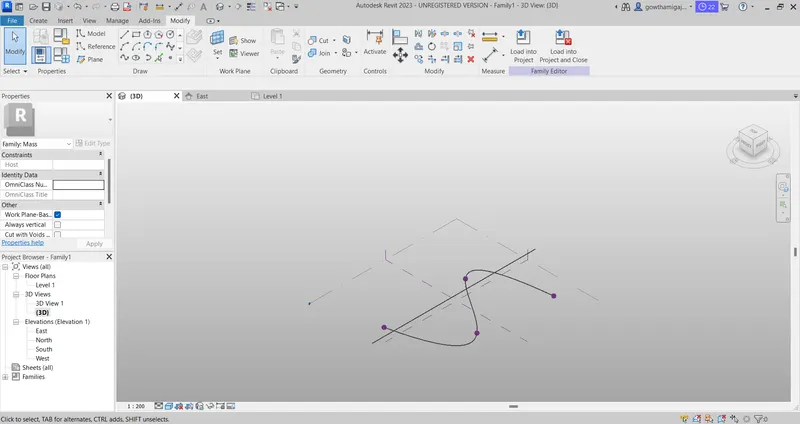
- Then select the set plane option and select the point.
- In the same way select all the points as a set plane.
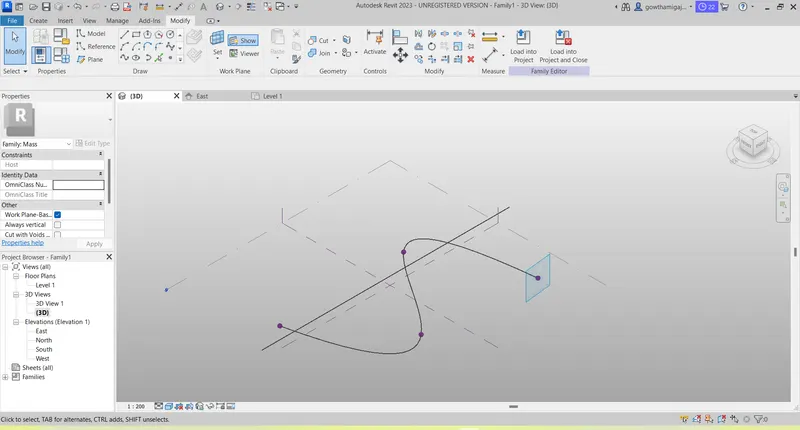
- Once the set plane is created, then select the circumscribed circle option and place at the point.
- In the same way, place the select option and place the circumscribed circle.
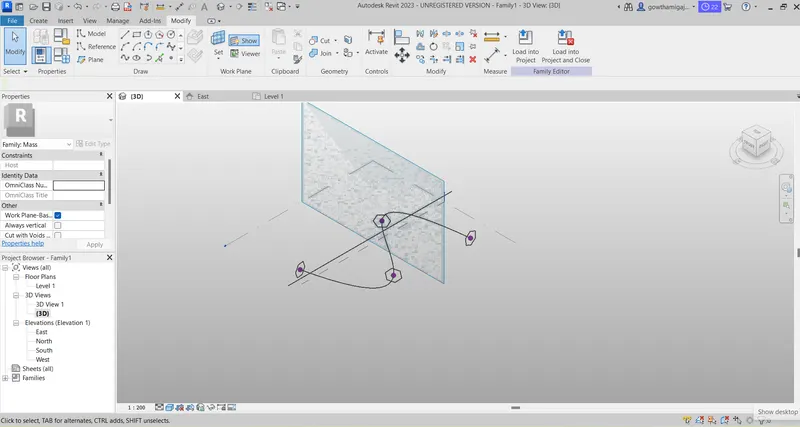
- Now go to create tab, select the spline line and select the crate foam option.
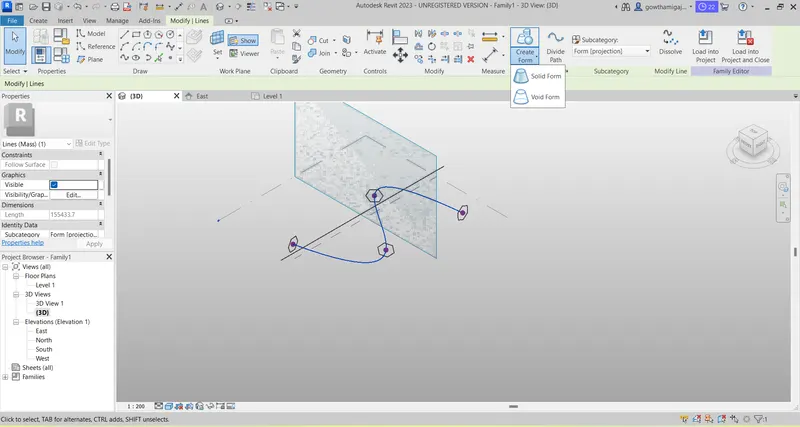
- Then select the spline line and first circumscribed circle and press enter.
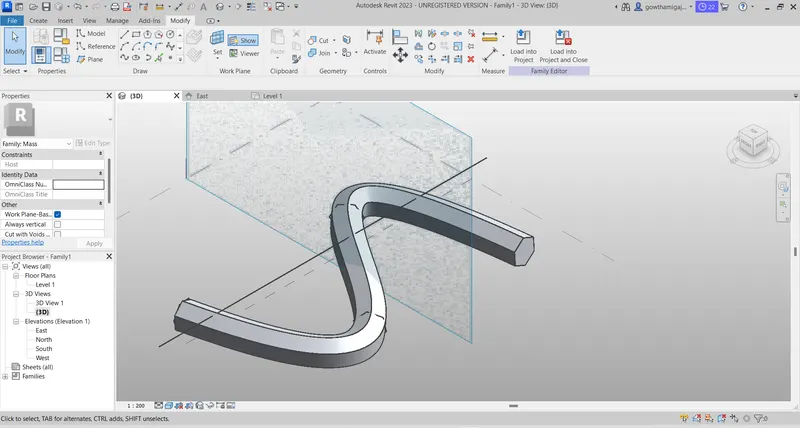
- Now we can see the spline line in the solid form.
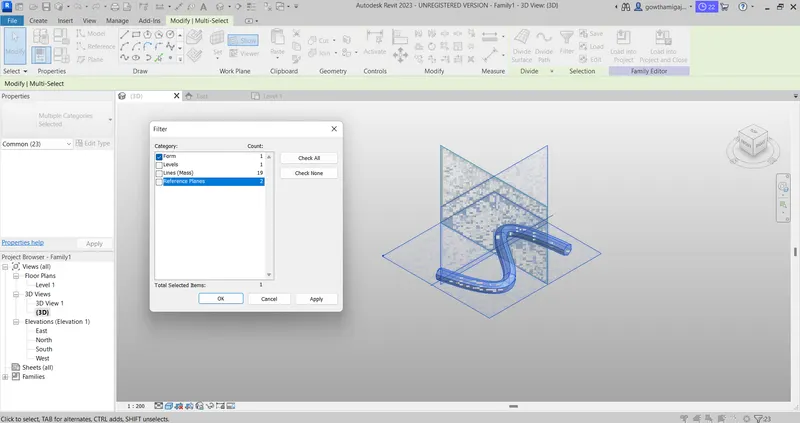
- Select all and apply the filter option and select foam points.
- Now select again all the points and apply divide surface option.
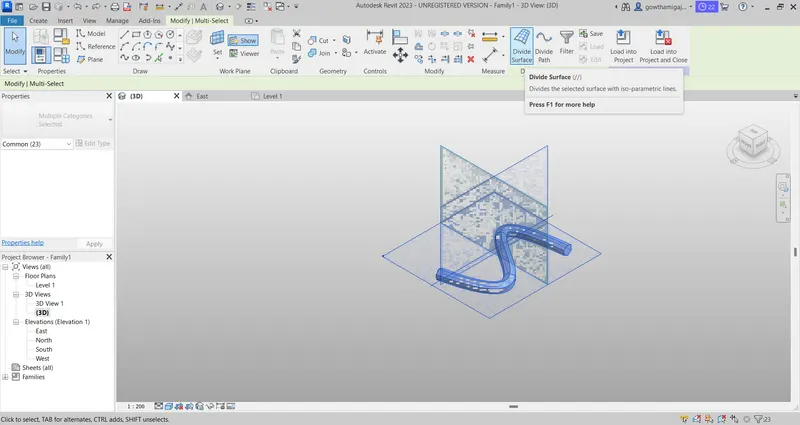
- Then apply the pattern from the properties option and apply triangle bent option to the drawing.
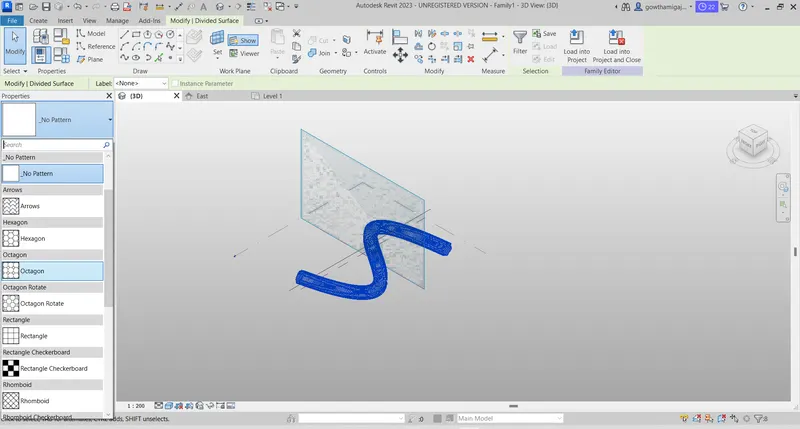
- Now after applying triangle bent option, we can see the drawing.
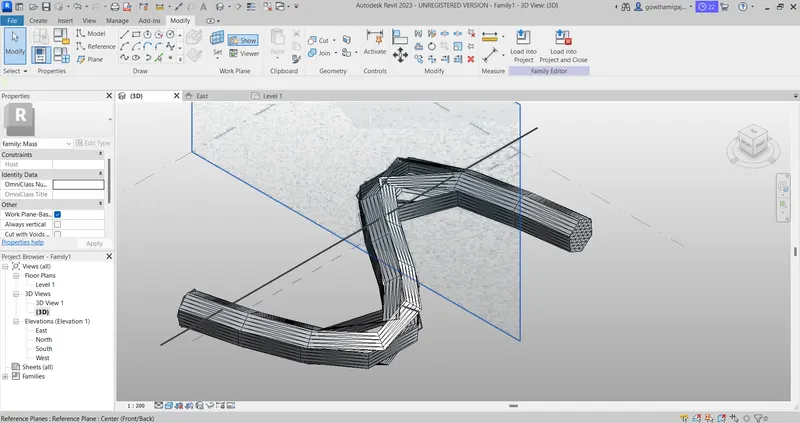
Result:
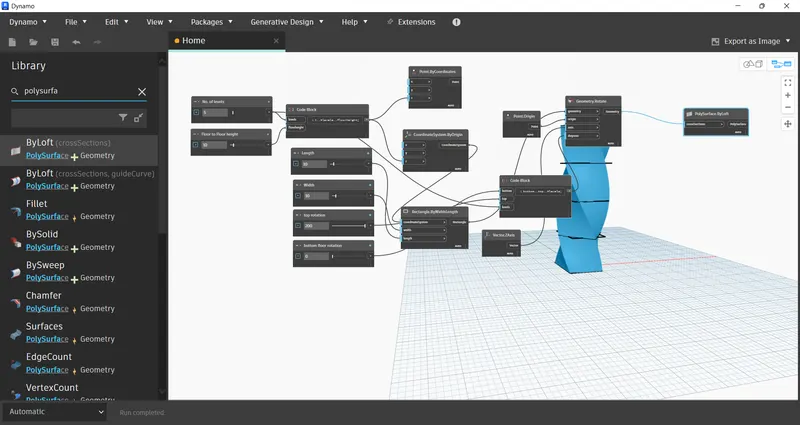
5.Aim: To create a parametric stadium for work developing by using dynamo and list the parametrs and use visual programming aproach to complete modeling.
Introduction: To create a parametric stadium for work developing by using dynamo and list the parametrs and use visual programming aproach to complete modeling.
Procedure:
- First we need to open the revit software and open the dynamo by using manage tab.
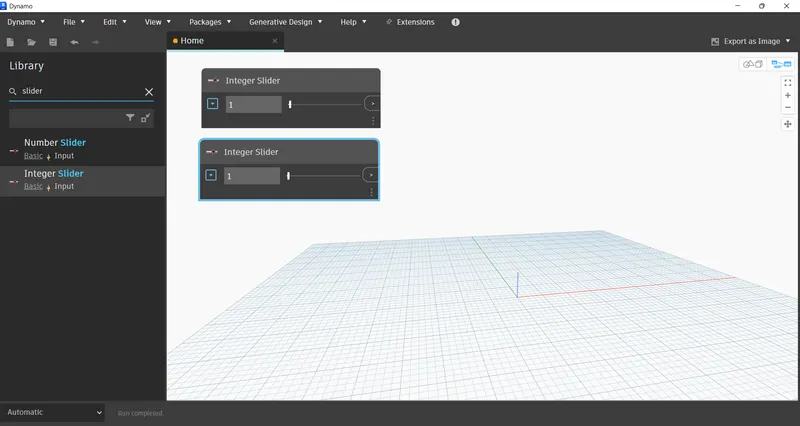
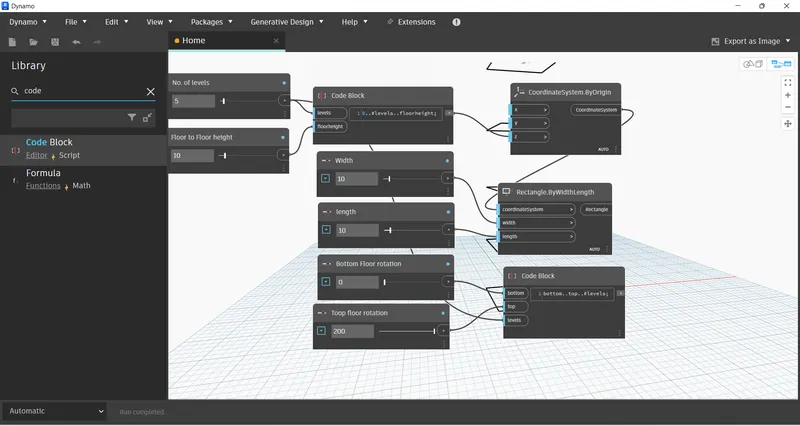
- Then in the dynamo, we need 2 integer sliders.
- For that, search slider option and select integer slider.
- Now change the slider names for creating levels.
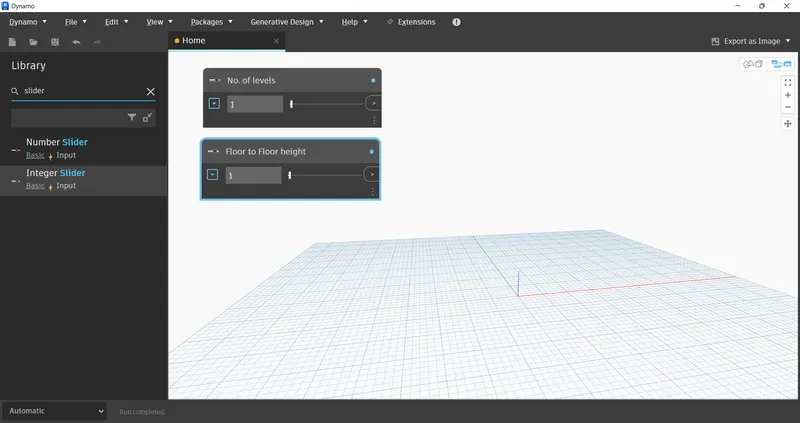
- Then change the integer values as per the drawing.
- Now create a code block for the integer values.
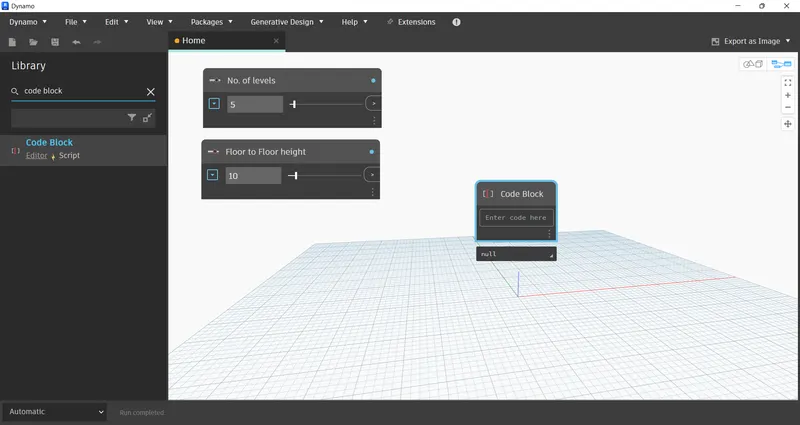
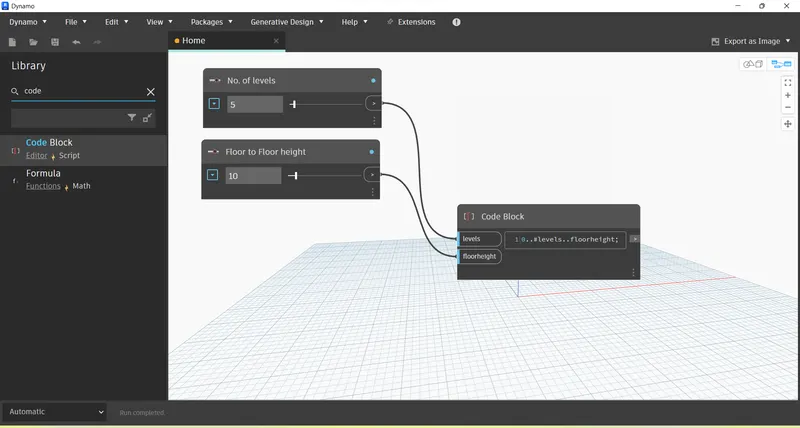
- Now give the value to the code block.
- And then connect the levels and height to the code block.
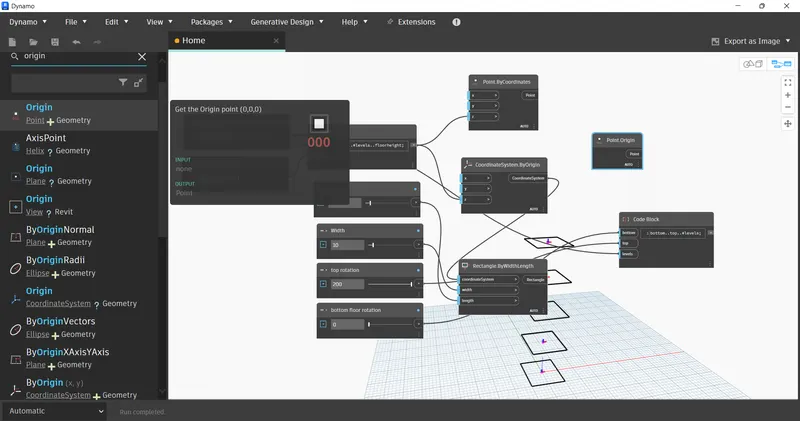
- After that, take the origin for the x,y,z coordinate points.
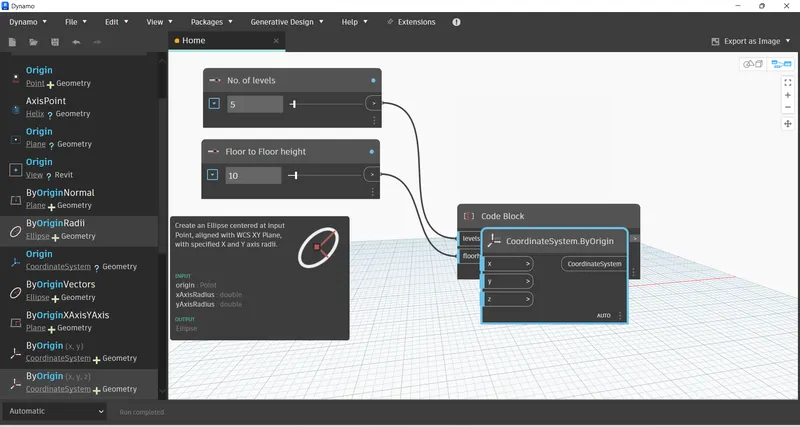
- Then connect the code block to the coordinate system by origin points.
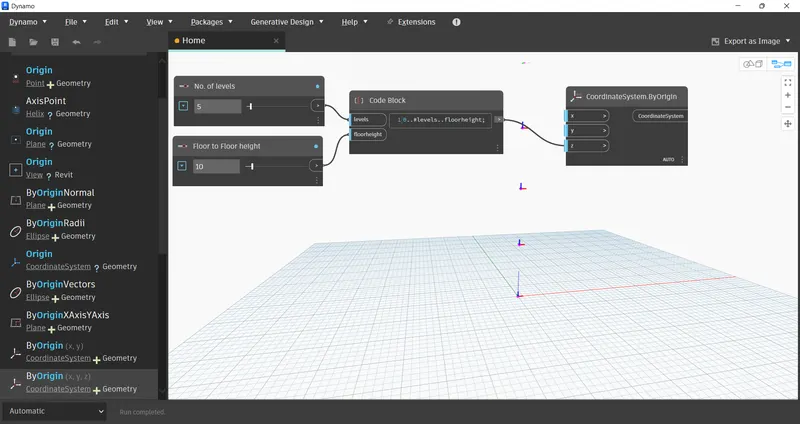 .
.
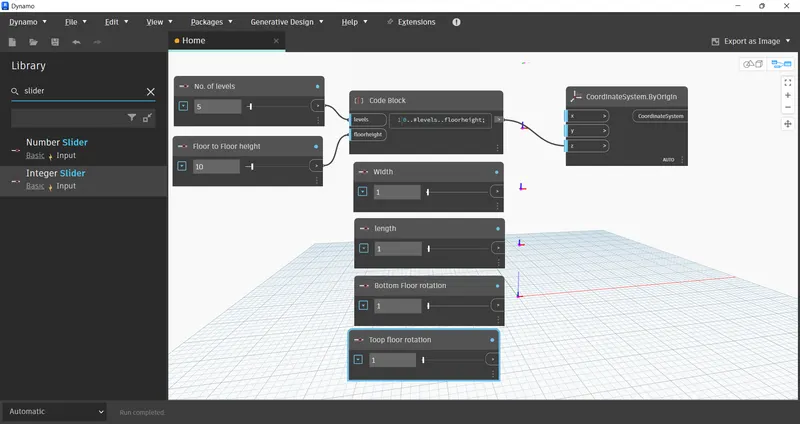
- Now take the four integer sliders for length, width, bottom floor rotation and top floor rotation
- Create rectangle by width and length with the coordinate system.
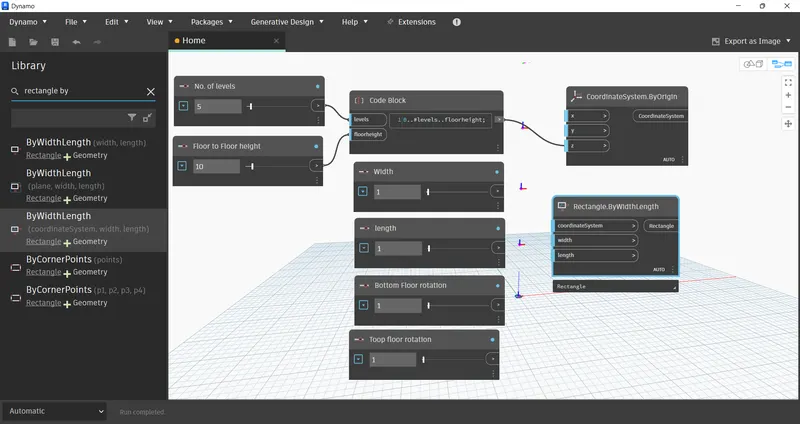
- Then connect the levels to the width, length and coordinate system to the rectangle.
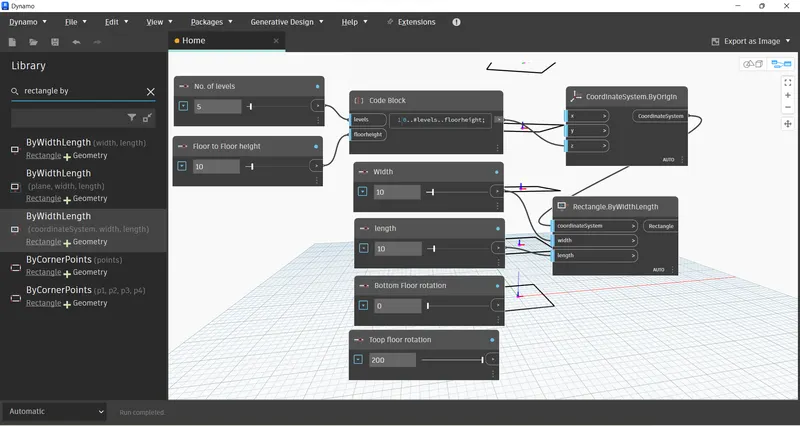
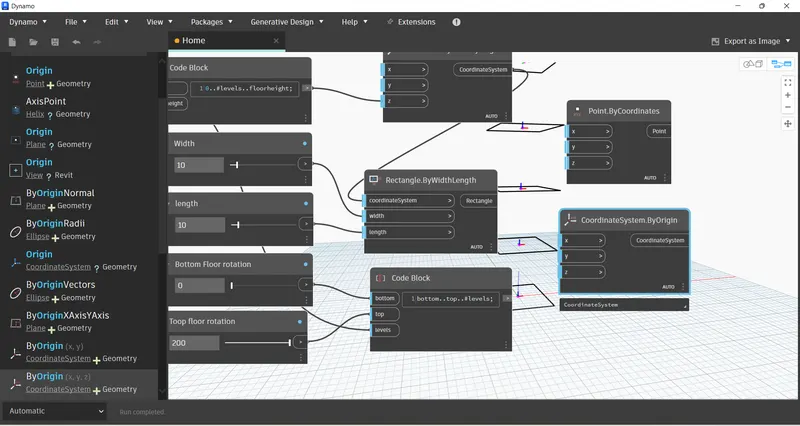
- Connect the code block to z axis for point coordinates and origin coordinates system.
- Now connect width, length and coordinate system to the rectangel points.
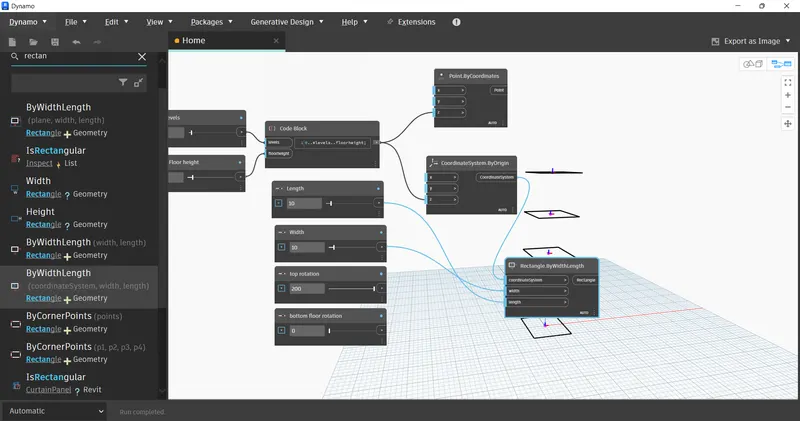
- Now we have created parametric code rotation blocks.
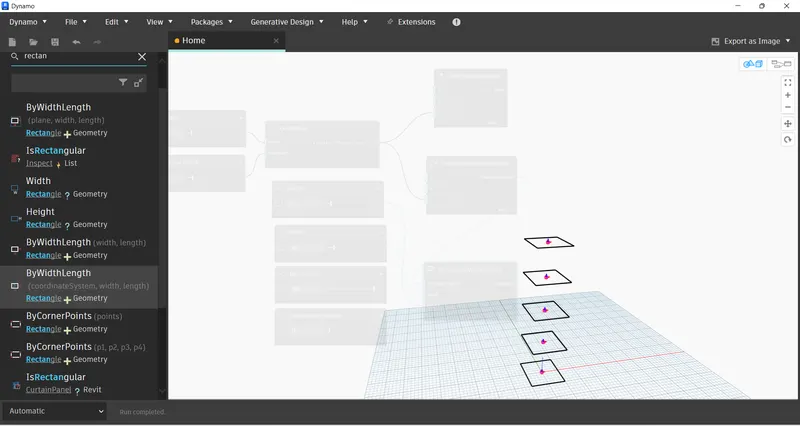
- Now create the code block for the floor rotation angle.
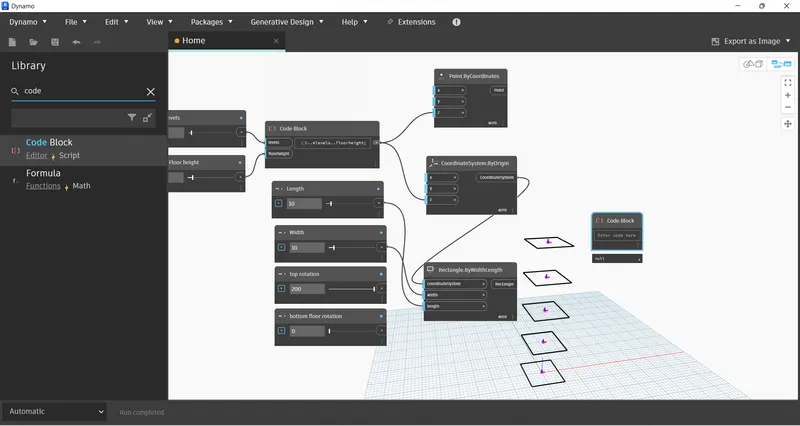
- Create the code block and enter the text for bottom and top levels.
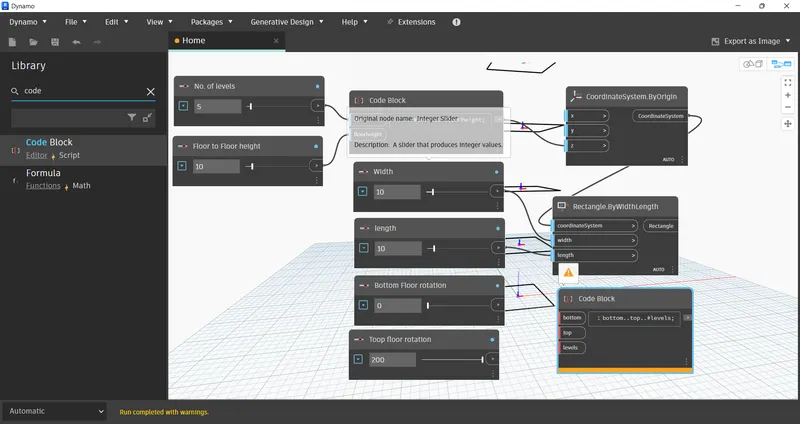
- Now connect top, botom and levels points.
- Create point by coordinate system for x,y,z points and origin by coordinate system for x,y,z points
- Create point origin level from search option.
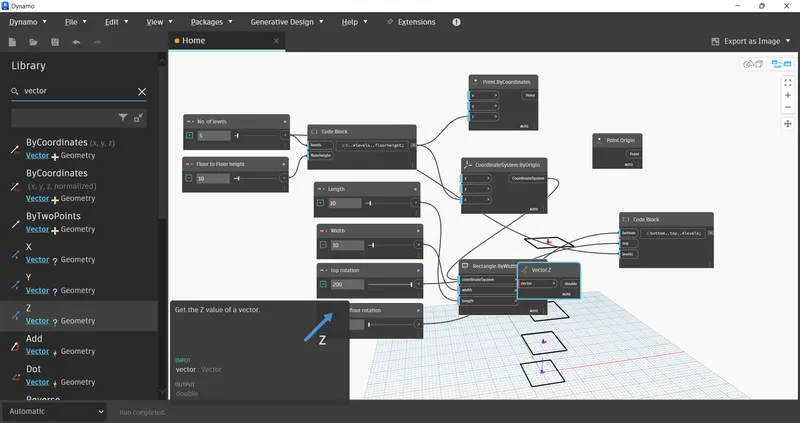
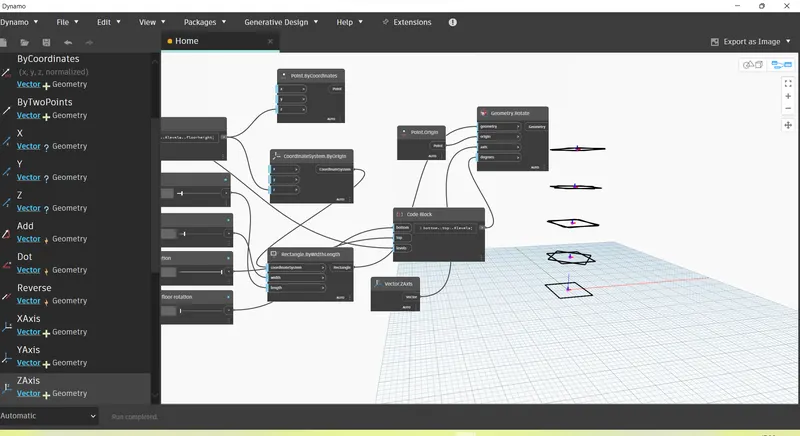
- Now create vector z axis point.
- Now search for geometry rotate option for origin, geometry, vector and point option.
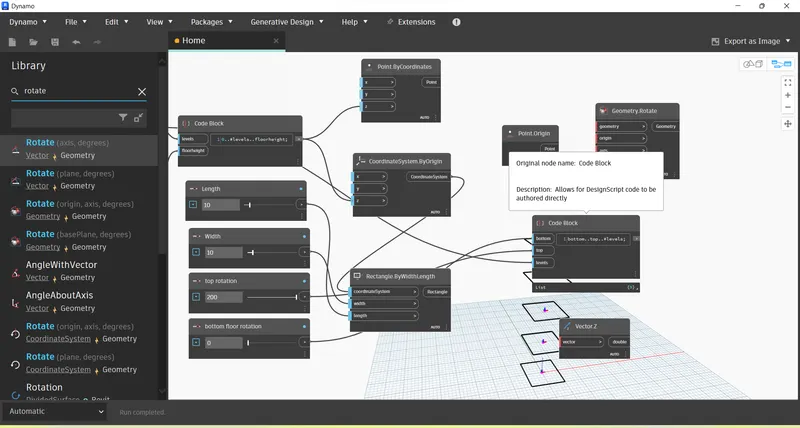
- Connect the lines for origin, geometry, vector and point option to the geometry rotate.
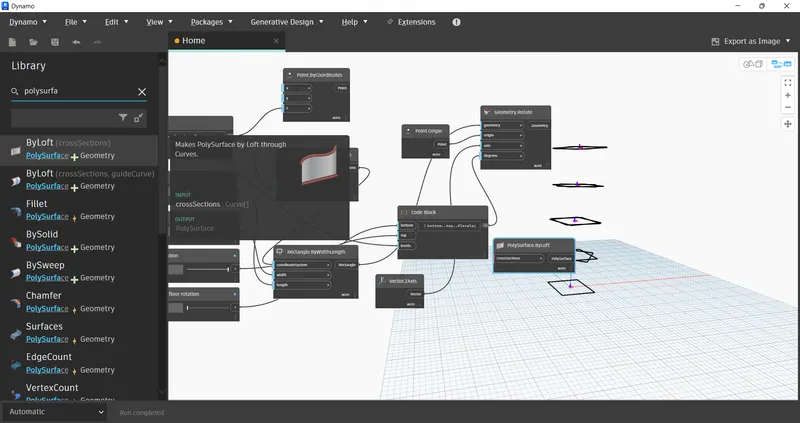
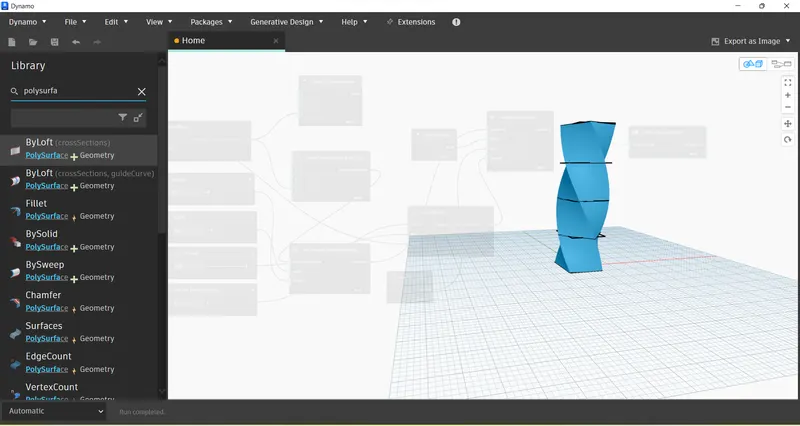
- Now take poly surface by loft option from the search icon.
- Then connect geometry to poly surface by loft option.
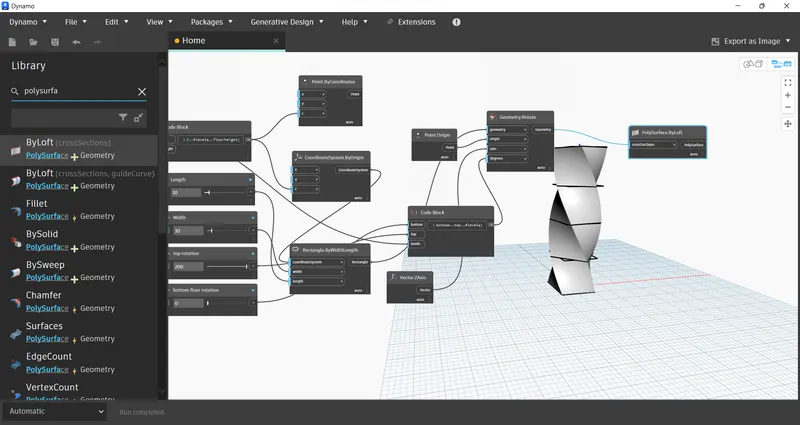
- Finally the parametric surface stadium is created.
Result: