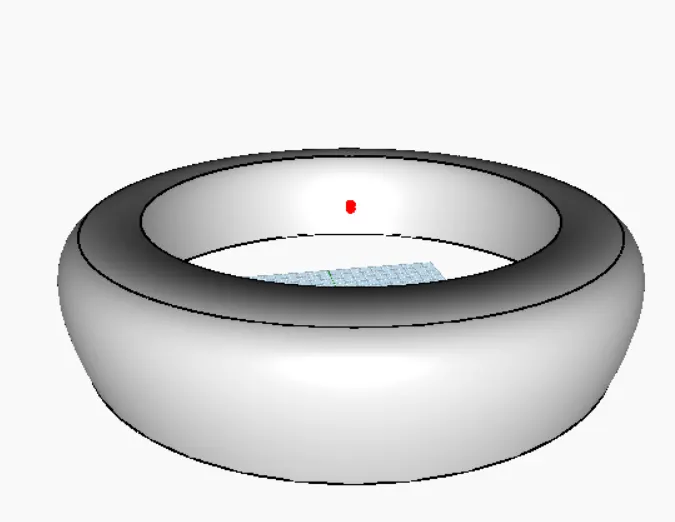
Creating Conceptual mass in REVIT and Creation of Sinusoidal curve and a Parametric stadium using Dynamo
Creating Conceptual mass in REVIT and Creation of Sinusoidal curve and a Parametric stadium using Dynamo
Q1. Using Dynamo create a set of sinusoidal points and create a curve and create a surface out of the curve.
Ans:
AIM
To create a set of sinusoidal points, create a curve and create a surface out of the curve using Dynamo
INTRODUCTION
Dynamo is an open source visual programming language for Revit, written by designers and construction professionals. It is a programming language that allows you to type lines of code; while also creating an algorithm that consists of nodes.
PROCEDURE
- Open Revit software
- Select 'Architectural Template' as the template file on 'New Project' and click 'OK'
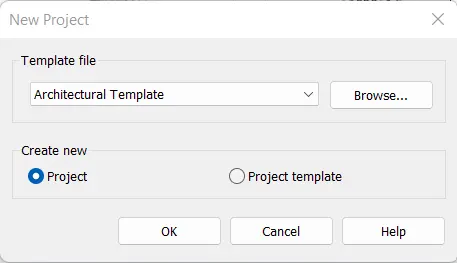
- Click 'Dynamo' under the 'Manage' tab

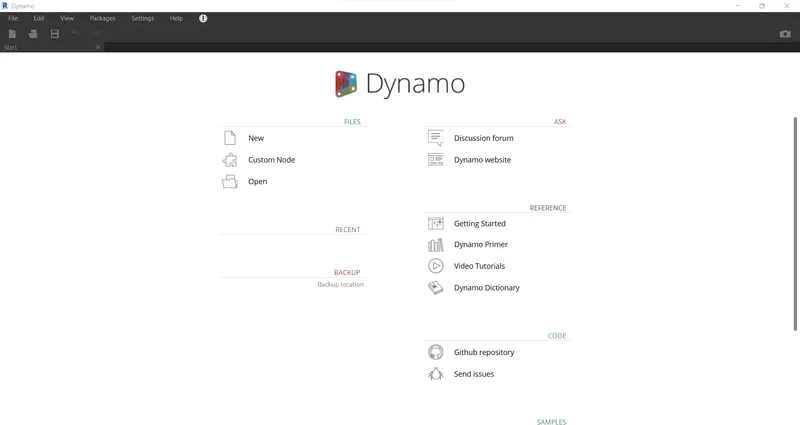
- Click 'New' in the 'Files' option
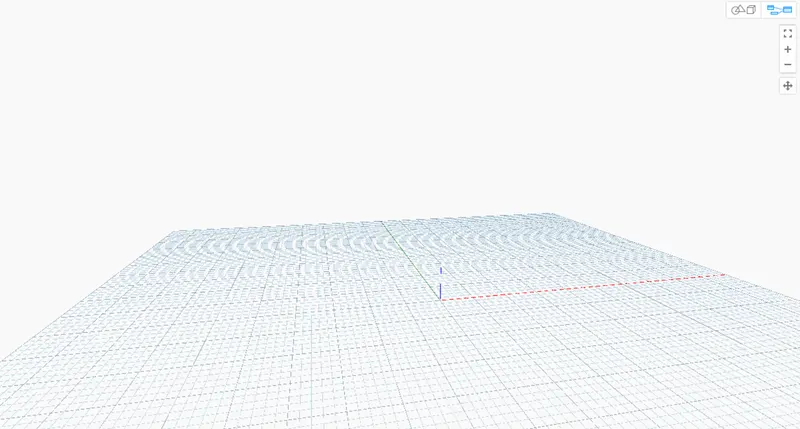
- Type 'Integer Slider' in the search bar and select the 'Integer Slider' option
- Repeat the above step 2 times
- Adjust the name and values
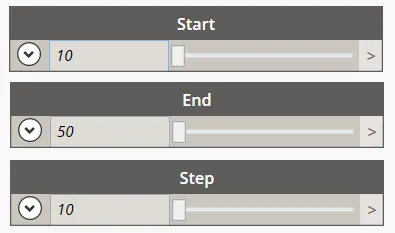
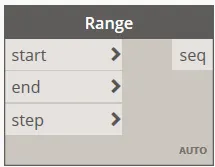
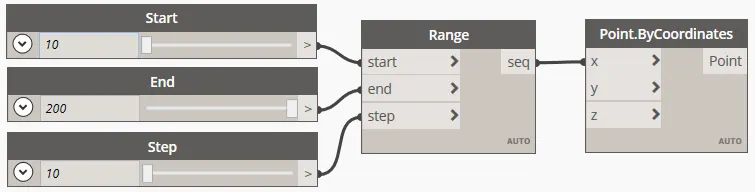
- Type 'Range' in the search bar and select the 'Range' option
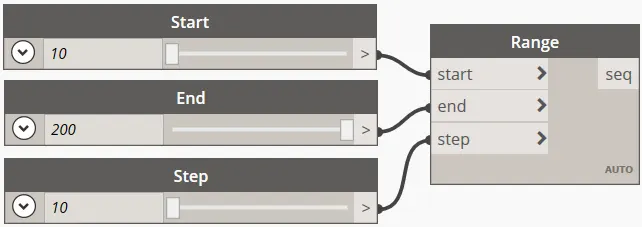
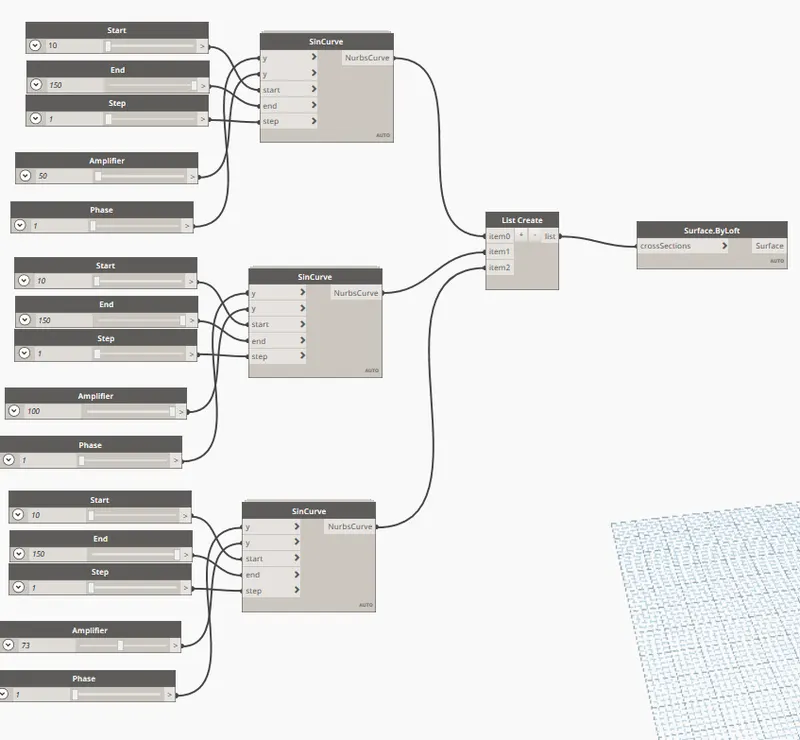
- Connect the Integer Sliders with the Range as given below
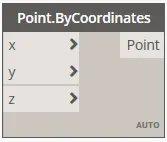
- Type 'ByCoordinates' in the search bar and select the 'ByCoordinates' option
- Connect the Range with the Point.ByCoordinates as given below
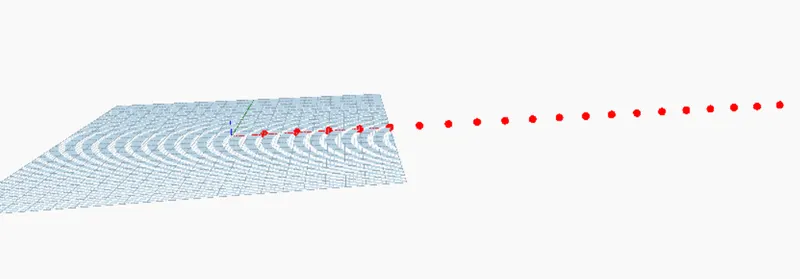
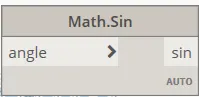
- Type 'Sin' in the search bar and select the 'Sin' option
- Connect the Range with the Math.Sin as given below
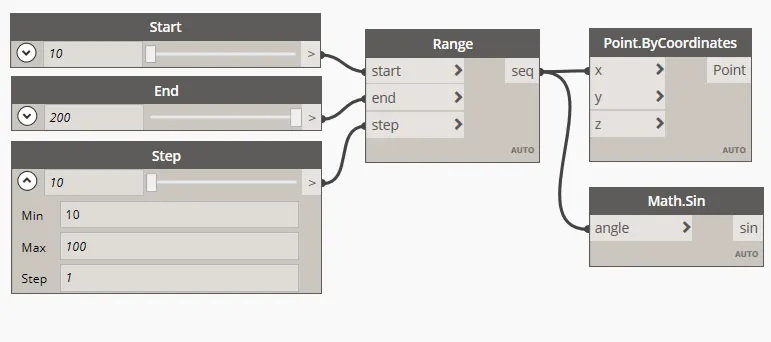
- Type 'Integer Slider' in the search bar and select the 'Integer Slider' option
- Adjust the name and values

- Type '*' in the search bar and select the '*' option
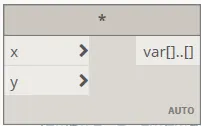
- Connect the Math.Sin and Amplifier with the product (*) as given below
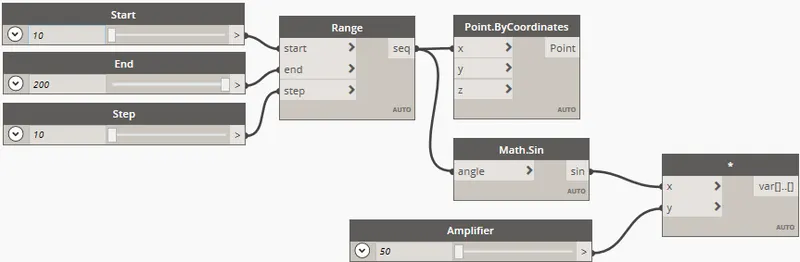
- Type 'Integer Slider' in the search bar and select the 'Integer Slider' option
- Adjust the name and values

- Type '*' in the search bar and select the '*' option
- Connect the product (*) and phase with the new product (*) as given below
- Connect the product (*) with the Point.ByCoordinates as given below
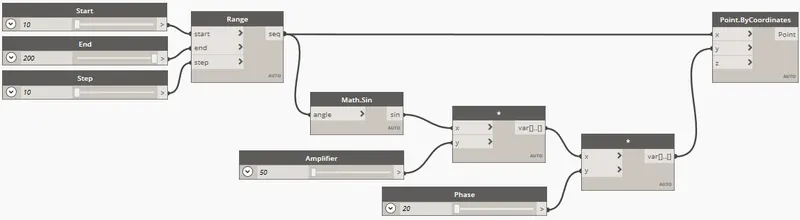
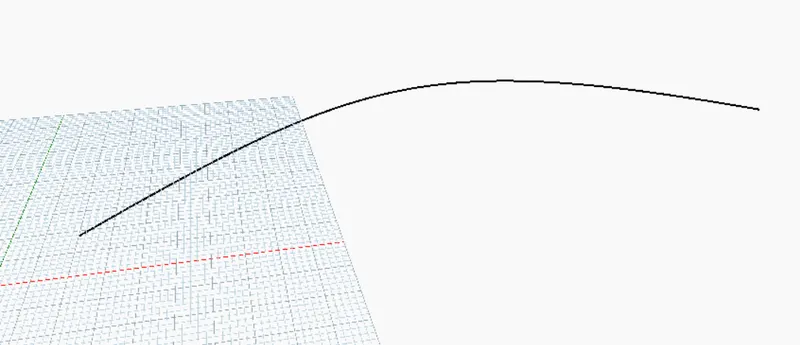
- Type 'NurbsCurve' in the search bar and select the 'ByControlPoints' option
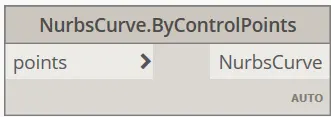
-
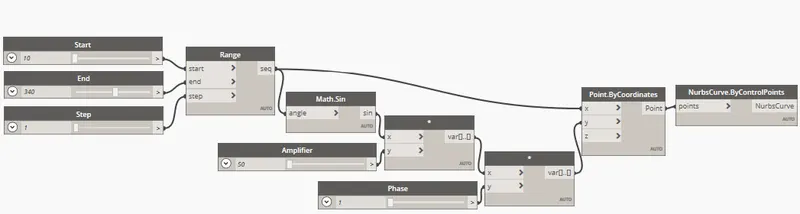
Connect the Point.ByCoordinates with the NurbsCurve.ByControlPoints as given below
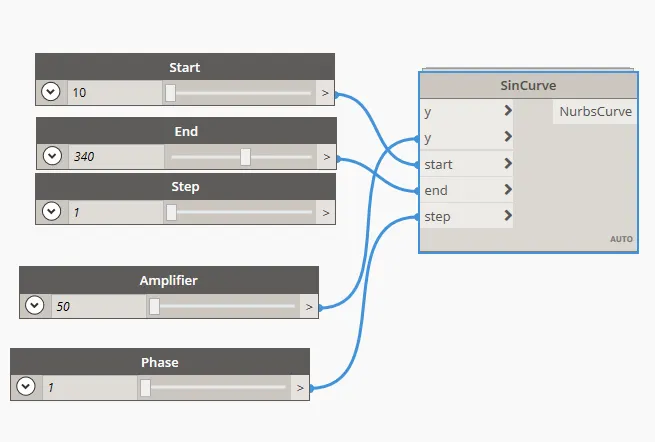
- Created custom node and grouped all the required blocks
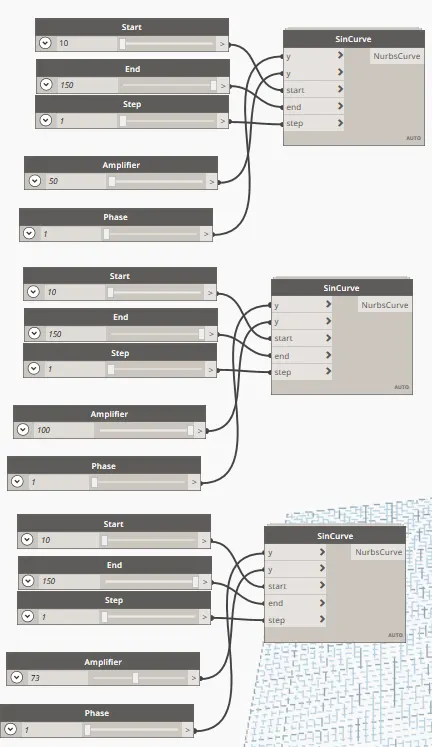
- Select all the blocks and paste it 2 times
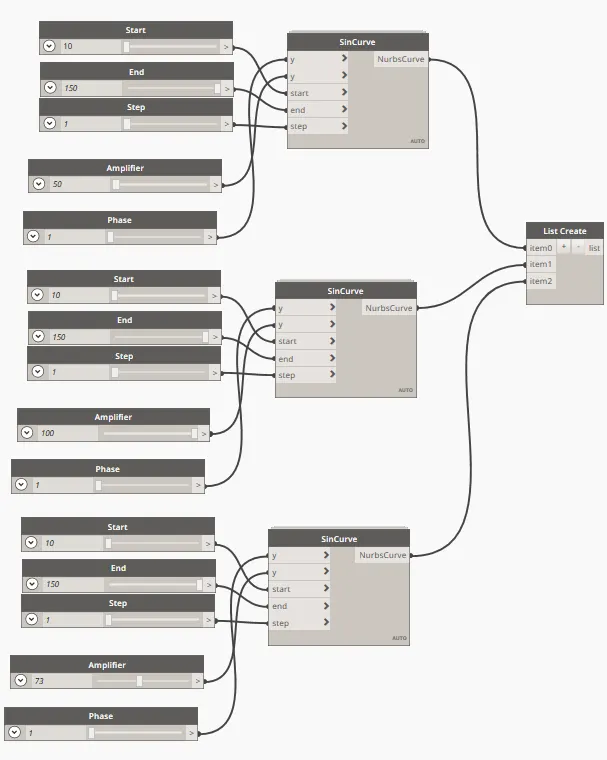
- Adjust the amplifier value for the sin curves
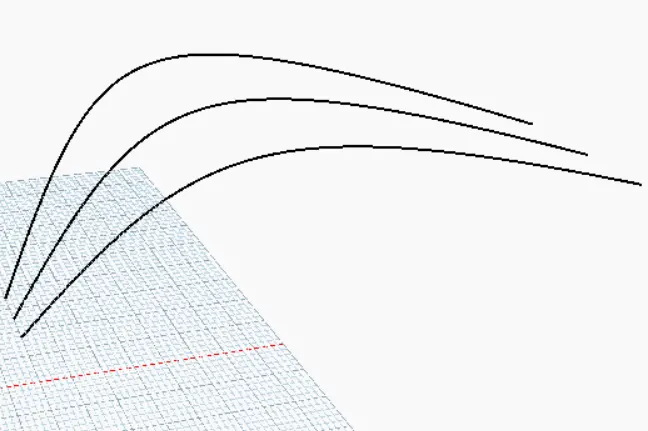
- Type 'List' in the search bar and select the 'List Create' option
- Create 2 more list
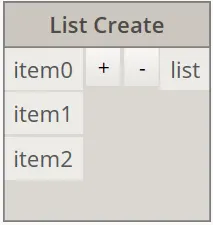
- Connect the 3 sine curve to this list as shown in figure
- Type 'Surface' in the search bar and select the 'ByLoft (crossSections)' option
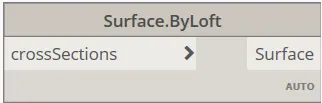
- Connect the List Create with Surface.ByLoft as shown in figure
RESULT
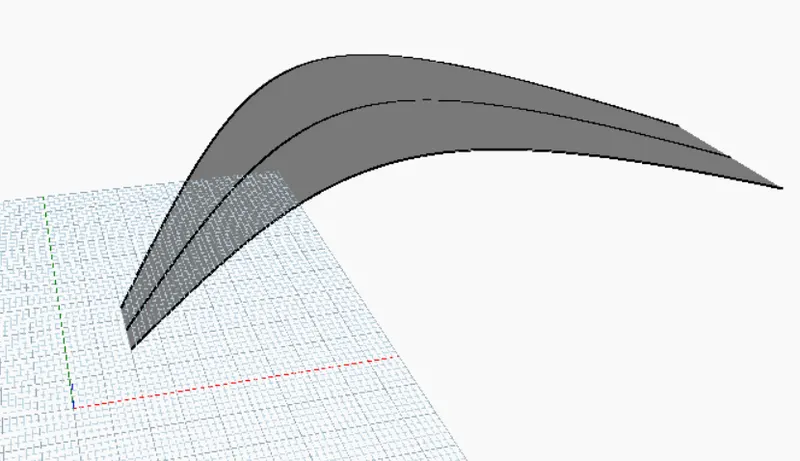
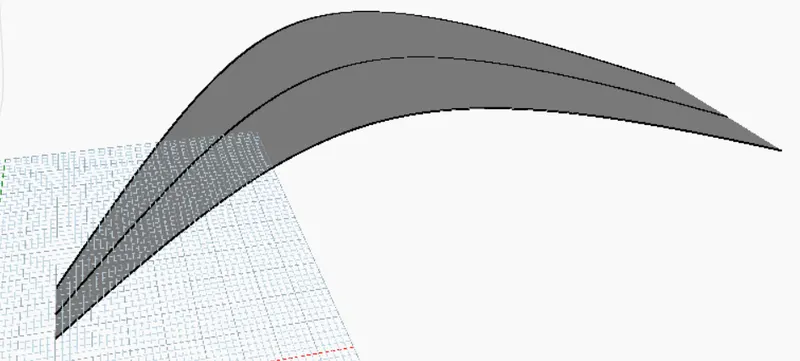
A set of sinusoidal points, a curve and a surface out of the curve is created using Dynamo
Q2. Create a conceptual layout of floor plan in dynamo . Using the tools available in dynamo link the lines to appropriate model elements in Revit by choosing the wall types and wall parameters. Make use of the sliders to slide through the height of the wall and length of the wall.
Ans:
AIM
To create a conceptual layout of floor plan in dynamo
INTRODUCTION
Dynamo is an open source visual programming language for Revit, written by designers and construction professionals. It is a programming language that allows you to type lines of code; while also creating an algorithm that consists of nodes.
PROCEDURE
- Open Revit software
- Select 'Architectural Template' as the template file on 'New Project' and click 'OK'
- Click 'Dynamo' under the 'Manage' tab
- Click 'New' in the 'Files' option
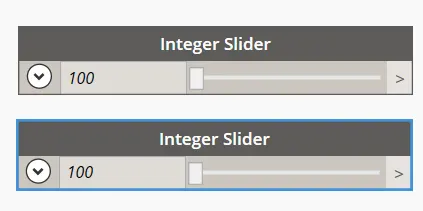
- Type 'Integer Slider' in the search bar and select the 'Integer Slider' option
- Repeat the above step
- Adjust the name and values
- Type 'ByCoordinates' in the search bar and select the 'ByCoordinates' option
- Repeat the above step 3 times
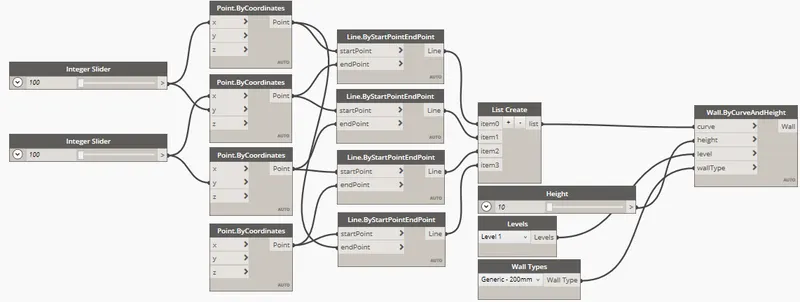
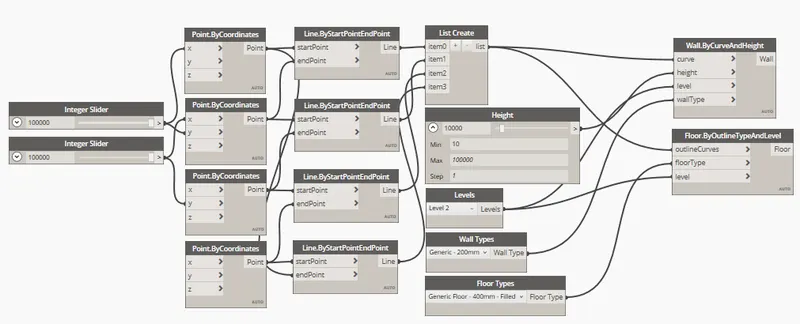
- Connect the Integer Sliders with Point.ByCoordinates as shown below
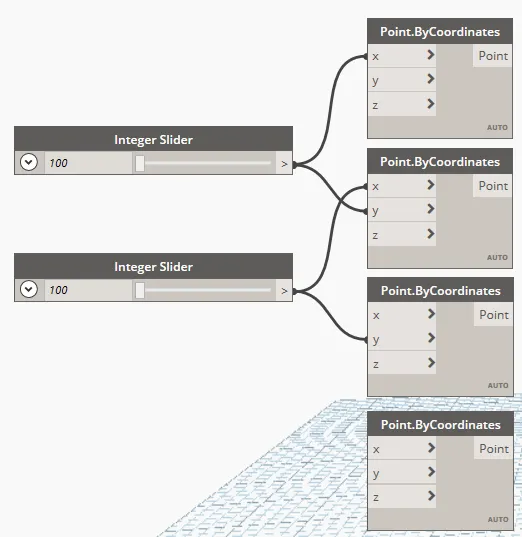
- Type 'Line' in the search bar and select the 'ByStartPointEndPoint' option
- Repeat the above step 3 times
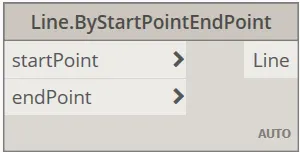
- Connect the Point.ByCoordinates with Line.ByStartPointEndPoints as shown below
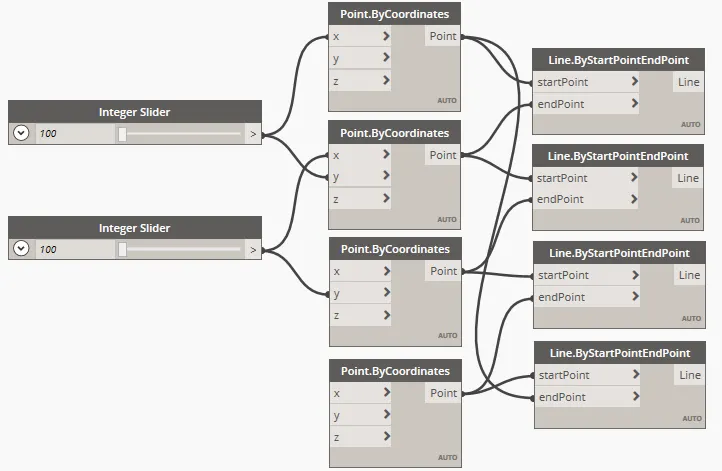
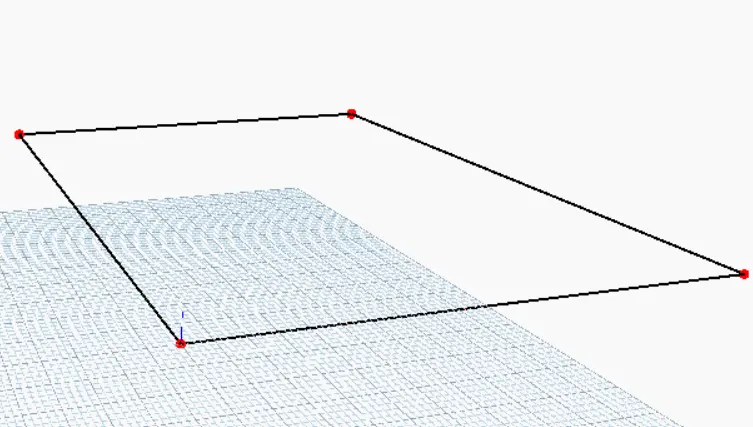
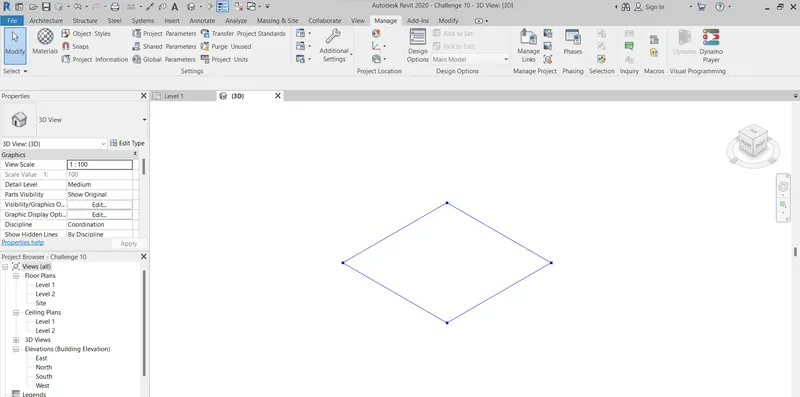
- Type 'List' in the search bar and select the 'List Create' option
- Create 3 more list
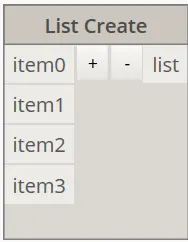
- Connect the Line.ByStartPointEndPoints with List Create as shown below
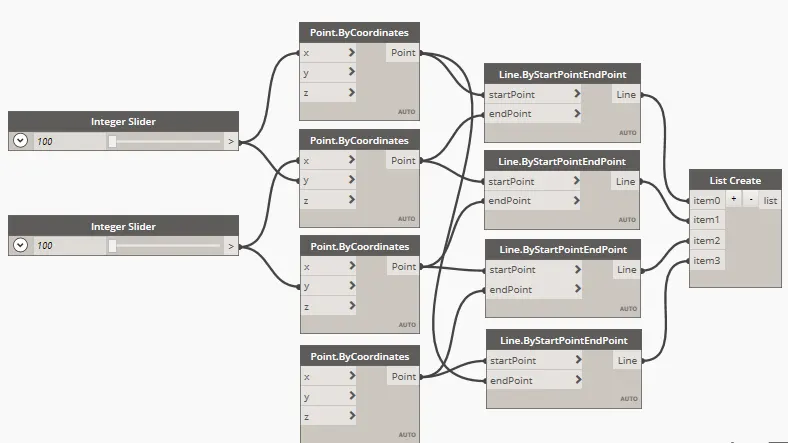
- Type 'Levels' in the search bar and select the 'Levels' option
- Select 'Level 1' as the levels
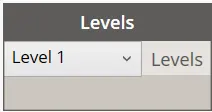
- Type 'Wall' in the search bar and select the 'Wall Types' option
- Select 'Generic - 200mm' as the wall type
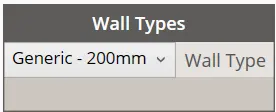
- Type 'Integer Slider' in the search bar and select the 'Integer Slider' option
- Adjust the name and values

- Type 'Wall' in the search bar and select the 'ByCurveAndHeight' option
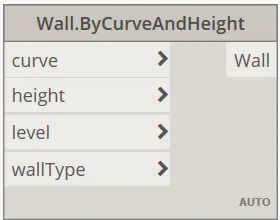
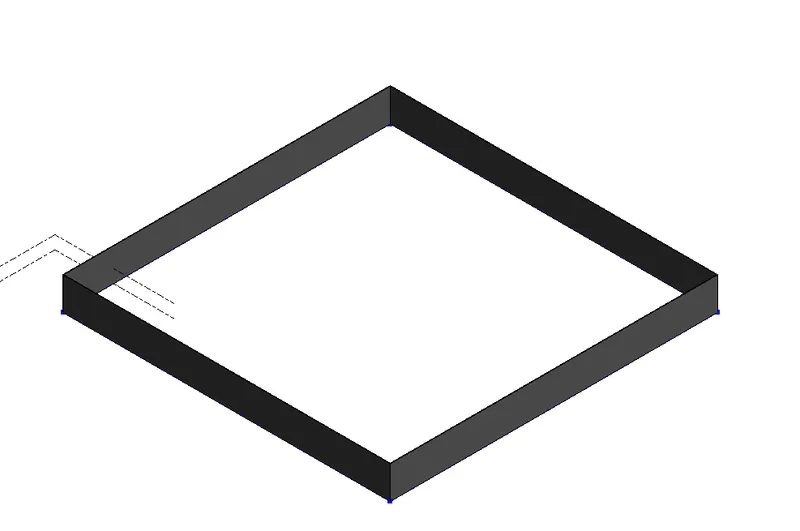
- Connect the List Create, Height, Levels and Wall Types with Wall.ByCurveAndHeight as shown below
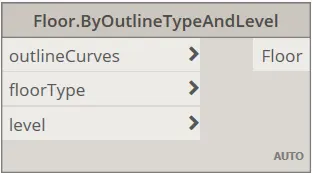
- Type 'Floor' in the search bar and select the 'ByOutlineTypeAndLevel' option
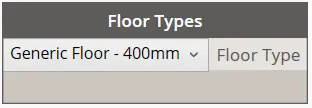
- Type 'Floor' in the search bar and select the 'Floor Types' option
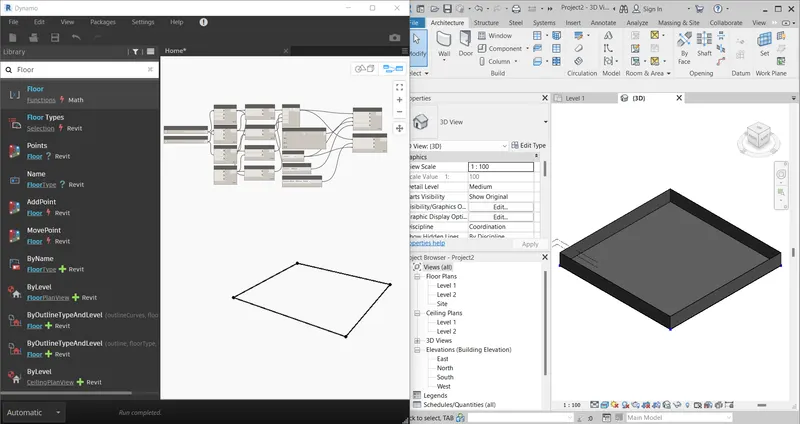
- Connect the List Create, Levels and Floor Types with Floor.ByOutlineTypeAndLevel as shown below
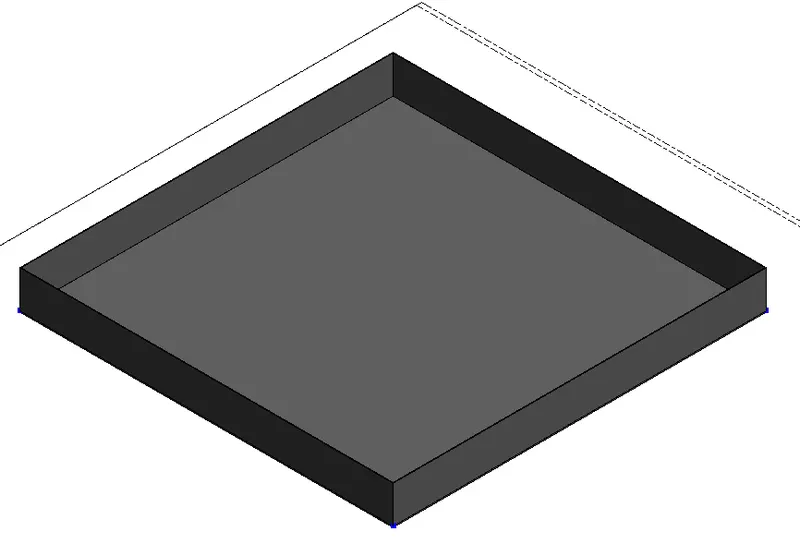
RESULT
A conceptual layout of floor plan is created in dynamo
Q3. Create an array of model elements in Revit. Use dynamo to vary the properties of model elements by using the slider or code block
Ans:
AIM
To create an array of model elements in Revit and use Dynamo to vary the properties of model elements.
INTRODUCTION
In a Revit model or family, you can use the Array tool to create several instances of one or more elements, and manipulate them simultaneously. Create a radial array when the elements follow an arc. Create a linear array when the elements follow a straight line.
PROCEDURE
- Open Revit software
- Select 'Architectural Template' as the template file on 'New Project' and click 'OK'
- Click 'Column' under the 'Architecture' tab
- Place a colum
- Select the column and type 'AR' to get array tool
- Place the columns accordingly
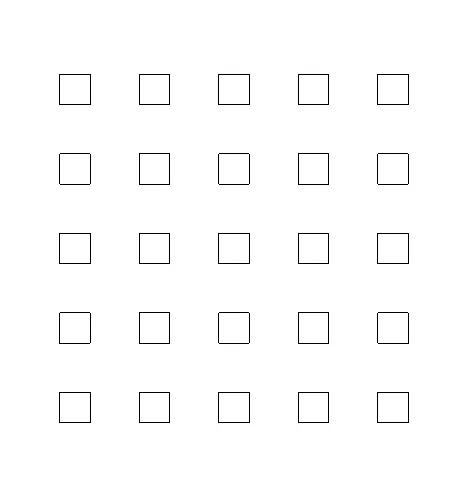
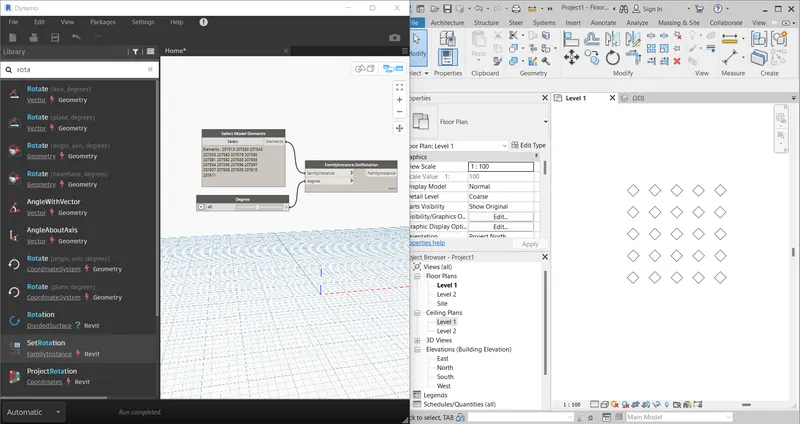
- Click 'Dynamo' under the 'Manage' tab
- Click 'New' in the 'Files' option
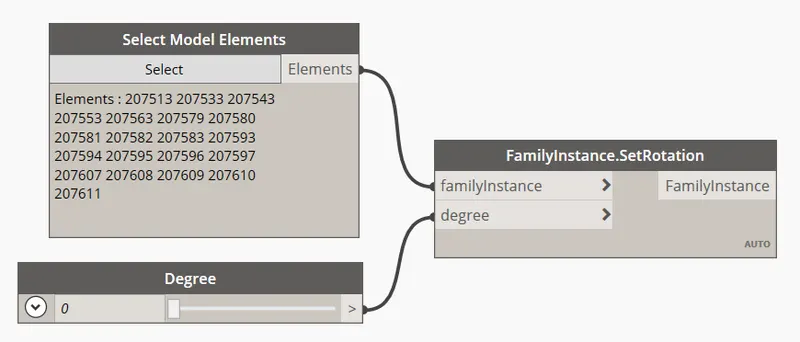
- Type 'Select Model' in the search bar and select the 'Select Model Elements' option
- Select the columns in Revit
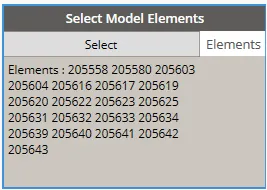
- Type 'Rotation' in the search bar and select the 'Set Rotation' option
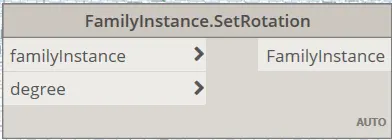
- Type 'Integer Slider' in the search bar and select the 'Integer Slider' option
- Adjust the name and values

- Connect the Select Model Elements and Degree with the FamilyInstance.SetRotation as shown below
RESULT
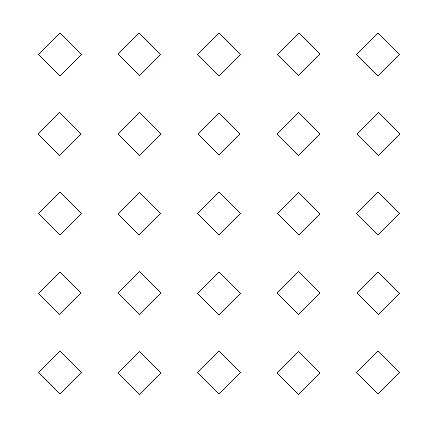
An array of model elements is created in Revit and Dynamo is used to vary the properties of model elements.
Before:
After:
Q4. Create a conceptual mass in Revit and develop a parametric column by dividing the surfaces and apply the concepts similar to used in parametric walkway modelling. Use triangular bent or square shaped panels to add finish to the parametric column
Ans:
AIM
To create a conceptual mass in Revit and develop a parametric column by dividing the surfaces and apply the concepts similar to used in parametric walkway modelling.
INTRODUCTION
Conceptual Mass Modeling Services is an important part of Revit Modeling Services. This 3D mass modeling is generally performed by architects. The one of the purpose of mass modeling is to create 3D models of odd shape building. By using this 3D modeling process, users create base of any odd shaped building.
PROCEDURE
- Open Revit software
- Select 'Architectural Template' as the template file on 'New Project' and click 'OK'
- Click 'Conceptual Mass' in the 'New' under the 'File' tab
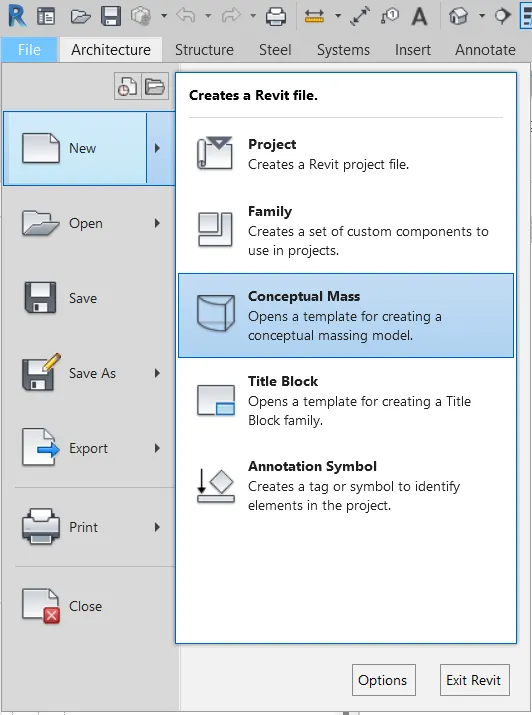
- Select 'Metric Mass' and click 'Open'
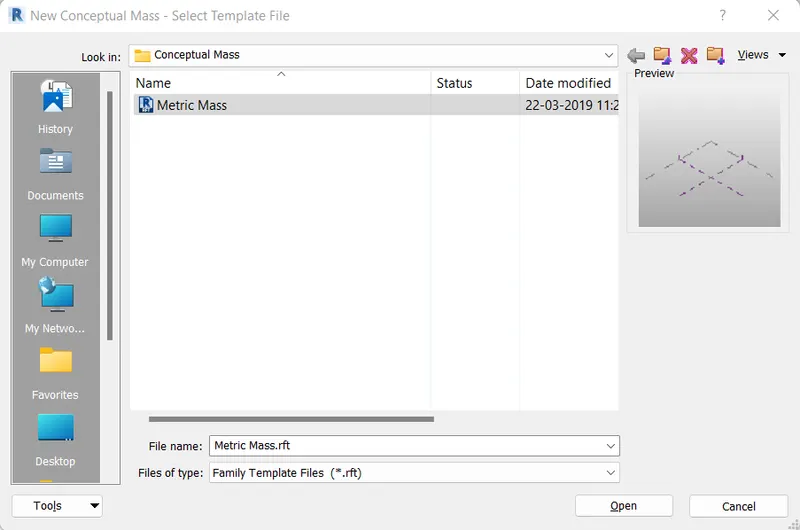
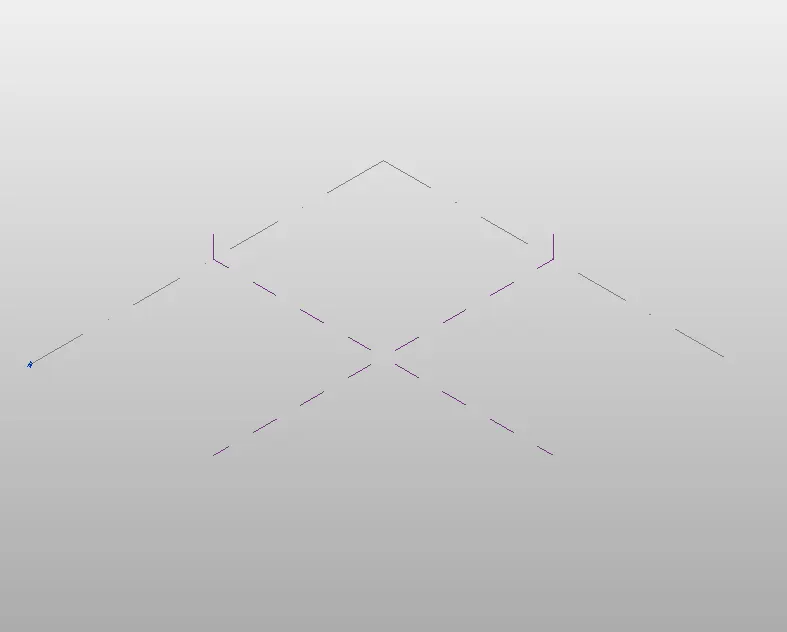
- Go to elevation and add new level 'Level 2' at 4000mm from 'Level 1'
- Click 'level 2' in the 'Floor Plans'
- Click 'Spline Through Points' in the 'Modify' tab
- Enable 'Model'
- Draw 'S' shape using spline tool
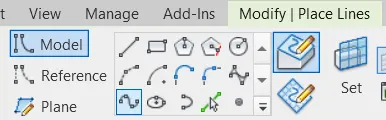
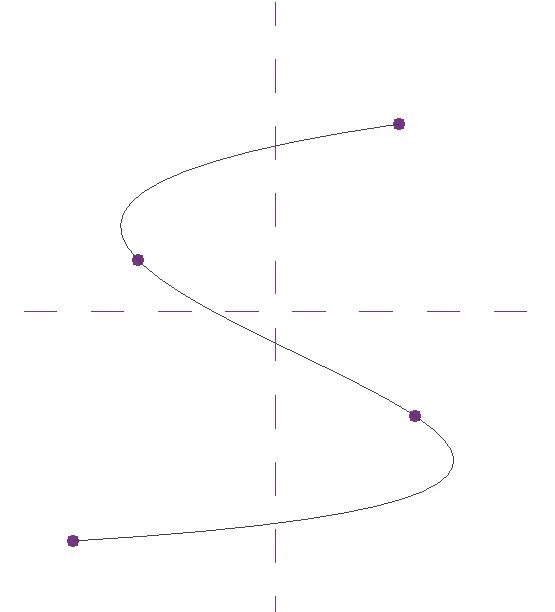
- Click 'Default 3D' under the 'View' tab
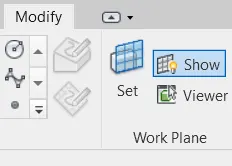
- Click 'Set' and click on all the spline points
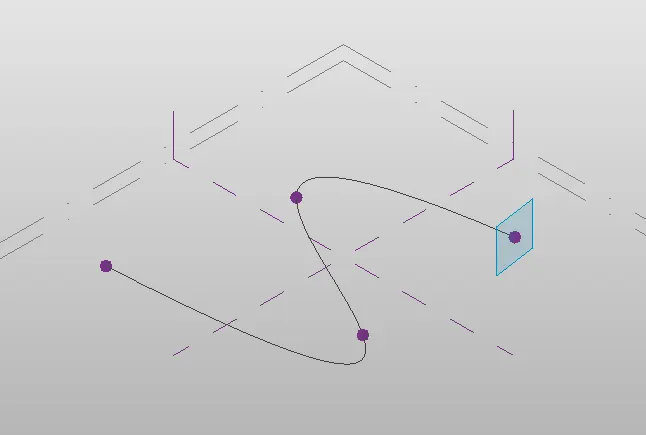
- Draw inscribed polygon on the spline points with set plane
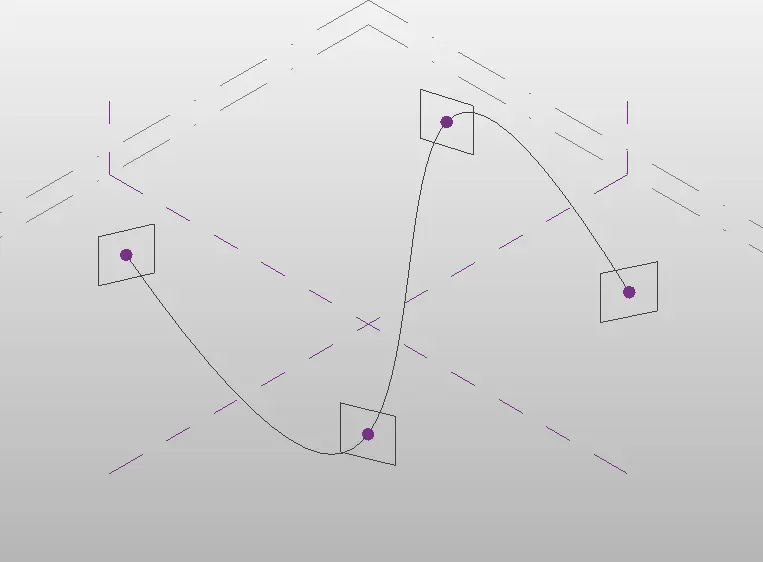
- Select the Spline, all the polygons and click on the 'Create Form'
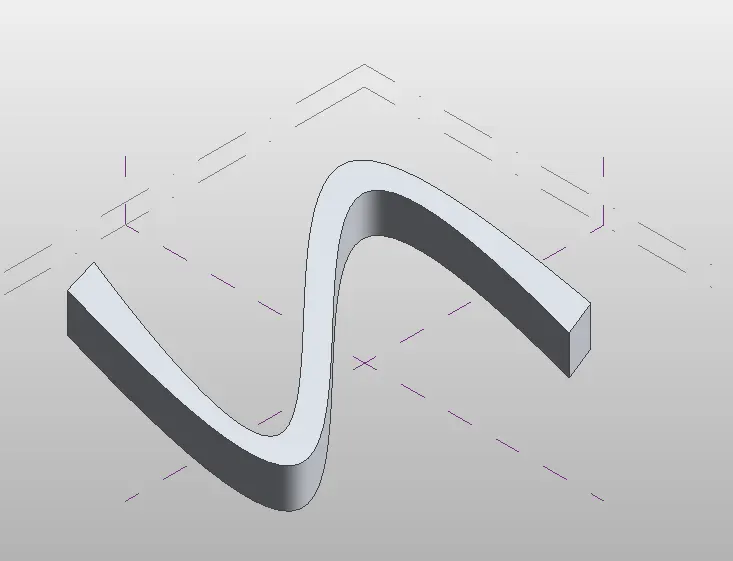
- Select all the objects and click 'Filter'
- Uncheck 'Reference Planes' and click 'OK'
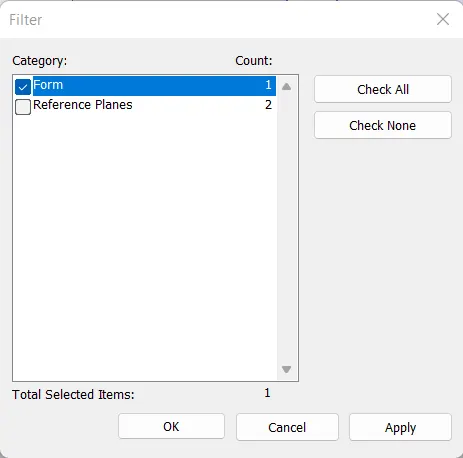
- Select all the objects and click 'Divide Surface'
- Choose 'Triangle Bent' from 'Properties'
- Assign proper values to 'U Grid' and 'V Grid'
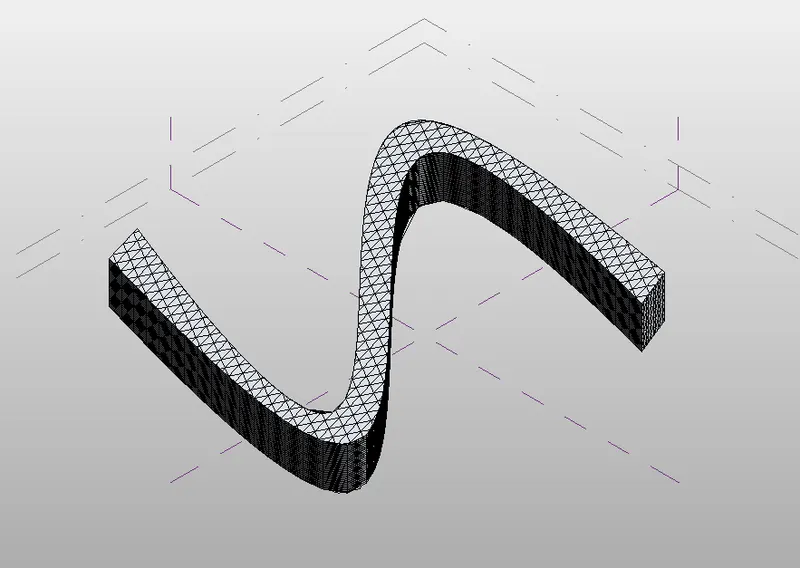
- Open a new family 'M_Triangle (bent) Surface' under 'Curtain Panel By Pattern' and click 'Open'
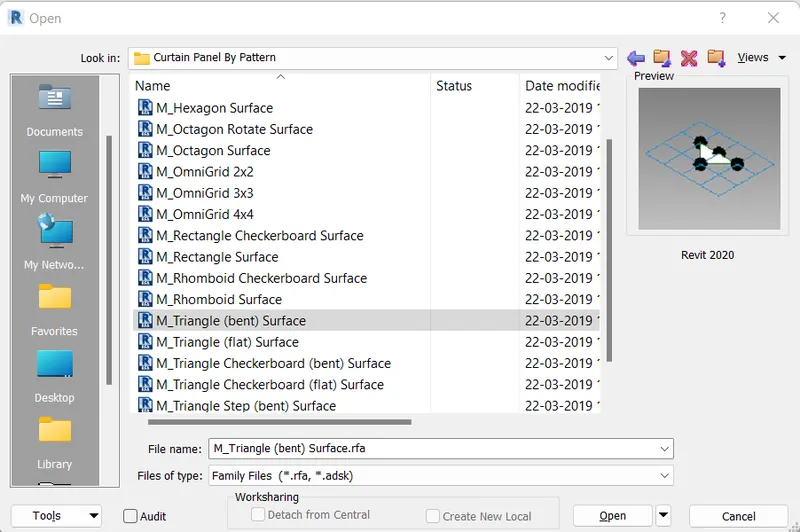
- Draw a reference line on the outline of the triangle
- Draw a circle of diameter 60mm on the plane
- Select the reference line, circle and click on the 'Create Form'
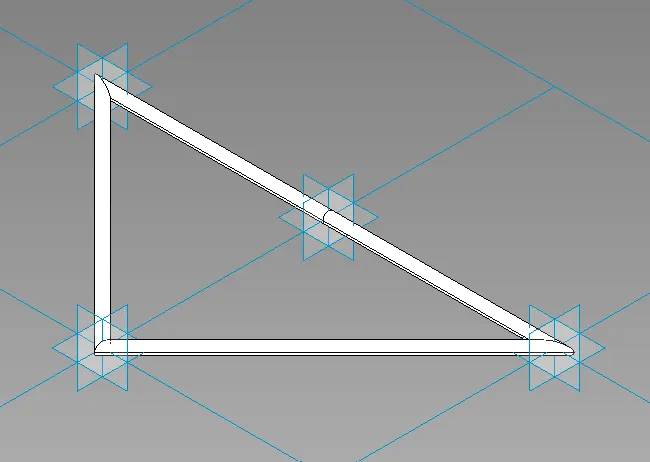
- Click 'Load into project'
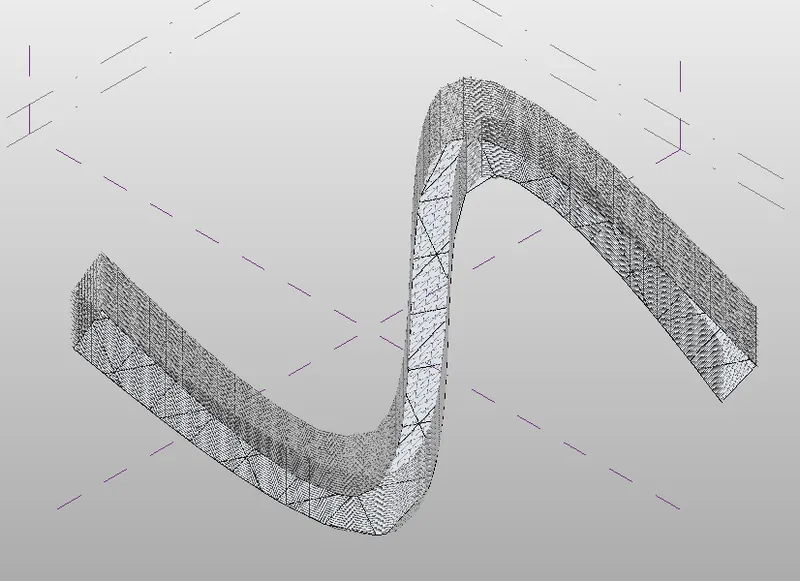
- Select all the surfaces and select the triangle bent designed
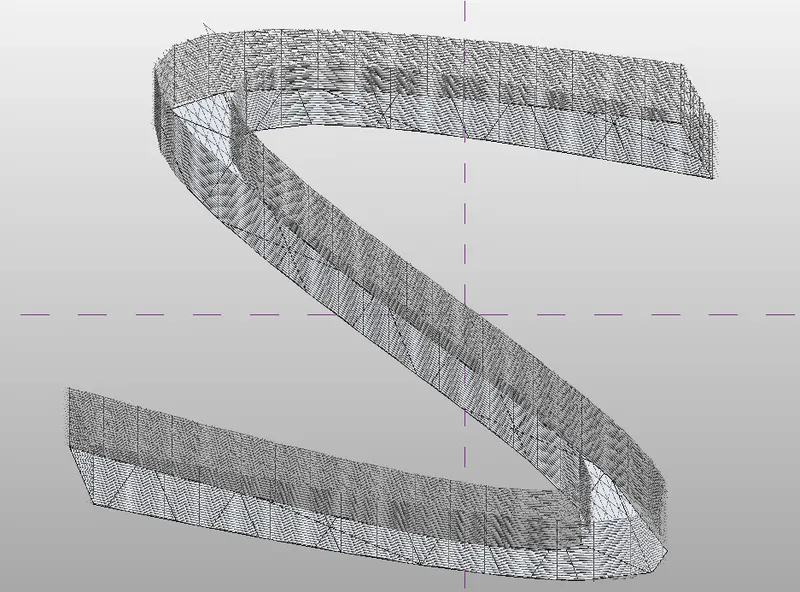
RESULT
A conceptual mass is created in Revit and parametric column by dividing the surfaces is developed and the concepts similar to used in parametric walkway modelling is applied.
Q5. Use Dynamo to work on developing a Parametric Stadium. List your parameters and use the visual programming approach to complete the modelling, You can use the concepts discussed in parametric high rise tower in class for reference.
Ans:
AIM
To develop a Parametric Stadium using Dynamo
INTRODUCTION
Dynamo is an open source visual programming language for Revit, written by designers and construction professionals. It is a programming language that allows you to type lines of code; while also creating an algorithm that consists of nodes.
PROCEDURE
- Open Revit software
- Select 'Architectural Template' as the template file on 'New Project' and click 'OK'
- Click 'Dynamo' under the 'Manage' tab
- Click 'New' in the 'Files' option
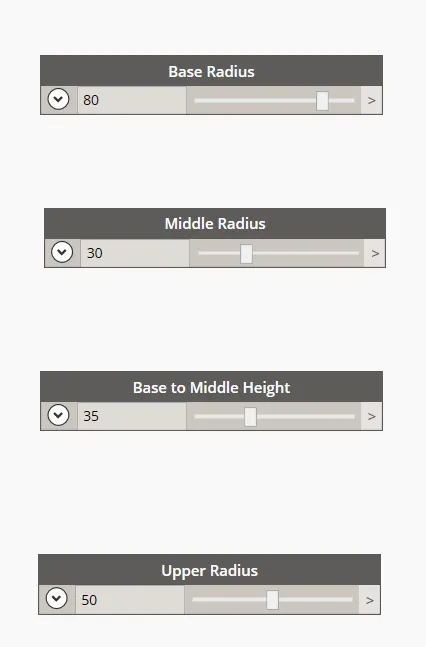
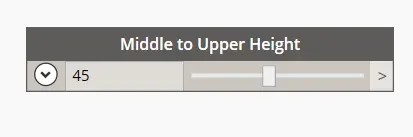
- Type 'Integer Slider' in the search bar and select the 'Integer Slider' option
- Repeat the above step 4 times
- Adjust the name and values
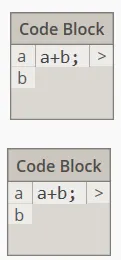
- Type 'Code' in the search bar and select the 'Code Block' option
- Type 'a+b' inside the Code Block
- Repaet the above step
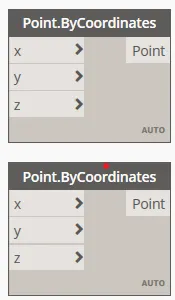
- Type 'ByCoordinates' in the search bar and select the 'ByCoordinates' option
- Repeat the above step
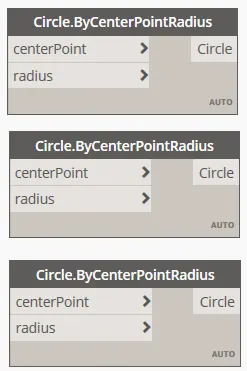
- Type 'Circle' in the search bar and select the 'ByCenterPointRadius' option
- Repeat the above step 2 times
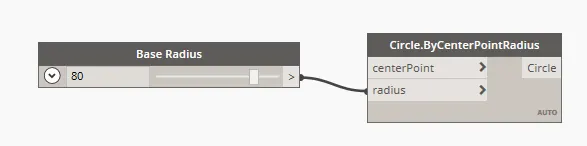
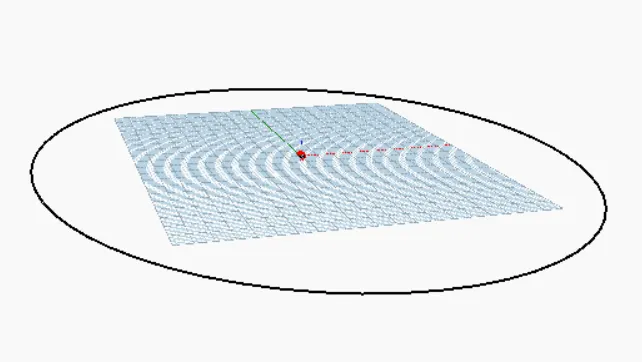
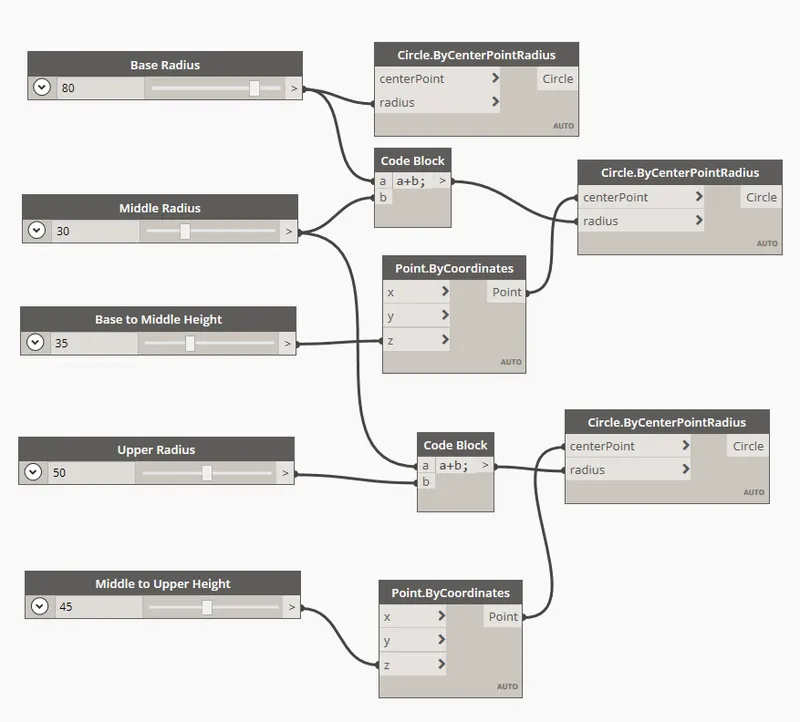
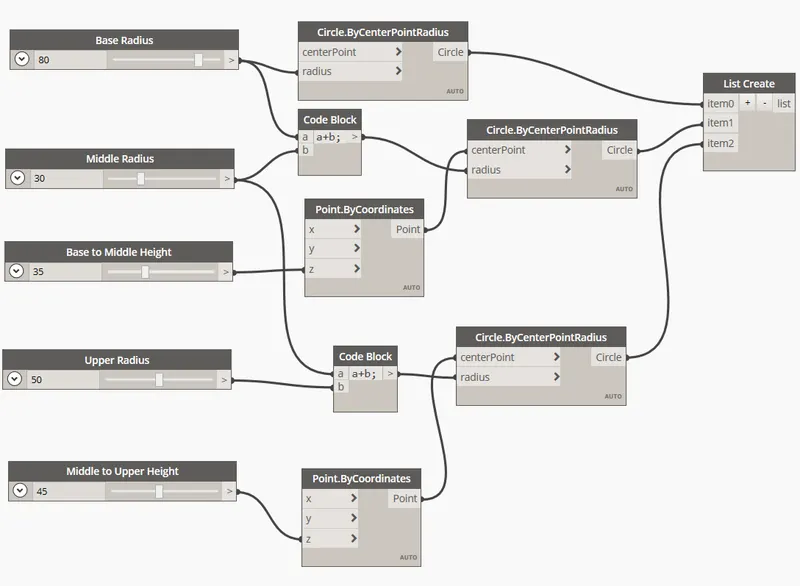
- Connect the Base Radius with the Circle.ByCenterPointRadius as shown below
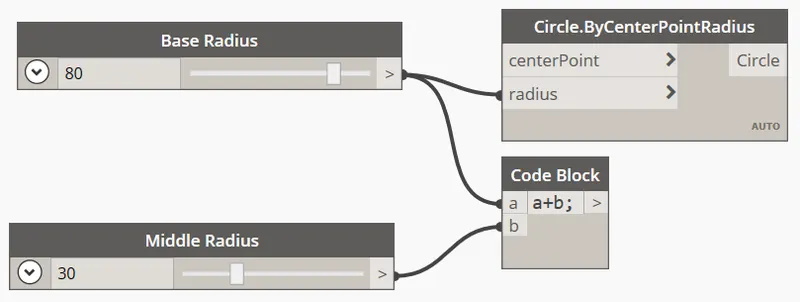
- Connect the Base Radius and Middle Radius with Code Block as shown below
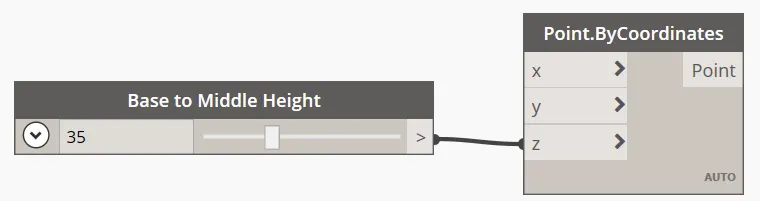
- Connect the Base to Middle Height with Point.ByCoordinates as shown below
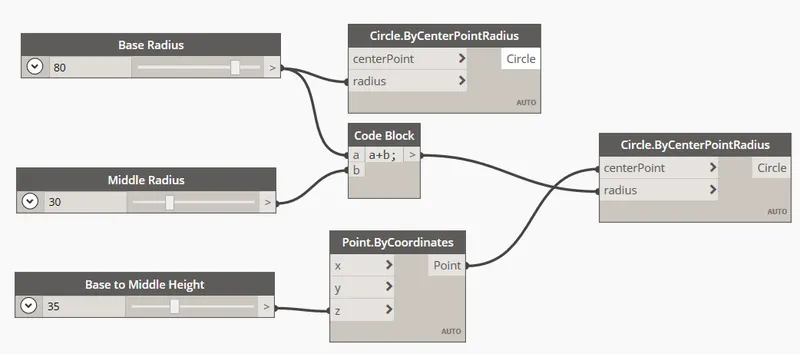
- Connect the Code Block and Point.ByCoordinates with the Circle.ByCenterPointRadius as shown below
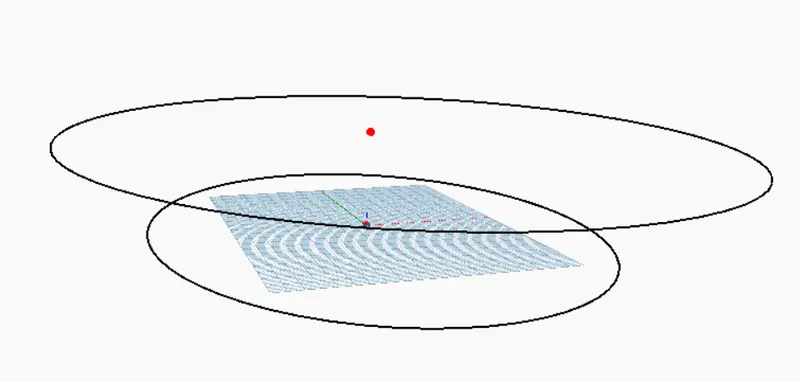
- Connect the Middle Radius and Upper Radius with the Code Block as shown below
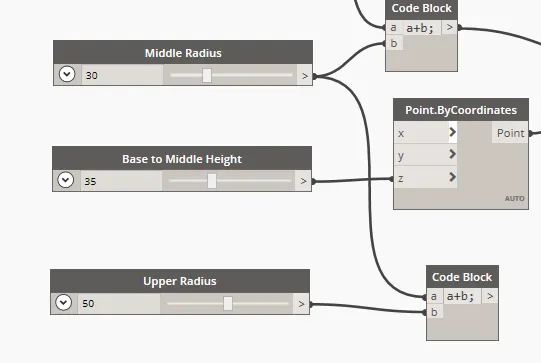
- Connect the Middle to Upper Height with Point.ByCoordinates as shown below
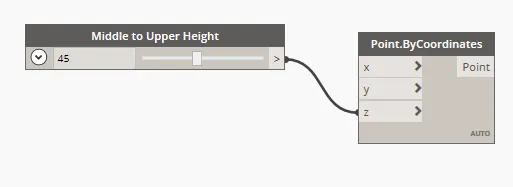
- Connect the Code Block and Point.ByCoordinates with the Circle.ByCenterPointRadius as shown below
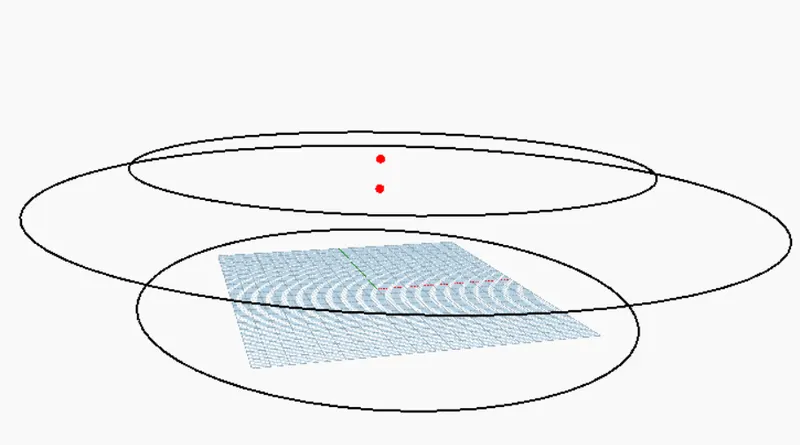
- Type 'List' in the search bar and select the 'List Create' option
- Create 2 more list
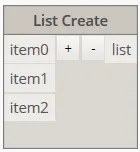
- Connect all the Circle.ByCenterPointRadius with the List Create as shown below
- Type 'Surface' in the search bar and select the 'ByLoft (crossSections)' option
- Connect all the List Create with the Surface.ByLoft as shown below
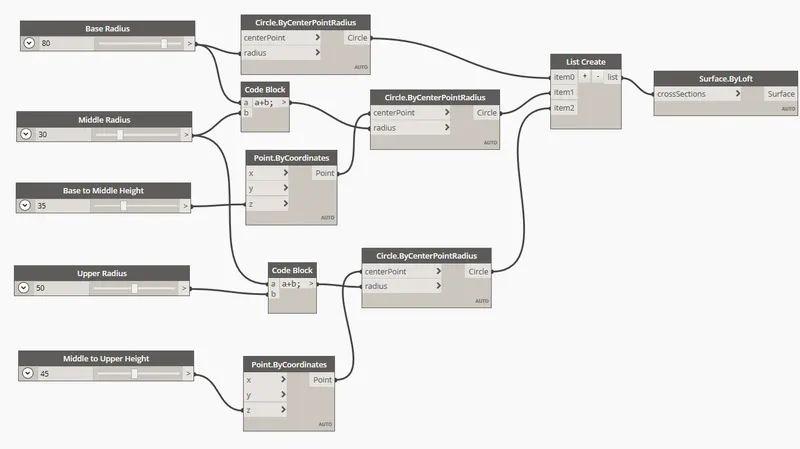
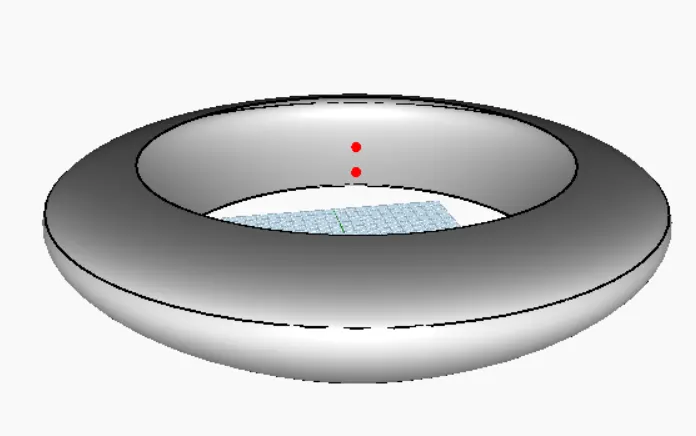
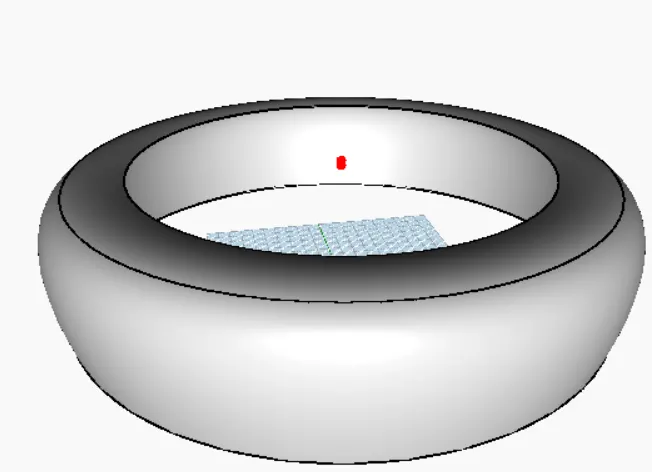
- Adjust the Radii and Heights to design the parametric stadium as per the requirement
RESULT
A Parametric Stadium is created using Dynamo.