Creating Conceptual mass in REVIT and Creation of Sinusoidal curve and a Parametric stadium using Dynamo
ANS.1.
AIM :-
To create a set of sinusoidal points and create a curve and create a surface out of the curve using dynamo.
INTRODUCTION :-
Revit software from Autodesk can be used to capture design intent efficiently and accurately in 3D; producing consistent, coordinated, and complete model-based building designs and documentation.
Features
a.Automatically update floor plans, elevations, sections, and 3D views
b.Use 3D visualizations to see a building before it’s built
PROCEDURE :-
Open dynamo software from Revit
After opening The dynamo software the home screen will look like this
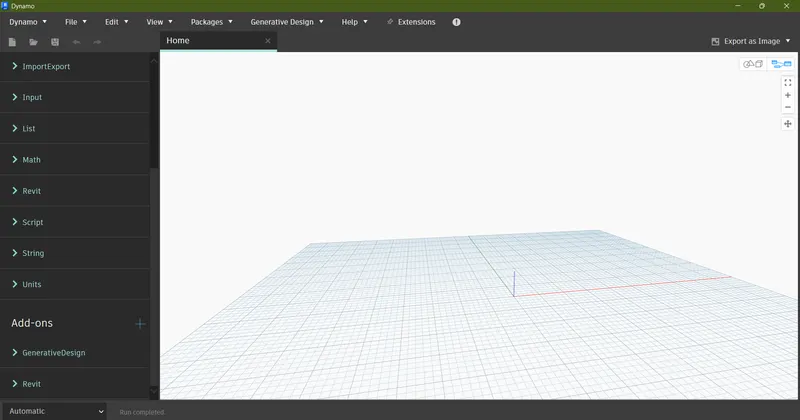
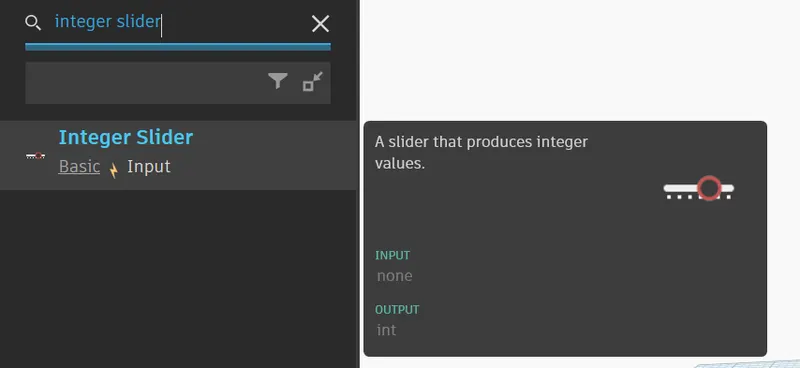
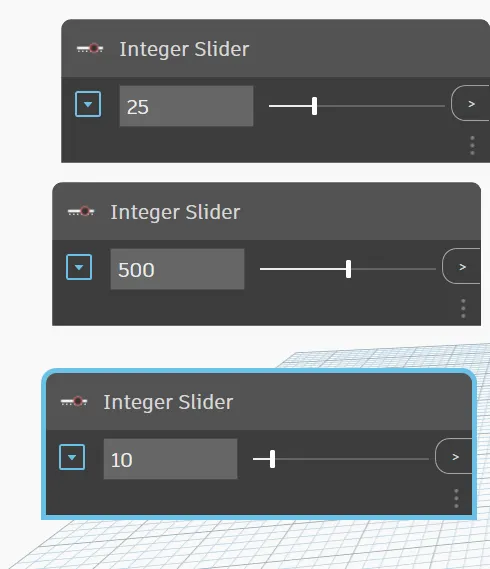
Then go to the search option and first search for integer slider
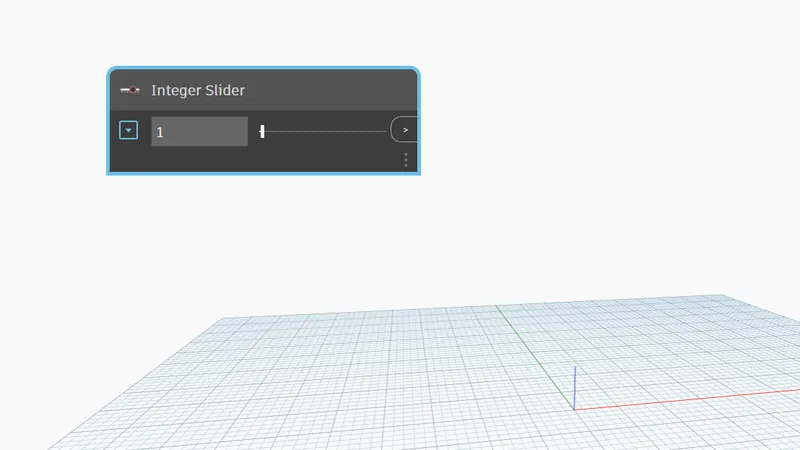
Then place the integer slider in the drawing section
Then copy the integers slider in 2 by using copy and paste commands
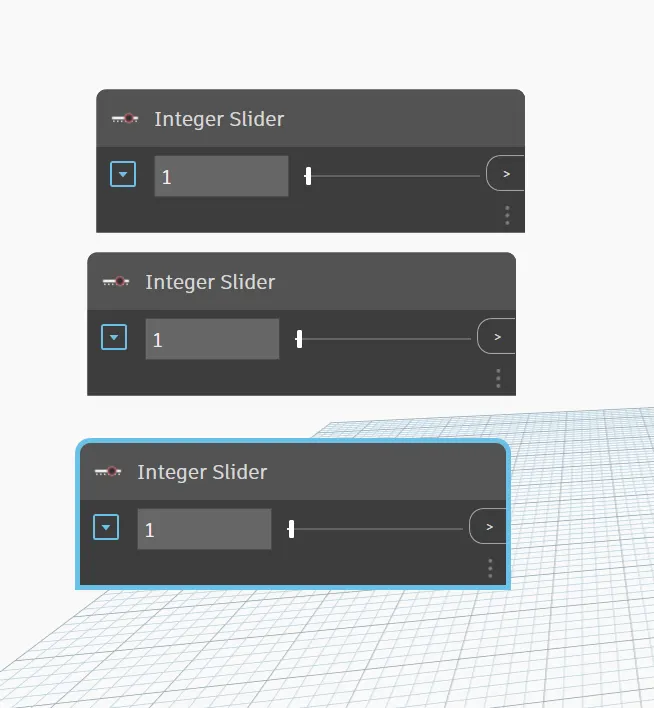
Then provide the value as per the Desire
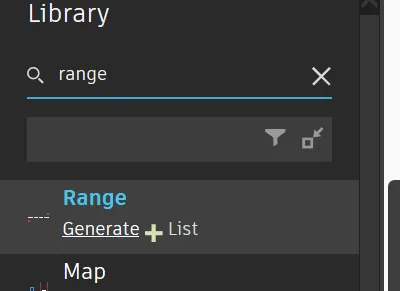
Again go to the search option and search for range
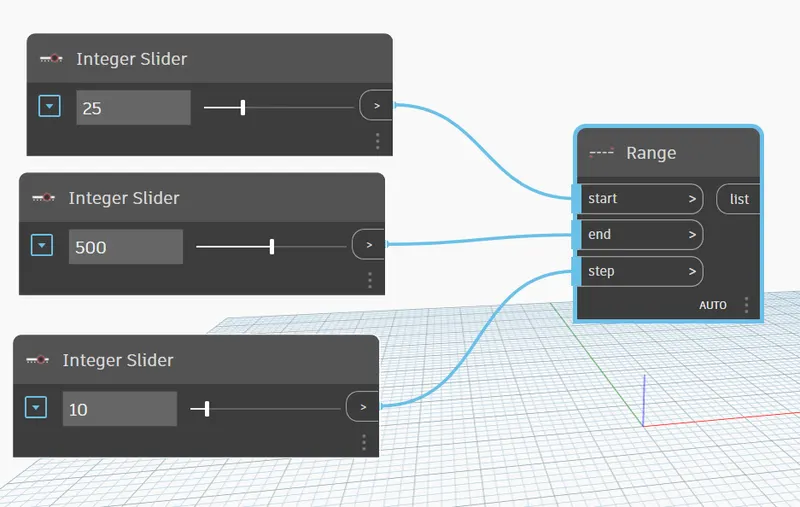
Then connect to the integer slider to start,end and step as shown
Go to search library and search for point by coordinates
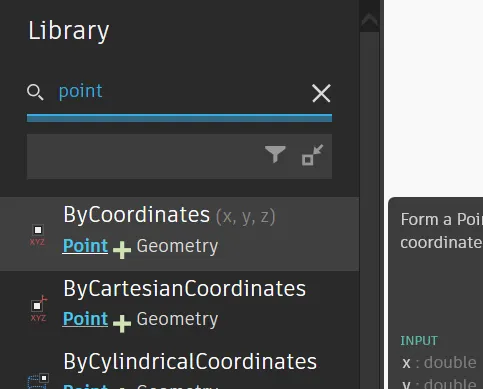
Place the point by coordinates in the drawing section
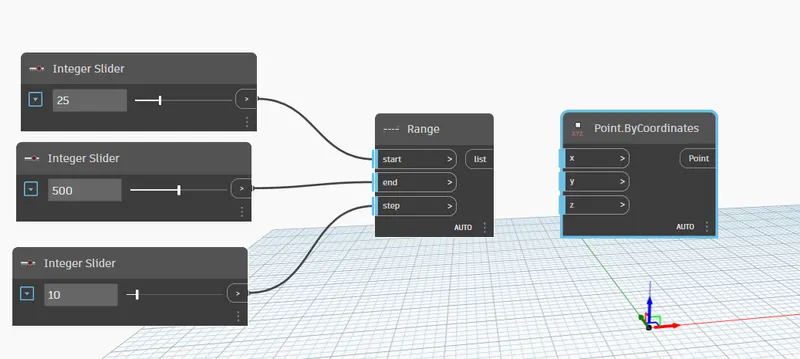
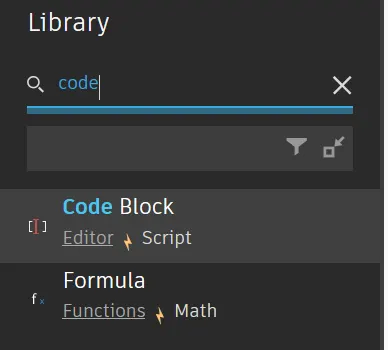
Then go to the search library again and search for code block
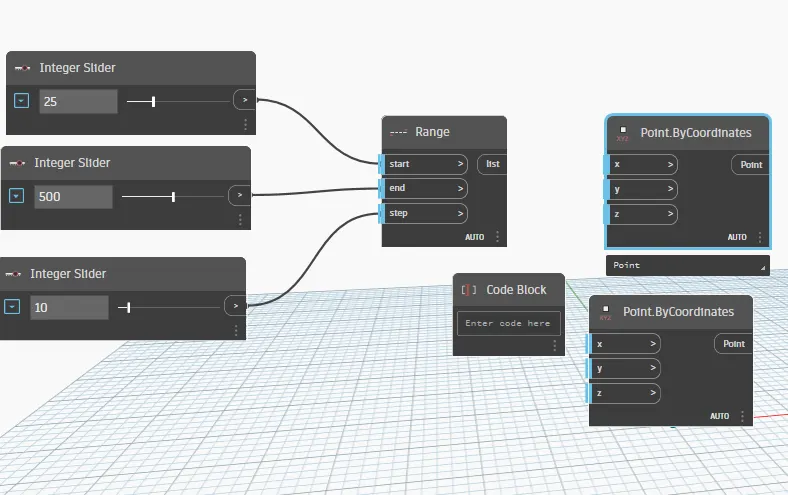
Then copy the point by co-ordinate by using the copy and paste control commands
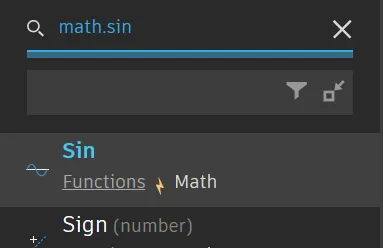
Then search math.sign
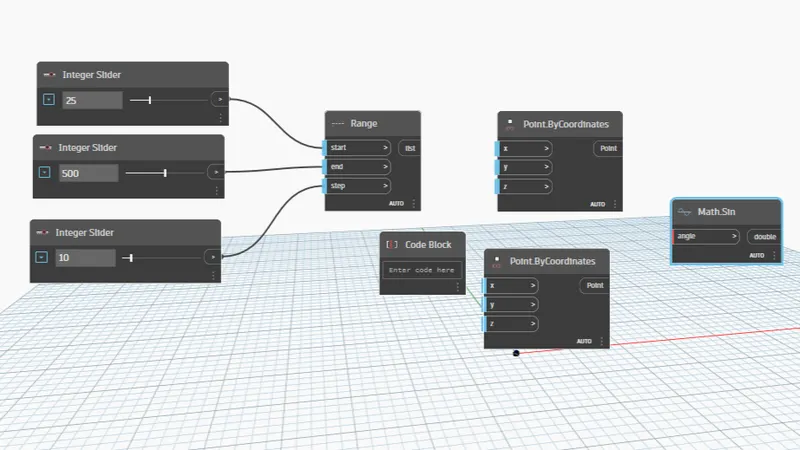
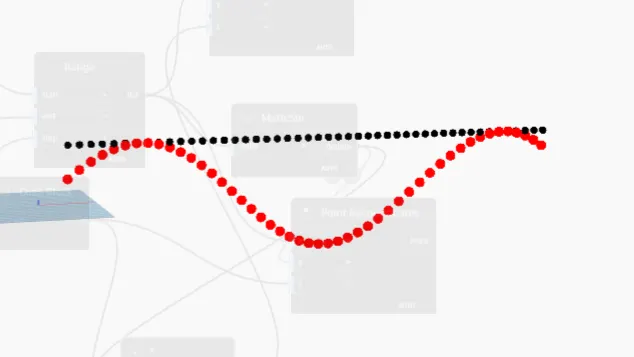
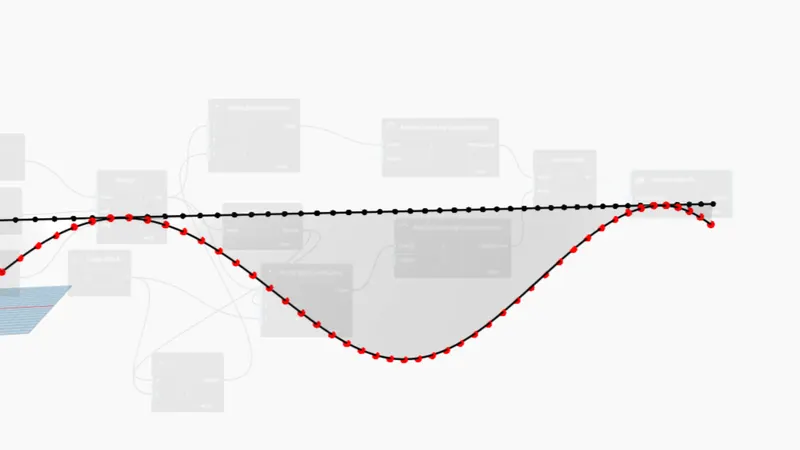
Now you can see the sinusoidal curve its forming
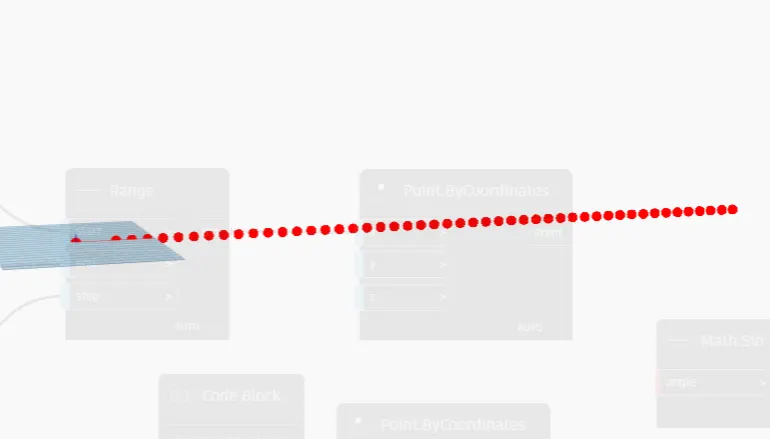
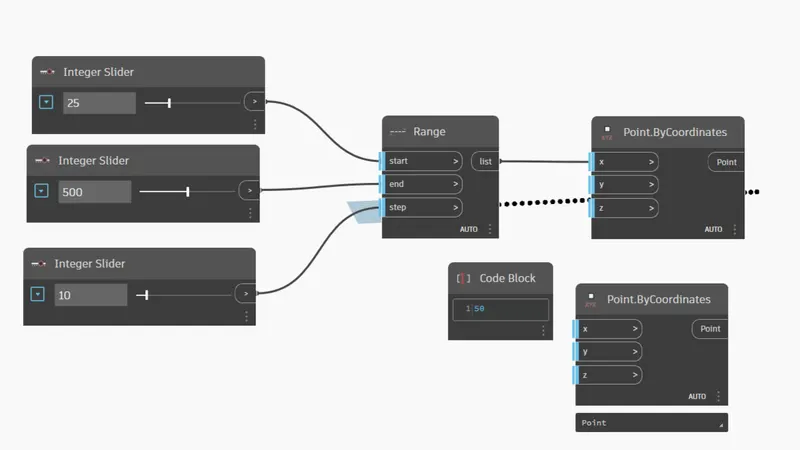
Connect the range to the points by co-ordinate x
And then connect the range to the Math.sin
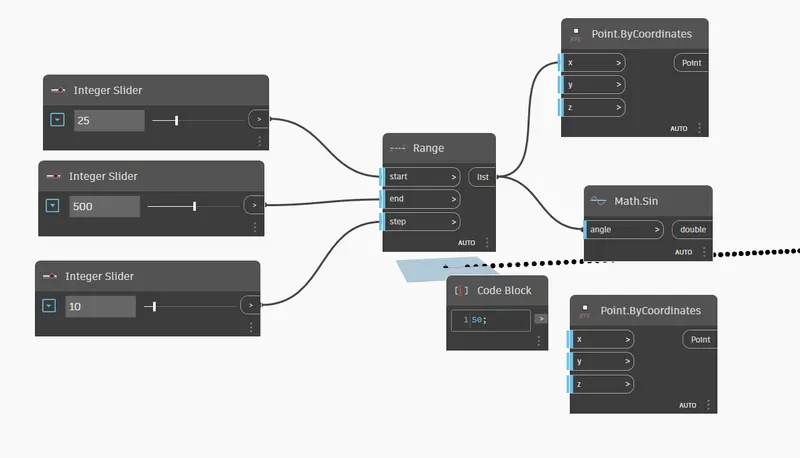
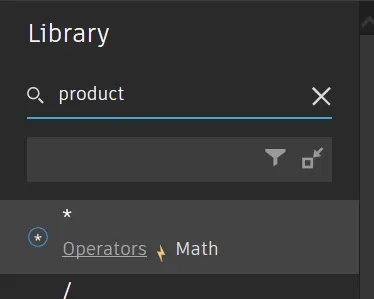
Search for product in the search library
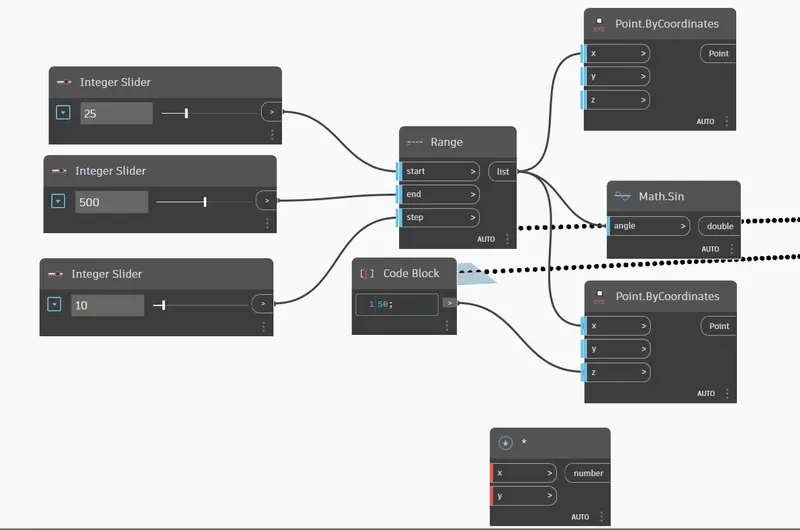
Then connect the code block to the point by coordinates Z
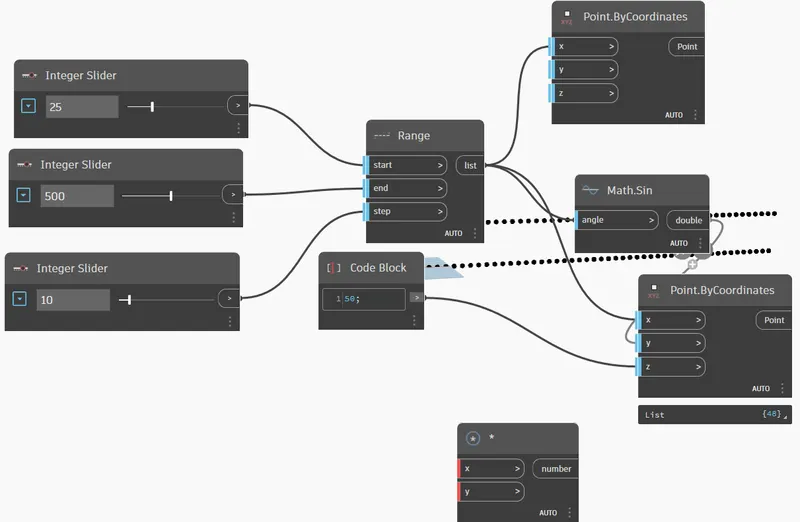
Connect the Math.sin to points by co-ordinate y
Then connect to the math.sin to the product
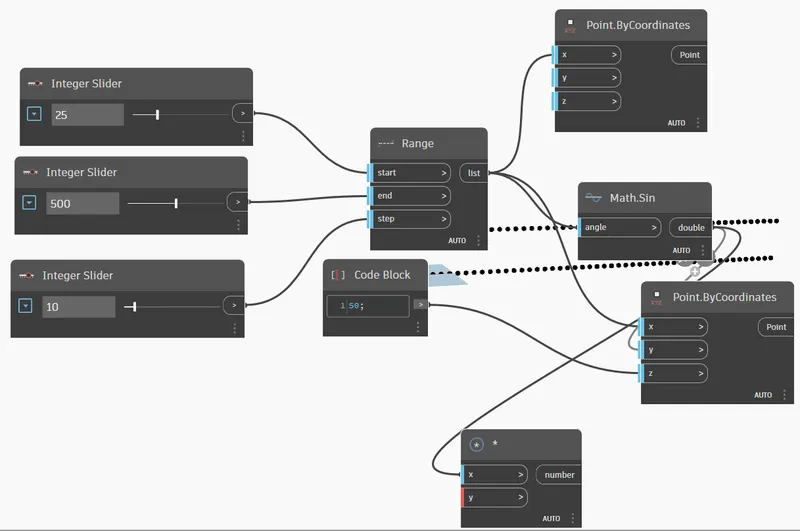
And also code block to product Y
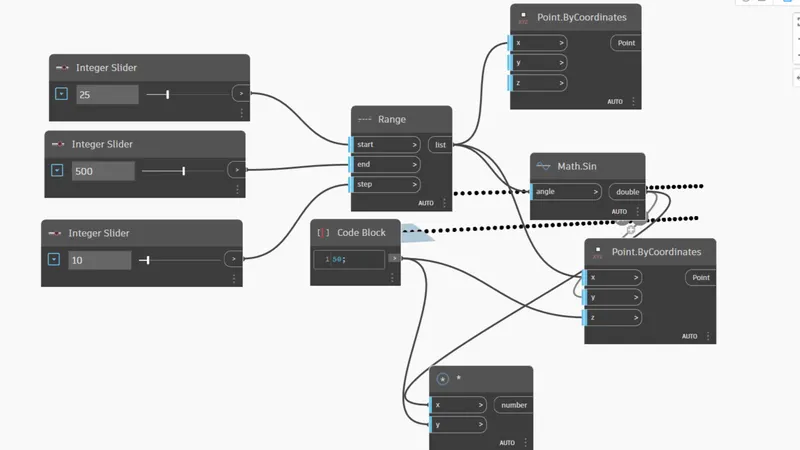
Now connect the product number to the co-ordinate system x
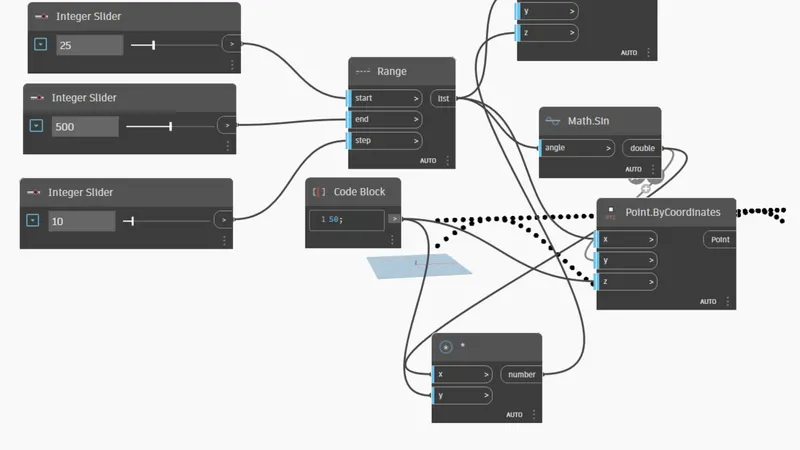 hence the sinusoidal curve has been formed
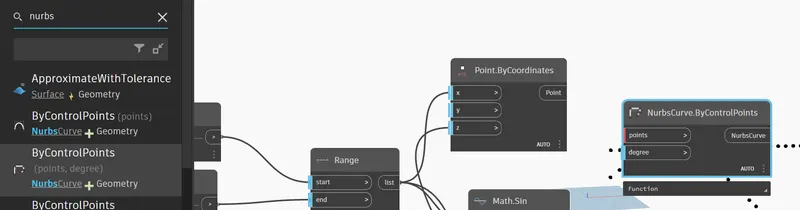
Now go to search and search for nurbs by control point
Also search for List create
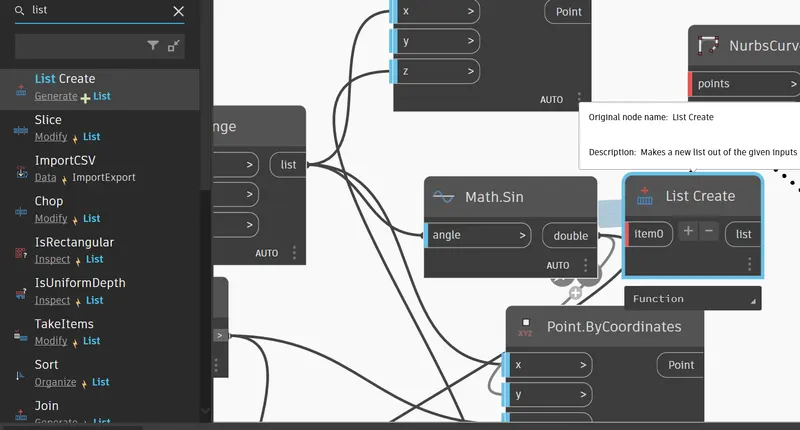
Copy the nurbs by control point
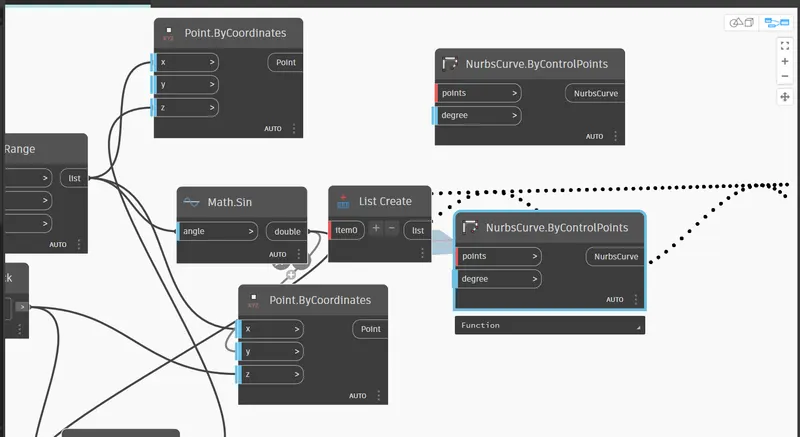
Connect the points by coordinates to the nurbs point
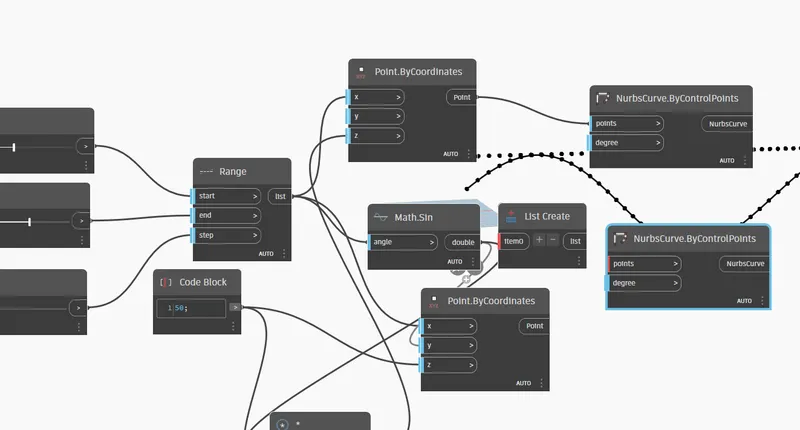
And do the same for the other one also
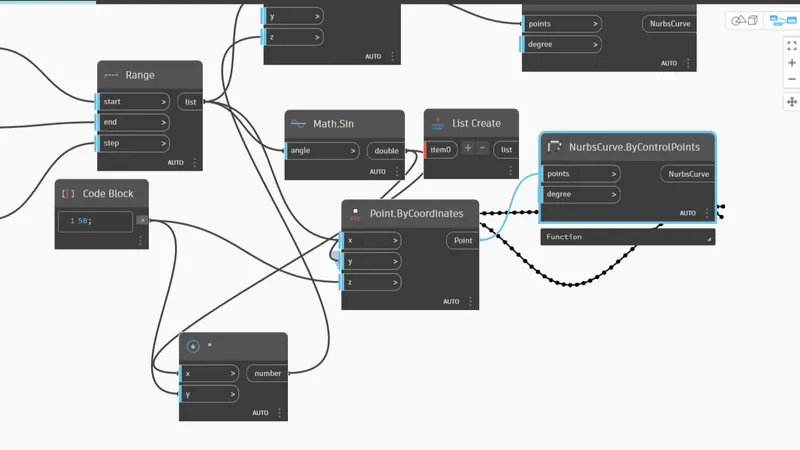
Hence you can see a line has been created in our curve
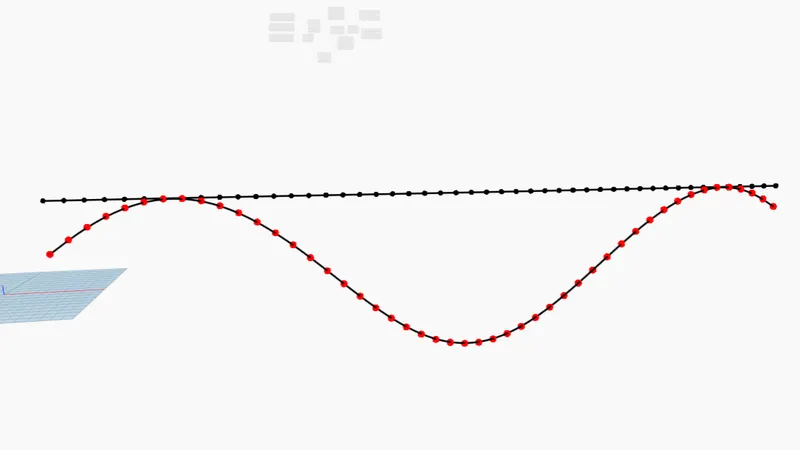
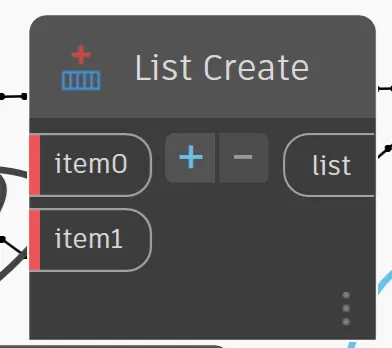
Now go to create list and just add one more item on it
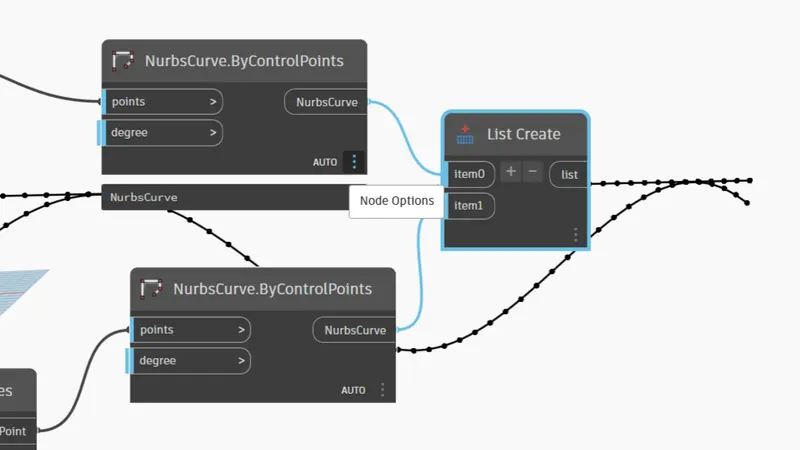
Then connect the Nurb curve to the list create
Then search for surface by loft
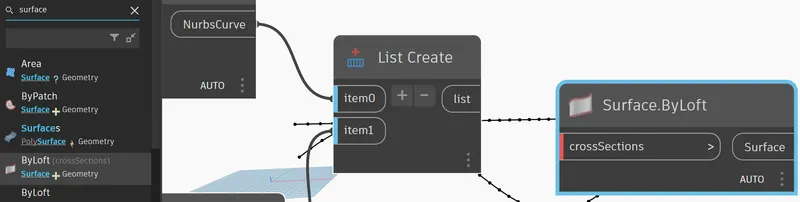
Connect the list create to the surface by loft
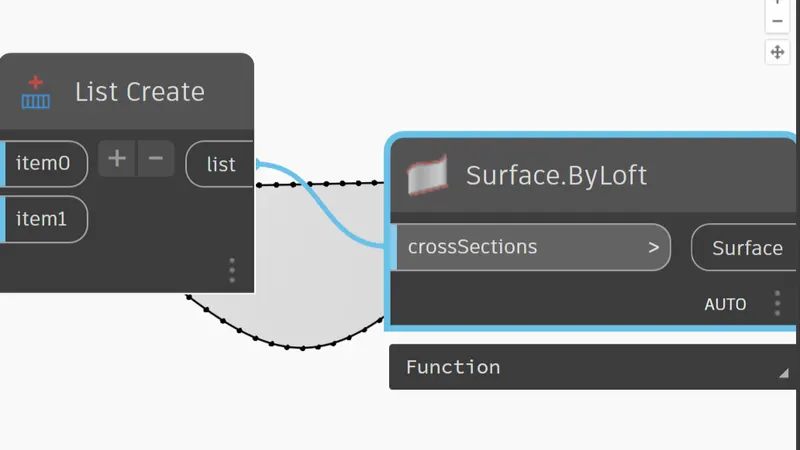
Hence a surface has been created in our Sinosoudal curve
RESULT :-
Hence a set of sinusoidal points and curve are created with surface.
ANS.2.
AIM :-
To create a conceptual layout of floor plan in dynamo .Using the tools available in dynamo link the lines to appropriate model elements in Revit by choosing the wall types and wall parameters. Make use of the sliders to slide through the height of the wall and length of the wall.
INTRODUCTION :-
Revit software from Autodesk can be used to capture design intent efficiently and accurately in 3D; producing consistent, coordinated, and complete model-based building designs and documentation.
Features
a.Automatically update floor plans, elevations, sections, and 3D views
b.Use 3D visualizations to see a building before it’s built
PROCEDURE :-
Open dynamo and goto search option
Search for integers sliders.
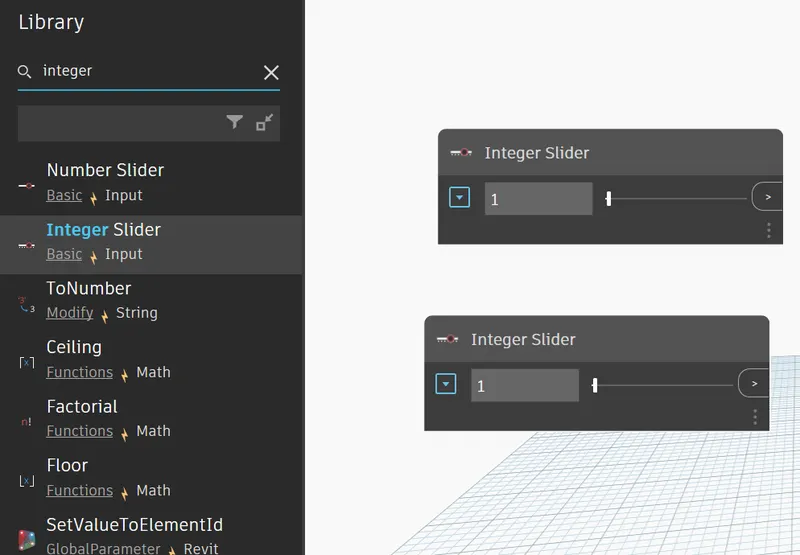
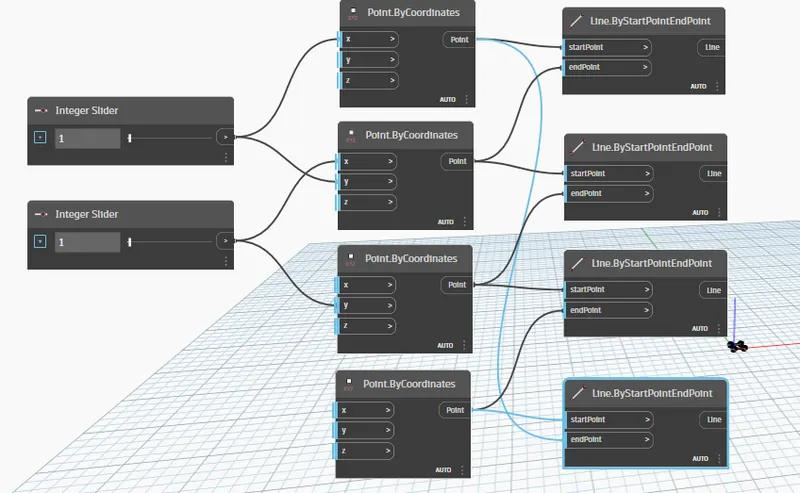
After that search for Point by coordinates
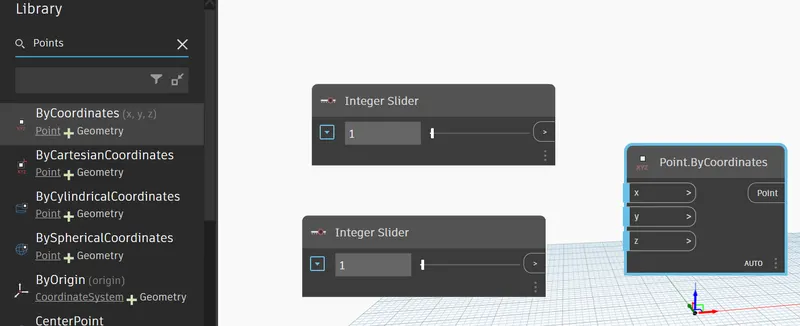
Copy the points by co-ordinate by using the copy paste command
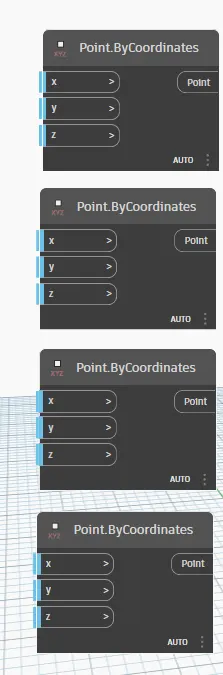
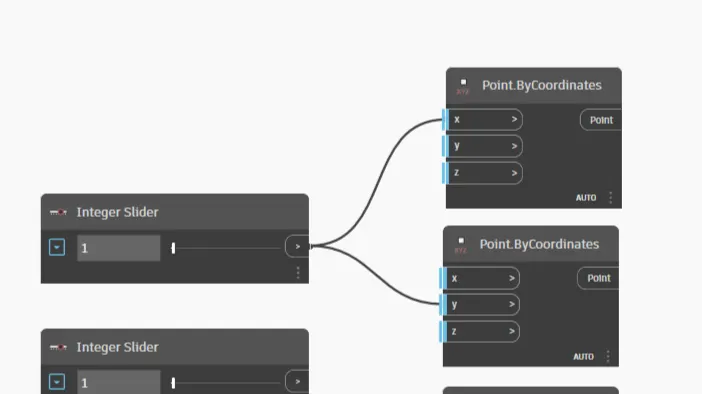
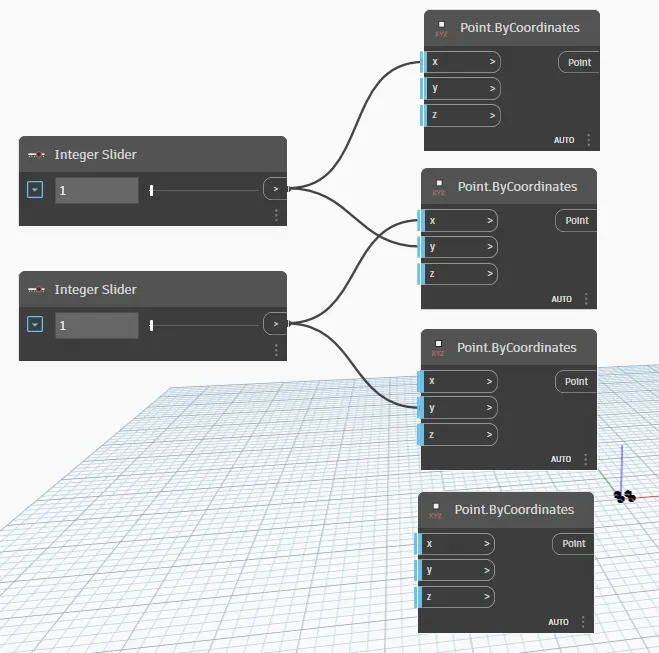
Then connect the first integers slider to the first Point by co-ordinate x and second point by coordinates Y
Similarly do the same for other integer slider also.
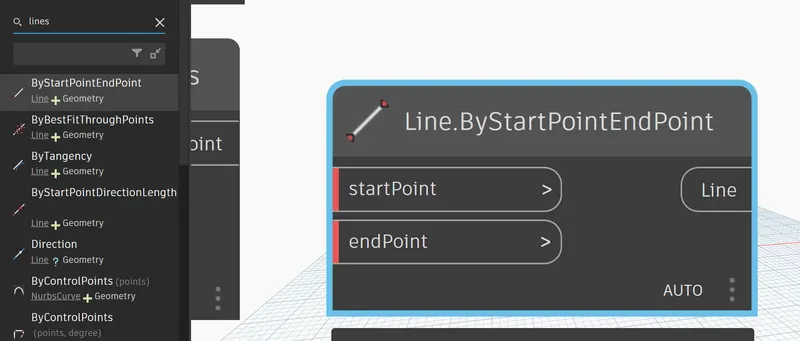
Go to search and search for line by start end point
 0
0
Copy that using copy paste command
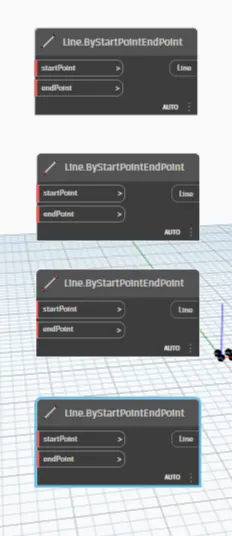
Then connect the first Point by coordinates point to the starting point of line by start and to the end of last line by start point
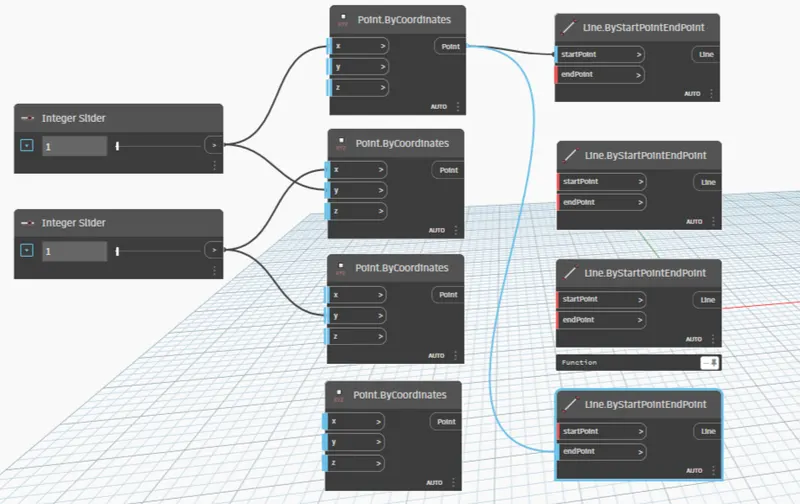
Do the same for other Point by coordinates and line by start point end point also.
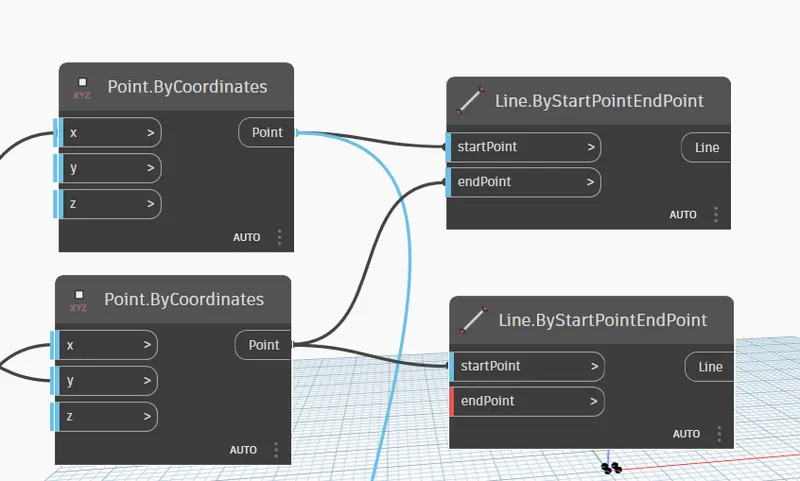
Connect the other as shown below
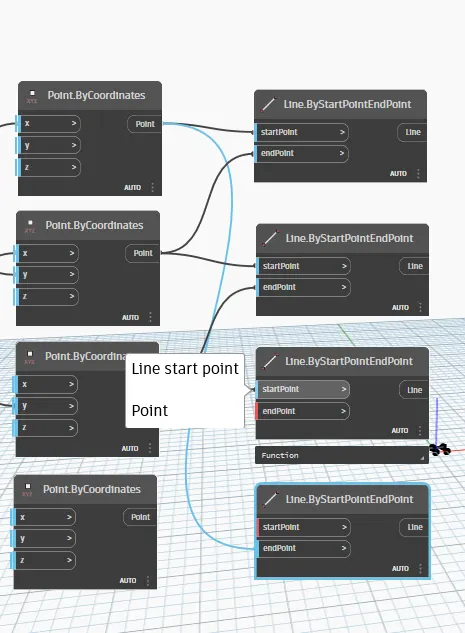
Now everything is connected as per requirements
Go to search and search for list create
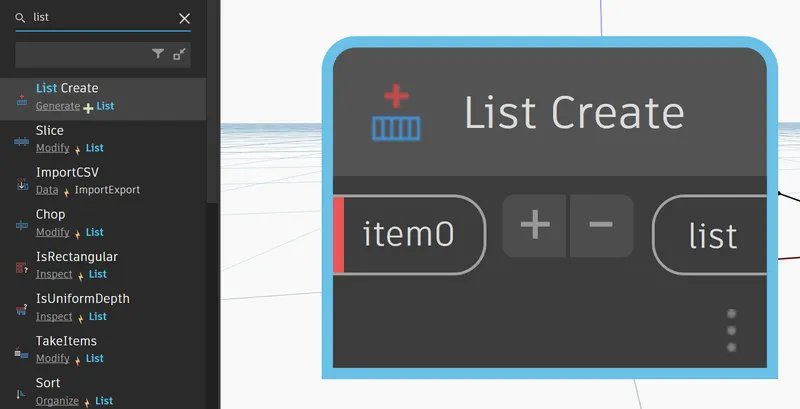
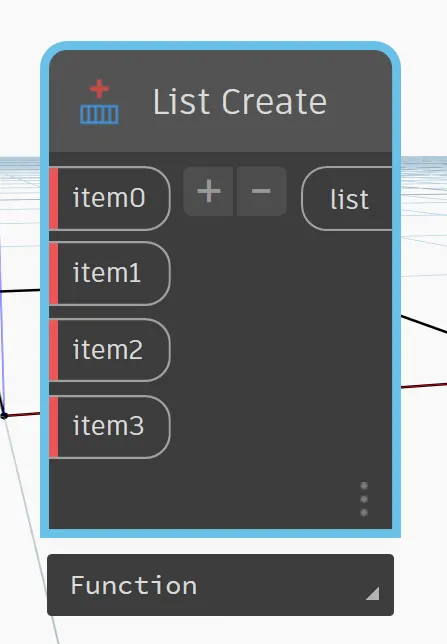
Click on the plus point to add number of items as 4
Then connect the line of the line by start end point to the item 0 , 1 , 2 and 3
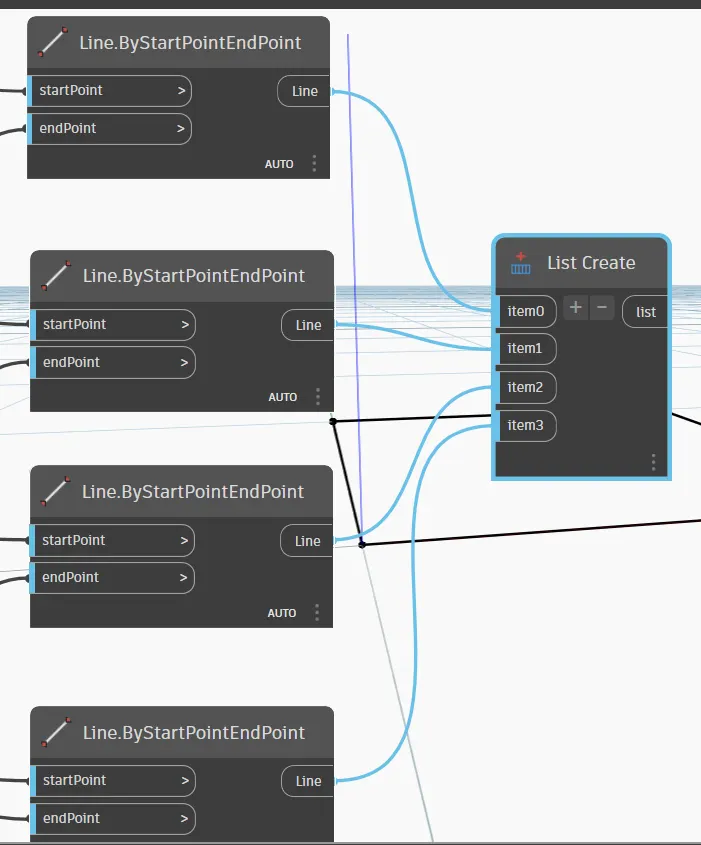
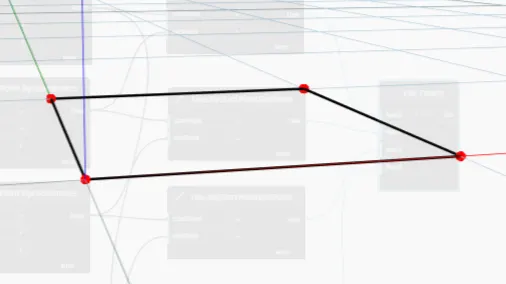
Hence our layout will look like this
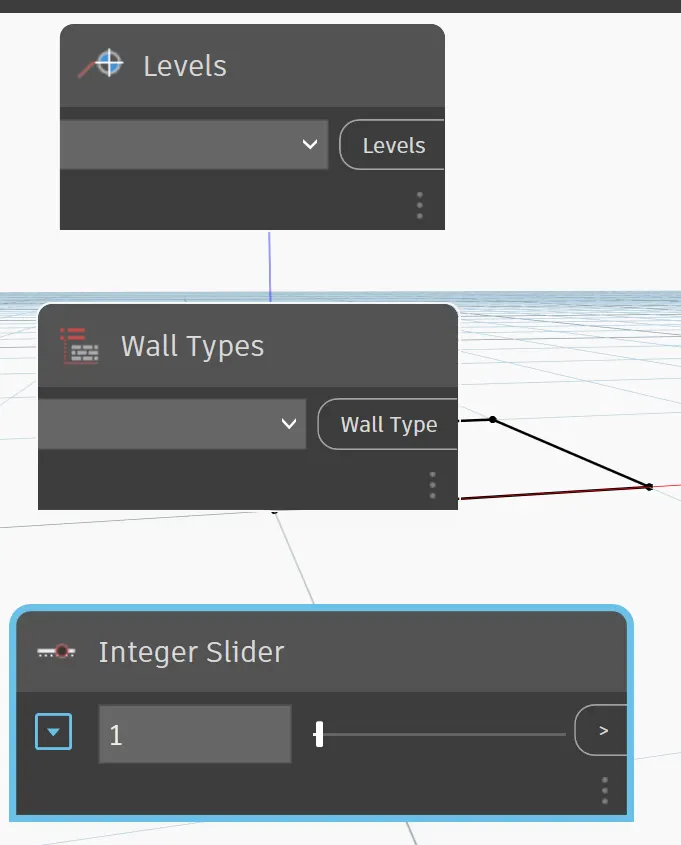
Now go to search option in search for
Levels, wall types and also add integer slider
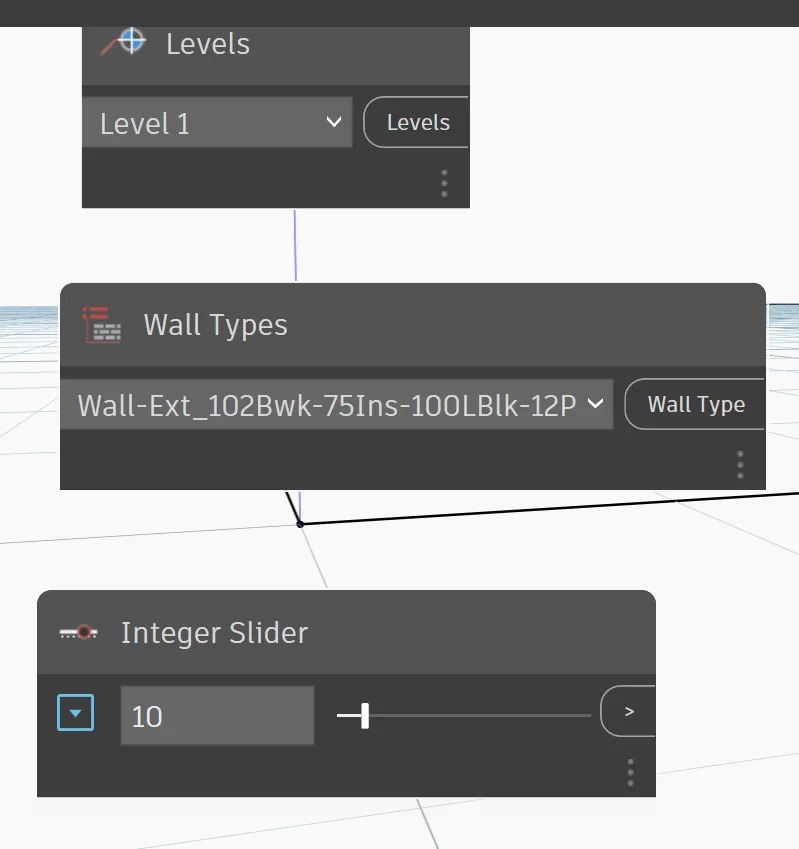
Type the level AS level 1 , give the appropriate wall type and then also provide the number to the integer side
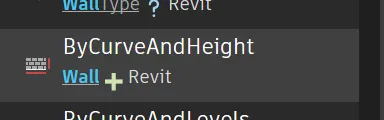
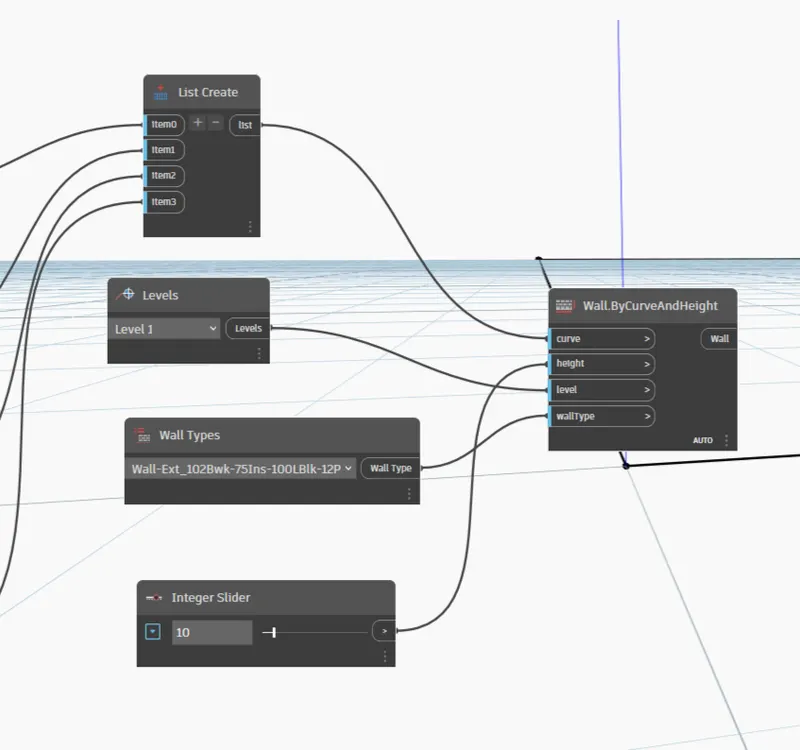
 then go to the search option and select the by curve and height option
Then connect the list , levels , wall types and integers slider to the wall by curve and height as per the name
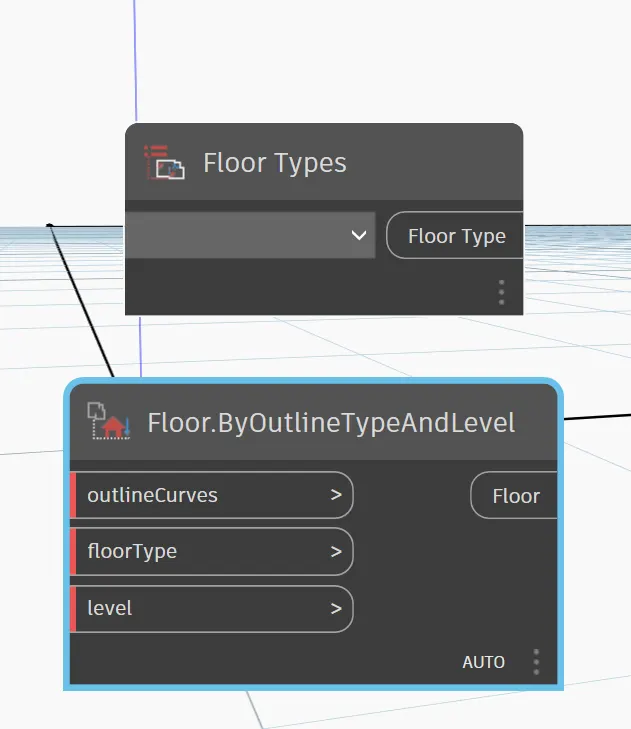
Then search for floor type and search for Floor by outline type and level
Then connect to the floor type to the Floor by outline type and level and also the list to the Floor by outline type and level
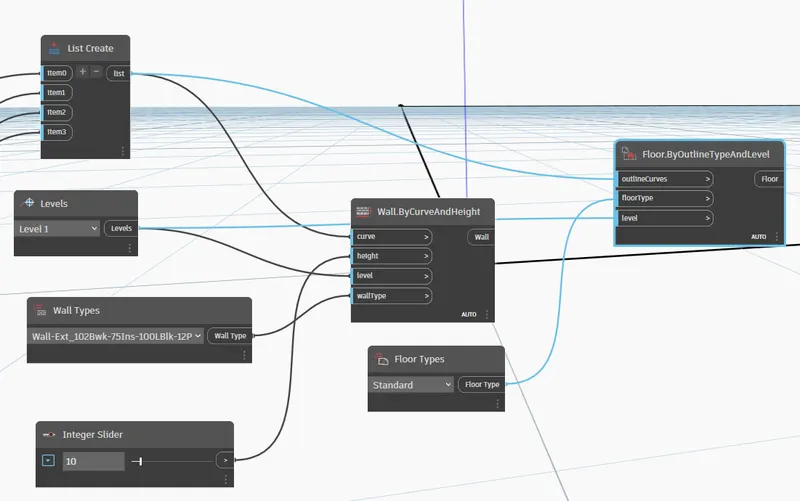
layout for floor plan is being created using dynamo
RESULT :-
Hence, layout of floor plan in dynamo is being created using the tools available in dynamo
ANS.3.
AIM :-
To create an array of model elements in Revit. Use dynamo to vary the properties of model elements by using the slider or code block
INTRODUCTION :-
Revit software from Autodesk can be used to capture design intent efficiently and accurately in 3D; producing consistent, coordinated, and complete model-based building designs and documentation.
Features
a.Automatically update floor plans, elevations, sections, and 3D views
b.Use 3D visualizations to see a building before it’s built
PROCEDURE :-
Open your revit software
Go to the architectural tab and click on the column to create the columns
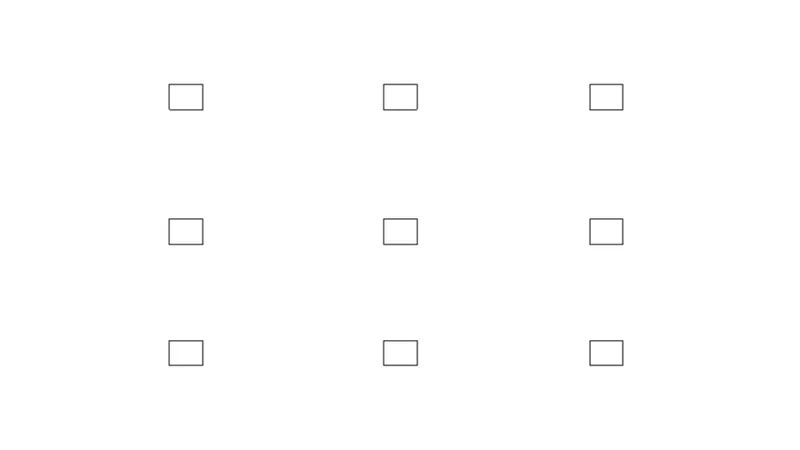
After creating the column go to the dynamo software and search for model element
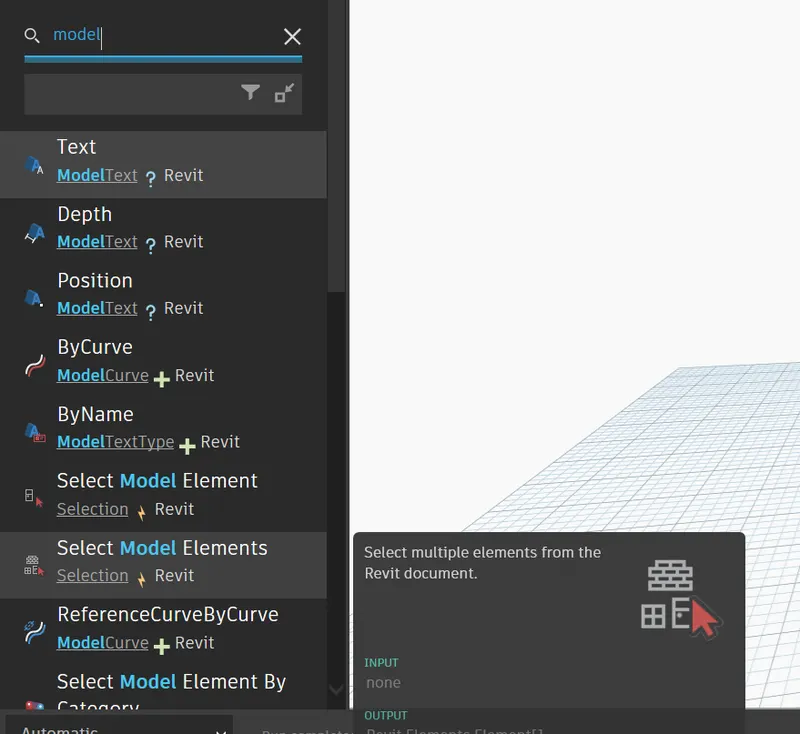
Then click on select the model element
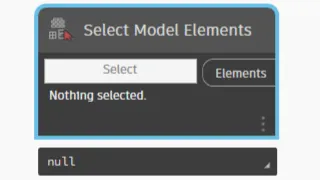
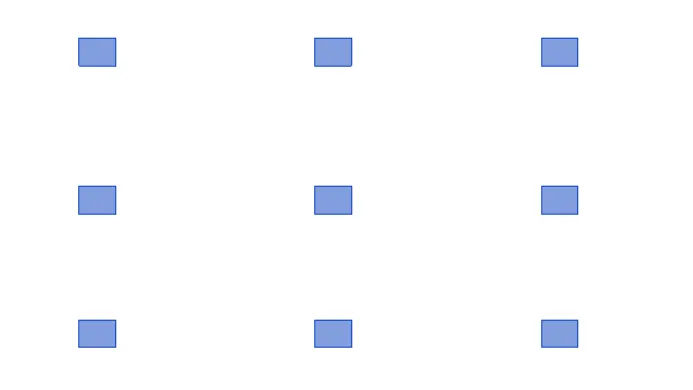
Then go to your Revit software and select the columns that we have created
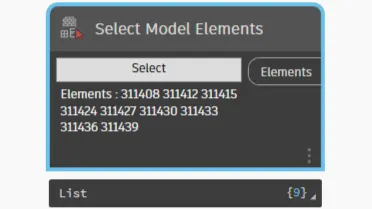
Then after coming in the dynamos software we can see that the elements elected have been assigned to the select model elements
Go to the search box and search for family instance set rotation and integer slider and place them in the drawing section
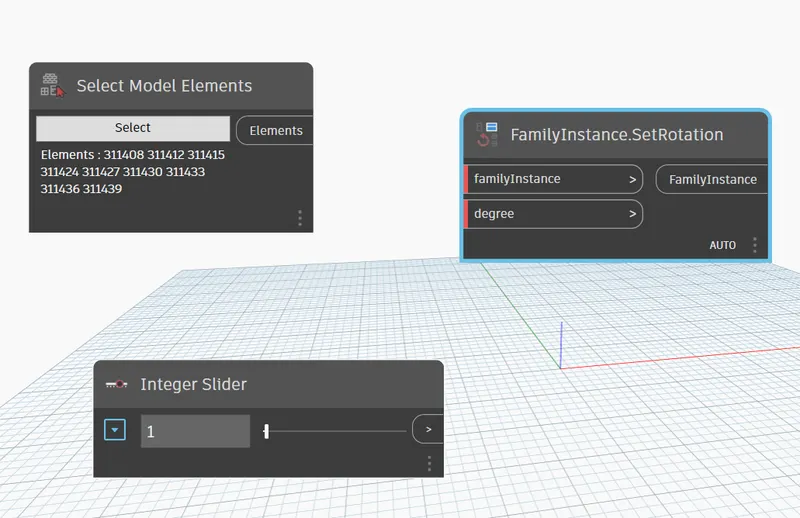
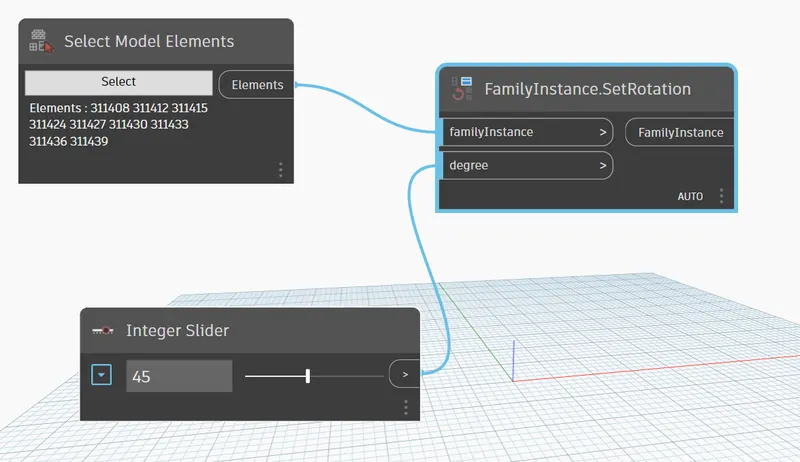
Then connect the select model element to the family instance and integers the degree
Provide a degree of 45 in the integer section
Now go back to revit software and we can see that the columns have been rotated to 45 degree in angle

RESULT :-
Hence array of a model element in Revit software is created and using the dynamo we have very the properties of the model element
ANS.4.
AIM :-
To create a conceptual mass in Revit and develop a parametric column by dividing the surfaces and apply the concepts similar to used in parametric walkway modelling. Use triangular bent or square shaped panels to add finish to the parametric column
INTRODUCTION :-
Revit software from Autodesk can be used to capture design intent efficiently and accurately in 3D; producing consistent, coordinated, and complete model-based building designs and documentation.
Features
a.Automatically update floor plans, elevations, sections, and 3D views
b.Use 3D visualizations to see a building before it’s built
PROCEDURE :-
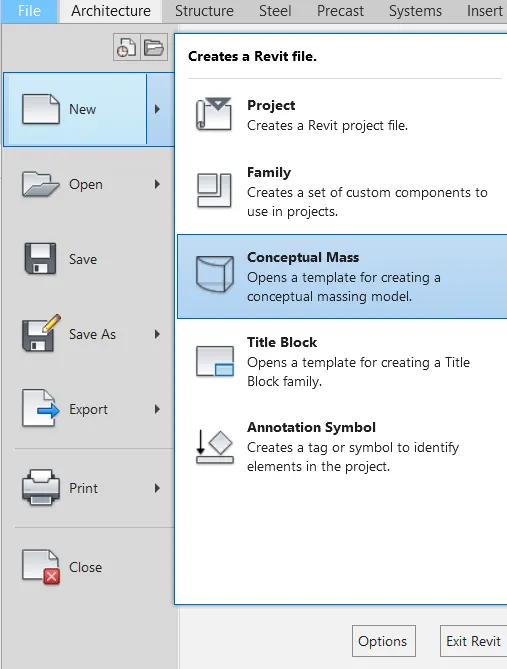
Open Revit software and go to the file option
Then click on the new option and then select the conceptual mass option
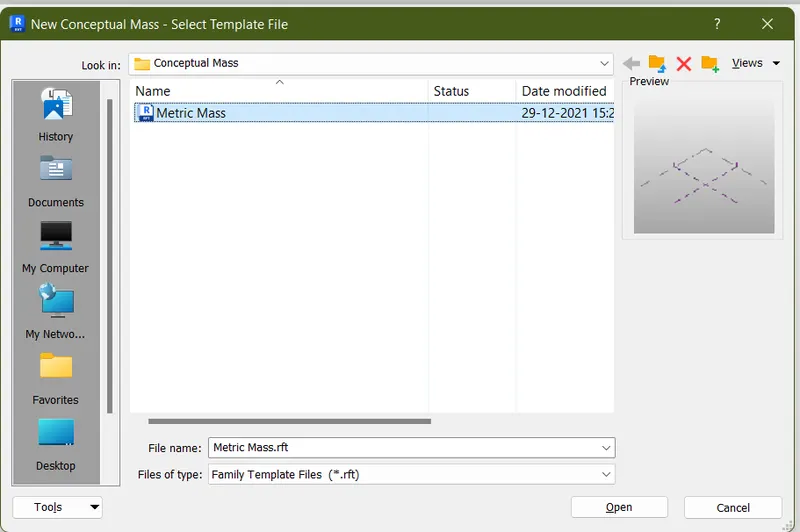
A new dialogue box will open click on the metric mass and then click open
Now go to the create tab and they are will find a model line option
Click on that option
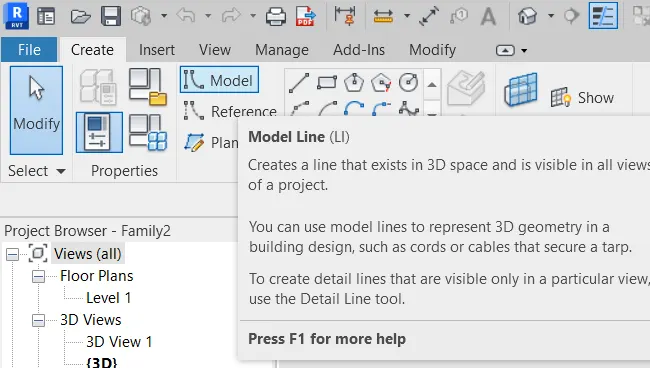
Then select the spline through points option to draw the spline
And draw the spline
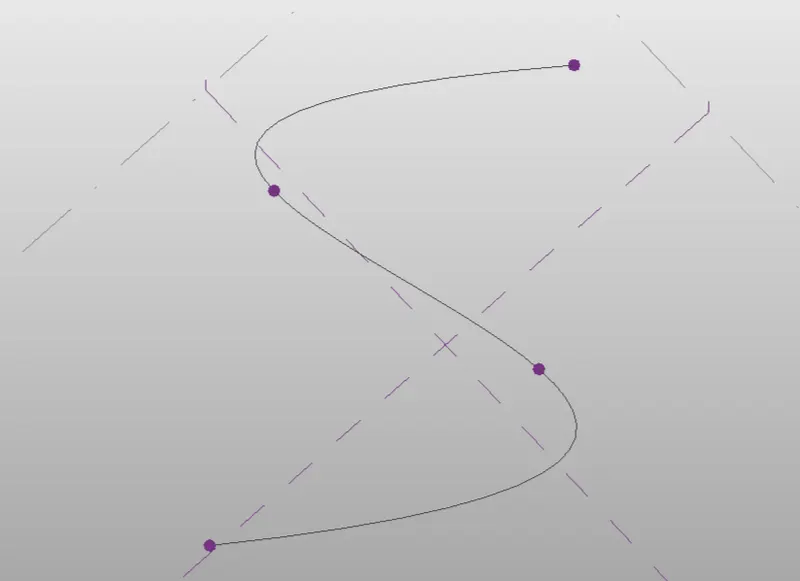
After drawing the spline go to the modified tab where you will find a set work plane option
Click on that option
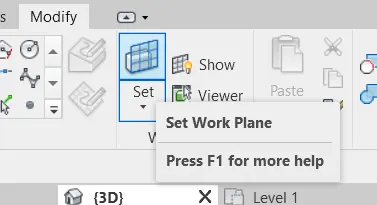
Then draw the workplain by clicking on the set plane option and to view the plane just click on the show option
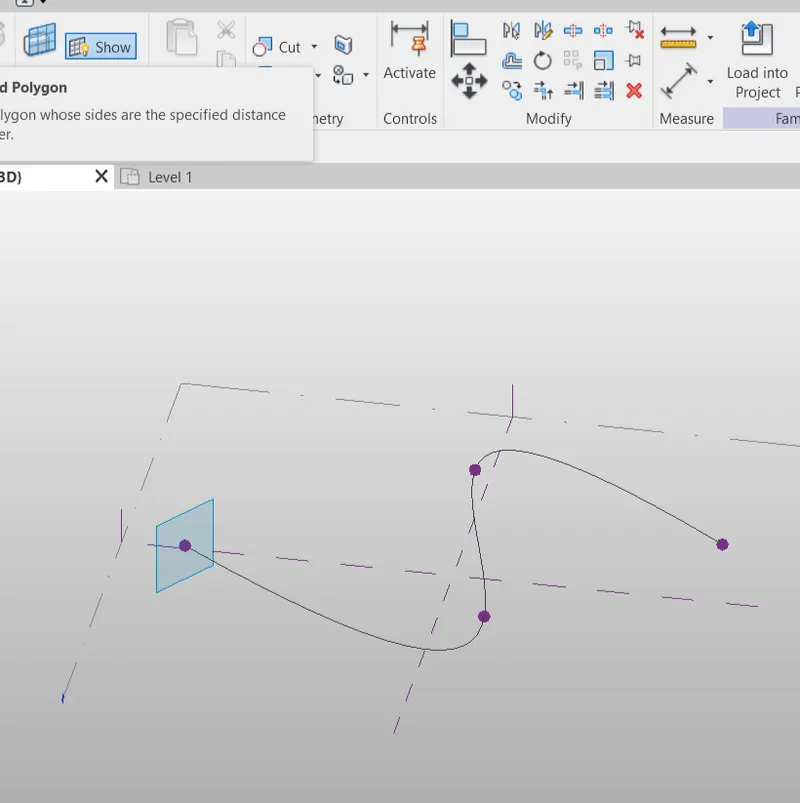
Now to create the polygon around the spline just click on the circumscribed polygon option and draw the polygons on the spline and draw the polygons on the created work plane
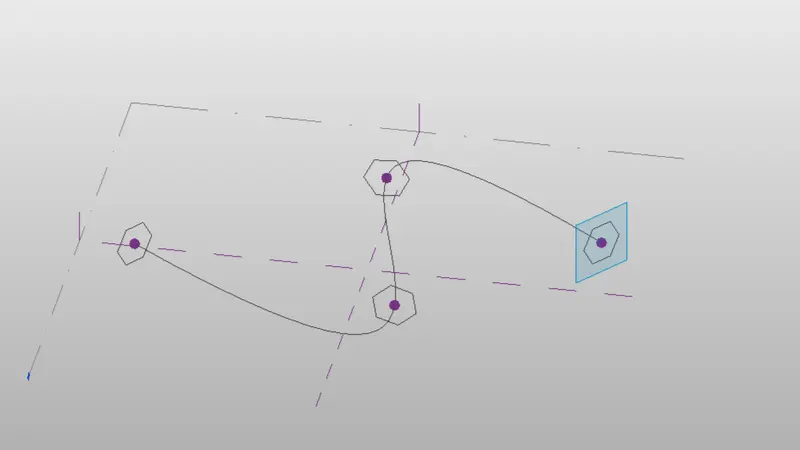
After that select the created splin and all the polygons that we have created and go to the create form option and click on the solid form to create the solid form
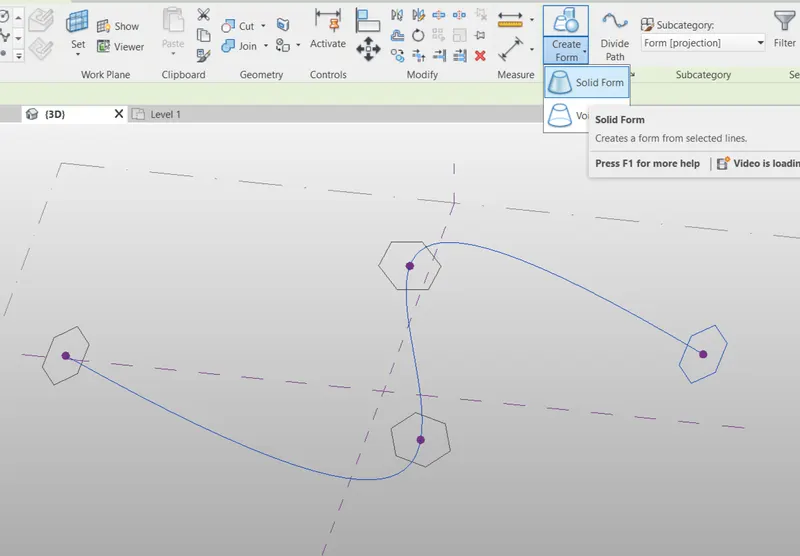
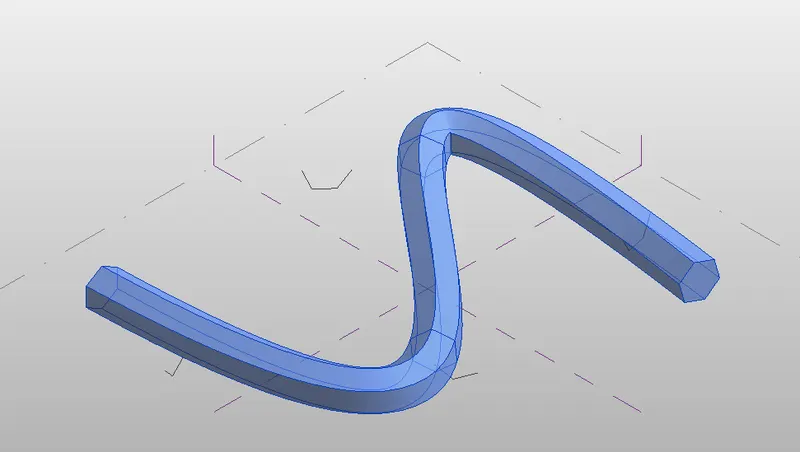
Hence solid form has been created
Select the solid form
Then go to the divide surface option
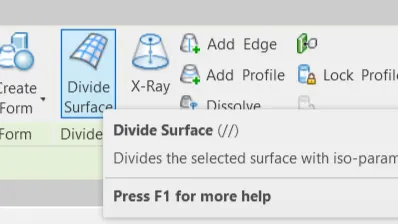
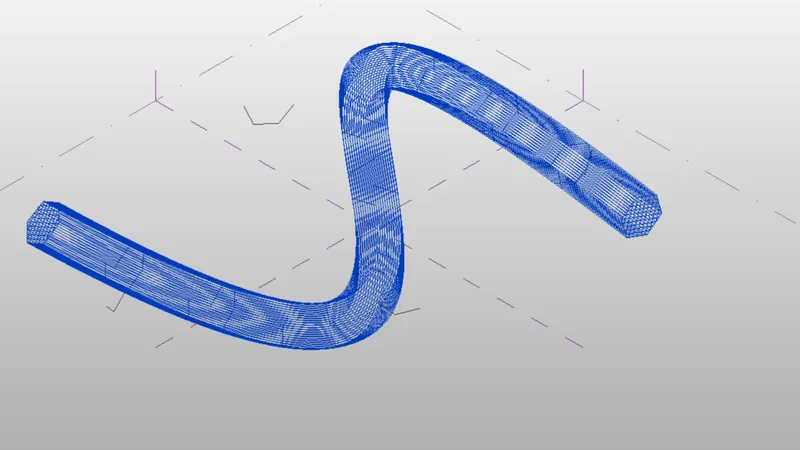
Hence now your surface will look like this after dividing
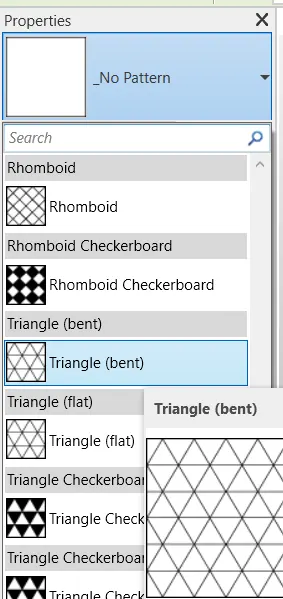
Then go to the properties browser and select the triangle Bent to apply the property
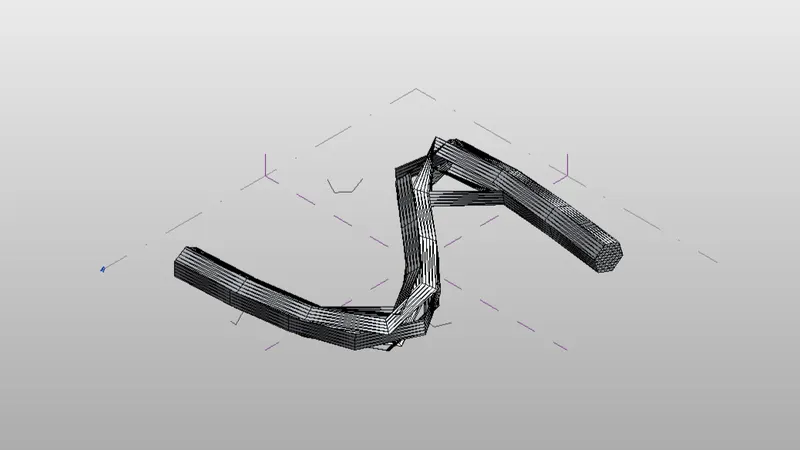
Hence now you can see that the triangular bent have been assigned to our conceptual mass
RESULT :-
Hence conceptual mass has been created and a parametric column by dividing the surface and also the triangular bent has been used to add finished to the parametric column
ANS.5.
AIM :-
To use Dynamo to work on developing a Parametric Stadium and also parameters and use the visual programming approach to complete the modelling.
INTRODUCTION :-
Revit software from Autodesk can be used to capture design intent efficiently and accurately in 3D; producing consistent, coordinated, and complete model-based building designs and documentation.
Features
a.Automatically update floor plans, elevations, sections, and 3D views
b.Use 3D visualizations to see a building before it’s built
PROCEDURE :-
Open the dynamo software
Go to search library and search for integer
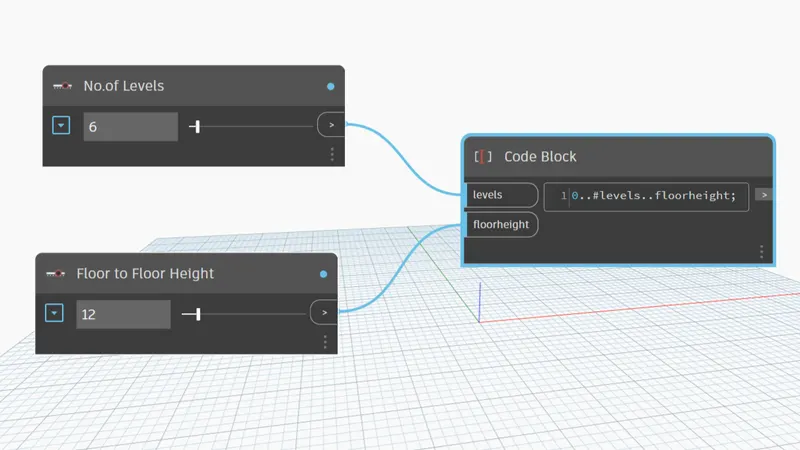
Add two integers by copying it and rename it as number of levels and floor to floor height
also assign the value as per the requirement
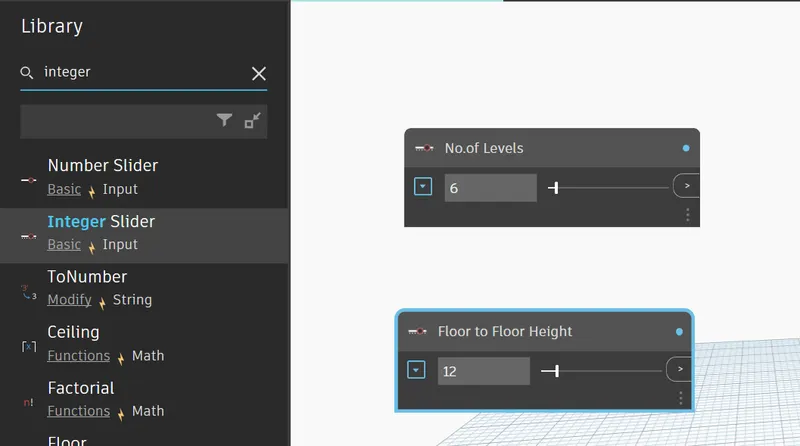
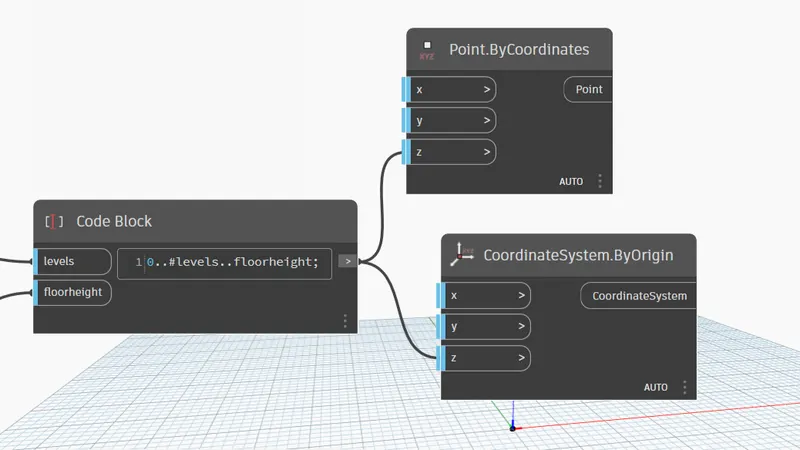
Now go to the search option and search for code block and in the court block enter the code as 0..#levels..floorheight
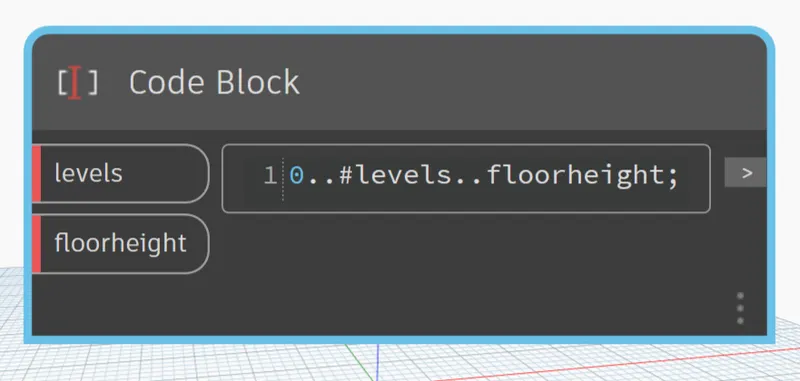
Then connect the number of levels and flow to floor height to the code block level and floor height
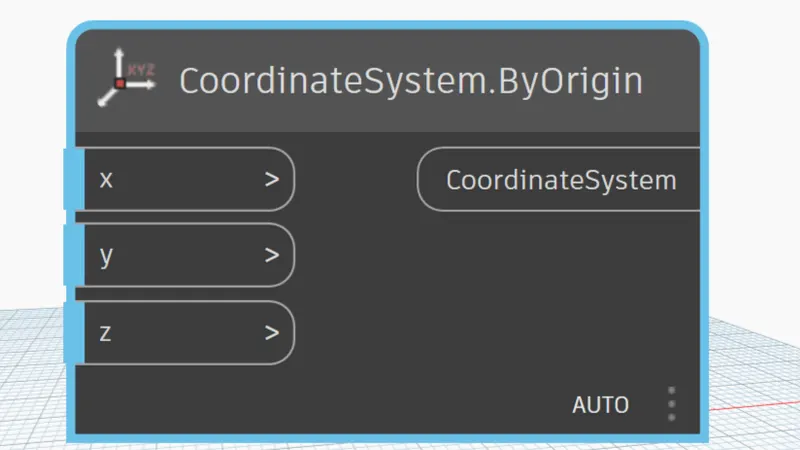
Go to the search box and search for co-ordinate system by origin
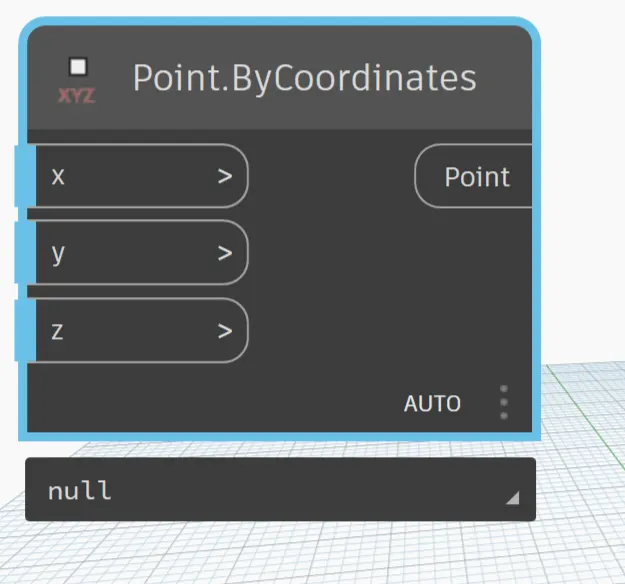
Also again go to the search box and search for Point by coordinates
Then connect to the code block to the point by coordinates and co-ordinate by origin
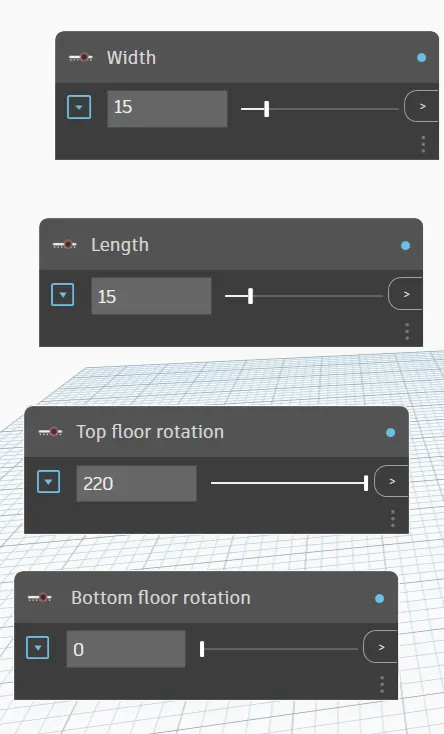
Go to the search and add integer slider and copy them using copy paste command and renamed them as width length , top floor rotation and bottom floor rotation
Also give the appropriate values for each
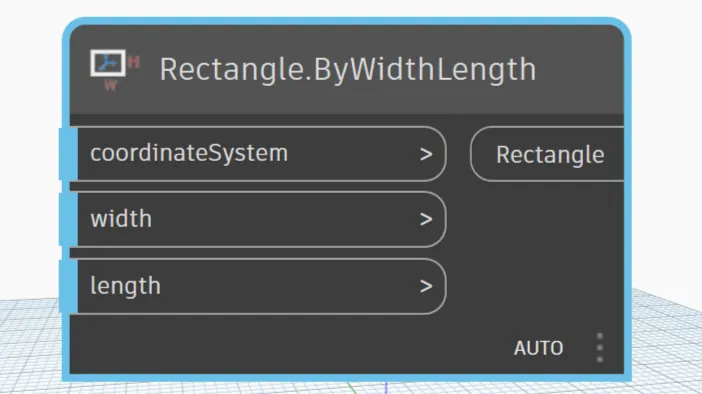
Search for rectangle by with the length
Then again search for code block and add it with a code of bottom..top..#levels
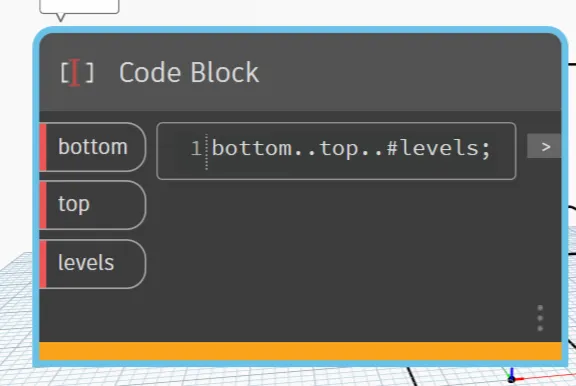
Now connect the width length top floor rotation and bottom floor rotation to the rectangle by with length and code block
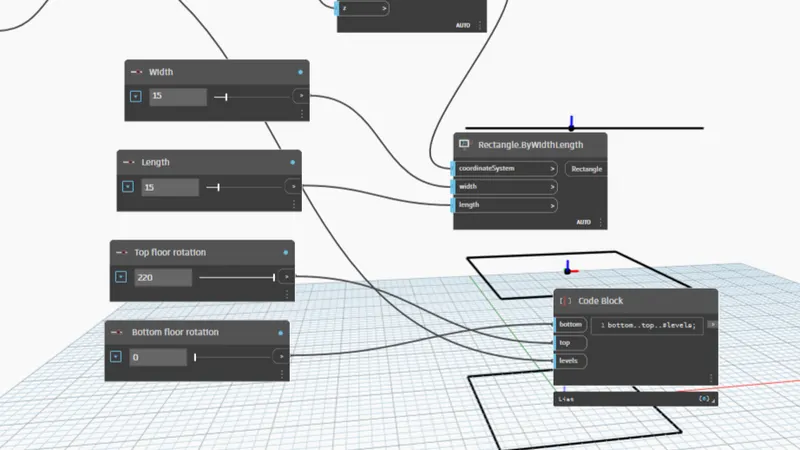
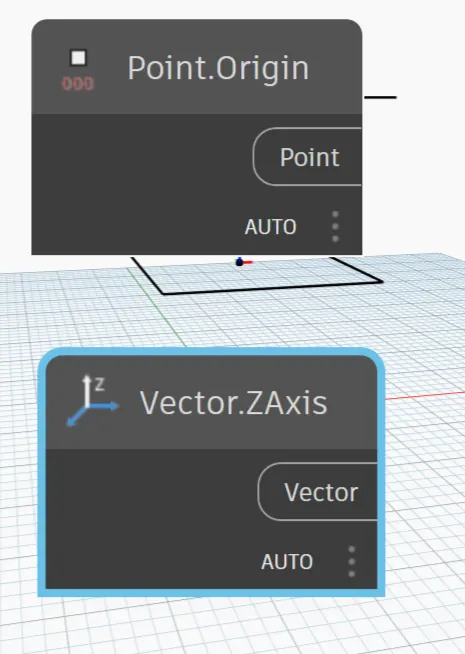
Now add point to origin and vector Z axis
Also at the geometry rotate from the search library
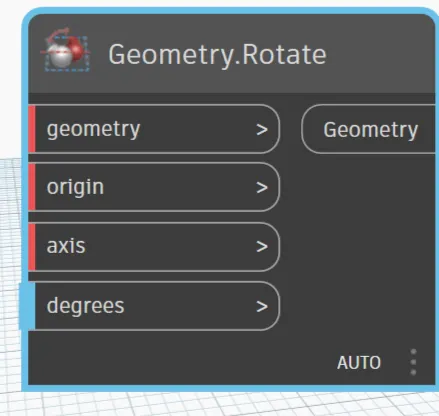
Now connect the rectangle by width length,code block , point origin, vector z axis to the geometry rotate
Now our geometry will look like this
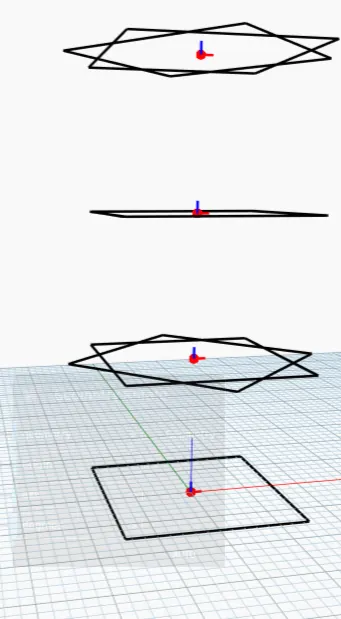
No add poly surface by loft option
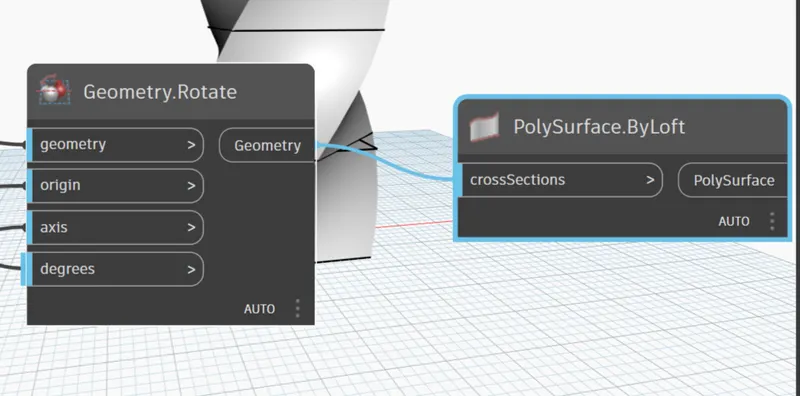
Then connect the geometry rotate to the poly surface by loft
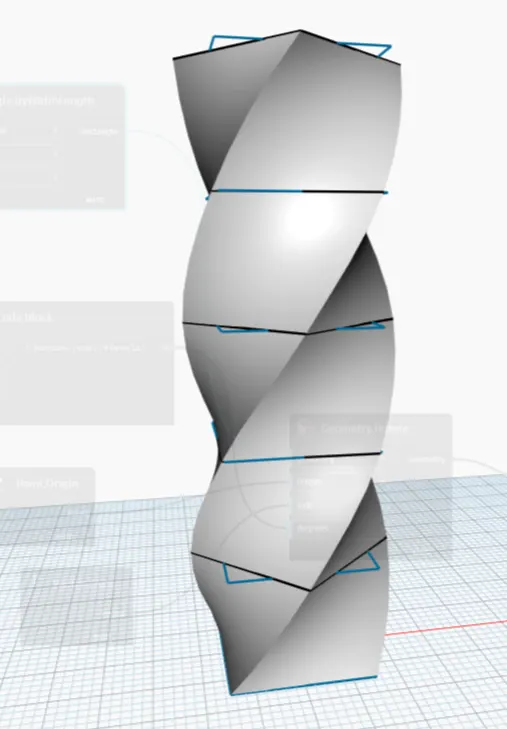
Hence our parametric Stadium will look like this
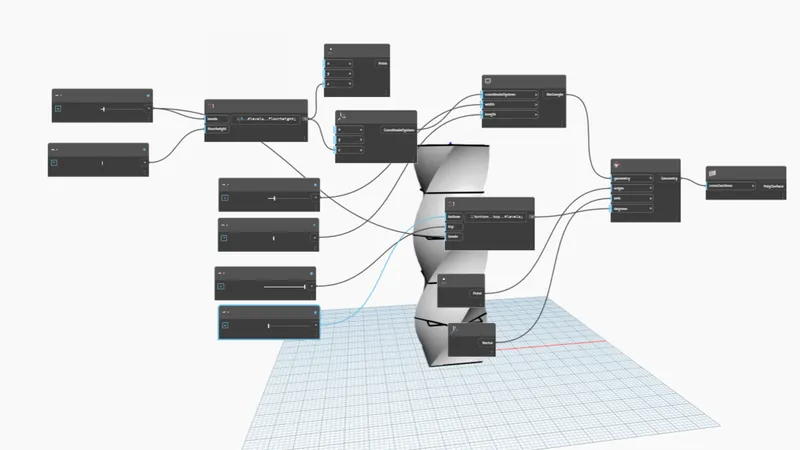
This is the code programming for the parametric stadium
RESULT :-
Our parametric Stadium has been created using the dynamo and also it has been rotated and the figure is being attached above