Creating Conceptual mass in REVIT and Creation of Sinusoidal curve and a Parametric stadium using Dynamo
AIM_1: Using Dynamo creates a set of sinusoidal points and creates a curve and creates a surface out of the curve.
PROCEDURE:
- Open the Revit software.
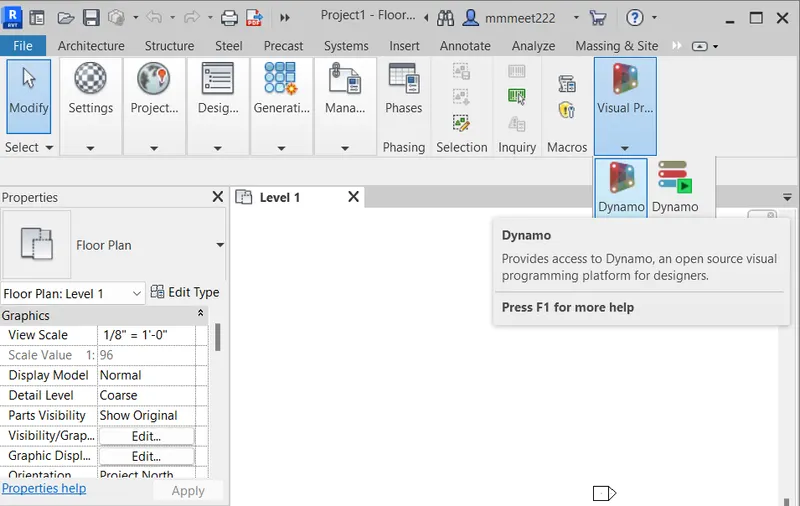
- Go to the Manage tab.
- Click open the Dynamo software from it.
- Now create a new file in dynamo.
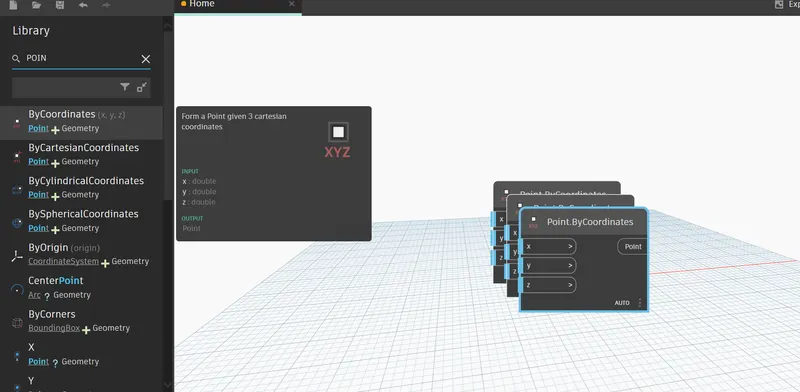
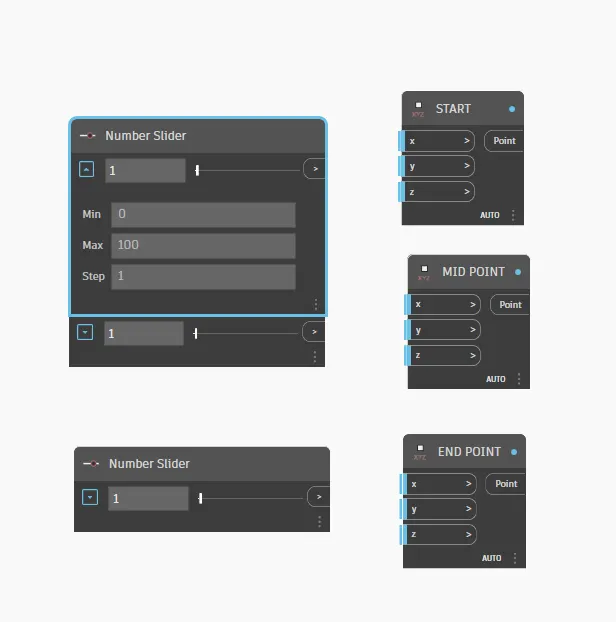
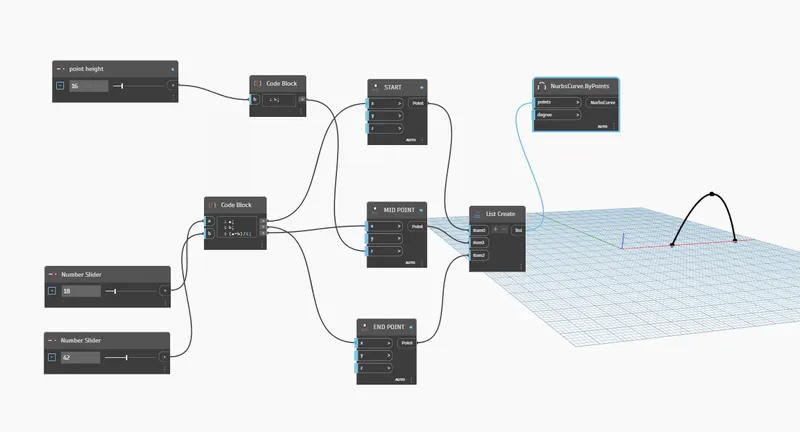
- Take 3 points using point by co-ordinates.
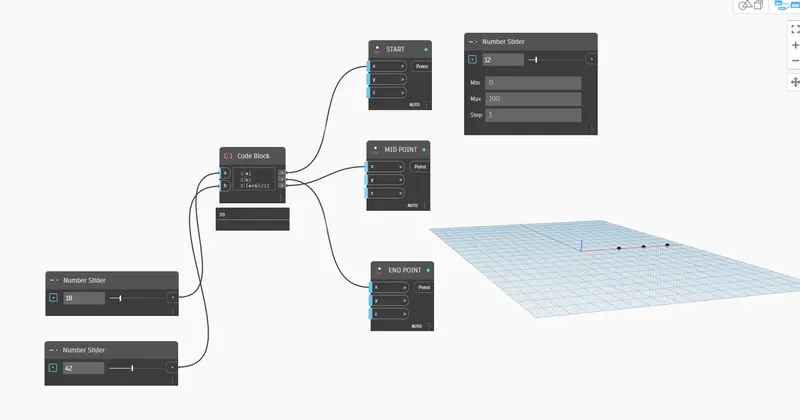
- Create 2 number sliders for assigning values of x and y.
- Now create a code block and give variables "a, b" and an equation "(a+b)/2".
- Now attach the sliders to the "a, b, and equation".
- Then attach the code block to the coordinates.
- You could see 3 distinct dots, which represent the points.
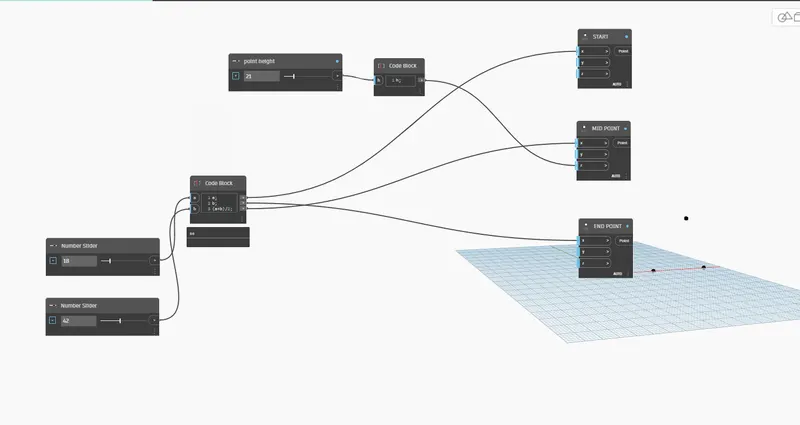
- Now add a number slider and code block for the height variable.
- Attach that slider to the code block and then attach that code block to the middle point "z" coordinate.
- An elevation in the center point can be seen.
- Now create a list and attach all the points to it.
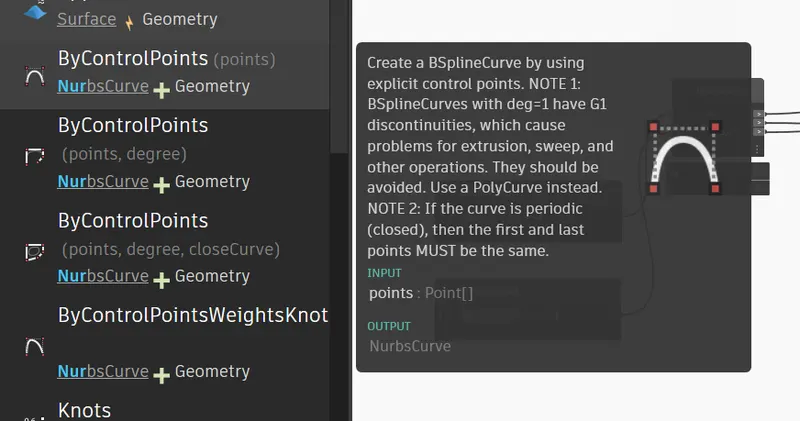
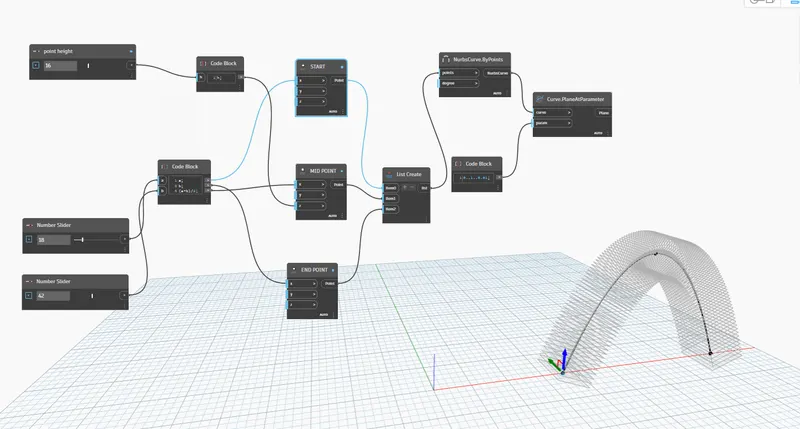
- Now add the NURBS curve option and attach the list to it. A curve will be created joining all the three points.
- Now add a code block and add a plane by center option.
- Attach the code block with the plane by the center. In the code, block give the code.
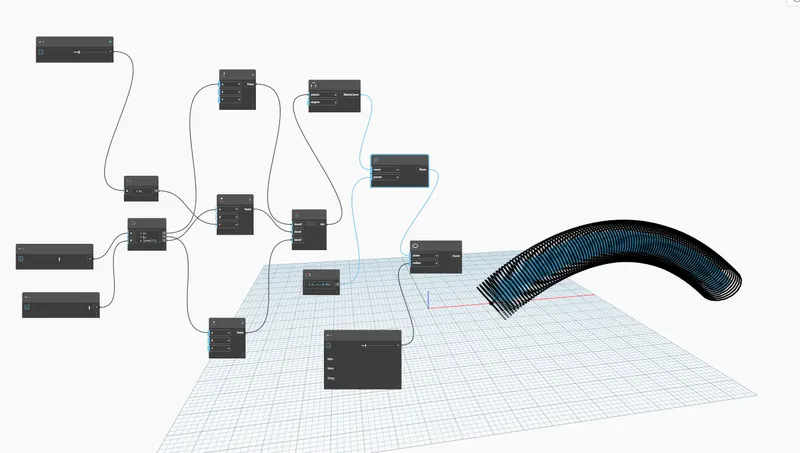
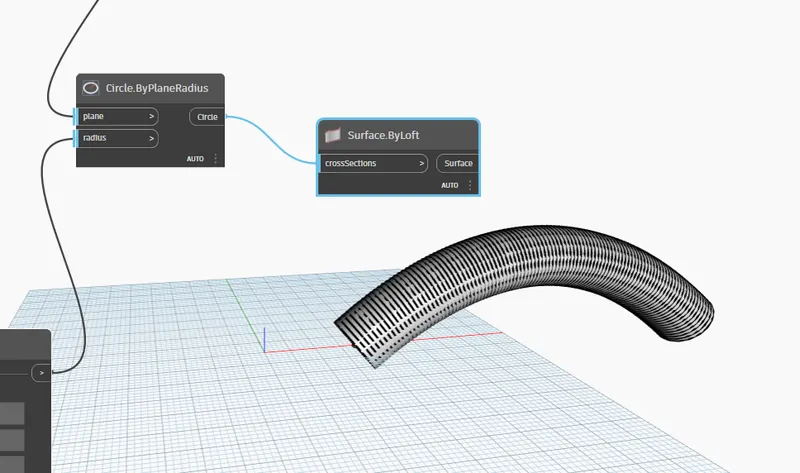
- Now in the plane connecting the circle as geometry.
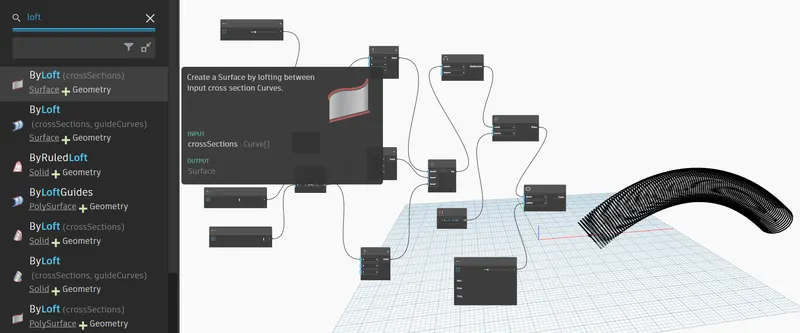
- Then by using the loft create the solid.
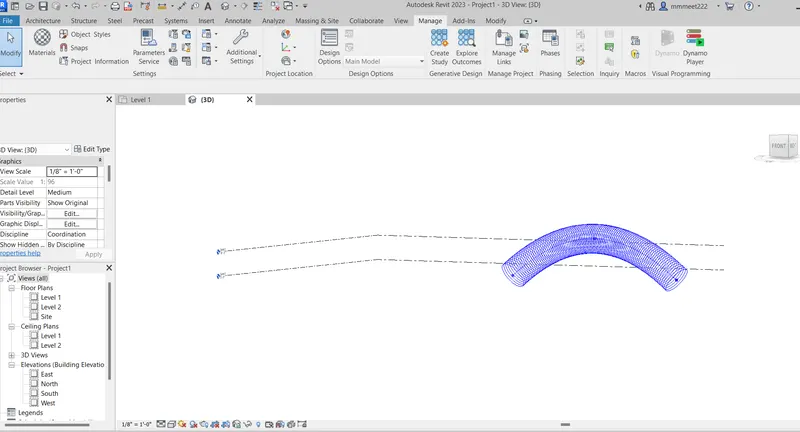
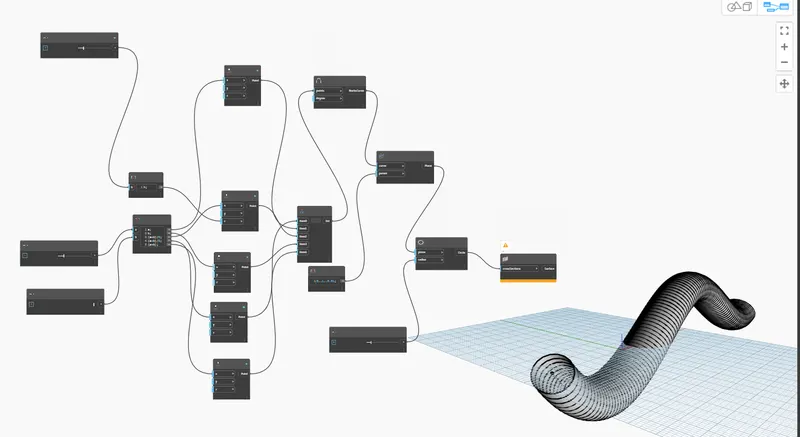
- Please have a look at the below snips for more clarity.
RESULTS: A curvature surface was created using the sinusoidal points in the dynamo. Please have a look at the below snips for more clarity.
SNIPS:
AIM_2: Create a conceptual layout of the floor plan in dynamo. Using the tools available in dynamo link the lines to appropriate model elements in Revit by choosing the wall types and wall parameters. Use the sliders to slide through the height of the wall and the length of the wall.
PROCEDURE:
- Open a new Revit file.
- Go to the Manage tab and launch Dynamo.
- Create a new dynamo file.
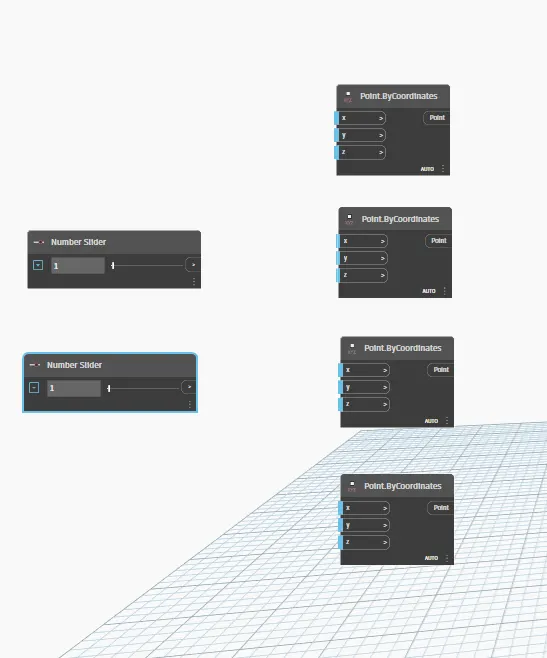
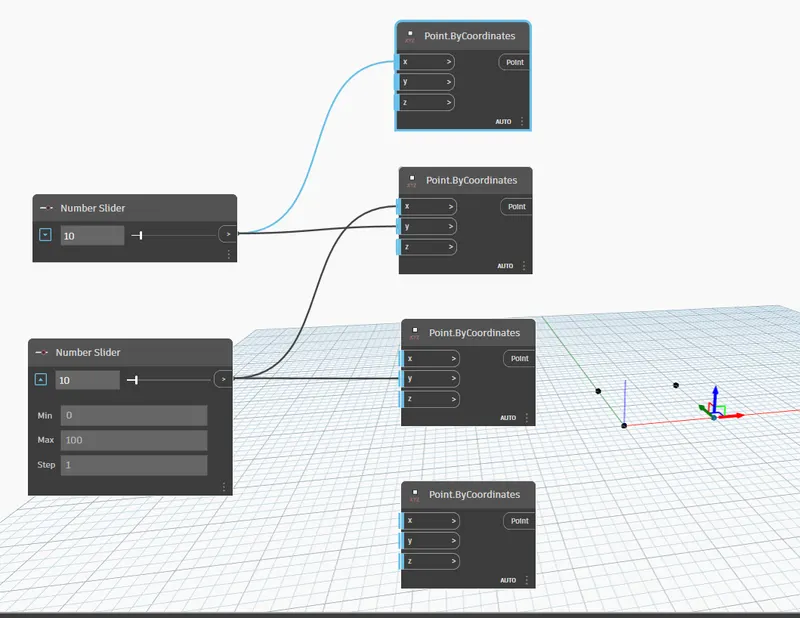
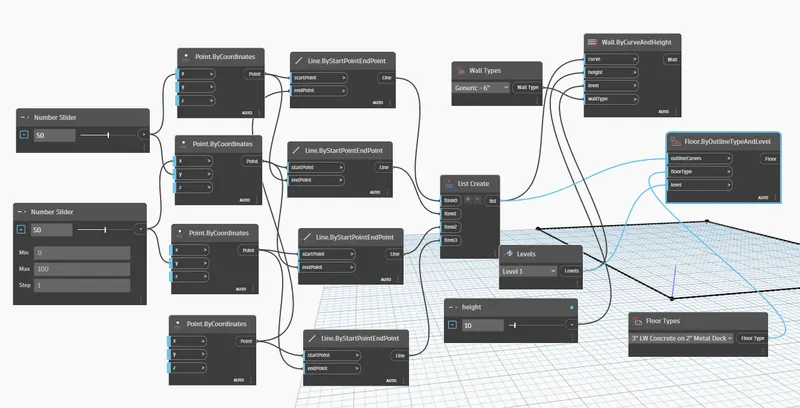
- Now add two number sliders and four points by co-ordinates.
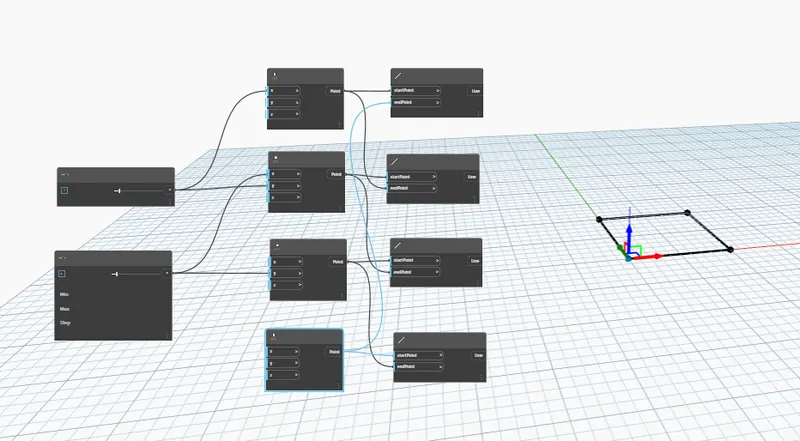
- Add the details to the number sliders and then attach them to the coordinates.
- Now add the line option and attach the coordinates to it as starting and ending points of the line.
- A square geometry can be observed.
- Now create a list and attach all the lines to it.
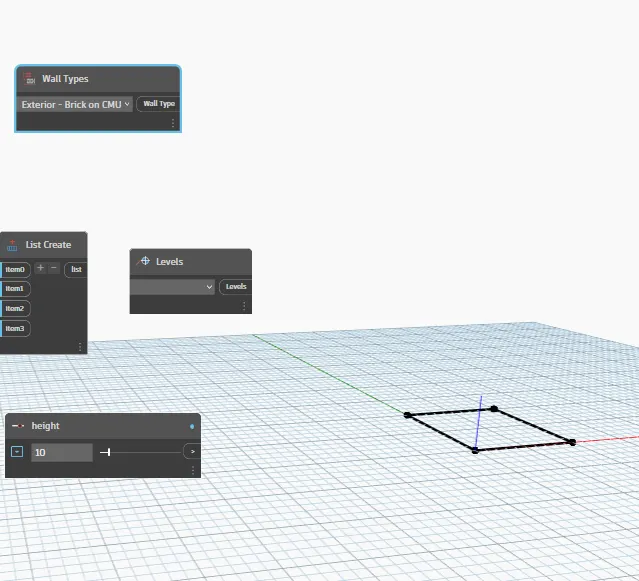
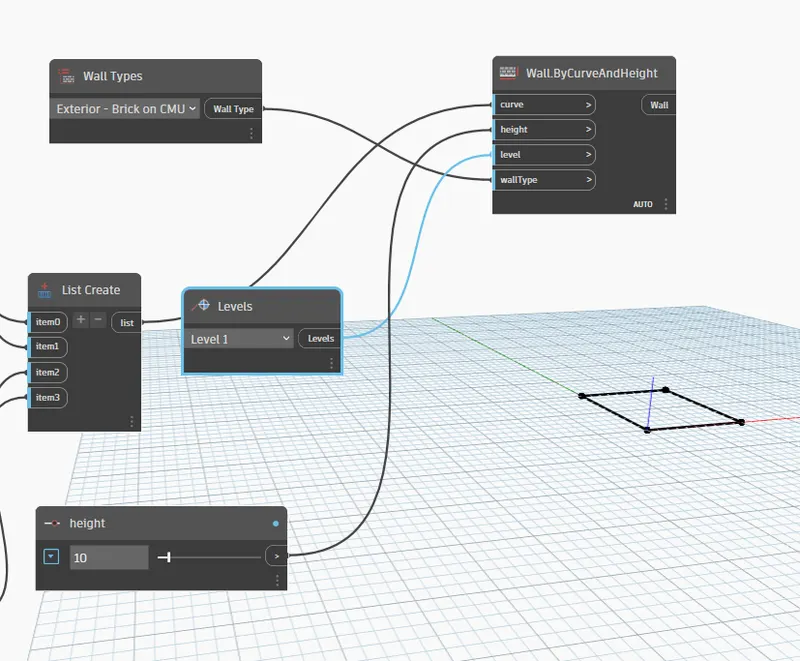
- Now create the levels option and wall types option.
- Assign the level you want to create the wall on and then add the wall type.
- Now add the height number slider and add the height of the wall.
- Now add the option for the wall by level and type.
- Attach the height, wall type, and level to it to create the wall.
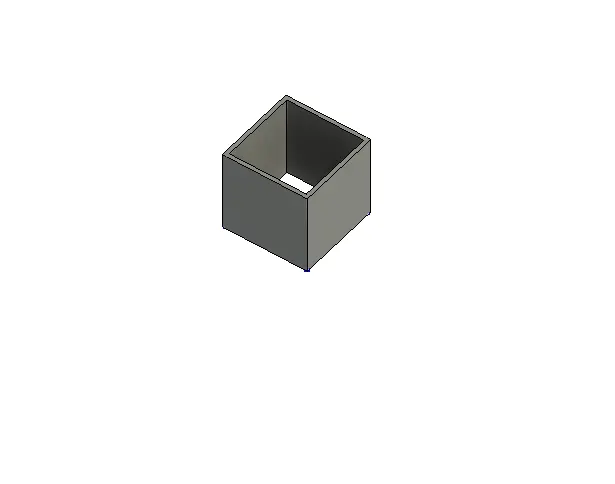
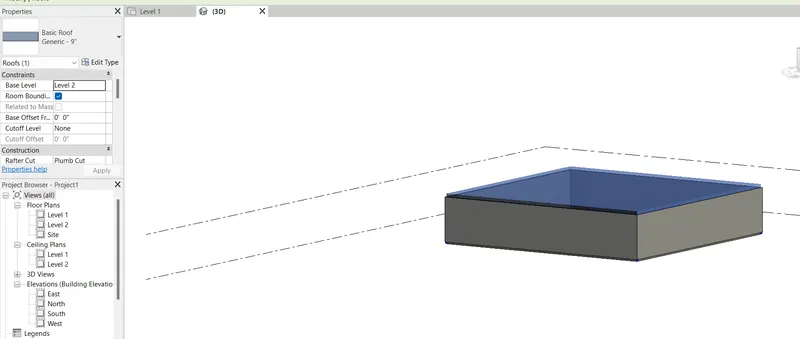
- Go to the Revit file and see if the wall is built.
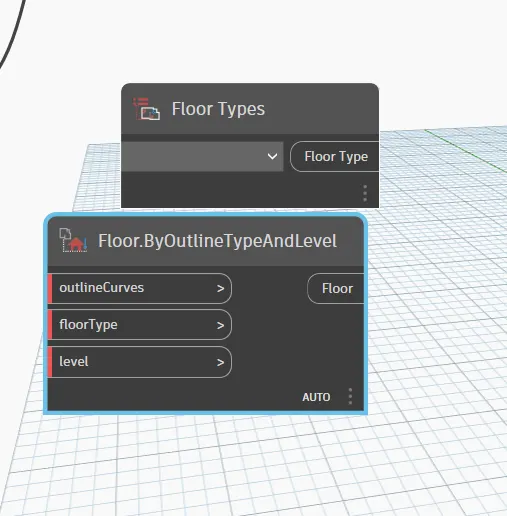
- Now add floor types and floor by level and type.
- Attach the level, floor type, and floor to the floor by level type option.
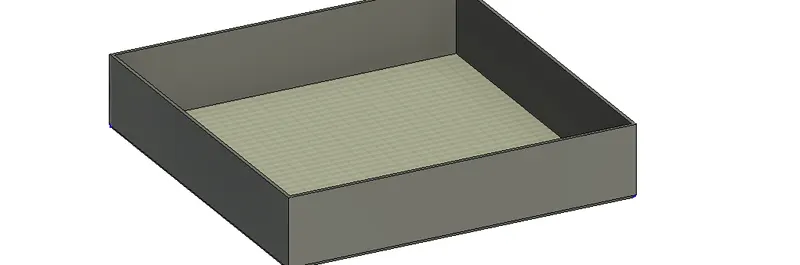
- Have a look in the Revit file, the floor is created.
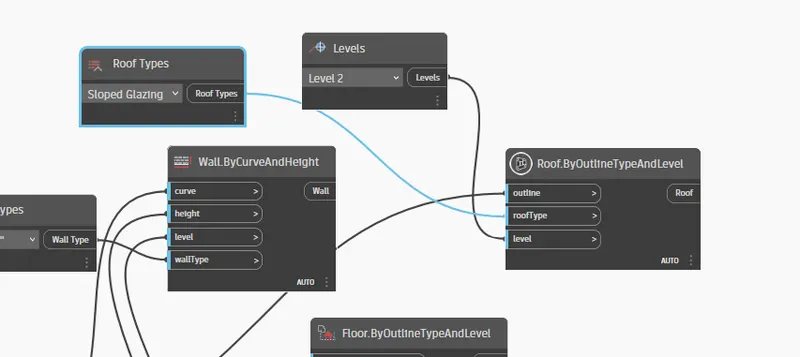
- Similarly, the roof can be made.
RESULTS: A conceptual floor layout was created in the dynamo. Please have a look at the below snips for more clarity.
SNIPS:
AIM_3: Create an array of model elements in Revit. Use dynamo to vary the properties of model elements by using the slider or code block
PROCEDURE:
- Open a new Revit file.
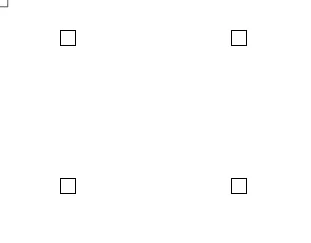
- Create four columns.
- Now go to the Manage tab and launch the dynamo.
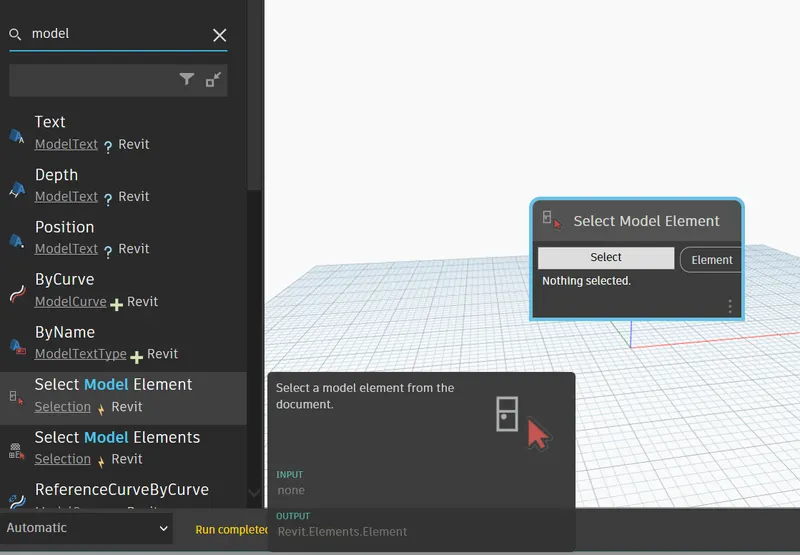
- In the dynamo select the option " Select Model Elements"
- Click on the select option.
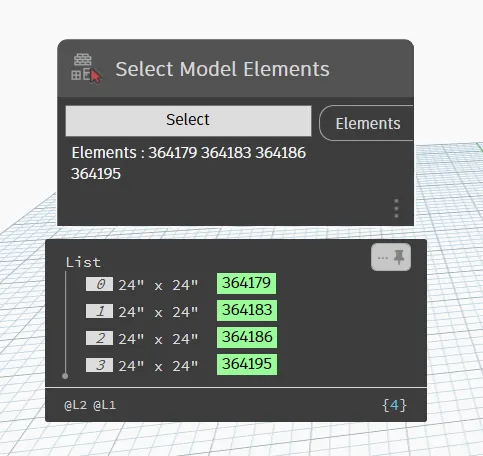
- Go to The Revit file and select all the columns.
- Now when you go back to the dynamo we can see all the columns assigned there. They all have a particular ID for each.
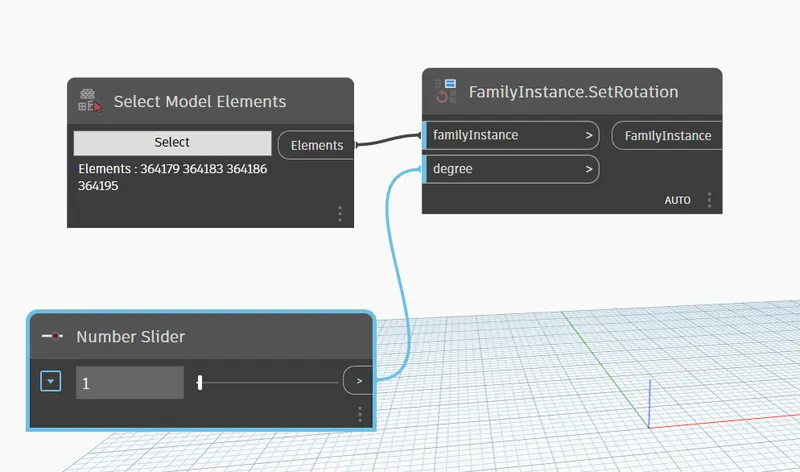
- Now add rotate option.
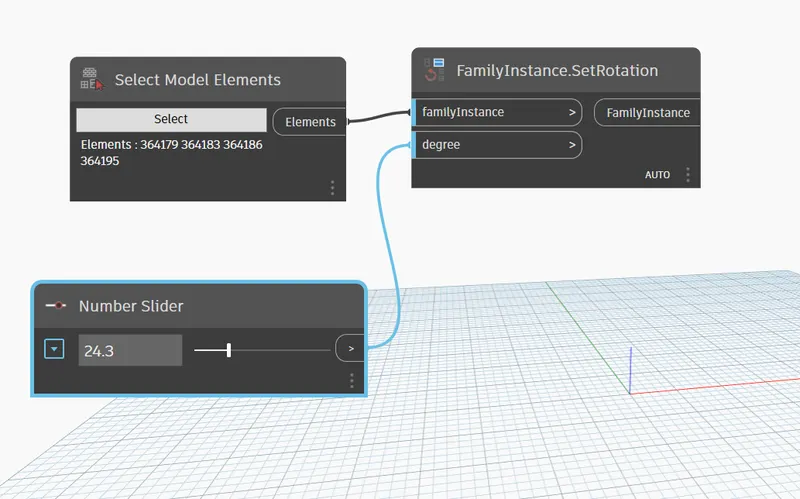
- Attach a slider for the degree of rotation.
- Attach both the slider and select the model elements option to it.
- The slider gives a degree of rotation.
- Go to the Revit file and the rotated columns were observed.
RESULTS: By using the Dynamo, the properties of the elements created in the Revit were changed.
SNIPS:

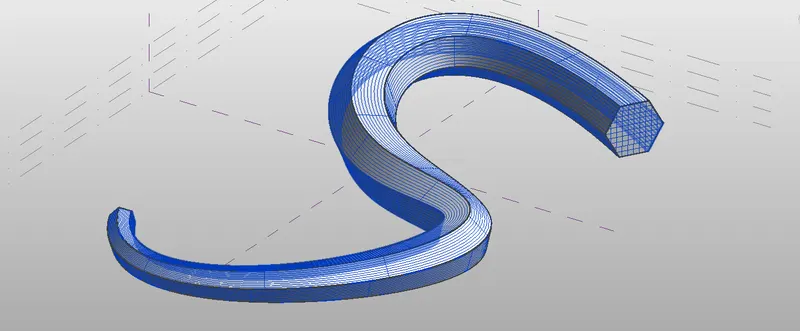
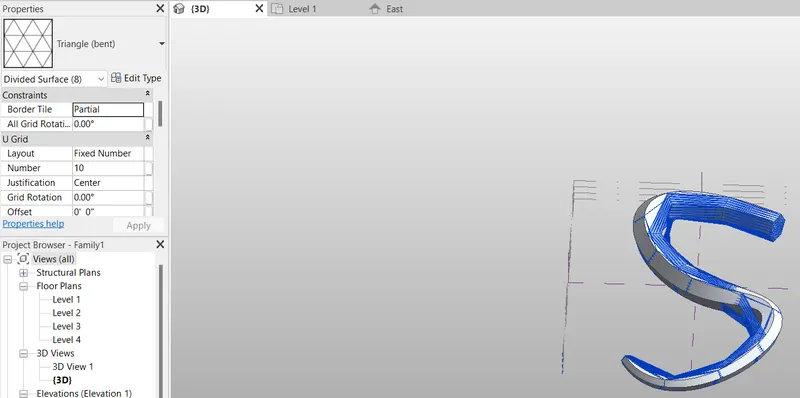
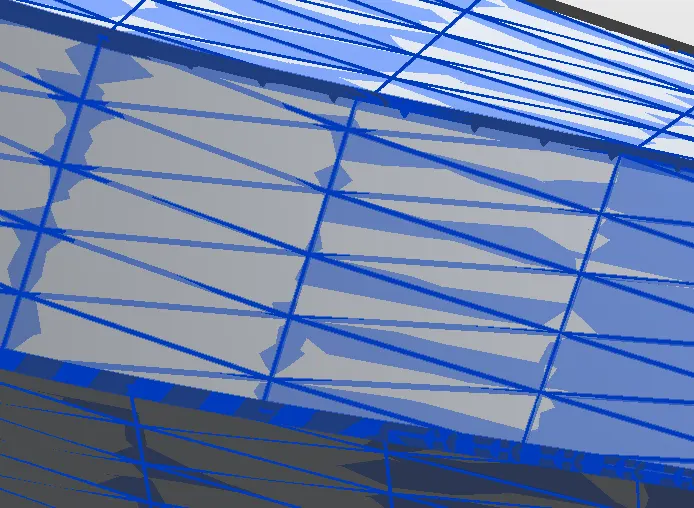
AIM_4: Create a conceptual mass in Revit and develop a parametric column by dividing the surfaces and applying concepts similar to those used in parametric walkway modeling. Use triangular bent or square-shaped panels to add a finish to the parametric column
PROCEDURE:
- Create a new Revit file.
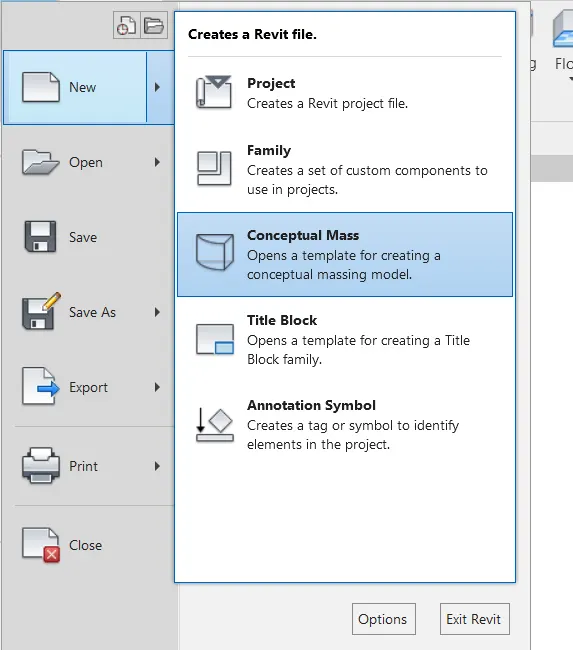
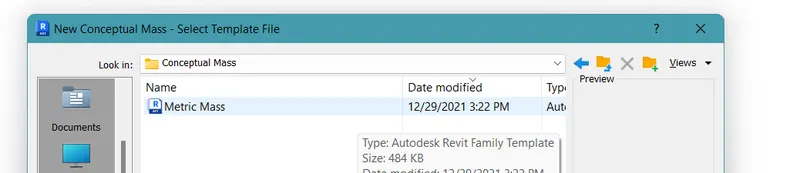
- In the new option open a conceptual mass file.
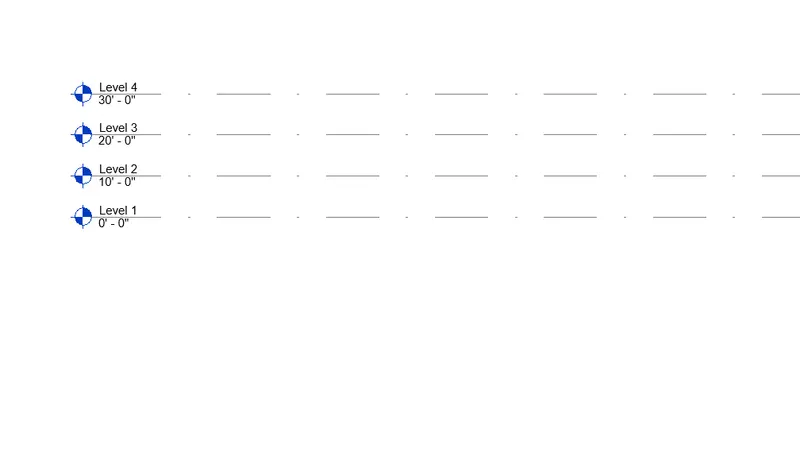
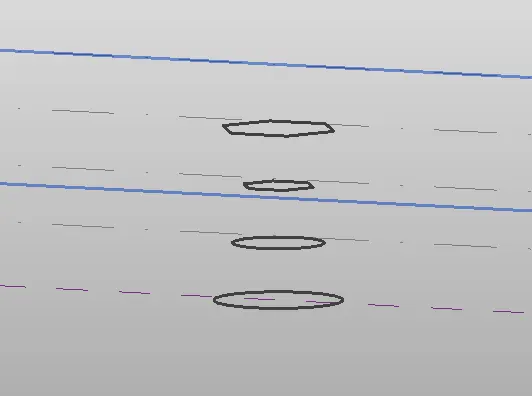
- Now in that file create a few levels.
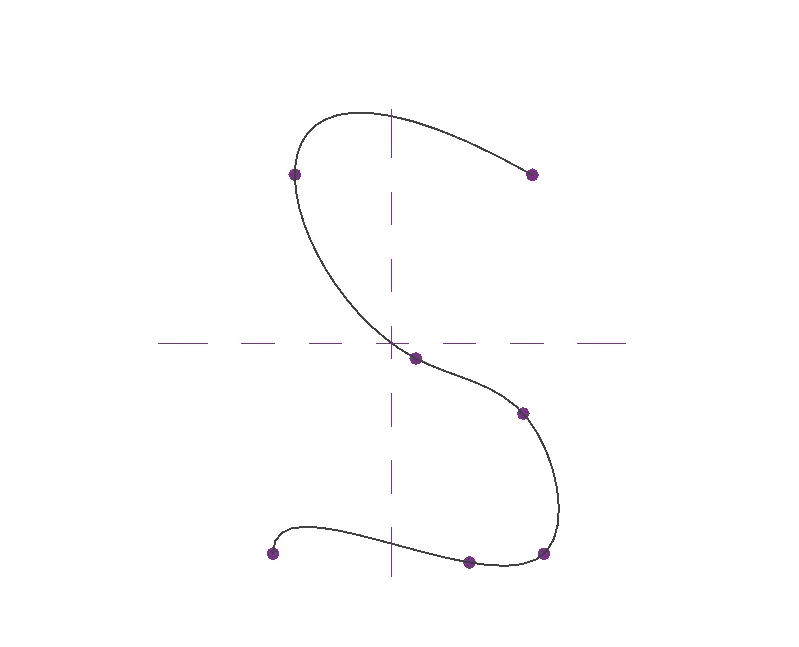
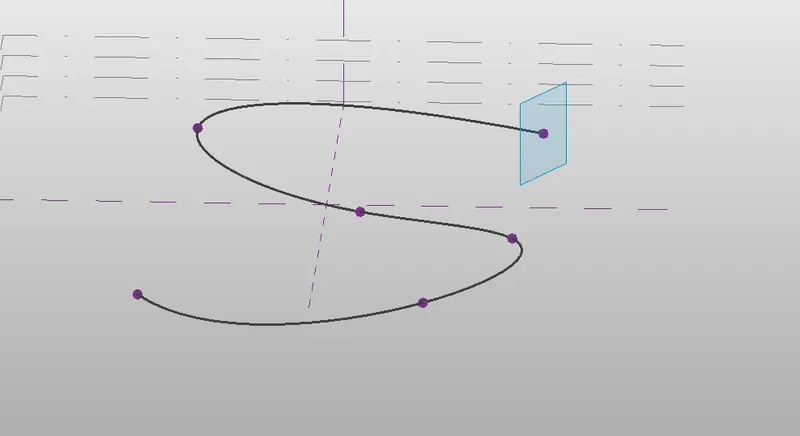
- Now on level one create a curve.
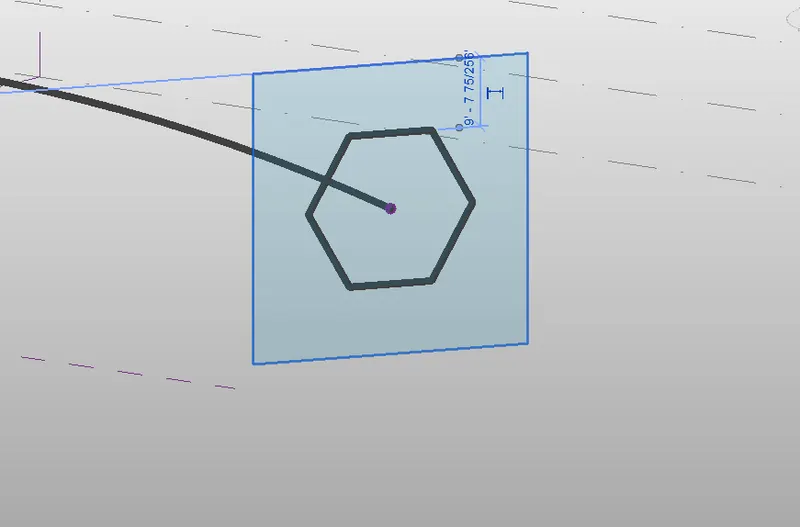
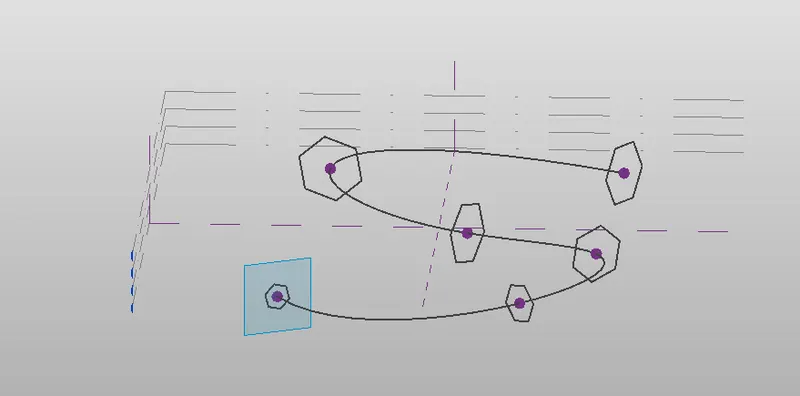
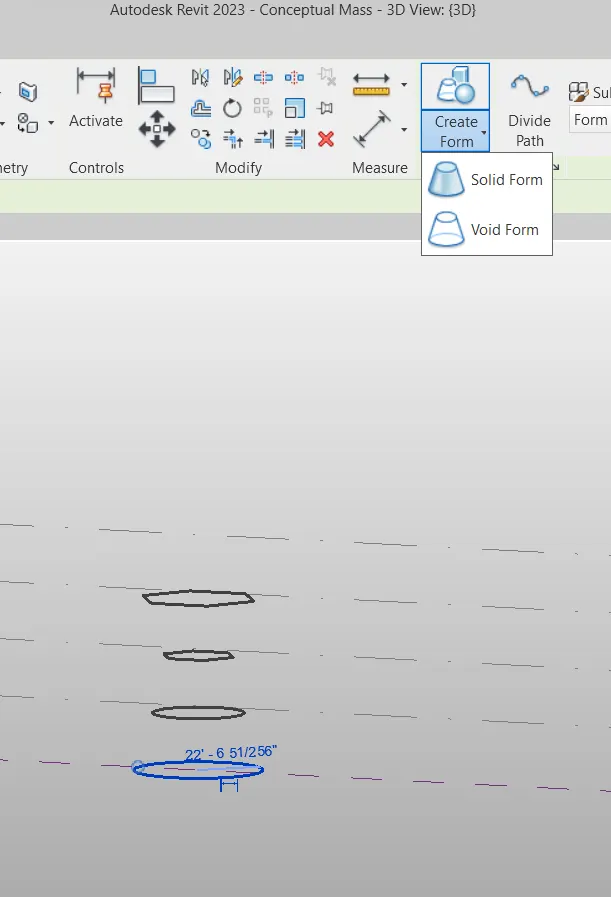
- Add the geometry to all the points by setting the plane on that point.
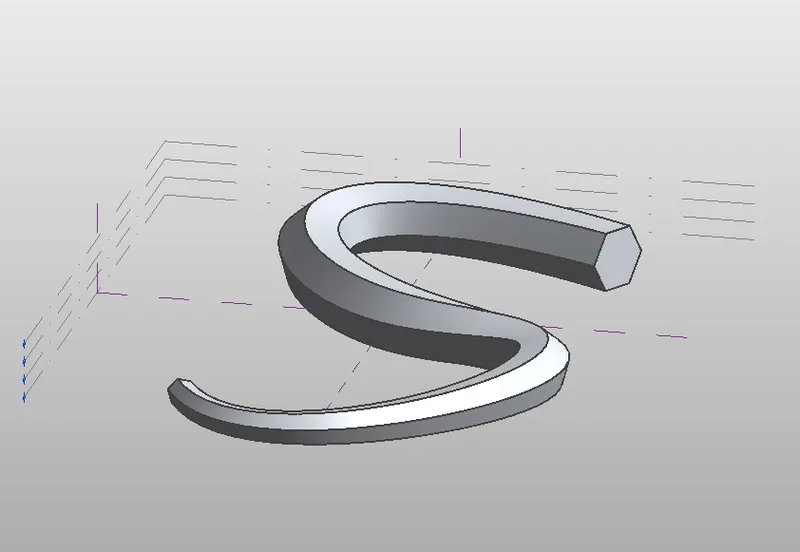
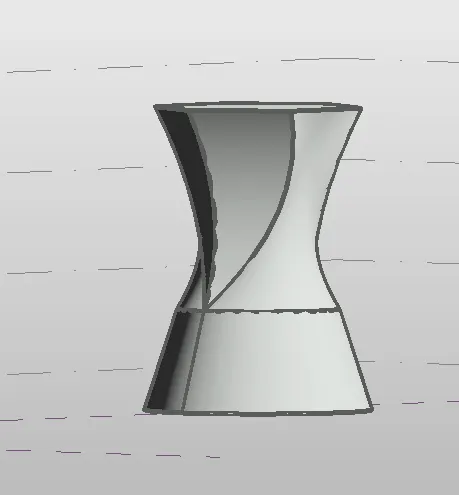
- Select all the geometry and then select the line and then create the solid form geometry.
- A solid model is formed.
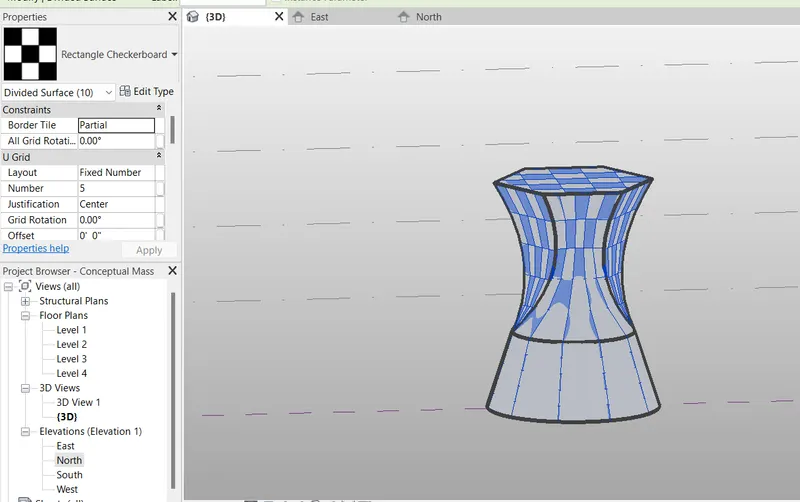
- Now click on the solid and add the detail lines.
- Now select all the details lines and then change its property to triangular form from the property browser.
- Use a similar way to create a column.
RESULTS: A column was created in the conceptual mass template. Please have a look at the below snips for more clarity.
SNIPS:
AIM_5: Use Dynamo to work on developing a Parametric Stadium. List your parameters and use the visual programming approach to complete the modeling, You can use the concepts discussed in the parametric high rise tower in class for reference.
PROCEDURE:
- Create a new Revit file.
- Go to the Manage tab and launch Dynamo.
- In the dynamo create a new file.
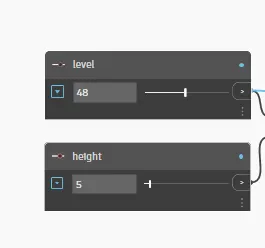
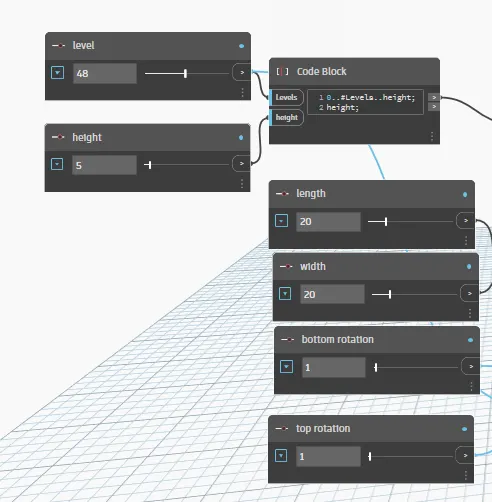
- Add two number sliders for levels and height for the building.
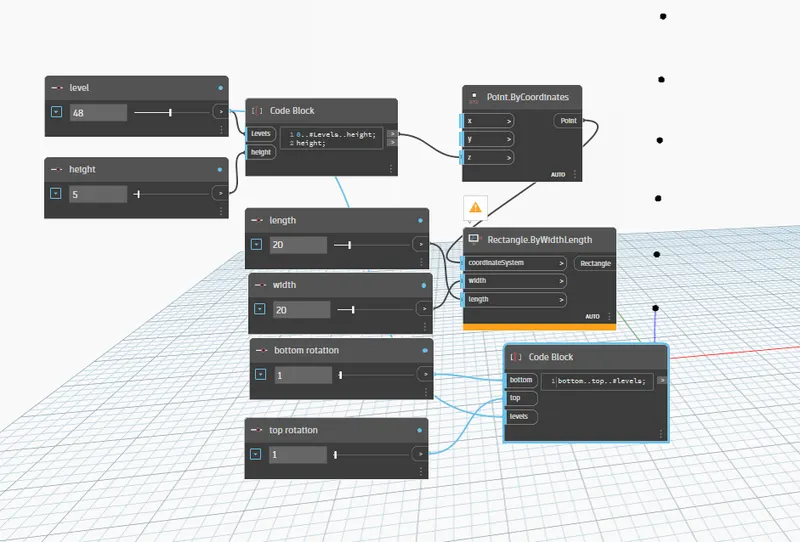
- Now add a code block with the code " 0..#levels..height;"
- Attache the levels and height to the code block.
- Now create 4 number sliders for length, width, top rotation, and bottom rotation of the building.
- Create a rectangle by width and length and attach width and lengths to it.
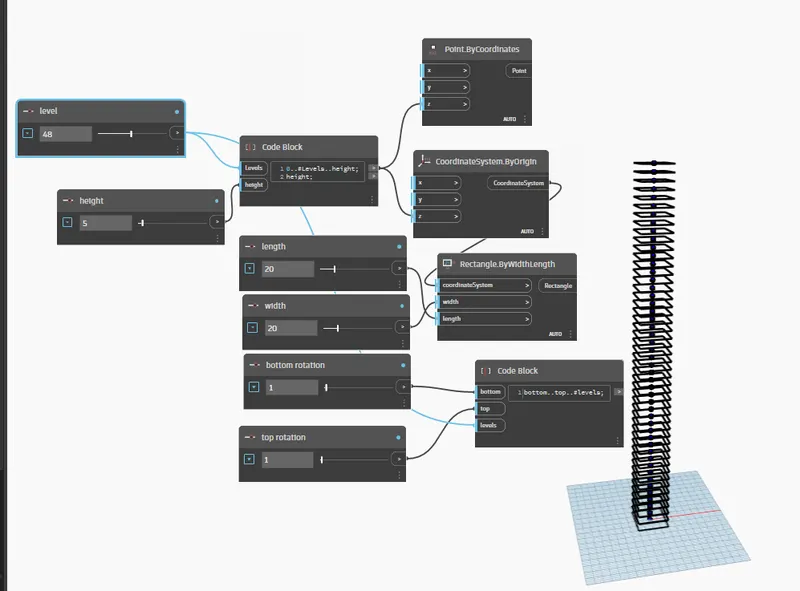
- Create a point by coordinating and attaching that with the code block.
- Attach that with the coordinate by origin.
- Then attach that to the rectangle origin.
- Levels of a rectangle can be seen.
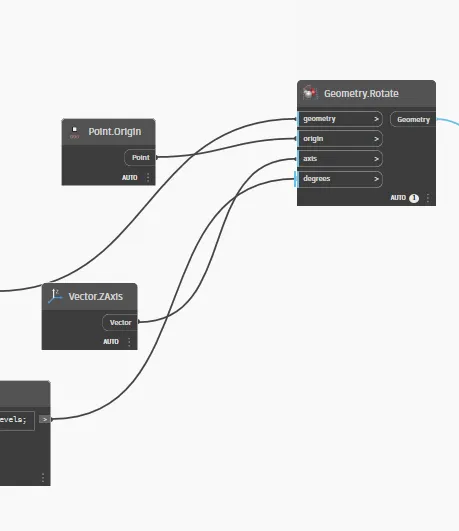
- Now create a code block for rotation.
- Then create a z-axis vector and origin point.
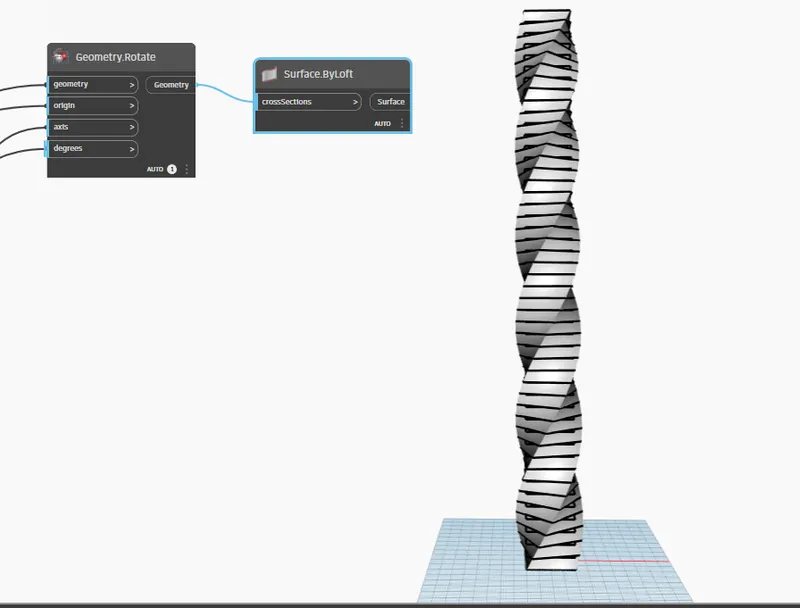
- Now finally create loft by the cross-section of the geometry.
- A twisting-like shape can be seen.
RESULTS: A parametric stadium was created using the dynamo.
SNIPS: