Creating Conceptual mass in REVIT and Creation of Sinusoidal curve and a Parametric stadium using Dynamo
1)
Aim:
To create a set of sinusoidal points, a curve and a surface out of the curve using dynamo
Procedure:
- Open a new architectural tempelate project.
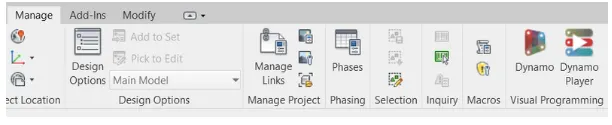
- Select dynamo in the manage tab.
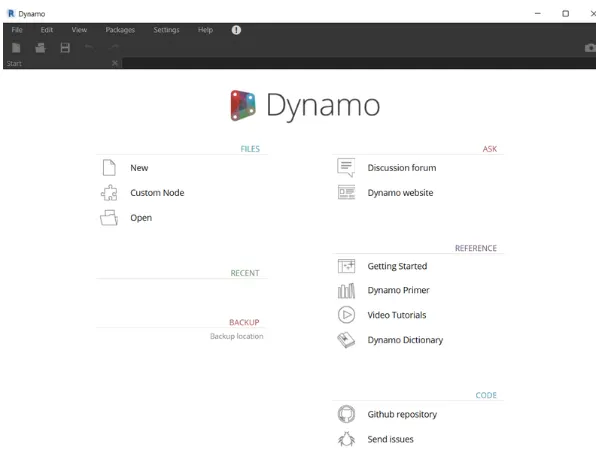
- Go to new options in the dynamo window.
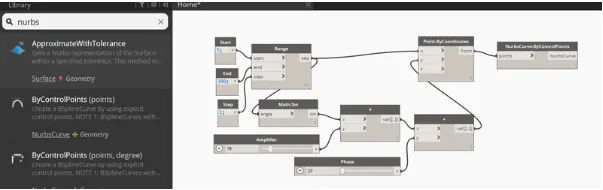
- Now start the process by inserting three integer slider.
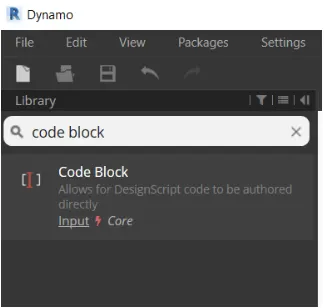
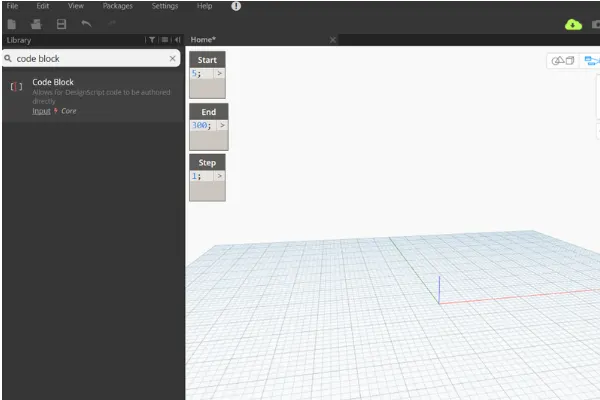
- This can be done b typing code block in the library search panel.
- One block is named start (VALUE -5)
- Second one end(VALUE - 300)
- Third one step ( VALUE -1)
- Type range in the search panel of the library and insert it.
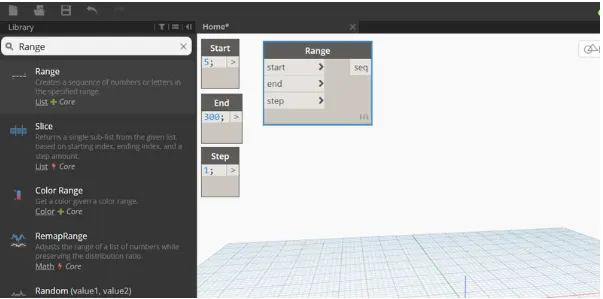
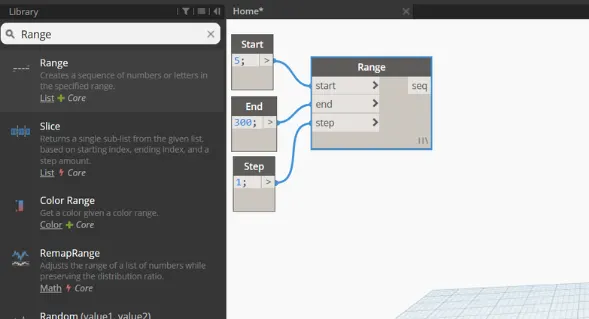
- Now connect these three code block as input to the range block
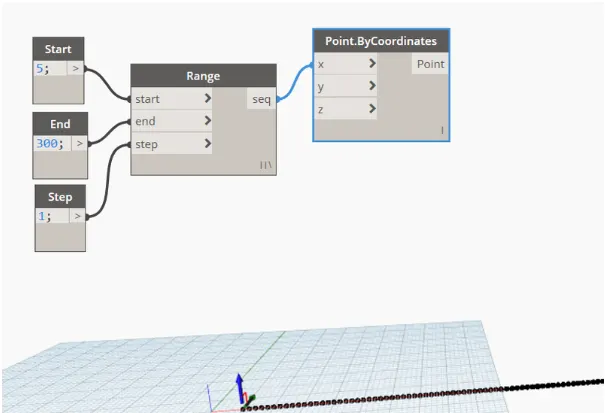
- Now search points by coordinates in the search panel.
- Then, connect the range block to the X- coordinate of the points by coordinate block
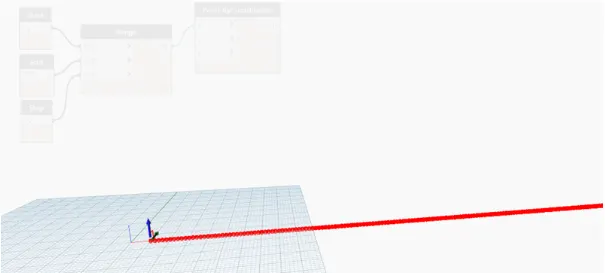
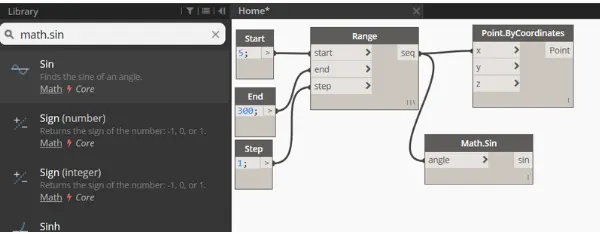
- Now we have to produce sin wave out of these points whch we have to insert sin dunction which is given by math.sin option in the library.
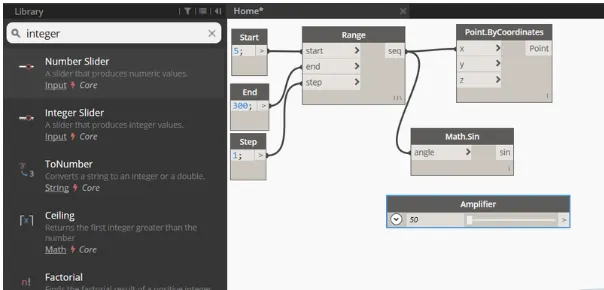
- Sin values are small, hence amplify by inserting another integer slider and name it as amplifier.
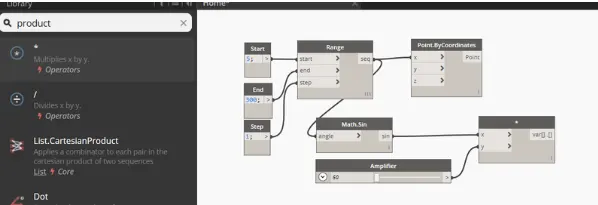
- This amplifier code block needs to be multiplied to the sin block.
- For this, search product function in the library.
- Input X values is sin block and for Y value is amplifier.
- Provide phase for the sin curve by inerting another integer slider and name it as phaser.
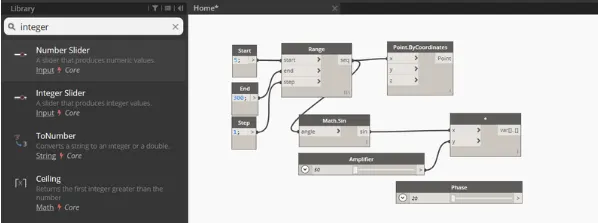
- The phase block is then added to amplified sin block(*).
- For this, insert add operator block from library.
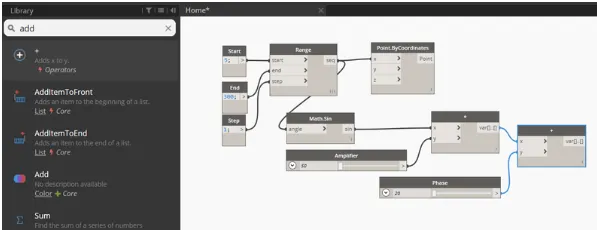
- Now this is then connected to the Y coordinate of the points by coordinates block
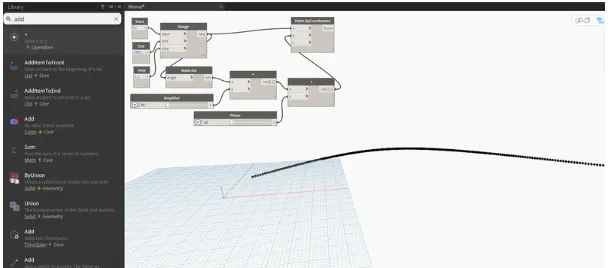
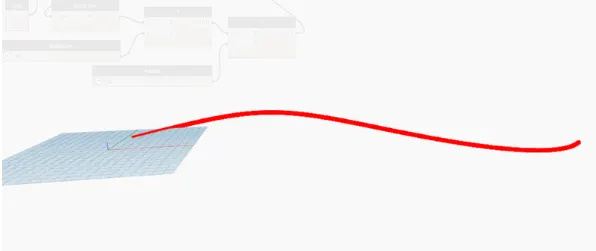
- Hence the set of sinusoidal points are obtained.
- Now we have to convert them to curve.
- The curve can be created from nurbscurve.
- Search Nurbscurve in the library and choose nurbs curve by control points.
- Now we connect the points by coordinate block as input for the nurbs curve.
- A line will be developed connecting the points,
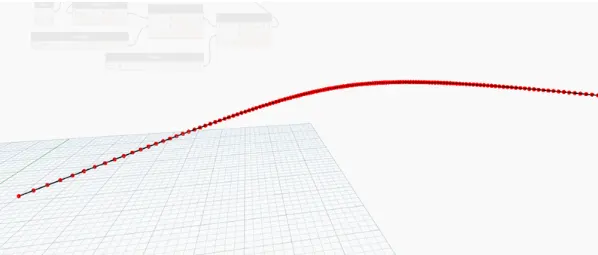
- Hence the sinusoidal curce is also developed.
- The next step is to develope surface.
- For this first create a group of these items for easy manipulation.
- This can be done by selecting the required input blocks and then go to the edit options in the top portions and then choose create node from selection.
- The entire thing will be grouped together.
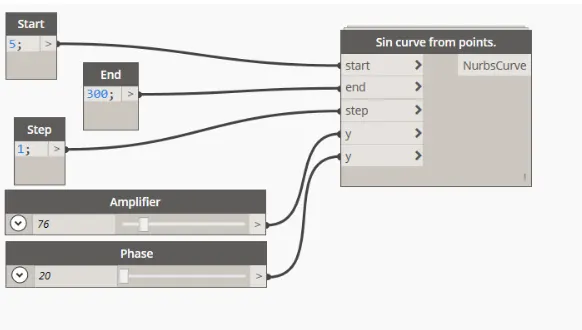
- Now we copy this entire blocks two times to create the surface.
- Adjust the phase to view the two curves that is copied.
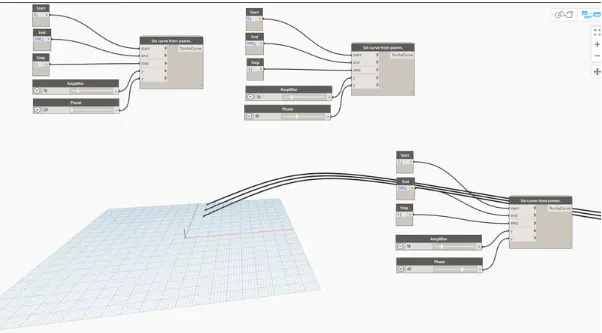
- Next step is to create the surface.
- For this,first create a list
- This can be done by searching list.create
- Then connect all the outputs of the sin cuves as input for the list.
- This will serve as the input for the surface by loft block.
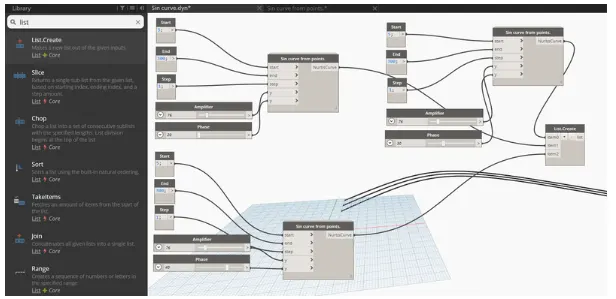
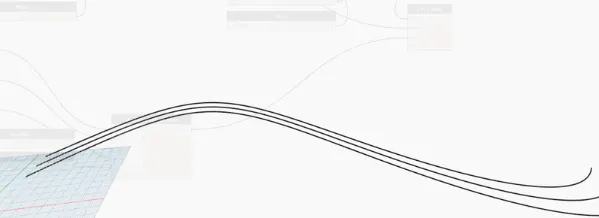
- Now we have to create the surface.
- For this search surface by loft.
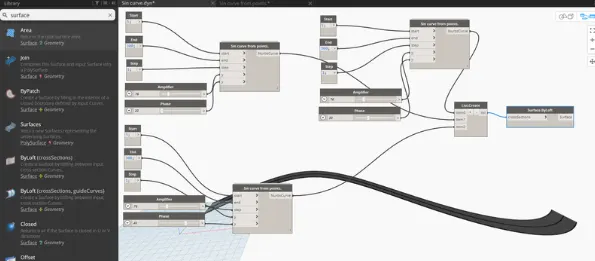
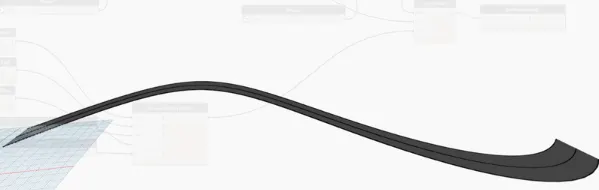
Result:
_________________________________________________________________________________________________________________
2)
Aim:
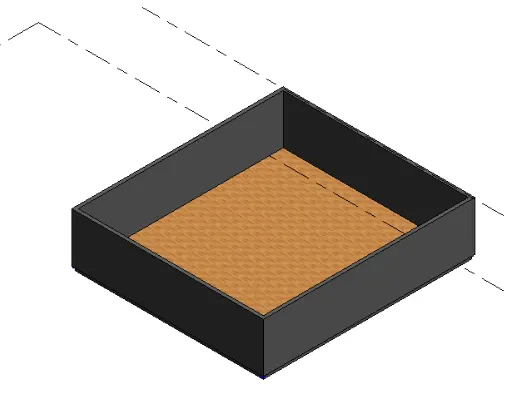
To create a conceptual layout of a floor plan in dynamo.
Procedure:
- Open a new atchitectural template and select dynamo in manage tab
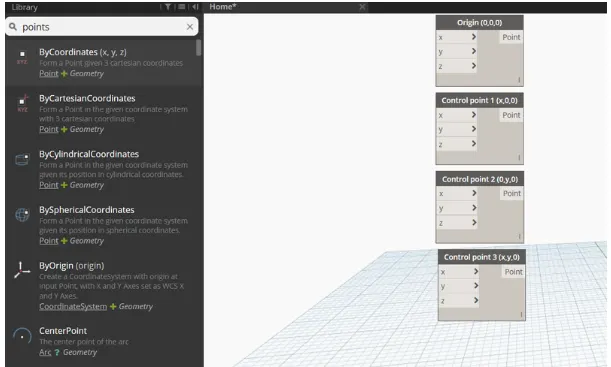
- Inorder to create the wall first we have to create fout control points.Search Points by coordinates in the search panel.
- 1st one named as origin (0,0,0) and the rest is named as control point 1(x,0,0),control point 2(0,y,0) and control point 3(0,0,z).
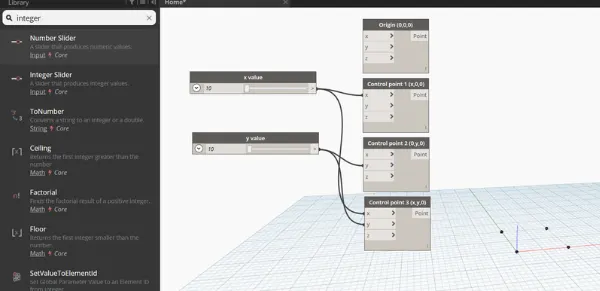
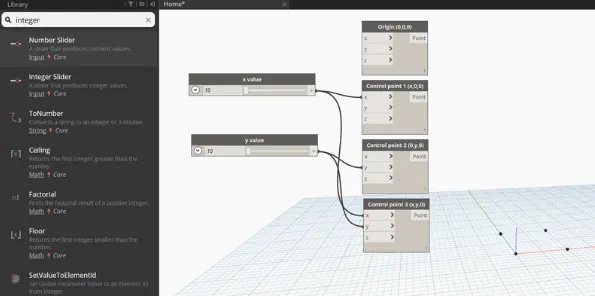
- Now provide integer slider to provide the values for x and y.
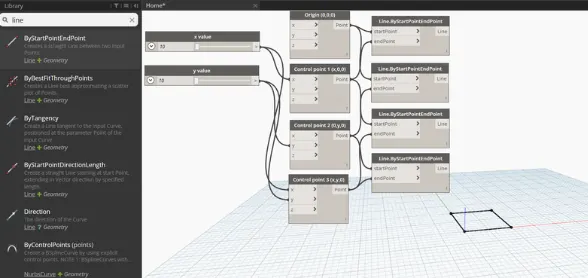
- Now we have to connect the three points. search line by start and end pint and insert 4 blocks.
- The input for these blocks are the points created previously.
- Now search wall and select wall by curve and height.
- So for this input required are curve height level and wall type.
- For curve, combine all the four lines in a list by choosing list.create
- For height, another number slider is choosed and name it as height
- For level search level in the search panel it will contain the levels available in the revit. Choose the levels in which you want to place your structure.
- For wall type search wall type in the panel and it will display types linked in the revit file.
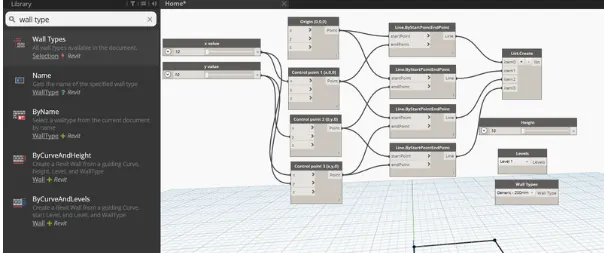
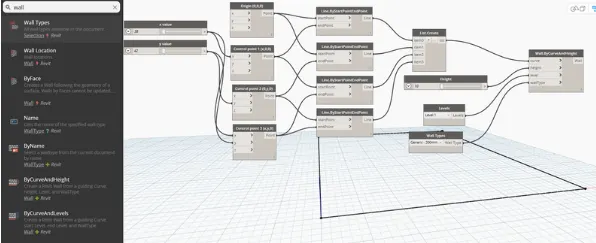
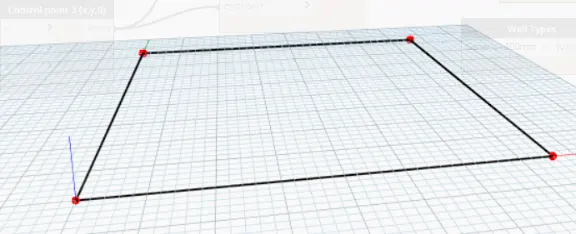
- Now go to the revit file to view in the 3D form.
- THe height of the wall can be adjusted using the slidebar.
- PLace the floor, by searchin floor in the library and select the floor by outlinecureve, floortype and level.
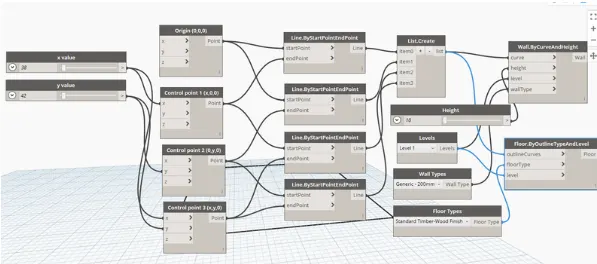
Reuslt:
_________________________________________________________________________________________________________________
3)
Aim:
To create an array of model element in revit.
Procedure:
- Open a new architectural template.
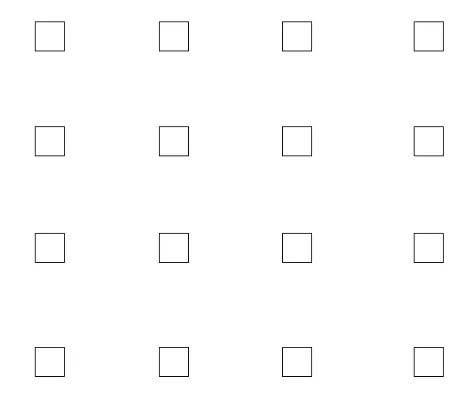
- In that go to architectural tab> COlumns> Architectural Columns> Place the column (610X610 mm)
- Now similarly 16 columns are created.
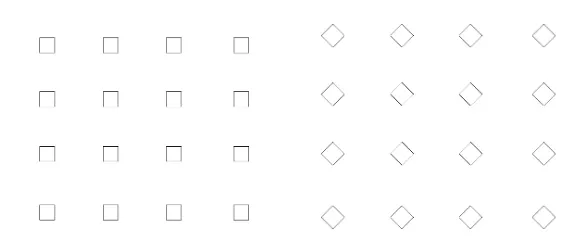
- The properties of the model elements are caried using dynamo
- Open dynamo
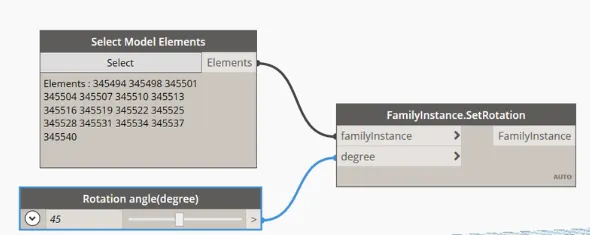
- In the search panel of the library search select model elements, integer slider and rotation
- Rename the integer slider to rotation angle
- Now select the model elements block will be the input for the family instance and integer slide (rotation angle) will be inout for degree.
_________________________________________________________________________________________________________________
4)
Aim:
To create a conceptual mass in Revit and develope a parametric column by dividing the surfaces
Procedure:
- Open revit and under the families open a new>conceptual mass>mass
- Now go to the elevation view and create a level at 3.6m and name it as height of the roof.

- Use spline to draw the desired outline of the valley
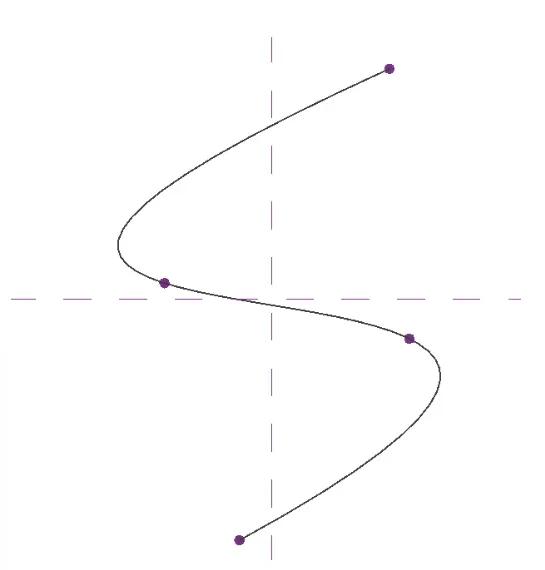
- Now we have to create a profile tp sweep through the curve
- For this we have to set the workplane at the points and develope a polygo at the workplace keeping the point as centre.
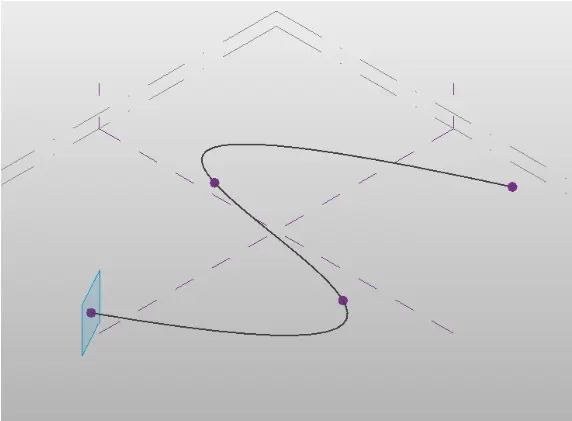
- Now a polygon is developed.
- Smiliarily workplane and polygon is developed at all the nodes
- Now we have to create surface which is done through sweep.
- For this select all the polygons and the curve line and choose create from option.
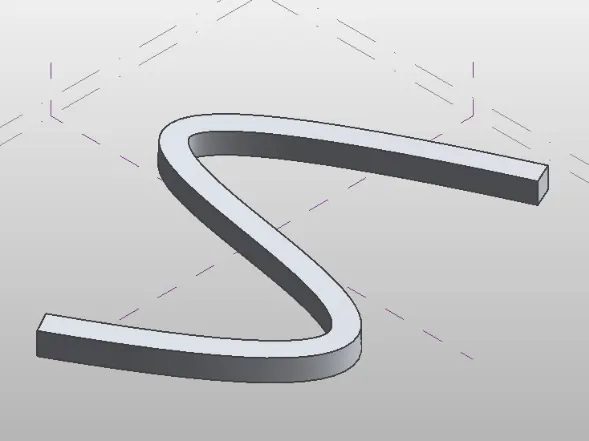
- Select the entre form and then filter and retain only the form.
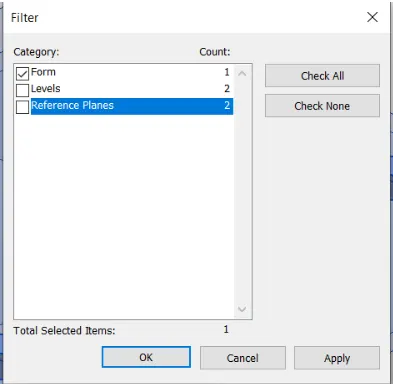
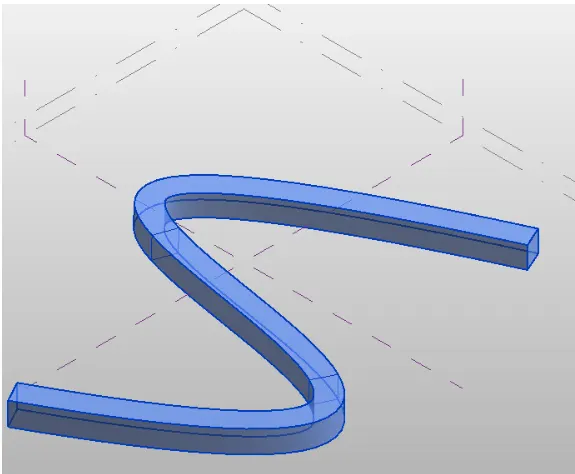
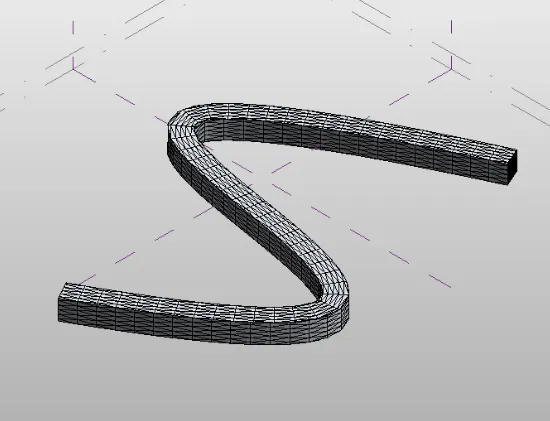
- Now select the form>divide surfae > then provide the pattern (triangle bent).
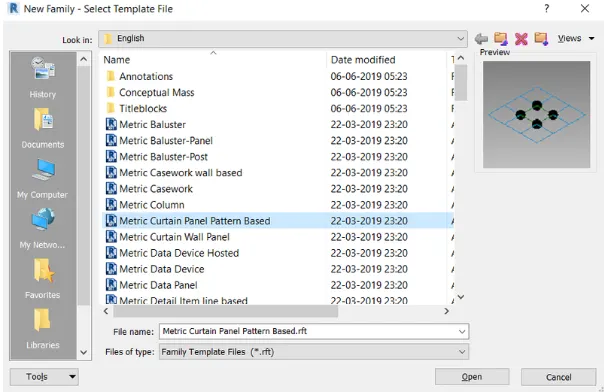
- Now open a new family>curtain panel pattern based.
- Select the pattern as traingle bent
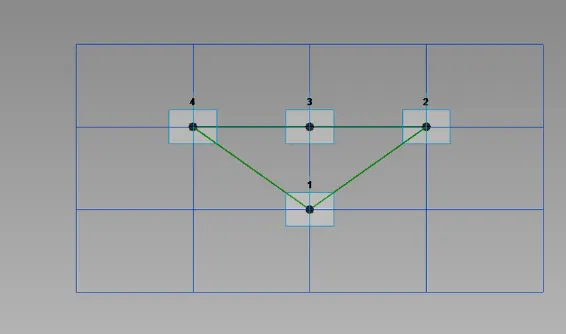
- Then create a reference point at center of the facce and draw circle of radius 3' at the reference point.
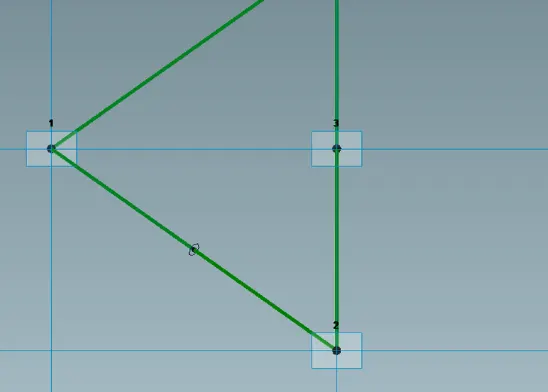
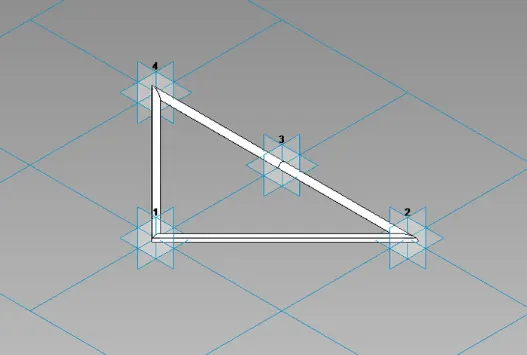
- Now load this into the project
- Now select the entire form of a walkway and filter to retain only the divided surface
- Then in the pattern select the family that we have created just now.
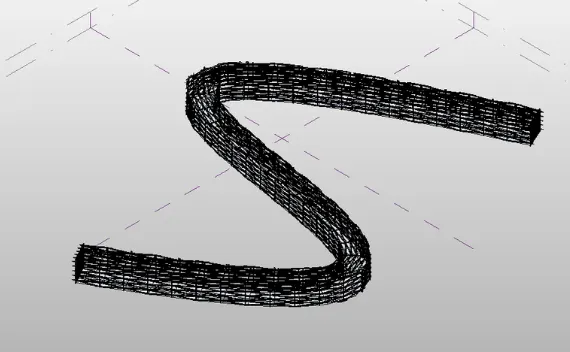
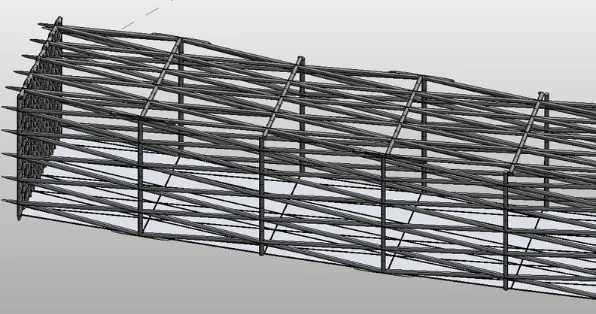
_________________________________________________________________________________________________________________
5)
Aim:
To develope a parametric stadium using dynamo
Procedure:
- Open a new architectural template
- Open dynamo
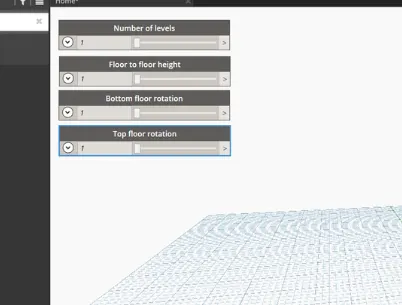
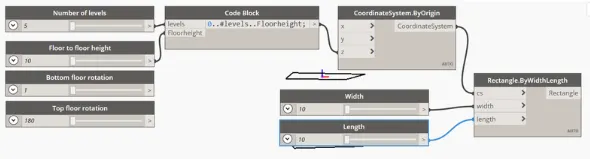
- BAsic parameter to design a high rise structure is created as input in dynamo
- Four integer sliders is taken - NUmber of levels, floor to floor height, bottom floor rotation and top floor rotation
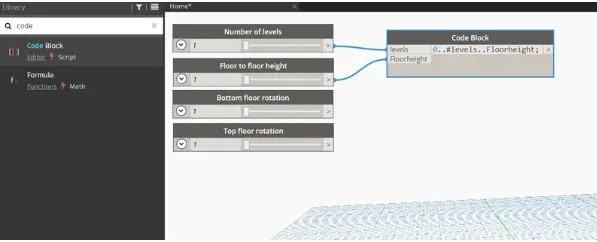
- Insert a code clock from the library to combine level and floor to floor and tupr0..#levels.floorheight
- Now connect the integer sliders named as level and floor to floor height as input to the code block.
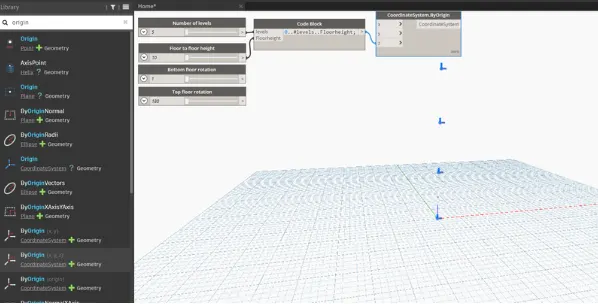
- Now search coordinates by origin and insert it.
- Connect the code block as levels and floor to floor height as input to the code block.
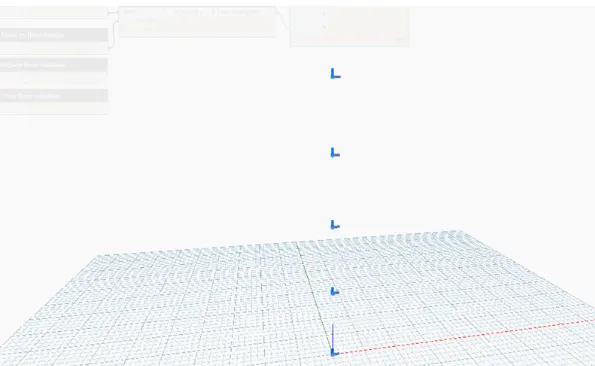
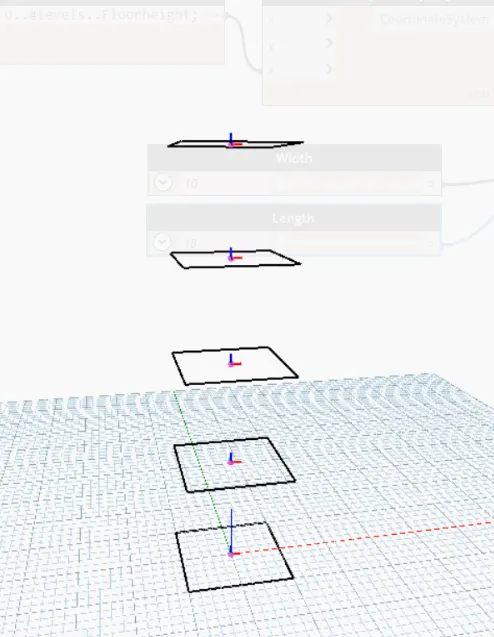
- 5 points are generated corresponding to 5 levels
- Inser rectangle by width and library from the library.
- Input required are coordinate system, length and width
- insert slider for length and width
- Then connect the inputs to the rectangle.
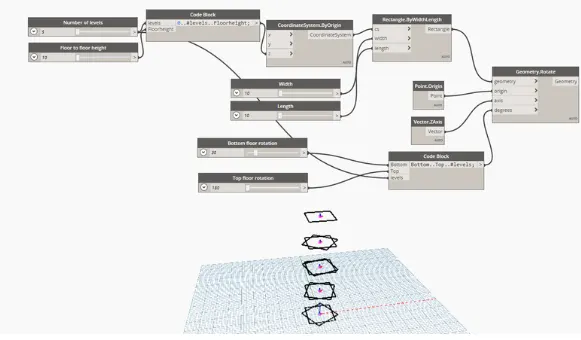
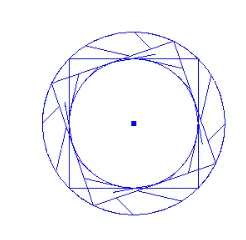
- Rotate the geometry by inerting rotate block.
- Inputs:
- Geometry - rectangle block
- Origin - insert an origin block
- Axis - insert vertor z axis
- Degrees - insert a code block and type bottom..Top..#level. The inputs for this code block is already available.
- Now we have to create surface for this tye suface by lofr
- Connect geometry.rotate back as input for surface by loft.
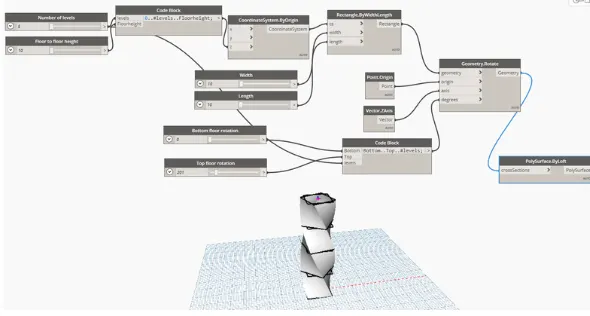
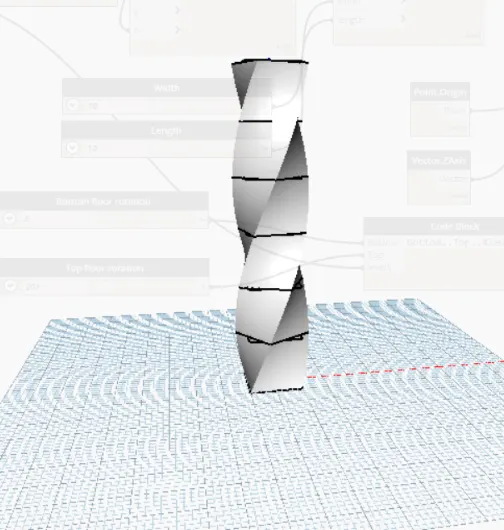
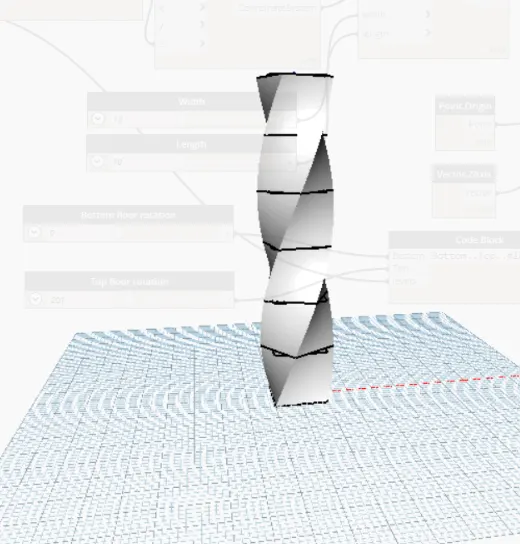
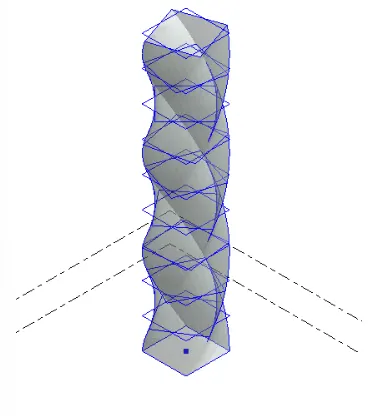
- Hence the parametric stadium is created.
Result: