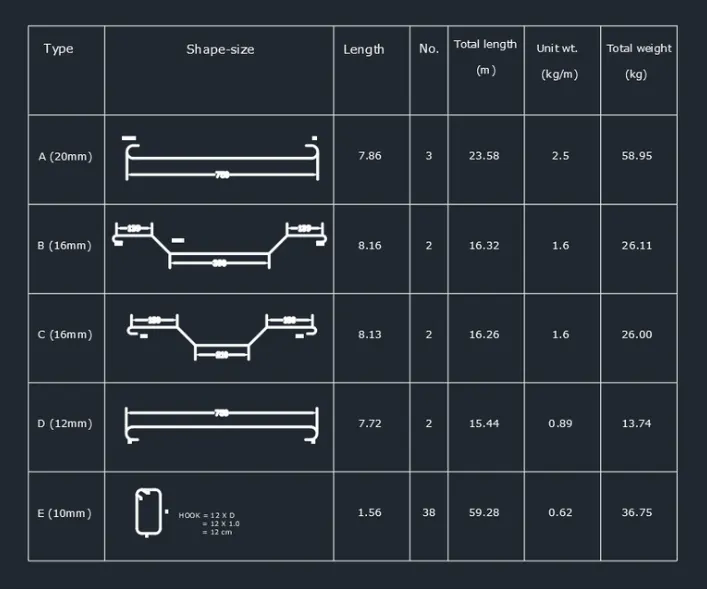
Creating Bar Bending schedule, Different Door types, and Creation of standard drawing templates using AutoCad
AIM : CREATING THE STANDARD TITLE BLOCK TEMPLATES OFTEN USED WHILE SUBMITTING THE ARCHITECTURAL DRAWINGS.
PROCEDURE
Title Block One:
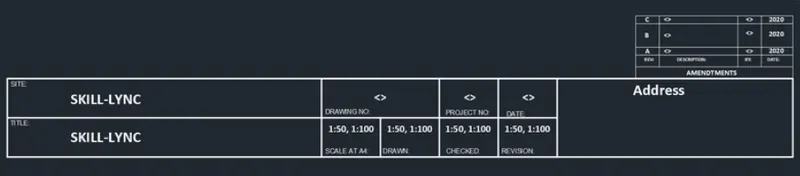
- Create the Table by using the rectangle command and draft all four sides of the table.
- Using line, offset, and extend commands, draw the blocks the table to complete the table layout.
- Add the Required Text by using Text command.
- Set the standard text style according to the table specifications.
- Set up the required text height and font.
- Use multiline text and start adding the required notations.
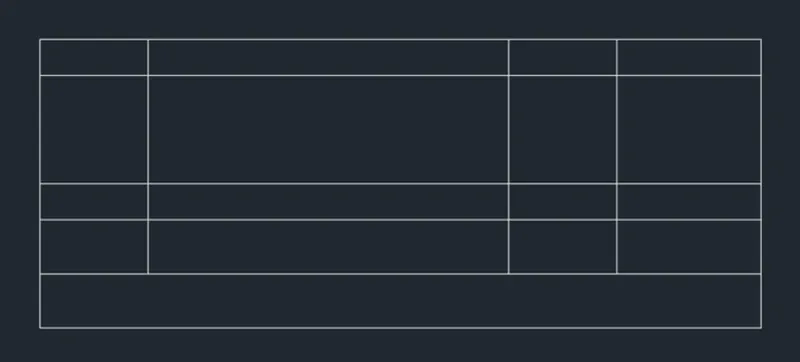
- Title Block Two:
- Draft the layout of smaller block
- Add the Relevant Text to Complete the Smaller Block
- Add up the Required Texts as shown in the figure
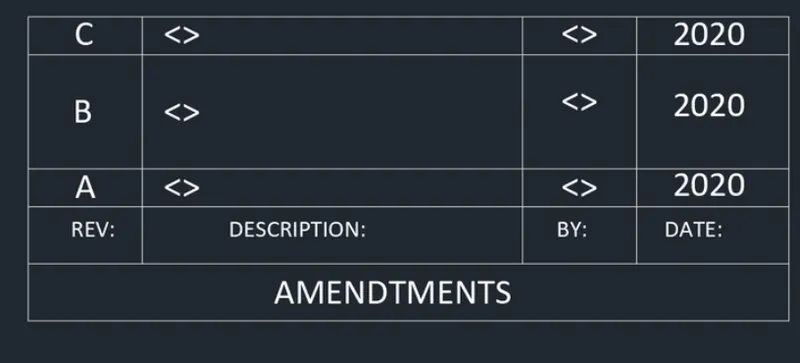
- Now using the line command and offset command draw the other part of the table, as per the dimension given.
- Use Trim command and unwanted lines. now the title block is ready to insert the Text.
- Add the small table to the larger one so as to arrange the whole title box
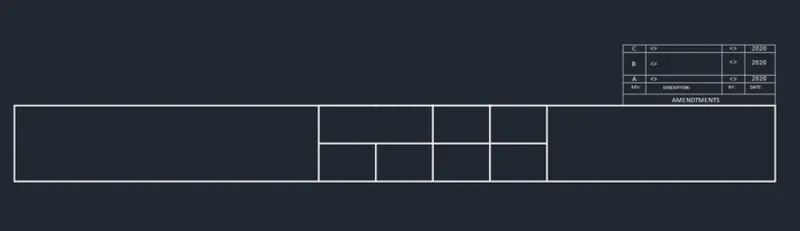
- Arrange the Text size as per requirenment of the Box/Title
- Arrange the text in the middle of the Boxes or as shown in the figure
- Using Move command , move the small table made earlier to the left top side of the bigger table.
- Final Table will be as follows
2. Create the doors type for warehouse as shown in the Figure. You need to create each door type as per standard size or given dimensions. Create the blocks of this door type after creating them
Procedure :
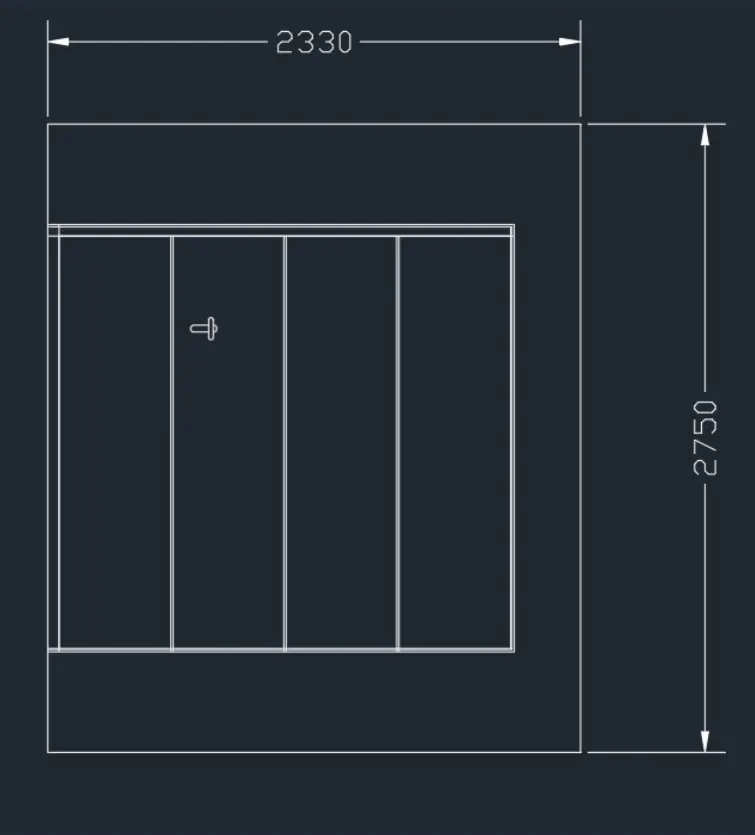
- Draw the outline of the Door by using Rectangle command of dimension 2330 x2750
- Now offset the lines Vertically and Horizontally as per the requirenments, as shown below
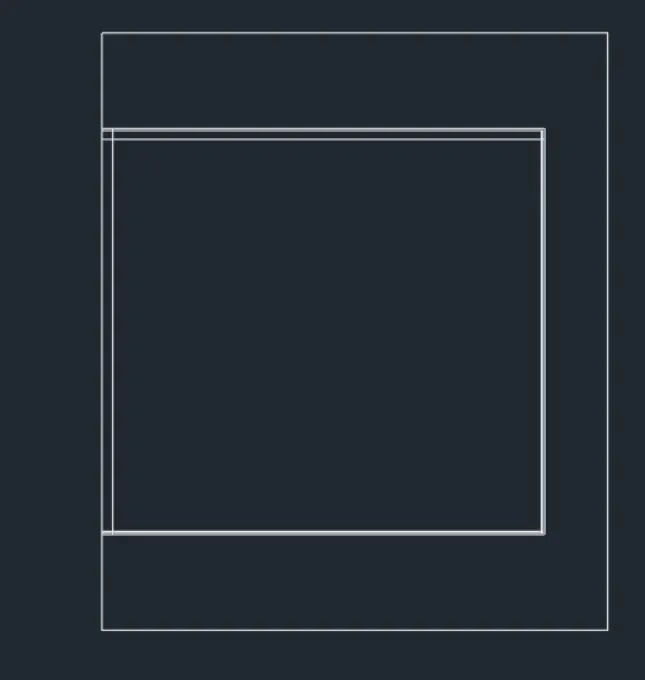
- Make four equal columns within the Door outline
- Make the offset trim as per the design, also make a handle by using line command
- Use dimension command to show Dimension o fthe Doors
- Using offset command , only after trimmimg extra lines
- Offset the vertical and horizontal lines so as to make the rectangular design
- Or region the outter rectangular of the design then offset them inside
- Join the corners of the rectangular designs of the Doors
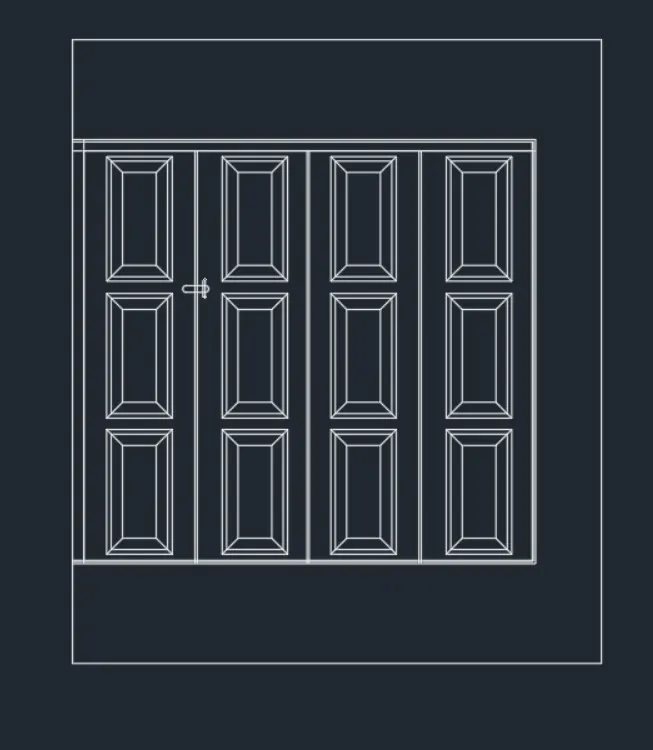
- Make a finishing of the Doors
- Mark the dimensions
- Finall RESULT of DOOR 1 :
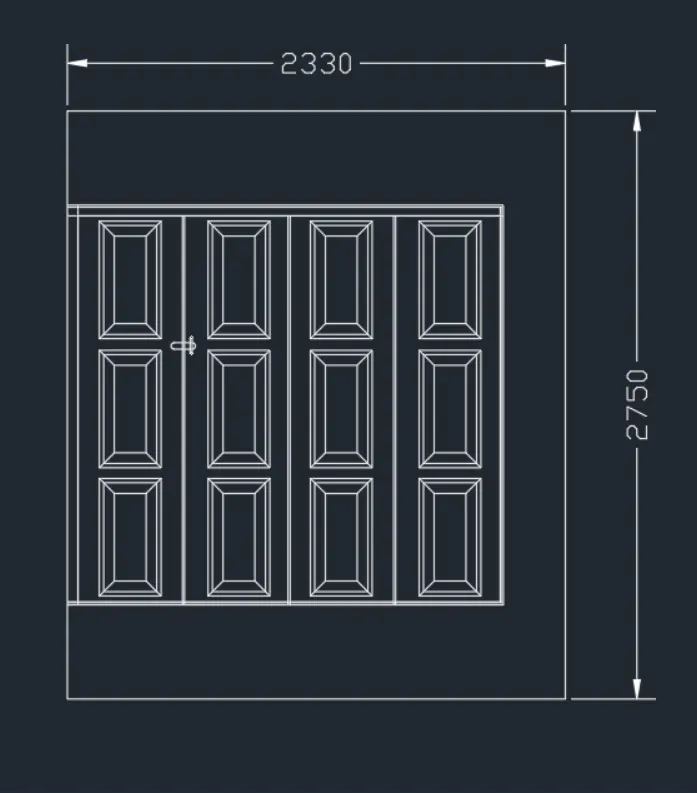
Copy the objects from the first door design and arrange them accordingly.
RESULT Door 2
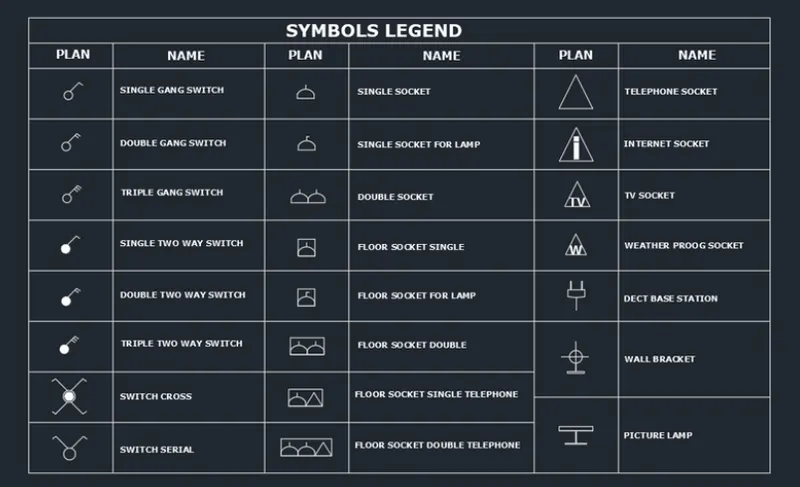
3. Create each symbol as a block with the name given in the legend. After creating the blocks arrange them in the legend as shown in the Figure.
PROCEDURE :
- Using Line command make the symbols of smaller size so as they can be arranged within the Table blocks
- Uisng Hatch command ( solid) to hatch the key white part
- Use Text command That too in Bold and arrange the alphabets "i" "TV" and "w" within the triangles

- Draw a Table form the Table command using Title, headder and content.
- For the bottom seperation of the Table use Offset command
- Trim the unwanted lines to make the arranged Table Layout
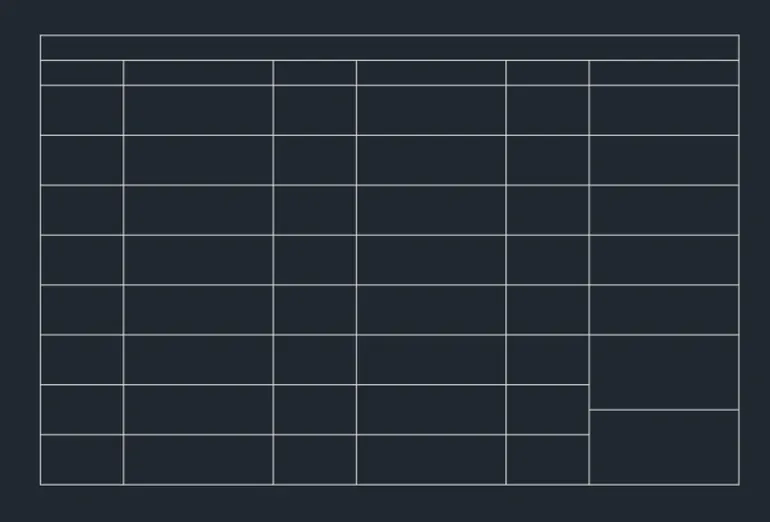
- Copy all the symbols made in the previous steps one by one the Table columns
- Use Text command BOLD for the Title and the Header as shown below
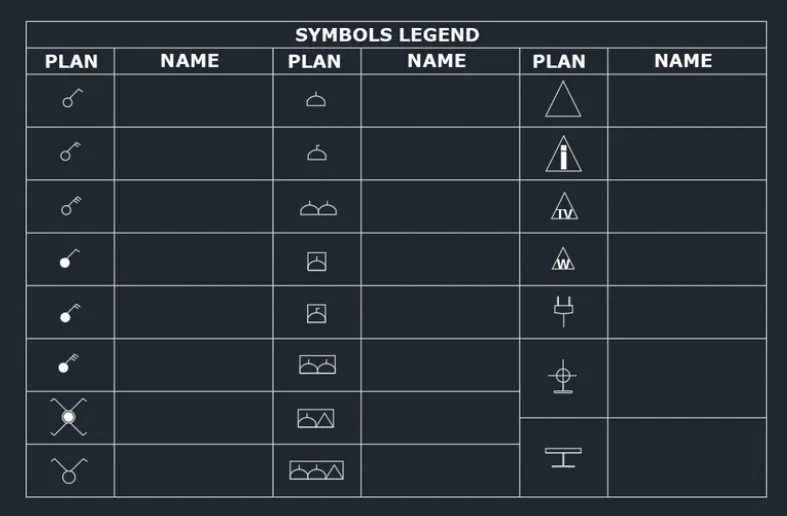
- Either arrange the Text by copy command of explode the blocks for the clearer Text
- Arrange the Text within the Block at the center
- Final RESULT:
- CREATING DIFFERENT DOOR TYPES FOR THE RESIDENTIAL BUILDINGS.
- Go to Units Change the Dimension to the Architectural and set Dimension limits
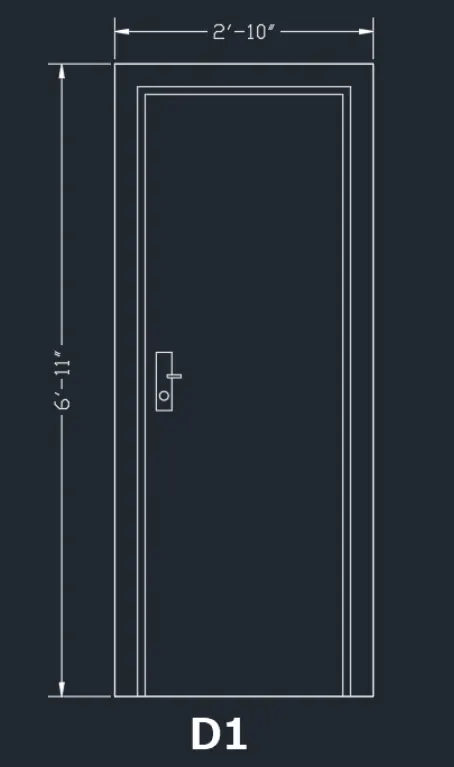
- Door one with the given frame design.
- Rectangle Command of dimension 2'10" x 6'11"
- Use Offset command inner side Twice
- Make the Door Handle
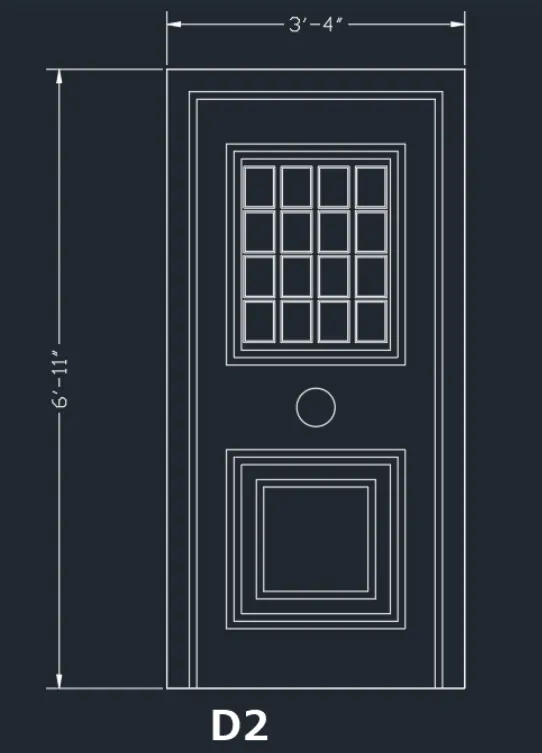
D2 with the given frame design.
- Use same steps as in the previous doors for the outter frame
- Now make the design of Doors with the help of Rectangle command and with Array command( rectangular)
- Now for the Bottom space
- Make a rectangle the make Offset as per requirenment 4 times
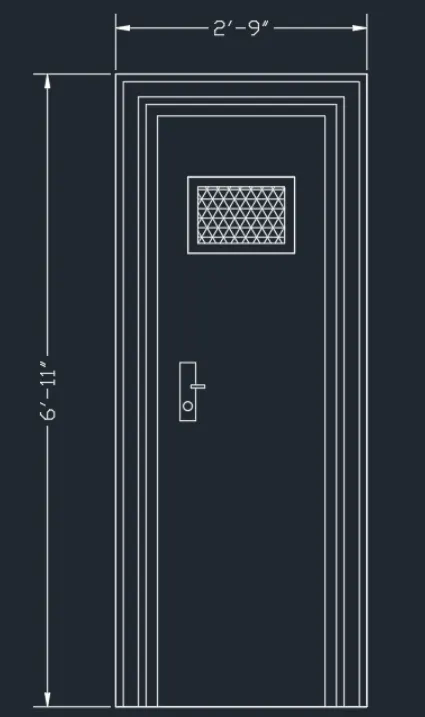
D3 with the same drafting pattern.
- Make the outter frame of door from Rectangle command of size 2'9" x 6' 11"
- Now offset the outter side of the rectangle to the inner side with appropriate distance
- Now make a rectangle on the upper side as per design
- Now HATCH the center rectangle with the Mesh design
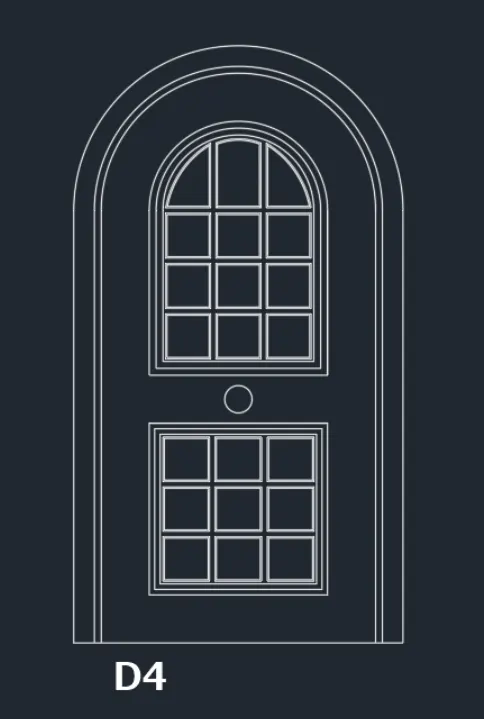
D4 design.
- Copy the above Door 2 and make required edits
- Now using circle command on the top side of the door, and trim or remove unnecessary lines
- Now offset the semicircle to the inner side as per the requirenment and make the trim as per design
Door 5
- Follow similar steps as in Door 2
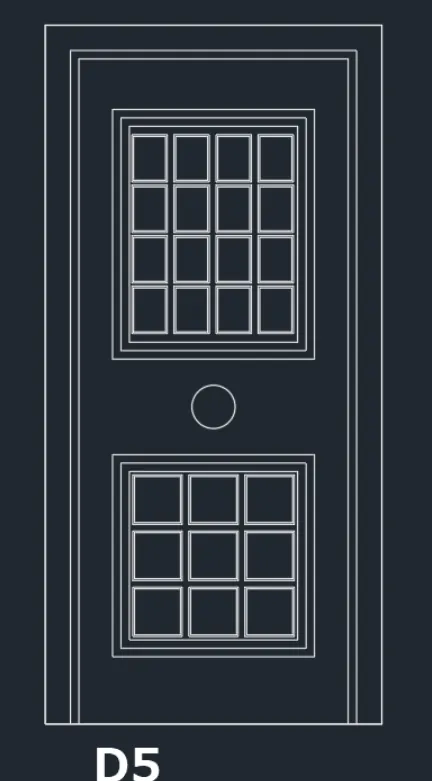
Door 6:
- Follow the required steps to achieve the following design of Door
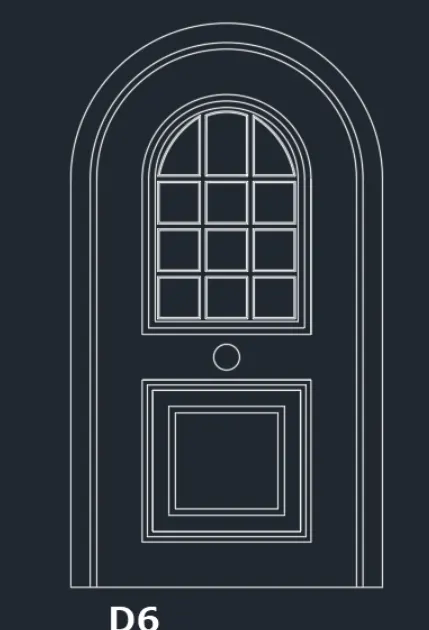
5. Create each shape as a block as shown in the Figure. Save the block and insert them on the table as shown in the Figure.
Designing all the bar details.
fILLET COMMAND AND lINE COMMNAD ARE USED
BAR ONE
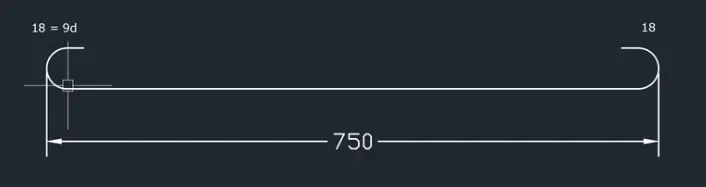
BAR TWO
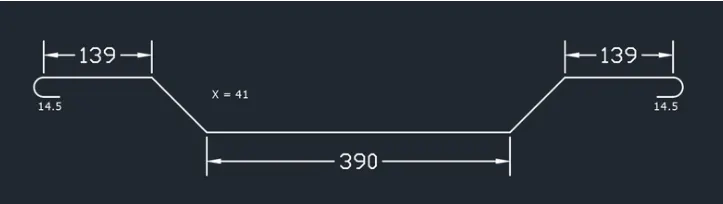
BAR THREE
BAR FOUR
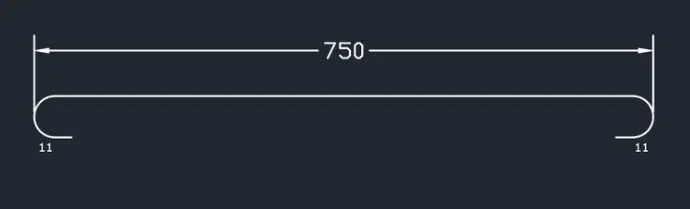
BAR FIVE
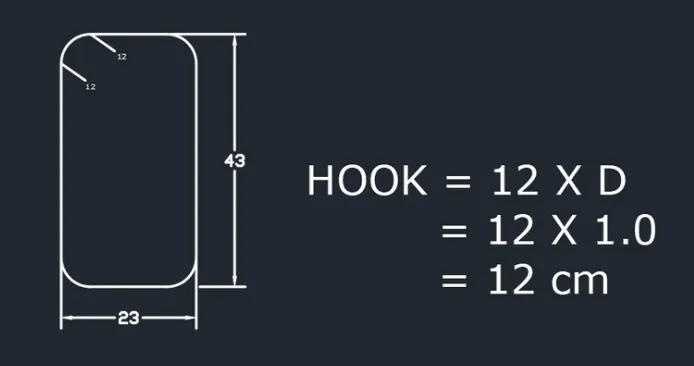
- Drafting the table and then inserting all the relevant bar bending information required at the site.
- RESULT :