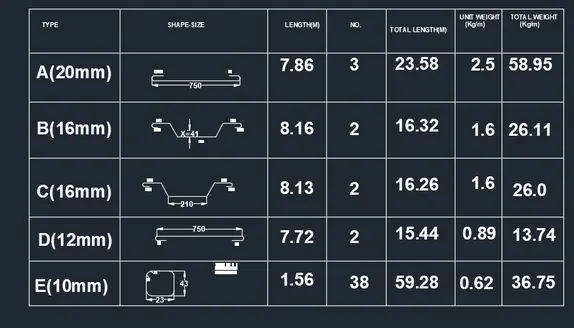
Creating Bar Bending schedule, Different Door types, and Creation of standard drawing templates using AutoCad
Initial Procedure:
- Open AutoCad and select the metric system
- Now set the units and select Decimals with precision 0
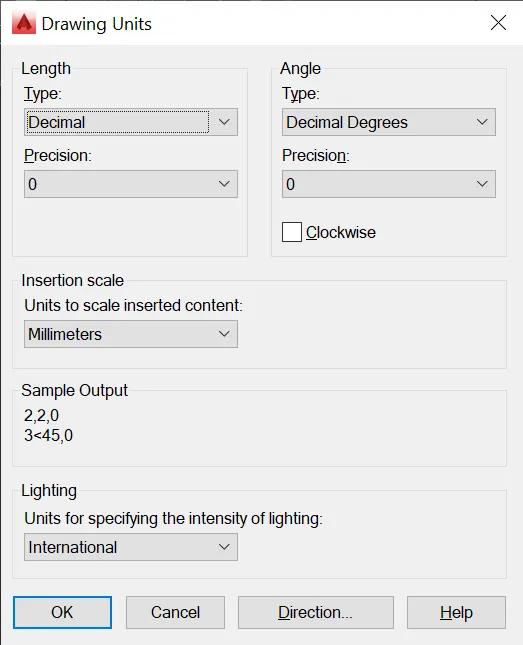
- Now set the Limits as Lower limit to 0,0 and upper limit to 1000,1000
- Now use the ZOOM command and select All.
1.
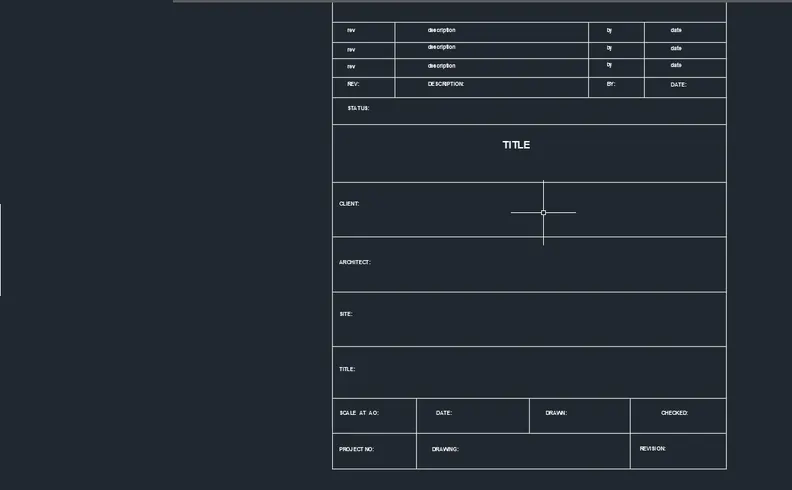
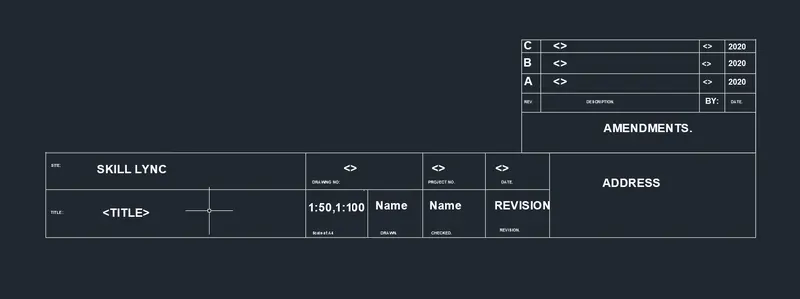
Aim: To create the templates as shown in Figures
Procedure:
- Using the LINE command, draw a line of any length.
- And using the OFFSET command, offset the lines and create the required columns and rows
- Using Multiline text, type the required text at the appropriate space and adjust the style and text height
- Now, using BLOCK command, block definition block appears and specify the name as Custom1_titleblock and on picking the point and selecting the object, object gets created.
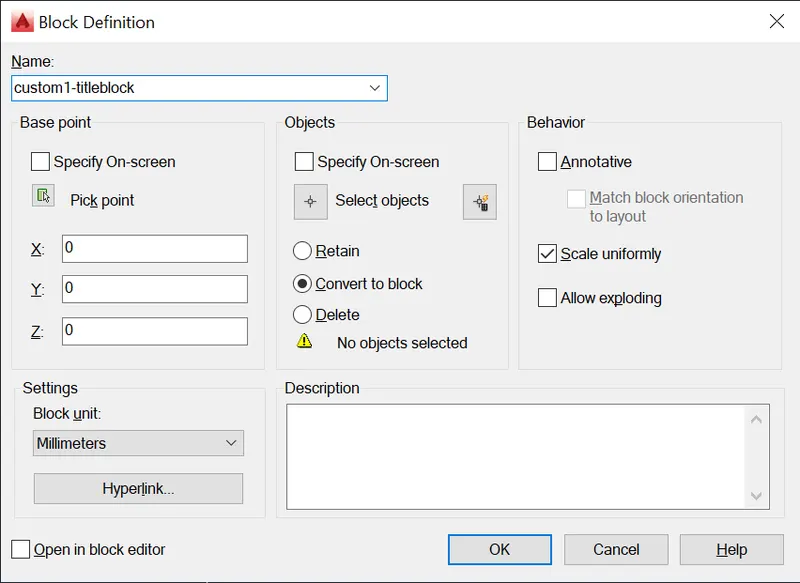
- Now we can insert the object where ever we want using the ribbon menu, by selecting Insert. From insert, select Block panel and then click Insert block.
- Similarily, using the LINE command, draw a line of any length.
- And using the OFFSET command, offset the lines and create the required columns and rows
- Using Multiline text, type the required text at the appropriate space and adjust the style and text height
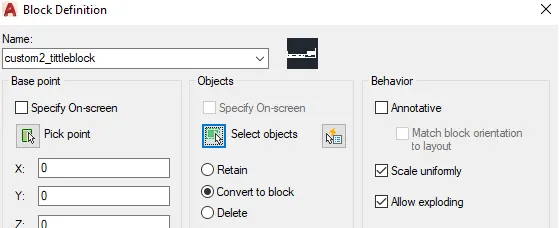
- Now, using BLOCK command, block definition block appears and specify the name as Custom2_titleblock and on picking the point and selecting the object, object gets created.
Result:
2.
Aim: To create the doors type for warehouse and to create blocks of this door type after sketching them.
Procedure:
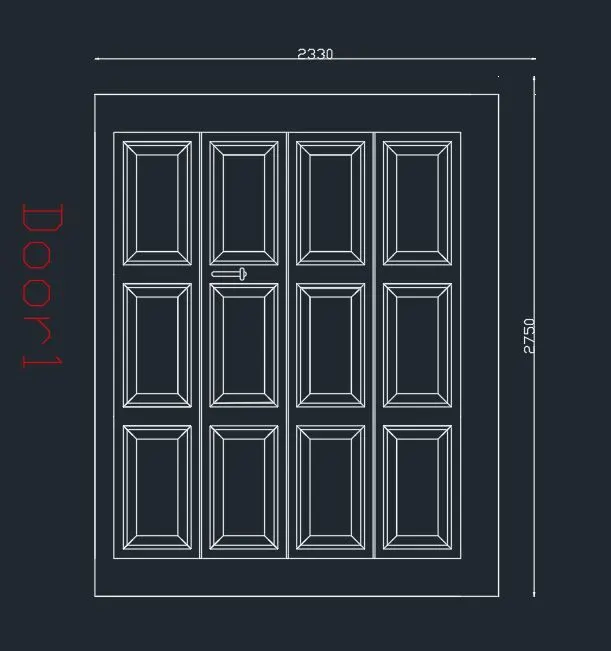
- Using the RECTANGLE command, a rectangle of 2330*2750mm is made.
- Now draw a rectangle at the same left side of the previously drawn rectangle.
- Now using OFFSET command, the four panels are made using OSNAP on.
- The handle of the door is also drawn using LINE command, OFFSET command andARC command ..
- Now using the TRIM command, trim off the unwanted lines.
- Dimensioning is done and Text as DOOR 1
- Now from the Ribbon bar, select BLOCK, Create Block
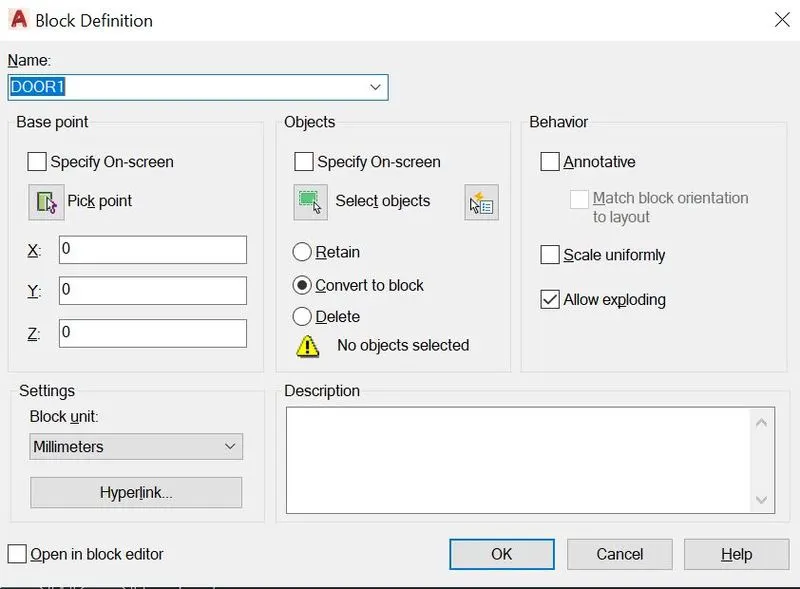
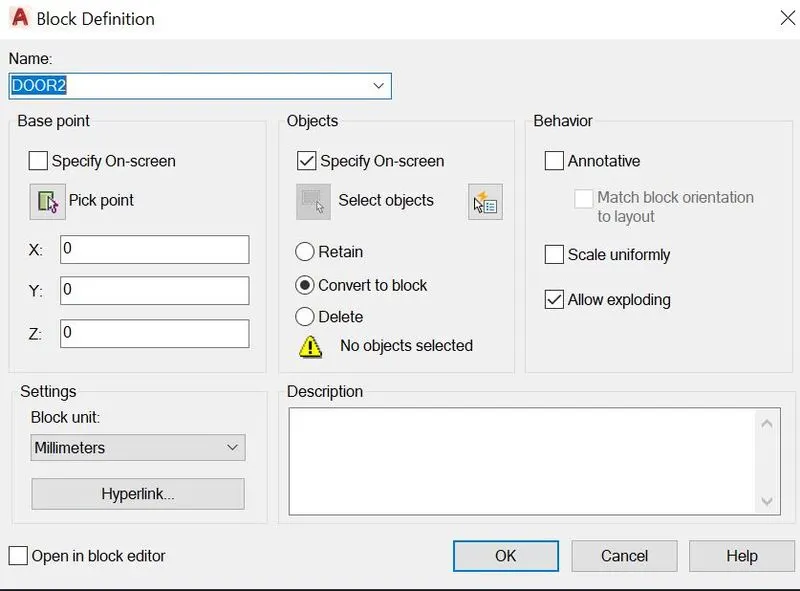
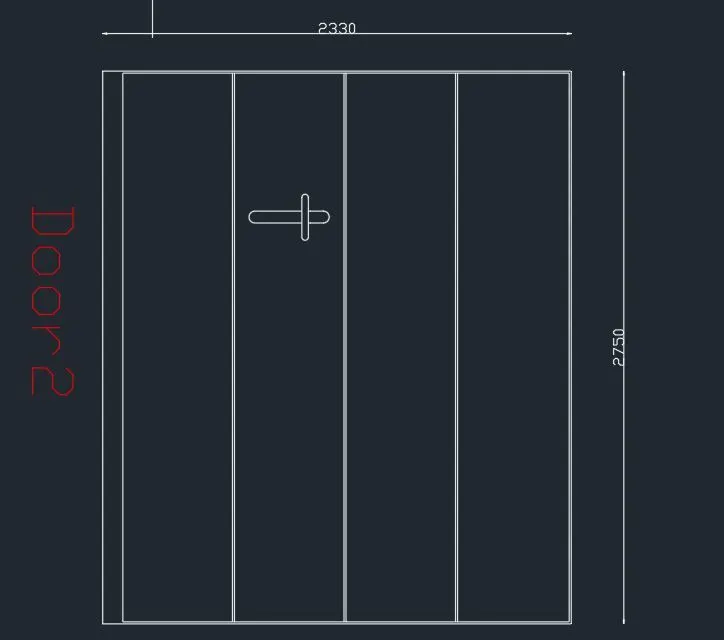
- Similarily Door 2 is created and Saved as a block using BLOCK command, selecting the objects.
Result:
3.
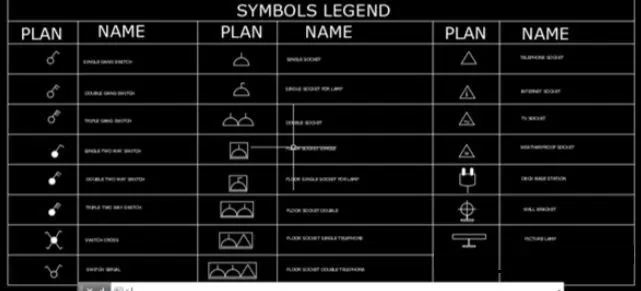
Aim: To sketch each symbol as a block with the name given in the legen and arranging them as in legend.
Procedure:
- Using LINE command, start sketching each symbol
- With the help of circle command, circles and semi-circles are made using CIRCLE command and fill them using DONOUT command, by giving the internal diameter as 0
- Use the RECTANGLE command to encase the symbols in the rectangle.
- Using the Text, we can insert any text inside or outside the Symbol.
- After creating each symbol, using block command, select each symbol and name them.
- Finally 23 blocks will be created.
- SINGLE GANG SWITCH:

- DOUBLE GANG SWITCH:
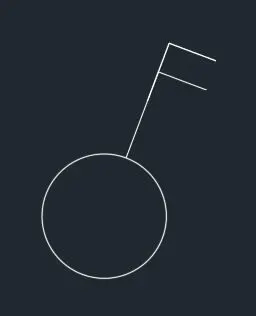
- TRIPLE GANG SWITCH:

- SINGLE TWO WAY GANG SWITCH:

- DOUBLE TWO WAY GANG SWITCH:
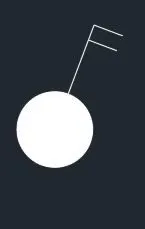
- TRIPLE TWO WAY GANG SWITCH:

- SWITCH CROSS:

- SWITCH SERIAL:

- SINGLE SOCKET:
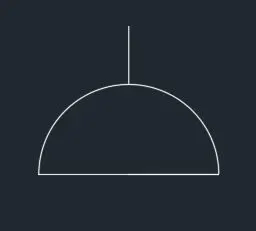
- SINGLE SOCKET FOR LAMP
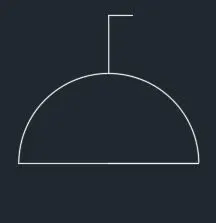
- DOUBLE SOCKET:
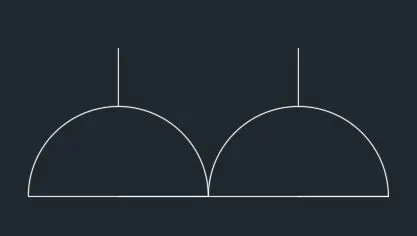
- FLOOR SOCKET SINGLE:
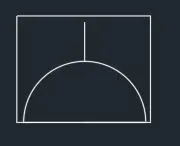
- FLOOR SINGLE SOCKET FOR LAMP:
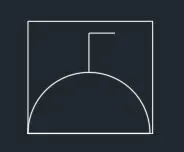
- FLOOR SOCKET DOUBLE:
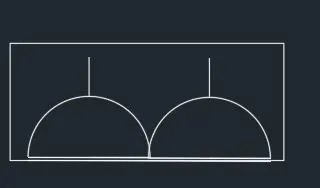
- FLOOR SOCKET SINGLE TELEPHONE
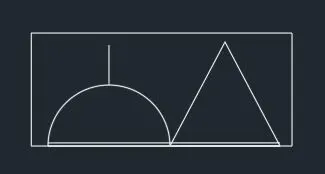
- FLOOR SOCKET DOUBLE TELEPHONE
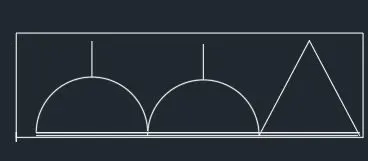
- TELEPHONE SOCKET
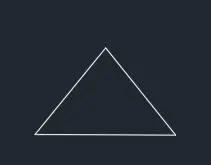
- INTERNET SOCKET
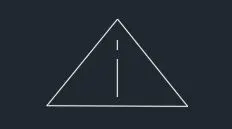
- TV SOCKET

- WEATHERPROOF SOCKET

- DECT BASE STATION
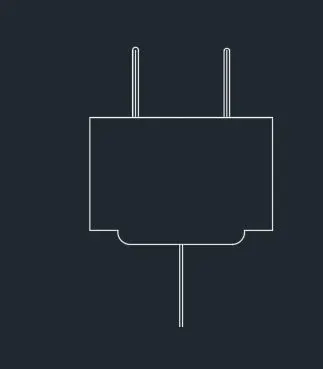
- WALL BRACKET
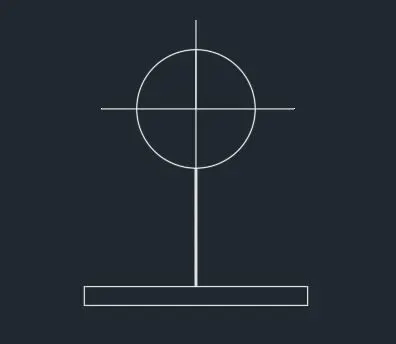
- PICTURE LAMP
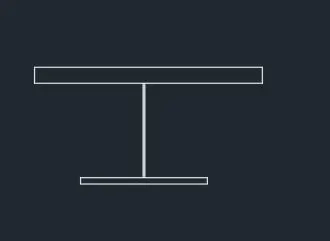
- Now create a rectangular table as shown in the legend with the same number of rows and columns.
- Texts are written in the correct column and row
- Now insert each symbol block in the appropreate rows and columns, by selecting the select object and naming it.
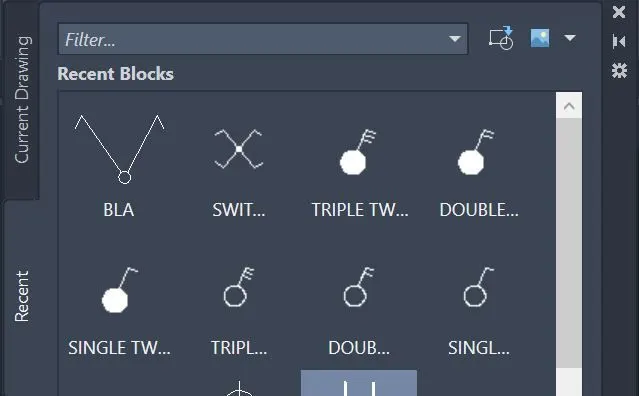
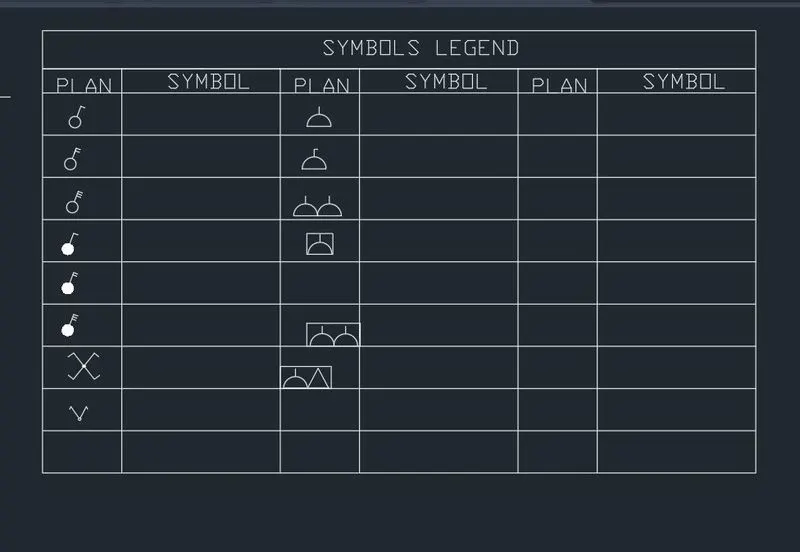
- Make the symbol aligned
- Fill the rows and columns and make text font, height adjustments accordingly.
- Trim off the excess rows and columns
Result:
4.
Aim: To draft the given Doors and to create it as a block
Procedure:
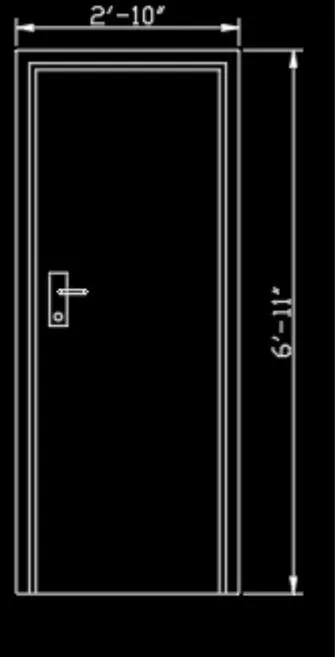
- For the first door, draw a line of 6'11" and 2'10" on both sides
- Now using OFFSET command, OFFSET the door panel according to the specification.
- With the RECTANGLE command, the door lock is made
- In the command prompt, command, BLOCK and pick the objects to be selected and save
- Now we can insert this object where ever we need
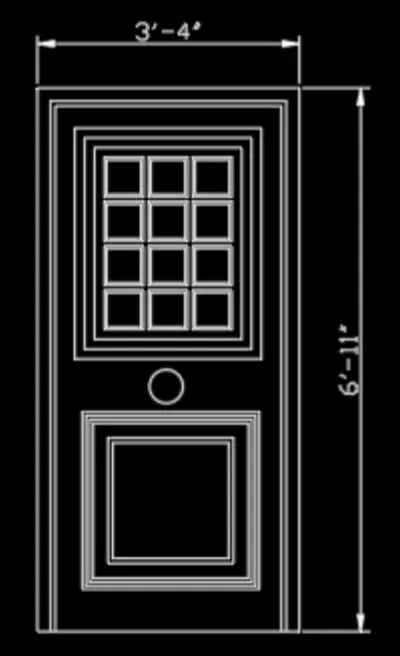
- For the second door draw a line of 6'11" and 3'4" on both sides
- Now using OFFSET command, OFFSET the door panel according to the specification.
- Using the DIVIDE and OFFSET command, the door design is made
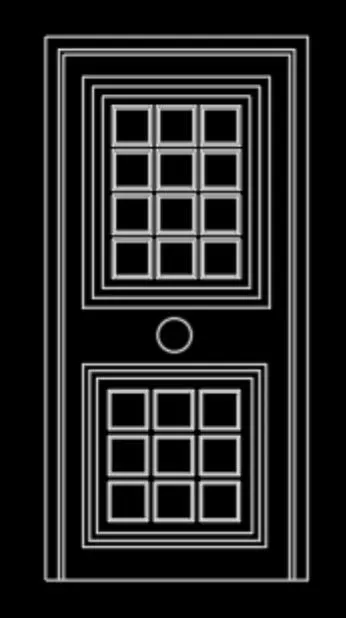
- The centre circle is made using the CIRCLE command.
- With the RECTANGLE command, the door lock is made
- In the command prompt, command, BLOCK and pick the objects to be selected and save
- Now we can insert this object where ever we need
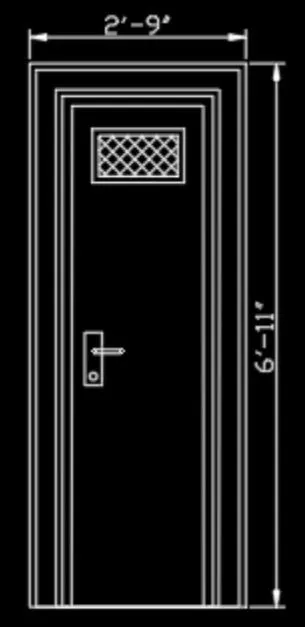
- For the third door draw a line of 6'11" and 2'9" on both sides
- Now using OFFSET command, OFFSET the door panel according to the specification.
- For hatching, use the HATCH command and select ANS 131 scaling to 1.5
- The centre circle is made using the CIRCLE command.
- With the RECTANGLE command, the door lock is made
- In the command prompt, command, BLOCK and pick the objects to be selected and save
- Now we can insert this object where ever we need
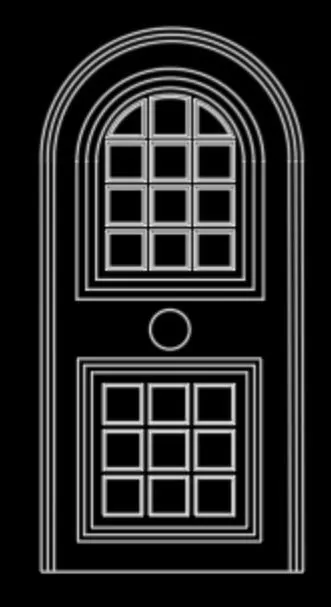
- For the fourth door draw a line of 6'11" and 3'4" on both sides
- Create the top arc using the ARC , with start, centre and end
- Now using OFFSET command, OFFSET the door panel according to the specification.
- Using the DIVIDE and OFFSET command, the door design is made
- The centre circle is made using the CIRCLE command.
- With the RECTANGLE command, the door lock is made
- In the command prompt, command, BLOCK and pick the objects to be selected and save
- Now we can insert this object where ever we need
- For the fifth door draw a line of 6'11" and 3'4" on both sides
- Now using OFFSET command, OFFSET the door panel according to the specification.
- Using the DIVIDE and OFFSET command, the door design is made
- The centre circle is made using the CIRCLE command.
- With the RECTANGLE command, the door lock is made
- In the command prompt, command, BLOCK and pick the objects to be selected and save
- Now we can insert this object where ever we need
- For the sixth door draw a line of 6'11" and 3'4" on both sides
- Create the top arc using the ARC , with start, centre and end
- Now using OFFSET command, OFFSET the door panel according to the specification.
- Using the DIVIDE and OFFSET command, the door design is made
- The centre circle is made using the CIRCLE command.
- With the RECTANGLE command, the door lock is made
- In the command prompt, command, BLOCK and pick the objects to be selected and save
- Now we can insert this object where ever we need
Result:
5.
Aim: To create each shape as in block given
Procedure:
- Using the RECTANGLE command, a rectangle is created.
- Now using DIVIDE command, divide the rectangle into required number of rows and columns.
- Set this table aside
- Now draw each shapes with the dimensions given using LINE and CIRCLE, DONUT commands.
- Insert the required text in the appropriate space and modify the dimension style if needed.
- Using BLOCK command in command prompt, select all the objects needed to set as block.
- Save it and insert it in the required row and columns
Result: