Creating Bar Bending schedule, Different Door types, and Creation of standard drawing templates using AutoCad
AIM:
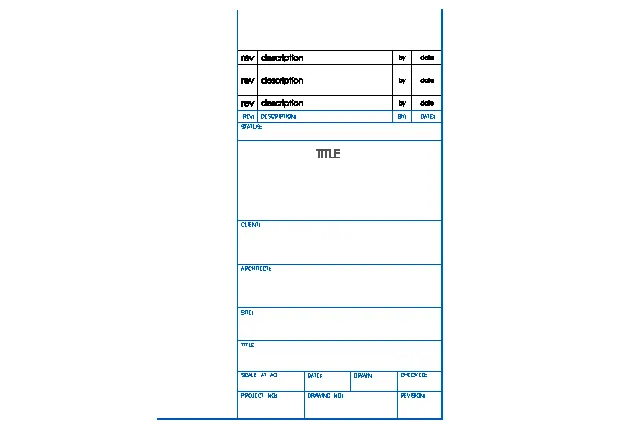
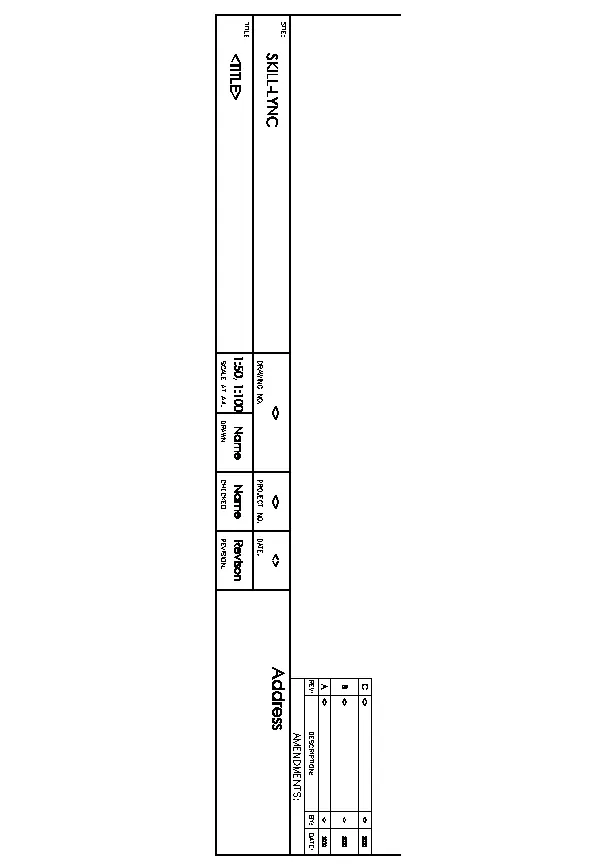
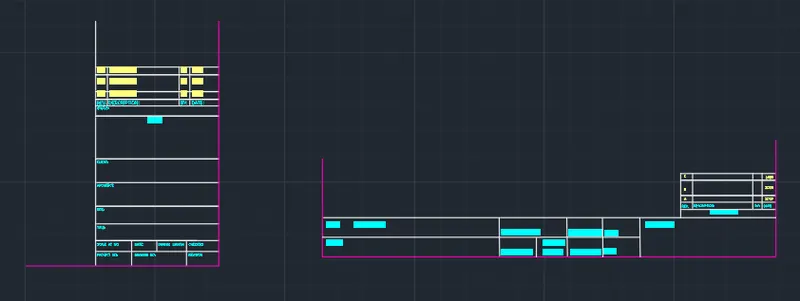
Create the templates as shown in Figures. Take the size of the title block as per industry standards or you can assume it as per the size of the paper. Use text and attributes wherever required. After creating the title block you need to save it as a block with names: Custom1_titleblock and Custom2_titleblock, respectively.
INTRODUCTION:
- Drawing a compay and job details in a table that where present in the bottom of left corner with using line command and offset and text with there seperate layer properties
PROCEDURE
- Open the new cad drawing
- Use the layer properties to draw a drawing in as seperates layers
- Use the rectangle command and draw a required table box
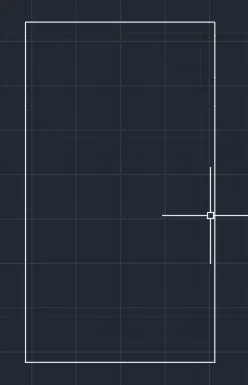
- explode the rectangle by using explode command
- and use the offset command and do offset of the required table
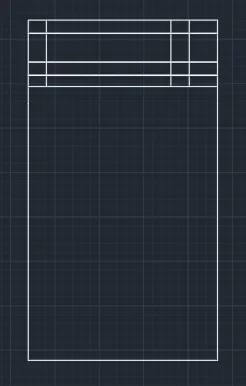
- draw the reuired lines by using line command
- Write the text my using yext command with ther layer properties
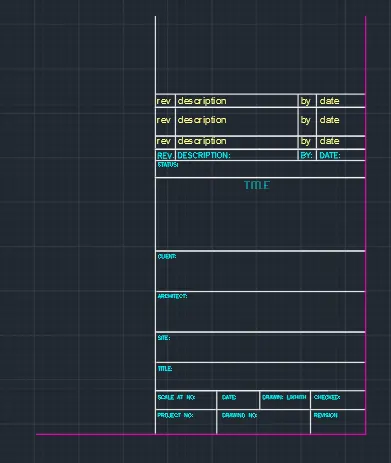
- Use the line command and draw a required table form lines
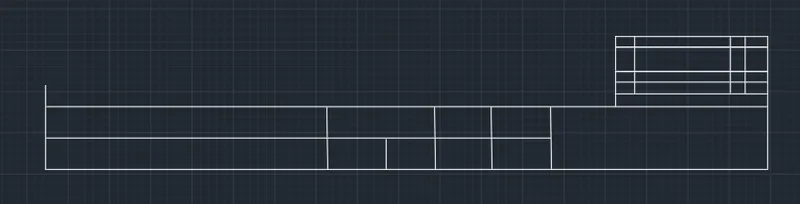
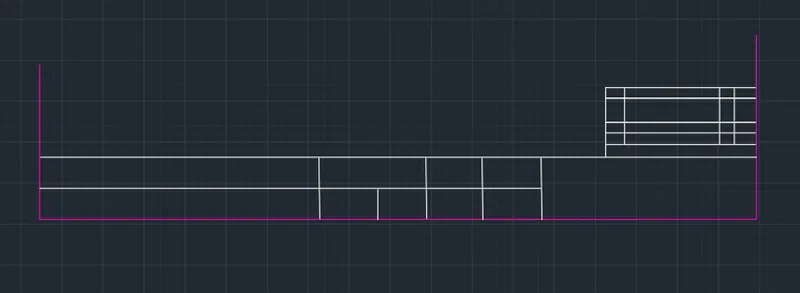
- Change the boundry lines to required layer
- Write the text my using yext command with ther layer properties
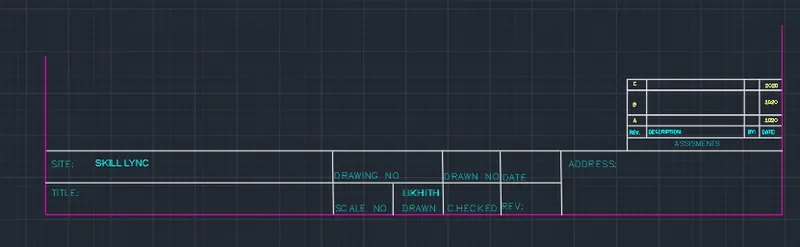
RESULT:
AIM:
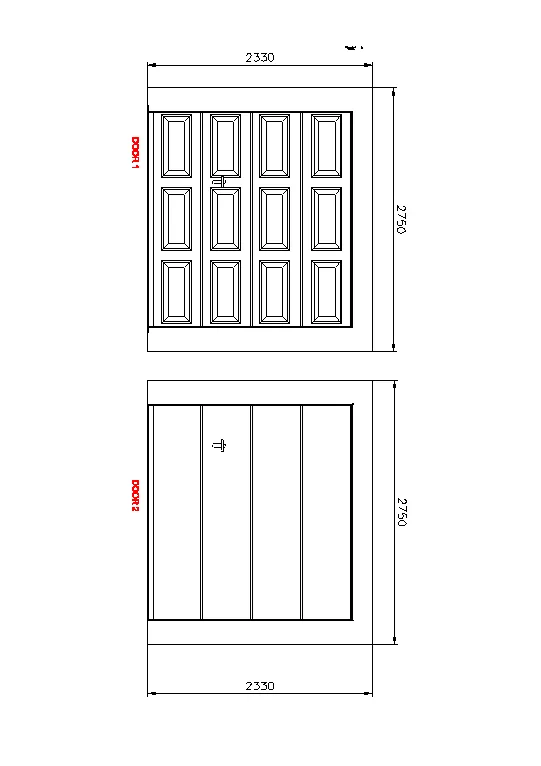
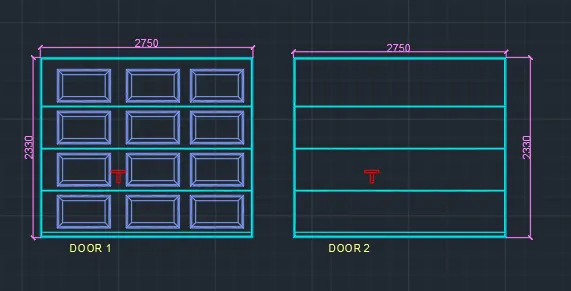
Create the doors type for warehouse as shown in the Figure. You need to create each door type as per standard size or given dimensions. Create the blocks of this door type after creating them.
INTRODUCTION:
- Drawing aa door with line command and offset abd rectangle with the dimension and and make block with named by door1 and door 2 and use in the elevation drawing
PROCEDURE:
- Use the rectangle command by using rec enter (2750,2330) by using layer properties
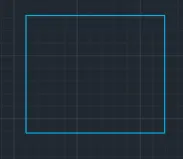
- and do offset as a required distance of the frames of the door
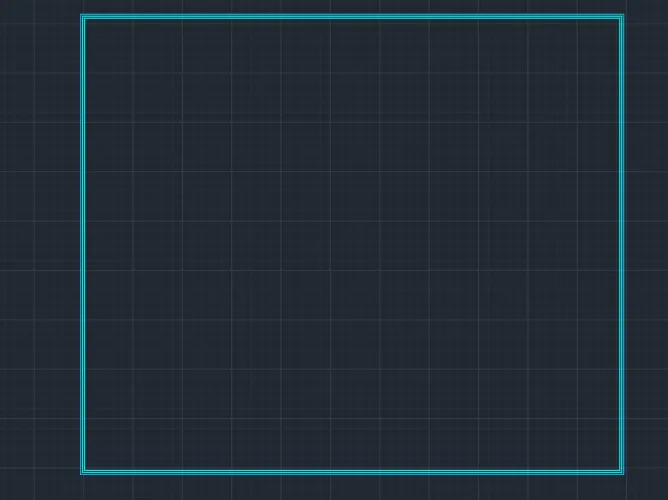
- Draw a rectangle and do offset and to inside framing and use line command to complete the required drawing
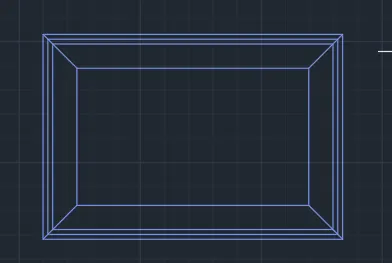
- Use the block command and makes at is block and names as design
- Use the command b enter the dailog box appear as shown in below figure
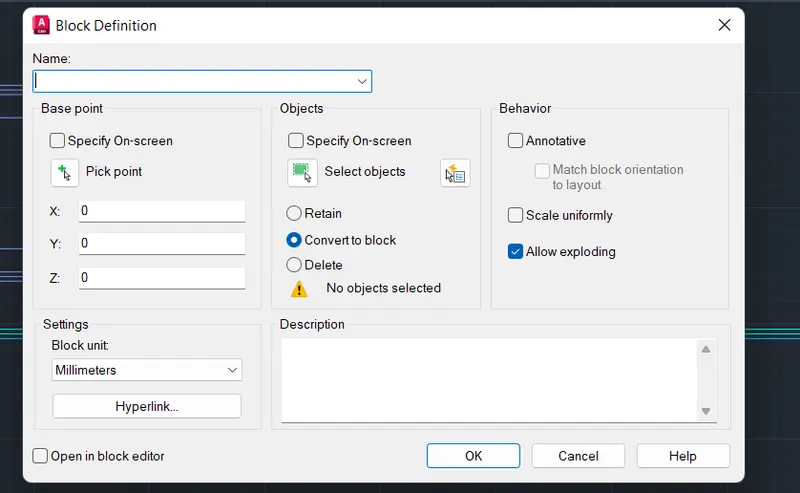
- Select the pickup point to place the drawing first and select the objsect by using select object
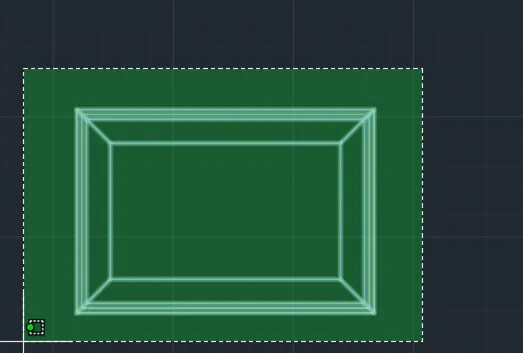
- And click on ok to convert into the block
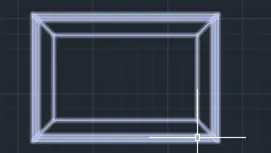
- Use the command i enter to insert the block by using pick point taken in the procedure
- And paste into the required positions
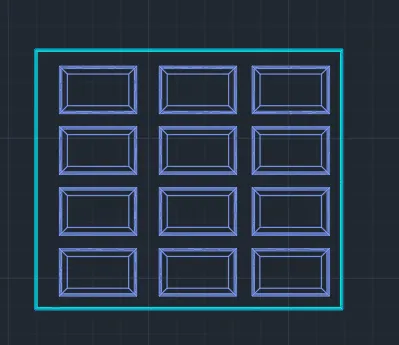
- Draw the handle by using handle layer properties
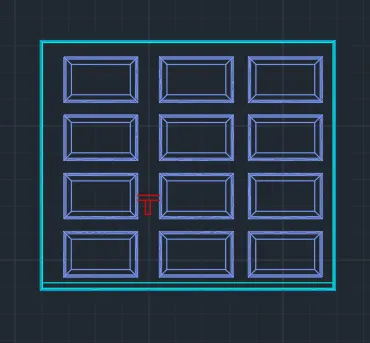
- Same to draw an another door
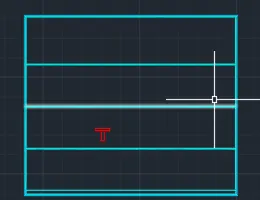
- Erite the text by using Text command with the text layer properties
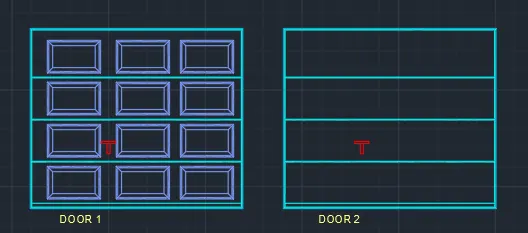
RESULT:
AIM:
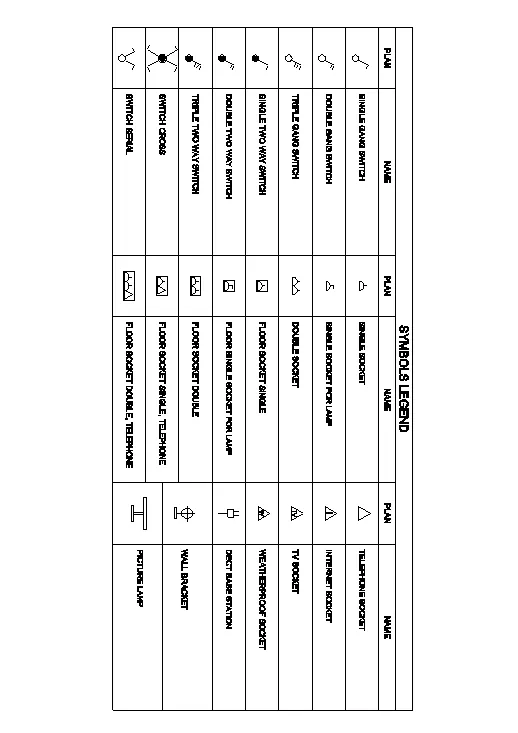
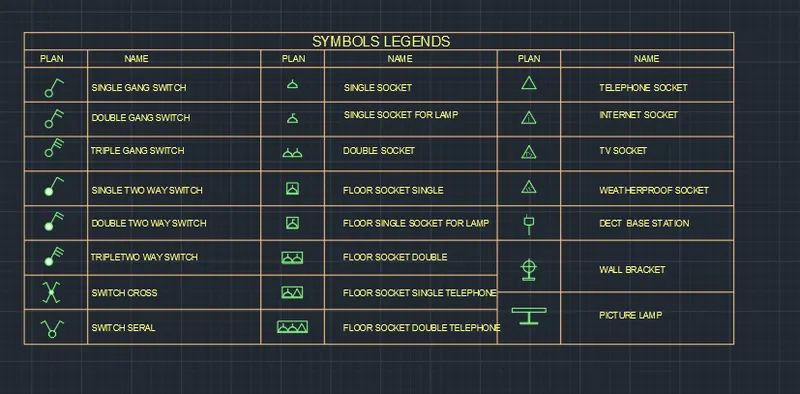
Create each symbol as a block with the name given in the legend. After creating the blocks arrange them in the legend as shown in the Figure.
INTRODUCTION
- draw the electrical items named with there names using text make it into a block with there names to show the electrical iteams where present in the plan drawing and use the table command and draw the table and mention the all details with there layer properties
PROCEDURE:
- Draw the single gang switch symbol

- and write the text with the text layer

- Use the block command and maket the both symbol and text in a sigle block
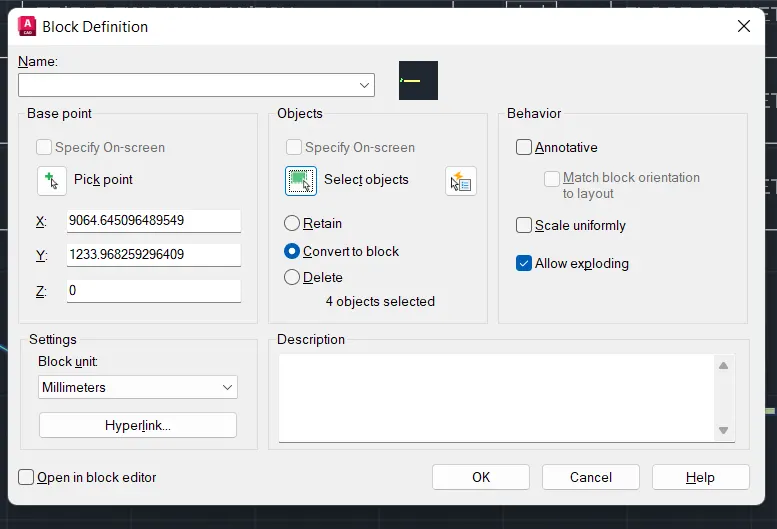
- Select pick point and slect object and enter
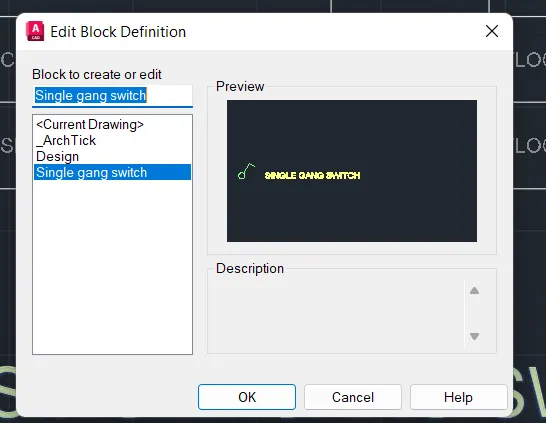
- Draw double gang switch and make it into block

- Draw the required symbols including text and make block individual

- Draw the required symbols including text and make block individual
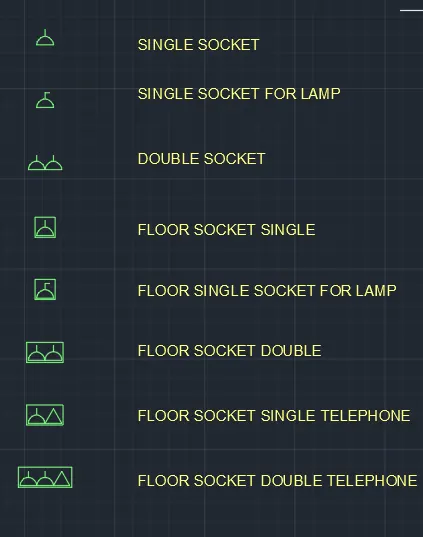
- Draw the required symbols including text and make block individual
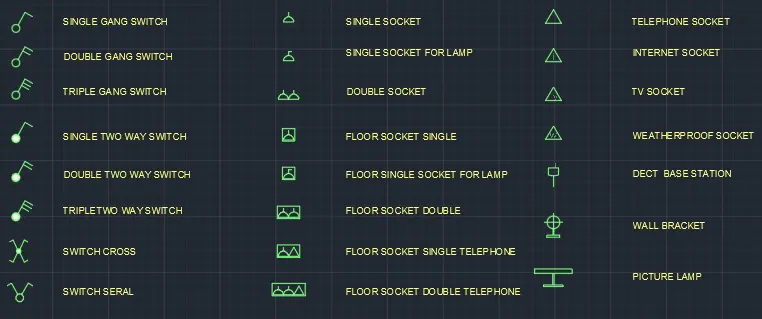
- Use the table command and with required columns and rows and enter
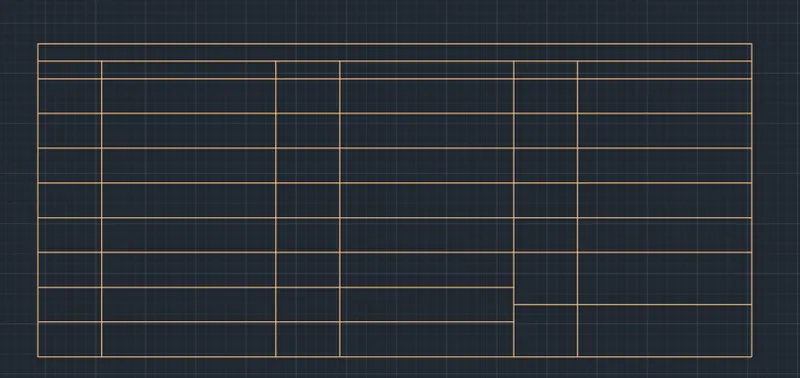
- Insert the required blocks by using i enter as indiviuals and enter
RESULT
AIM:
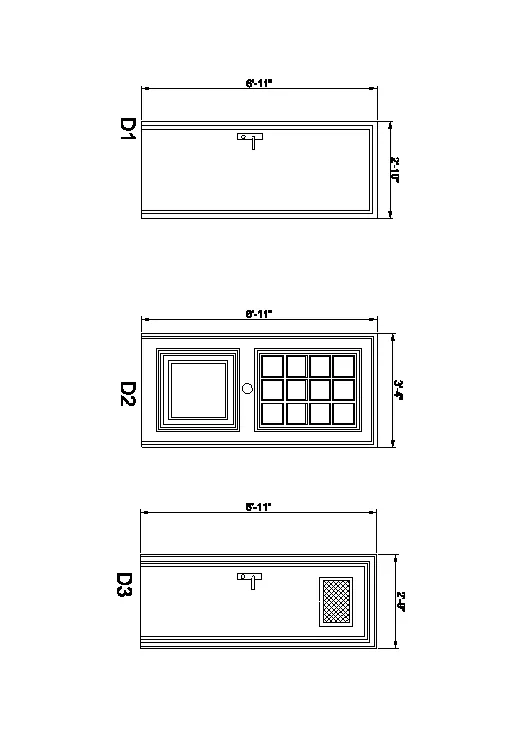
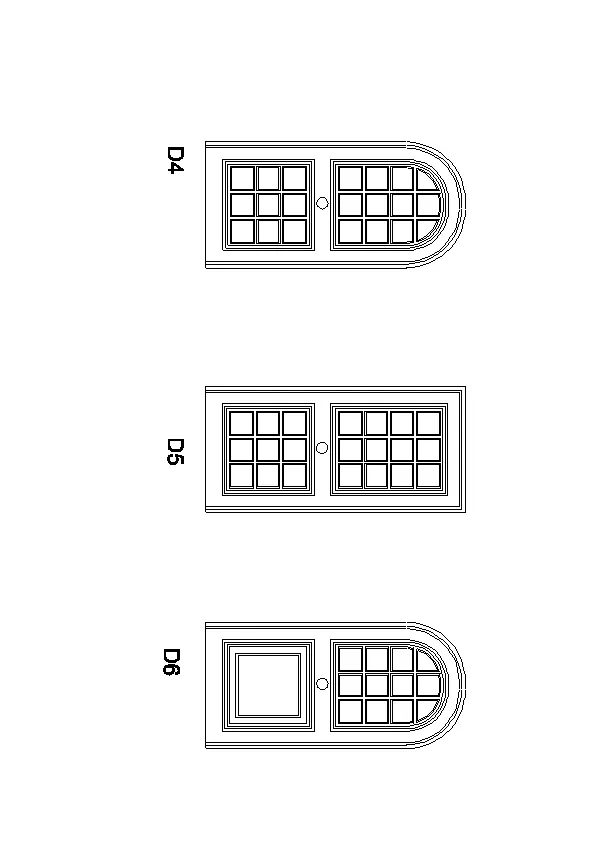
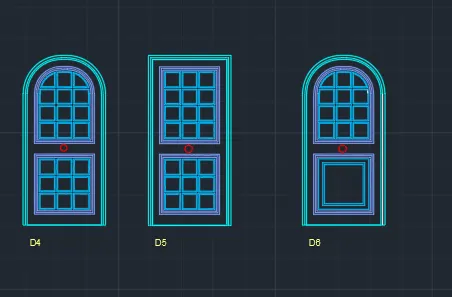
Create the door type for residential building as a block. Save the name of the blocks as type. Use given dimensions or assume dimensions as per industry standards.
INTRODUCTION:
- Draw the doors with there dimensions with their layer properties and assume few of then and make it into a block and use the elvations drawings and sections to show the details of the clinent
PROCEDURE:
- Open the new drawing file
- and change the units to decimals to engineering and precision 0'-0" and insertion scale is in inches
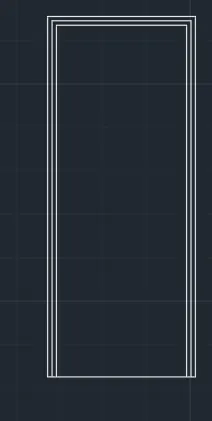
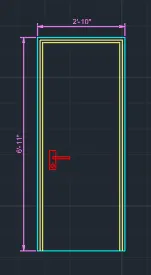
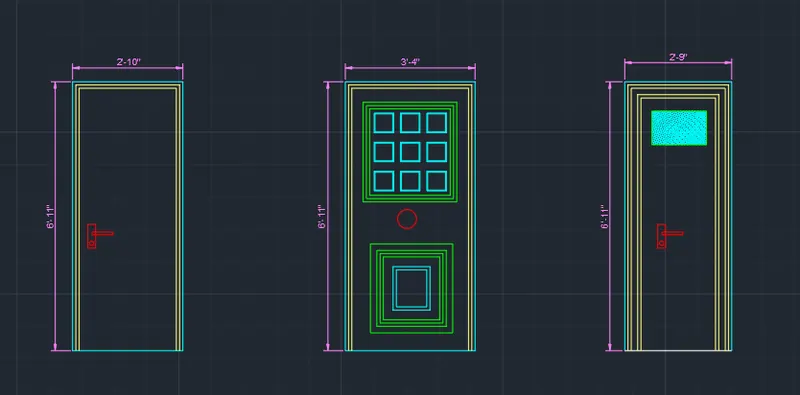
- Draw a rectangle with 2'10",6'11" and enter
- and after explode the rectangle
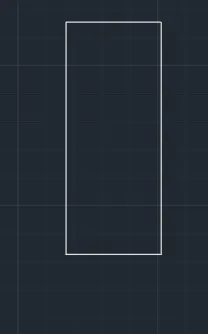
- Use the offset command and offset to inside with 1"
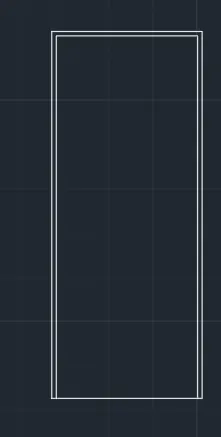
- Use the offset command and offset to inside with 1"
- Draw an handlle and assgin the layer properties
- Draw a rectagle with 3'4",6'11"
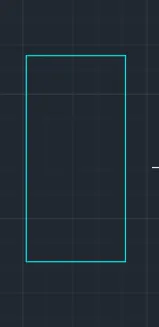
- Explode the rectangle by using explode enter
- and do offset at a distance of 1.5" and again with 1" and enter and change the layer properties
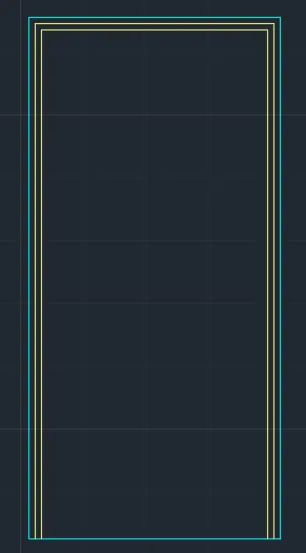
- Draw a rectangle inside of the door
- and again do offset in a distance of 1" do offset dor multiple times
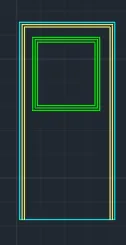
- Draw a rectangle inside of the door
- and again do offset in a distance of 0.25" do offset dor multiple times and use the array option
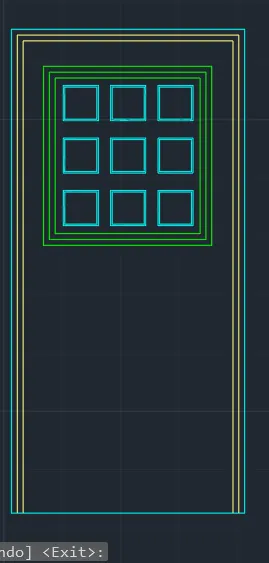
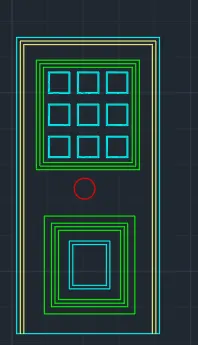
- Draw a rectangle inside of the door
- and again do offset in a requied diastance offset for multiple times
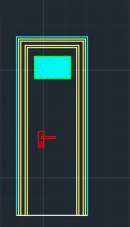
- and draw the handle by using layer
- Draw the another door by using the same process and again
- Change the units to enginnering to decimals and use the required rectangle as i need for D4
- Use the arc command for top and do the offset for 2 times and enter
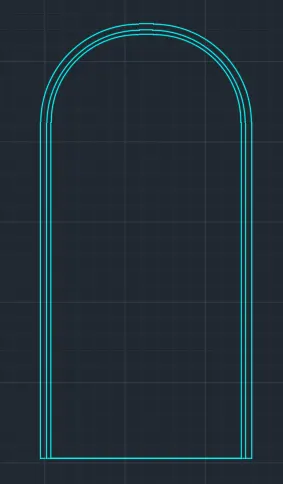
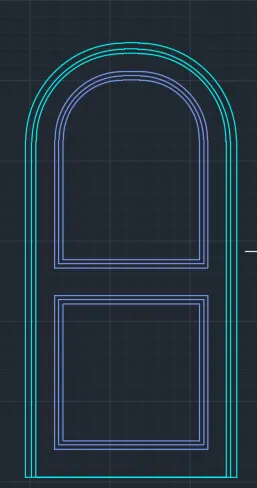
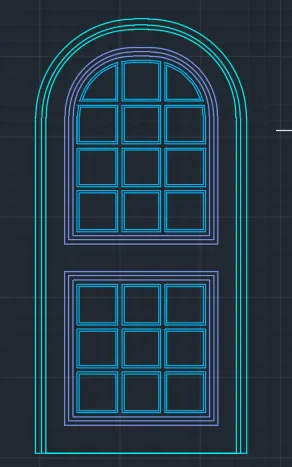
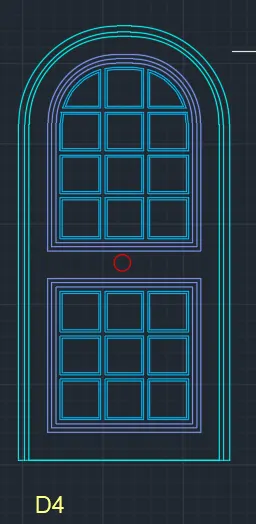
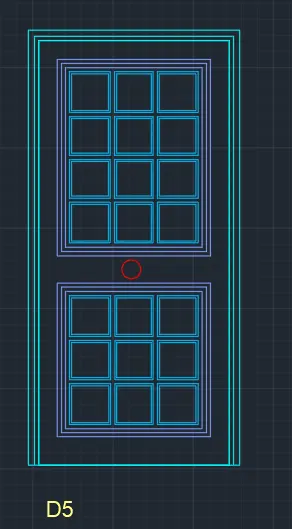
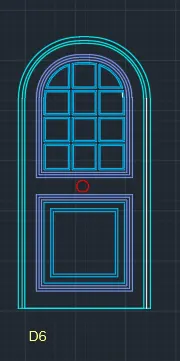
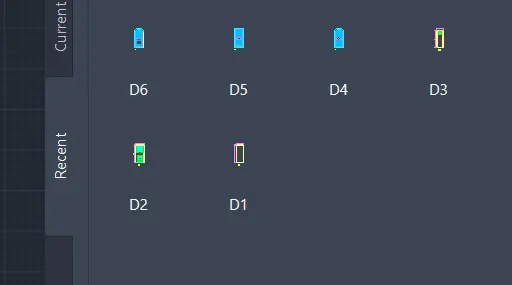
- After drawing all the doors use the block command and make the block by using pick point and selecting the object and some more
RESULT:
AIM:
Create each shape as a block as shown in the Figure. Save the block and insert them on the table as shown in the Figure.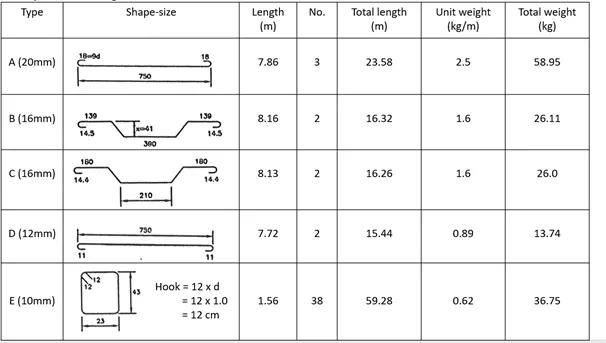
INTRODUCTION:
- Draw the dratils of the bars with their sizes and make into the blocks by using line and dimensions with their properties and mention into the table by using table command and to inderstand the details about the client.
PROCEDCRE:
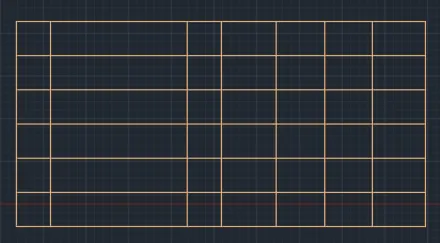
- Draw a rectangle with the table layer properties and enter
- explode the table by using x enter
- And set the offset of lines by using o enter
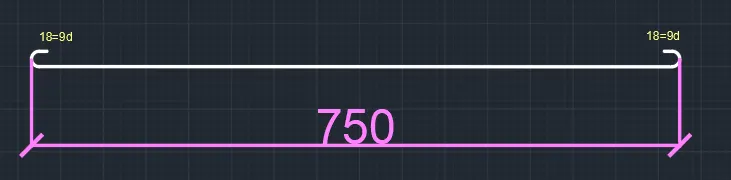
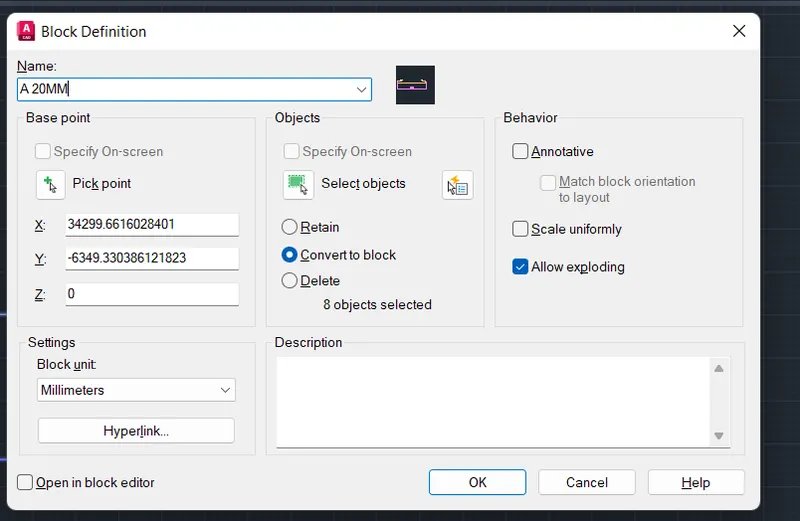
- Draw the A20mm bars and make it block
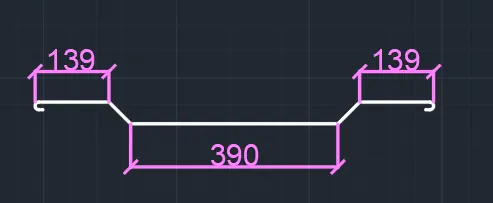
- Draw the b16mm bars and make it block
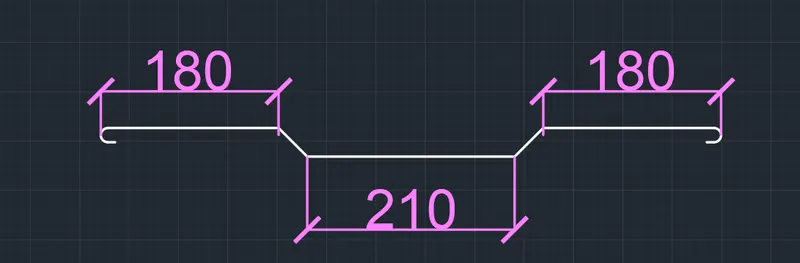
- Draw the C16mm bars and make it block
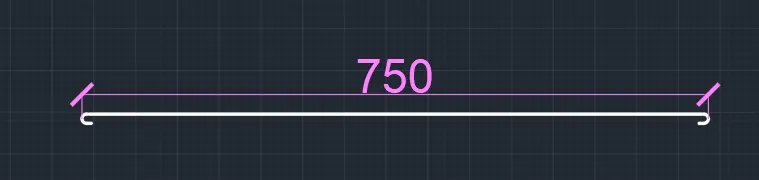
- Draw the D12mm bars and make it block
- Draw the E10mm bars and make it block
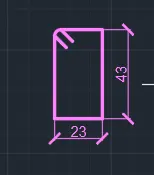
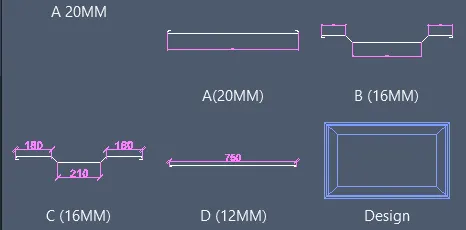
- Finally place all into the table with required text
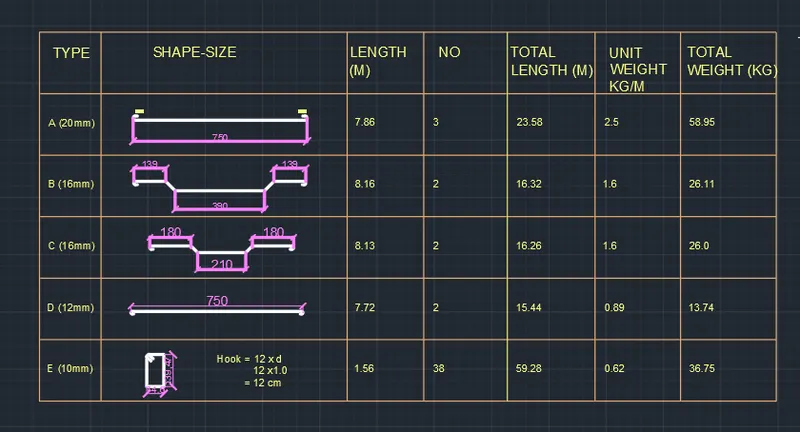
RESULT: