Creating Bar Bending schedule, Different Door types, and Creation of standard drawing templates using AutoCad
Aim & Introduction : Creation of given templates. Templates were saved as Custom1_titleblock and Custom2_titleblock respectively using block command. Text and Tedit commands are used to insert the text.
Procedure:
1. Create a rectangle using rectangle command.
2. Draw lines at respective distance using line comamnd and ortho mode.
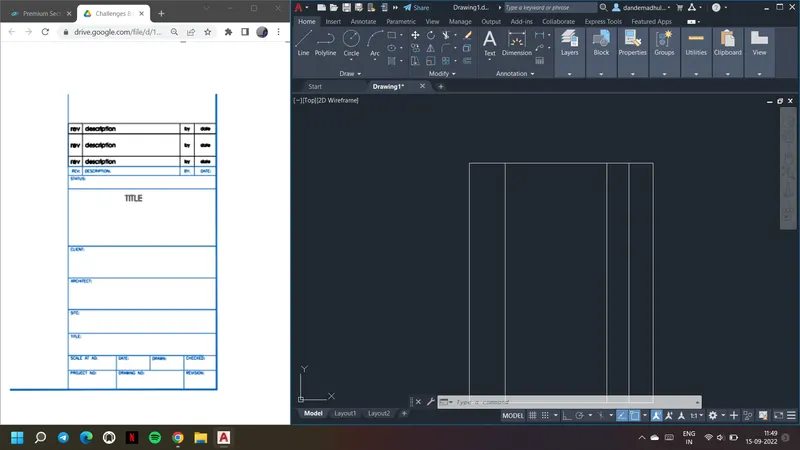
3. Use offset command and draw the other horizontal lines with the offset distance as shown below
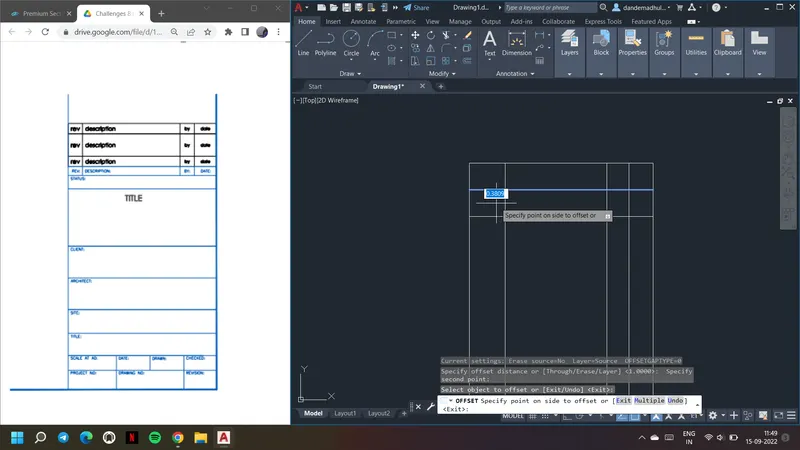
4. Trim the extra parts using trim command
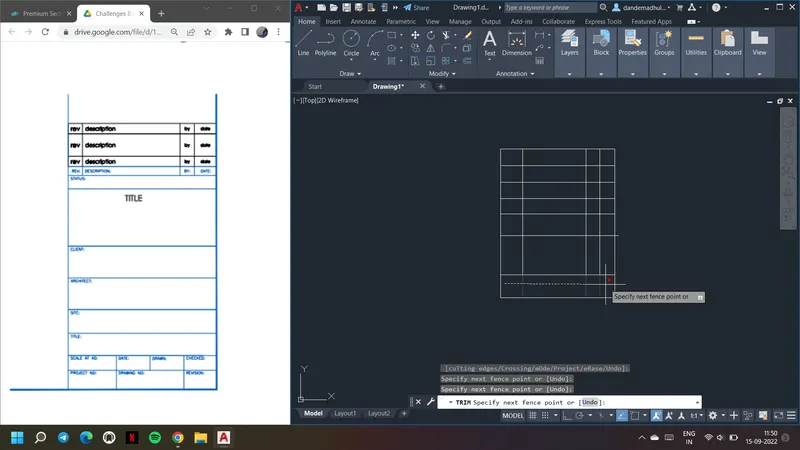
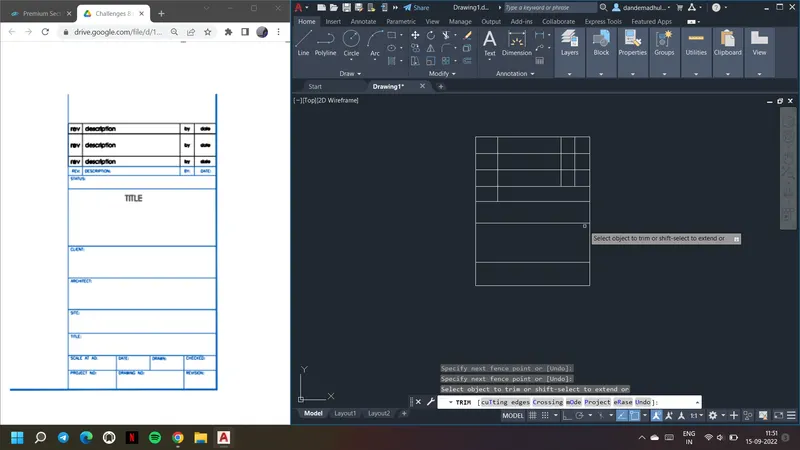
5. extend the lines if necessary using extend comamnd
6. Use text command and go to settings
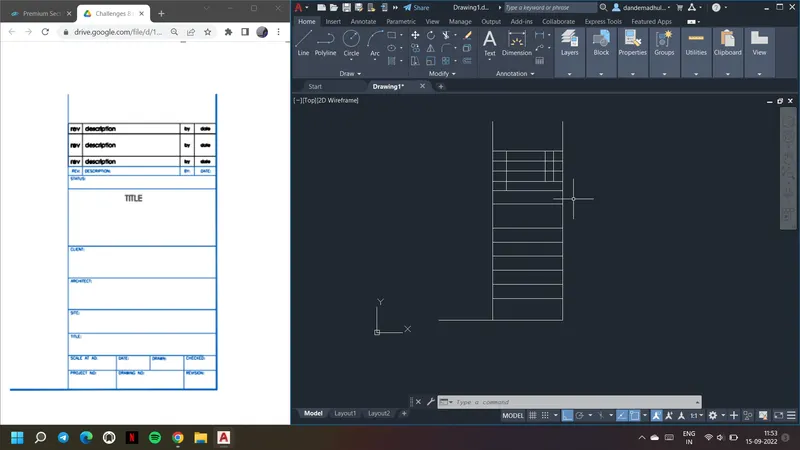
7. Use tedit command and edit the text and insert e=whereever required.
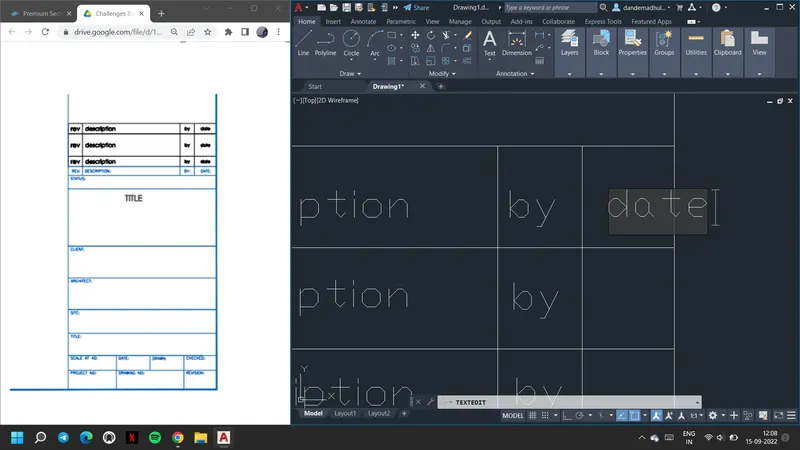
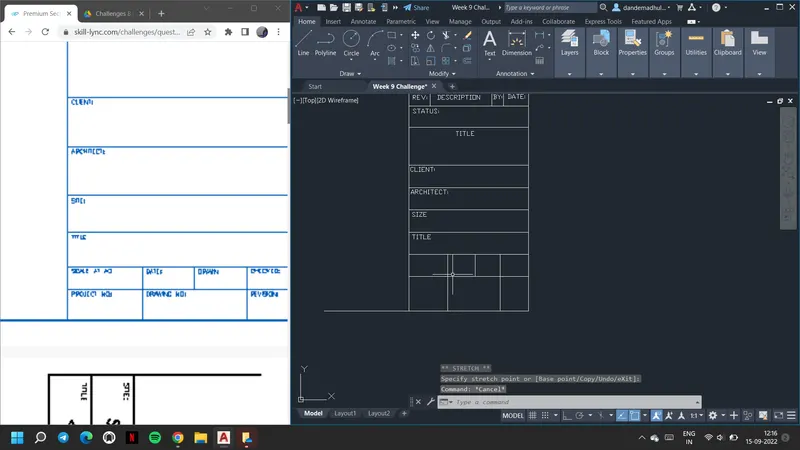
8. Use extend comamnd and extend the lines if necessary as shown below
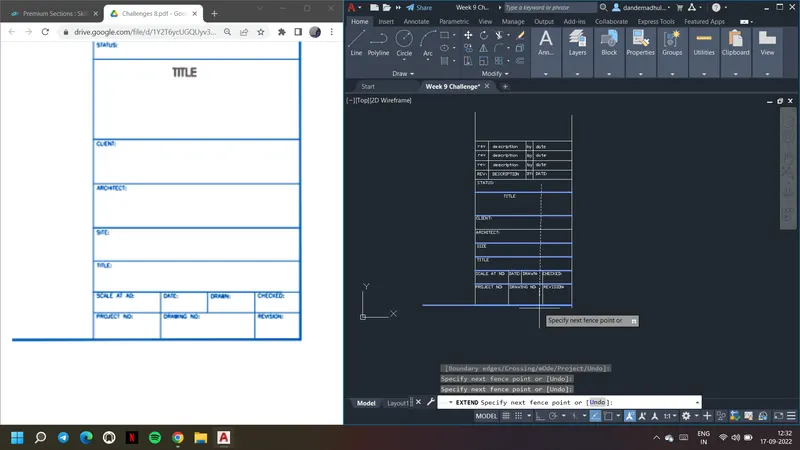
9. To draw the next one, draw a rectangle as shown and using line command extend the lines
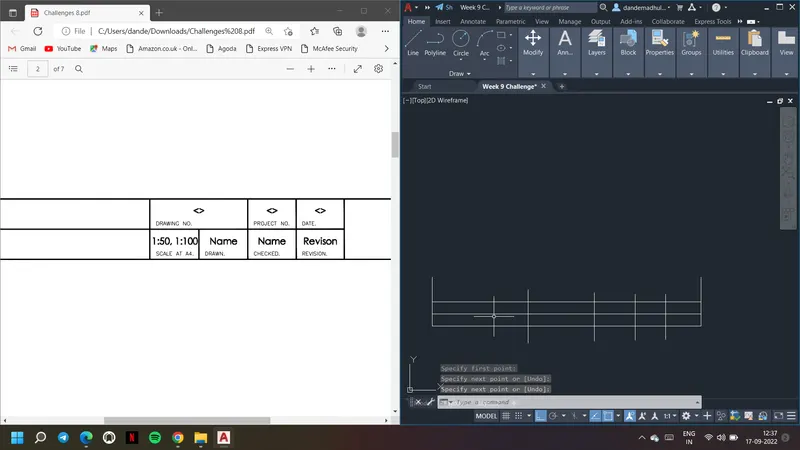
10. Insert text using text comamnd wherever required.
11. Go to properties to change the height of the text
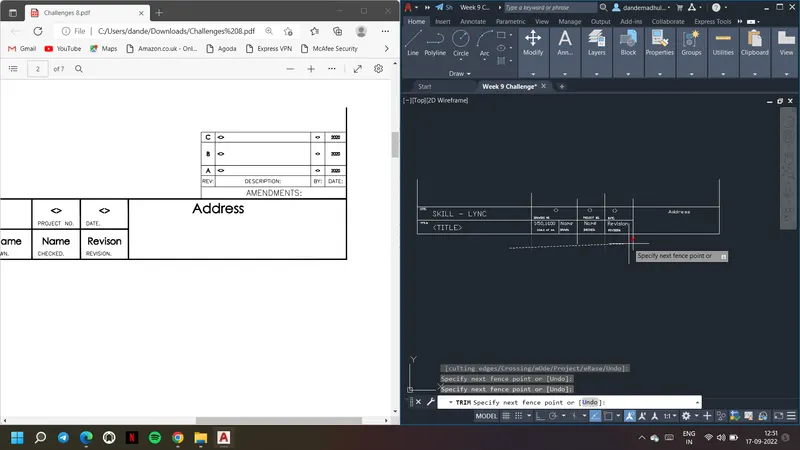
12. Draw the small rectangle at right corner and trim the extra parts using trim command
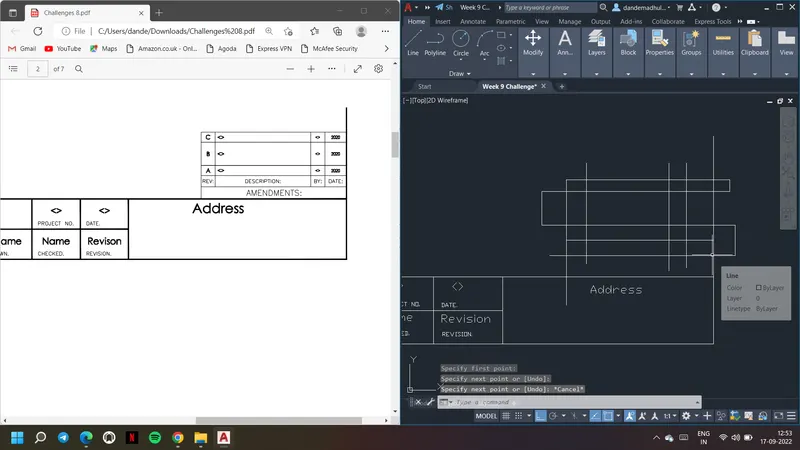
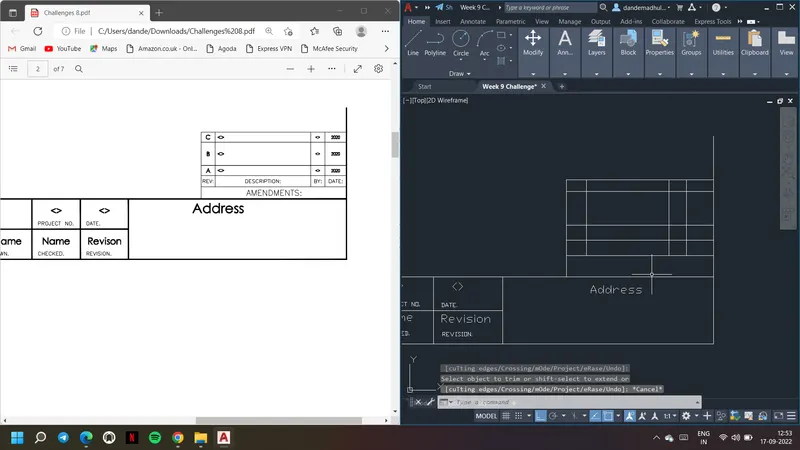
13. Insert text using text command
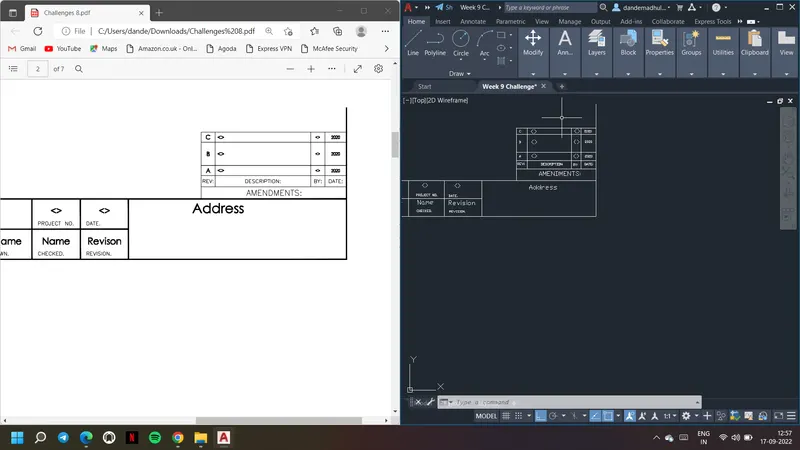
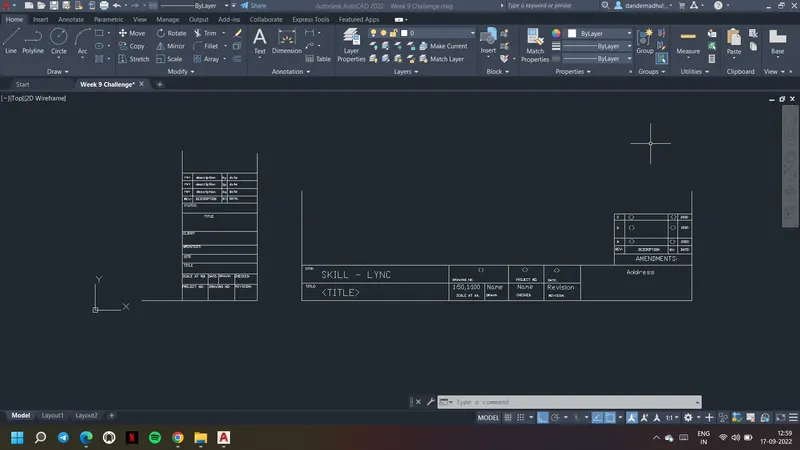
14. Use block command and create blocks with name Custom1_titleblock and Custom2_titleblock respectively.
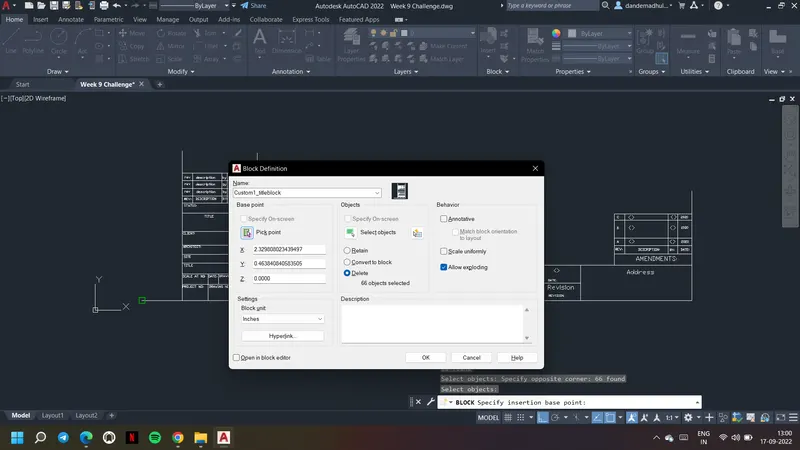
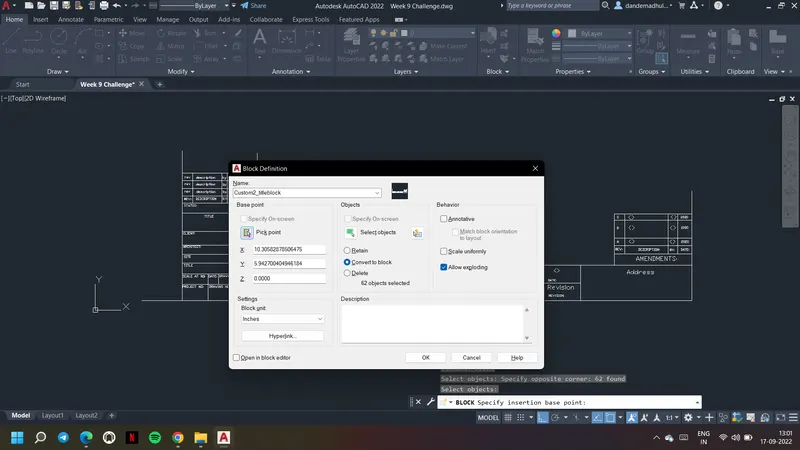
15. Using insert command, can insert them wherever required.
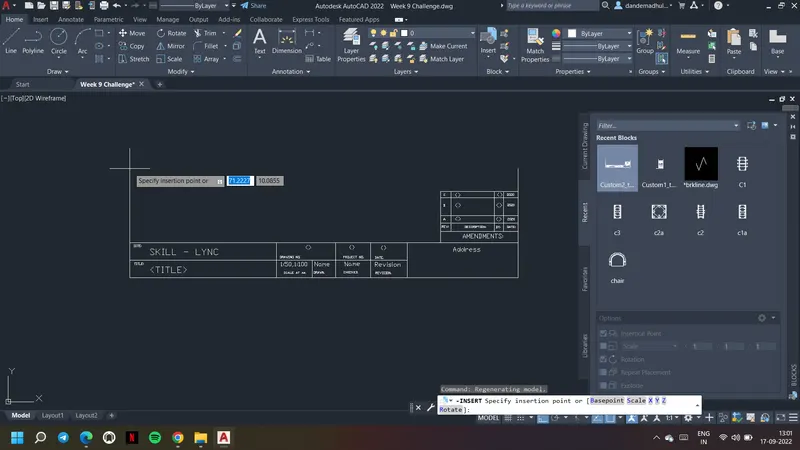
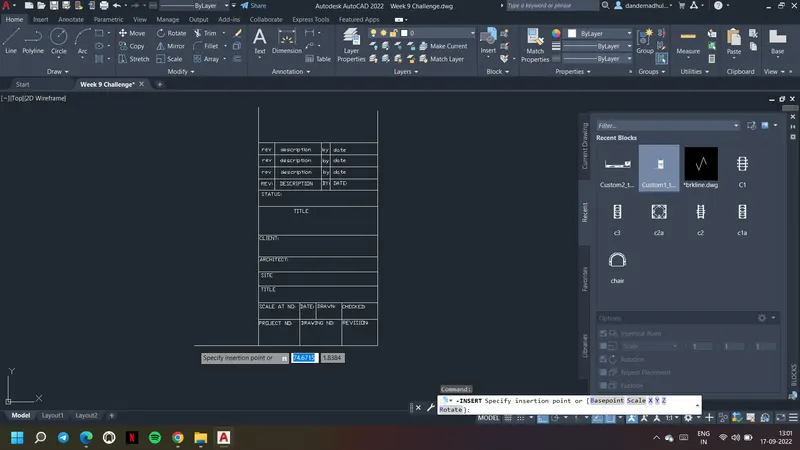
Result: The following templates were created as given
Aim & Introduction: Creation of the doors type for warehouse. Need to create each door type as per standard size or given dimensions. After creating of door types blocks for each door is created using block command.
Procedure:
1. Go to units and select the usints as decimal and millimeters.
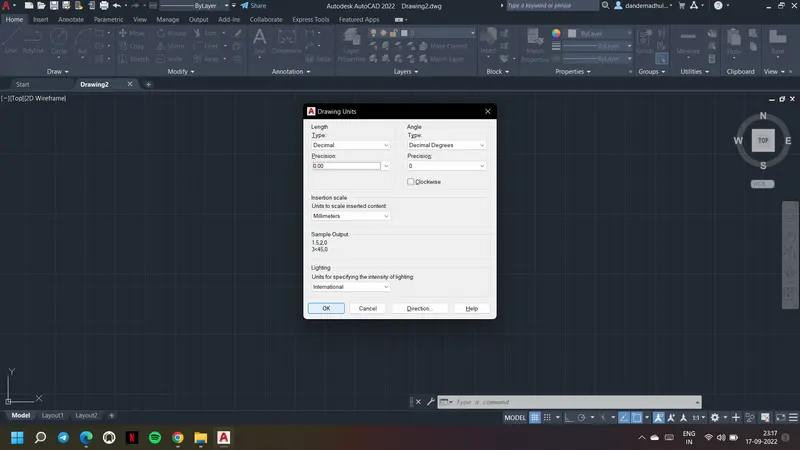
2. Draw a rectangle using rectangle command with given dimension
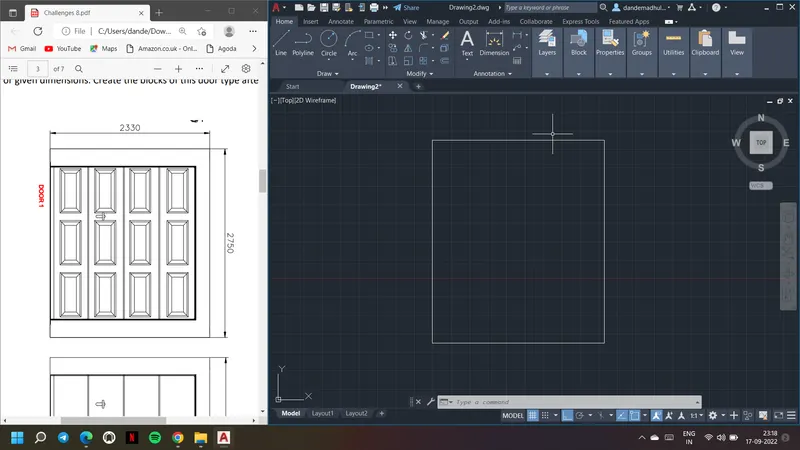
3. Divide the top side into four parts using divide command.
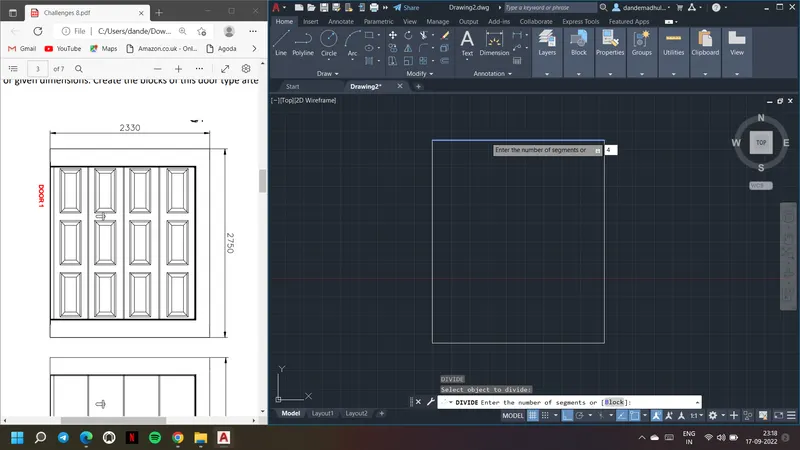
4. To choose point type use Ptype command
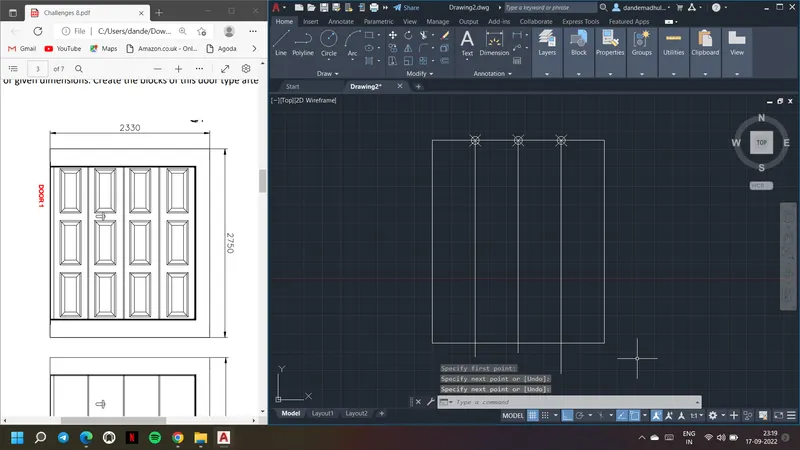
6. Draw the lines at respective division and delete the points
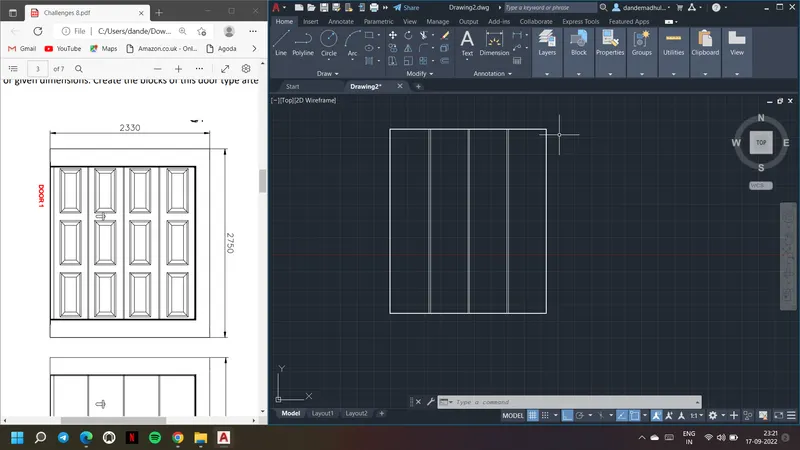
7. Draw the outer rectangle with given dimension and change the lineweight of inner rectangle
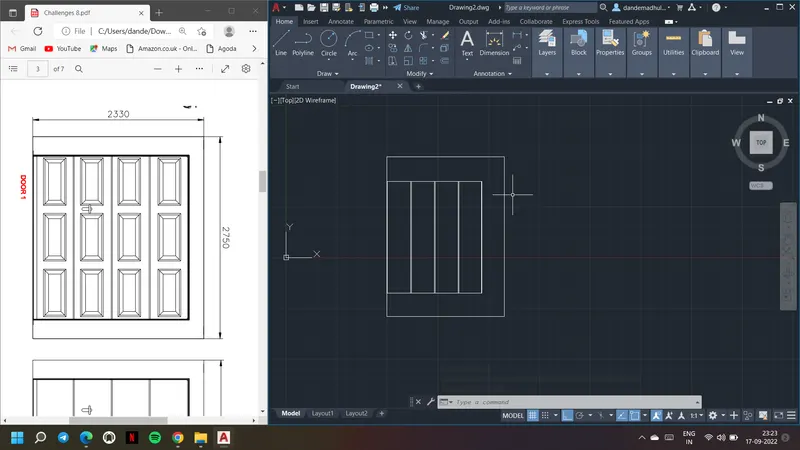
8. Now to draw the door, draw a rectangle and offset it using offset command
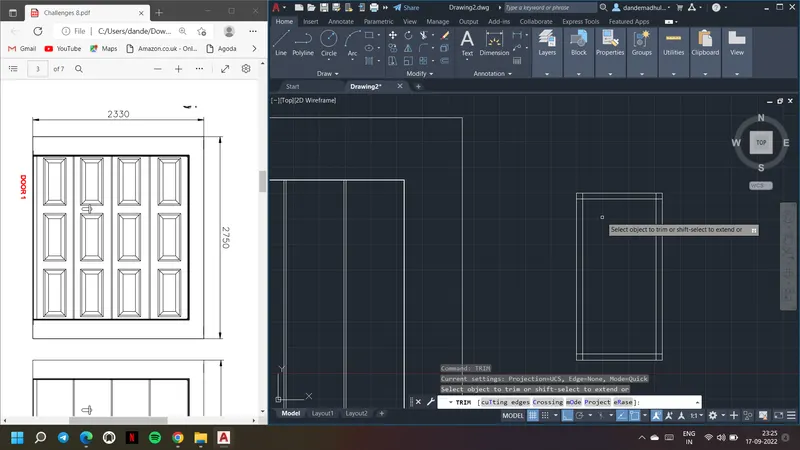
9. Draw the inner rectangle and join it to edges as shown to form the door.
10. Trim the extra parts using trim command
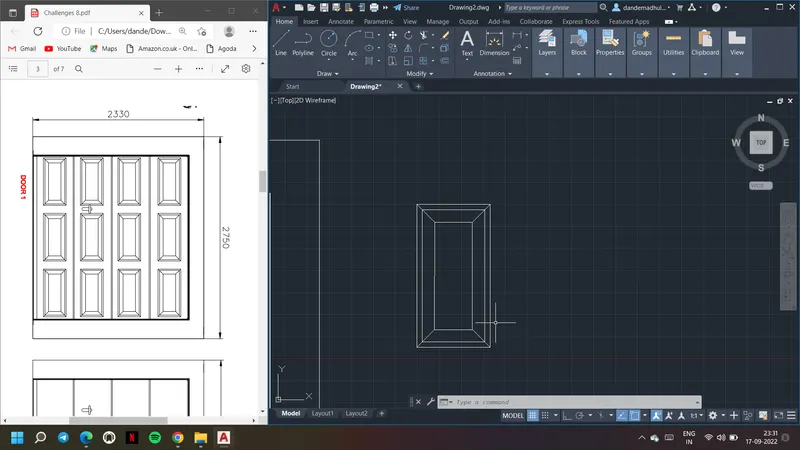
11. Use block command and create a block with name Door.
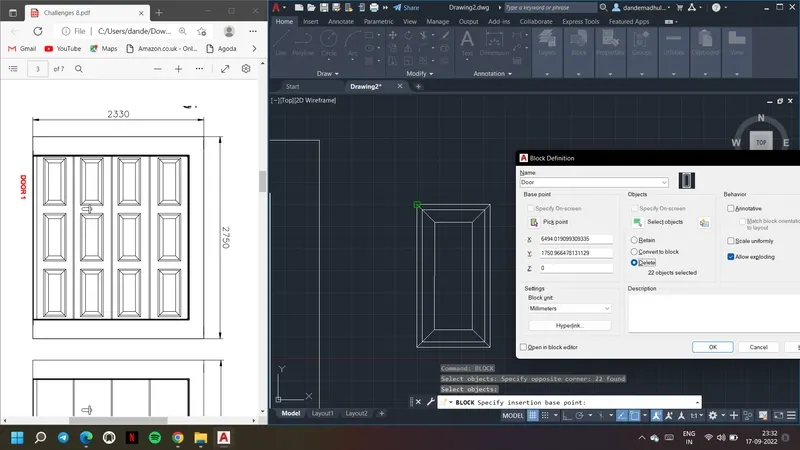
12. Using scale comamdn scale the drawn door as shown
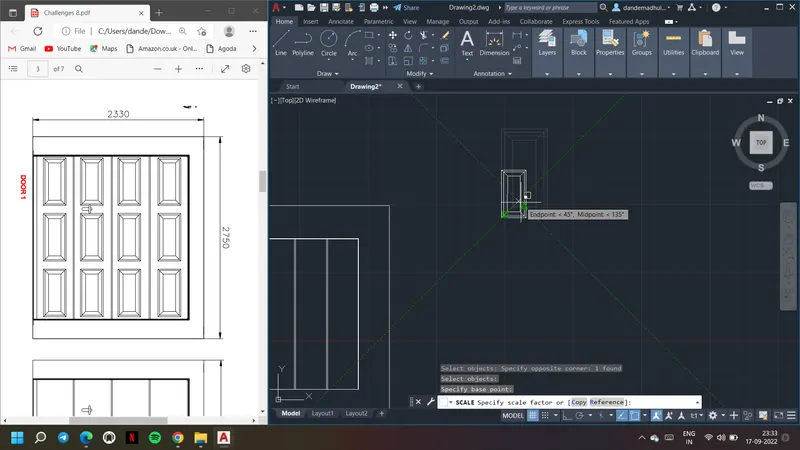
13. Insert the doors using insert command as shown
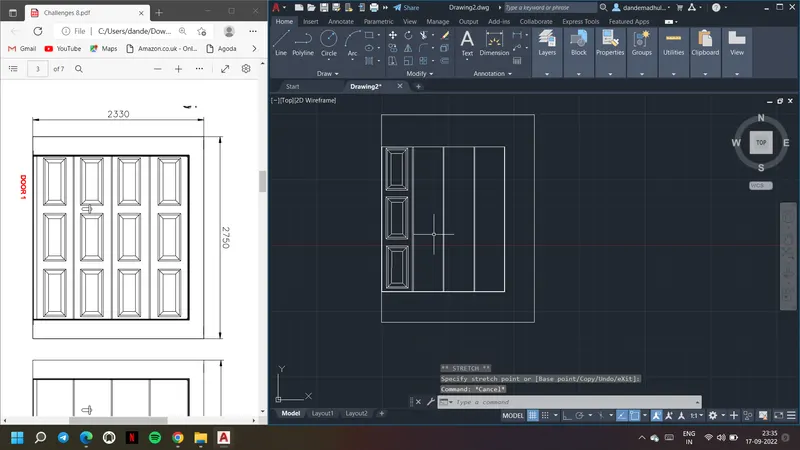
14. Use mirror command and mirror the doors as shown
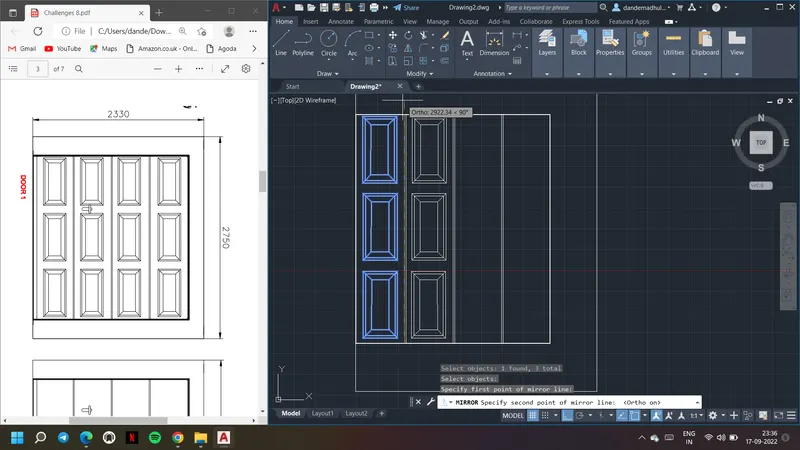
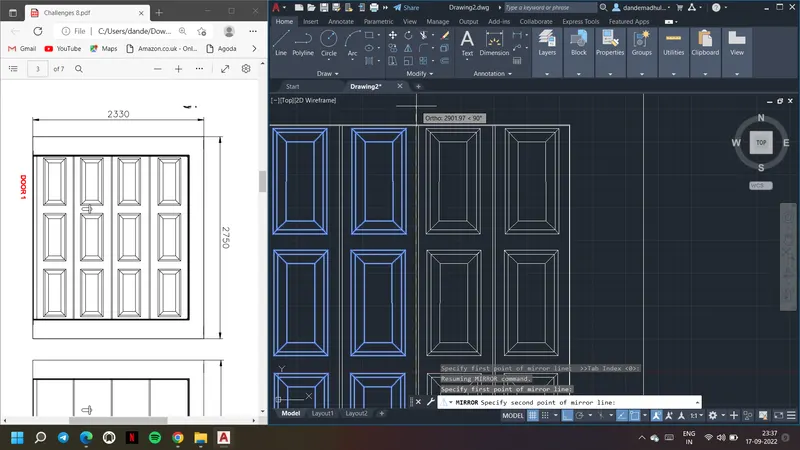
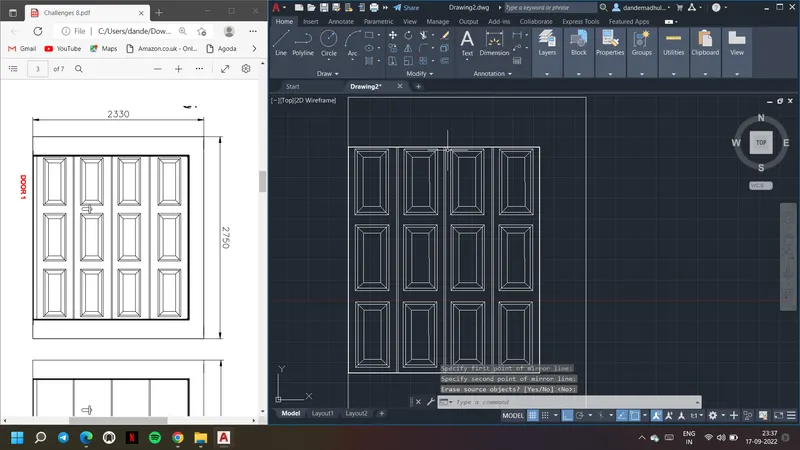
15. Using the text command insert the text. Use angle option in text to rotate the text as required.
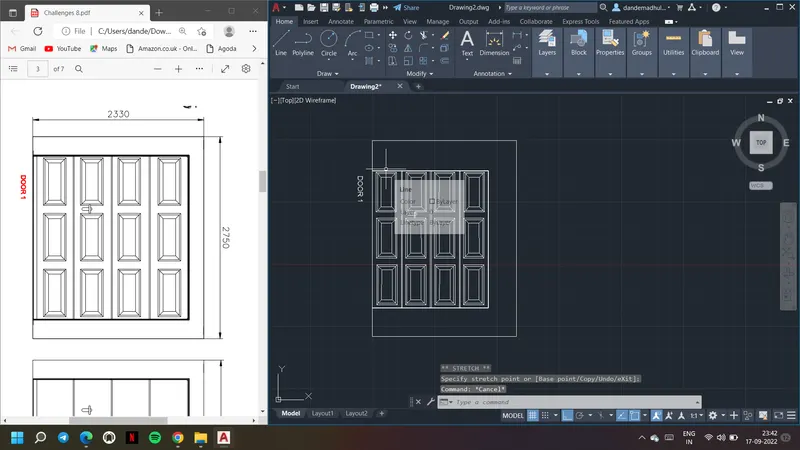
16. Use dimlinear to insert the dimensions. Use dimstyle comamnd to det the dimension style as required
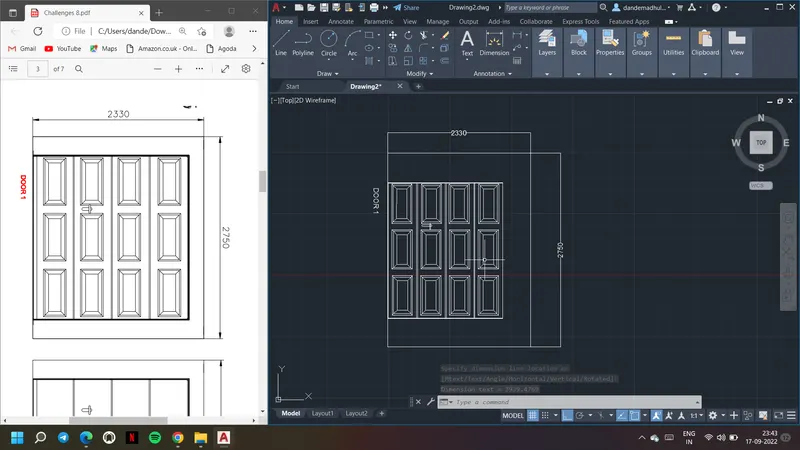
17. Using projecction of this draw the door 2 as shown
18. Else copy the door 1 and paste and delete the extra parts to form door 2 as shown
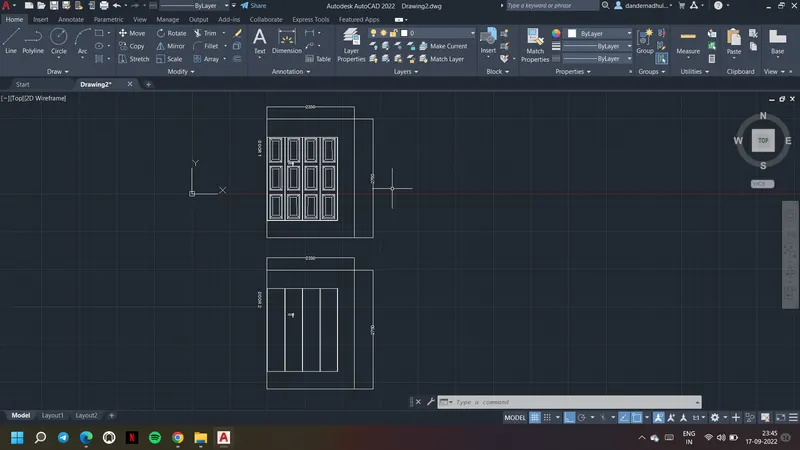
19. Use block command and create blocks for these two doors
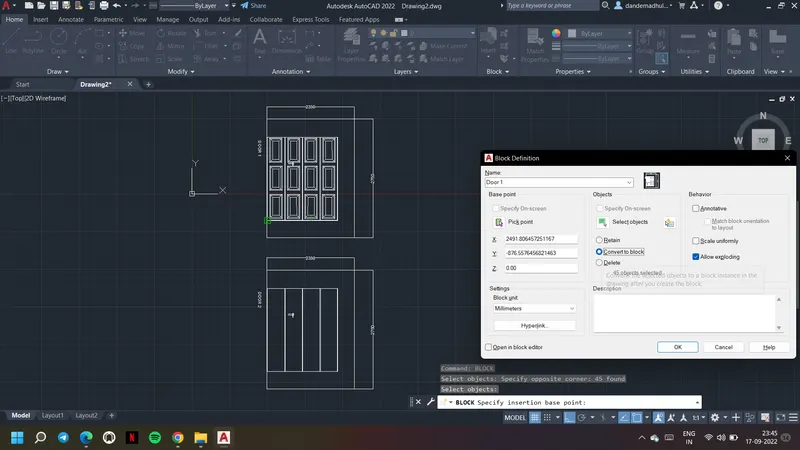
20. Using insert command, can insert them wherever required.
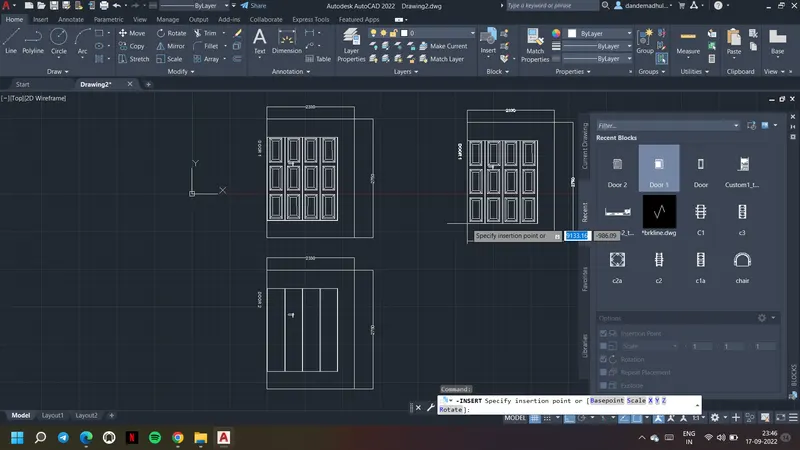
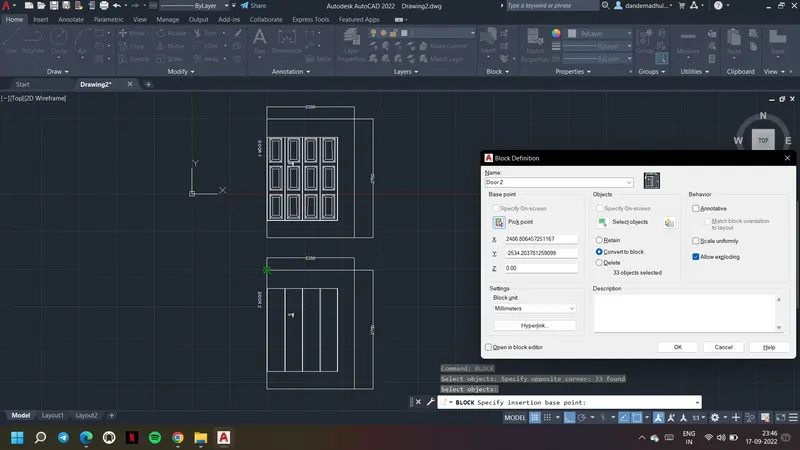
Result: Following door types were created for warehouse.
Aim & Introduction: Each symbol needs to be created and named as given using block command. All of the created blocks needs to be arranged in legend.
Procedure:
1. Use rectangle command and draw a rectangle with assumed dimensions
2. Draw the vertical lines and horizontal lines using line comamnd and ortho mode at respective distances
3. If required use offset comamnd to offset the lines
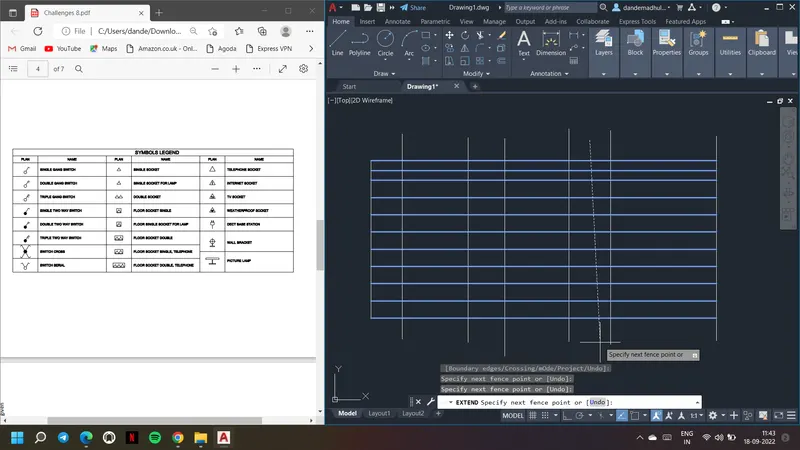
4. Use text command to insert the text wherver required
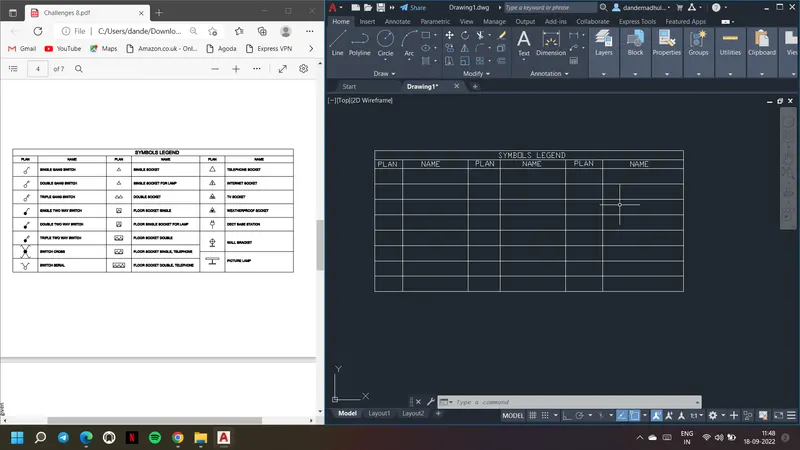
5. Now create the given symbols using circle command and line command
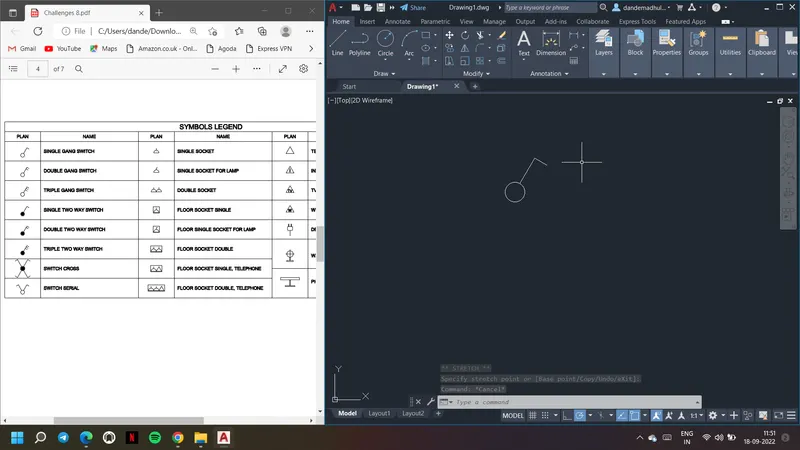
6. As shown using the drawn symbols, draw the other symbols too
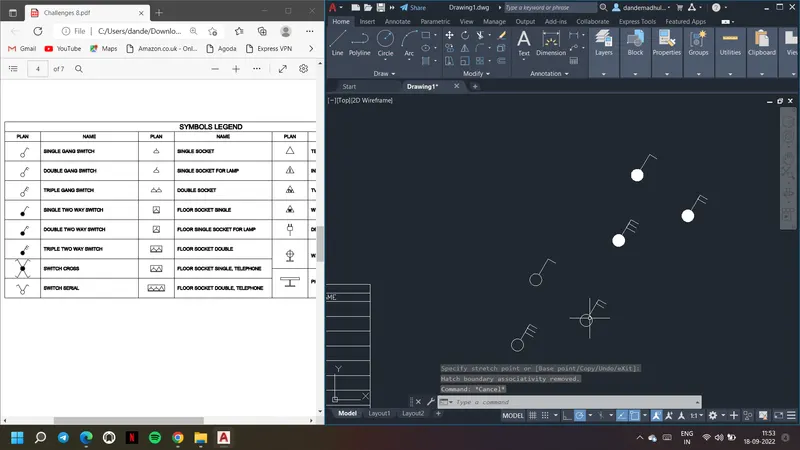
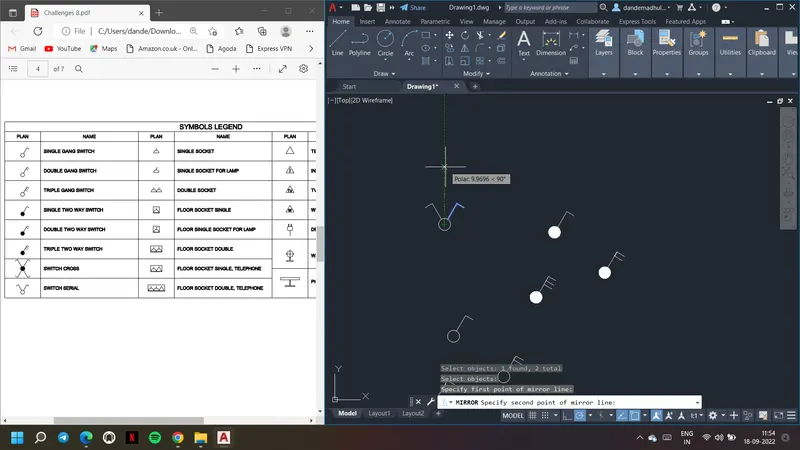
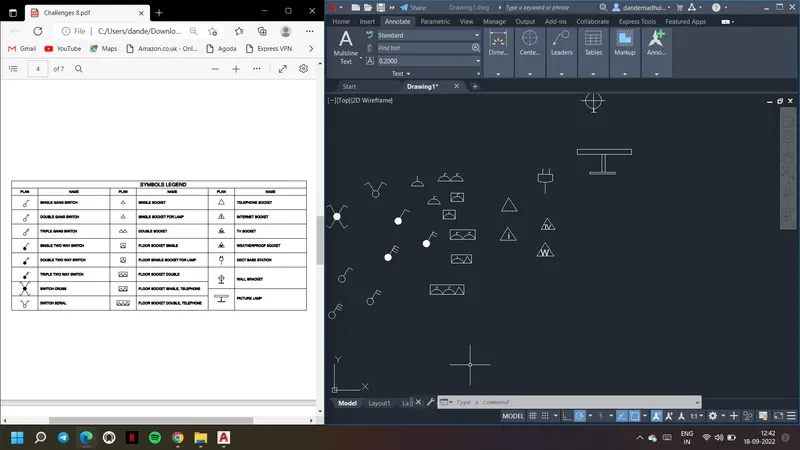
7. Now for each symbol create a block giving their repective names
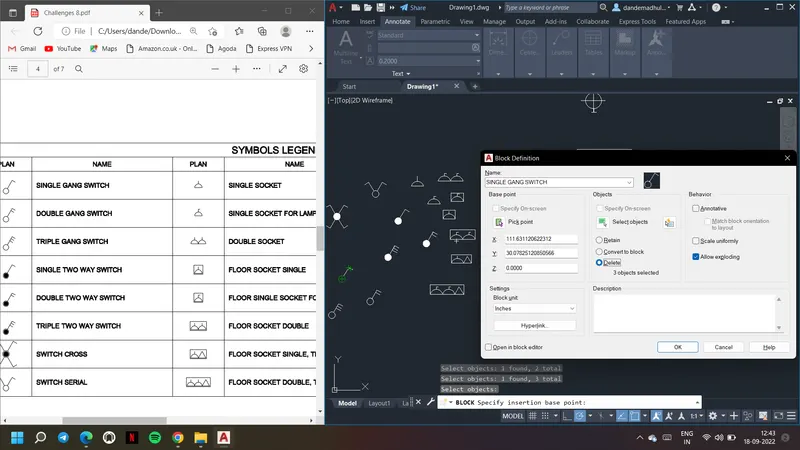
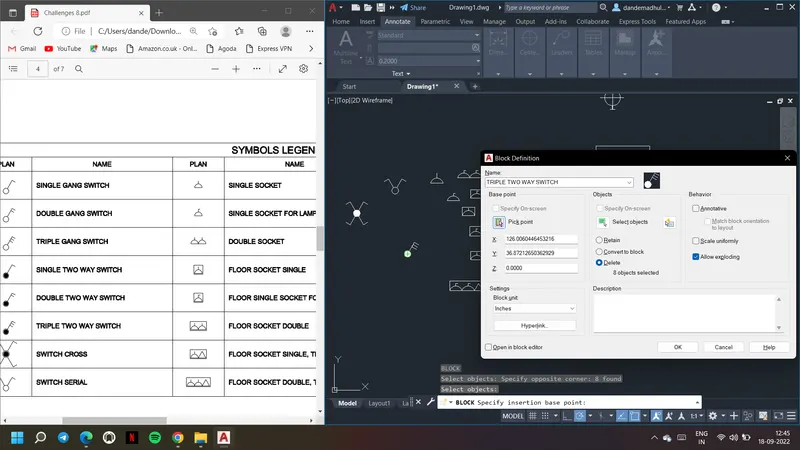
8. Using insert command, insert all the created blocks
9. Scale them using scale command
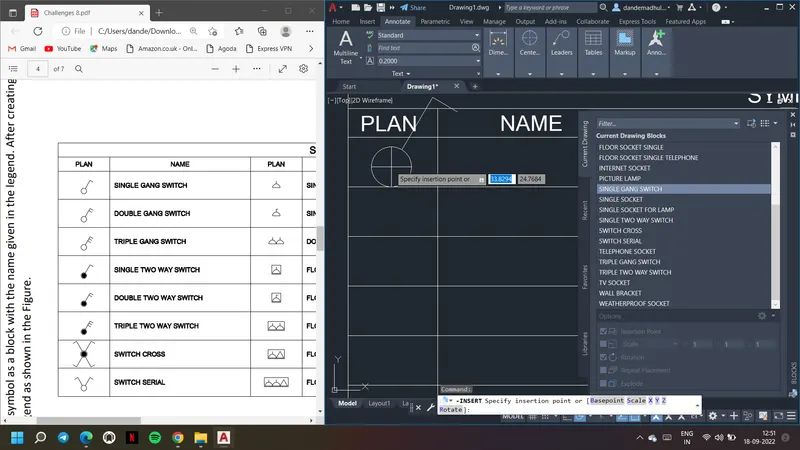
10. Use field command and insert the repective text as shown
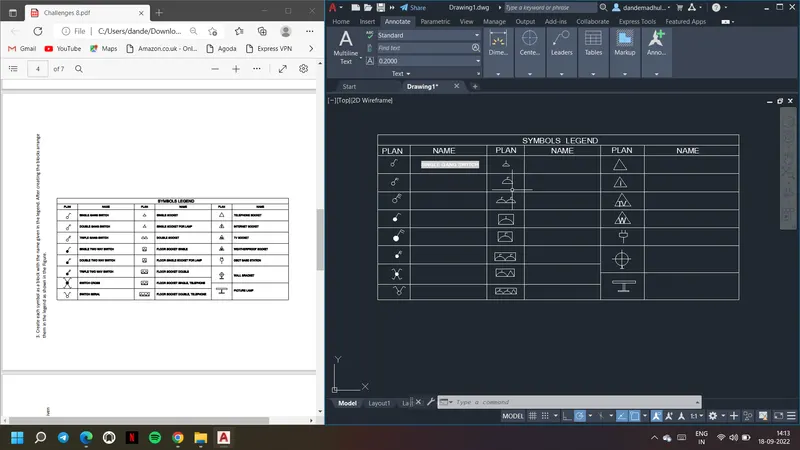
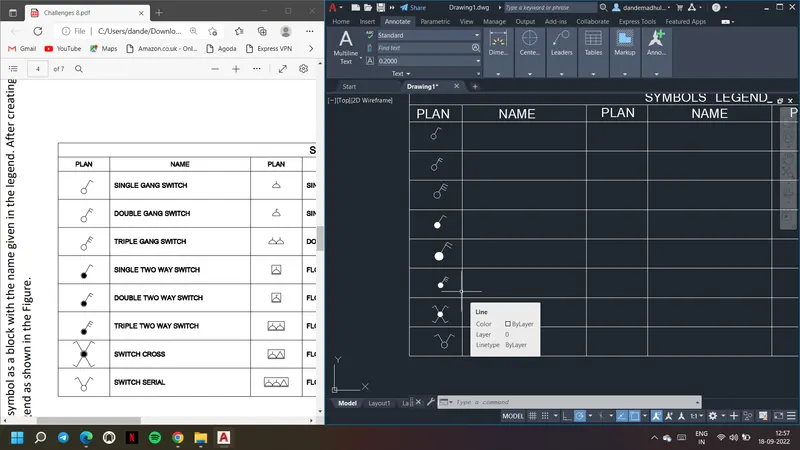
11. In field command seletect the object and choose the option name to get the respective name of the block
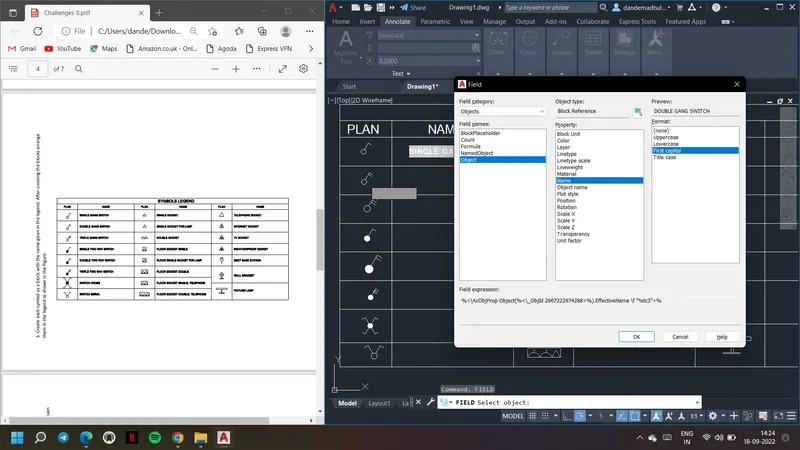
12. Insert all the blocks and their respective names as shown
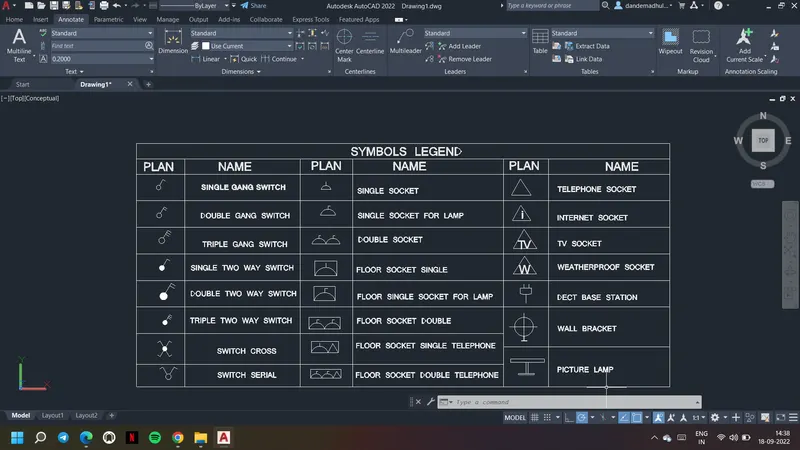
Result: Each symbol was created and named as given using block command. All of the created blocks were arranged in legend.
Aim & Introduction: A door type is created for residential building and created as a block. Dimensions were assumed as per industry standards. Text coomand is used to insert text. Dimlinear, dimstyle commands are used to insert dimensions.
Procedure:
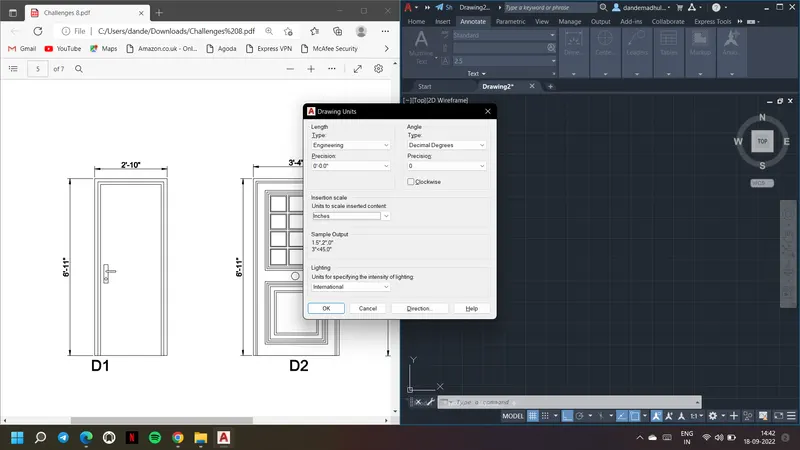
1. Go to units and choose unit type as engineering and inches as shown
2. Draw the rectangle and use offset command and offset it as shown
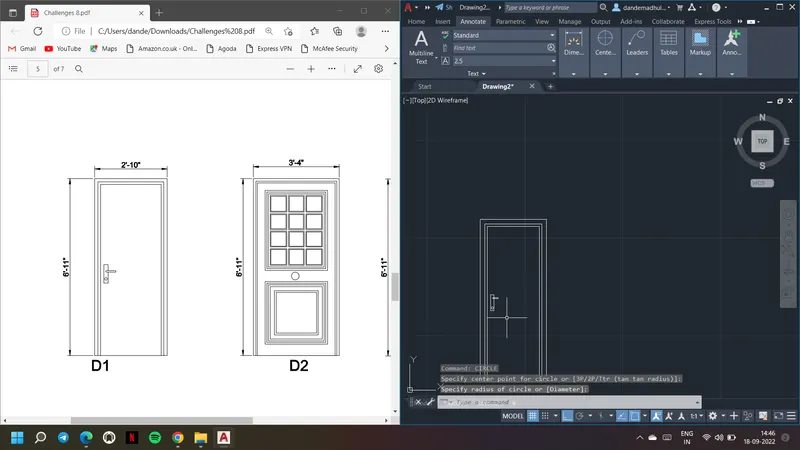
3. Draw the rectangle inside the door as shown
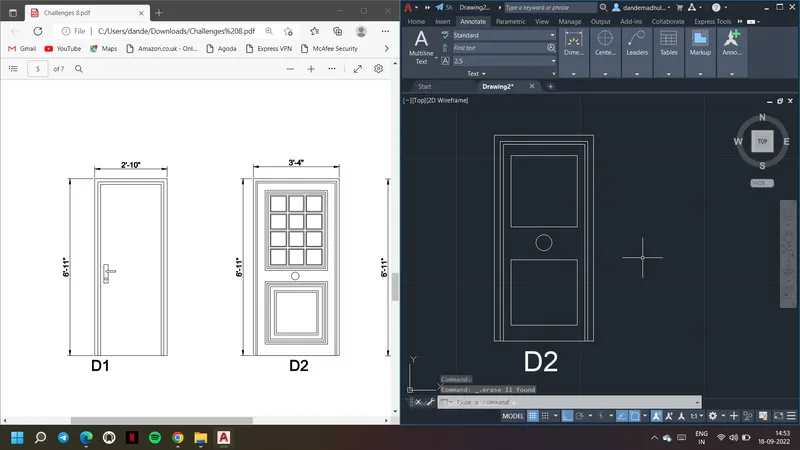
4. Using line command, rectangle command and ortho mode complete the door as shown
5. Offset the rectangles using offset command. Choose the offset distance approximately
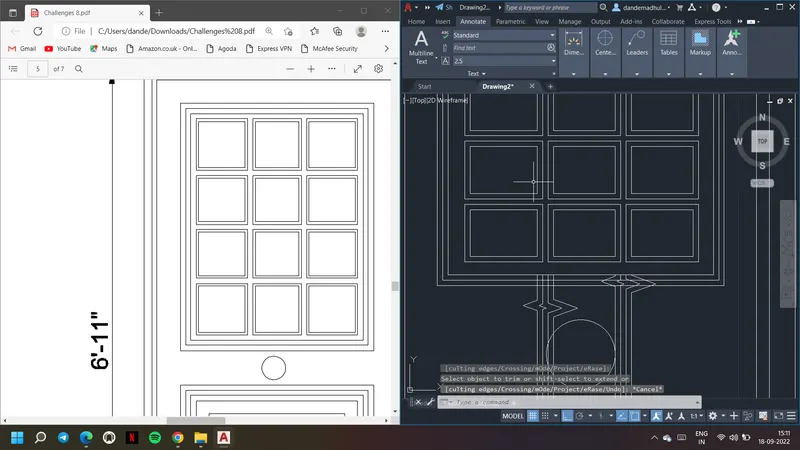
6. Trim the extra parts using trim command
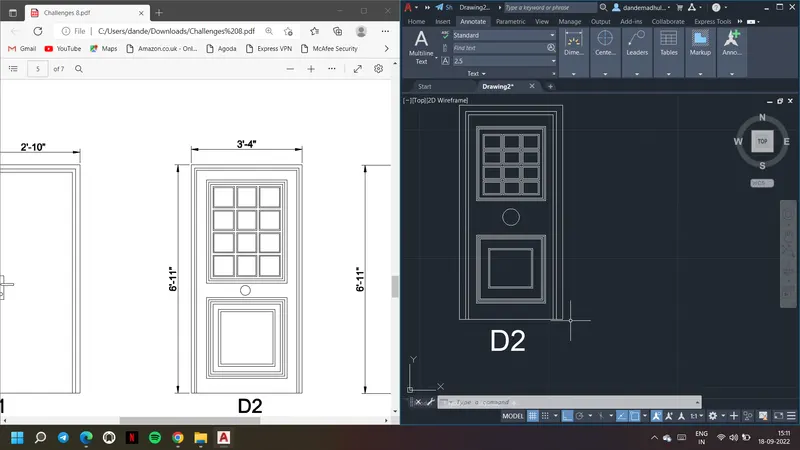
7. Use the hatch command to hatch the required parts. Go to hatch settings to choose the required hatch
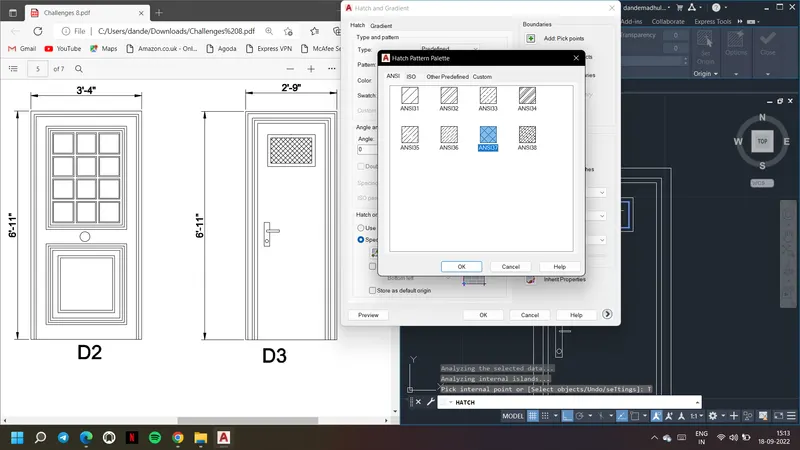
8. Hatch the portion as shown below. Scale the hatch if required.
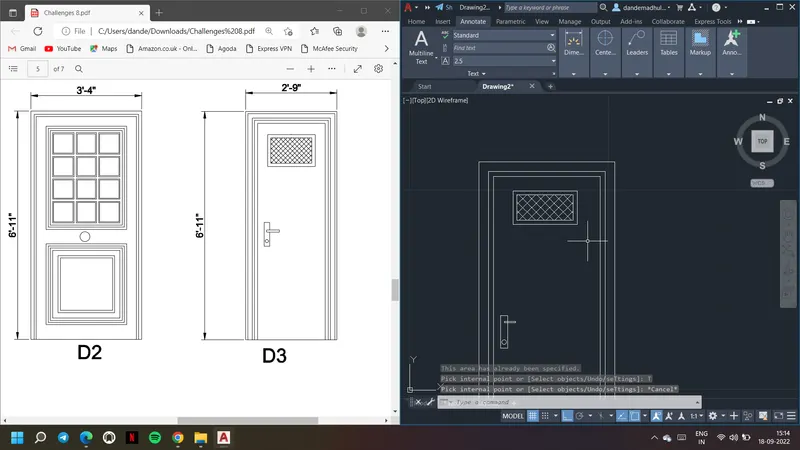
9. The three doors were drawn as shown below
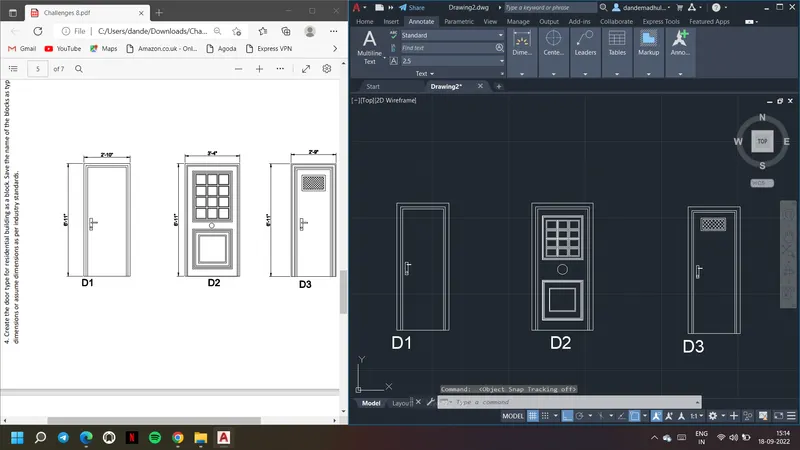
10. Now using elevation of the drawn doors or use copy paste options and draw other three doors
11. Use circle command and 2p option to draw the semicircle/ top of the door
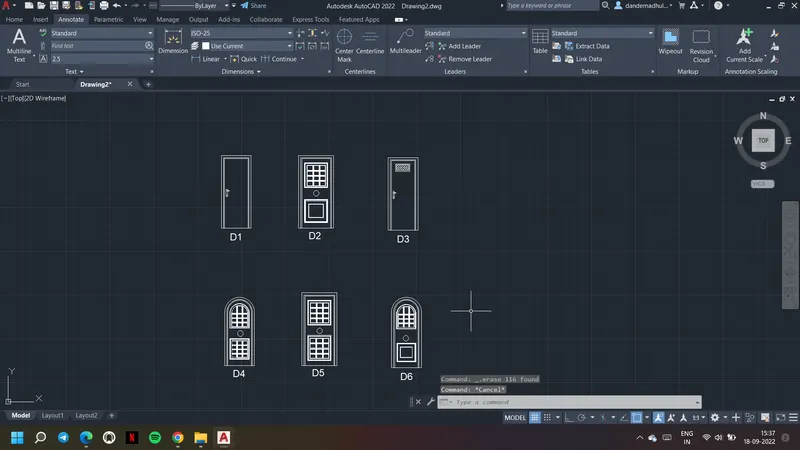
12. Use text command and dimlinear to insert text and dimensions repectively.
13. Use dimstyle to select the dimensions as required
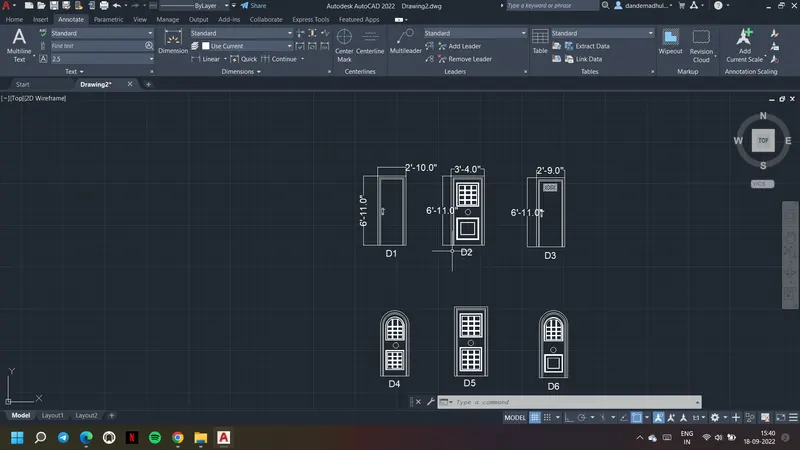
14. Use block command and convert all the doors into blocks
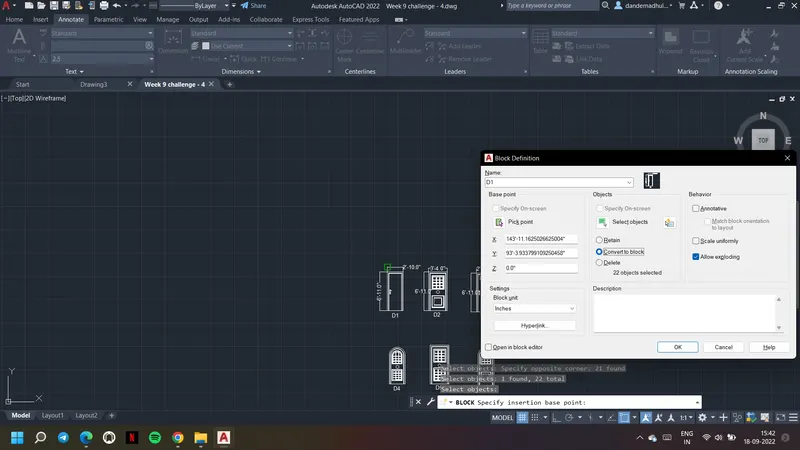
Result: A door type for residential building
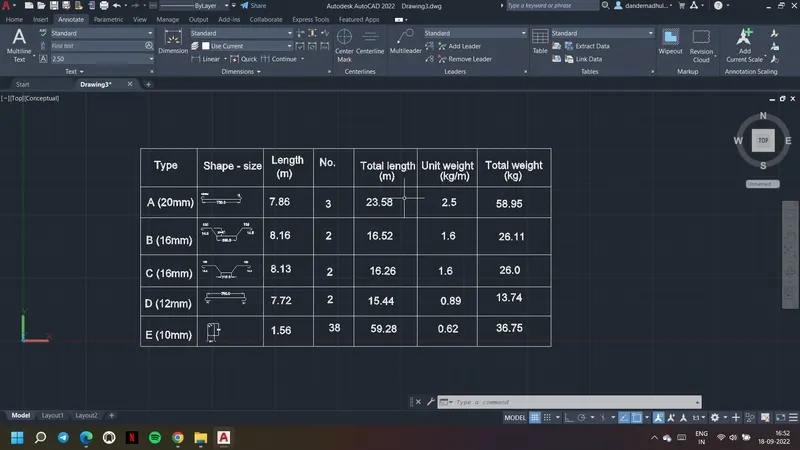
Aim & Introduction: Each given shape is created and saved as a block. The created blocks were inserted in the table. Use text, tedit command to insert the text.
Procedure:
1. Go to units and select units type as decimal and millimeters.
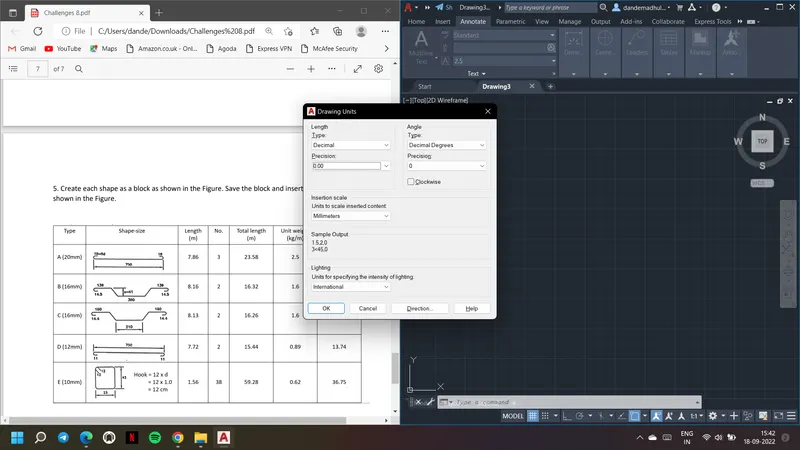
2. Draw the line with 750mm length and extend it as shown
3. Using fillet command curve the edges, choose radius option in fillet command to curve the parts
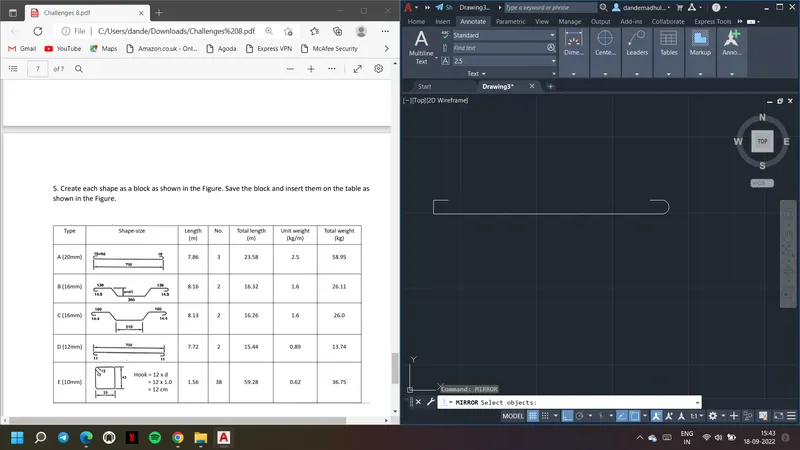
4. Trim the extra parts using trim command.
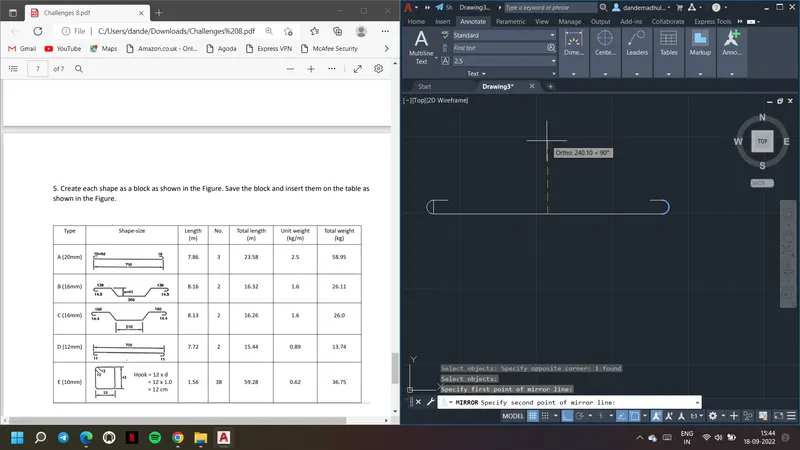
5. Create the block for it as save it as A (20mm).
6. Draw the other shapes also using line comamnd, ortho mode and fillet command as shown
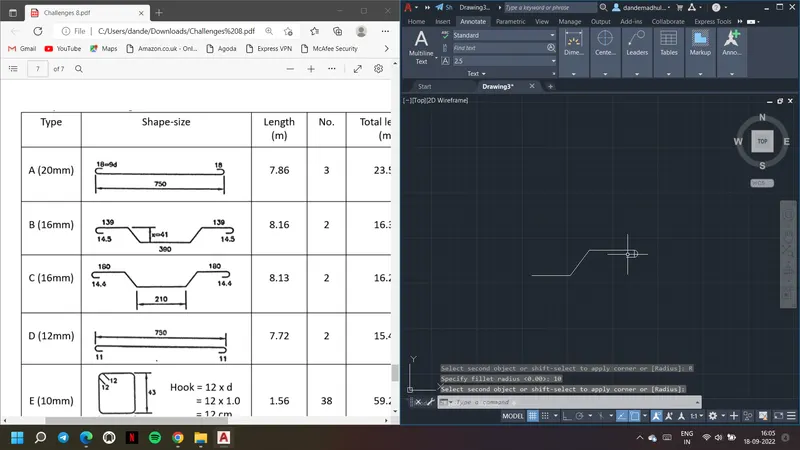
7. Use dimlinear and text command to insert dimensions and texts respectively.
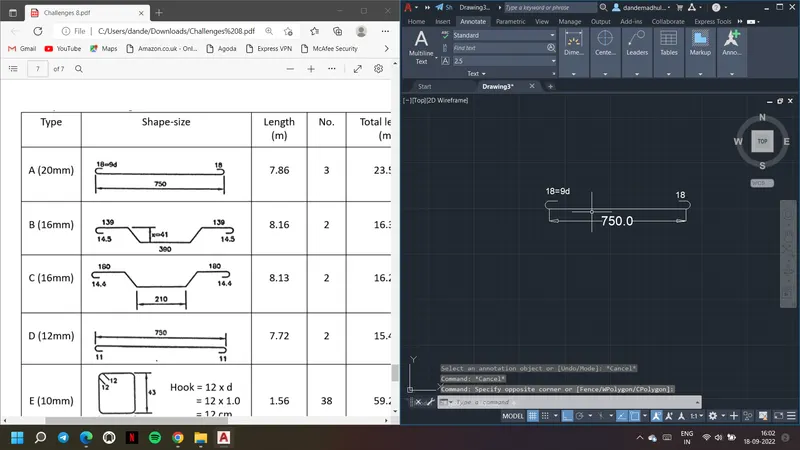
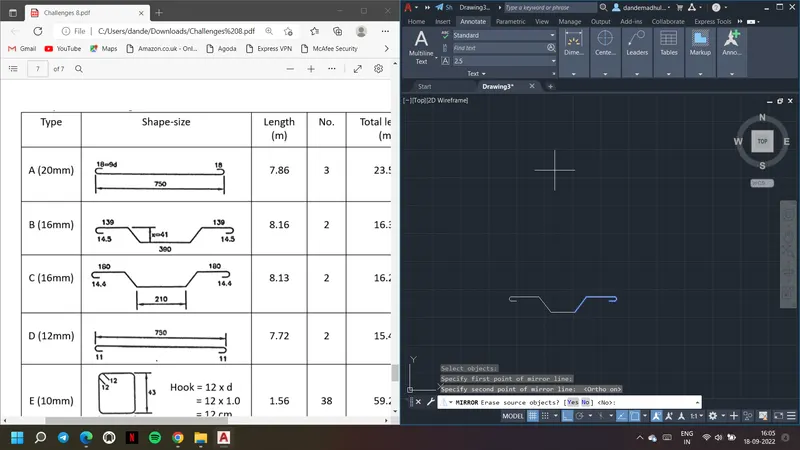
9. Blocks for each shape is created as shown below
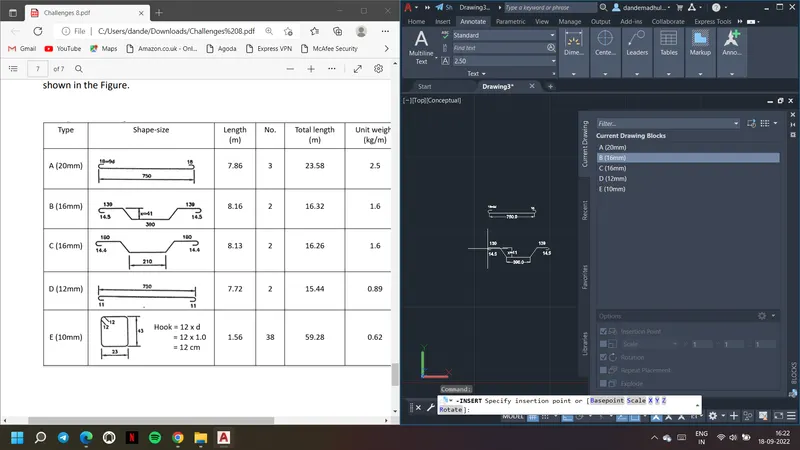
10. Draw a rectangle and insert the created blocks using insert command
11. Using text, tedit command text is inserted
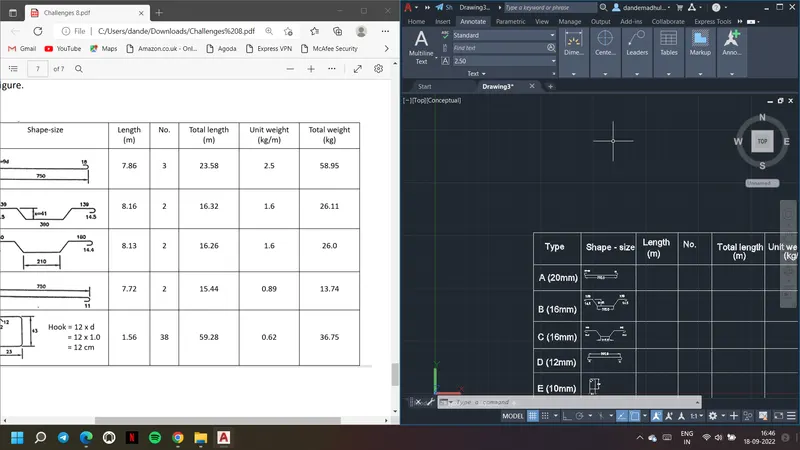
Result: Given shapes were created and inserted to form the below table.