Creating Bar Bending schedule, Different Door types, and Creation of standard drawing templates using AutoCad
1. TEMPLATES
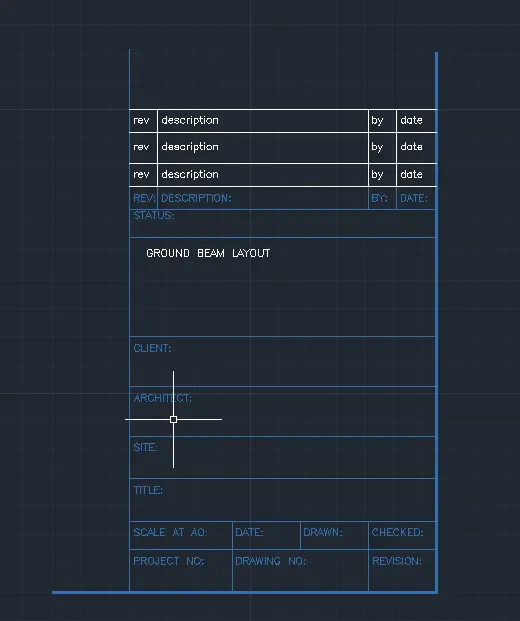
AIM: To draft and create the templates of title blocks in the given figure using the text and attributes.
INTRODUCTION: The two templates of title blocks as per the given figures are drafted assuming the paper size. The text and attributes commands are used along with other drawing tools to complete the templates. The templates are saved in the folder with names Custom1_titleblock1 & Custom1_titleblock2.
PROCEDURE:
- Open new drawing and set the units, limits, drafting settings, zoom extent,dimstyle etc. as required
TEMPLATE 1
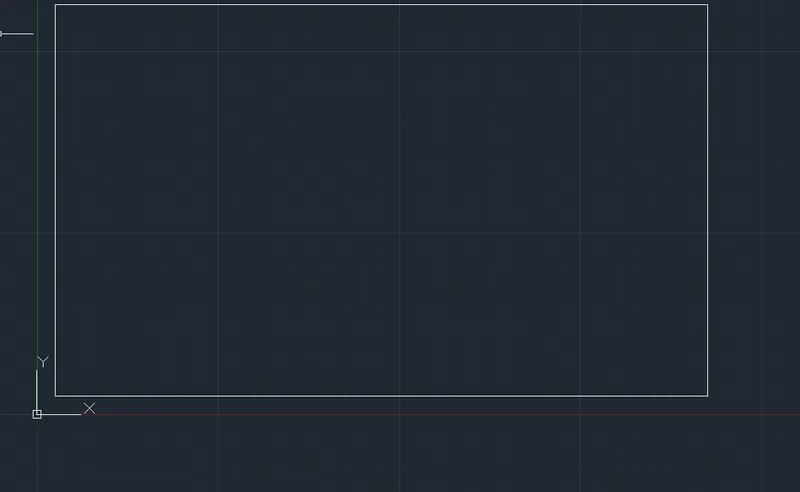
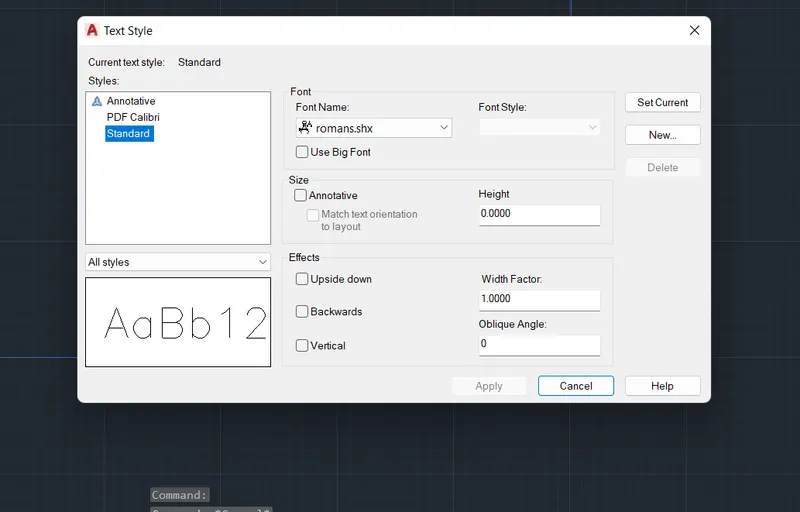
- Select the required text font and size in the text style and set as current in Standard style.
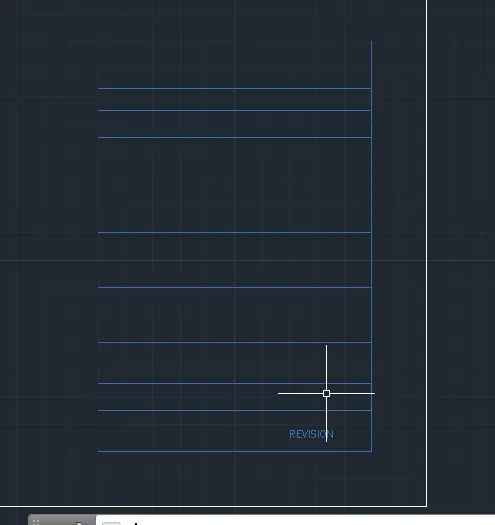
- Draw the template table using the line command.
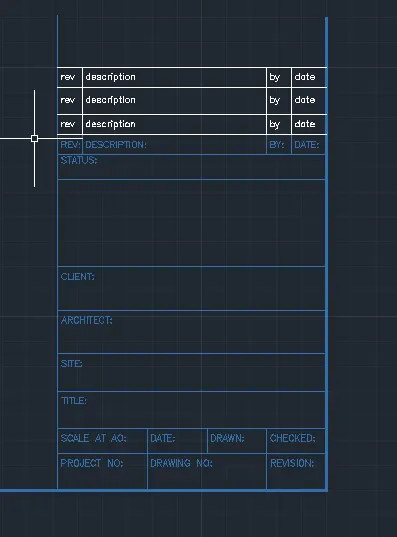
- Complete the table as per required text fitting the columns and rows.
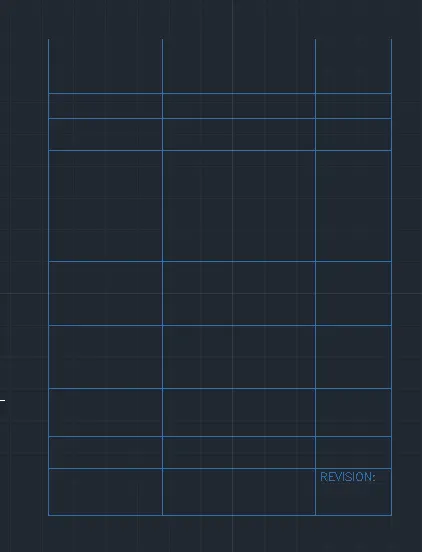
- Form the table creating the cells as per the given template
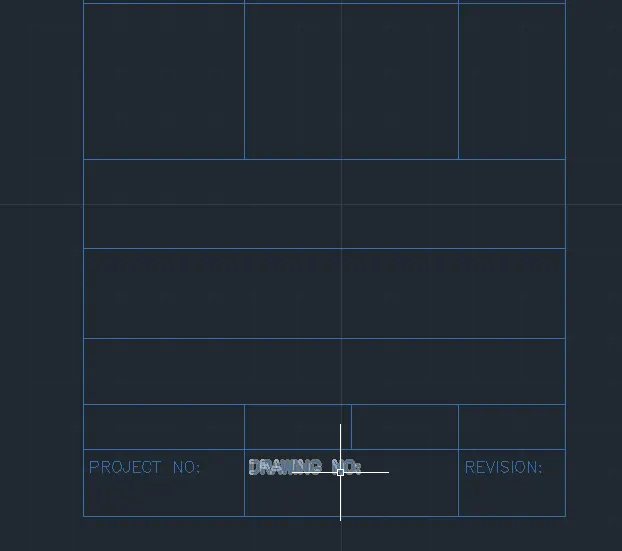
- Enter the text content as per the given template.
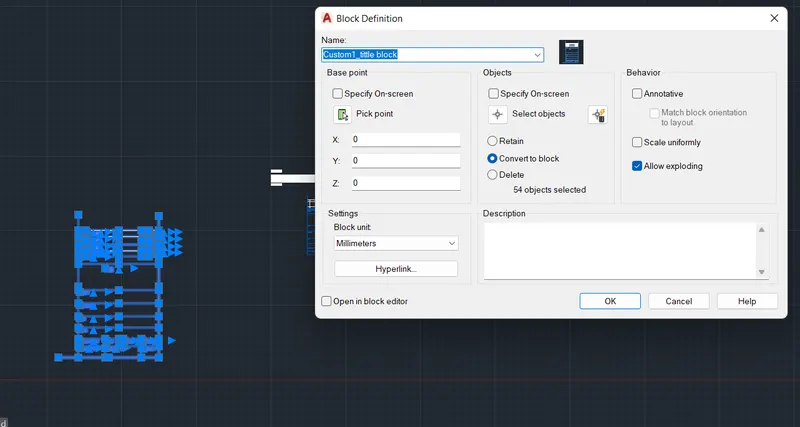
- Select the template and create block using pick point and selecting the objects and name the block as Custom1_titleblock1
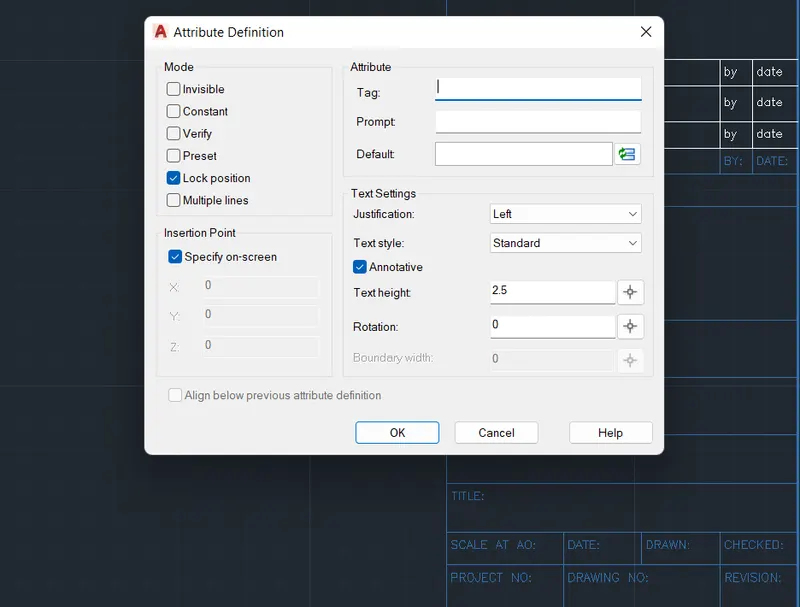
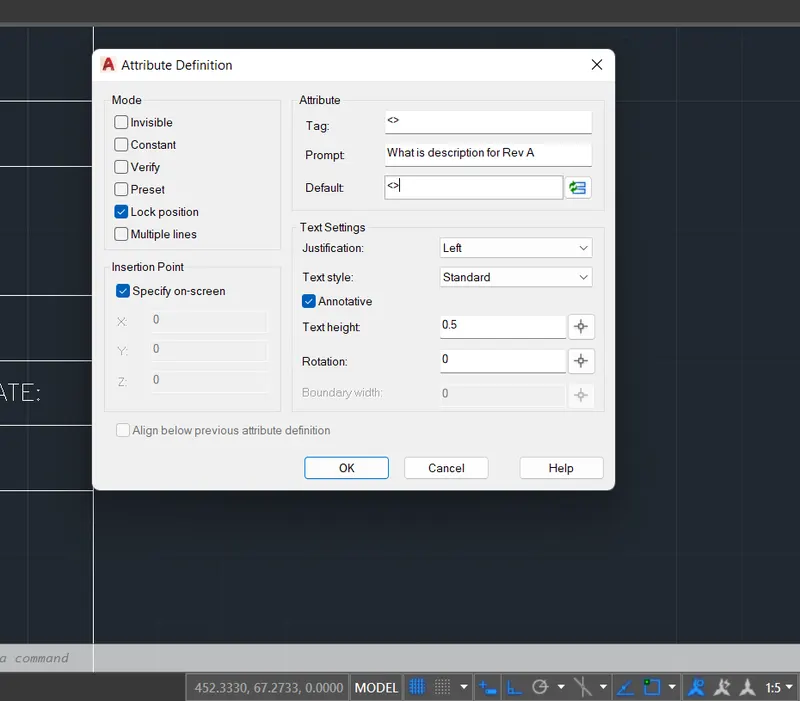
- Using Attdef command for attribute definition create the Tag, enter the Prompt and Default text.
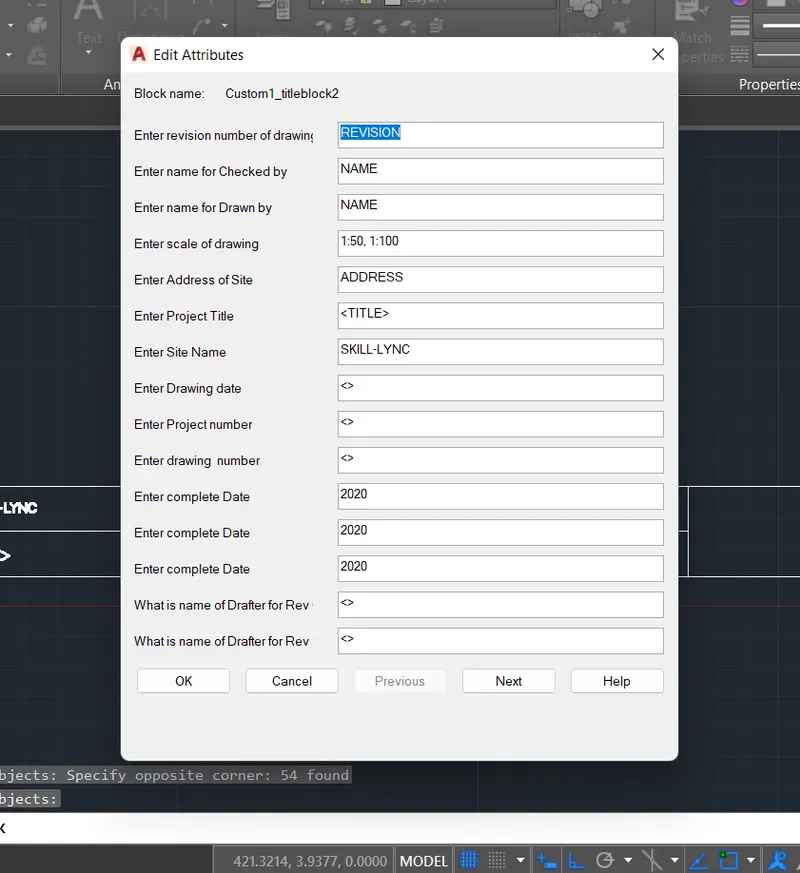
- After assigning attributes create block then the prompt will pop up in Edit attributes.
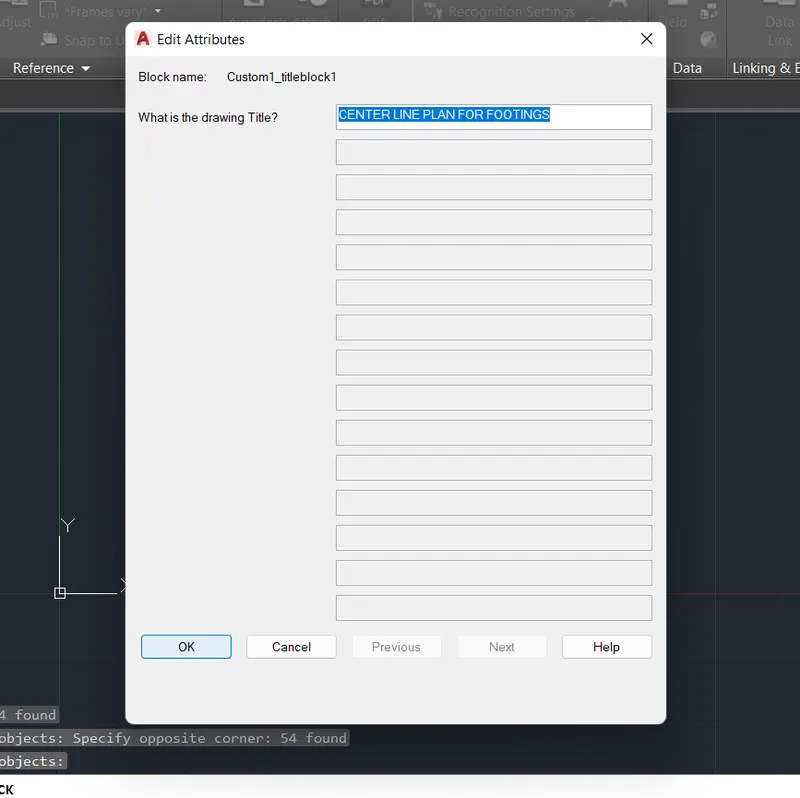
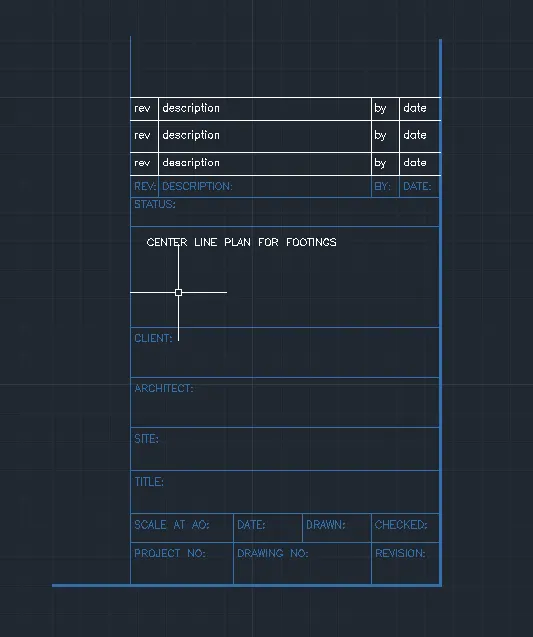
- Thus the given template is created along with the assigned text attributes which can me modified as per the required data.
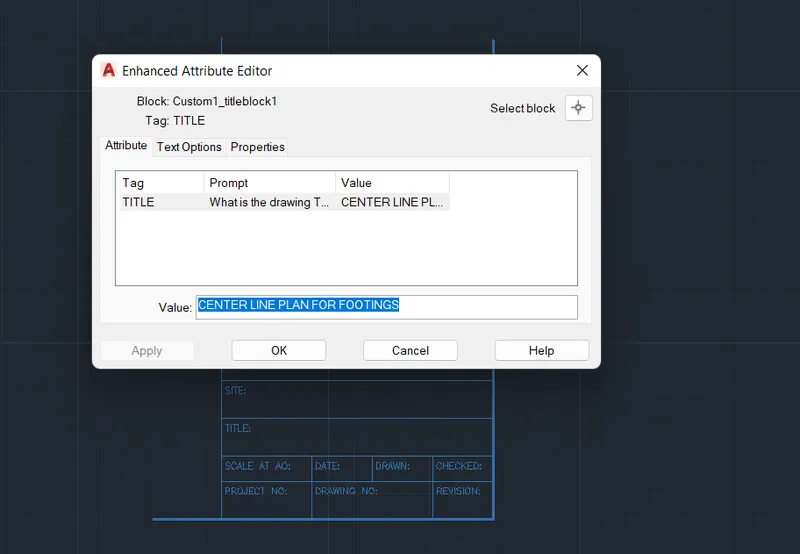
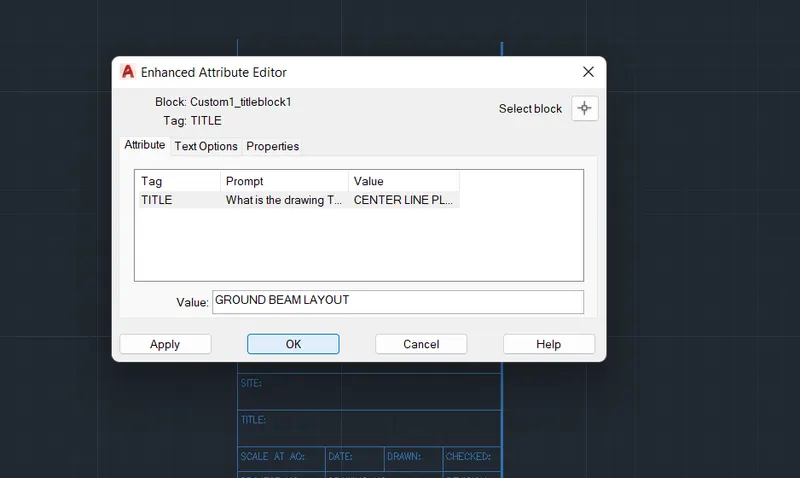
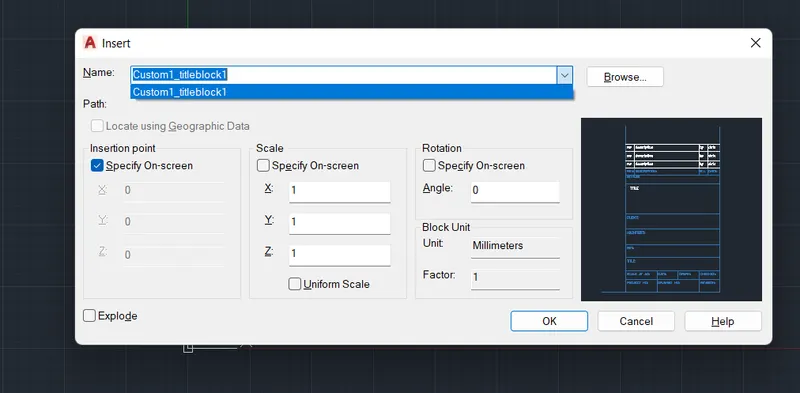
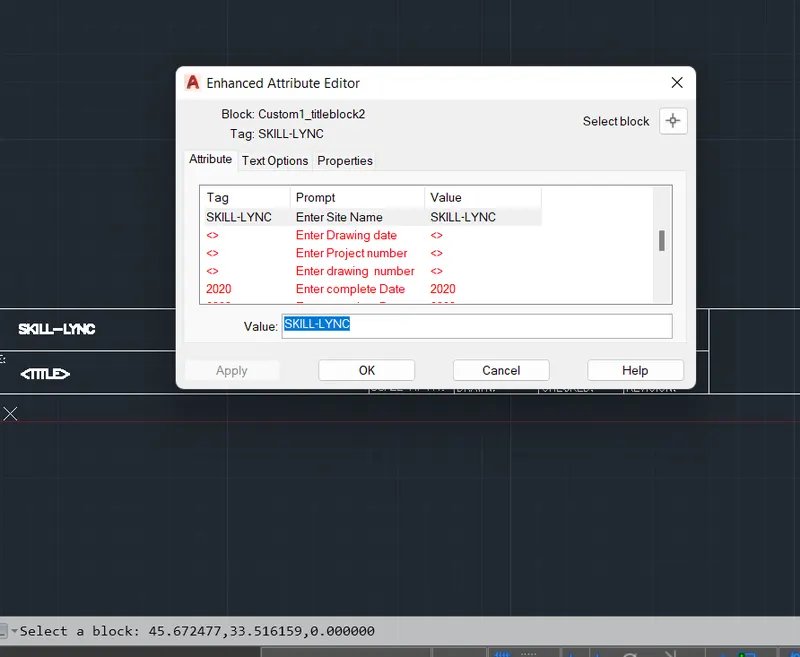
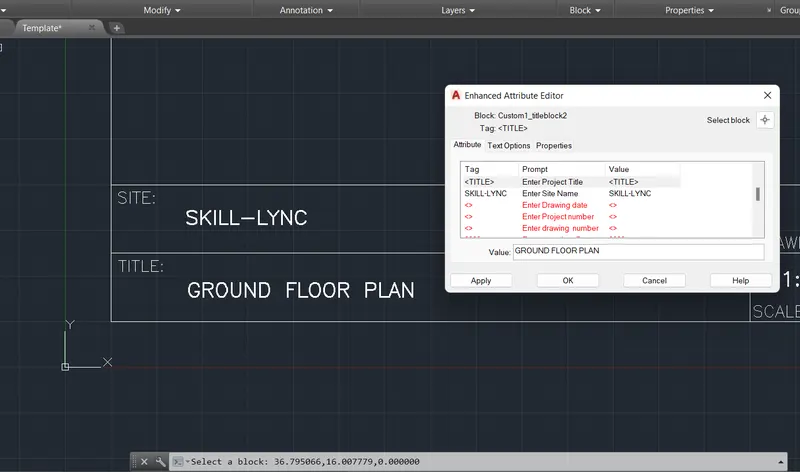
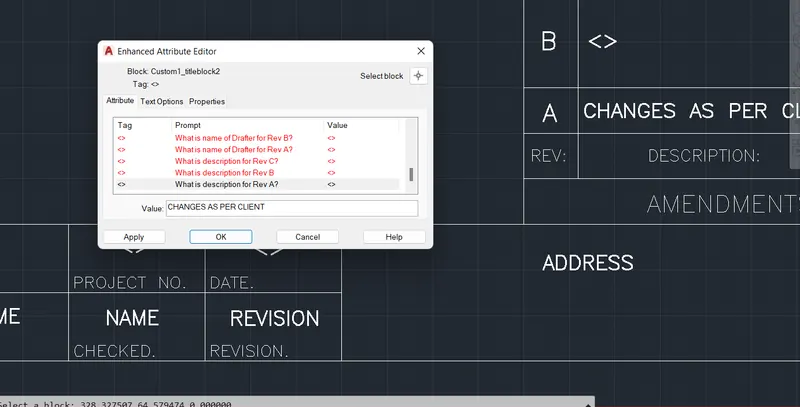
- The screen shots for various funtions of the attributes are shown for reference.
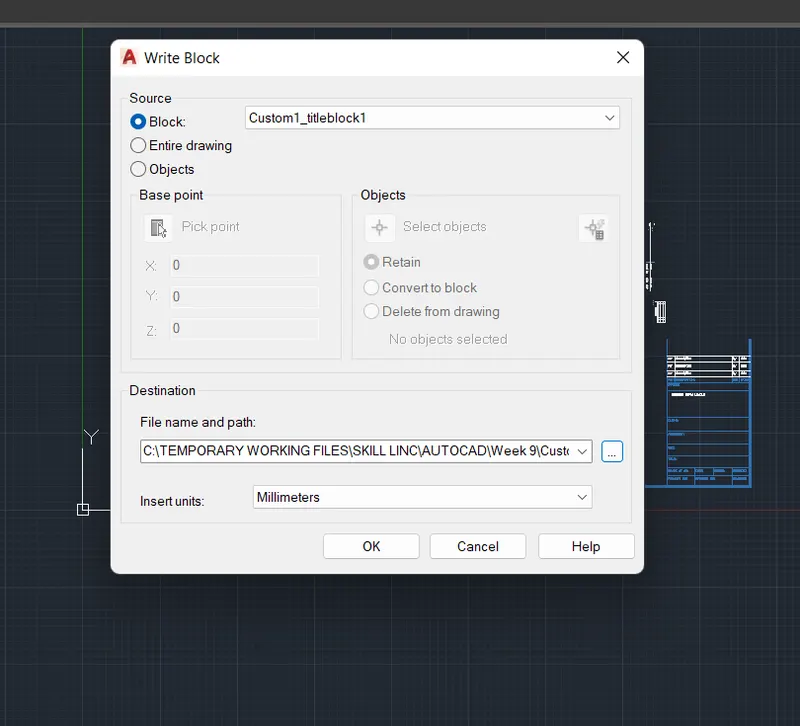
- The template is saved in the folder as a block using Write block command.
TEMPLATE 2
- Assign the attribute definition to the for entering various data for the title block.
- Draw the table for the template.
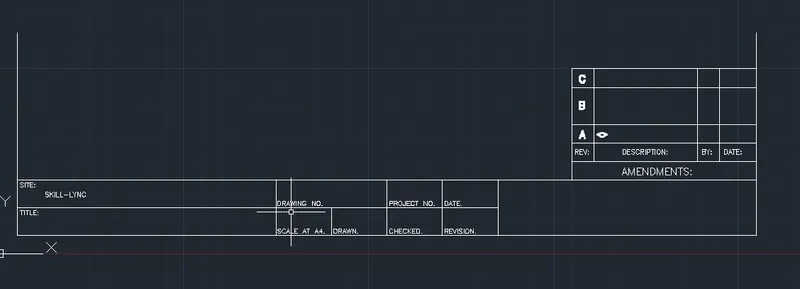
- Enter all the text details in the template table.
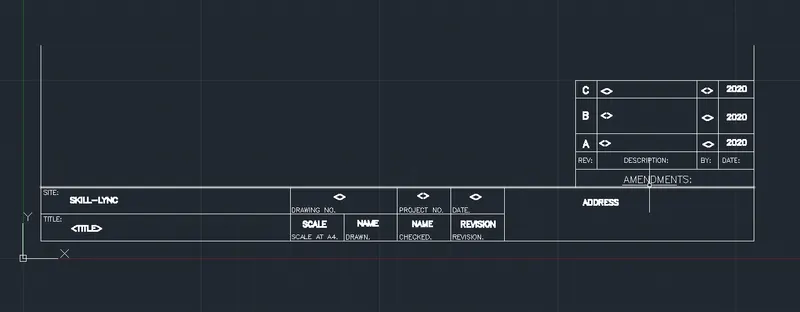
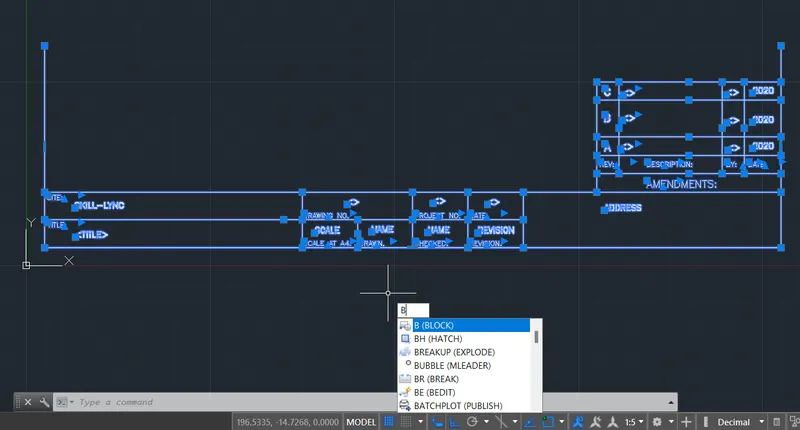
- After assigning the attributes create the block for the template table
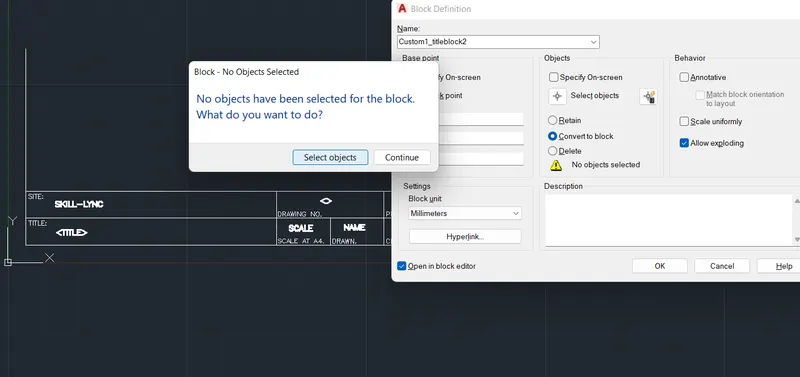
- The list of attribute is shown in the screenshot below.
- The Block can be used in the drawing using the Insert command and selecting the required block.
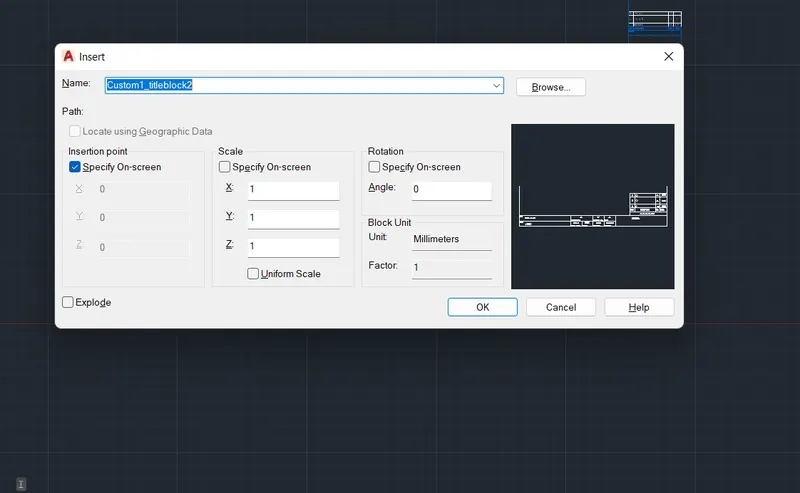
- The completed template is saved in the folder with name Custom1_titleblock2
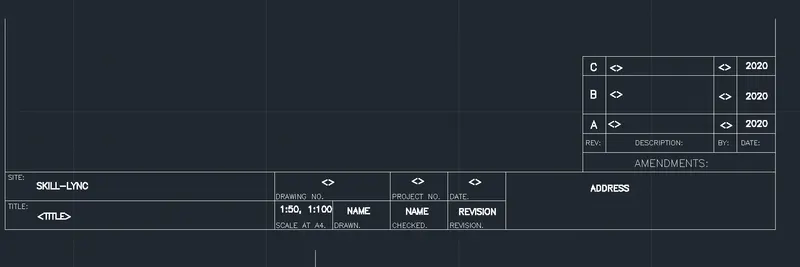
CONCLUSION: Thus we have created the given template in AutoCad using various tools by assigning attributes to the text and saved the template in the folder as Custom1_titleblock1 and Custom1_titleblock2.
2. WAREHOUSE DOORS:
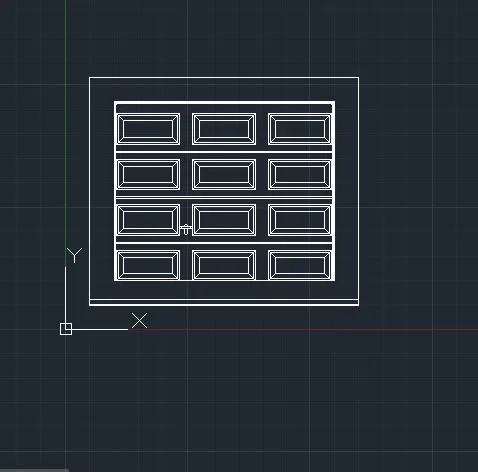
AIM: To draft the warehouse doors and create blocks as given figure using various tools.
INTRODUCTION: The two types of warehouse doors are drawing using various drafting tools and blocks are created for each door type ready to use in the drawing using Insert command.
PROCEDURE:
- Open new drawing and set the units, limits, drafting settings, zoom extent,dimstyle etc. as required
- The detailed procedure written for all the remaining exercises are lost due to the website crash hence please refer only the attached screenshots for the procedure of drafting and creating blocks.
 4
4
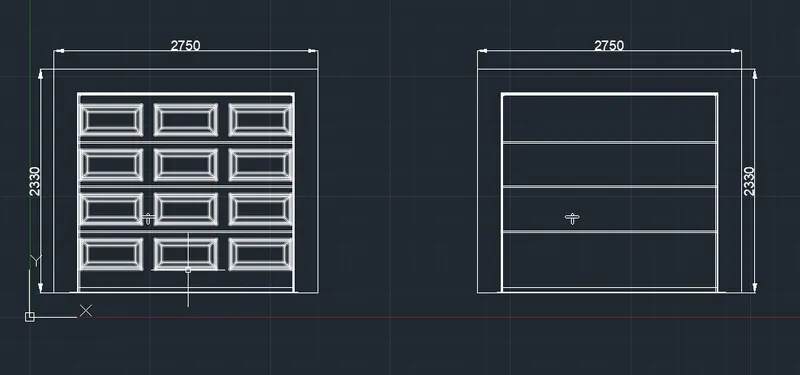
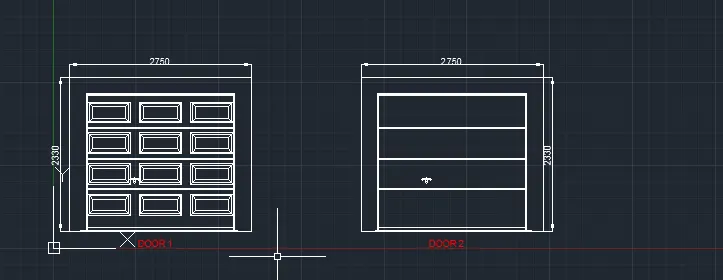
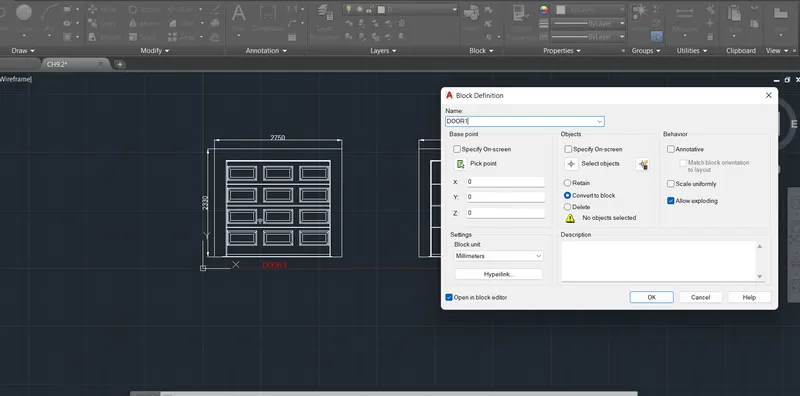
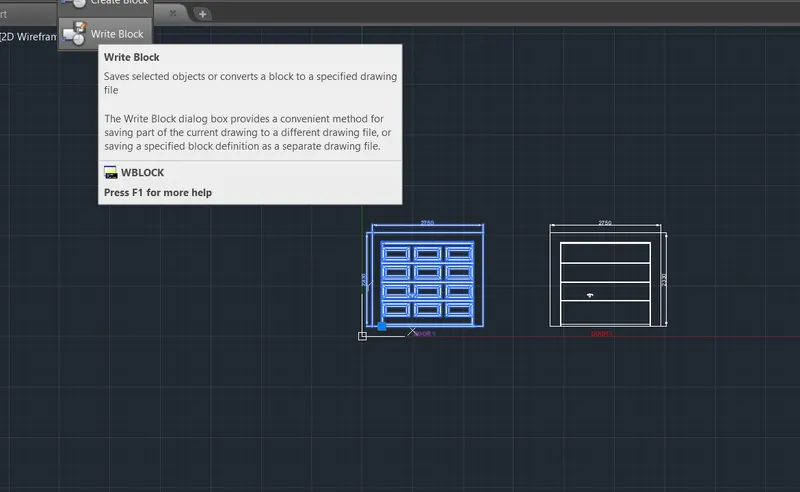
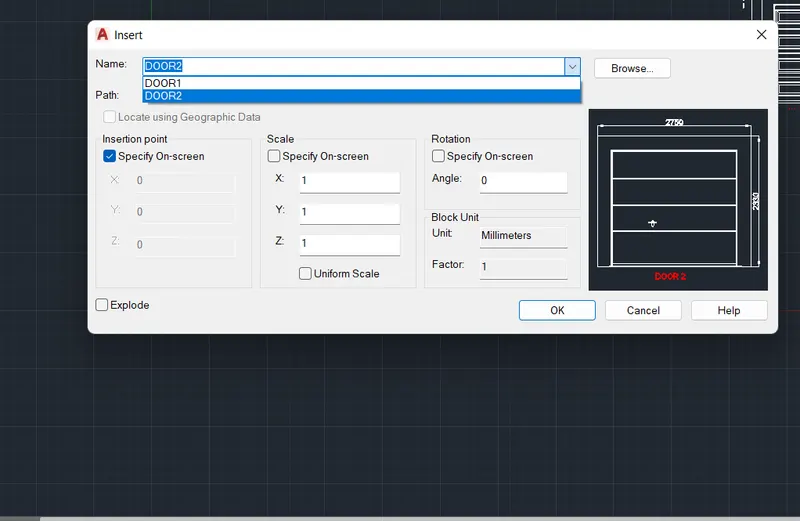
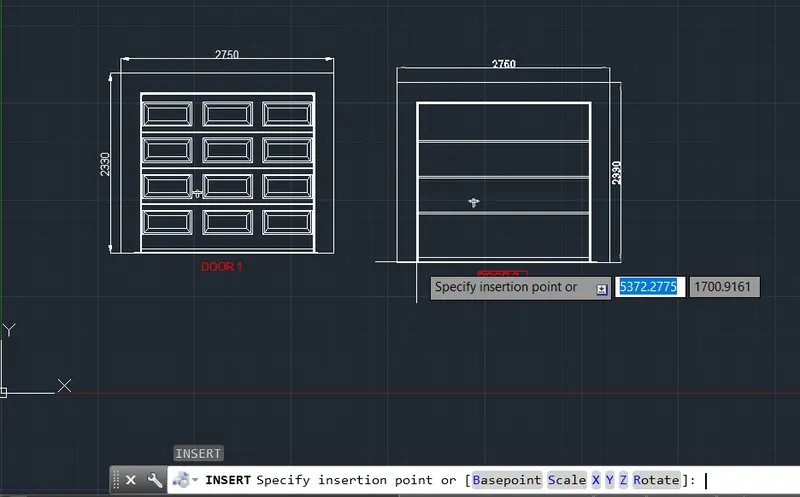
CONCLUSION: Thus we have drafted the given doors and created blocks by names DOOR1 & DOOR2 and saved in the folder using Write Block command for further use in drawing by using Insert command.
3. LEGEND
AIM: To draft and create the legend of symbols for electrical works as per given figure using the various drafting tools, text and attributes.
INTRODUCTION: The symbols are drafted using different drafting tools. The symbols are converted in to individual blocks using the name of the symbol. The symbols are inserted in the table created for legend as per figure and the name is inserted using the Field command.
PROCEDURE:
- Open new drawing and set the units, limits, drafting settings, zoom extent,dimstyle etc. as required
- The symbols are drawn using various drawing tools.
- The symbols are saved as individual block by name of the symbol.
- The table is created for legend
- The symbol blocks are inserted as per figure and the names are inserted using the Field command.
- The screenshots are attached below for reference.
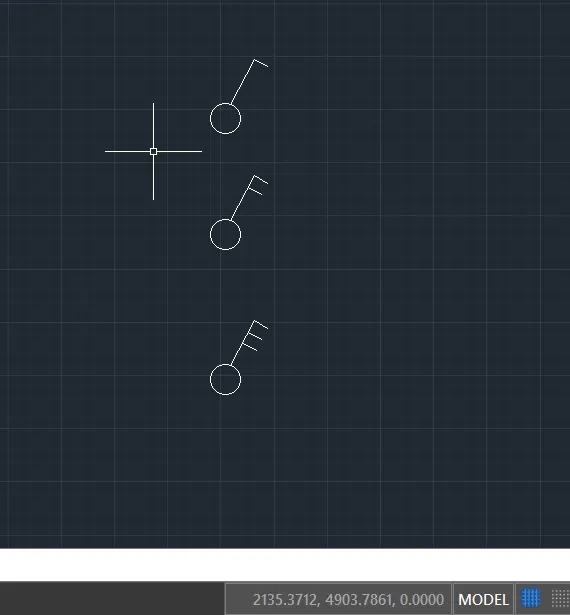
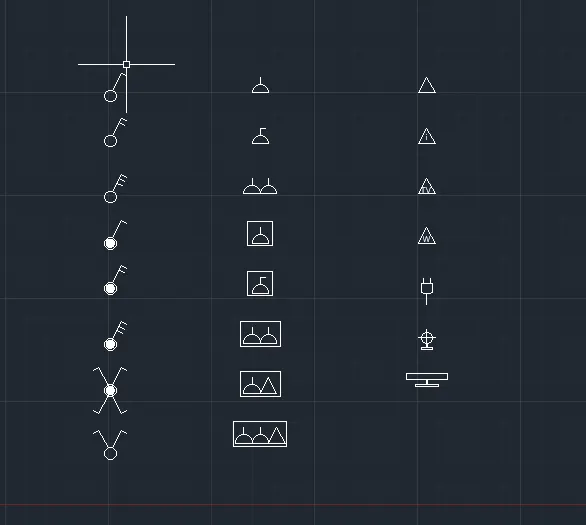
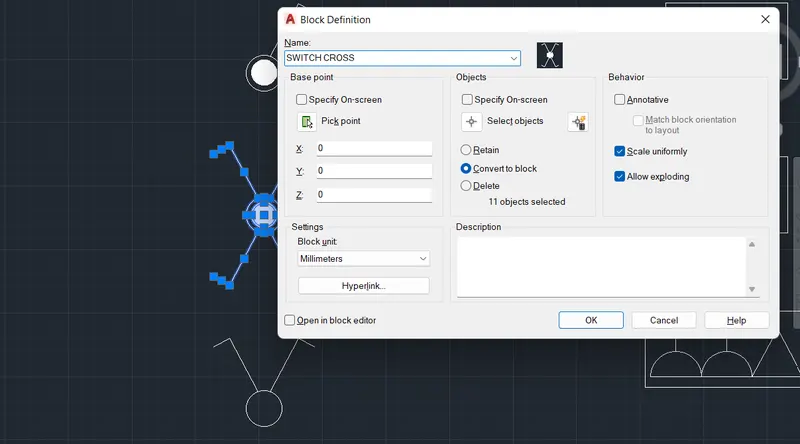
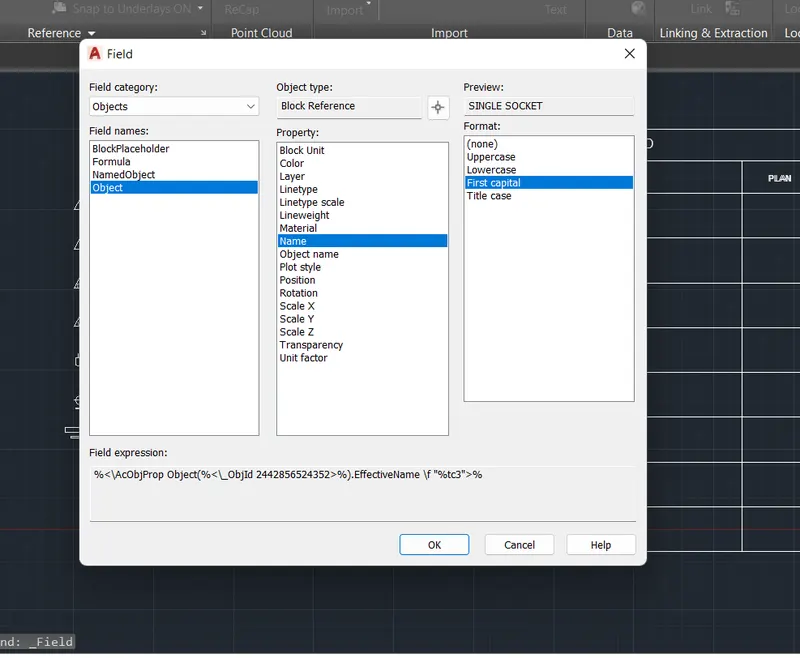
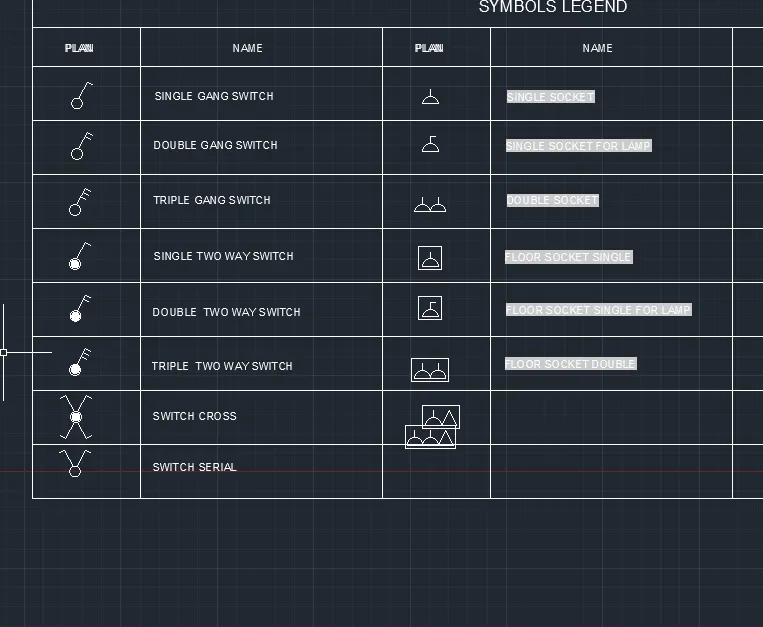
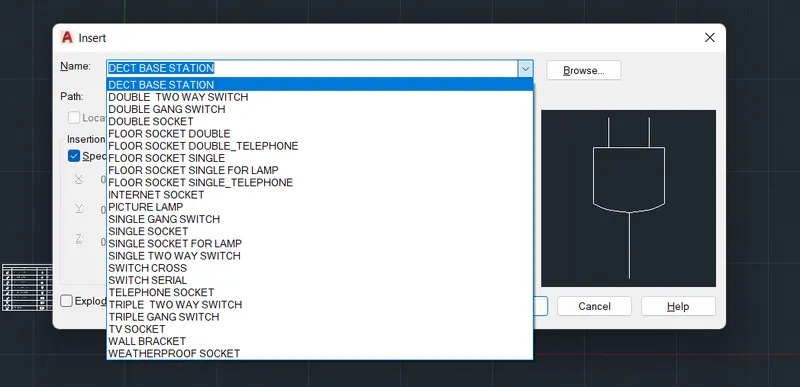
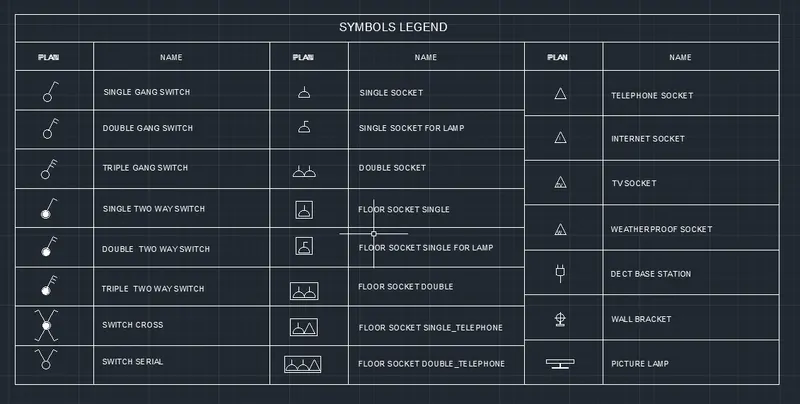
CONCLUSION: Thus we have created the legend for the electrical items by drawing the symbols and creating the block of each symbol by item name and entering in table using Field command.
4. DOORS FOR RESIDENTIAL BUILDING
AIM: To draft the different types of doors for residential building and creating the block for each door as per the given figure using the text and attributes.
INTRODUCTION: The different types of doors are to be drawing using various drawing tools and then creating block for each door type by naming it and assigning attribute to the text.
PROCEDURE:
- Open new drawing and set the units, limits, drafting settings, zoom extent,dimstyle etc. as required
- Draw the door using various drawing tools as per the given figure.
- Creat block for each door by giving the door type name.
- Assign the attribute of Size to the door name text
- The screenshots of drawings and block creation are attached for reference.
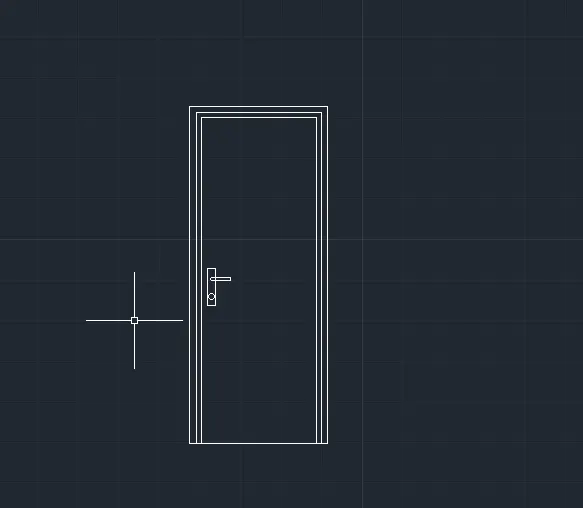
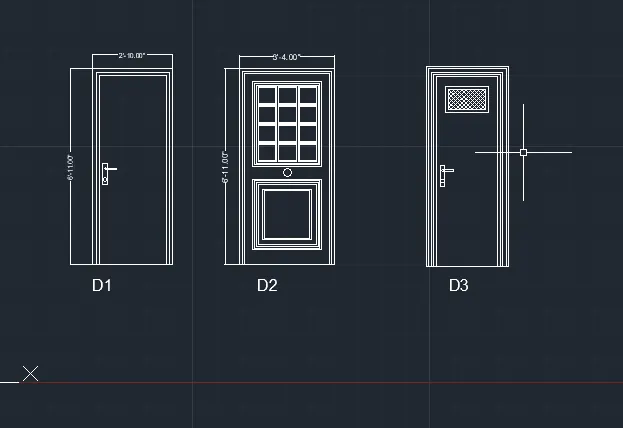
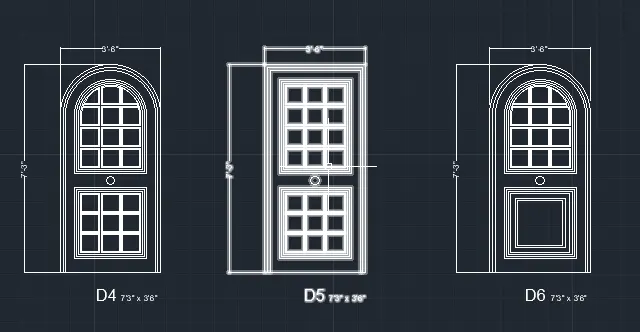
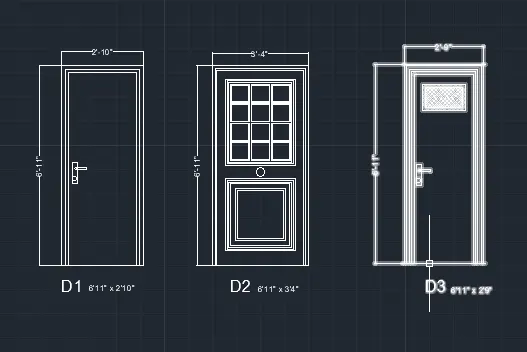
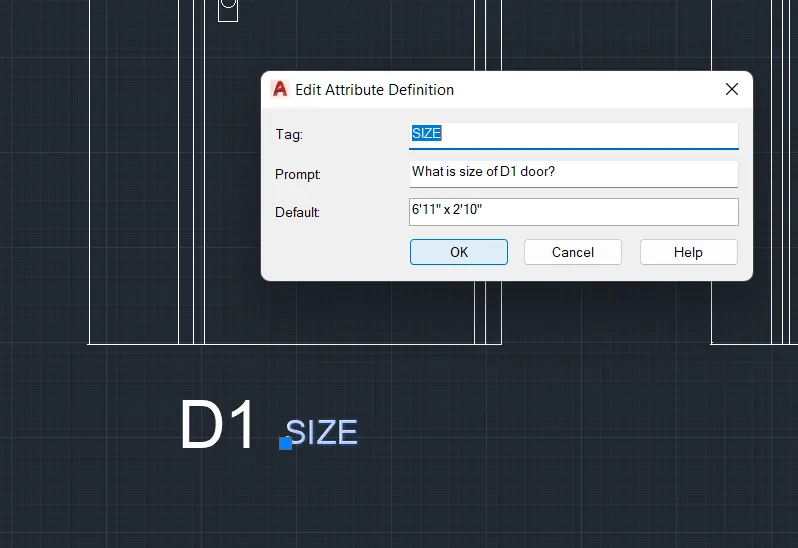
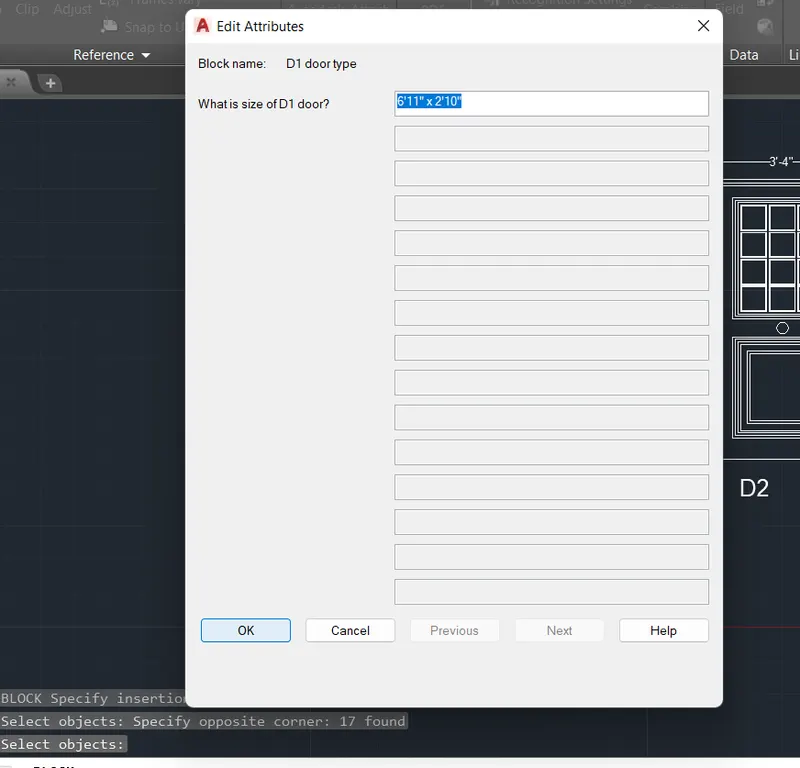
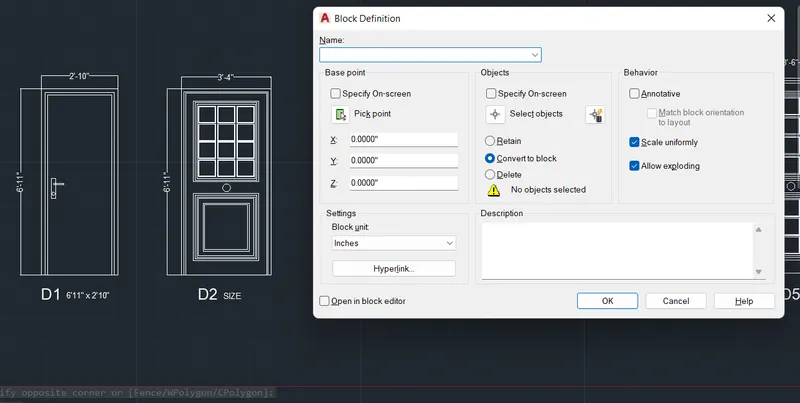
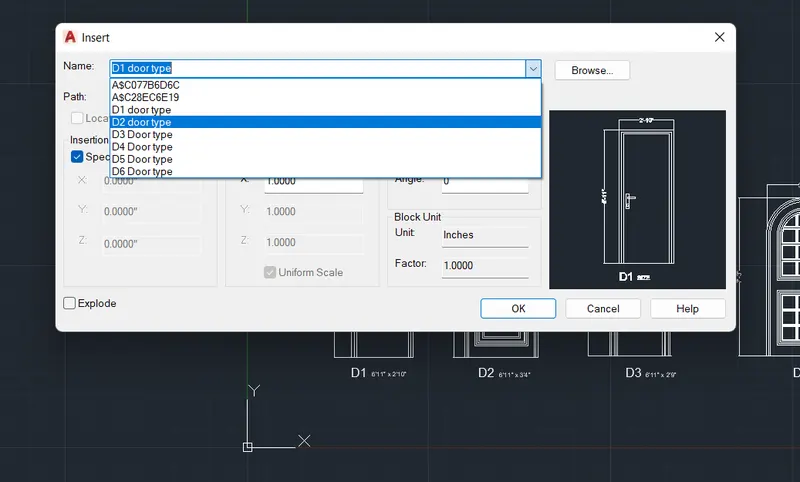
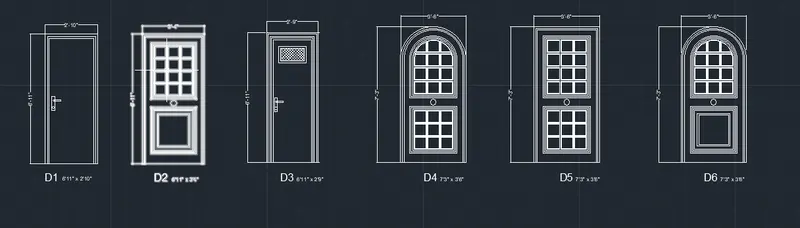
CONCLUSION: Thus using various drawing tools we have drawn the six door types for residential building given in figure and then creating block for each door and assigning the attribute to door name text.
5. BAR BENDING SCHEDULE
AIM: To draft and create the bar bending schedule as per given figure by drawing the bar shapes and creating block for each bar shape and using the text and attributes.
INTRODUCTION: The bar bending schedule is to be created by drawing the bar shapes and creating block for each shape and then inserting in the table drawn for bar bending schedule.
PROCEDURE:
- Open new drawing and set the units, limits, drafting settings, zoom extent,dimstyle etc. as required.
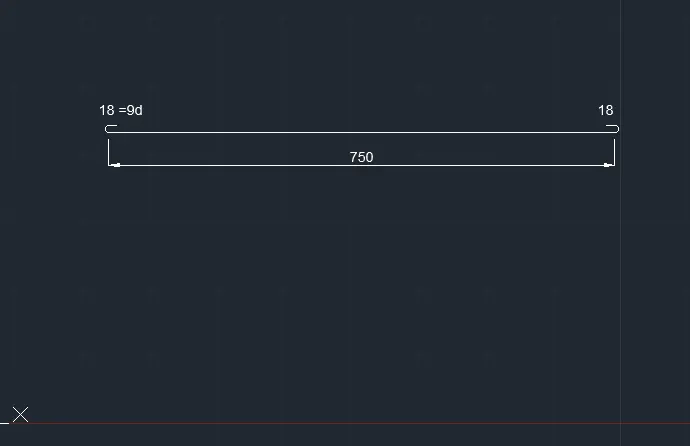
- Draw each bar shape using the drafting tools and enter the dimensions using text.
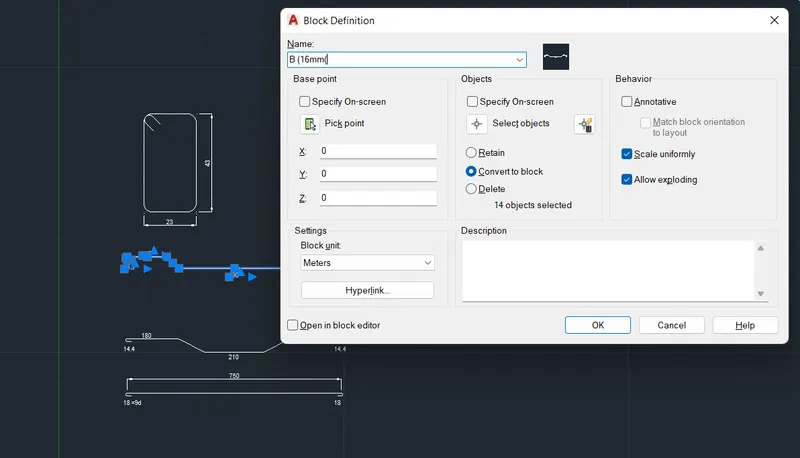
- Create block for each shape by the name of type of the bar.
- Draw a table for the bar bending schedule.
- Insert the bar shape and insert the type of bar by Field command.
- The screenshots for creating the bar bending schedule is attached herewith for reference
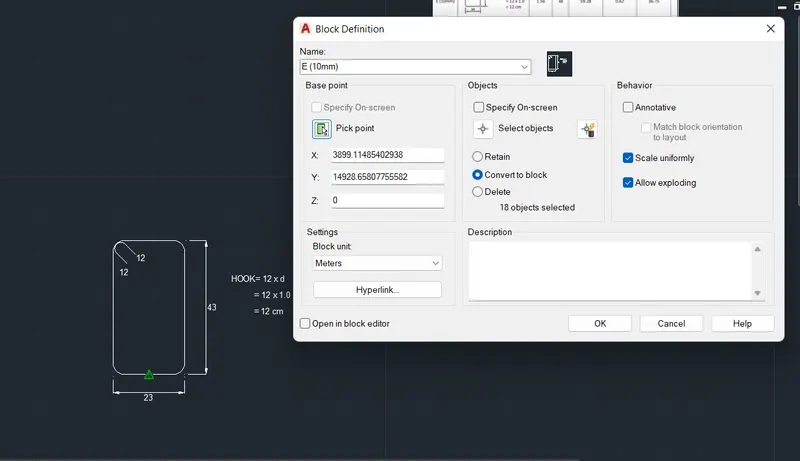
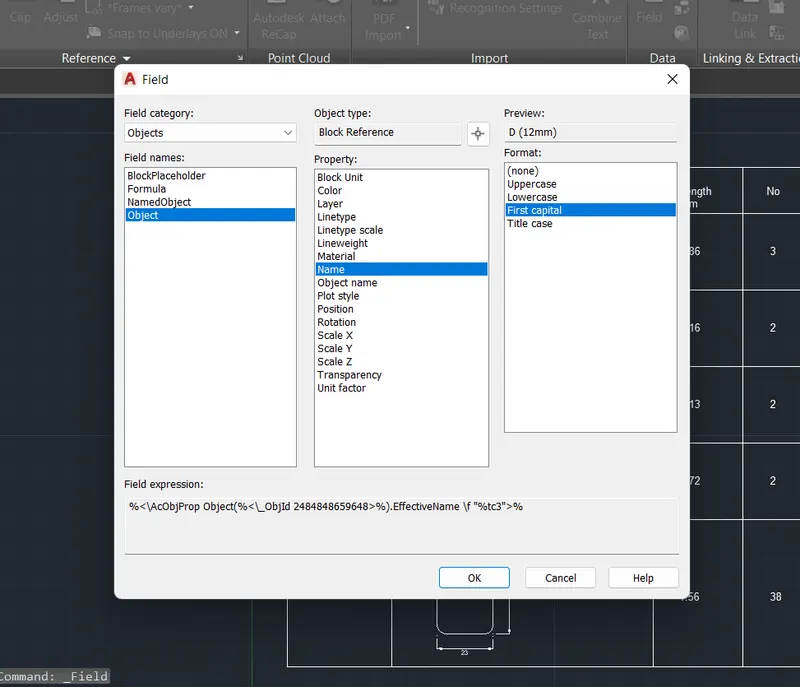
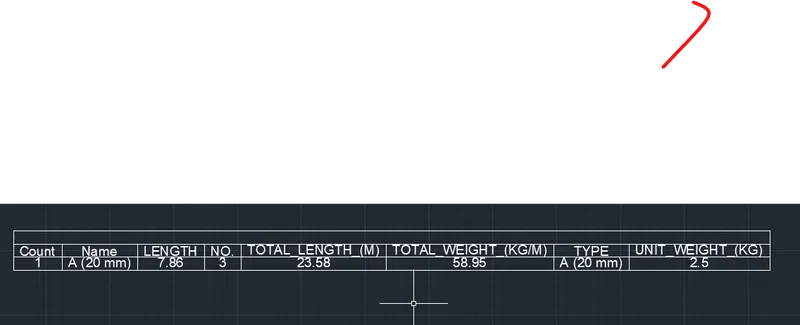
- We can also create the table by assigning all the details like Type, Length, Unit weight etc. as attributes and entering the default values.
- The attributes can be converted to table by Data extraction command.
- For example the Data extraction for one block is shown in screenshots below.
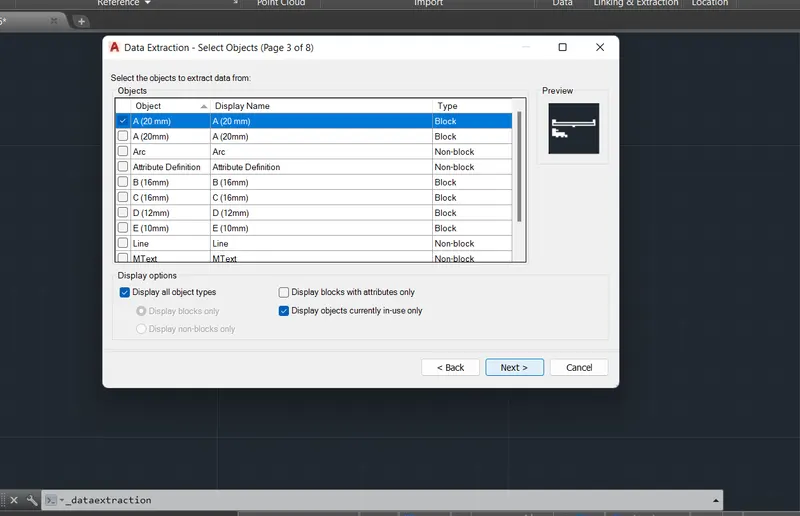
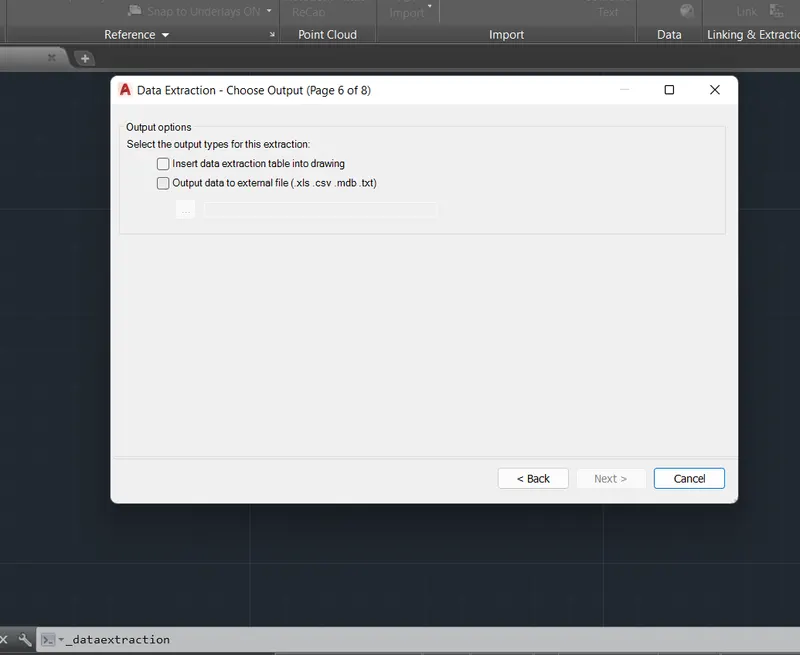
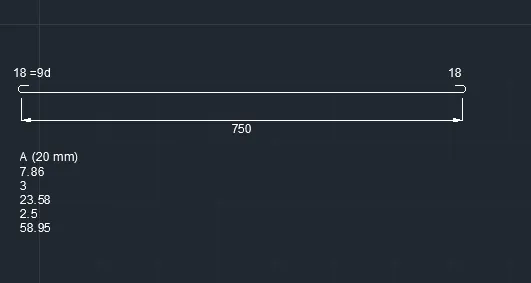
- Final bar bending schedule created is shown in the screenshot below.
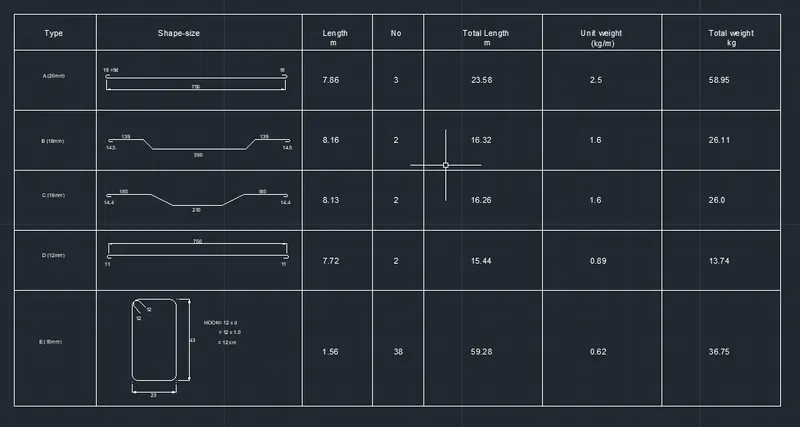
CONCLUSION: Thus we have created the the bar bending schedule by drawing the block for the bar shape and entering the text for the dimensions. The blocks are then inserted in the table drafted for the bar bending schedule and values entered for as per the given figure. An example for assigning the attributes and creating table by Data extraction is also created for reference.