Creating Bar Bending schedule, Different Door types, and Creation of standard drawing templates using AutoCad
1. Aim: To create the template for the title block.
Introduction: To create the title block template as per industry standards or by assuming as per the size of paper.
Procedure:
- First we need to set dimensions by using Units command and limmax.
- Then take the line command and have to draw the lines as per the requirement in the drawing.
- Proper clear details to be mentioned in the template.
- All the details about the drawing to be mentioned in template only.
- And as per the requirement outer lines are drawn and attached below.
-
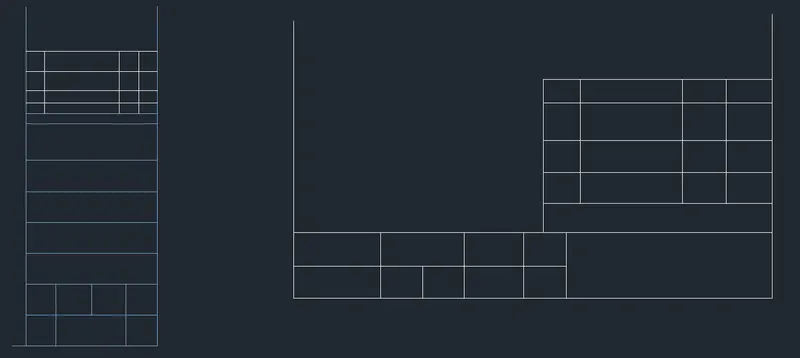
- After completing the outer lines then we need to insert the text in the template.
- Proper correct information to be mentioned with all the details clearly.
- By using Mtext command you need to enter the text.
- By using the details in the template only, construction works will occur.
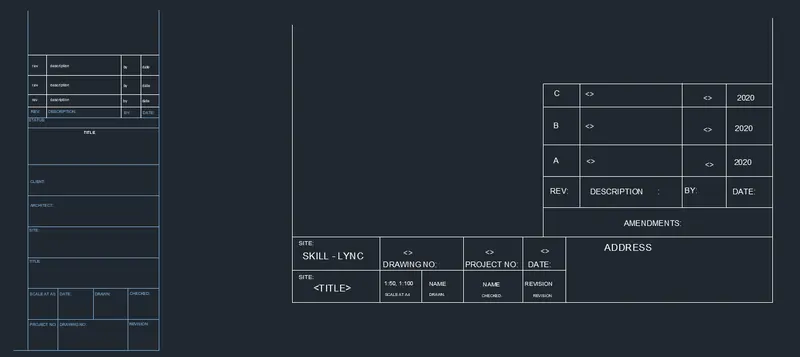
- Then after creating the template final attachment is attached below in the result.
Result:
2. Aim: To create door type of ware house.
Introduction: To create the door size of the house as per the standard door dimensions.
Procedure:
- First we need to set dimensions by using Units command and limmax.
- Then take the line command and have to draw the lines as per the requirement in the drawing.
- Take the door sizes as in the give attachment or by the standard door sizes.
- Draw the outer portions of the table as in the attachment for the proper door size.
- In the same way draw the outer portion for 2nd door as in the below attachment.
-
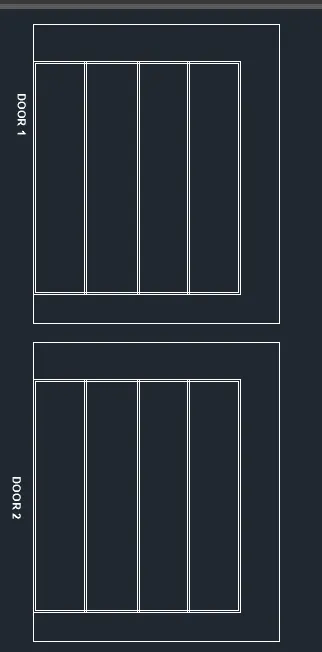
- Then after taking the outer boundary lines, we need to onsert door portion in the table.
- Now draw the door portion by using line command as shown in the given attachment.
- Now this door to be in the block layer for saving the door size.
- Before creating to the block, door should be in the door layer.
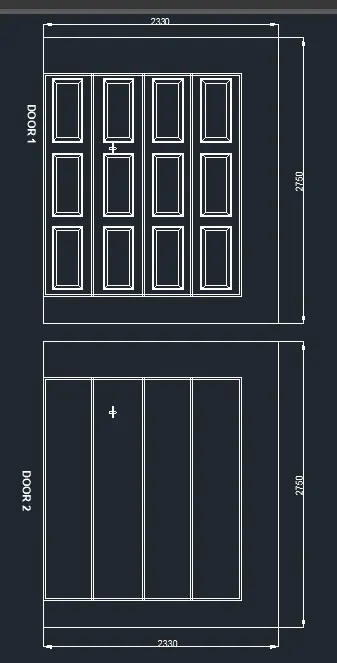
- Then only we can insert in the block layer and final drawing is attached in the result.
Result:
3. Aim: To create the symbol with the name given in the legend.
Introduction: To create the symbols in the block layer with the name given in the legend.
Procedure:
- First we need to set dimensions by using Units command and limmax.
- Then take the line command and have to draw the lines as per the requirement in the drawing.
- Draw the outer portions of the table as in the attachment for the proper size.
- In the same way draw the outer portion as in the below attachment.
-
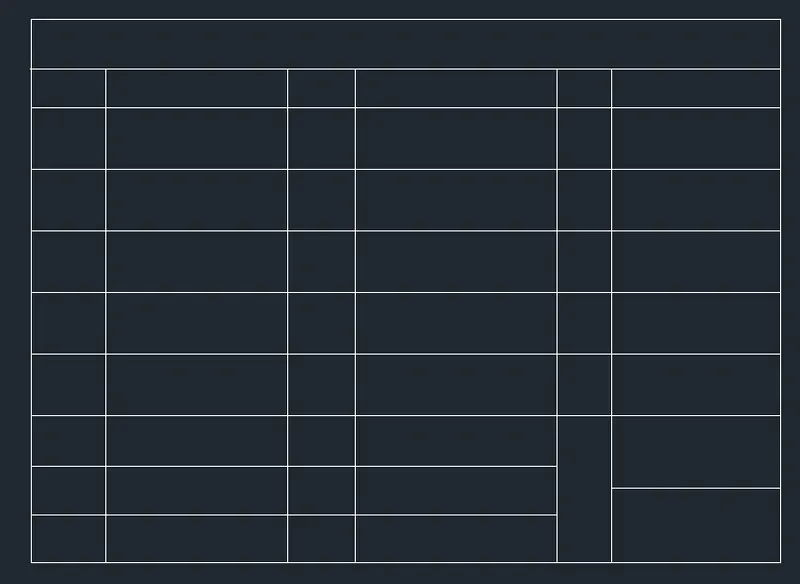
- After completing the outer lines then we need to insert the text and symbols in the template.
- By using Mtext command you need to enter the text.
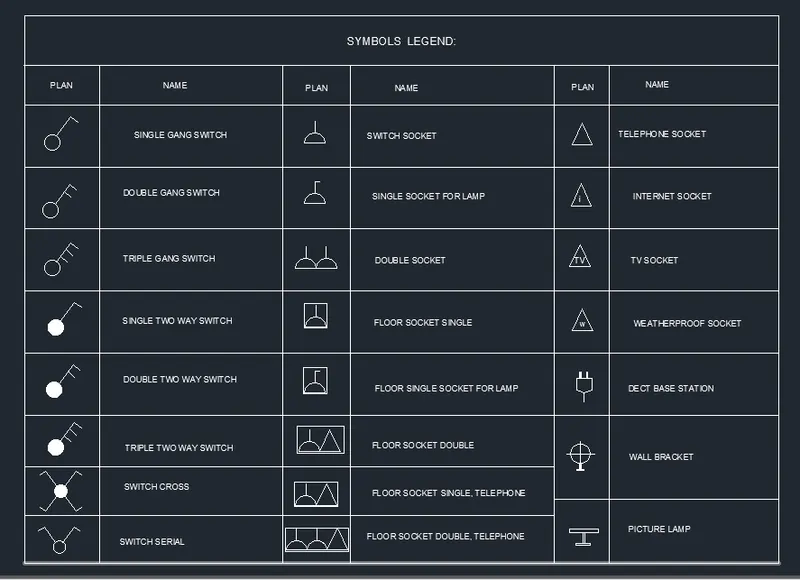
- Then the symbols given in the attachment need to be prepared for clear understanding the type of switches.
- After creating the symbols, they should be in the block layer because of inserting easily.
- Before placing in the block, symbols should be in the layer command.
- After creating in the block, then the symbol and it's name is to be entered in the table.
- Then after creating the template final attachment is attached below in the result.
-
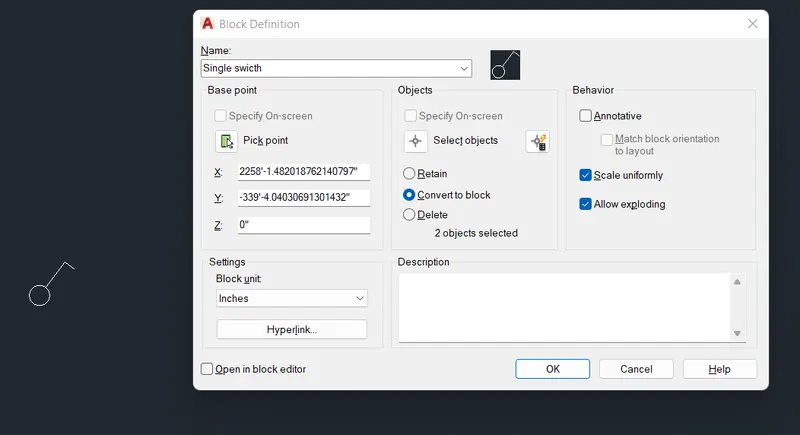
Result:
4. Aim: To create the door type for residential building as a block.
Introduction: To create the door typr for residential building as a block with the given dimensions or by assuming the dimensions as per the Indian standards.
Procedure:
- First we need to set dimensions by using Units command and limmax.
- Then take the line command and have to draw the lines as per the requirement in the drawing.
- Draw the outer portions of the door as in the attachment for the proper size.
- In the same way draw the outer portion for the remaining doors as in the below attachment.
-
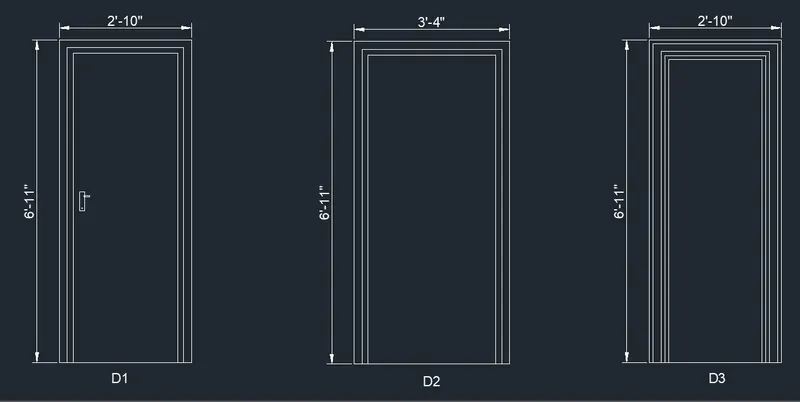
- In the same way, draw the remaining doors D4, D5 and D6 also.
- If the diimensions are shown in the given attachment, then you need to show the dimensions.
- Or else you can assume the dimensions as per Indian Construction standards.
- Then finally remaning doors outer lines are attached below.
-
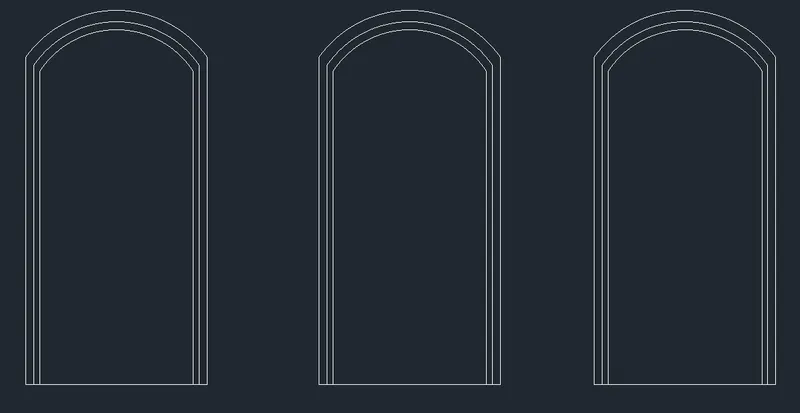
- Then we have to design in the inner side of the door.
- For this we can do by our own design or as in the given attachment.
- There shoud be a handle also to be mentioned in the handle portion.
- Finally the door is ready and is attached below.
-
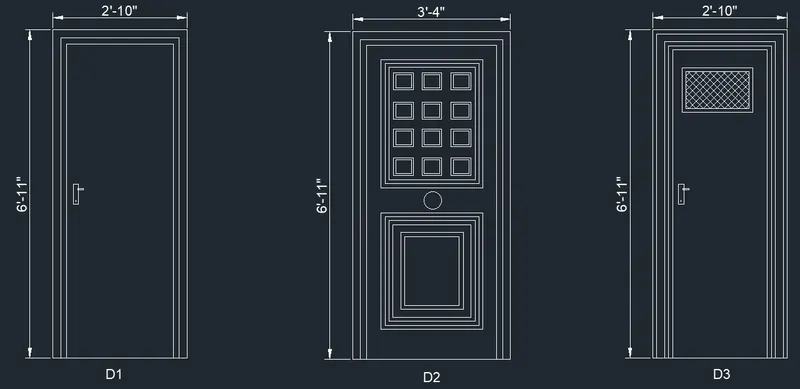
- In the same way, we have to design for the remaining doors.
- Then we have to design in the inner side of the door.
- For this we can do by our own design or as in the given attachment.
- There shoud be a handle also to be mentioned in the handle portion.
- Finally the door is ready and is attached below in the result.
Result:
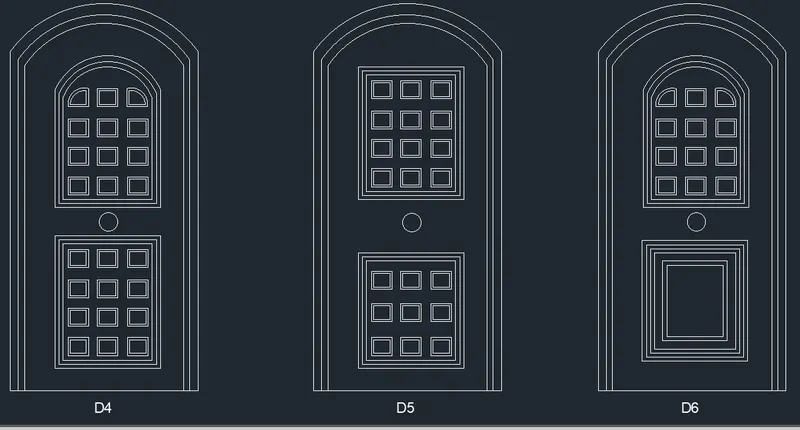
5. Aim: To create the shapes of the block as in the figure.
Introduction: To create the shapes of the block as in the given attachment by saving the block and inserting in the table.
Procedure:
- First we need to set dimensions by using Units command and limmax.
- Then take the line command and have to draw the lines as per the requirement in the drawing.
- Draw the outer portions of the table as in the attachment for the proper size.
- In the same way draw the outer portion as in the below attachment.
-
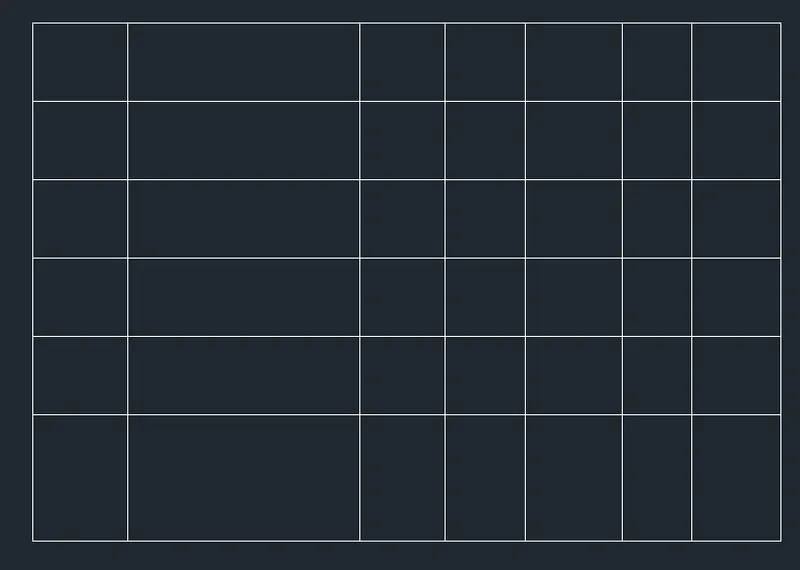
- Now we have to insert the given shapes and text in to the table.
- After creating the shapes, each shape should be attached with the block.
- First have to create with the layer command, then that layer should have to be in the block.
- After creating all the shapes in the same way, Then you need to insert them in the table.
- For inserting them in the table, use the insert command to insert in the table which is created by the block.
- Then the final drawing is readdy and attached in the result.
Result:
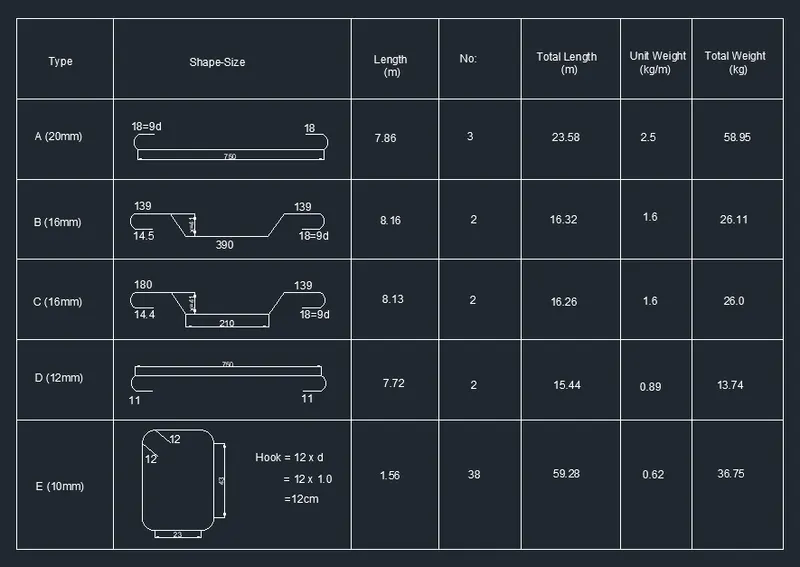
Note: For clear dimensioning view and line weight, Please look into the PDF attachments.