Creating Bar Bending schedule, Different Door types, and Creation of standard drawing templates using AutoCad
AIM: Creating Bar Bending schedule, Different Door types, and Creation of standard drawing templates using AutoCad
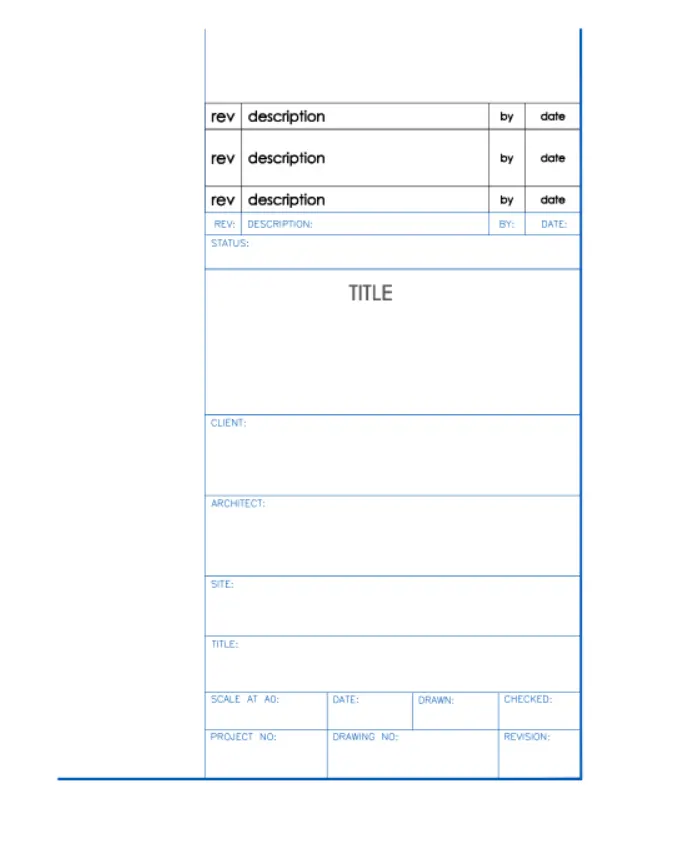
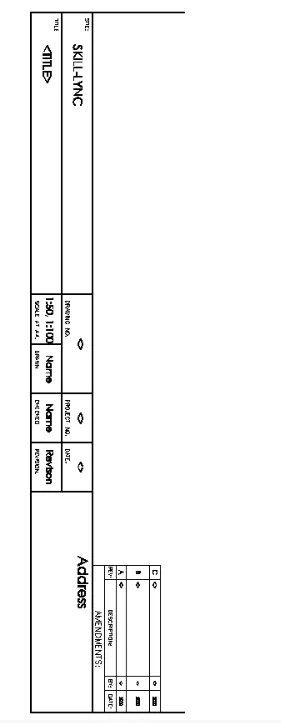
1) Create templates named: Custom1_titleblock and Custom2_titleblock
Procedure:
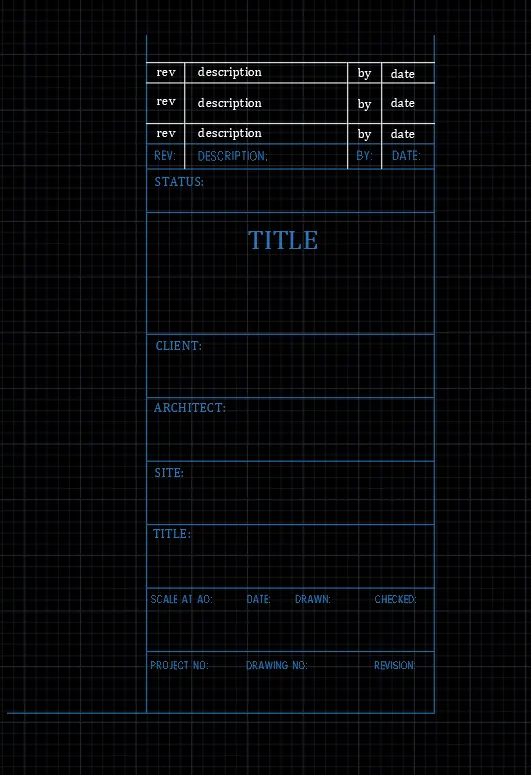
Step 1: Creating custom 1 titleblock
- Use line command to draw lines
- Use mtext command to provide text
- Use the properties option in the ribbon to change colour
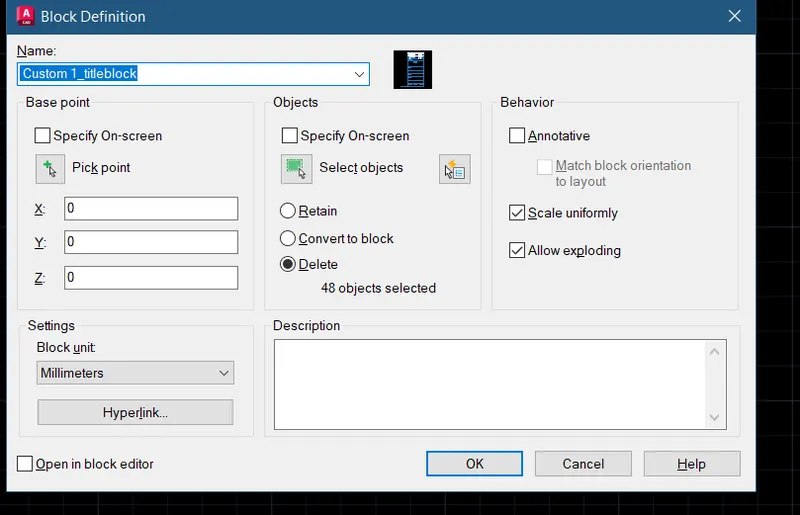
- Use block command to create it as a block
Result:
Step 2: Creating Custom 2 Tiltleblock
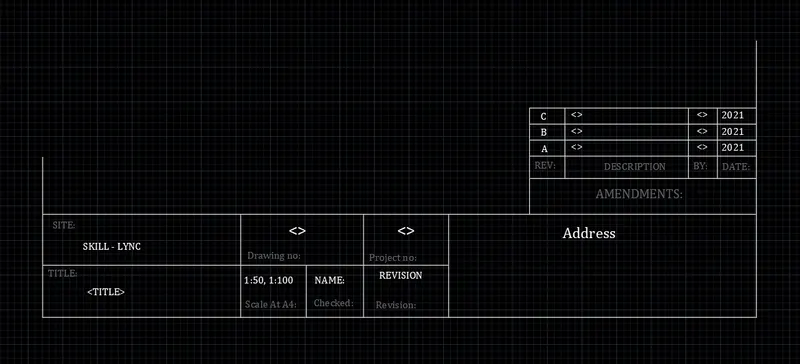
- Use line command to create the table lines
- Use mtext command to insert text
- Use properties option to change colour
- Use block command to create it as a block
Result:
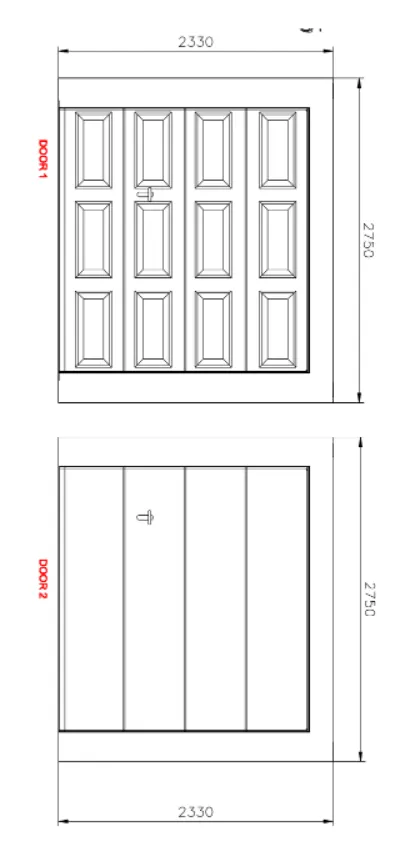
2) Create the doors type for warehouse and also create the blocks of this door type after creating them
Procedure:
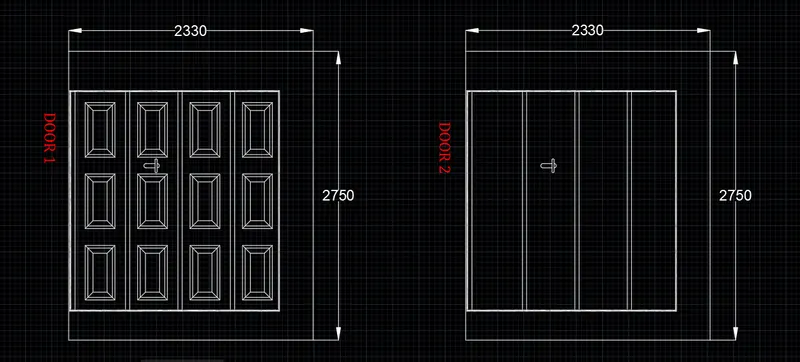
Step1 : Door 1
- Set the units to mm usin units command
- Use line command to draw lines of the doors
- Use rec command to draw the inner box and use the array tool for creating multiple boxes
- use line and fillet command to make the handle
- Use dimension command to provide dimensions
- Use mtext command to provide text
- Use block commad to create it as a block
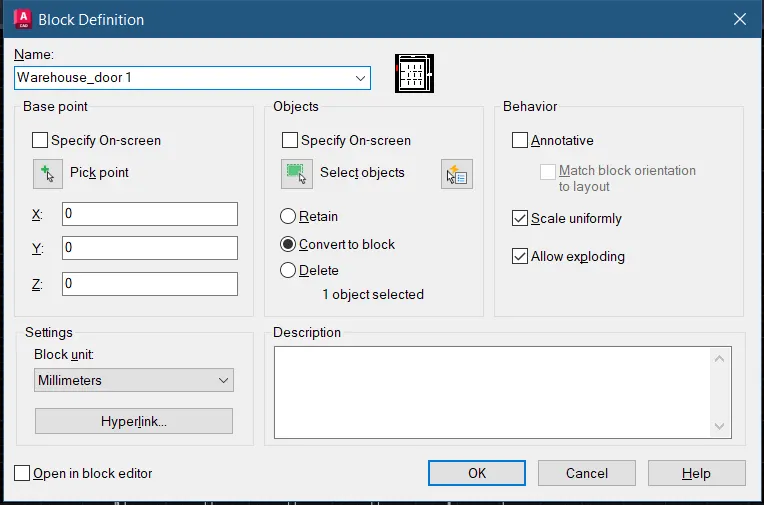
Step 2: Door 2
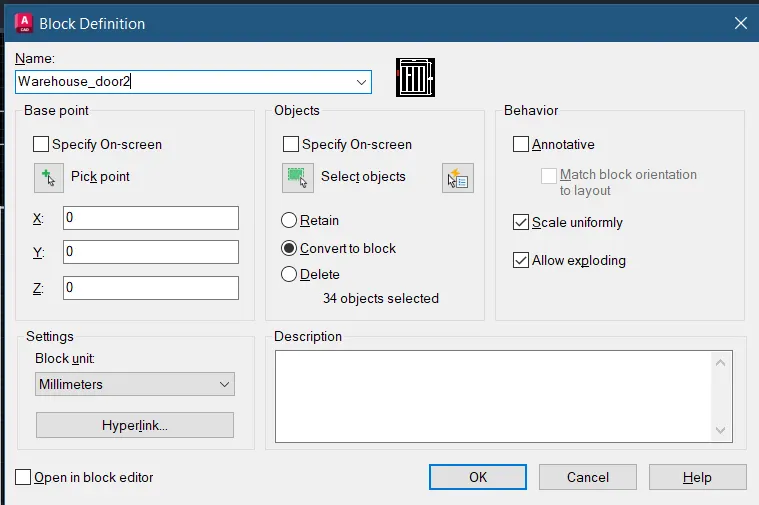
- Copy the above figure and erase the boxes
- Also edit the mtext to door 2
- Now create it as block
Result:
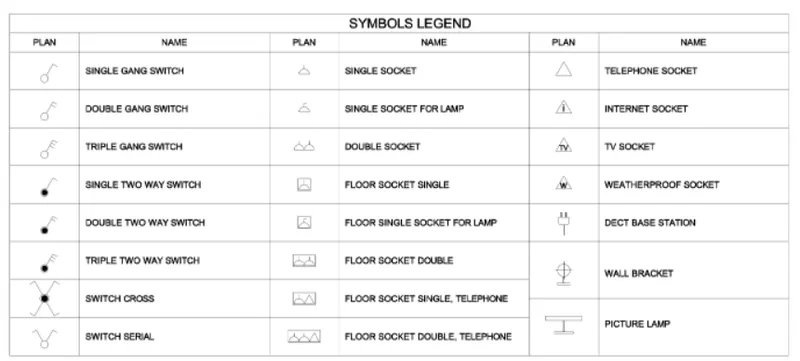
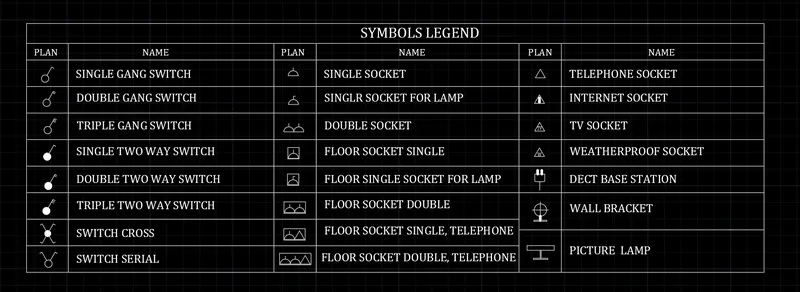
3) Create each symbol as a block with the name given in the legend and arrange them
Procedure:
Steps:
- Use circle command and line command to create the symbol
- Now make the symbol as a block and name it 'single gang switch'

- Use LIne,Circle and arc command to make sdifferent symbols
- Make all symbols as a block
- Now use line commad and make table
- Put all the symbol blocks in the table and give the names of the symbol using the mtext command
Result:
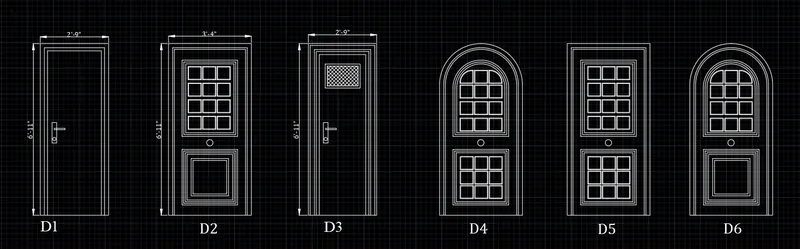
4) Create the door type for residential building as a block
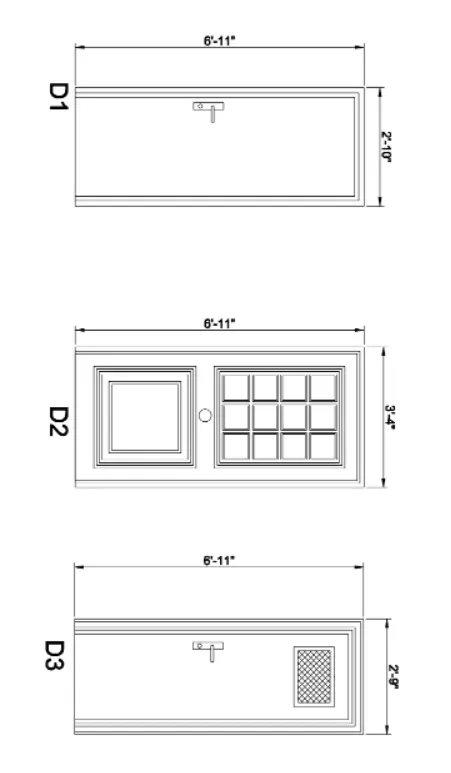
Procedure:
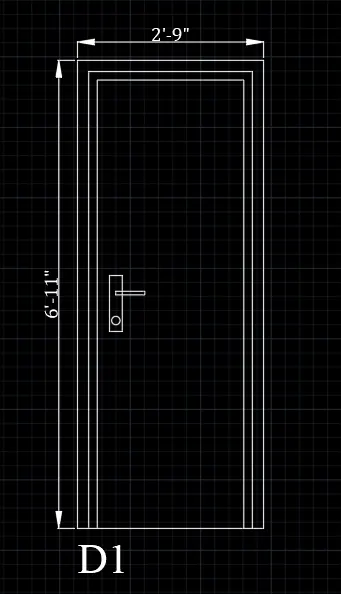
Step 1: D1
- Use Line command to draw line
- 6'11" in y direction
- 2'9" in x direction
- 6'11" in -y direction
- Close
- use offset command on offset the lines as per figure
- Use rec and circle command to create handle
- Use dimension command to provide dimensions
- Use block command to create it aas a block
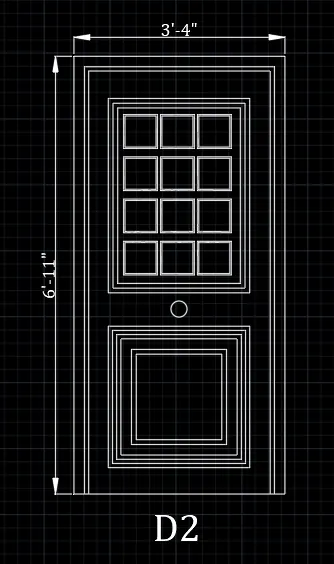
Step 2: D2
- Use line and rec command to draw the door
- Also use circle command
- Use dim and mt text command
- Use block command to make it a block
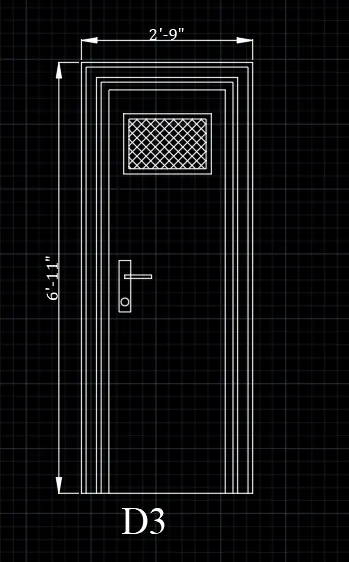
Step 3: D3
- Use line and rec command to draw the door
- Also use Hatch command
- Use dim and mt text command
- Use block command to make it a block
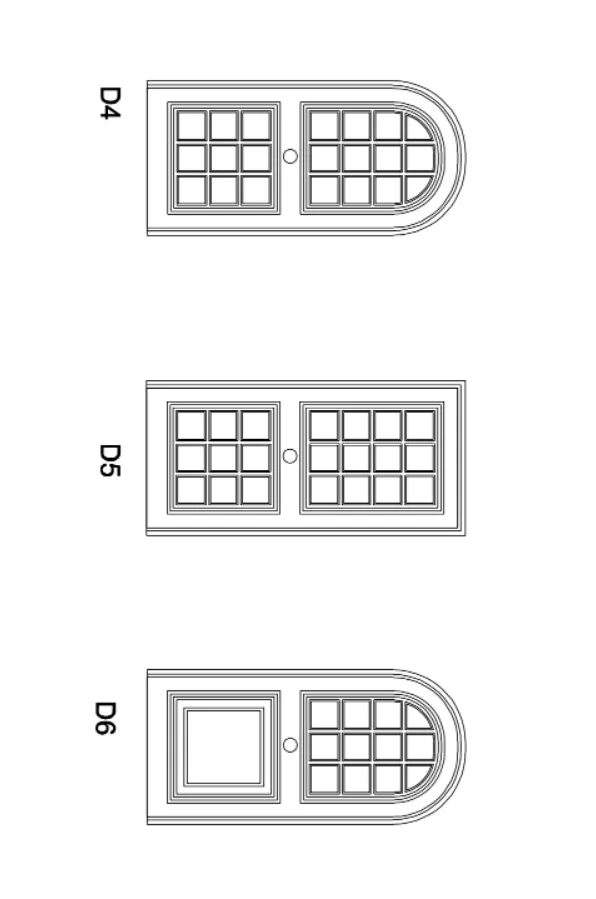
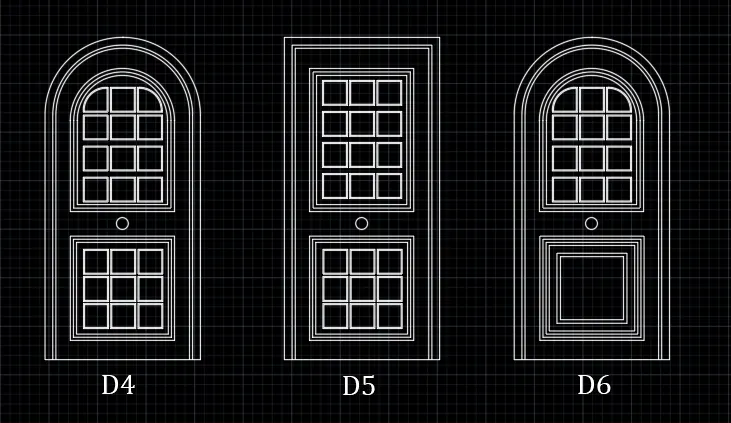
Step 4: D4, D5, D6
- Use line, circle and rec command to draw the door
- Also use trim command to trim waste lines
- Use dim and mt text command
- Use block command to make it a block
Result:
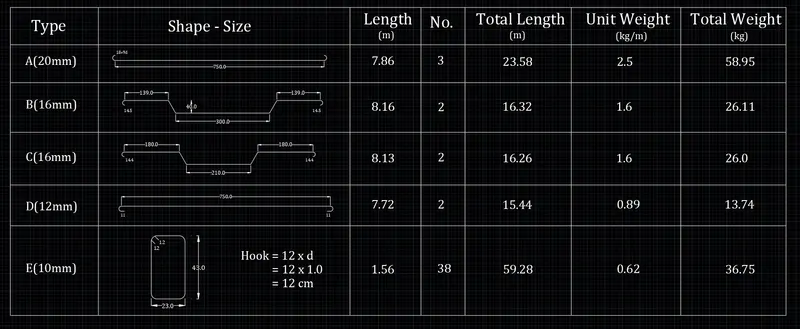
5) Create each shape as a block and insert them on the table as shown in the Figure
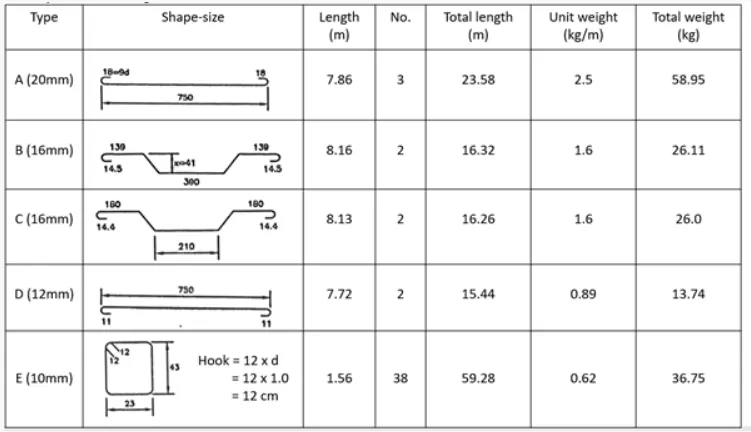
Procedure:
Steps:
- Use line command to create the figures
- For figure - A(20mm)
- Draw a line of length 750 mm
- Use arc command to create the bend in the bar
- Figure - B(16mm)
- Use line command and draw a line of length 300 mm
- now draw 2 lines at both end in an angle of 60 degrees and 40 mm displacement in x direction
- draw 180 mm lines from both and also use arc to show bar bend
- Figure - C(16mm)
- Use line command and draw a line of length 210 mm
- now draw 2 lines at both end in an angle of 60 degrees and 40 mm displacement in x direction
- draw 180 mm lines from both and also use arc to show bar bend
- Figure - D(12mm)
- Draw a line of length 750 mm
- Use arc command to create the bend in the bar
- Figure E(10mm)
- Use line command to create a rectangle of width-23mm and breadth - 43 mm
- Use fillet tool to curve the edges
- use line tool to create hook
- Now provide dimensions to the figures
- Create the figure as a block one by one
- Use line command to create table
- Insert the blocks using 'i' command
- Use mtext command to provide text
Result: