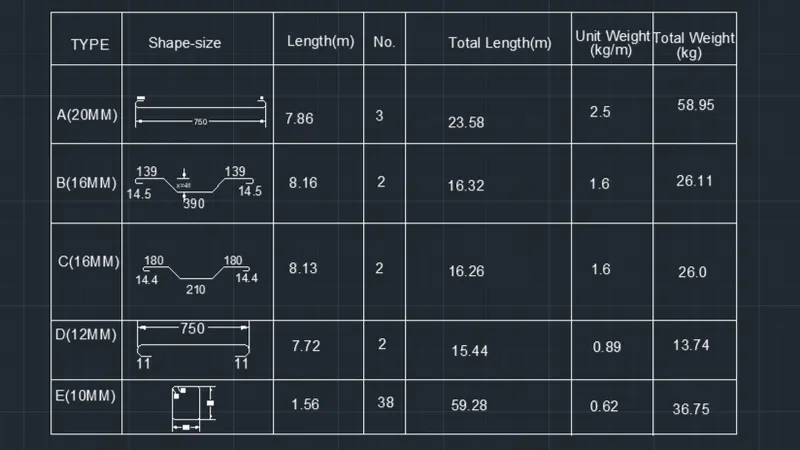
Creating Bar Bending schedule, Different Door types, and Creation of standard drawing templates using AutoCad
Ans.1.
Aim :-
To create the template and use text and attributes using the Autocad software.
Introduction :-
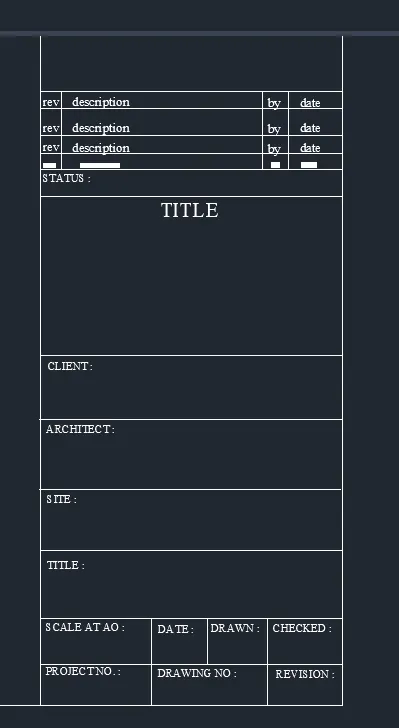
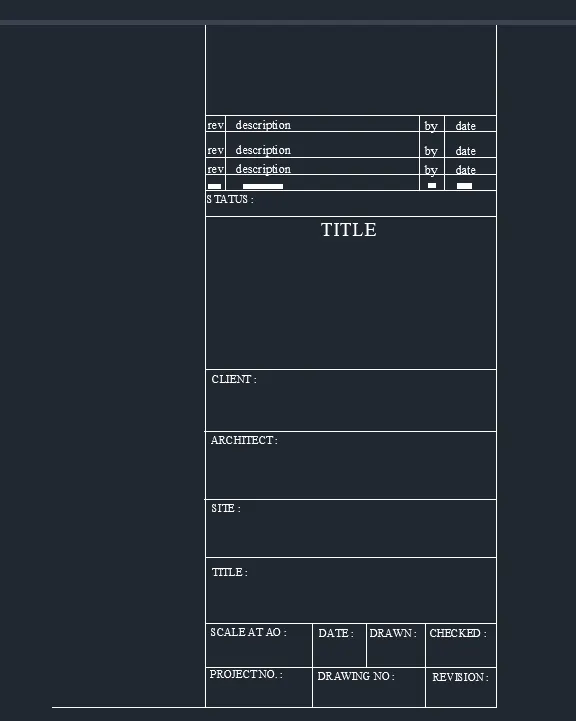
Referring to the given figure and drawing the template with the help of autocad software.
Procedure :-
1.Open autocad and Type Limmax and enter value 100,100
2.Type Zoom then select all.
3.Draw Rectangle of dimension 70 , 160 and explode it.
4.Offset top line of rectangle with 13.33 distance and select multi option and do offsetting.
5.Arrange the offsetted lines as per given figure.
6.Draw columns using line tool.
7.Write texts with text height 2 and font Times roman.
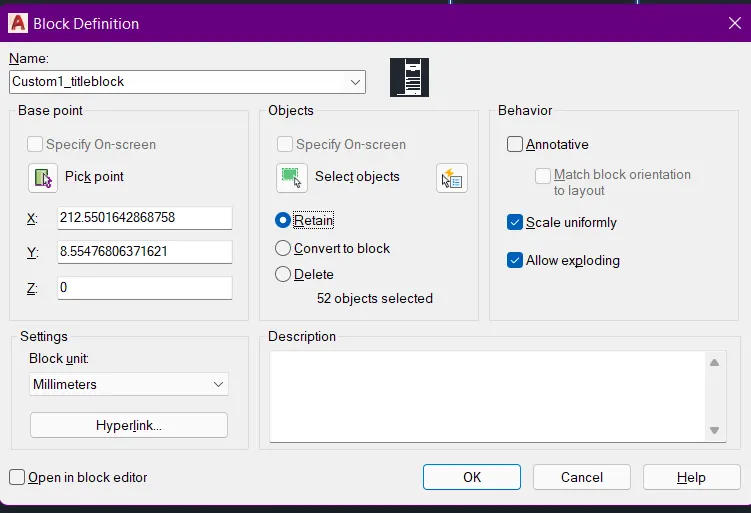
8. Now for creating block type b and their opens the block definition dialogue box.
9. Then give the name as "Custom1_titleblock"
10.Select any pick point and select the obiect.
11.Click scale unifromly and also allow exploding.
12.Now, after that press ok and then to insert the created block type INSERTand then select the Custom1_titleblock.
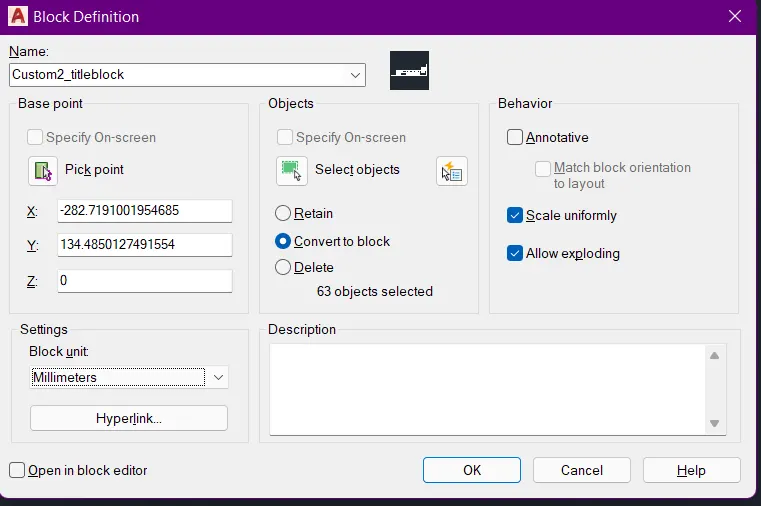
For Custom2_titleblock
procedure :-
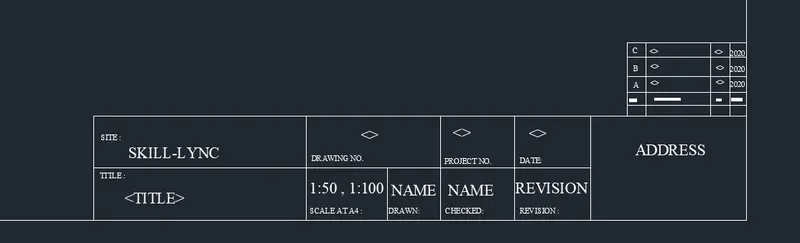
1. Draw rectangle of dimension 250 , 40 and explode it.
2.Offset 20 from the top line.
3.Use line tool and draw lines as per given figure.
4.Trim wherever required.
5.For writing texts , use text height as 2 and 4 , text font - Times roman.
6.Same steps for creating blocks and inserting as Custom1_titleblock.
Result :-
Created templates are drawn and attached below :-
Ans.2.
AIM:-
To create the door types for warehouse using autocad software.
INTRODUCTION :-
Here using tools like Rectangle , offset , insert , block , trim , mirror , copy , move etc
Procedure :-
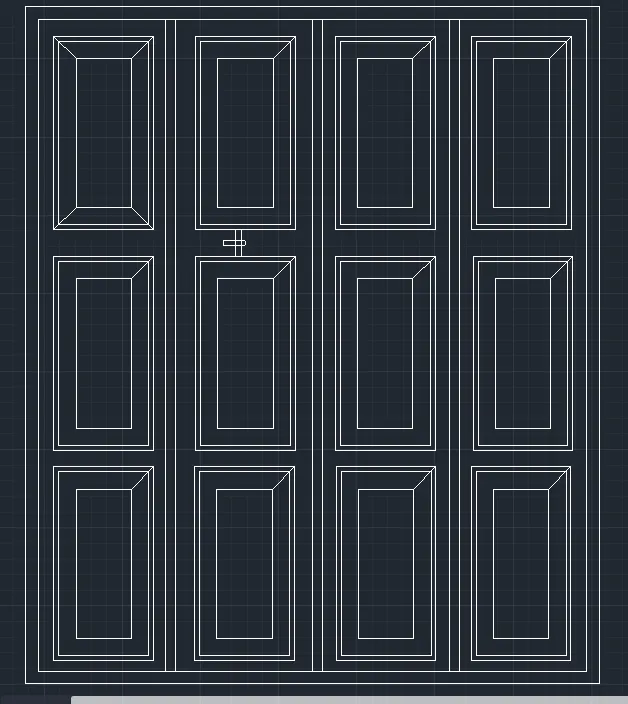
DOOR1
1. Draw rectangle of dimensions 2330 , 2750.
2. Offset 50 from any edge of the rectangle and explode both the rectangles.
3.Again offset 557.5 from inner rectangle line and select multiple option from the offset command bar options.
4.To draw panels, use rectangle tool and draw a rectangle ,then again use offset tool and offset 20 from inner rectangle.
5.Again offset 70 from the drawn offset rectangle.
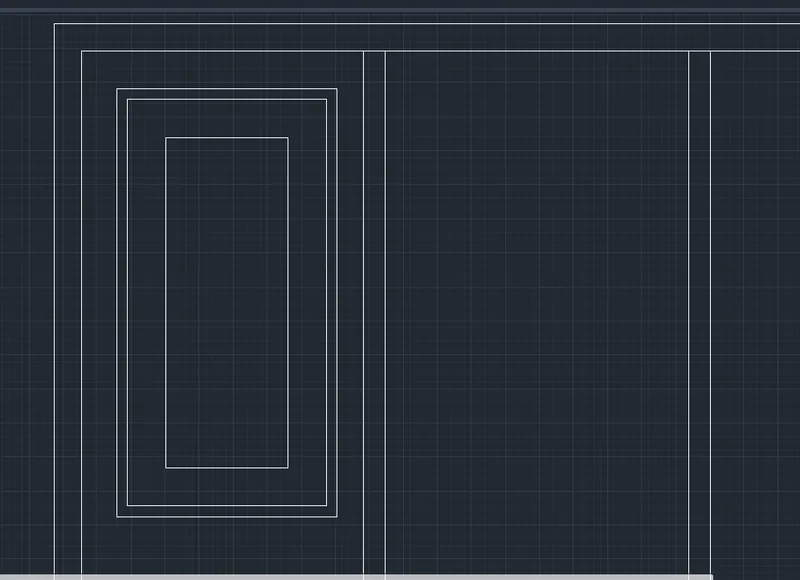
6.Draw lines using line tool and then select the panel and copy as per requirements.
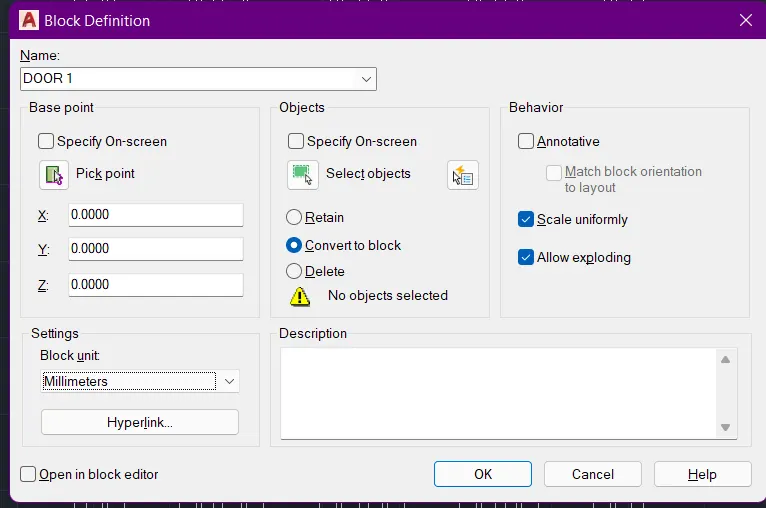
7.Now to make it a block , type B in command bar and enter name, specify point then select object.
8.To insert it , type INSERT then select the given name of that block.
DOOR 2 :-
1. Draw rectangle of dimensions 2330 , 2750.
2. Offset 50 from any edge of the rectangle and explode both the rectangles.
3.Again offset 557.5 from inner rectangle line and select multiple option from the offset command bar options
4.Trim if necessary .
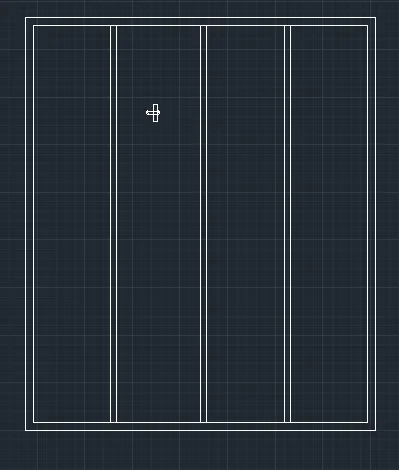
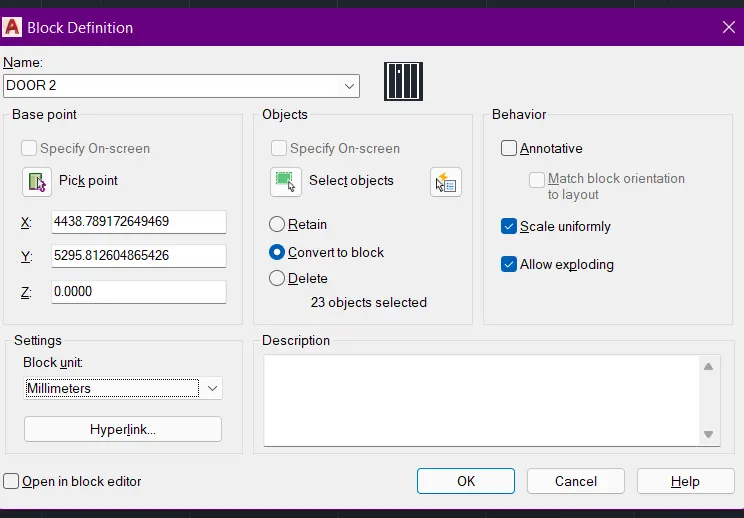
5.Now to make it a block , type B in command bar and enter name, specify point then select object.
6.To insert it , type INSERT then select the given name of that block
Result :-
Created Door 1 and 2 are turned into block and attached below.
Ans.3.
AIM:-
To create a symbol of a block has given name in the legend and to draw a table using them ine Autocad software.
INTRODUCTION :-
To draw the blocks and the table using tools such as lines , rectangle , circle , mirror , copy ,move , offset , polyline, trim, array , texts , dimesnsion etc.
Procedure :-
To create the symbols first :-
To create single gang switch draw circle and use Line tool
Same use for double gang switch and Triple gang switch.

To draw the switch cross use the circle and mirror tool to Mirror from single two way switch and hatch using solid hatching.
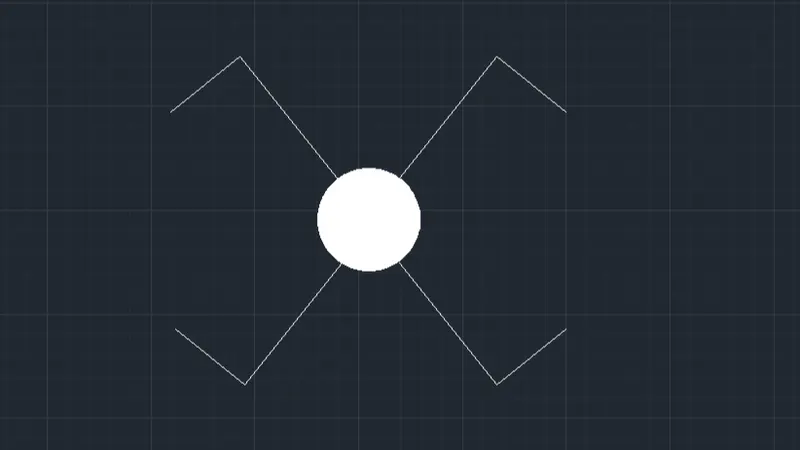
Then remove the hatching for switch serial and trim the lower 2 legs

To draw single socket draw a circle and then divided in half and trim the other half and draw a line from the centre of the circle
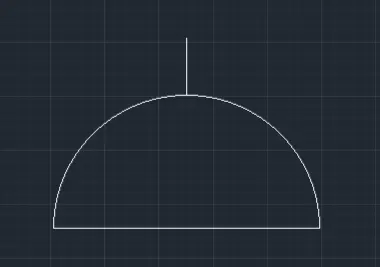
To draw single socket for lamp draw line in the single socket figure.
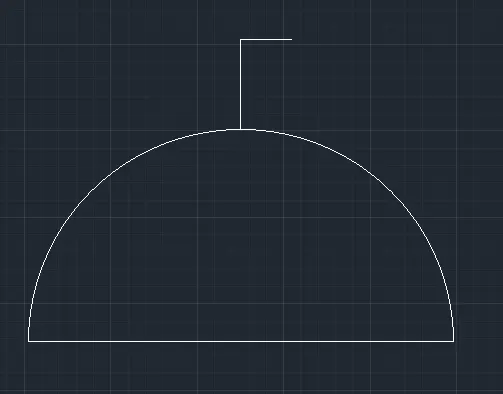
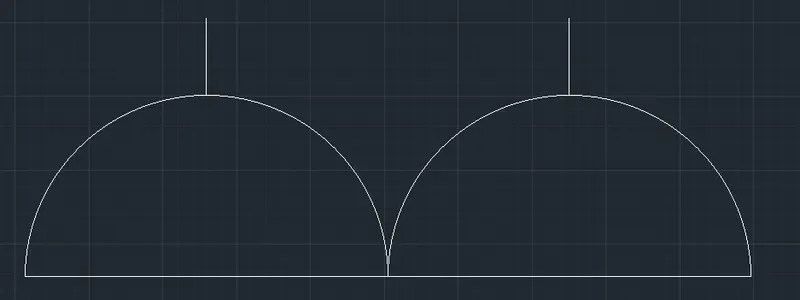
Copy the single socket to draw a double socket
Draw a rectangle around the double socket to draw floor socket double
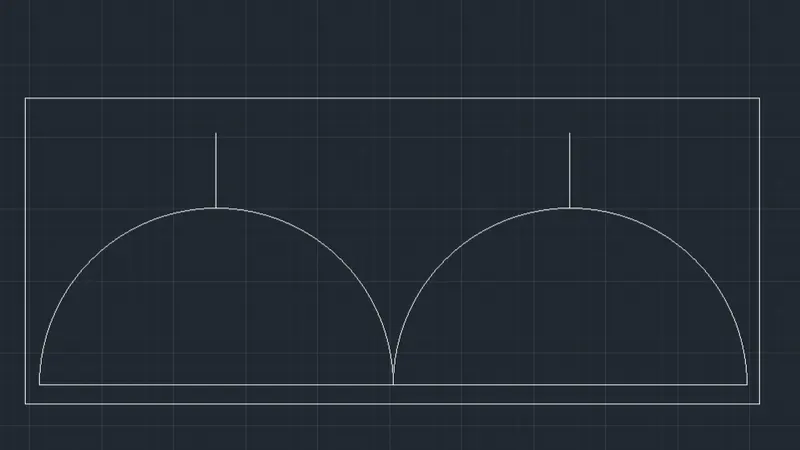
Draw rectangle around the single socket to draw floor socket single four lamp
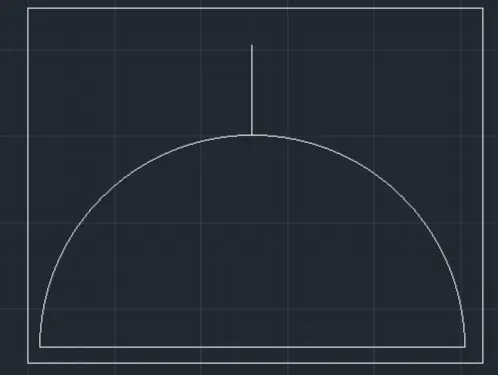
Draw rectangle around the single socket for lamp to draw floor socket single for lamp
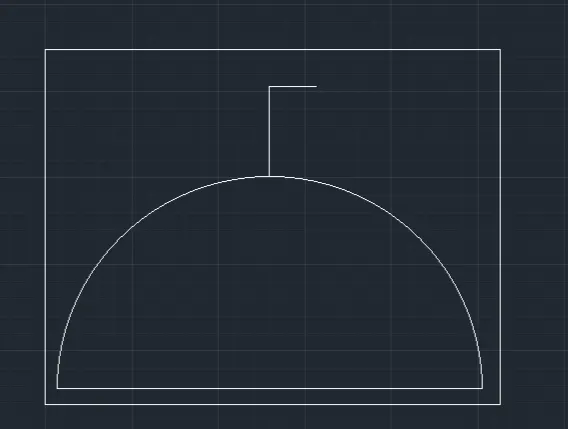
To draw floor socket single telephone draw rectangle beside the single socket and draw a rectangle around it
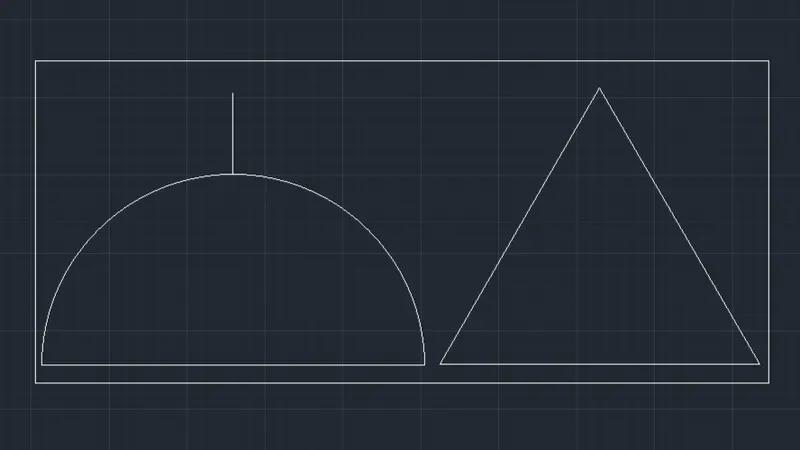
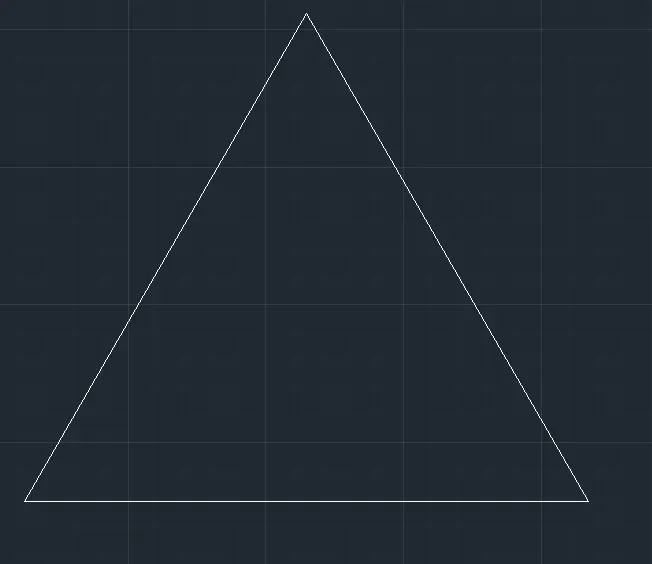
Draw a triangle around floor socket double and rectangle around it
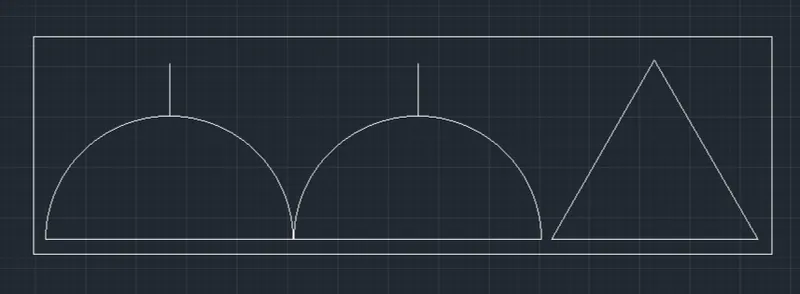
Draw triangle using polygon tool for telephone socket
Insert text I for Internet socket
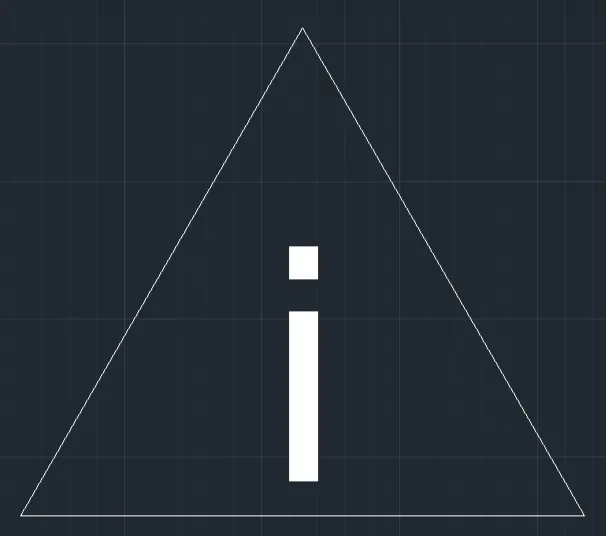
Write text TV in the triangle for the TV socket

For weather proof socket write w using the text tool

To draw the Dect base station , user rectangle and a line tool and an edit it
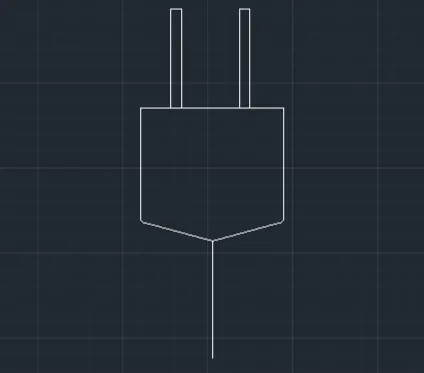
To draw wall bracelet use Line and circle and rectangle tool
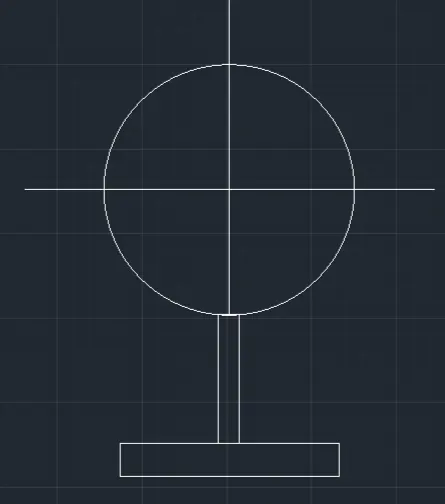
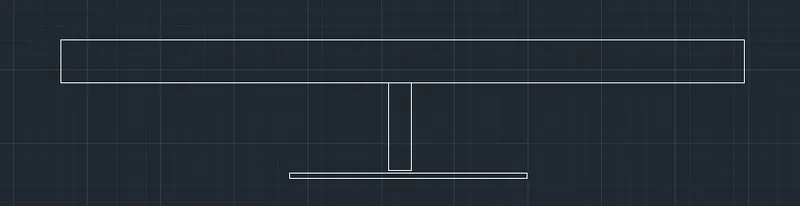
For drawing a picture lamp use the rectangle tool to draw it
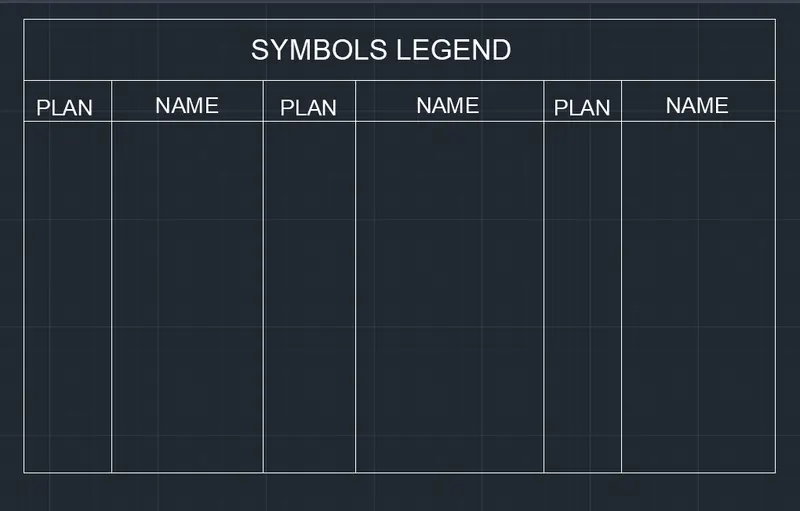
=>After that to draw the column and write the text use that rectangle tool and line tool to draw the column and for writing text use the text option from toolbar with height of text be 2 and font used is times Roman
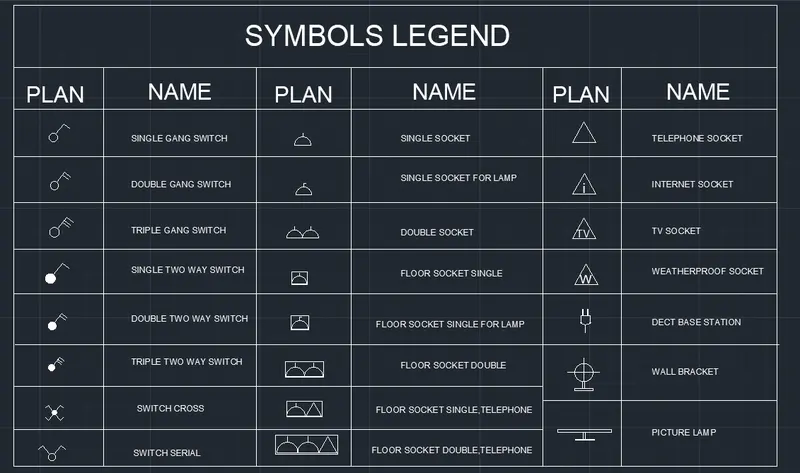
RESULT :-
Created table with blocks inserted in it is attached below :-
Ans.4.
AIM :-
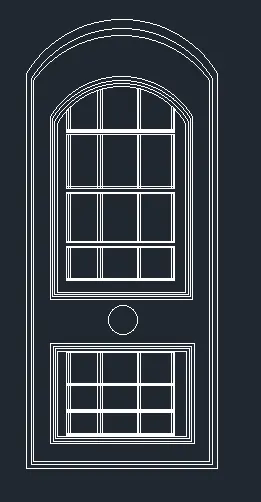
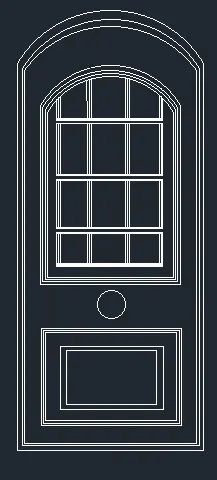
To create the door type for residential building as a block using Autocad software.
INTRODUCTION :-
Using the Autocad software with tools including X line ,offset , trim , text , dimension etc.
PROCEDURE :-
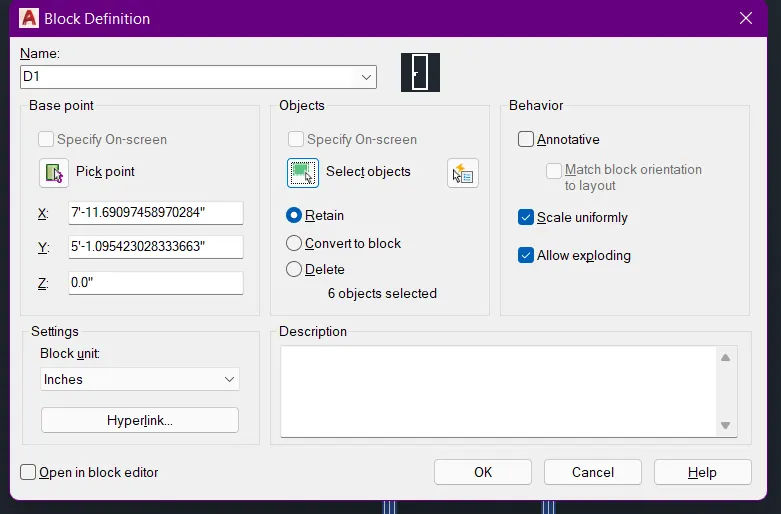
For D1
1. Draw rectangle of dimension 2'10", 6'11".
2. Use ofset tool and offset 1.0".Again do the same.
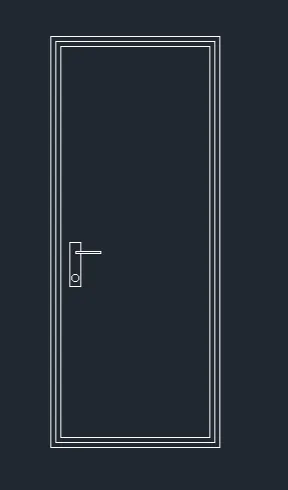
3.Then to create it as a block ,type b and then enter the name ,specify point and enter.
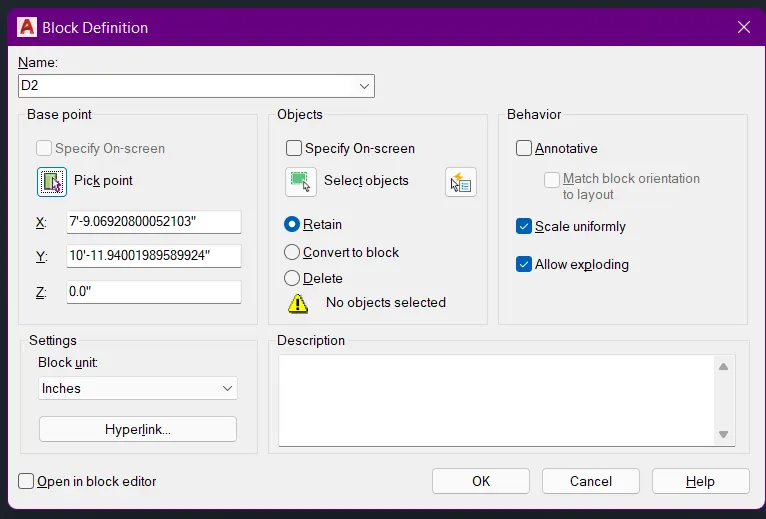
For D2
1.Create a rectangle of dimension 3'4", 6'11".
2.Offset 1" then again offset 0.5" the drawn figure.
3.Now for panels, draw a rectangle , and offset 0.5"and select multiple then again do it twice.
4.Draw a rectangle again , offset 0.5" and then select multiple ,do it thrice.
5.For panels draw rectangles and copy them in the required place.
6..Then to create it as a block ,type b and then enter the name ,specify point and enter
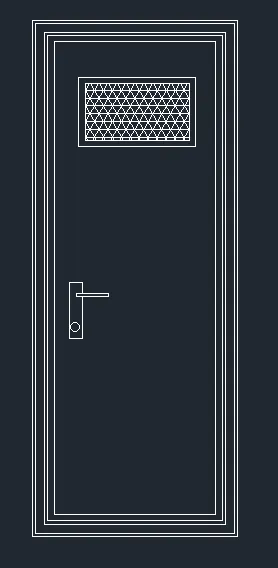
For D3
1.Draw a rectangle of dimension 2'9", 6'11"
2.Then offset 0.5", 1.5" and 1" from the points of the rectangle to create the given figure.
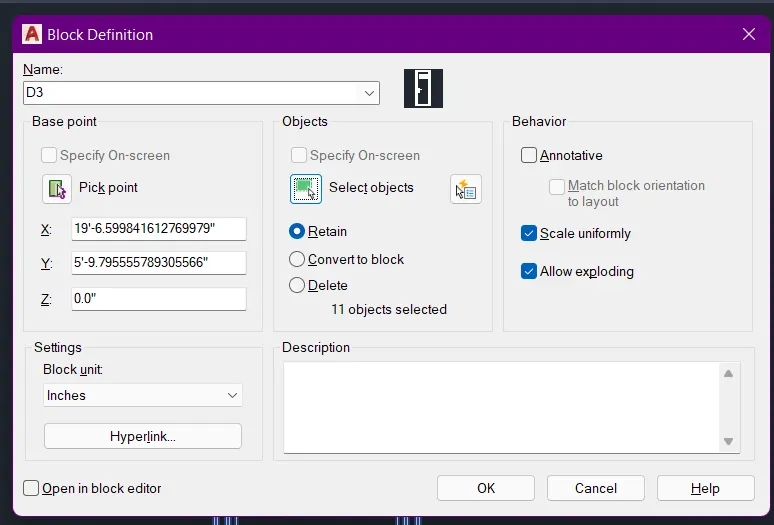
3.Use hatch pattern NET with scale of 20.
4..Then to create it as a block ,type b and then enter the name ,specify point and enter
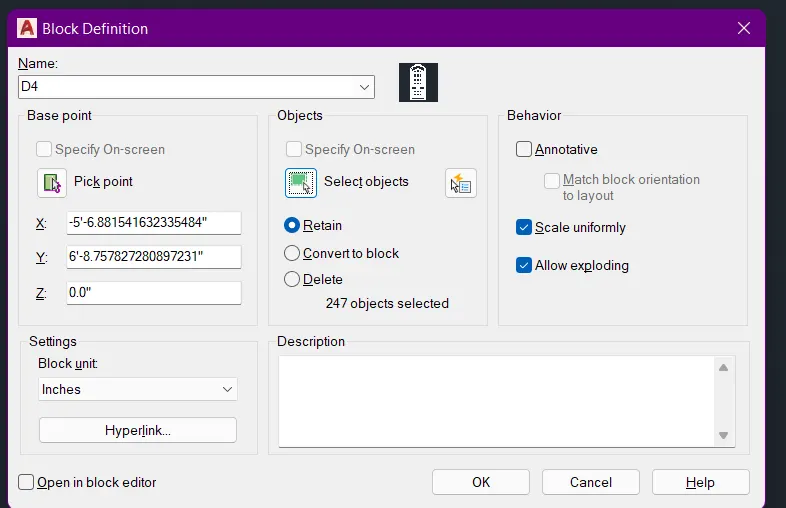
For D4
1.Create a rectangle of dimension 3'4", 6'11".
2.Offset 1" then again offset 0.5" the drawn figure.
3.Now for panels, draw a rectangle , and offset 0.5"and select multiple then again do it twice.
4.Draw a rectangle again , offset 0.5" and then select multiple ,do it thrice.
5.For panels draw rectangles and copy them in the required place.
6.For the arc in the top portion, select arc tool and draw arc from one end to another end using 3 point
7. Trim the lines wherever required.
8.Then to create it as a block ,type b and then enter the name ,specify point and enter
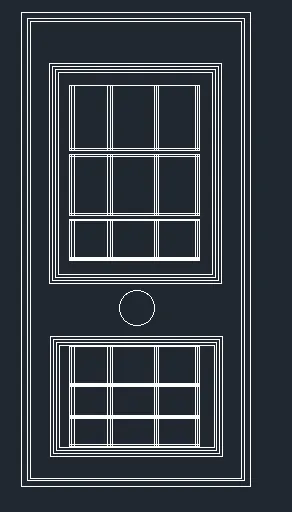
For D5
1.Create a rectangle of dimension 3'4", 6'11".
2.Offset 1" then again offset 0.5" the drawn figure.
3.Now for panels, draw a rectangle , and offset 0.5"and select multiple then again do it twice.
4.Draw a rectangle again , offset 0.5" and then select multiple ,do it thrice.
5.For panels draw rectangles and copy them in the required place.
6..Then to create it as a block ,type b and then enter the name ,specify point and enter
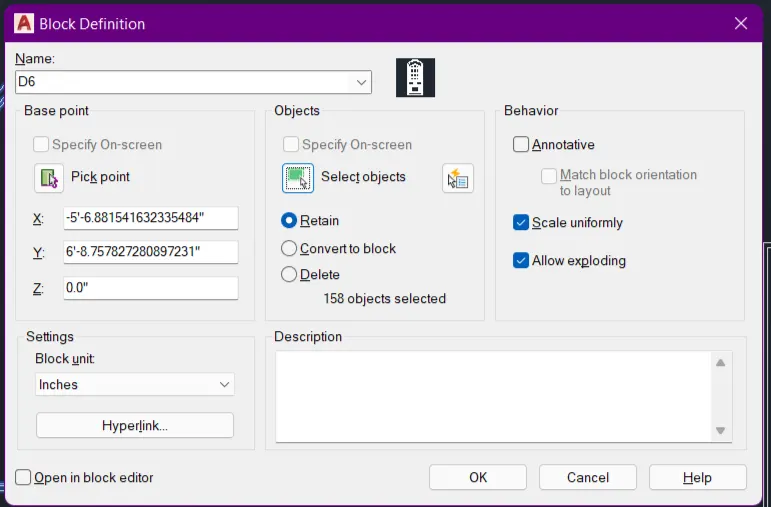
For D6
1.Create a rectangle of dimension 3'4", 6'11".
2.Offset 1" then again offset 0.5" the drawn figure.
3.Now for panels, draw a rectangle , and offset 0.5"and select multiple then again do it twice.
4.Draw a rectangle again , offset 0.5" and then select multiple ,do it thrice.
5.For panels draw rectangles and copy them in the required place.
6.For the arc in the top portion, select arc tool and draw arc from one end to another end using 3 point
7. Trim the lines wherever required.
8.Then to create it as a block ,type b and then enter the name ,specify point and enter
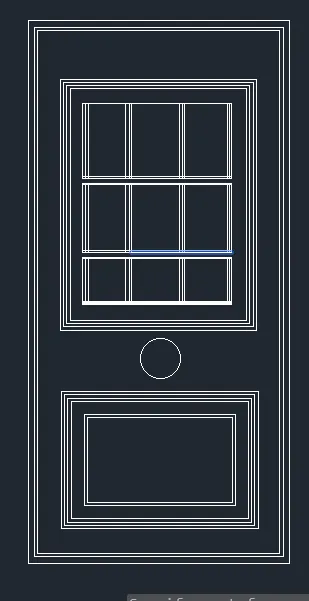
RESULT :-
Created figures are attached below :-
ANS.5.
AIM:-
To create the shapes as a block and insert them in the table.
INTRODUCTION :-
To draw the blocks and the table using tools such as lines , rectangle , circle , mirror , copy ,move , offset , polyline, trimas , array , texts , dimesnsion etc.
PROCEDURE :-
1. To draw the blocks use the line tool and the are tool to draw it and also use the dimension tool to dimension it and text tool to write the text with height 2 and font times Roman.
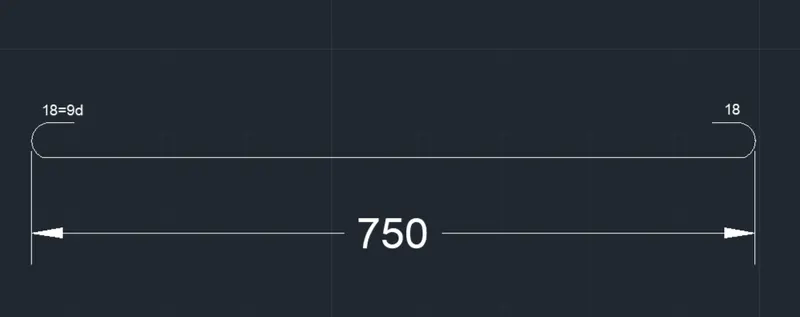
After creating the block type b to save it as a block and give the name specify the pick point and select the object.
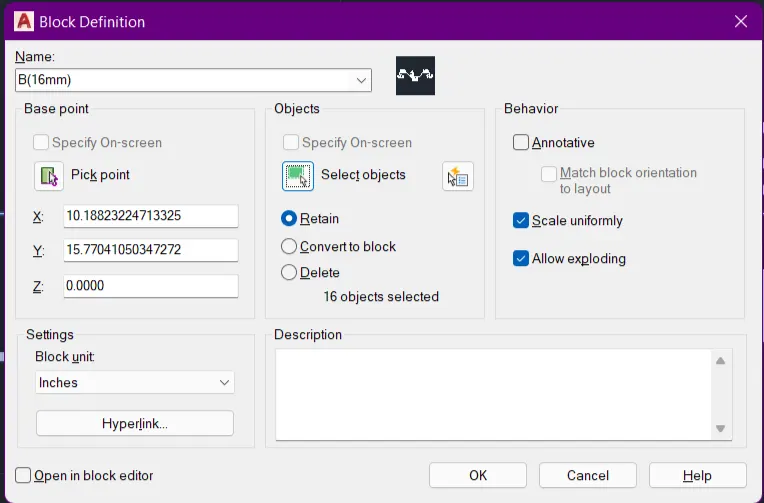
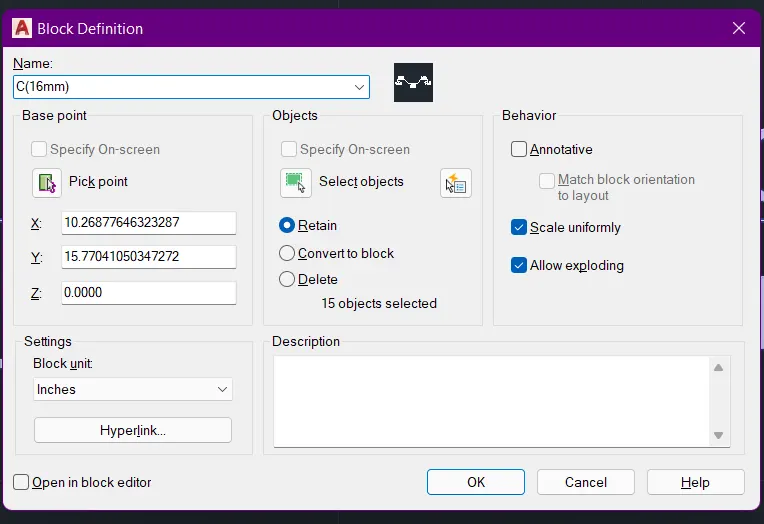
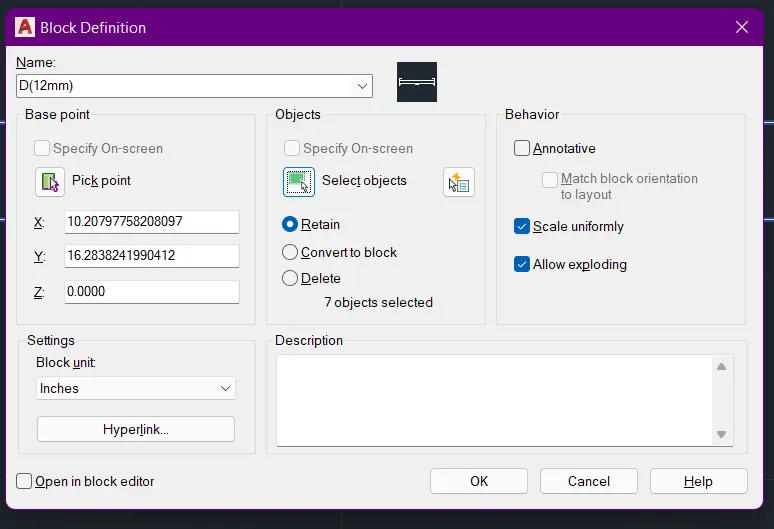
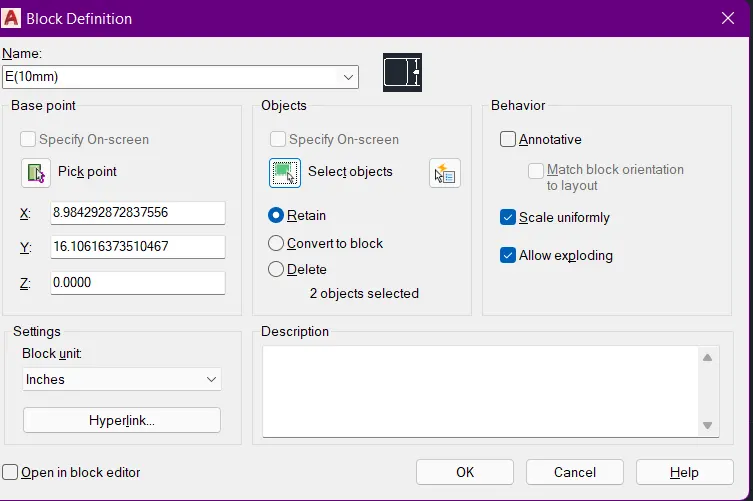
After saving the blocks, now to create the table use the rectangle tool and the line tool to create it and use the text tool from the tool bar to write the text with height 2 and font times Roman
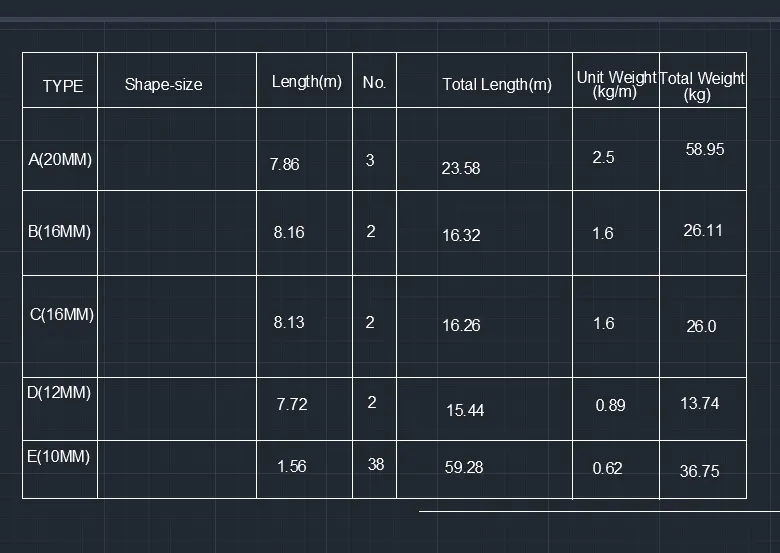
Now insert the blocks which we have created and saved using insert command and then placing them in the desired place.
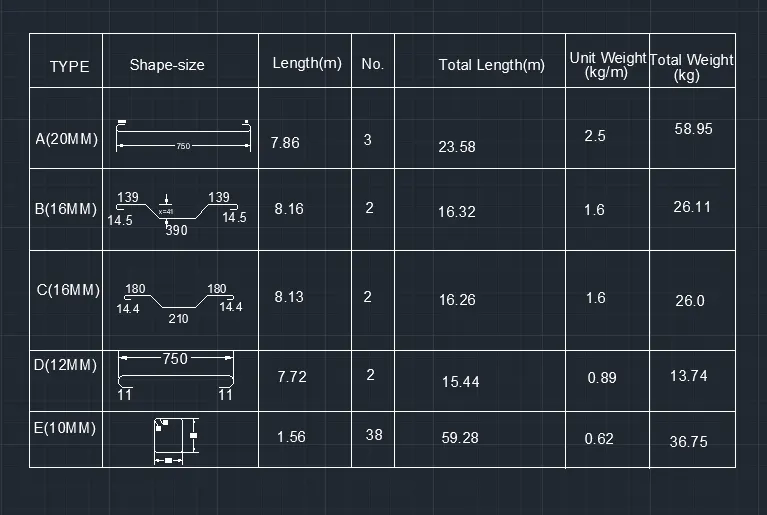
RESULT :-
Created figure is attached below