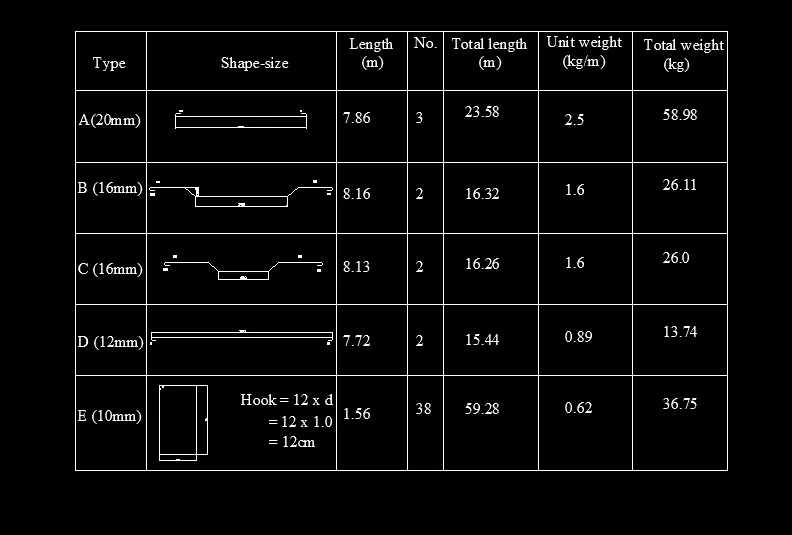
Creating Bar Bending schedule, Different Door types, and Creation of standard drawing templates using AutoCad
Aim: To create the bar bending schedule, different types of the doors and standard drawing templates using the autocad.
Introduction:
- Autocad is globally used by architects, fashion designers, engineers etc to draw planning of the structures, machine drawing etc.
- Bar bending schedule is a list of reinforcement bars for a given reinforced concrete work item and is presented in a tabular form for easy visual reference. table for the BBS summerizes all the needed particulars of bars, diameter, shape of bending, length of each bend and straighrt portion, angle of bending, total length of each bar and number of each type of bar. this information is great help in preaparing a estimate quantities.
- A door is used to connect to areas which may be two rooms or the exterior and interior of the house. It provides the pathway to to travel between these two areas.
- A drawing template file that have been saves in .dwt extension and it specifies the styles, setting and layouts in the drawing including the title blocks.
Commands used for drawing:
- Units command
- limit command
- Line command
- Circle command
- Trim command
- Offset command
- Extend command
- Block command
- attribute command
- insert command
- hatch command
- Linear dimension command
- Single line text
1. Creation of the template
- Open the autocad new sheet and set units in the metric
- select units as a decimal and select the precision as a 0.
- By using the line command the below table for the template is drawn.
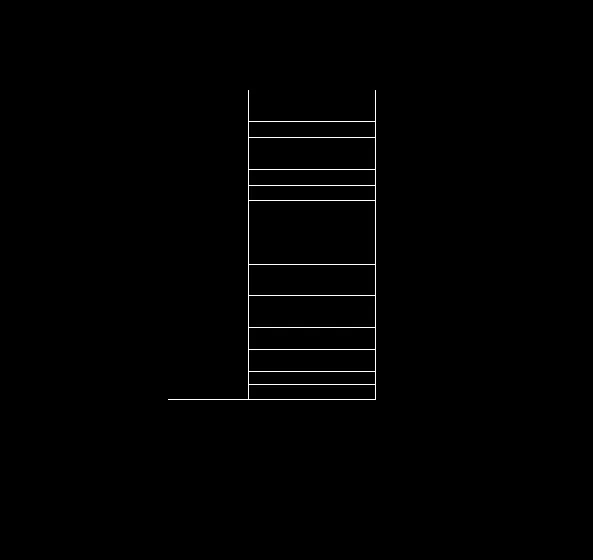
- The attributes need to be define before the bolck creation.
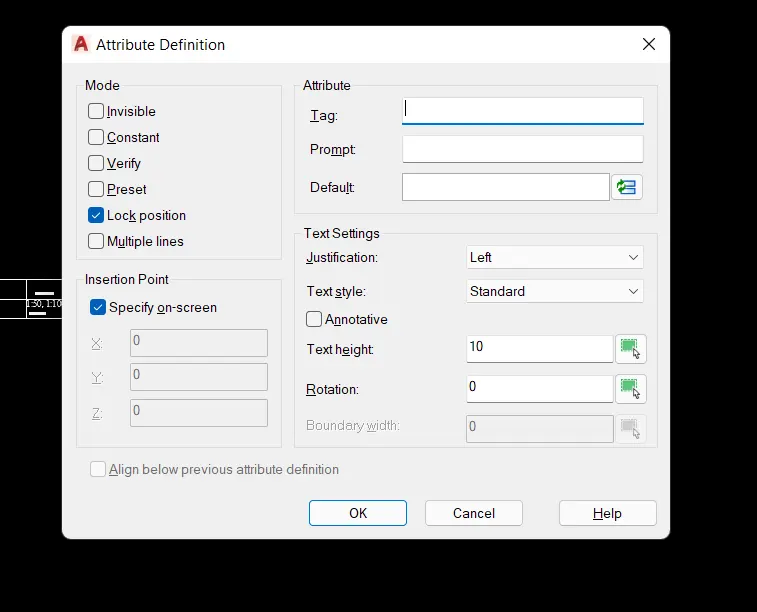
- Type attdef in the promt box below dialogue box will appeared and write the tag, prompt and defalt value that appear after the block creation.
- and give the position of the attribute.
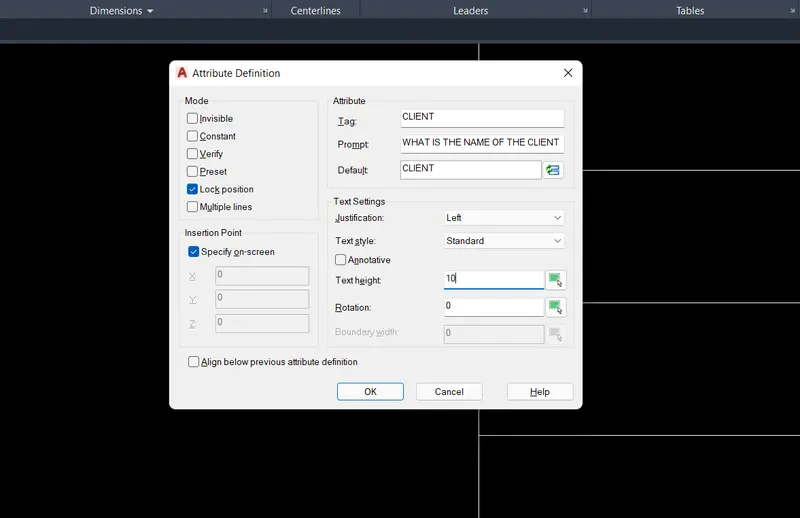
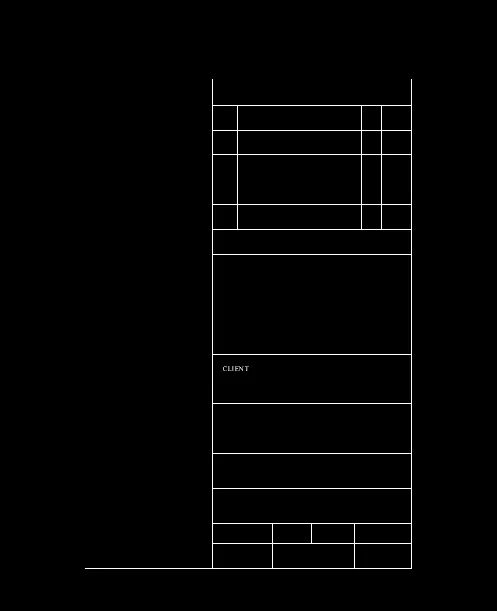
- like this all attributes are defined.
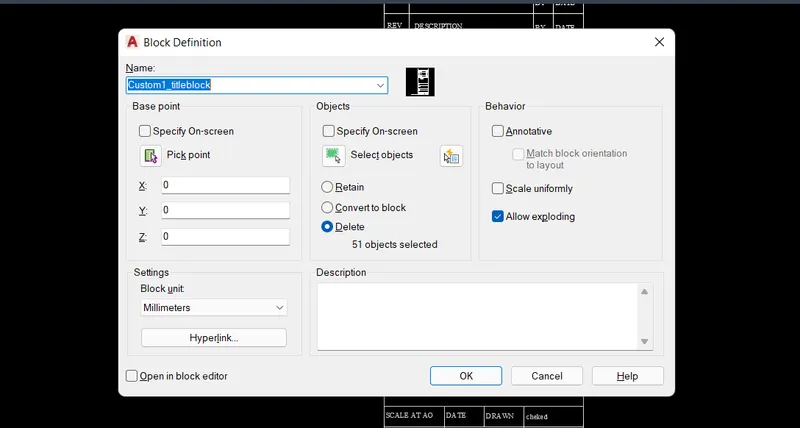
- type B enter block dialogue box will appear give the name of the title as the Custom1_titleblock.
- pick the point as the top bottom left corner. press on the select object and select the whole template drawing and select Ok
- This template is converted as a block. By using the insert option the block is inserted where required.
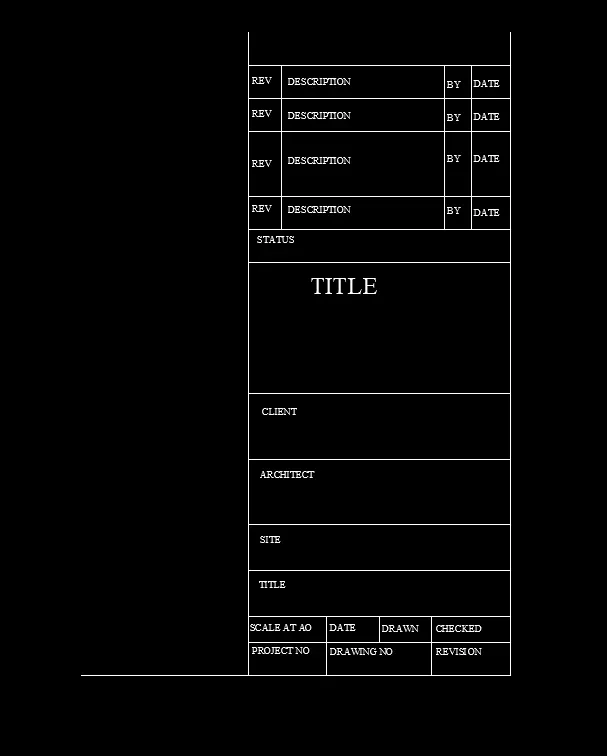
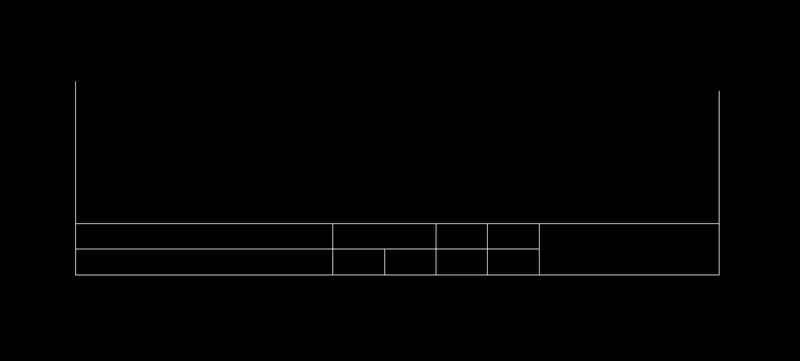
- By using teh ATTDEF the attribute is defined
- In the attribute dialogue box write the tag this will appeared after position of the attribute.
- After creation of the block the tag is converted into the default value.
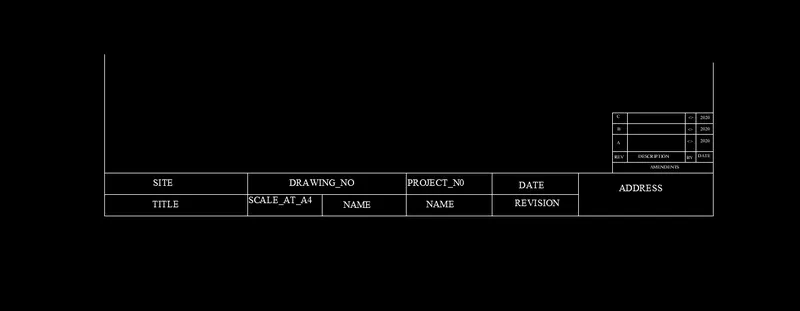
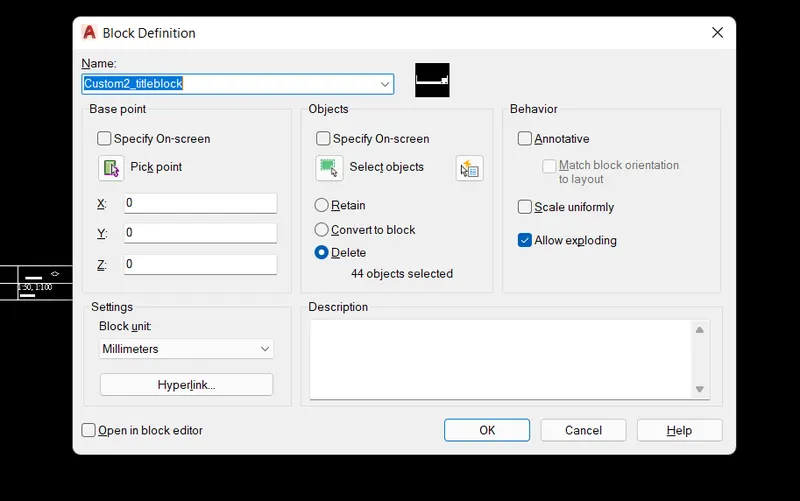
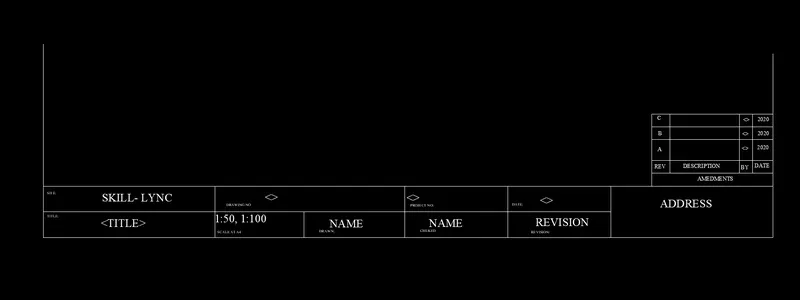
Result:
2. creation of door types for the ware house
Door 1
- Open the autocad new sheet and set units in the metric
- select units as a decimal and select the precision as a 0.
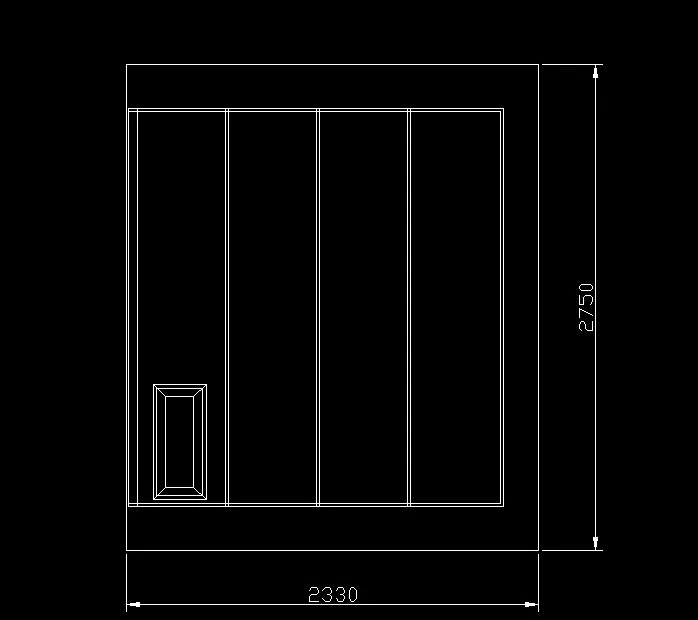
- Draw the rectangle of the size 2330 x 2750
- explode the rectangle.
- offset the top and bottom line by 250mm and right line by 200mm inside.
- this inside rectangle is converted into the 4 segments.
- Draw the rectangle of the size 300 x 650 mm
- offset this rectangle by 20mm inward and then by 50mm join the corners by using the line command.
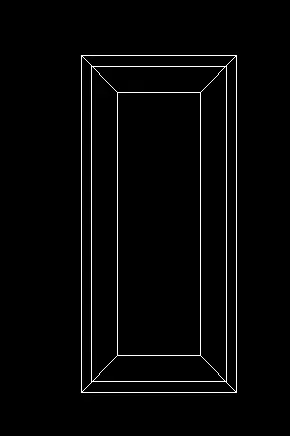
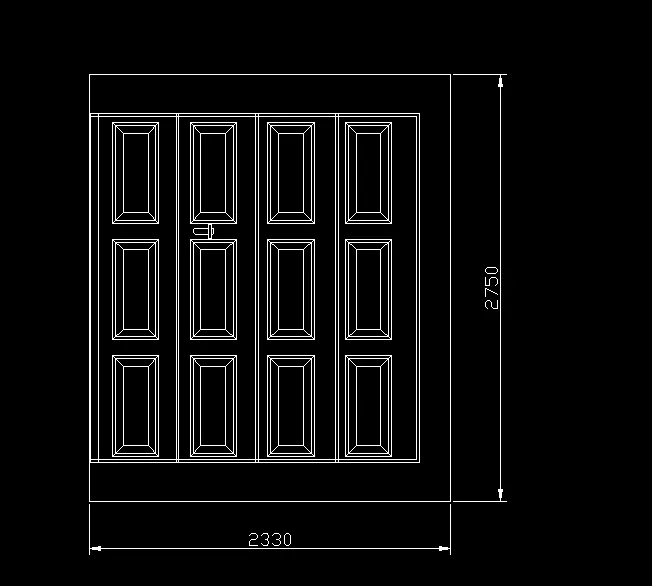
- the above diagram is placed as shown in figure.
- by using the array command is placed at the multiple position with giving the no of rows as a 3 and column 4
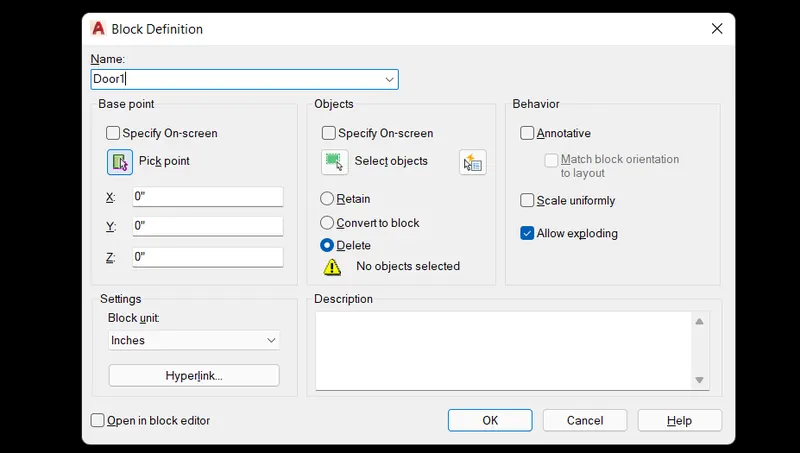
- B enter the block dialogue box will appeared and type the name of the block and select the pick point and select the object and enter.
- press on the select object and enter and press ok the block is created.
- Insert the block where ever required with using the insert command.
For drawing of Door 2
- Draw the rectangle of the size 2330 x 2750
- explode the rectangle.
- offset the top and bottom line by 250mm and right line by 200mm inside.
- this inside rectangle is converted into the 4 segments.
- first offset left side line by 50mm from this line 4 segments are created each with width of 500mm
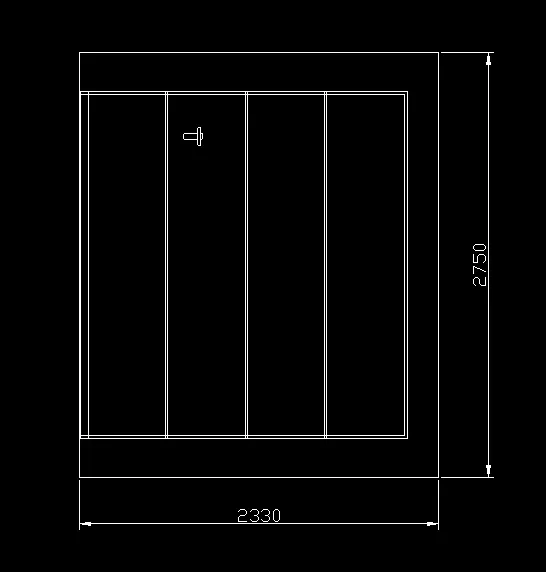
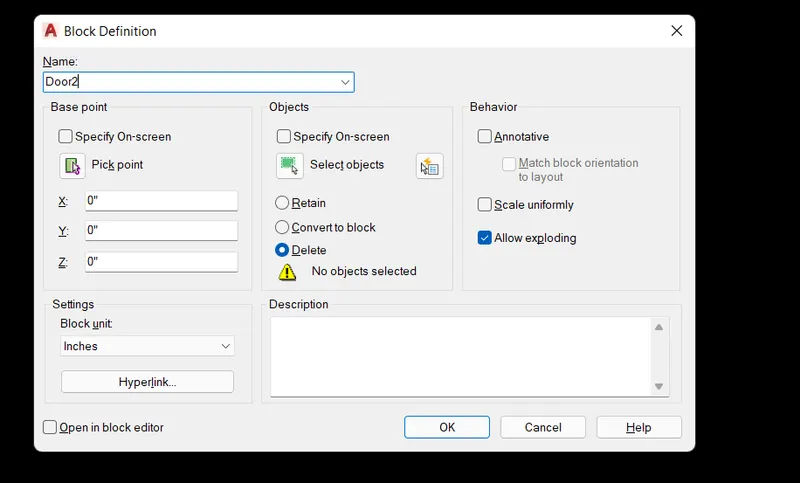
- B enter the block dialogue box will appeared and type the name of the block and select the pick point and select the object and enter.
- press on the select object and enter and press ok the block is created.
- Insert the block where ever required with using the insert command.
Result:
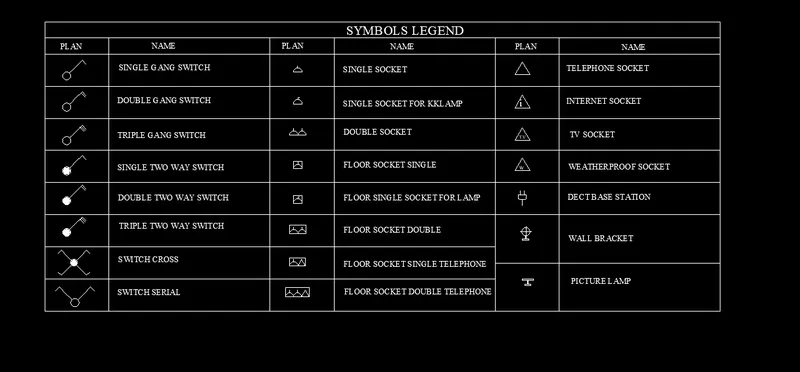
3. Creation of the legend
- Open the autocad new sheet and set units in the metric
- select units as a decimal and select the precision as a 0.
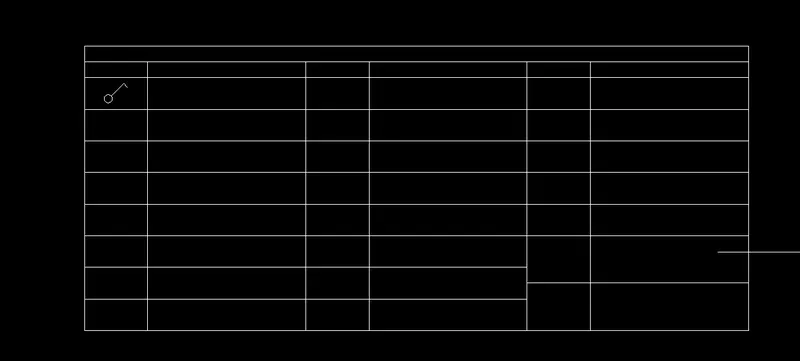
- By using the line command the table is drawn.
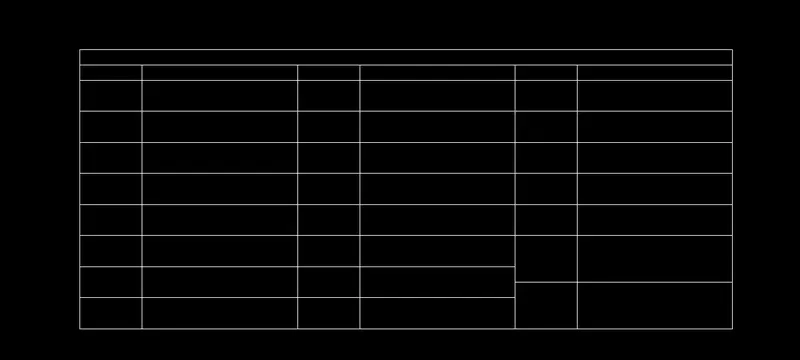

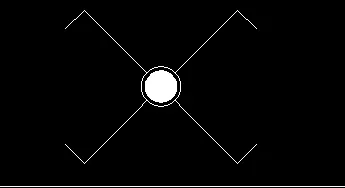
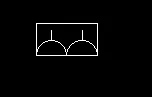
- the plan is drawn as shown in the above
- B enter the block dialogue box will appeared and type the name of the block and select the pick point and select the object and enter.
- press on the select object and enter and press ok the block is created.
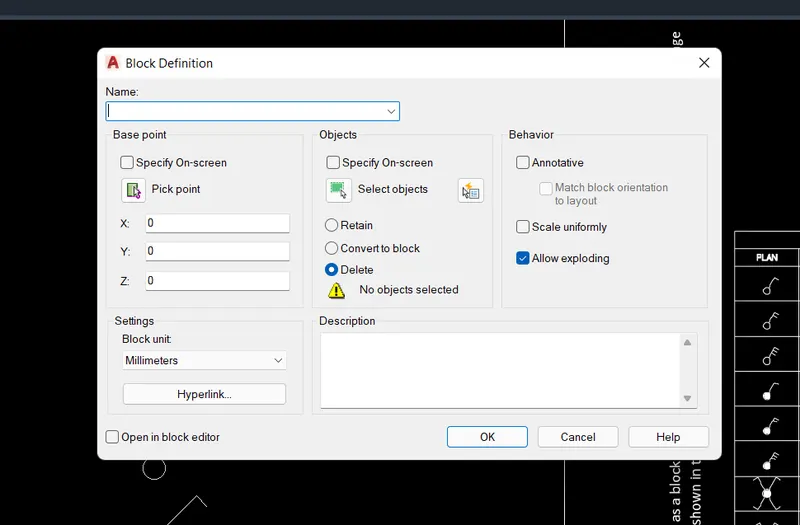
- By using the insert option the block is inserted.
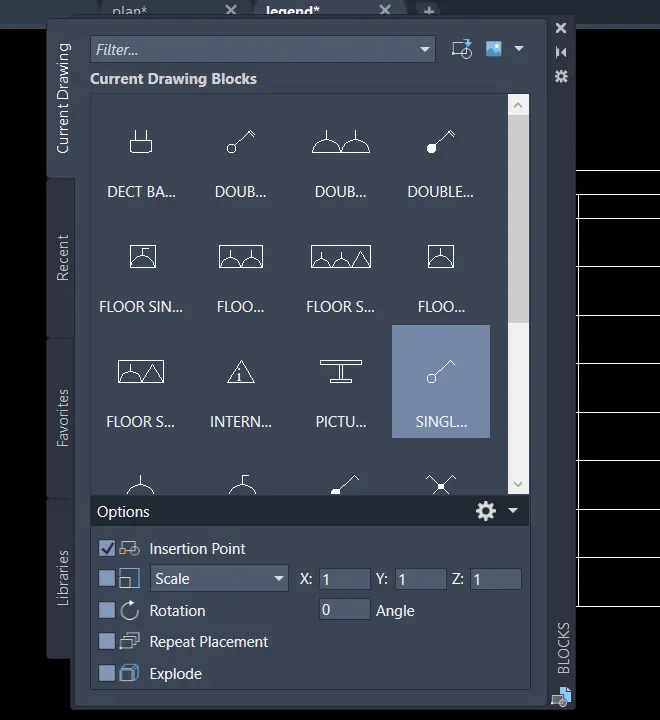
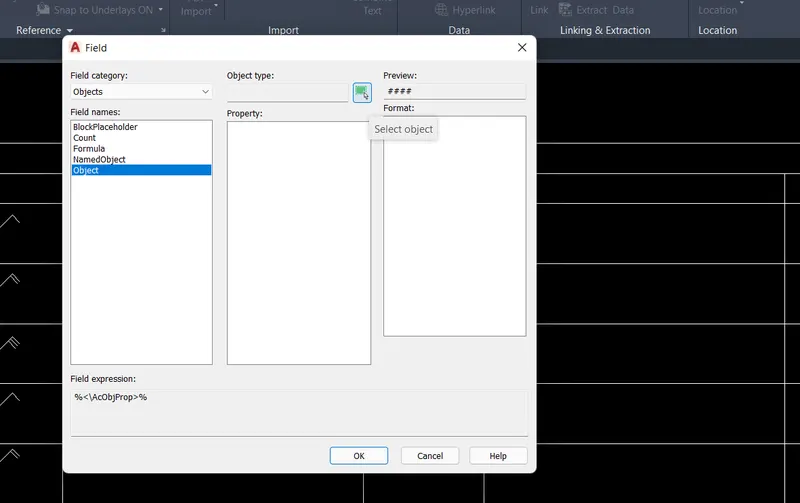
- From the ribbon select the insert option select the field option
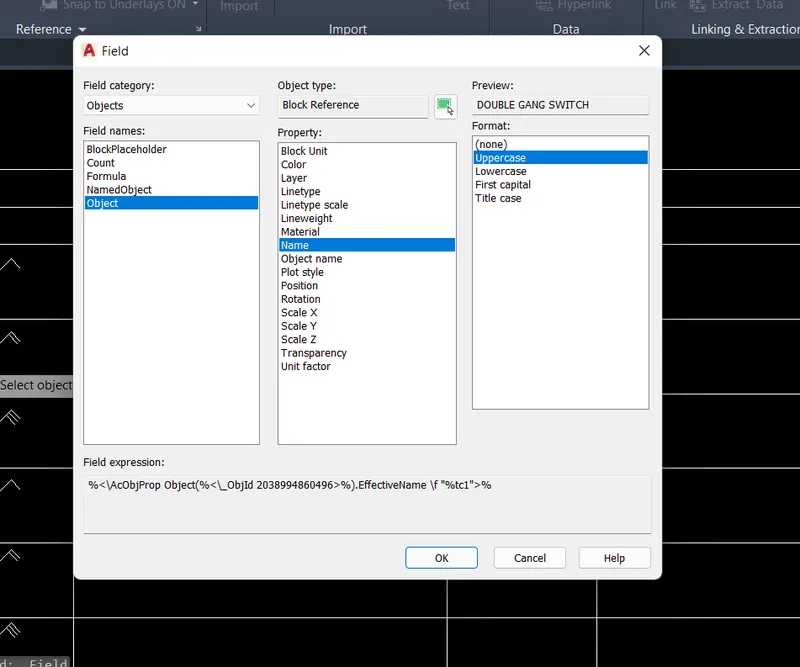
- from the field category select the objects and select the field name object.
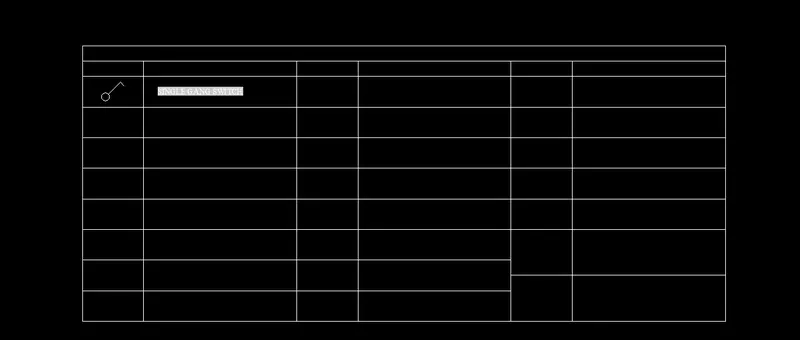
- select the block, in the property select the name and format required and placed at the required position.
- after the placing the name select the name and explode it.
- Like above procedure all other legends are adre drawn.
















Result:
4. Creation of doors
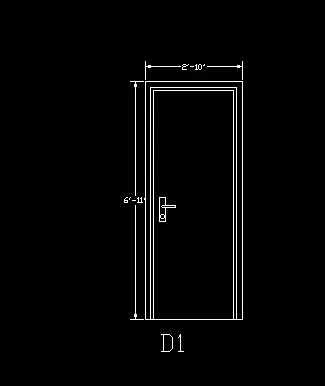
Drawing of the D1
- Open the new autocad sheet select the imperial.
- select the units as engineering and select the precision.
- Draw the rectangle of the size 2'10" x 6'11"
- Offset this rectangle by 2" and offset the internal rectangle by 1"
- Explode the rectangle the rectangles.
- Trim the bottom line of the internasl rectangle and extend till the bottom line of outside frame.
- By using the dimlinear command the dimensions are given.
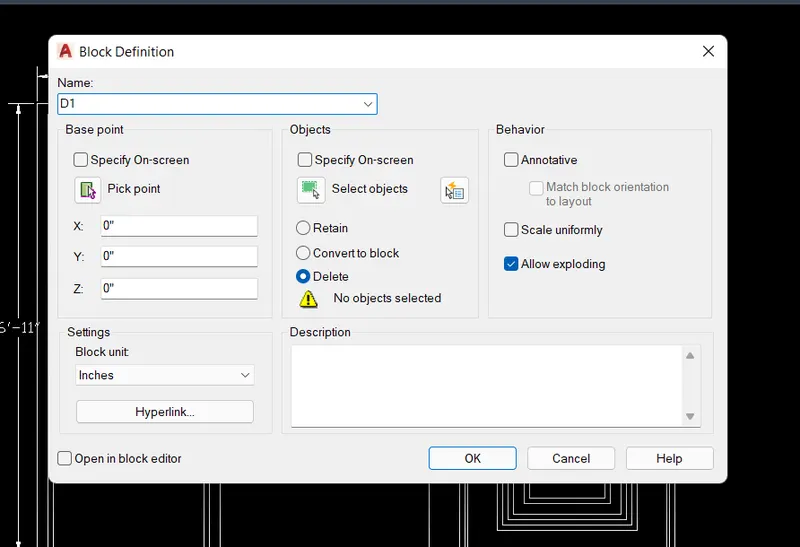
- B enter the block dialogue box will appeared and type the name of the block and select the pick point and select the object and enter.
- press on the select object and enter and press ok the block is created.
- Insert the block where ever required with using the insert command
Drawing of the D2:
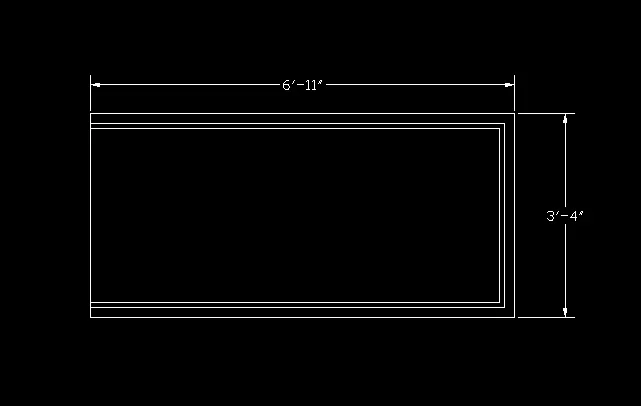
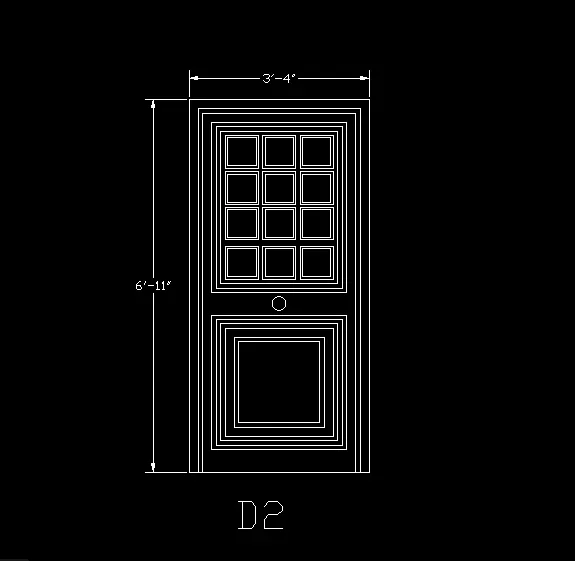
- Draw the rectangle of the size 6'11" x 3'4".
- Offset this rectangle by 2" and offset the internal rectangle by 1"
- Explode the rectangle the rectangles.
- Trim the bottom line of the internasl rectangle and extend till the bottom line of outside frame.
- Draw the rectangle of the size 2'6" x 2'6" with a starting point at 5" from the bottom line of the rectangle and 5" from left side frame.
- offset this rectangle by 3 times inside with the offset distance of 1".
- Offset the internal recrtangle by 2" and next rectangle by 1".
- Draw the rectangle of the size 2'5" x 3'2".
- Offset the rectangle with offset distance of 1" inside 3 times.
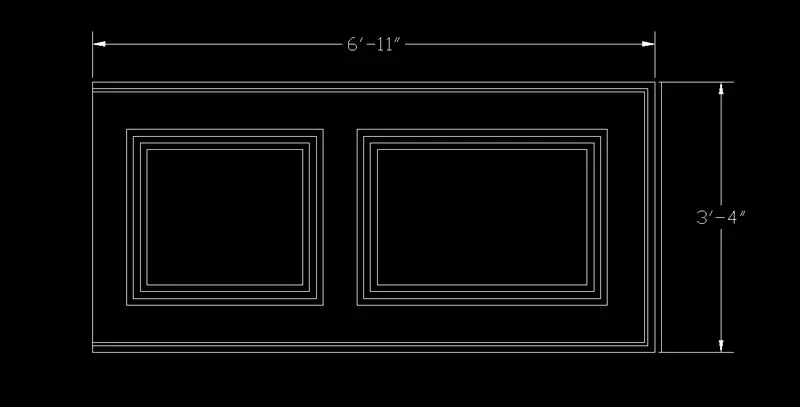
- Draw the inside rectangle byb a 8" x 8"
- Arry the reactangle with 4 rows and three columns.
- With using the dimlinear command the the dimensions are given.
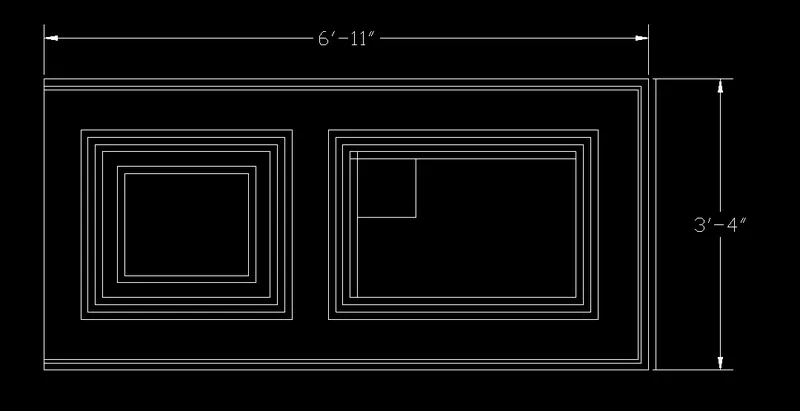
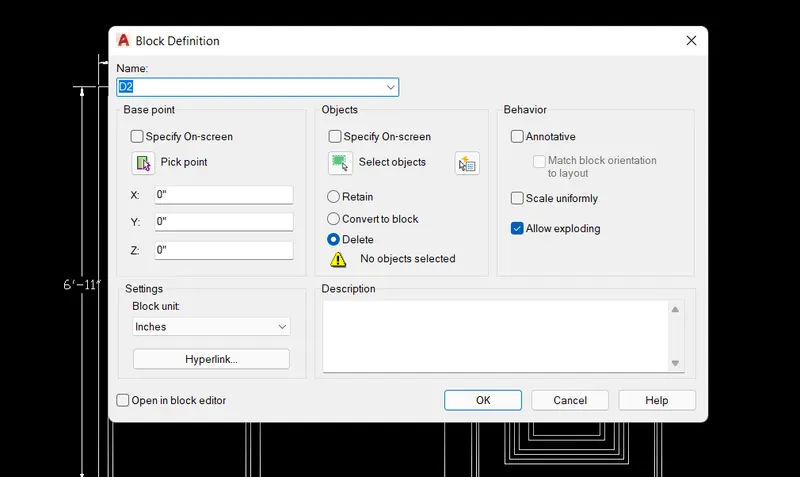
- B enter the block dialogue box will appeared and type the name of the block and select the pick point and select the object and enter.
- press on the select object and enter and press ok the block is created.
- Insert the block where ever required with using the insert command.
Drawing of D3:
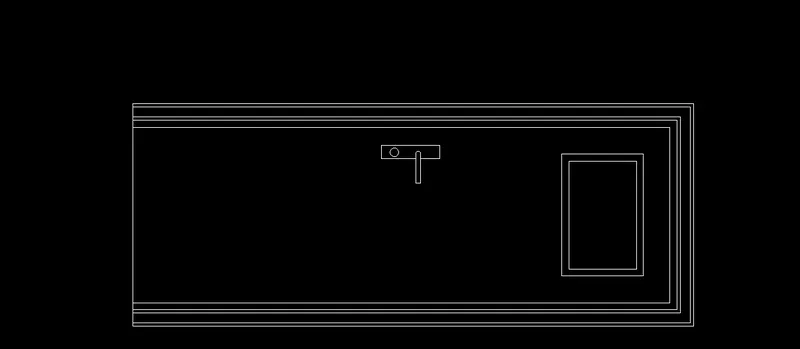
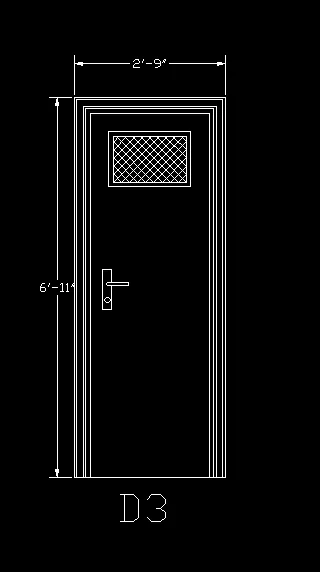
- Draw the rectangle of the size 6'11" x 2'9".
- Offset this rectangle by 0.5" and offset the internal rectangle by 2"
- offset the internal rectangle by 0.5" and 1".
- Explode the rectangle the rectangles.
- Trim the bottom line of the internal rectangle and extend till the bottom line of outside frame.


- Draw the inside rectangle of the size 1'6" x 1' at 4" from the top and 4" from the left and right.
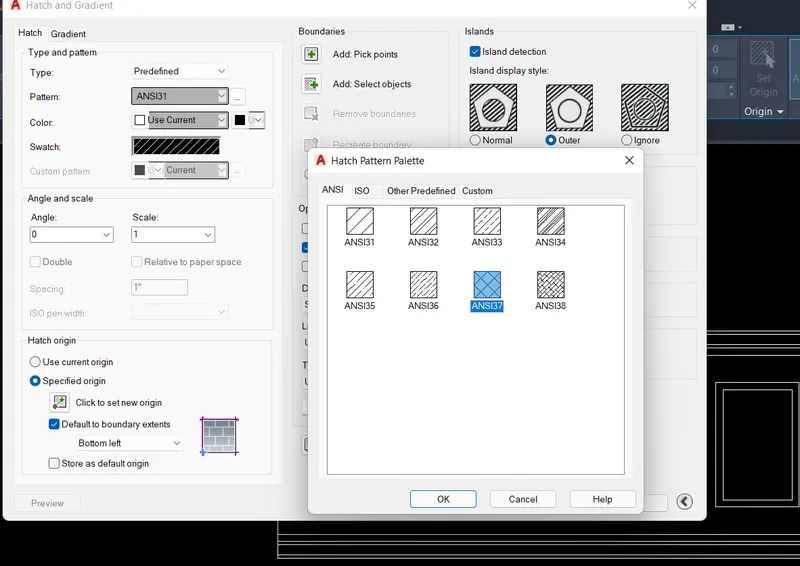
- Hatch i9s done for the inside rectangle.
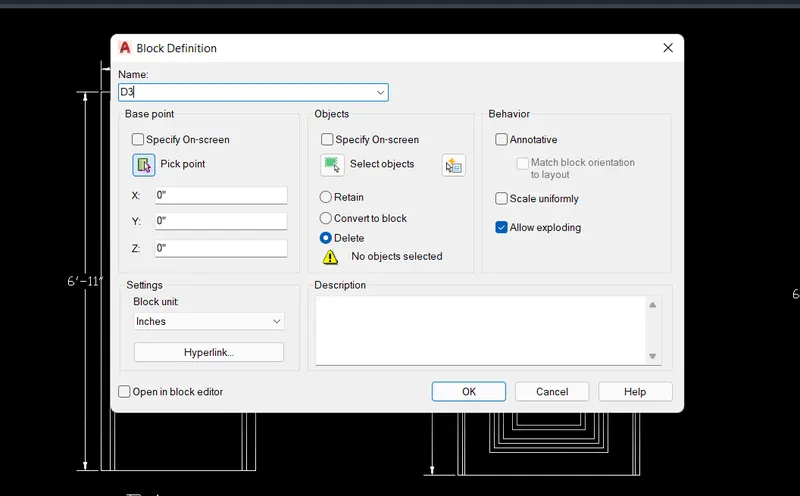
- B enter the block dialogue box will appeared and type the name of the block and select the pick point and select the object and enter.
- press on the select object and enter and press ok the block is created.
- Insert the block where ever required with using the insert command
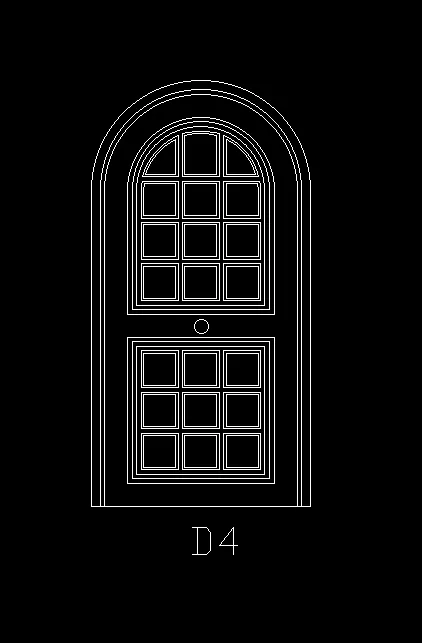
Drawing Of the D4:
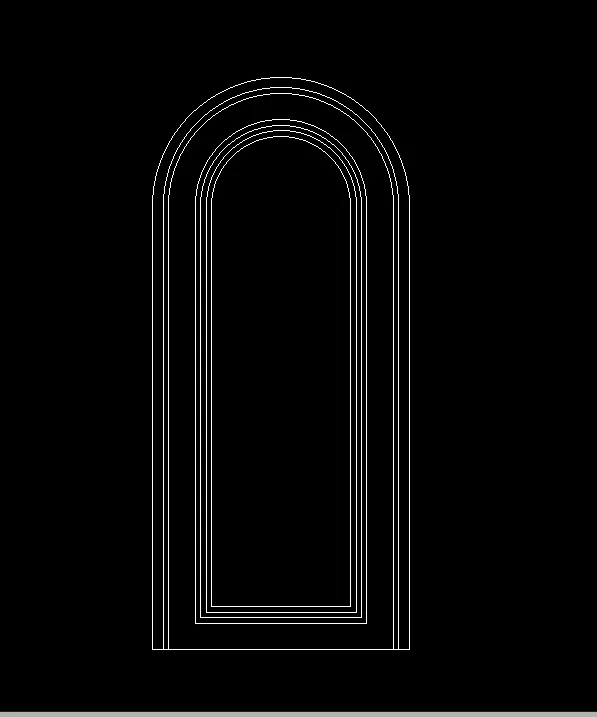
- Draw the rectangle of the size 4' x 5'9"
- Offset rectangle byb 2" and 1" inside
- Offset by 5", 1" and 1" inside.
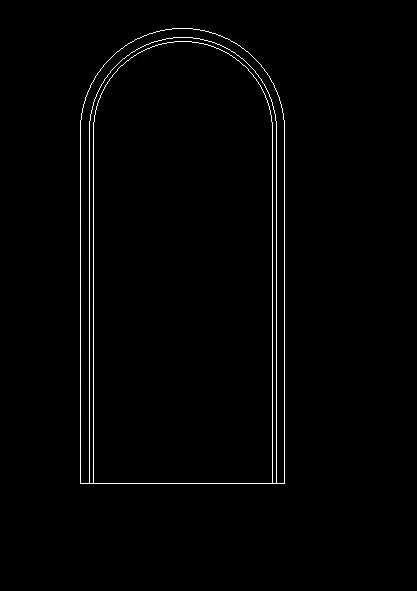
- explode the rectangle and draw the arc with centre with start and end point.
- Offset the arc by 2" inside and 1" insidea and next offset the arc by a distance of 5", 1" and 1"
- trim the top lines of the rectangle and the bottom lines of the inside first two rectangle
- Offset the bottom line of the inside rectangle by 2'8"
- Offset this line 5" and trim the unwanted lines.
- Draw the rectangle of size 8" x 8" and offset the rectangle by 1" inside
- array the this rectangle by 3 columns and 3 rows as shown in the figure.
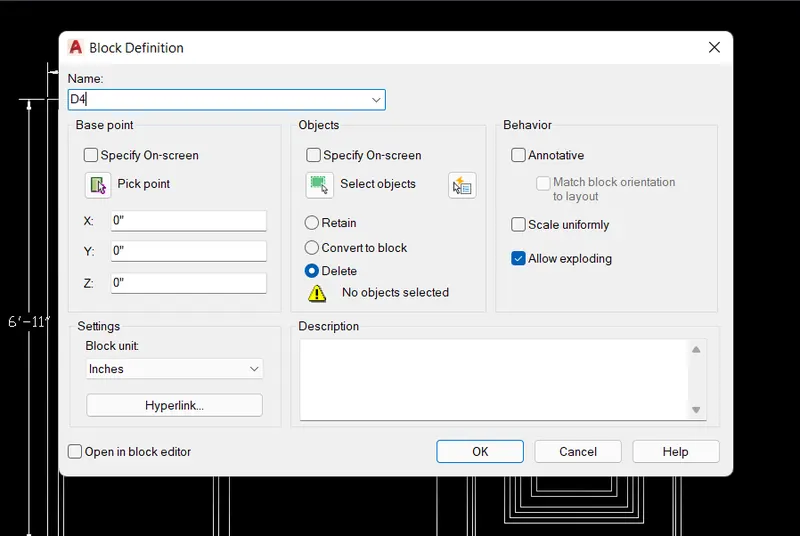
- B enter the block dialogue box will appeared and type the name of the block and select the pick point and select the object and enter.
- press on the select object and enter and press ok the block is created.
- Insert the block where ever required with using the insert command
Drawing of the D5:
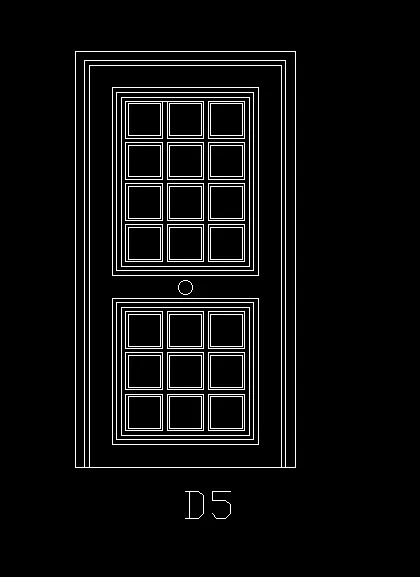
- Draw the rectangle of the size 6'11" x 3'4".
- Offset this rectangle by 2" and offset the internal rectangle by 1"
- Explode the rectangle.
- Trim the bottom line of the internasl rectangle and extend till the bottom line of outside frame.
- Draw the rectangle of the size 2'6" x 2'6" with a starting point at 5" from the bottom line of the rectangle and 5" from left side frame.
- offset this rectangle by 3 times inside with the offset distance of 1".
- Draw the rectangle of the size 2'5" x 3'2" with the starting point is 5" above the inside retctangle.
- Offset the rectangle with offset distance of 1" inside 3 times.
- Draw the inside rectangle byb a 8" x 8" and offset this rectangle by 1" inside.
- Array the reactangle with 3 rows and 3 columns.
- From the above the rectangle draw the rectangle of the size 8" x 8" with the starting point is at 1" above the inside rectangle and offset this rectangle by 1" inside.
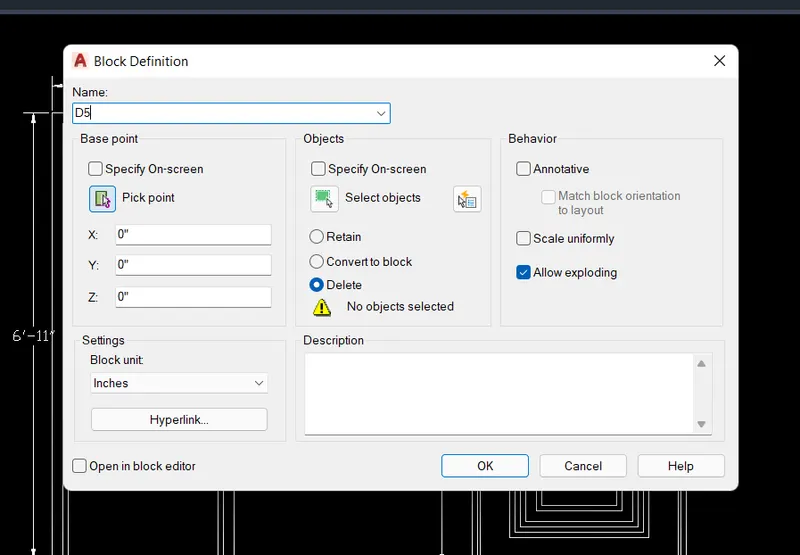
- B enter the block dialogue box will appeared and type the name of the block and select the pick point and select the object and enter.
- press on the select object and enter and press ok the block is created.
- Insert the block where ever required with using the insert command
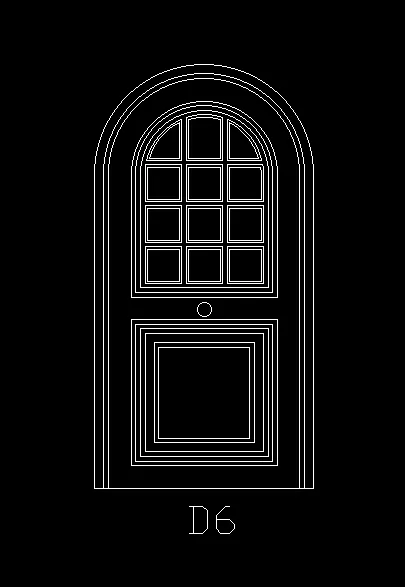
Drawing of D6:
- Draw the rectangle of the size 4' x 5'9"
- Offset rectangle byb 2" and 1" inside
- Offset by 5", 1" and 1" inside.
- explode the rectangle and draw the arc with centre with start and end point.
- Offset the arc by 2" inside and 1" insidea and next offset the arc by a distance of 5", 1" and 1"
- trim the top lines of the rectangle and the bottom lines of the inside first two rectangle
- Offset the bottom line of the inside rectangle by 2'8"
- Offset this line 5" and trim the unwanted lines.
- From the inside rectangle offset the internal rectangkle by 2" and 1"
- From the dbove diagram of the draw the rectangle of the size 8" x 8" with starting point as a 1" inside the rectangle.
- offset this rectangle by 1" inside.
- Array the this both rectangle with 4 rows and 3 columns.
- offset the above arc by 1" inside and another 1" inside
- explode all array rectangles from the top rectangle trim the unwanted lines.
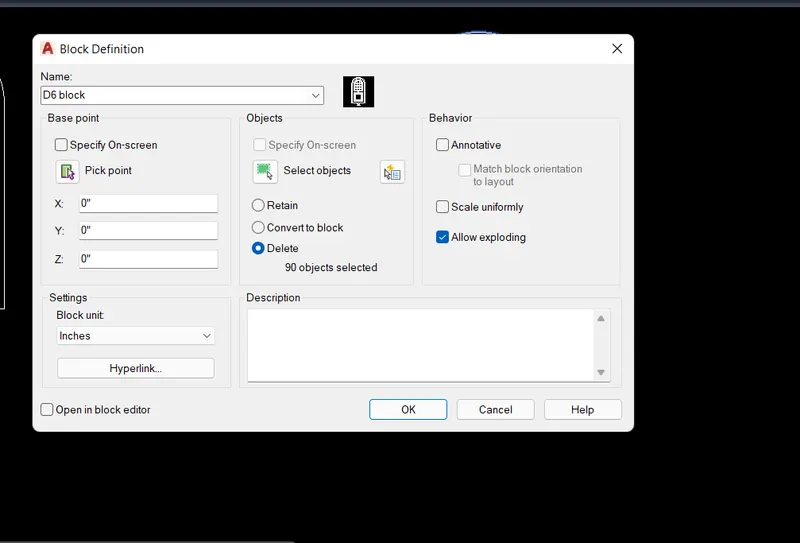
- B enter the block dialogue box will appeared and type the name of the block and select the pick point and select the object and enter.
- press on the select object and enter and press ok the block is created.
- Insert the block where ever required with using the insert command.
Result:
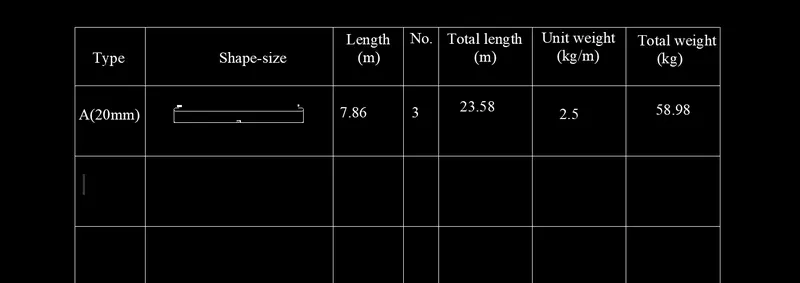
5. Creation of BBS
- Open the autocad new sheet and set units in the metric
- select units as a decimal and select the precision as a 0.
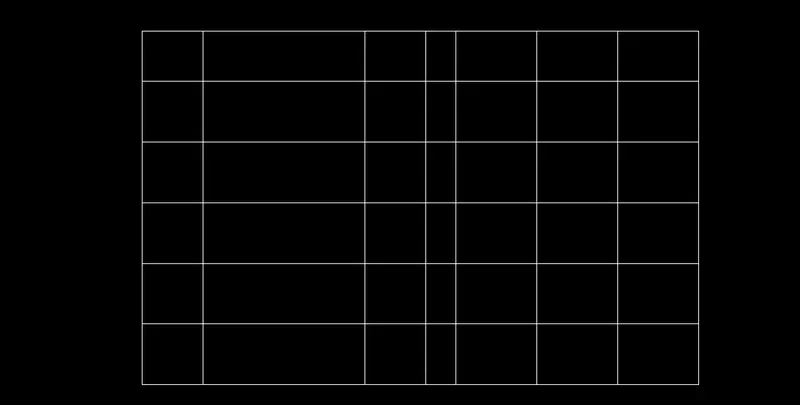
- By using the line command the table is drawn.
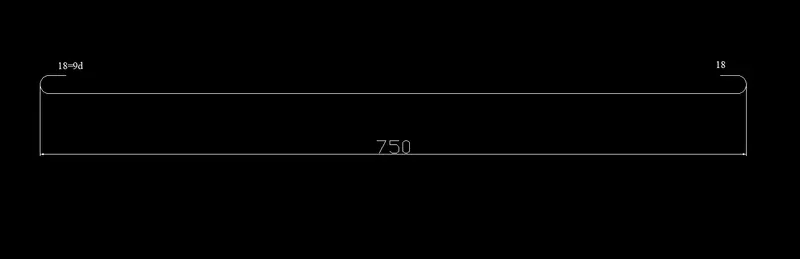
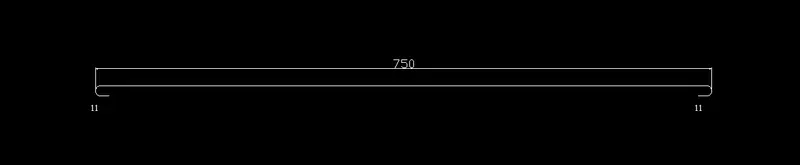
- draw the line of length 750mm and give the hook length of 18mm i.e 9d
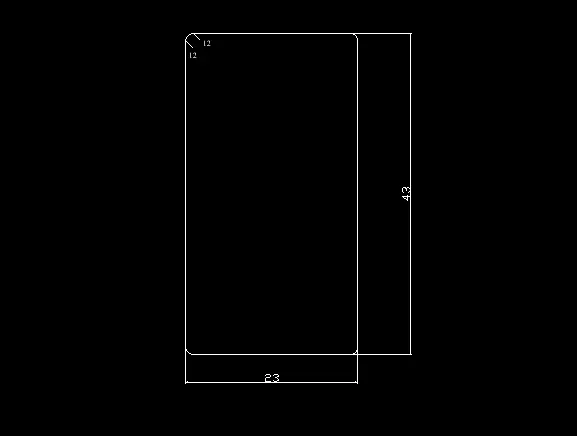
- fillet the the both line by a radius of 10mm.
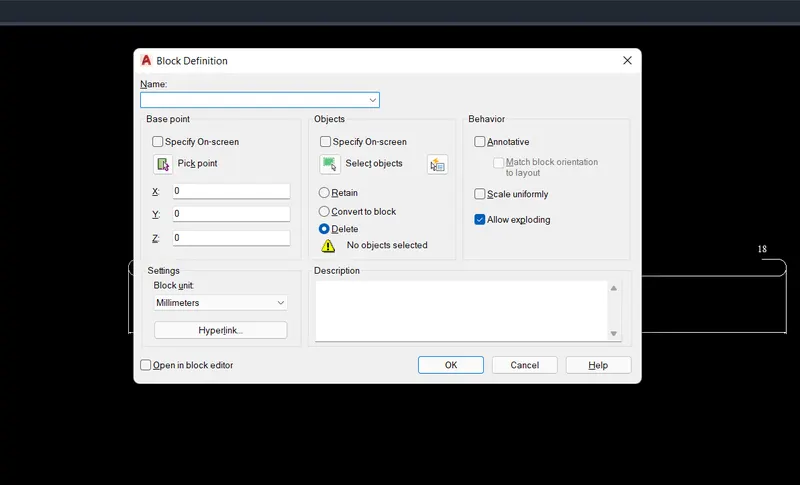
- B enter the block dialogue block will appearand select the object that has to convert to block and select the pick point.
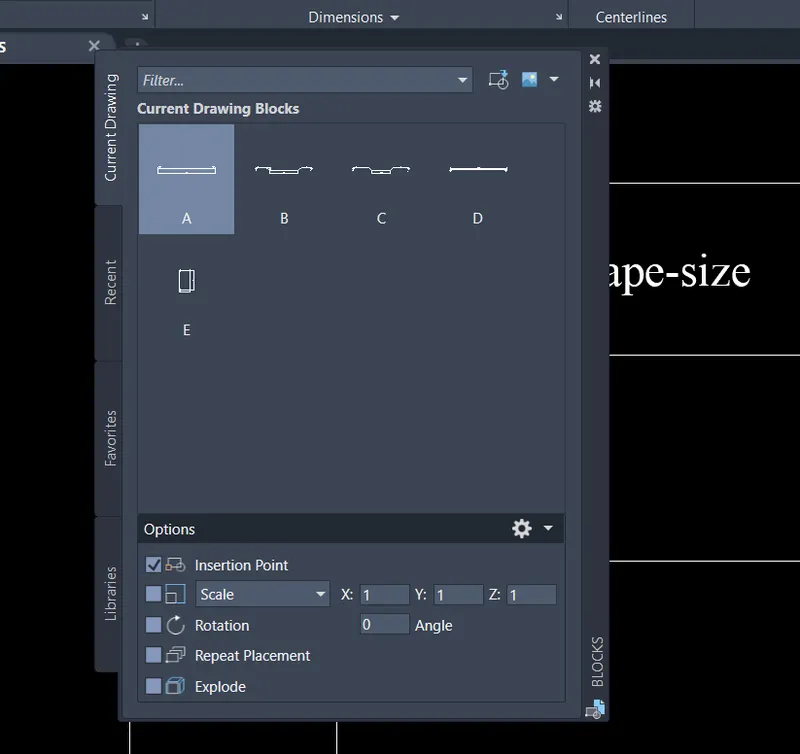
- by using the insert command the block is inserted where ever required.
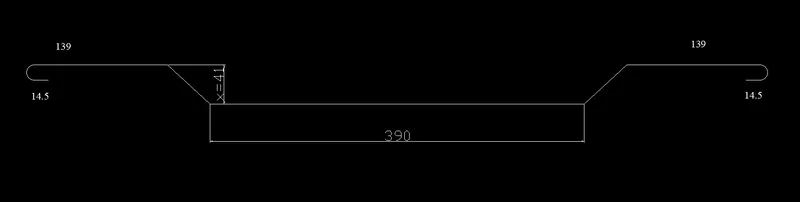
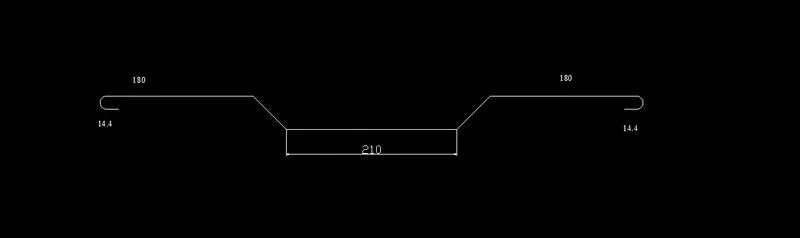
- By using the single line text command the text are written.
- By using the Insert command A type bar is inserted at that position.
Result: