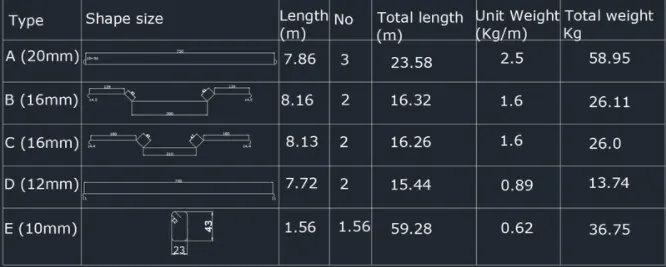
Creating Bar Bending schedule, Different Door types, and Creation of standard drawing templates using AutoCad
1.
Aim:
To create the templates as given.
Procedure:
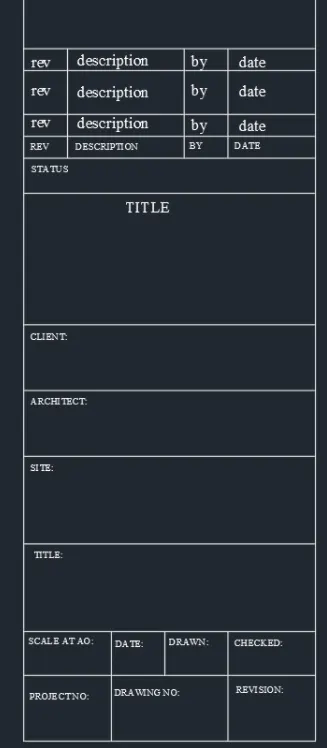
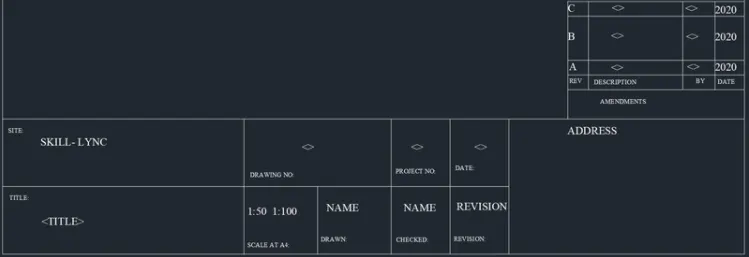
-Custom 1_ title block
- Draw a rectangle of dimension 66.63 x 158 mm
- Divide it into columns using line command.
- Offset for the rows to a distance of 5, 10, 5,5, 8, 30, 15, 20, 20, 20 mm
- Type the required texts and descriptions using the MTEXT command.
- As it is repeated in the other two rows, take array to give columns as 1 row as 3 spacing as 7
- Again type the required fields using MTEXT
- Using the B command, Select the pick points, select a point and object- select the whole table including the text.
- Go to insert and select the object and insert it.
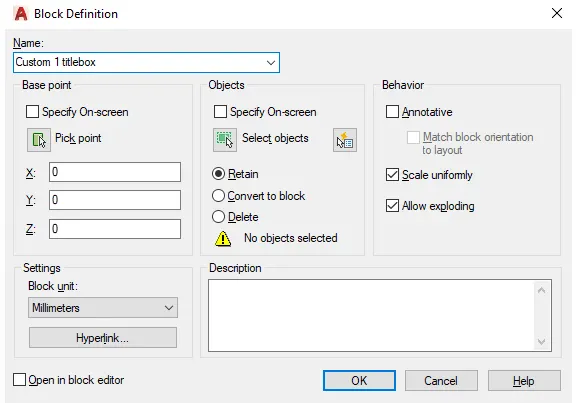
_Custom2- title block
- Create a small rectangle and explode it.
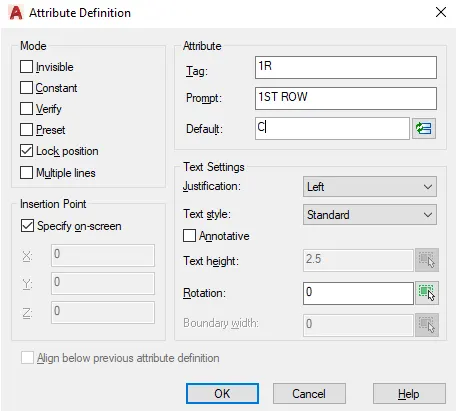
- Using ATT, insert tagline, visible before creating the block
- Prompt: Question we need to add what we need to enter
- Default: value shown in diagram after making it as block
- Now create a block with command B and name it as Custom_2_titleblock, select the whole title block and make it as a block. After creating it as a block we can see that all attributes will change to their default values.
Result:
________________________________________________________________________________________________________
2.
Aim:
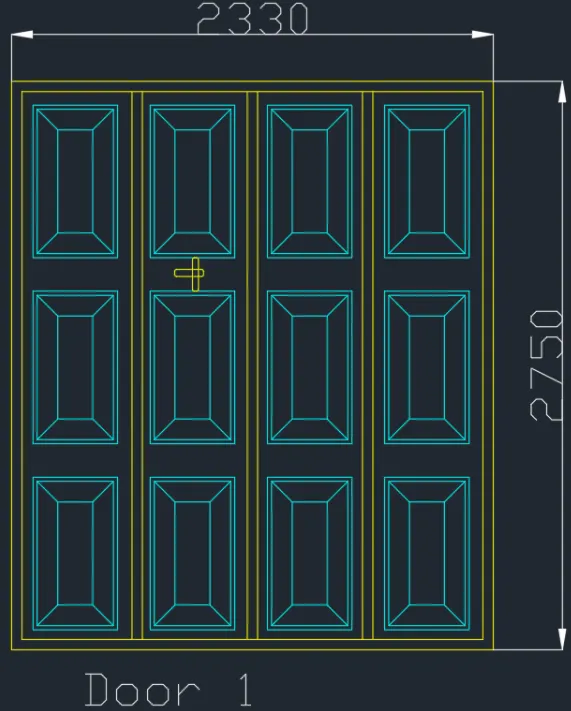
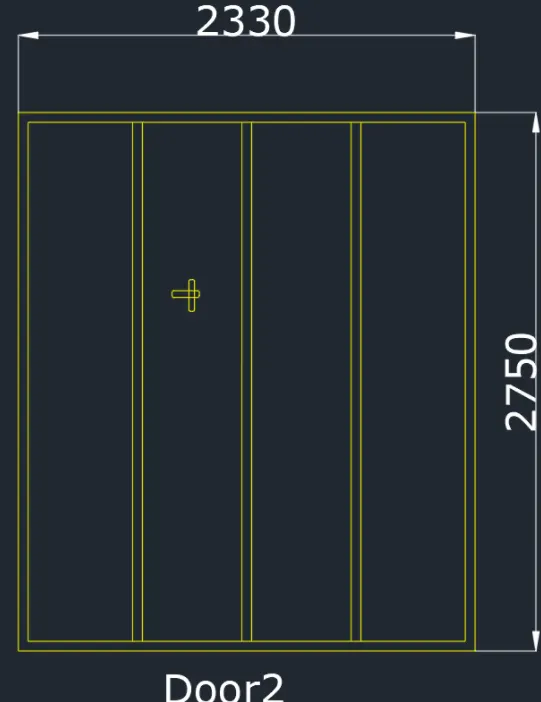
To create the door types for the warehouse.
Procedure:
- Type l in the command prompt to draft the lines.
- draft the boxes using the rectangle command.
- Fillet the edges.
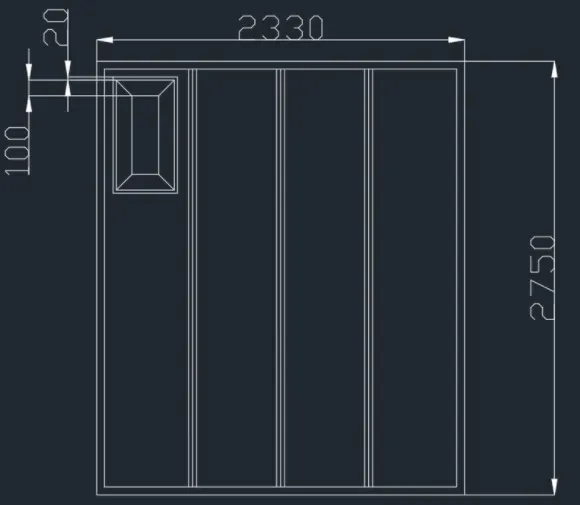
- In the ribbon bar >dimensions ( to give the dimensions of the door )
- In the ribbon bar >annotation > text ( to give the text for the door )
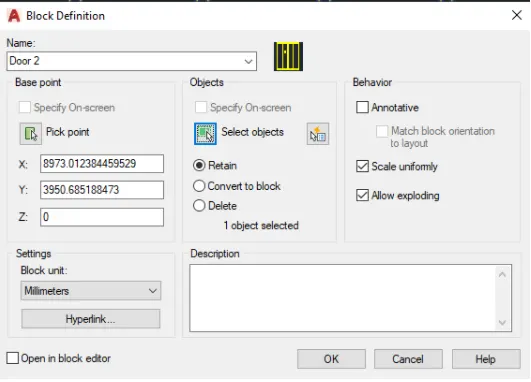
- In the ribbon bar > block > create a block ( to create the door block )
Result
________________________________________________________________________________________________________
3.
Aim:
To create each symbol as a block with the name given in the legend.
Procedure:
- Using line rectangle and circle command draw the following





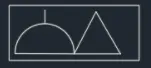




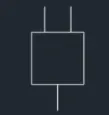
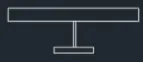
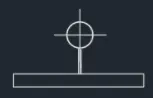
- Command B - pick a point- the select object (created single gang witch) - tick scale uniformly and allow exploding options.
- Define each one of them as a block with respective names.
- Create and arrange them in layers.
- Create a rectangular table having 10 rows ad 6 columns.
- Place each of the blocks in respective rows and columns.
Result:
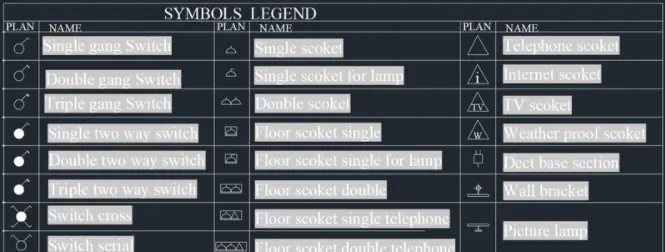
________________________________________________________________________________________________________
Aim:
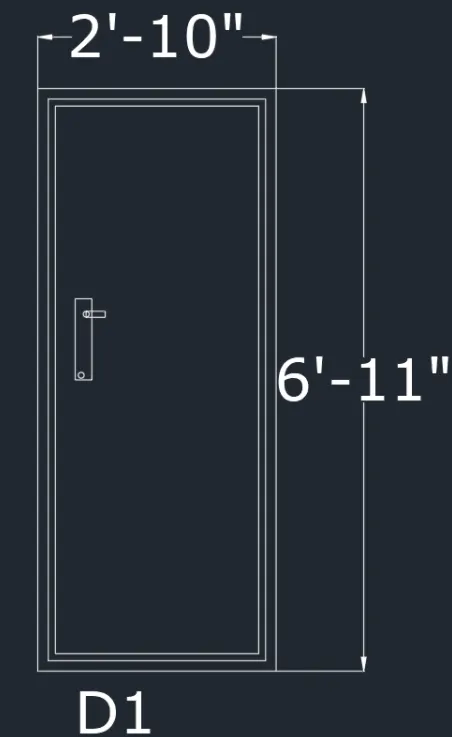
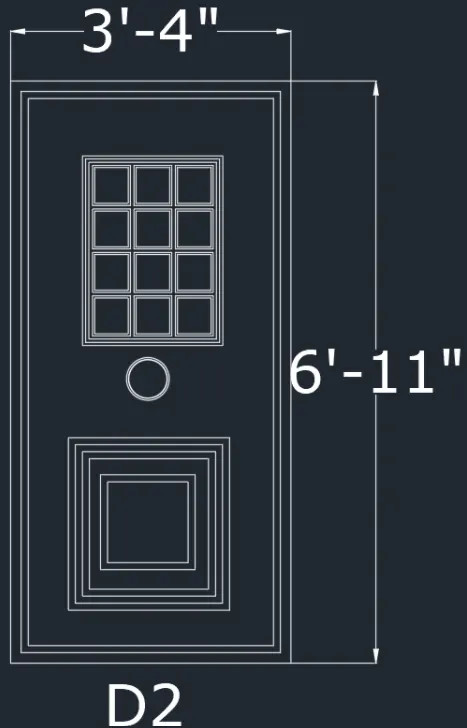
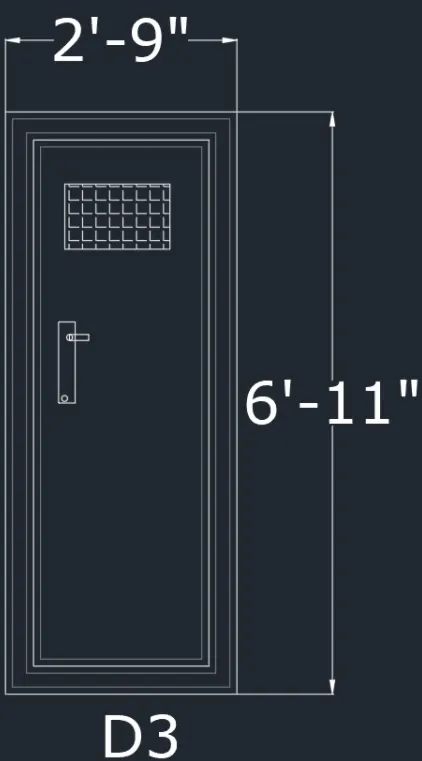
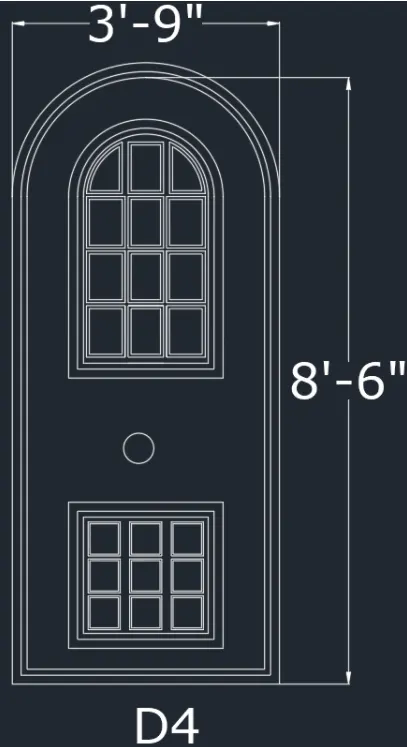
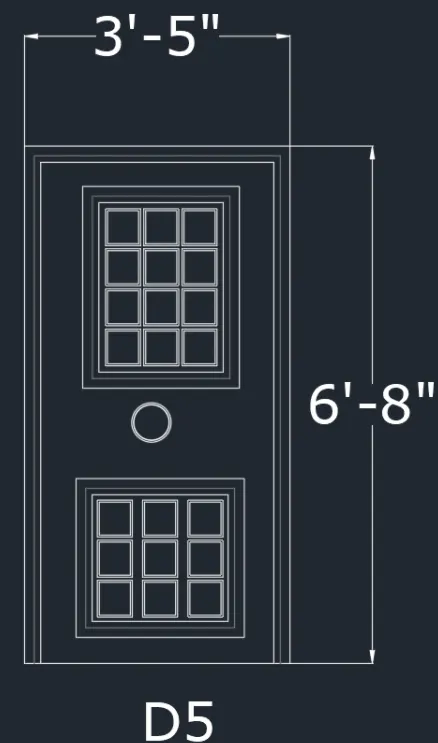
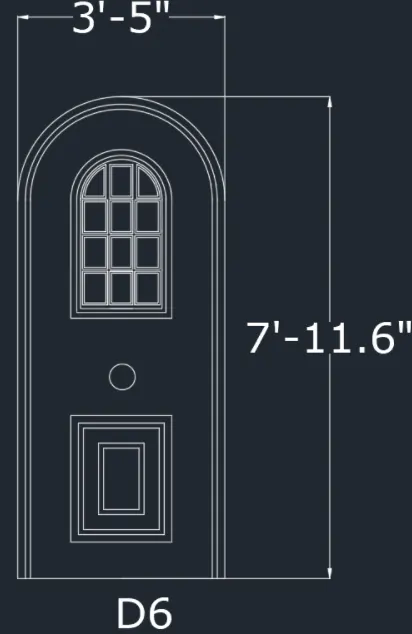
To create the doors type for the warehouse as shown in the Figure.
Procedure:
- Draw a rectangle of dimension 2'10" X 6'11"
- Offset 1"
- Draw the lock
- Create it as a block as "D1".
- Draw rectangle of dimension 3'4" and 6'11"
- Offset 1.5" for frame
- Offset 1" for shutter
- Draw panel of 1'11" and 2'9"
- draw a rectangle 5'4" x x5'7"
- Offset 0.3"
- Array the rectangle
- Arrange the rectangle to the desired places.
- Create as block "D2"
- Draw a rectangle 3'9" X 6'10"
- Explode it
- Draw an arc with 2 endpoints
- offset 1.5" and 1"
- offset 8" from arc and rectangle for panel and divide into 2
- Create a lock using a circle
- Create as a block "D4"
- Draw a rectangle 3'5" x 6,8"
- Offset 1"
- Create another rectangle inside with offset 4.4"
- Create rectangle on the bottom 2'2.9"x2'2.6"
- Offset 1" two times
- Create a rectangle panel with offset 0.5"
- Create as a block "D5"
- Draw rectange 3'5" x 7'11.6"
- Explode it
- Create an with 2-point mehtod
- Offset 1.5"
- offset 1"
- Offset 8" from arc and rectangle for panel and divide it by 2
- offset 1" 2 times
- Create a lock using circle
- Make it as block "D6"\
Result:
________________________________________________________________________________________________________
5.
Aim:
To Create each shape as a block
Procedure:
- Draw the following shapes uding desired commands

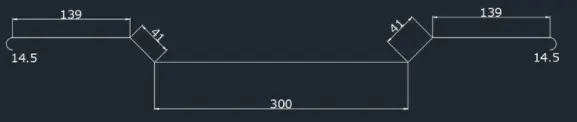


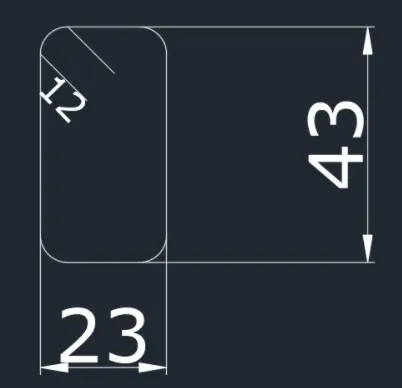
- Make them as Block with name A B C D and E.
- Create a rectangle with 6 rows and 7 columns.
- Insert desired texts and blocks in the table.
Result: