Creating Architectural and Structural model with 3D rendering using REVIT
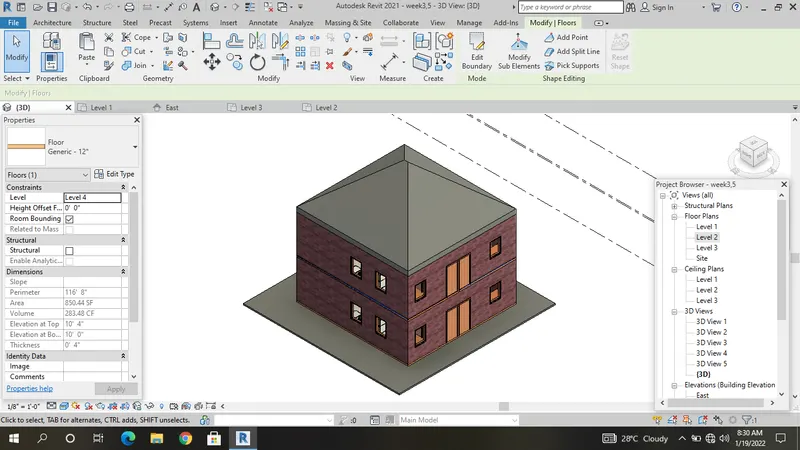
1.
Aim:
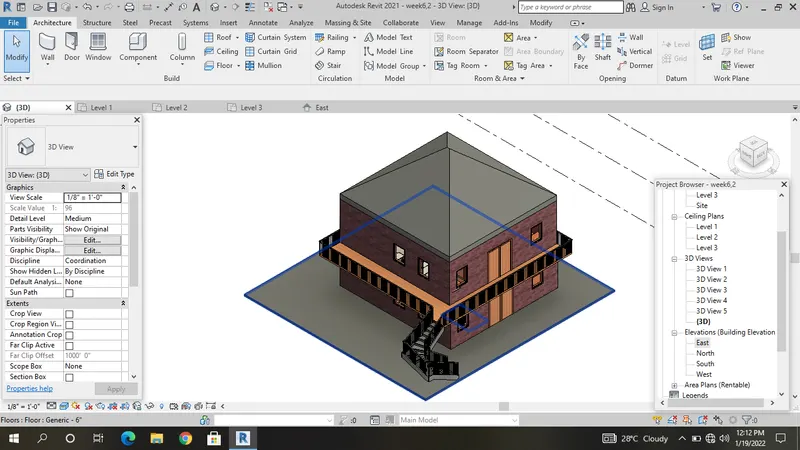
To draw the architectural model using in Revit
Procedure:
Step 1
Go to the new project
select the architectural templates
Step 2
select the wall option
draw the wall line at 0
draw the another wall line at 22'
draw the another wall line at 23'
Step 3
draw the room wall at 9' x 12'
draw the room wall at 18' x 12'
draw the room wall at 10' x 12'
draw the room wall at 10' x 12'
Step 4
select the floor option
select the rectangular
draw the line at cornor to cornor
select the ok button
Step 5
select the component option
select the component like door,window,bed,chair,table,etc..,
drop down by the each fixer
Step 6
select the copy option
select all the object
select the cut paste
select the aligned by the next level
Step 7
paste by the level 2
Step 8
select the roof:footprint
select the rectangular
draw the line at cornor to cornor
select the ok button
Step 9
select the stair option
set the strip stair
fixed the stair
Step 10
select the 3d option
2.
Aim:
To draw the architectural model using in Revit
Procedure:
Step 1
Go to the new project
select the architectural templates
Step 2
select the wall option
draw the wall line at 0
draw the another wall line at 22'
draw the another wall line at 23'
Step 3
draw the room wall at 9' x 12'
draw the room wall at 18' x 12'
draw the room wall at 10' x 12'
draw the room wall at 10' x 12'
Step 4
select the floor option
select the rectangular
draw the line at cornor to cornor
select the ok button
Step 5
select the component option
select the component like door,window,bed,chair,table,etc..,
drop down by the each fixer
Step 6
select the copy option
select all the object
select the cut paste
select the aligned by the next level
Step 7
paste by the level 2
Step 8
select the roof:footprint
select the rectangular
draw the line at cornor to cornor
select the ok button
Step 9
select the stair option
set the strip stair
fixed the stair
Step 10
select the 3d option Step 11
select the manage tab
select the project location
select the project shared coordinate
N/S = 0
W/E = 0
Step 12
select the insert tab
select the topography
set the coordinate
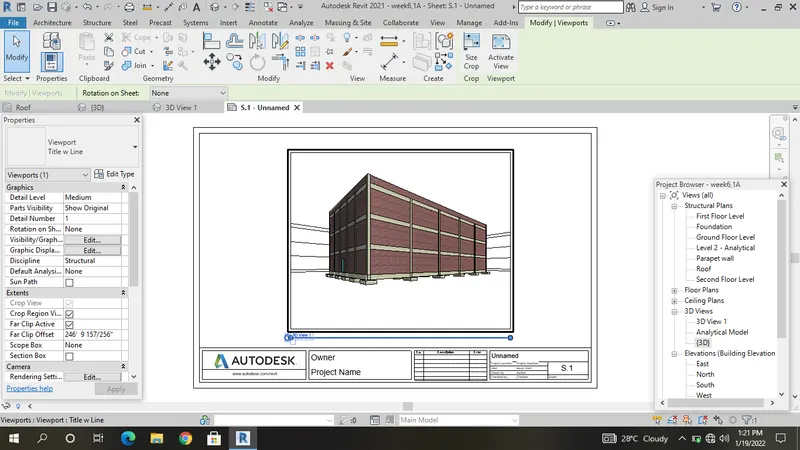
3.
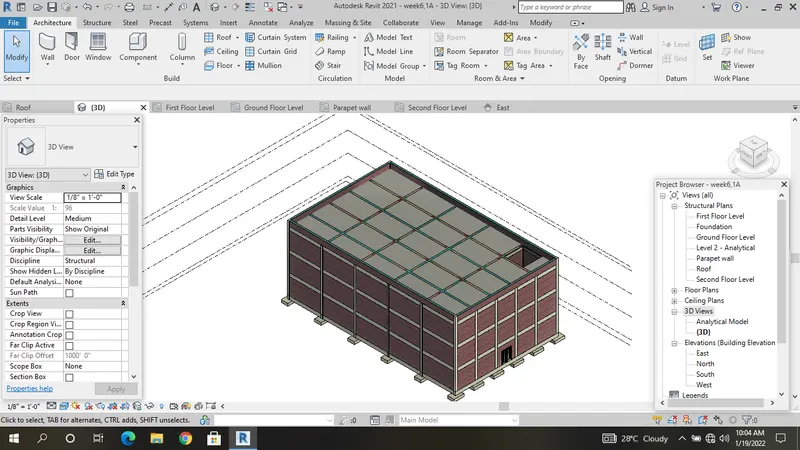
Aim:
To draw the structural template using in Revit
Procedure:
Step 1
Go to the new project
select the structural templates
Step 2
Go to the East Elevation
select the level at ground floor,first floor,second floor,roof
Step 3
select the grid
draw the grid line at 20'
each line of grid at 20'
Step 4
select the column option
each cornor grid are at column
to the roof floor
Step 5
select the beam option
each line are at beam
to the roof floor
Step 6
select the foundation option
to the roof floor
Step 7
select the wall:structure
draw the line at wall
to the roof floor
Step 8
select the stair
draw the line at cornor
to the roof floor
Step 9
select the shaft
select the rectangular
draw the line at cornor
to the roof floor
Step 10
select the floor option
select the rectangular
draw the line at cornor to cornor
to the roof floor
Step 11
select the door
drop the door at wall
4.
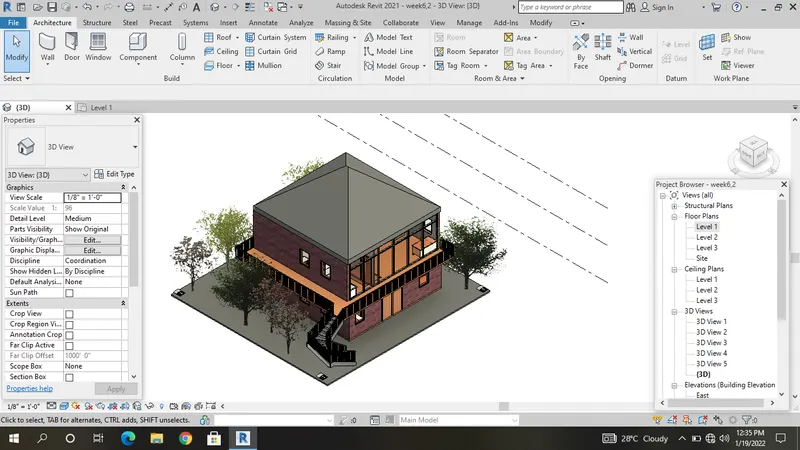
Aim:
To draw the architectural model using in Revit
Procedure:
Step 1
Go to the new project
select the architectural templates
Step 2
select the wall option
draw the wall line at 0
draw the another wall line at 22'
draw the another wall line at 23'
Step 3
draw the room wall at 9' x 12'
draw the room wall at 18' x 12'
draw the room wall at 10' x 12'
draw the room wall at 10' x 12'
Step 4
select the floor option
select the rectangular
draw the line at cornor to cornor
select the ok button
Step 5
select the component option
select the component like door,window,bed,chair,table,tree,plant,etc..,
drop down by the each fixer
Step 6
select the copy option
select all the object
select the cut paste
select the aligned by the next level
Step 7
paste by the level 2
Step 8
select the roof:footprint
select the rectangular
draw the line at cornor to cornor
select the ok button
Step 9
select the stair option
set the strip stair
fixed the stair
Step 10
select the 3d option
Step 11
select the manage tab
select the project location
select the project shared coordinate
N/S = 0
W/E = 0
Step 12
select the insert tab
select the topography
set the coordinate
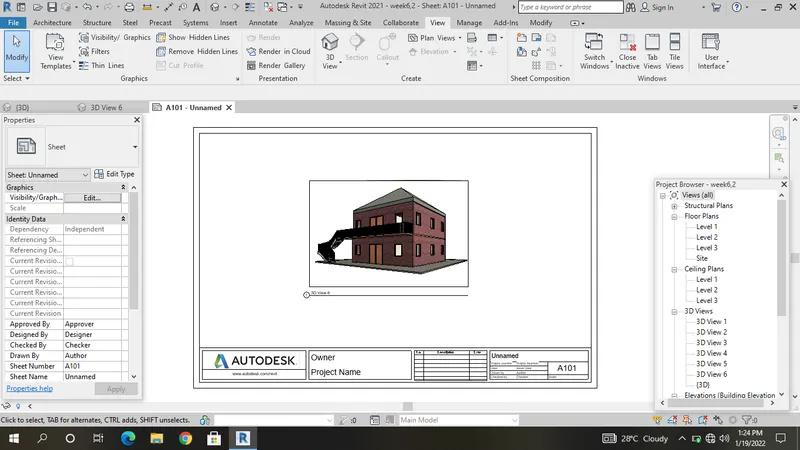
5.
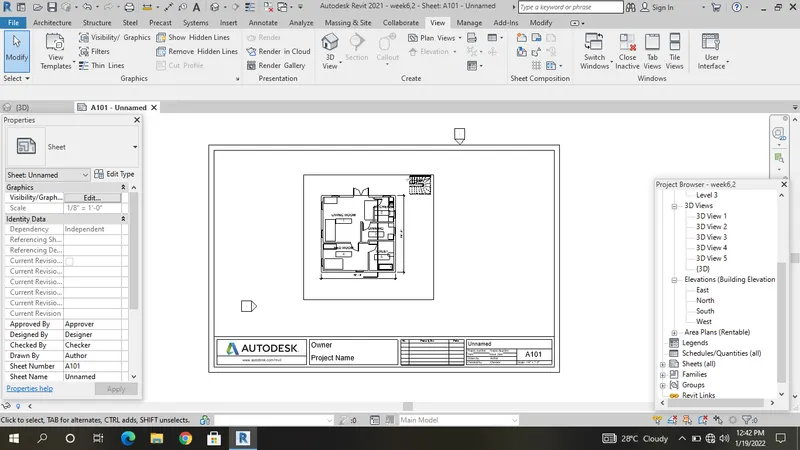
Aim:
To draw the architectural model using in Revit
Procedure:
Step 1
Go to the new file
select the architectural templates
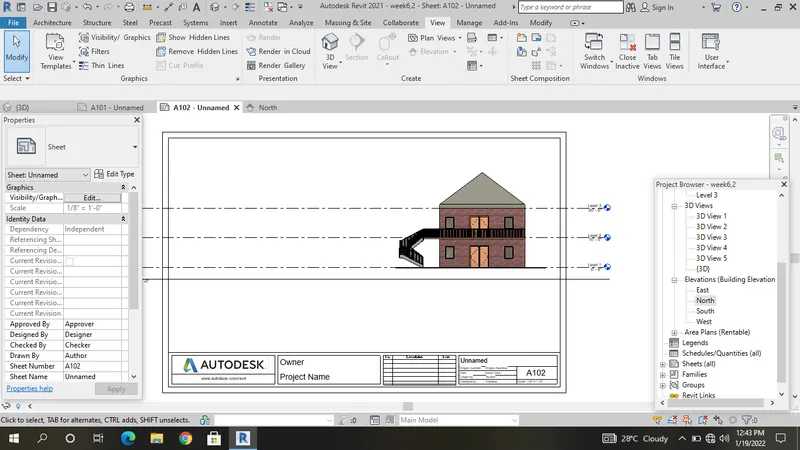
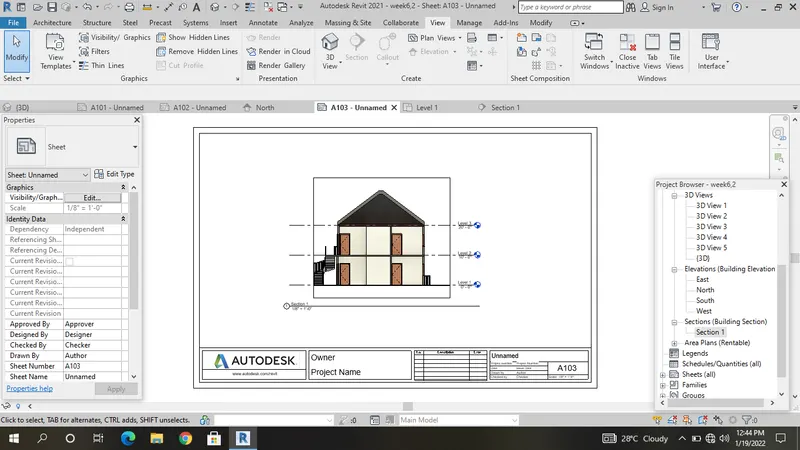
Step 2
Go to the view option
select the sheet
select the title block
select the ok button
Step 3
select the view sheet
select the views
paste the views
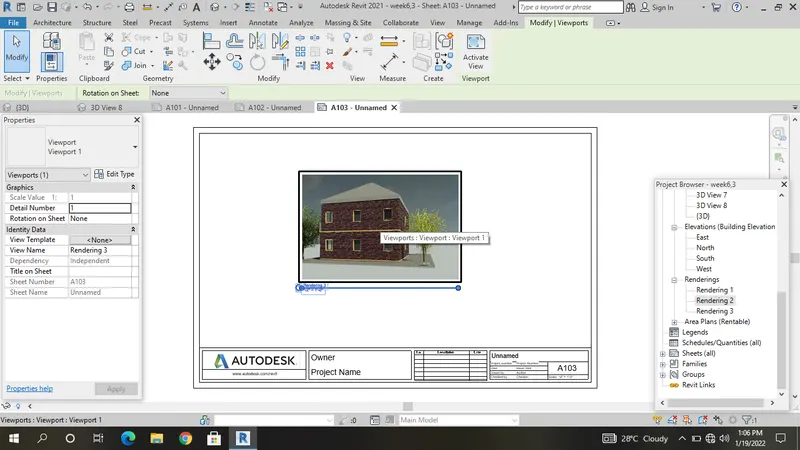
6.
Aim:
To draw the architectural model using in Revit
Procedure:
Step 1
Go to the new file
select the architectural templates
Step 2
Go to the existing project
Step 3
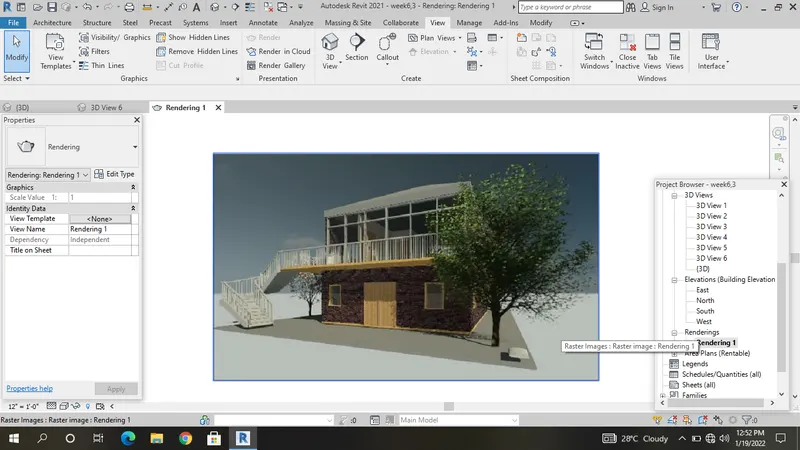
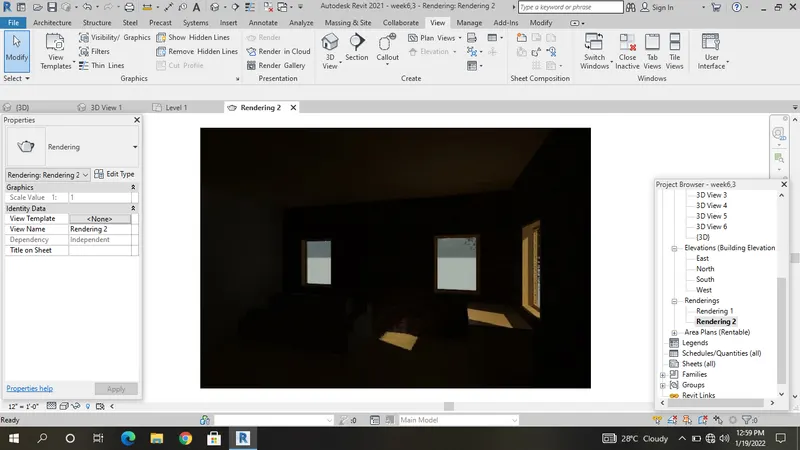
select the 3d views
select the view option
select the rendering
select the medium option
select the render
7.
Aim:
To draw the architectural model using in Revit
Procedure:
Step 1
Go to the new file
select the architectural templates
Step 2
Go to the view option
select the sheet
select the title block
select the ok button
Step 3
select the view sheet
select the views
paste the views