Creating Architectural and Structural model with 3D rendering using REVIT
1) Select the type of structure you want to build from one of the three below:
- Multi-Unit Residential Apartment
b. Office Buildings
c. School.
A): I will select the multi-unit residential apartment
2):
A): Based on the assumption of geographic and location details:
- It’s a residential area
- Its located in plain sit
- Road width is 30’
As per the NBC requirement:
- Taking the height of the building as per the NBC
- Proper drainage system
- Proper ventilation for each room.
3):
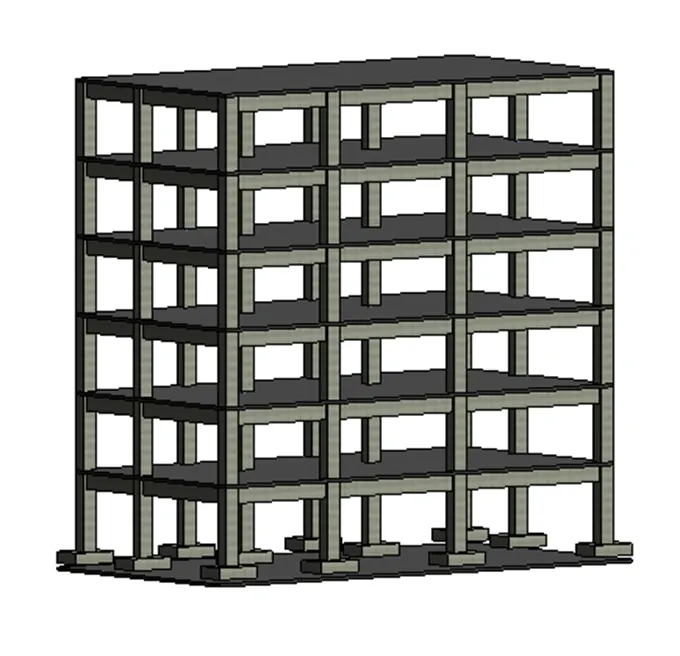
Aim: To create the structural model which includes foundation, columns, beams and roof farming/ Truss, Floor / Deck, floor opening for elevators and staircase.
Introduction: To create the structural model which includes foundation, columns, beams and roof farming/ Truss, Floor / Deck, floor opening for elevators and staircase. By using Revit.
Procedure:
Step1:
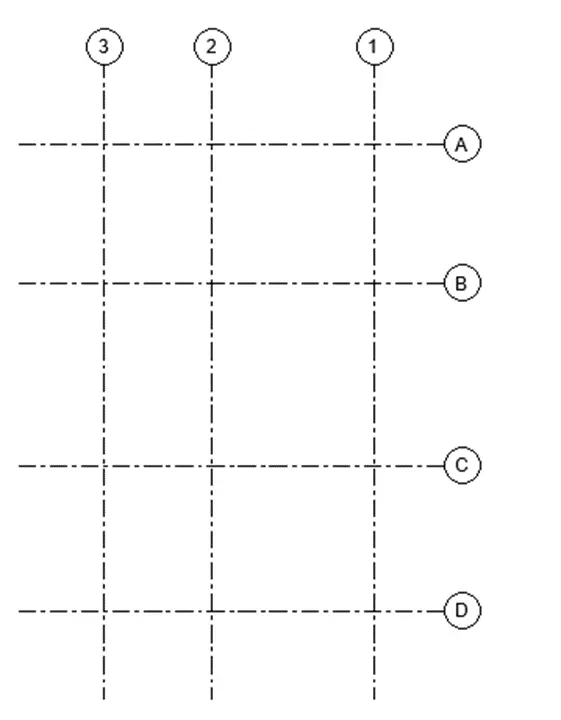
- Grids:
- Open the structural template from the insert tap link the architectural plan file
- Based on the plan file mark the grid pattern from the architectural tab
- Set the proper grid name as transverse grid as A,B,C and longitudinal grid as 1,2,3.
Step2:
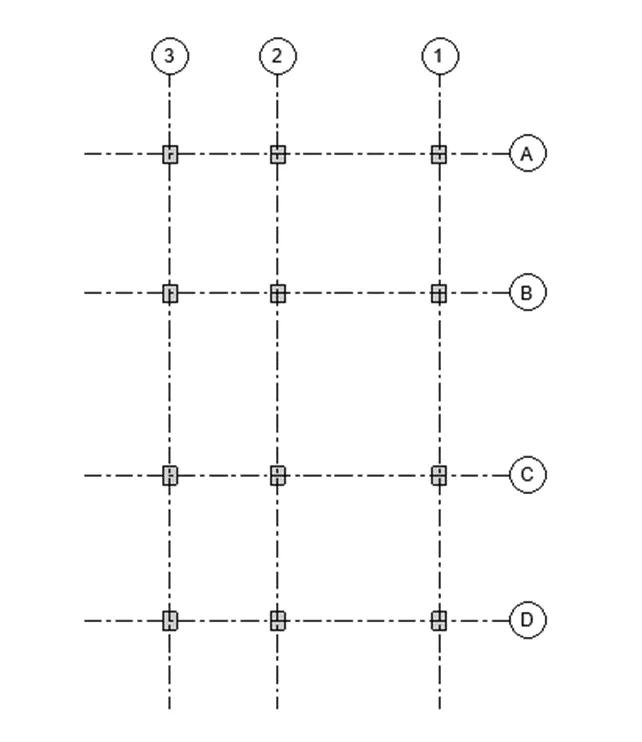
- Columns:
- From the structural tab select the columns and click add on the grid
- Select all the grid and click on the finish
- All the columns are placed on the center of each grid
Step3:
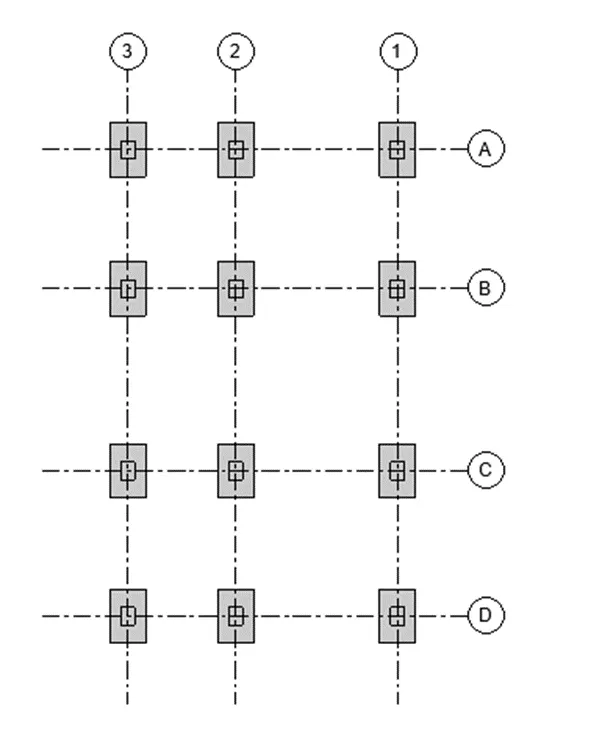
- Foundation:
- From the structural tab select the isolated footing then select the place on columns option
- Select all the columns then click on the finish.
Step4:
- Beams:
- From the structural tab select the beams option
- After select the beams option select the line or pick up line to create the beams
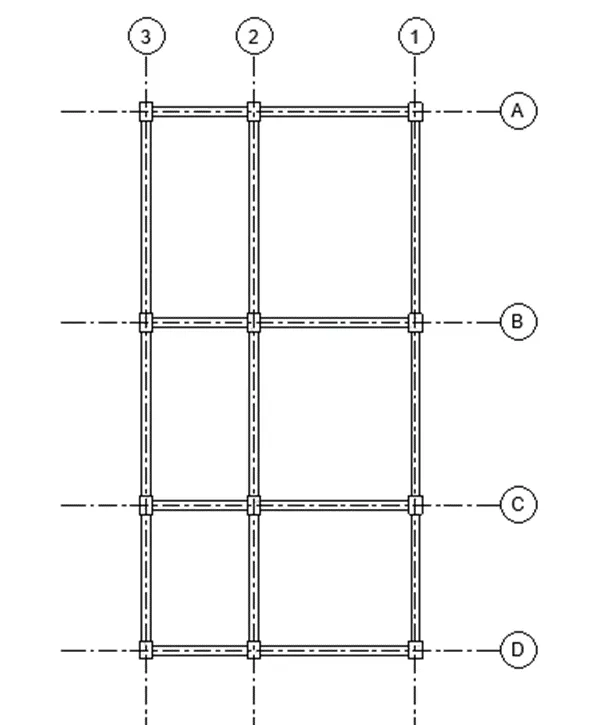
Step5:
- Floors:
- From the structure tab select the floor option
- To create the floor in the building select the line or boundary option
- Draw a boundary line to create a floor
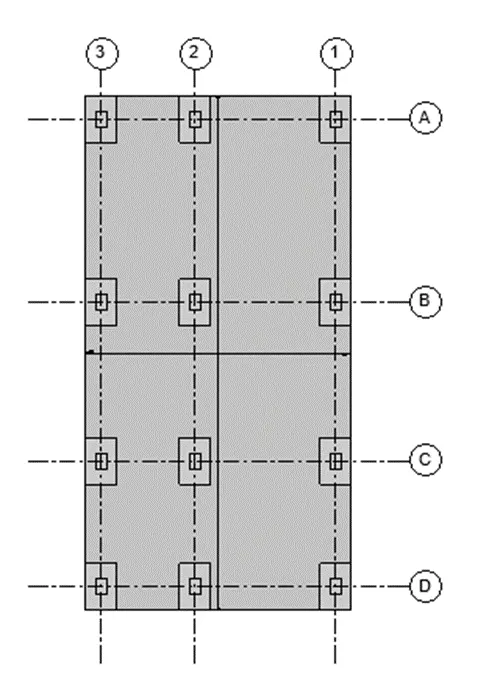
Step6:
- To create no.of floors
- Select the model from the click on the copy option then select paste with aligned with level option
- Select the no.of level options.
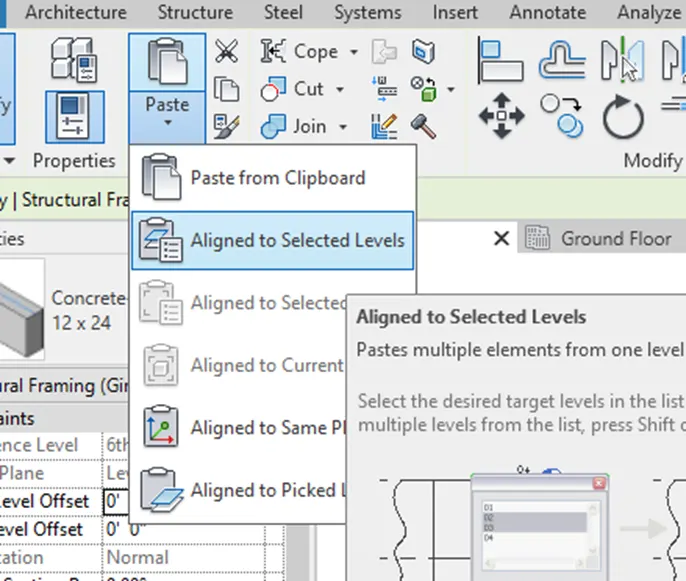
Result:
Beams, Columns, and Foundation.
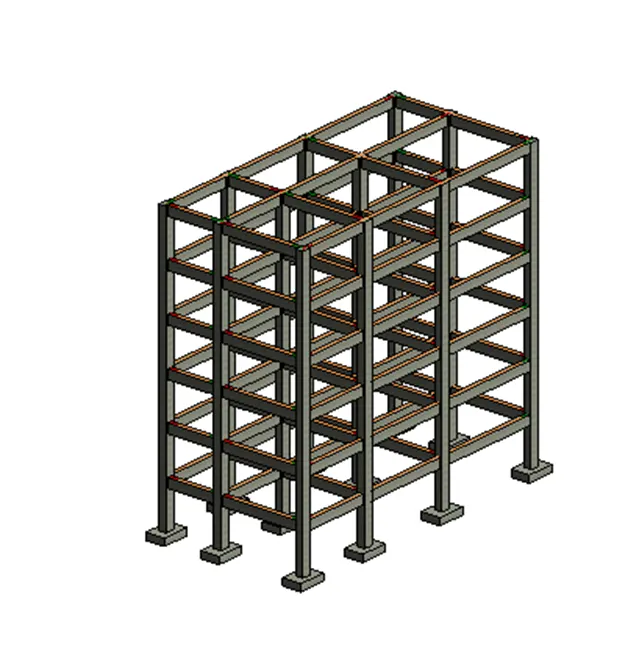
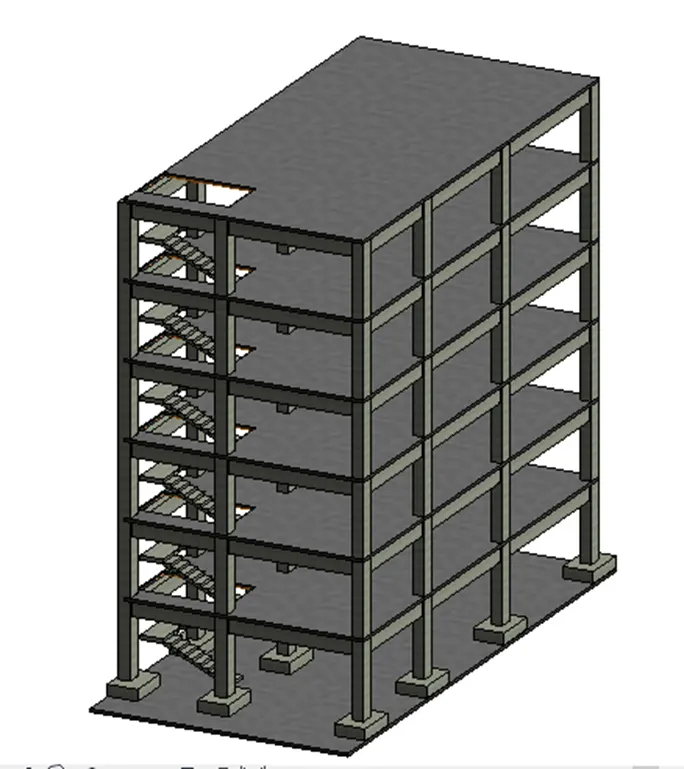
Floors:
staircase
4):
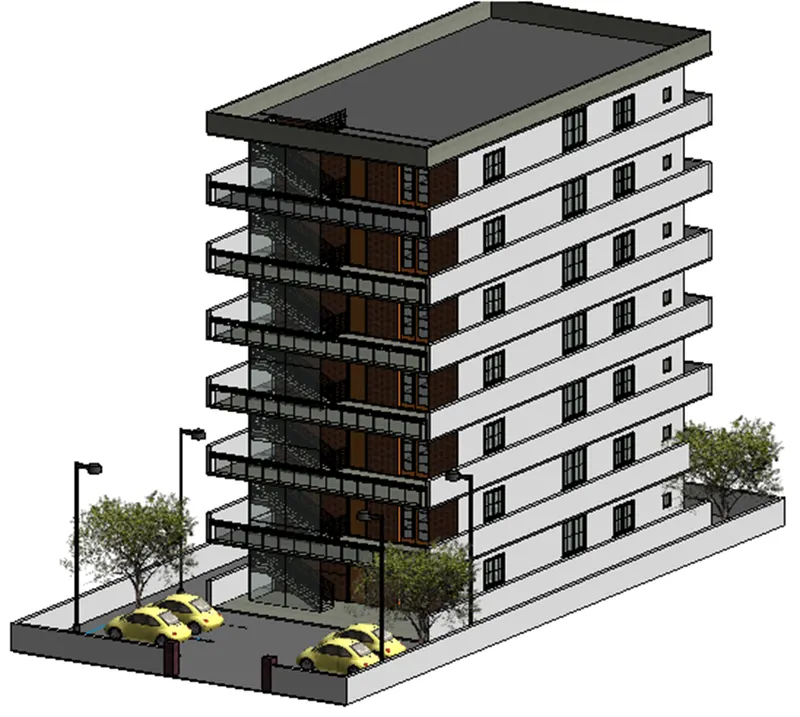
Aim: To crate a architectural model base on the on the type of structure selected including following components. Wall layout, exterior and interior, room components, staircase, and parking components.
Introduction: To crate a architectural model base on the on the type of structure selected including following components. Wall layout, exterior and interior, room components, staircase, and parking components. By using revit.
Procedure:
Step1:
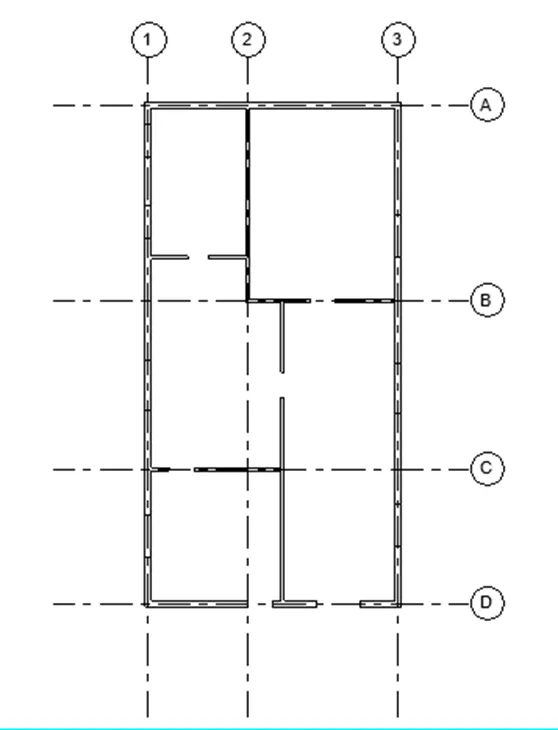
Adding interior and exterior walls
- Open the link structure model in architectural model open the plan view
- Now from the architectural tab take the walls option
- For exterior wall create 9” wall and interior 4.5” wall.
Step2:
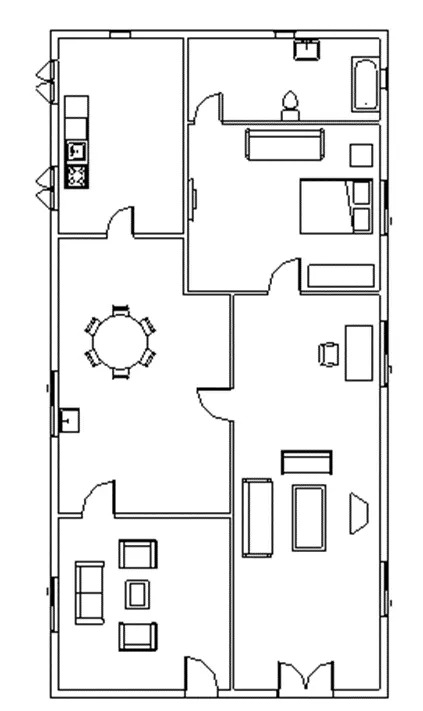
Adding room components
- From the architecture tab select the component option
- Now from the load family tab select all the need components then add at the required place.
Step3:
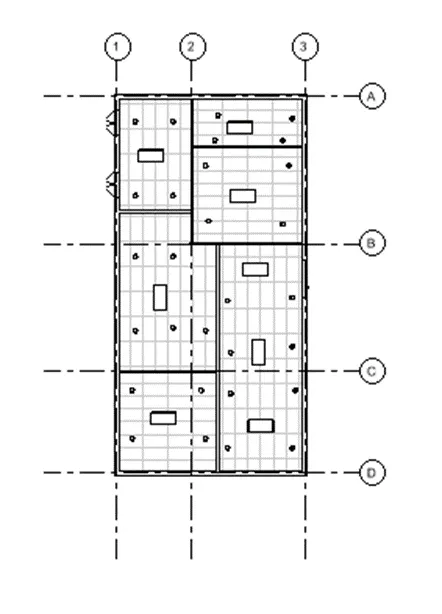
Adding celling plan
- From the architecture tab click on the celling option
- Then select the add auto celling option
- Now place the cursor at close boundary and add the celling to the plan
Step 4:
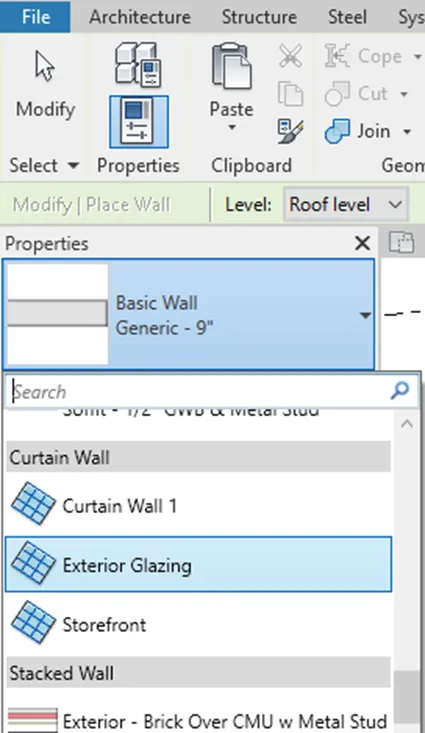
Adding curtain walls
- From the architecture tab select the walls option
- From the wall type select the curtain walls
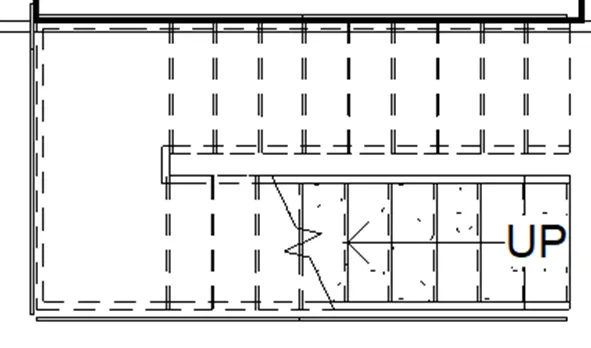
- Add the curtain at the staircase boundary
Step5:
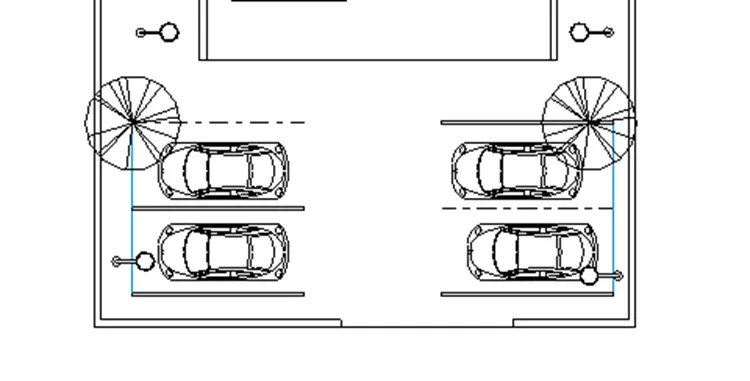
Adding parking area
- From the massing & site tab select the parking components
- Then add the parking boundary at the ground level
- From component tab select the load family the parking components such as cars, and street lights.
Result:
Room components
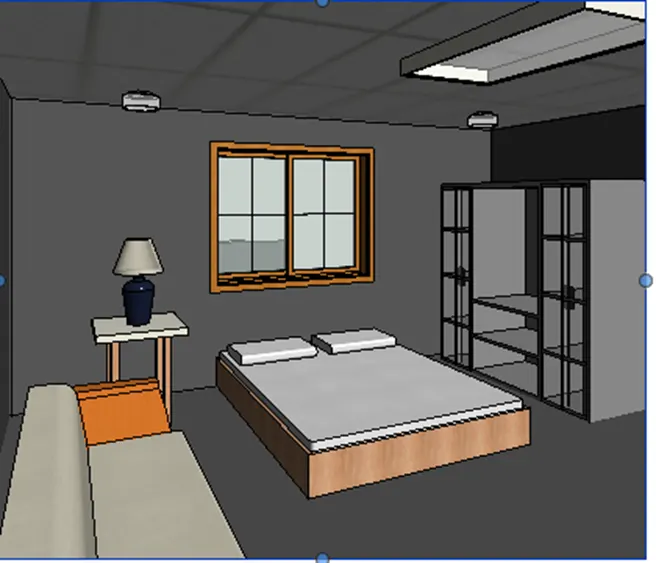
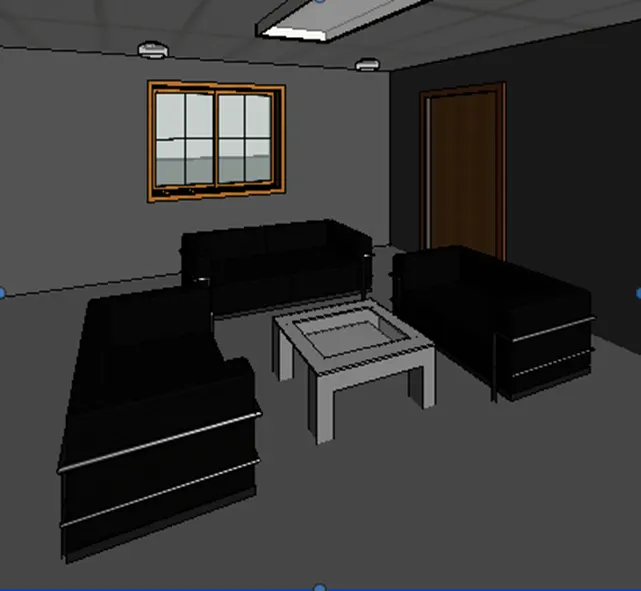
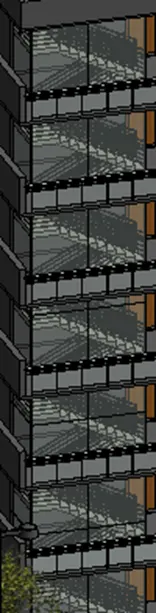
Curtain walls and staircase
Parking area
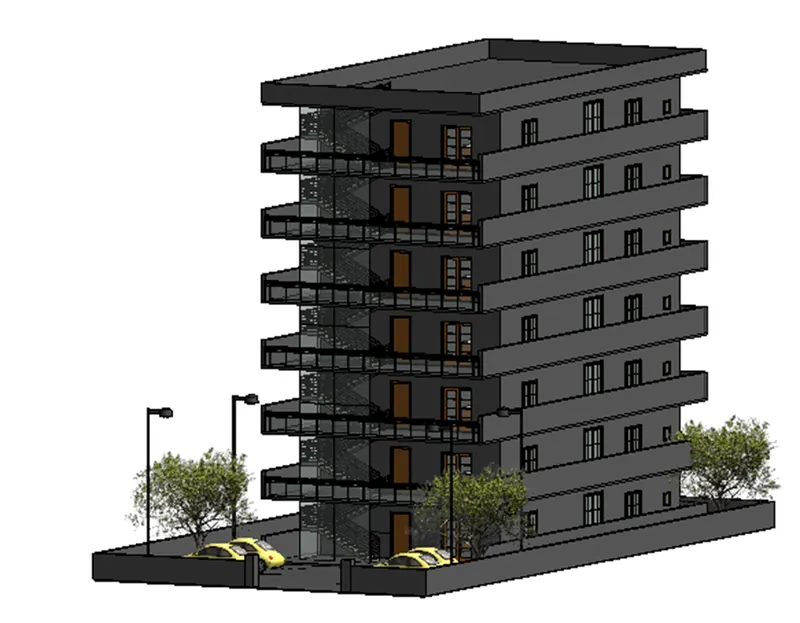
5):
Aim: To create a sheet template architectural and structural which include floor plan with annotation, elevation, and sections.
Introduction: To create a sheet template architectural and structural which include floor plan with annotation, elevation, and sections. By using Revit
Procedure:
Step 1:
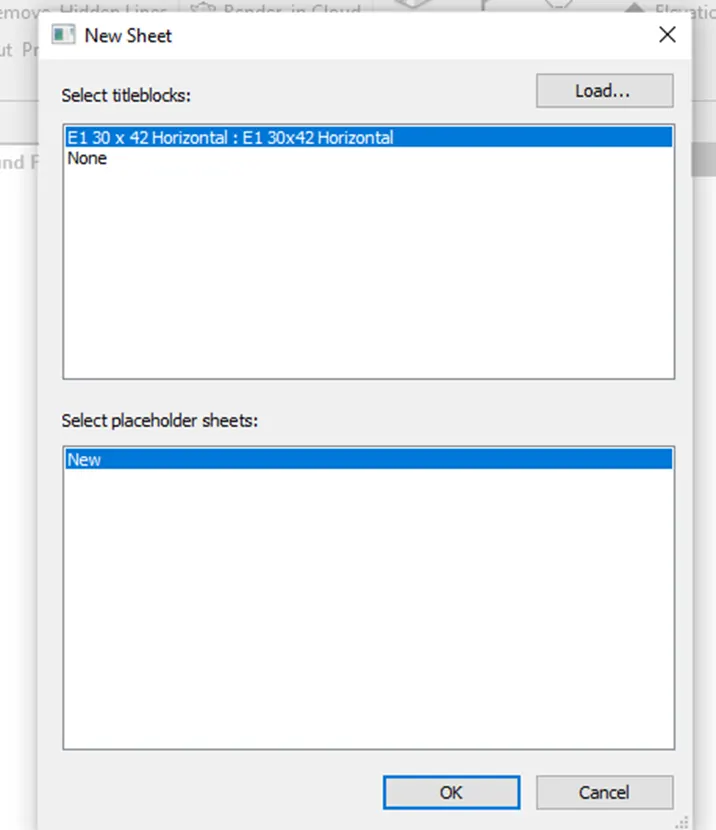
- From the property browser select the sheet option
- Click on the new sheet option click on ok
Step 2:
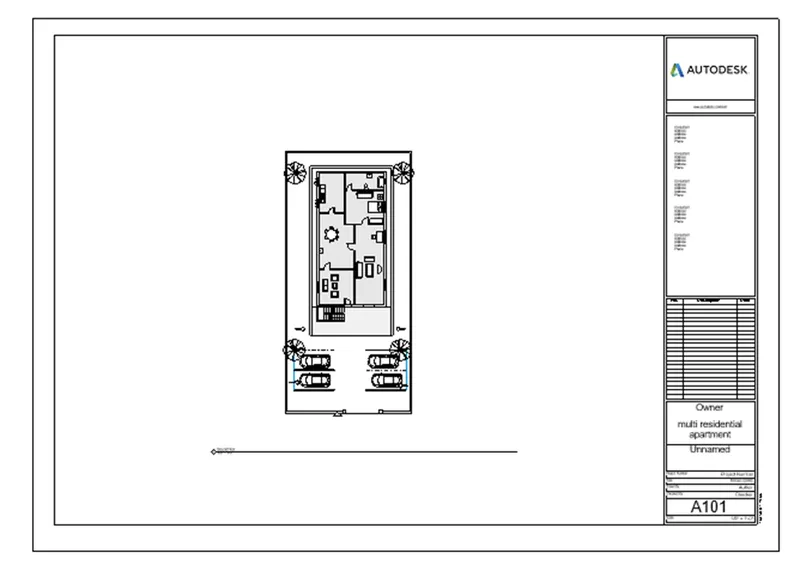
- Give the project name and sheet number.
- From the property bowser select the plan and place at the sheet
Step 3:
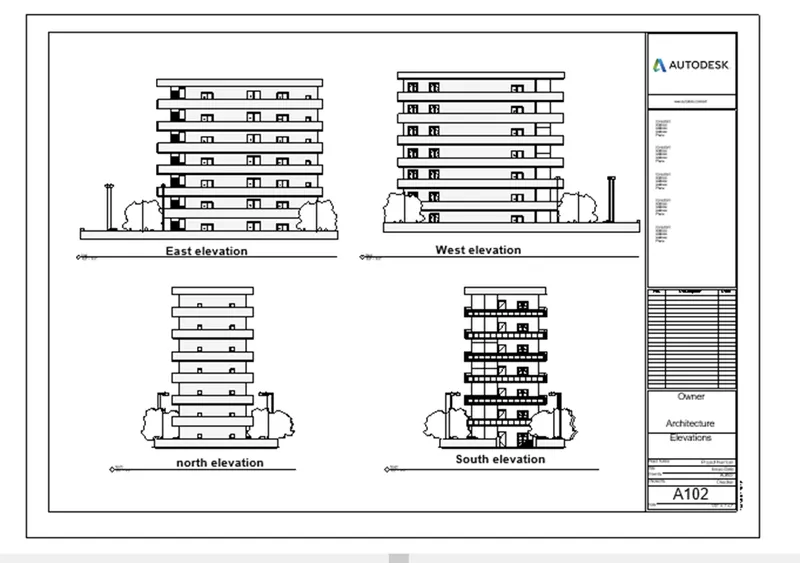
- Similliary follow as same procedure all the sheets
Elevations
Step 4:
Sections:
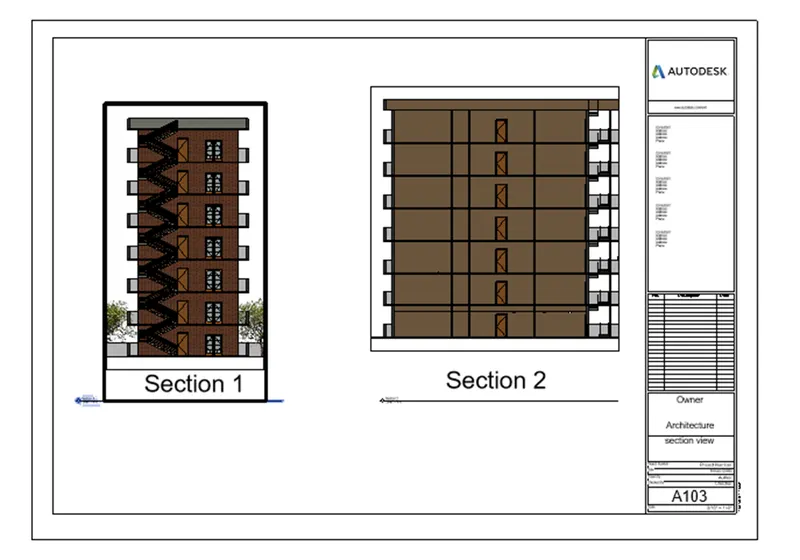
Step 5:
Structural plans:
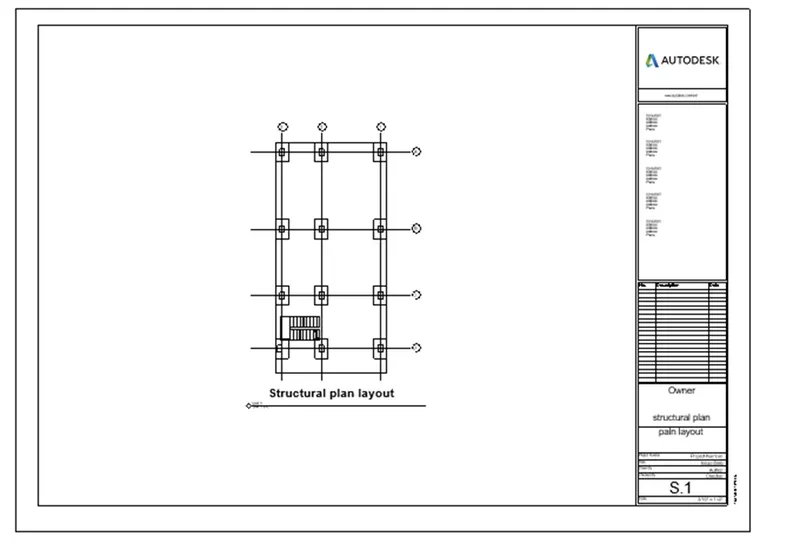
Step 6:
Structural elevations:
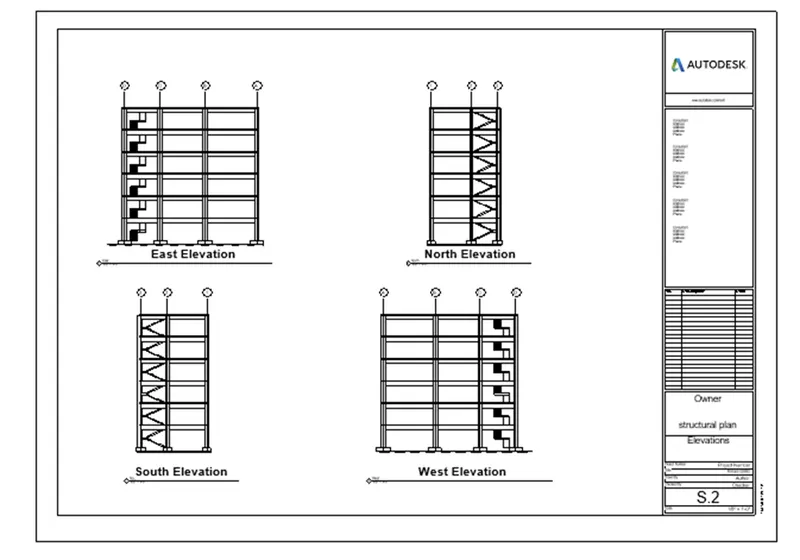
Step 7:
Structural sections:
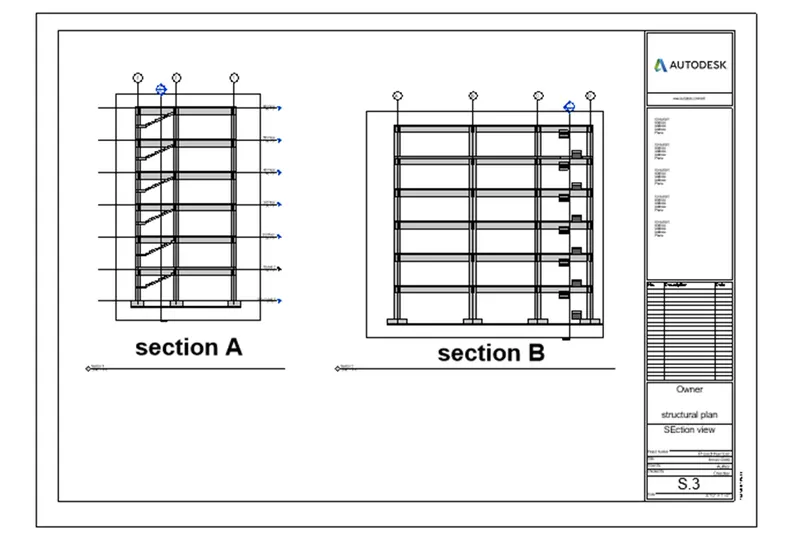
Result:
- A sheet template architectural and structural which include floor plan with annotation, elevation, and sections are shown.
6):
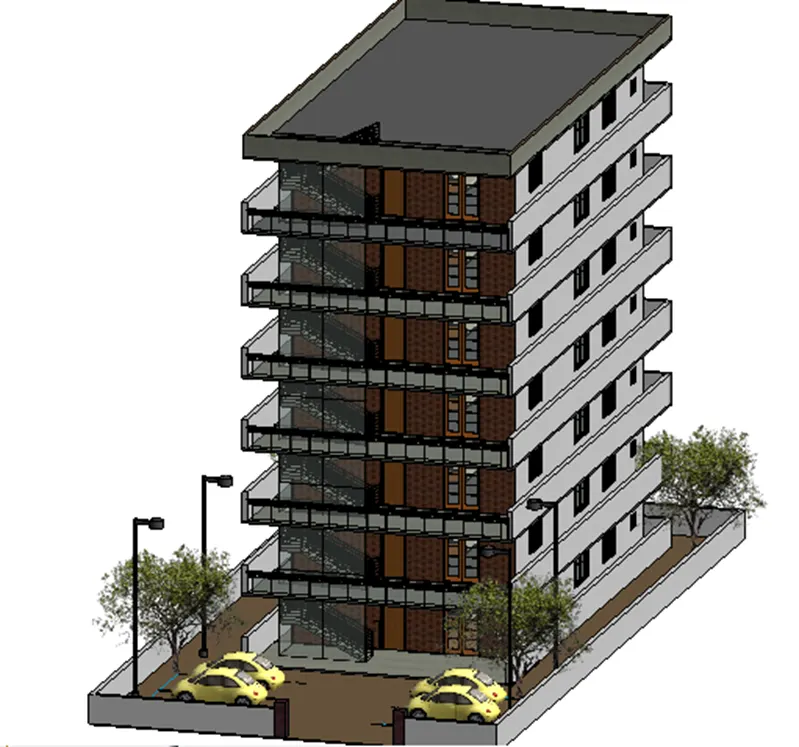
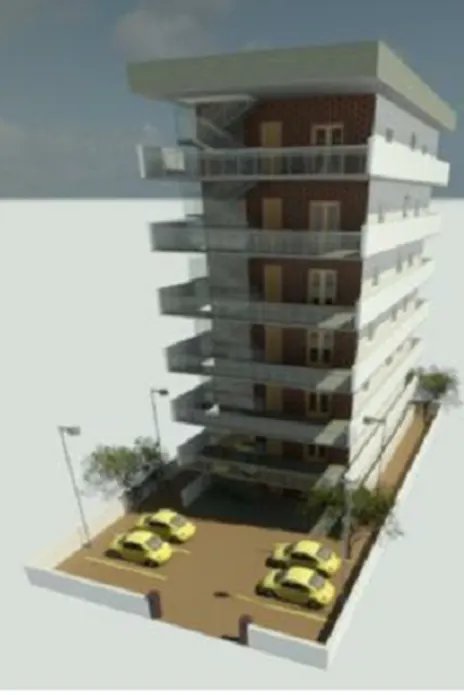
Aim: To create render images of 3D model and produced and include the rendered images to the drawing sheets.
Introduction: To create render images of 3D model and produced and include the rendered images to the drawing sheets. By using Revit
Procedure:
Step 1:
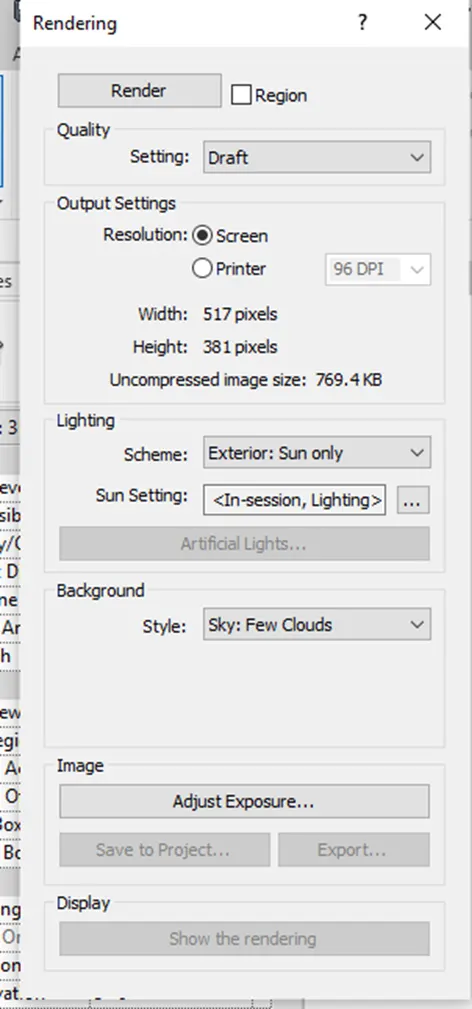
- From the view tab select the 3D view option from the create the camera view
- Select the rendering option set the quality setting
- Click on the render option for the rendering of image
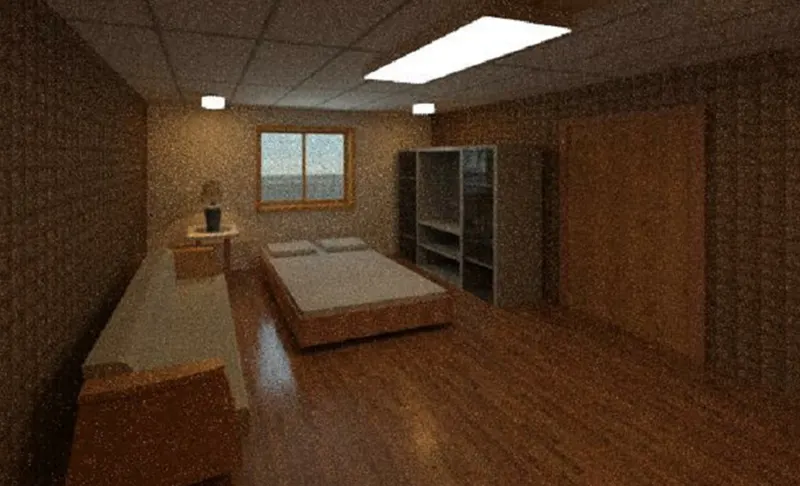
- Render image of bedroom
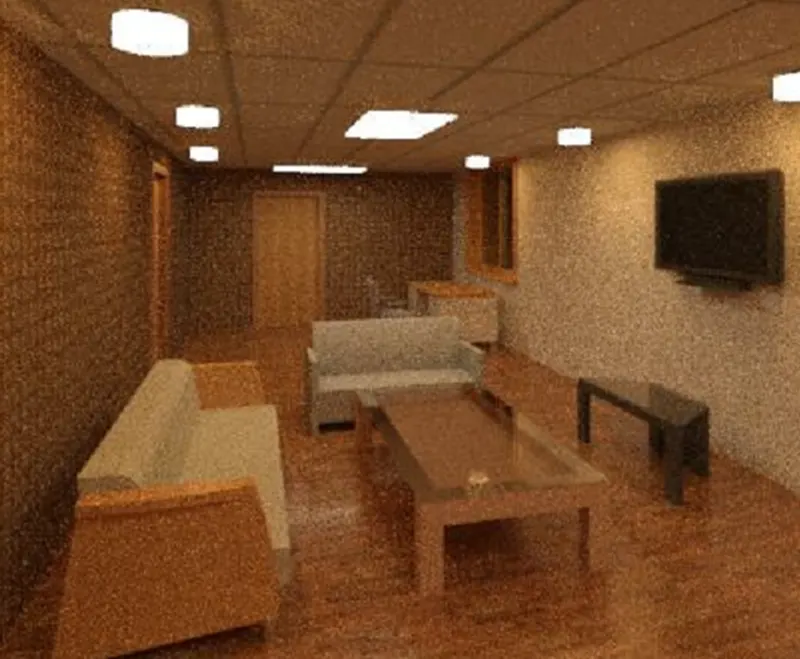
- Rendering image of living room
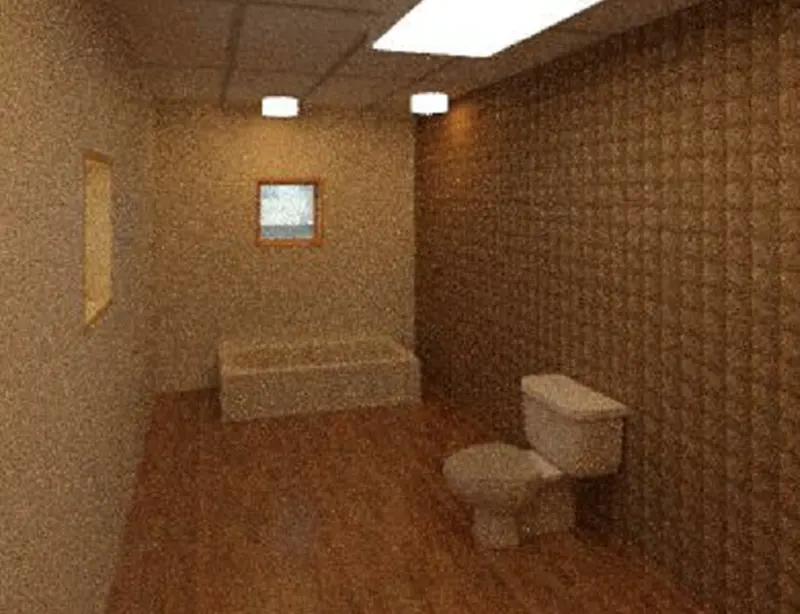
- Rendering image of bedroom
Step 2:
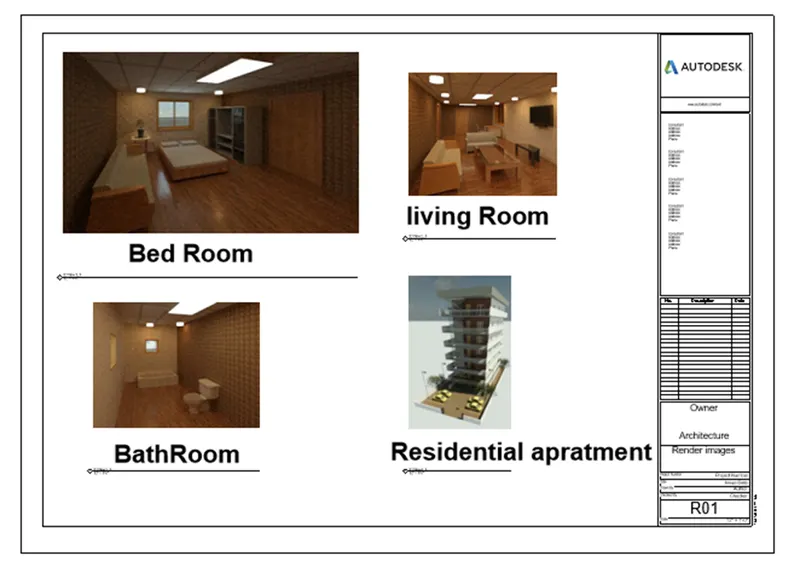
- From the property browser select the sheet option
- Click on the new sheet option click on ok
- Give the project name and sheet number.
- From the property bowser select the plan and place at the sheet
7):
Aim: To print the set of drawing sheet is created
Introduction: To print the set of drawing sheet is created. By using Revit
Procedure:
Step 1:
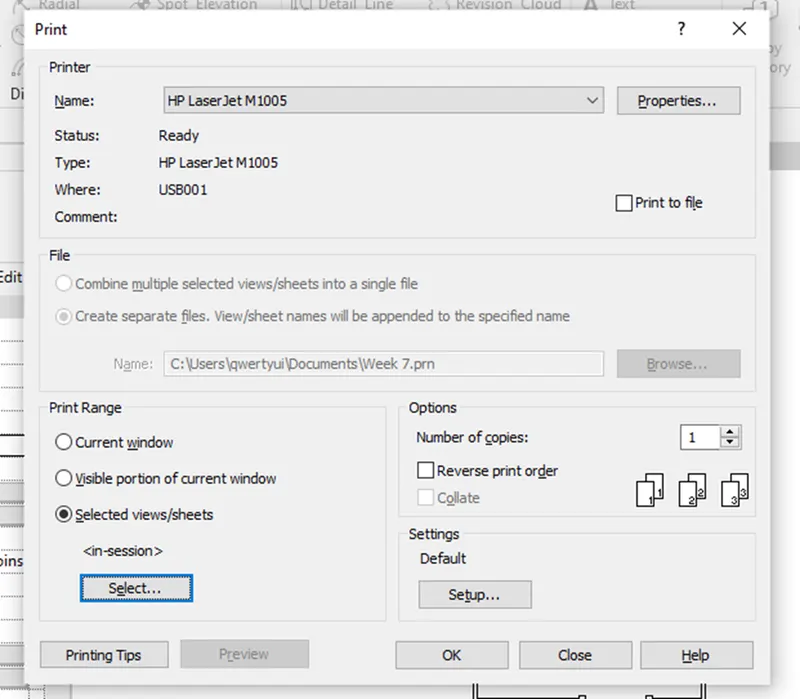
- Press ctrl and p from keyboard
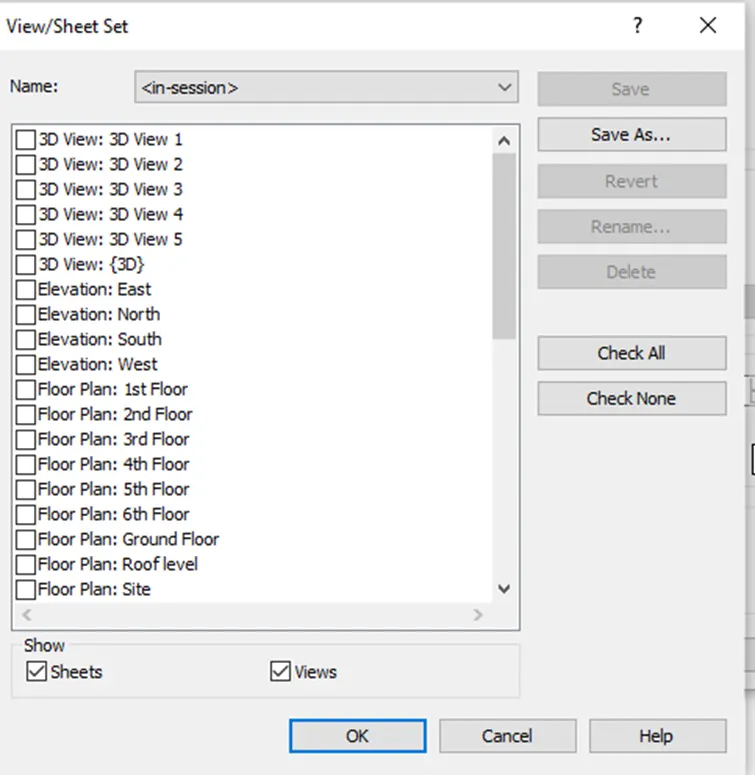
- A window will appears set the printer.
Step 2:
- Set the sheet and then click on print