Creating Architectural and Structural model with 3D rendering using REVIT
1.
Select the type of structure you want to build from one of the three below:
a. Multi-Unit Residential Apartment
b. Office Buildings
c. School
I select Multi-Unit Residential Apartment type of structure
2.
Aim
To give reasonable details for Geographic and Location of the Project.
Procedure
1. Location - Coimbatore
2. My building comes under residential category and is situated near the city.
3. My project is located 1km from highway
4. Distance between road and building is 9m
5. All regulations and limitations are satisfied for my building
6. Now open architectural new project
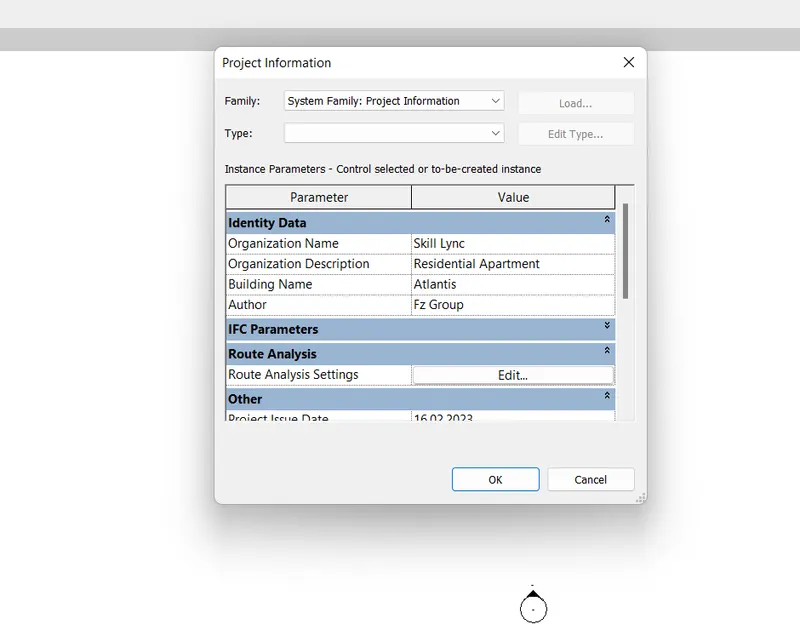
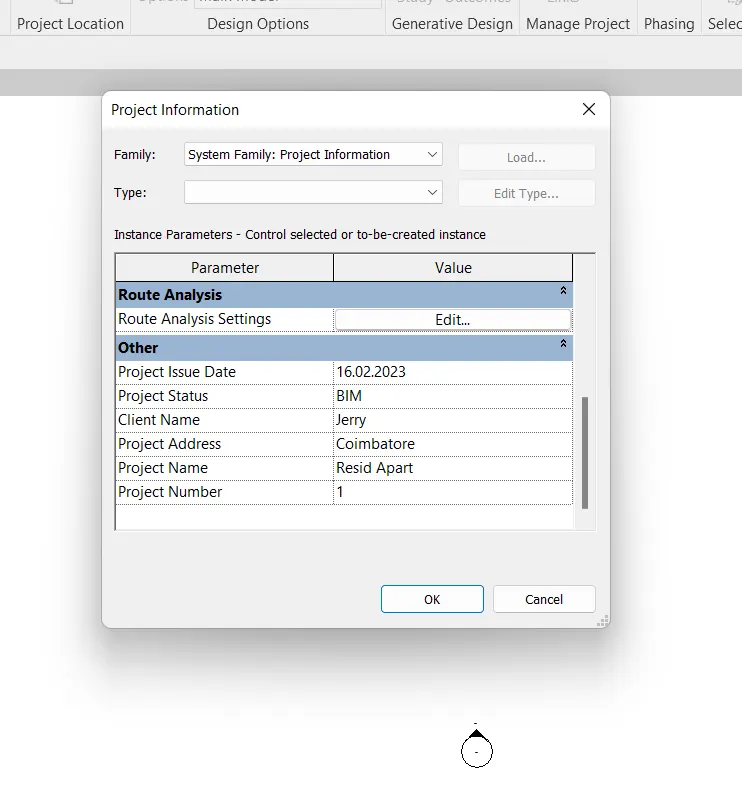
7. Go to manage tab and select project information
8. Enter the project details and below enter the project location and address
Result
All the regualtions and details of project are entered
3.
Aim
To create a structural model for the residential project and add all the structural elements
Procedure
1. Open a new project and open with structural template
2. Now under architecture tab create grids for your plan
3. Rename the grids as 1,2,3 and A,B,C
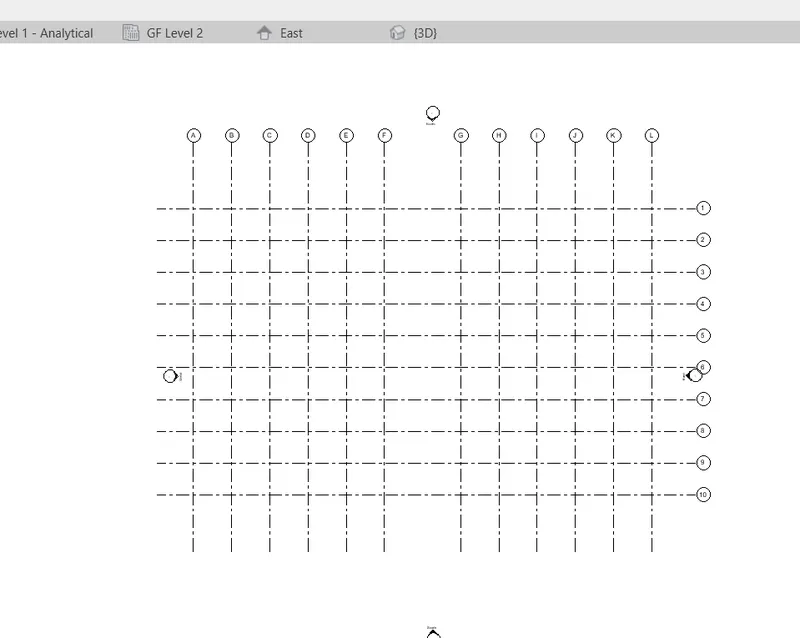
4. Select east elevation option and create levels as per our plan for 5 floors
5. Select foundation option under structure tab
6. Select isolated option and select 'at grids' option
7. Now select and drag all the grids
8. Now finish footing will be done
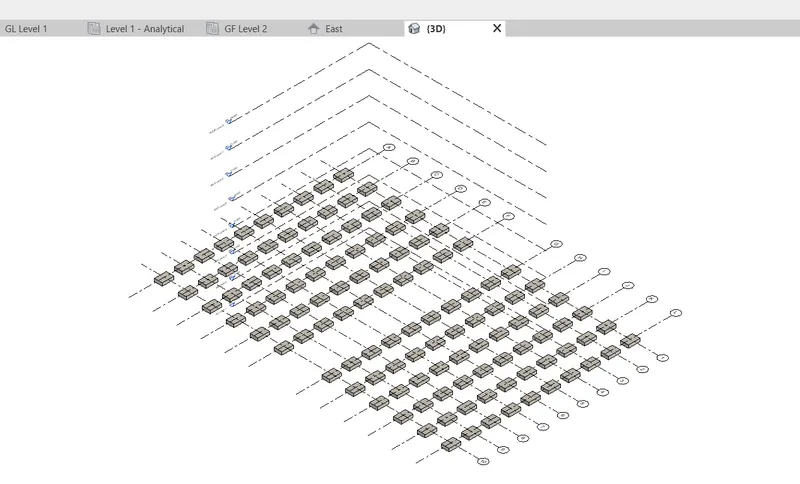
9. Now select column option in structure tab
10. At grids select all grids and give finish
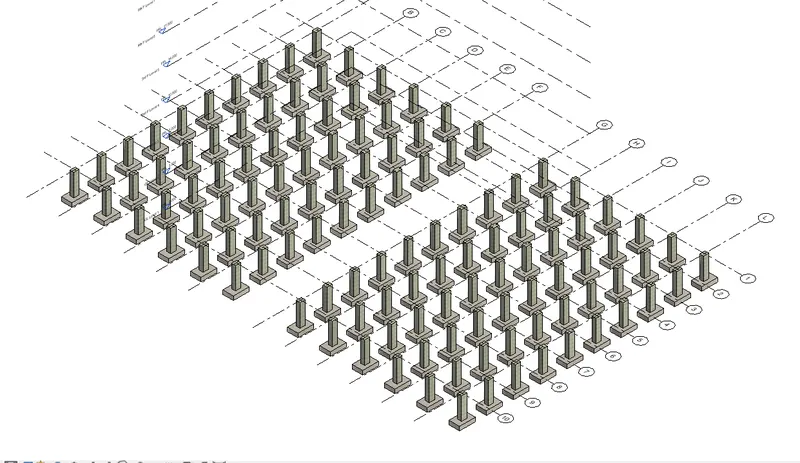
11. From left properties browser select top level as 5th floor level 7 for column
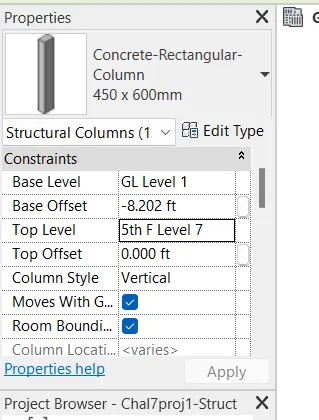
12. Give apply below
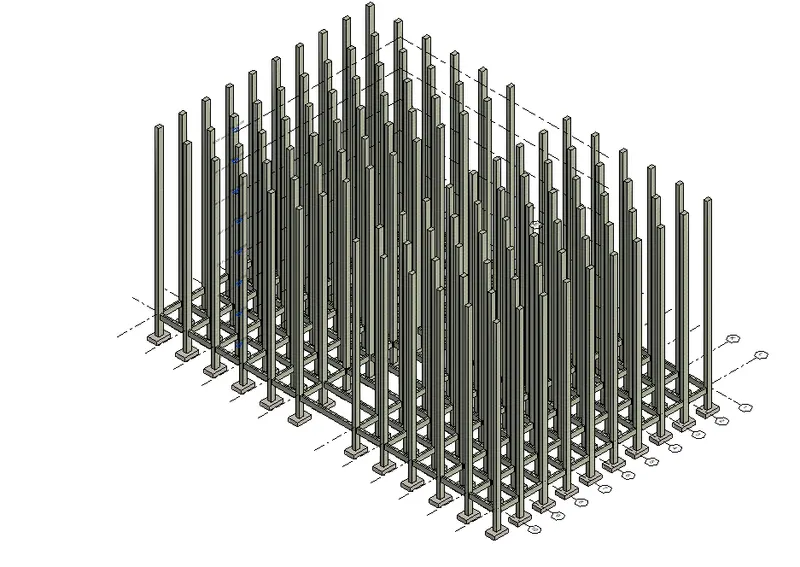
13. From level 1 select shaft option under structure tab
14. Provide rectangle shaft for lift and stairs
15. Then select beam option under structure tab
16. Select on grids option and select grids fully
17. Then finish and do it for each level up to level 7- 5th floor
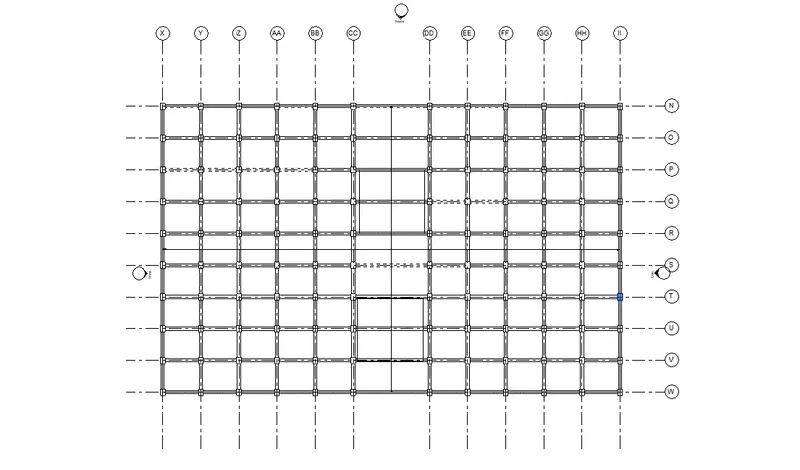
18. Start flooring select floor option structure tab
19. Select rectangle and drag from one end to another
20. Similarly create floor for each level
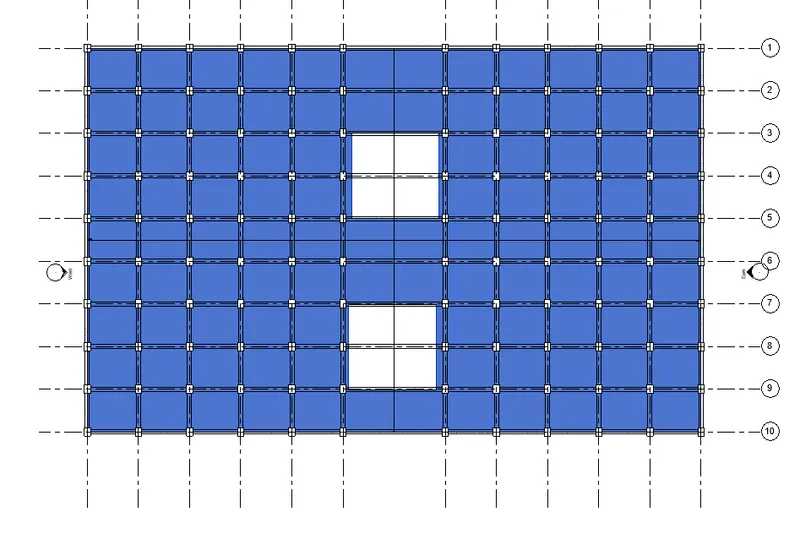
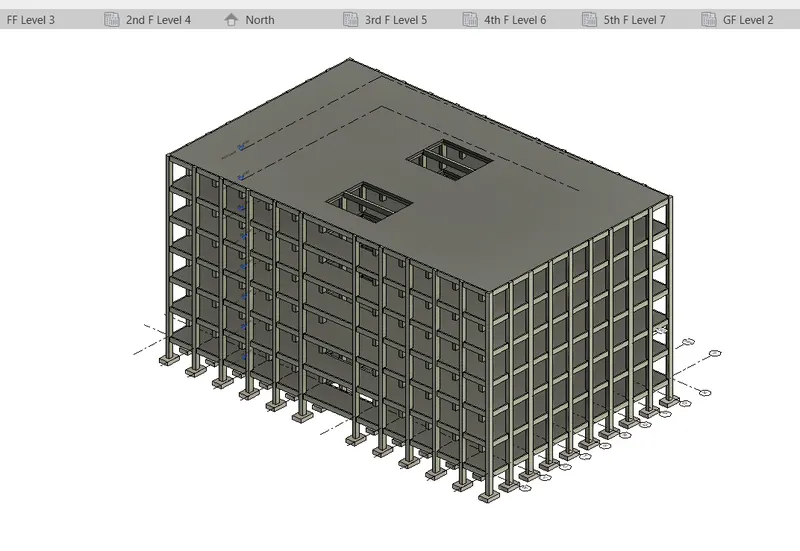
Result
Thus all the structural elements are added to the project
4.
Aim
To add all the required architectural components to the model
Procedure
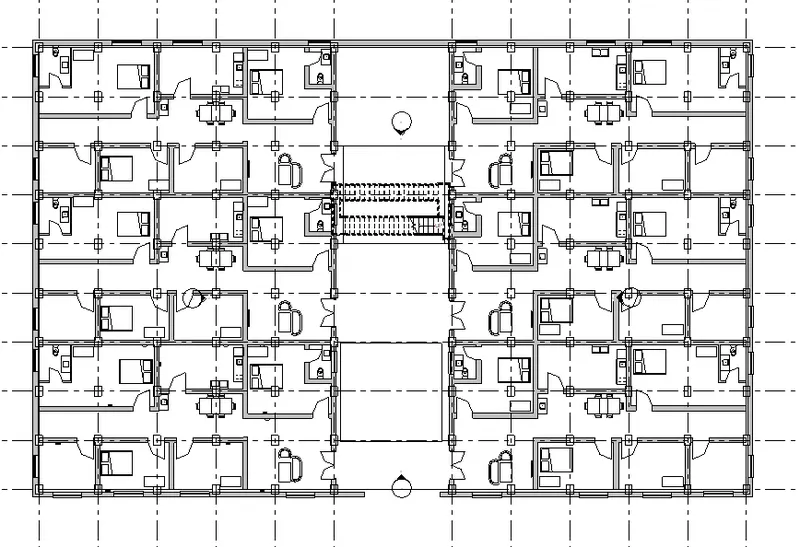
1. Add the interior walls to all the floors and seperate each house
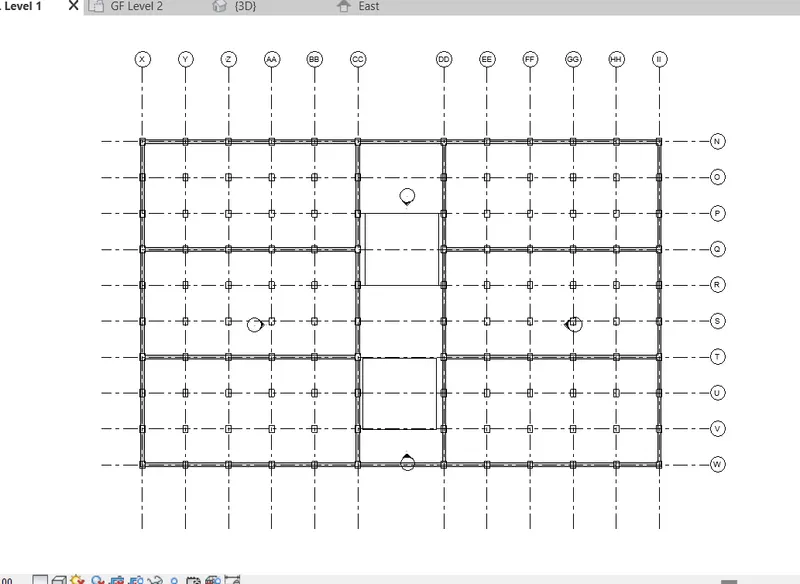
2. Now create all the interior walls
3. Create and seperate living room, bedroom, kitchen, toilet, dining hall
4. Create all to all the house and assign to each floor levels
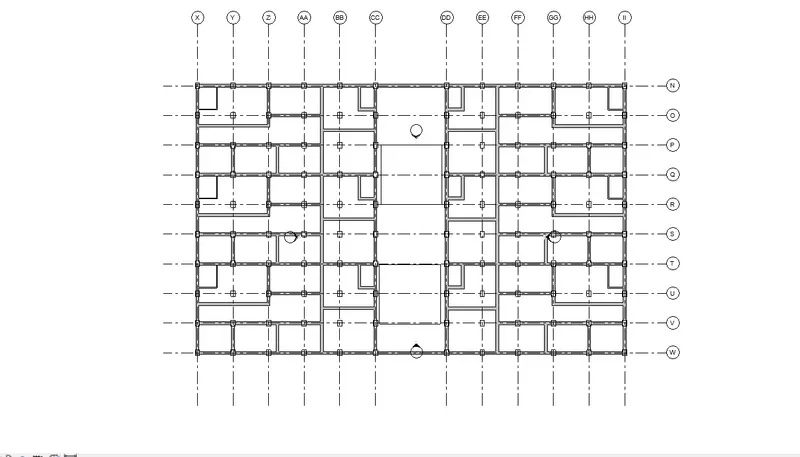
5. Now create doors for all the rooms in each houses
6. Copy all and assign to selected levels and paste it
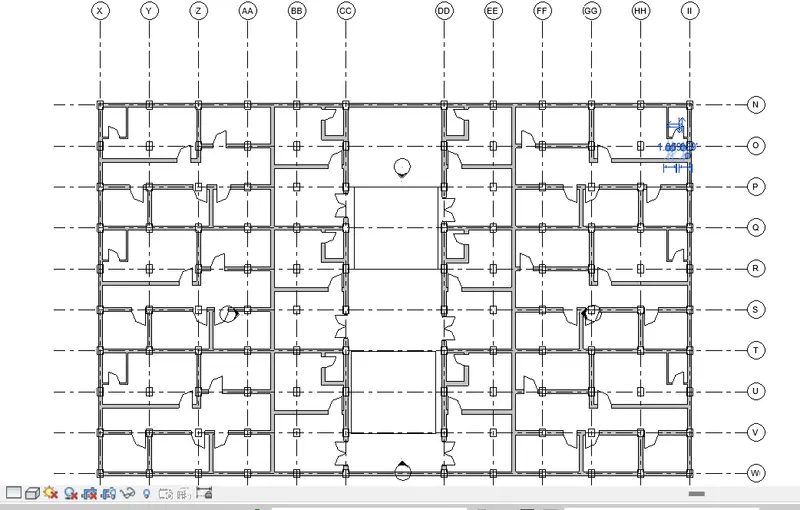
7. Now add windows all side
8. copy all windows and paste it to all the floors
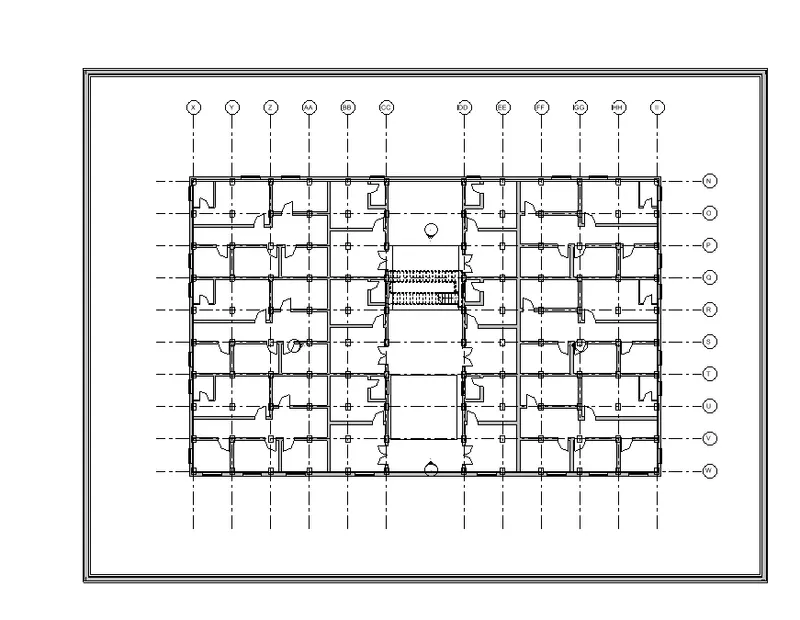
9. Now add the components like bed, sofa, furnitures, kitchen set, toilet, etc to the model
10. Copy all to the clipboard
11. Go to each floor and give Aligned to current view
12. All the furnitures will be placed same like in the ground floor
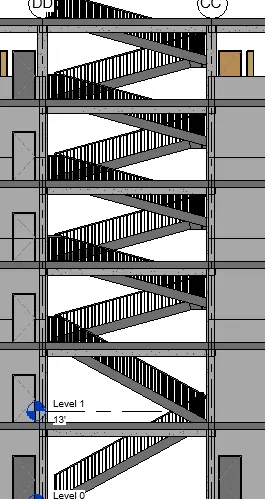
13. Add stairs inside the shaft and assign to till 4th floor
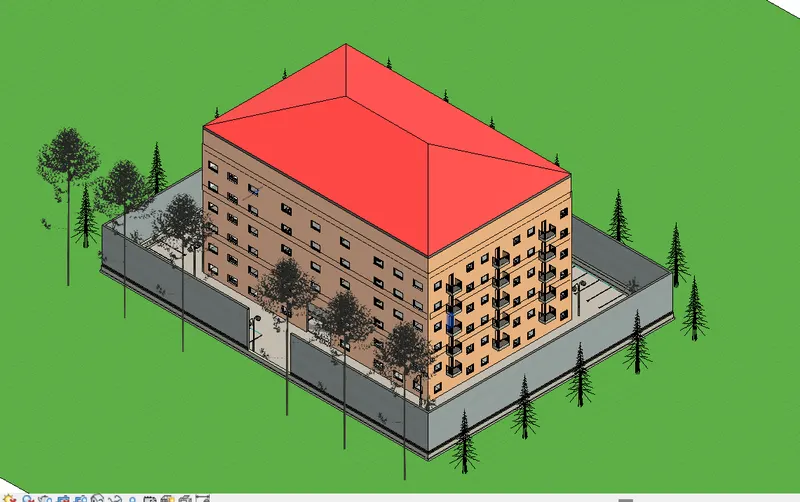
14. Then create compund wall outside the building and openeing entry
15. Then provide parking bays
16. Then select plants,trees place it around the building
17. Then provide street light
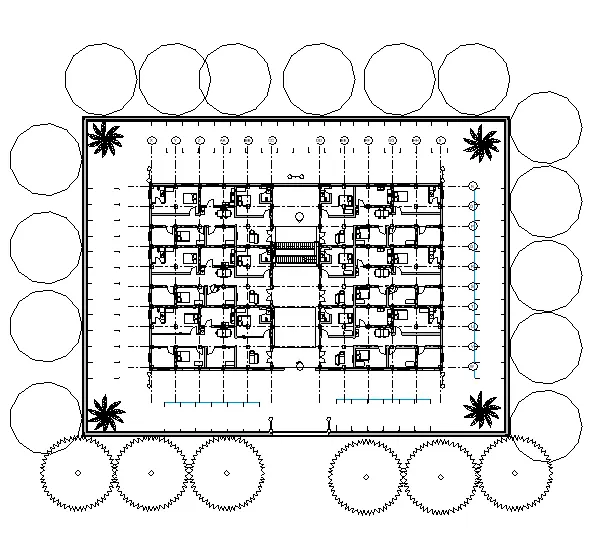
18. Then create topographical surface under massing and site option
19. Go to modify tab and select paint option , then paint walls and roof
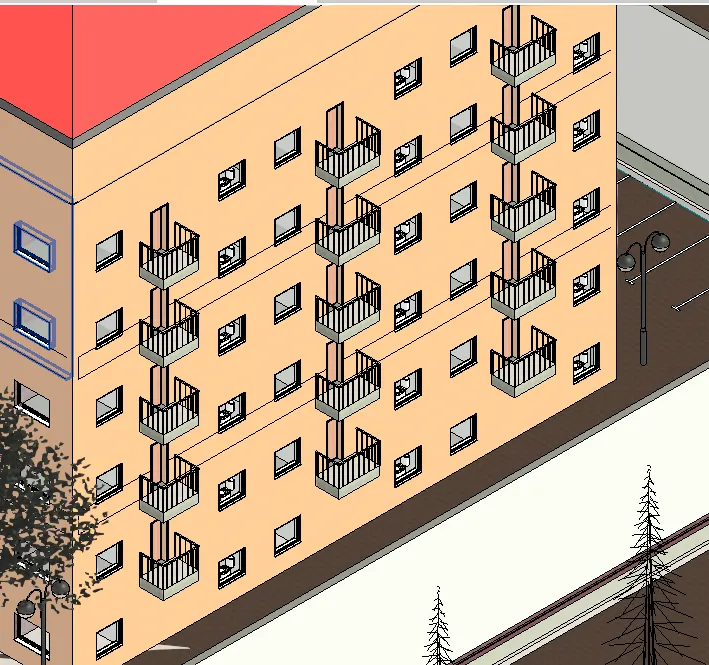
20. then add balcony to the houses by creating floor and rails
Result
Thus all the architectural elements are added to the model
5.
Aim
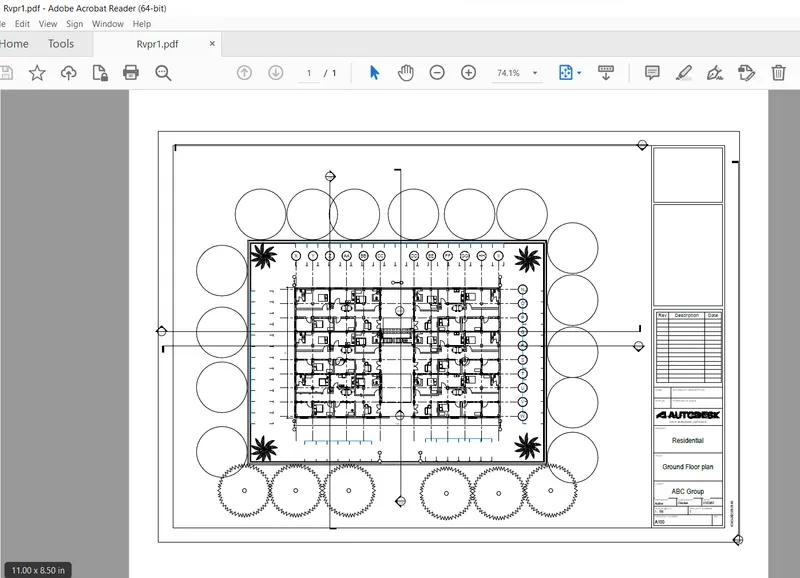
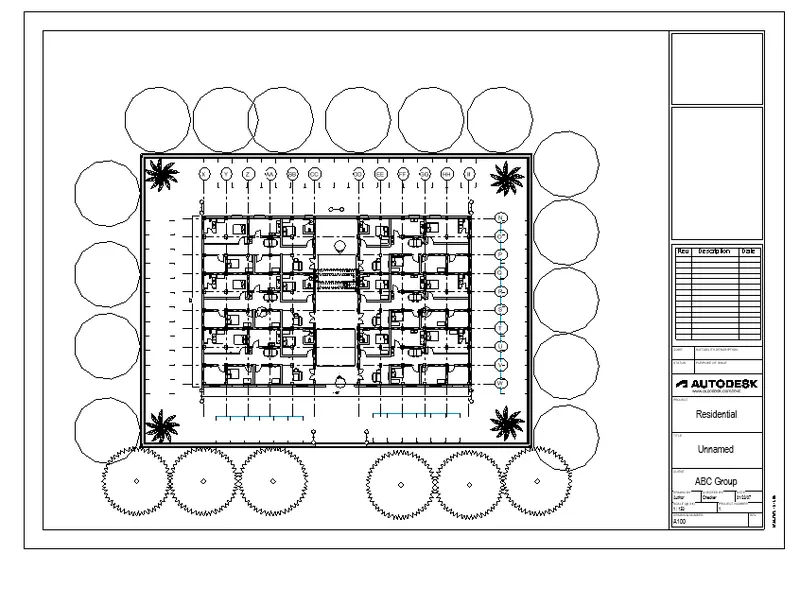
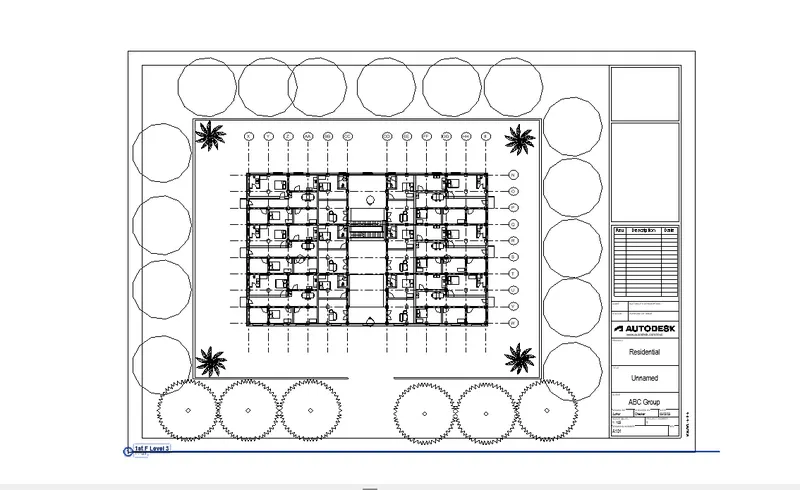
To provide the set of drawings for model in the sheets with following views
Procedure
a. Floor plan with annotations
Ground floor
First Floor
Second Floor
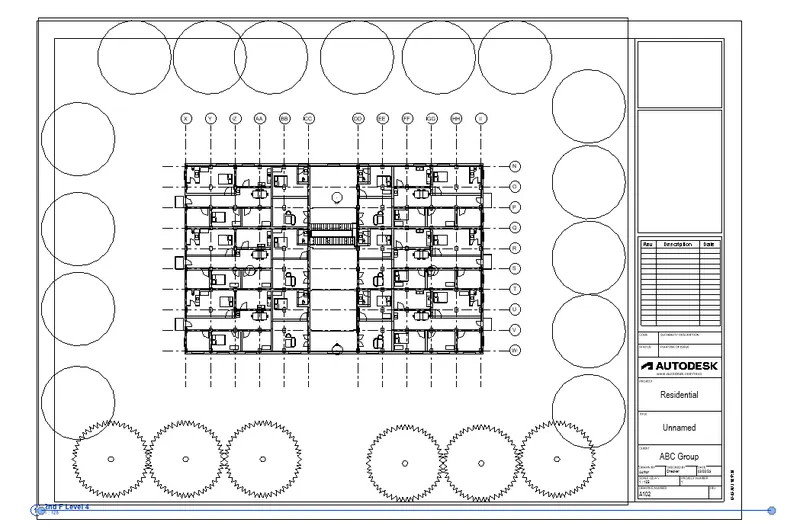
Third Floor
Fourth Floor
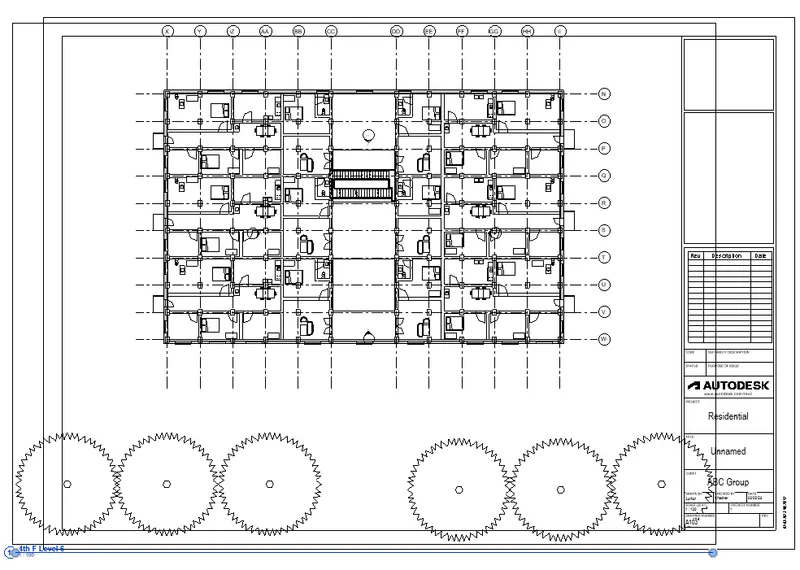
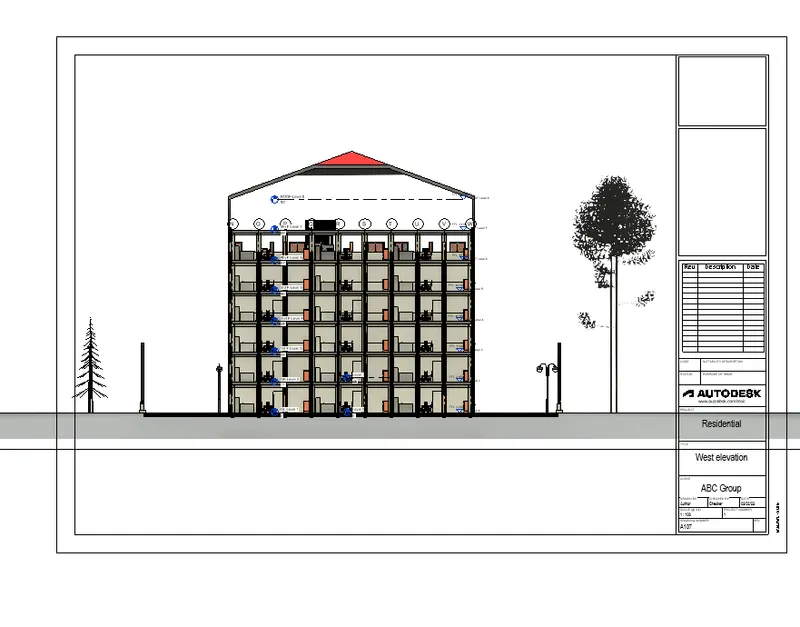
b. Elevations
East
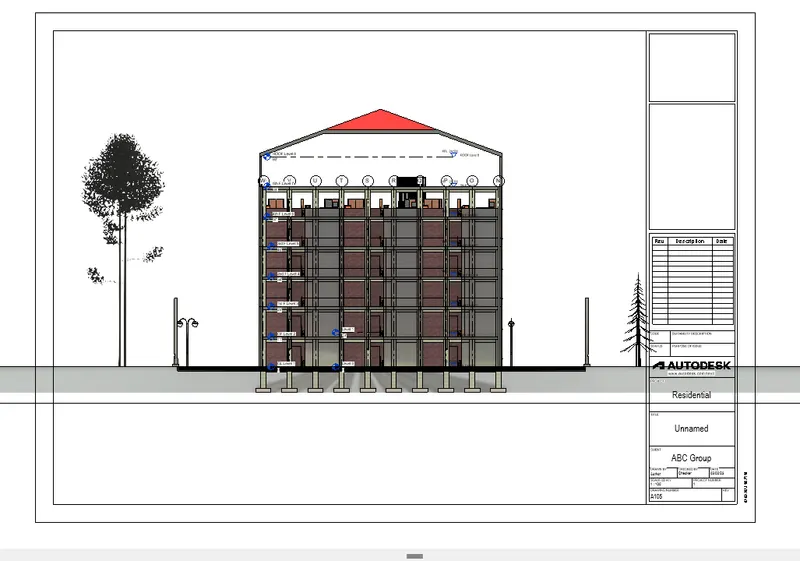
North
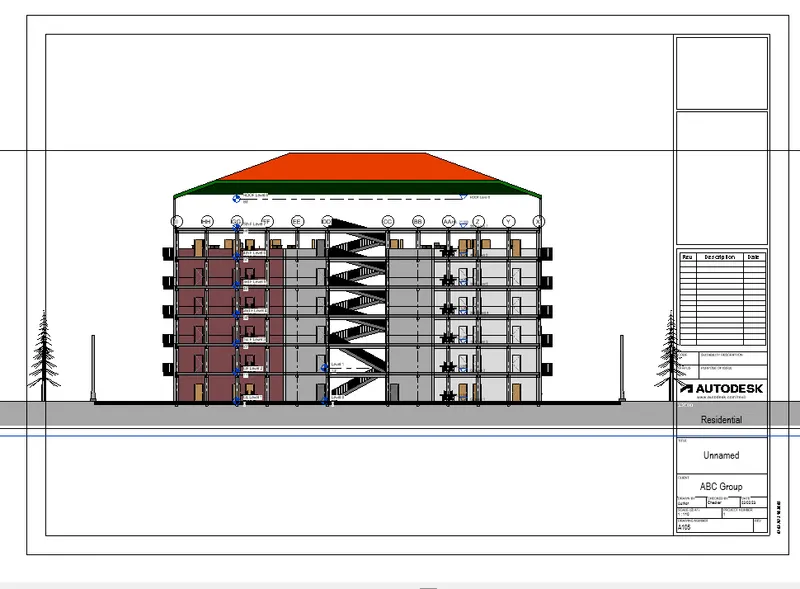
South
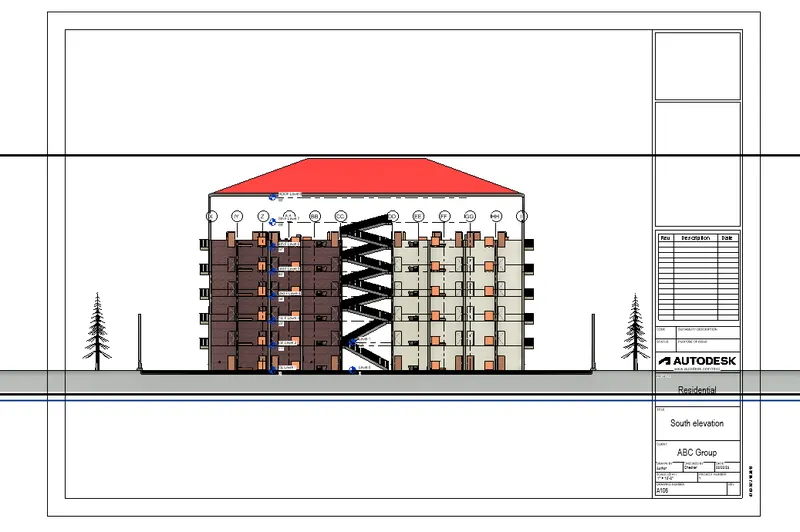
West
c. Sections
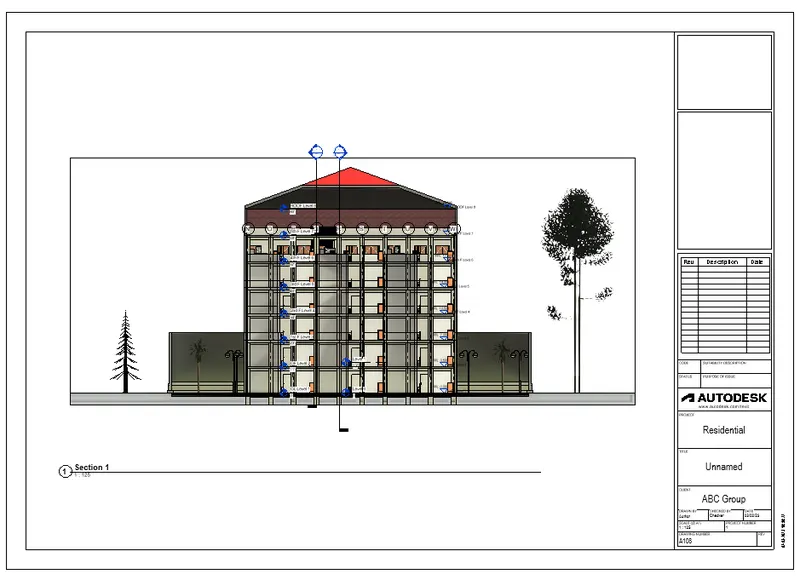
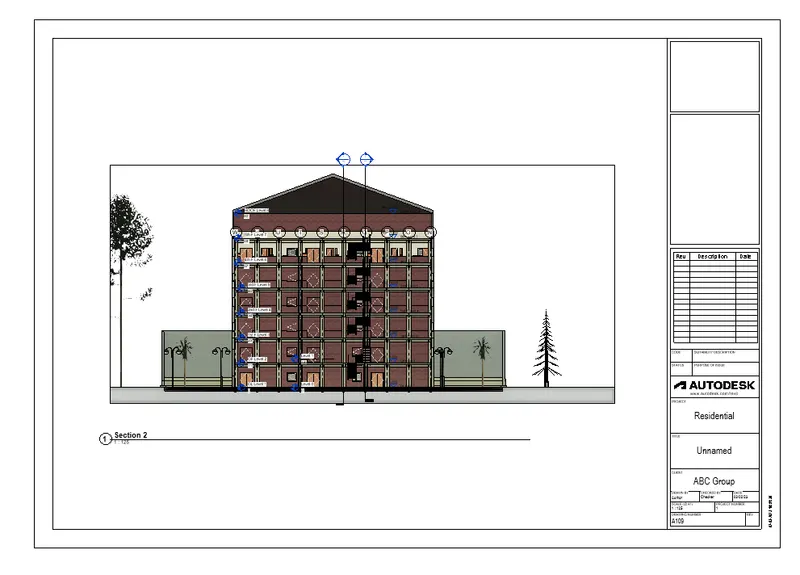
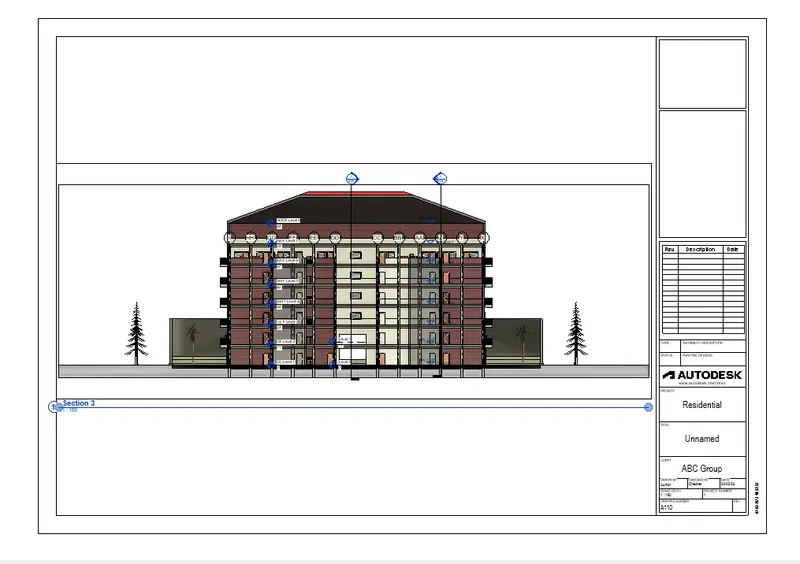
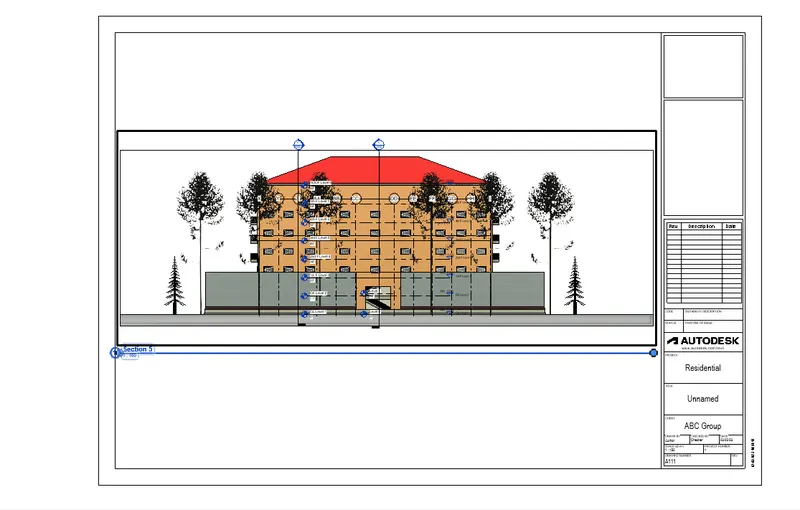
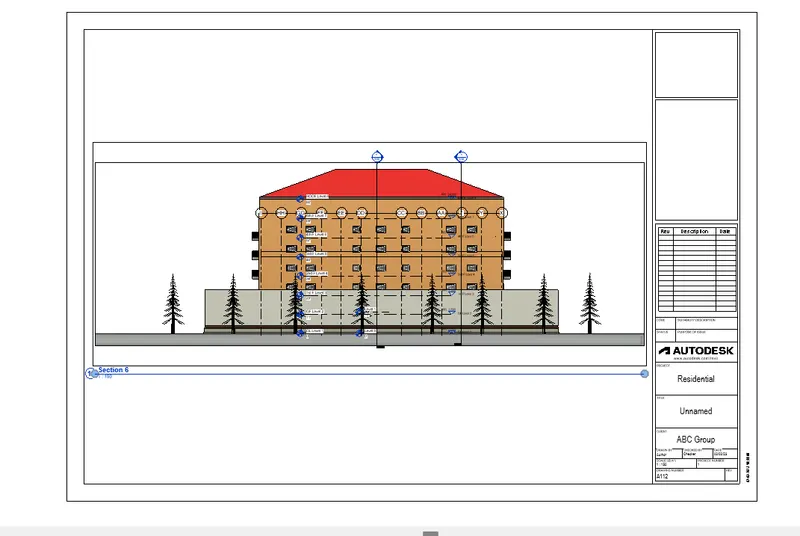
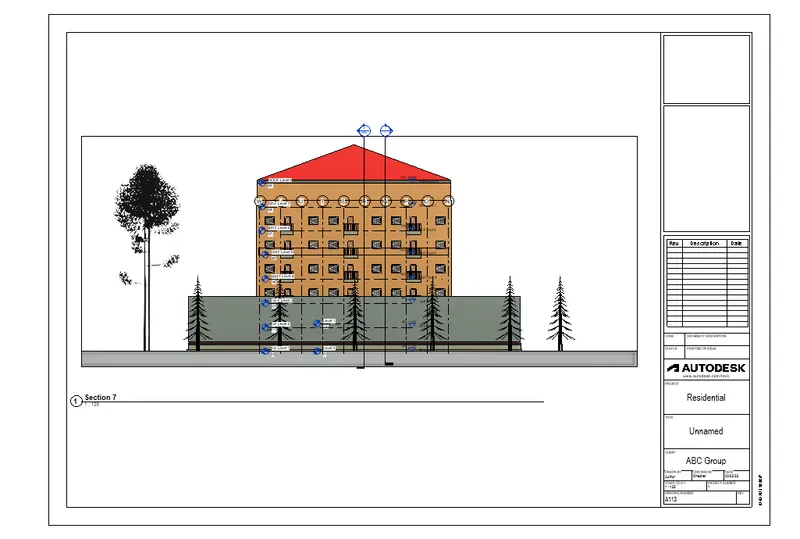
Result
Thus created the sheet templates with the appropriate views for floor plans, elevations and sections
6.
Aim
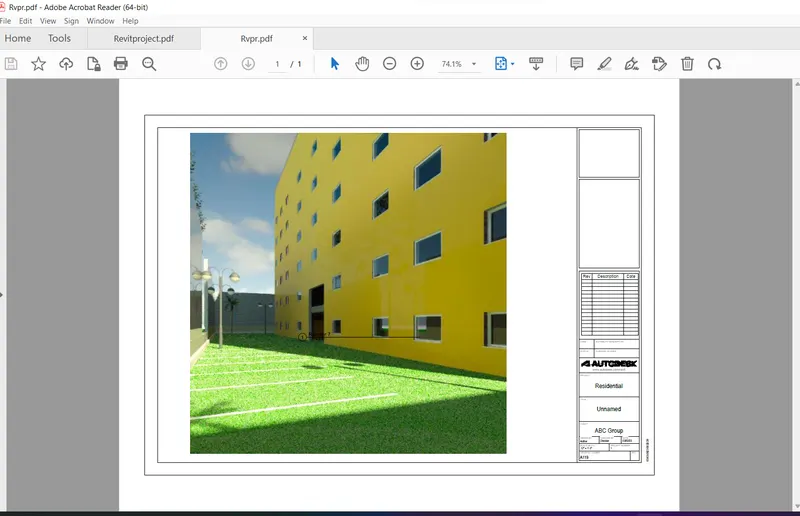
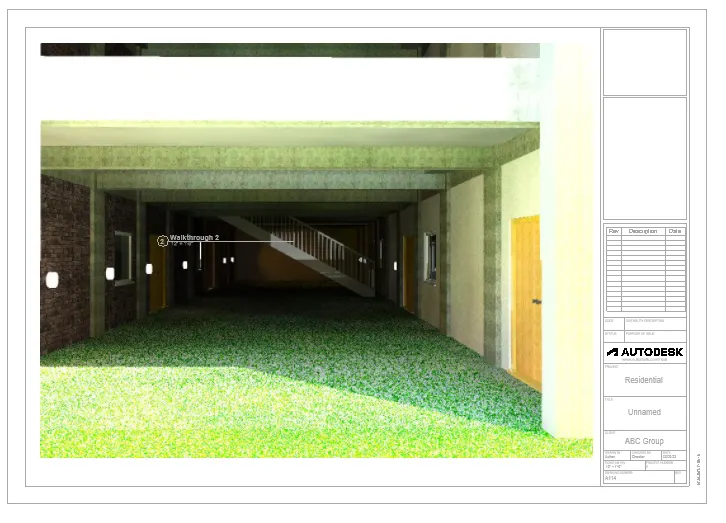
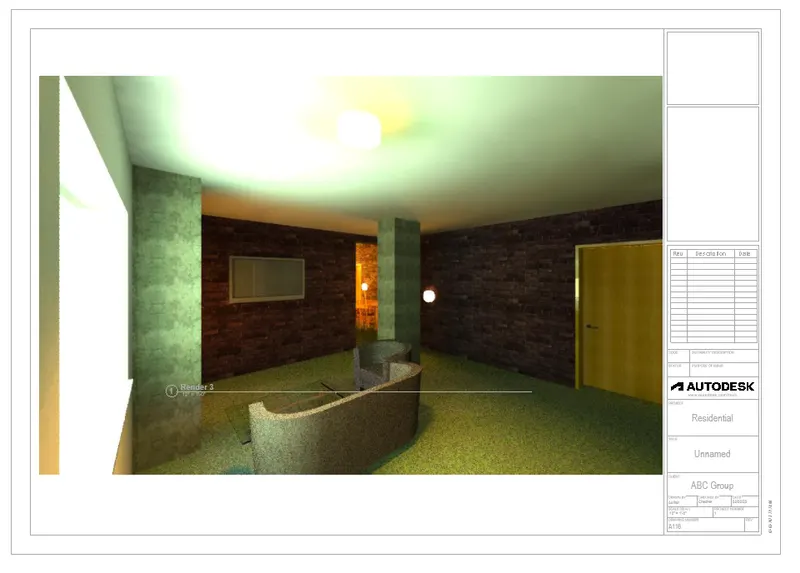
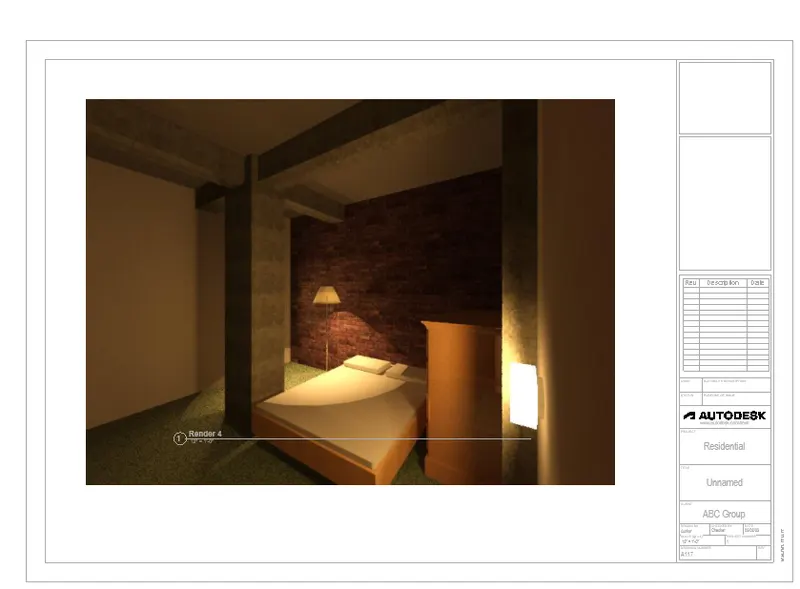
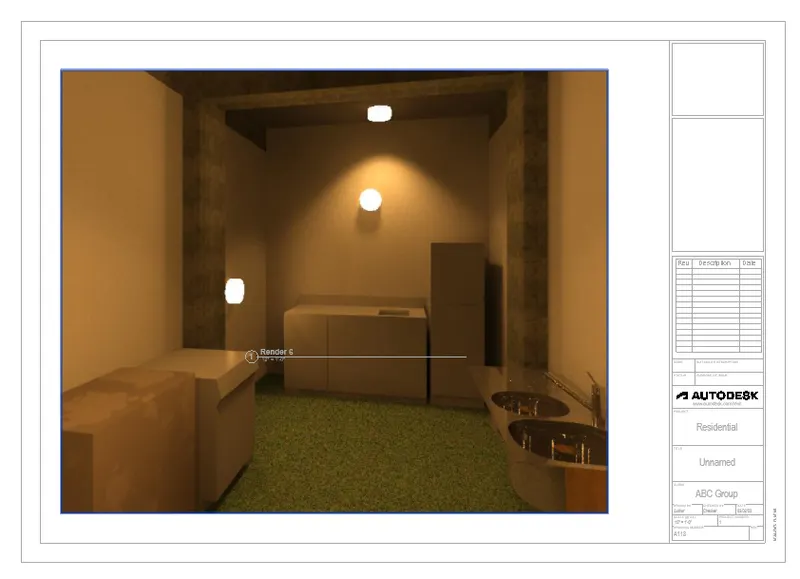
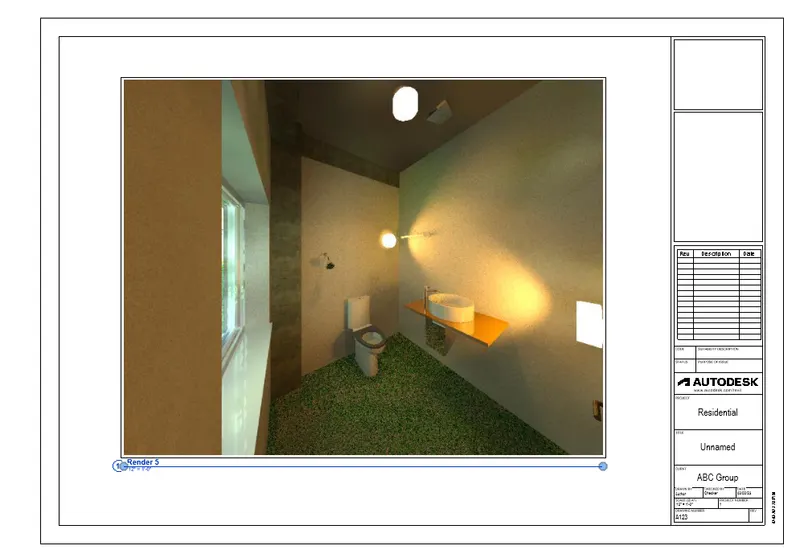
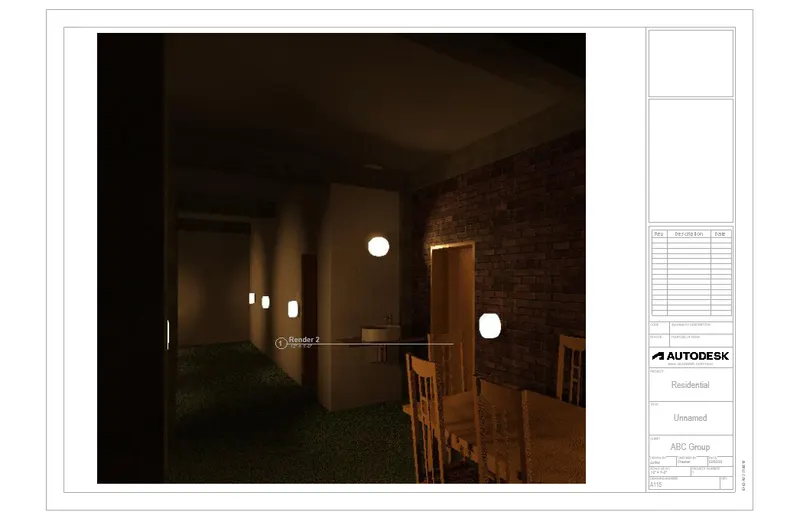
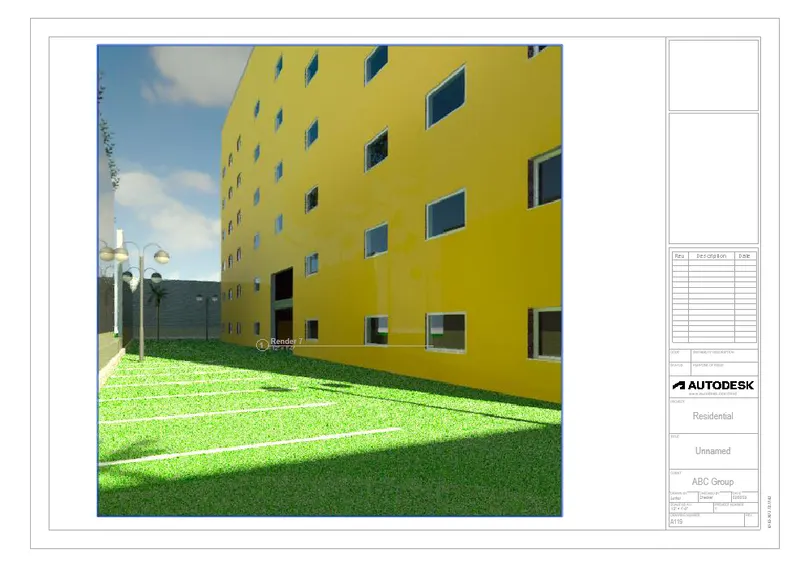
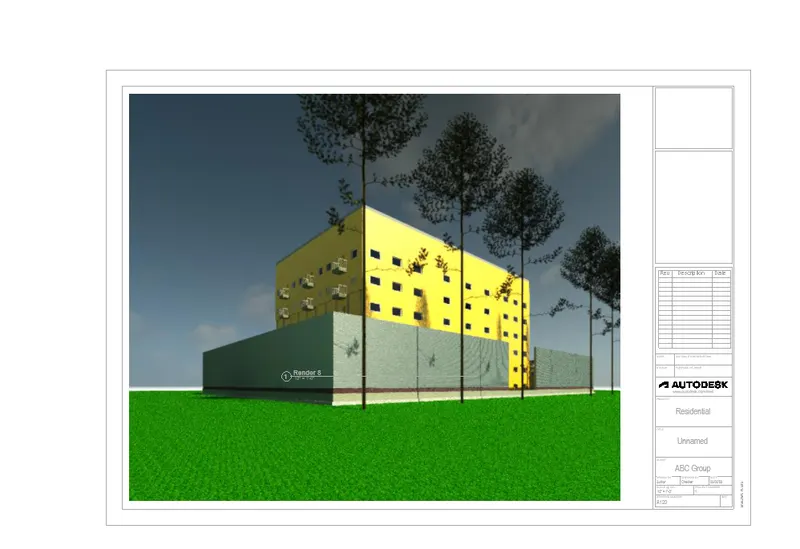
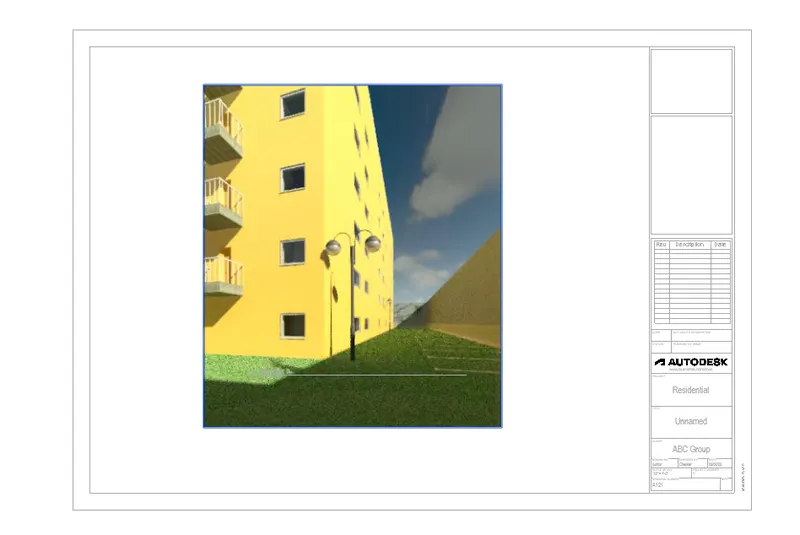
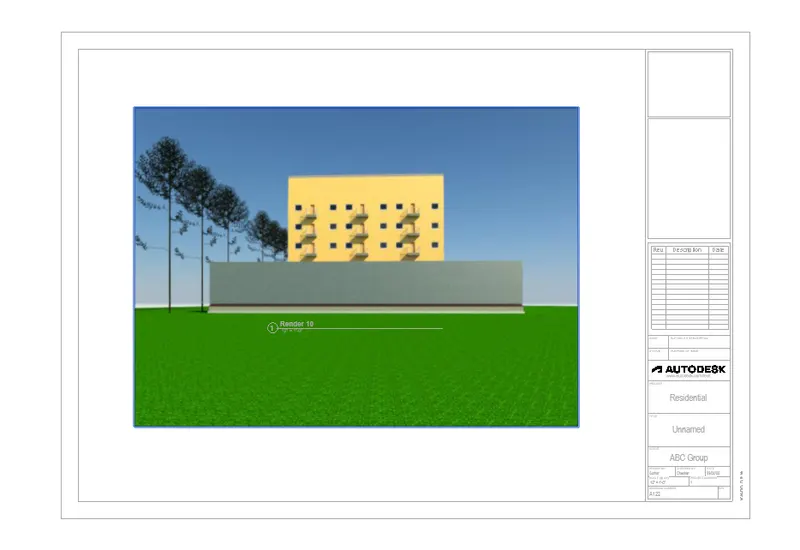
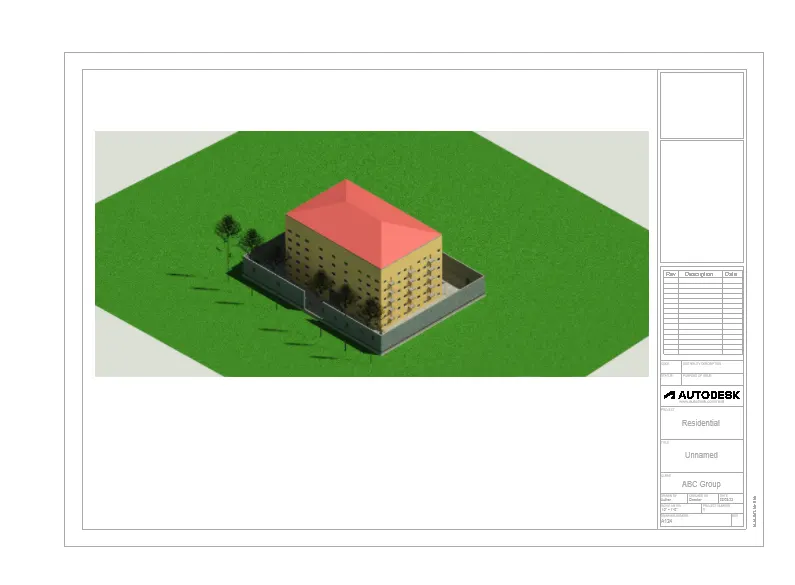
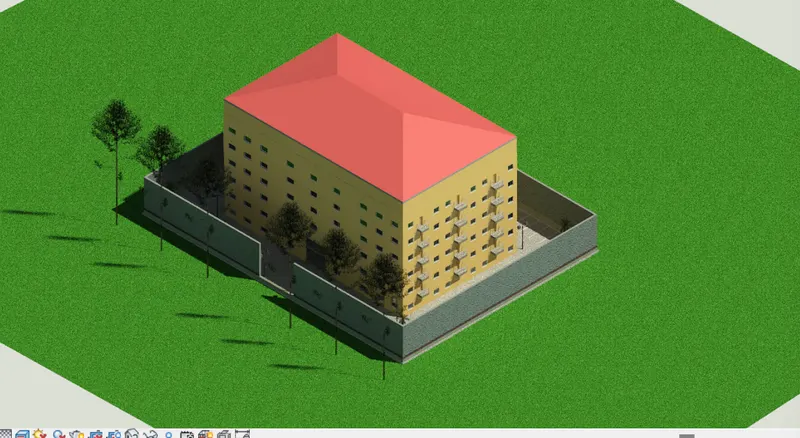
To use render option and add rendered 3d images to the sheet
Procedure
1.Click on camera in 3d view
2. Create various views of rooms and exterior elements
3. Click on each view and render the view with adjust the exposures
Entrance
Living Room
Bedroom
Kitchen
Toilet
Dining Hall
Result
Thus using the render settings all the images rendered and added to the sheet
7.
Print the set of drawing sheets created