Creating Architectural and Structural model with 3D rendering using REVIT
1) Select the type of structure you want to build from one of the three below:
a. Multi-Unit Residential Apartment
b. Office Buildings
c. School
Ans:
In this project, I would like to model OFFICE BUILDING.
2) Assume reasonable assumptions for geographic and location details for your project modelling. Based on assumptions and the type of structure selected identify the modelling requirements from NBC.
Ans:
According to the NATIONAL BUILDING CODE
our building is SAFE
Because we have Given safe footing, beams, columns, Slabs floors to the structure.
And According to the Architectural assumptions, We have provided the Best natural light to our building.
Our building is 95% perfect in all aspects.
A. Height Limitations:
As per NBC 2005, Clause C-2.5, the height of the building shall not exceed 15m. But is is Commercial building, So it is safe.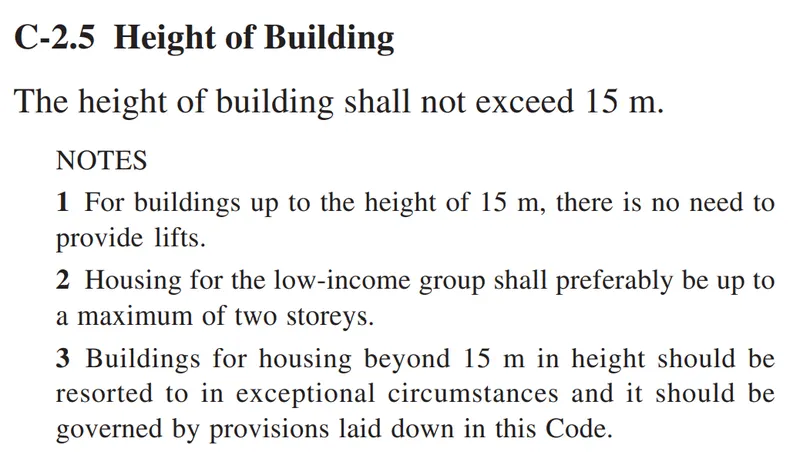
Hence, it follows NBC guidelines.
Our building height is safe in height aspect.
B. Wall height:
According to NBC 2005, c-F.3.4, the minimum height of the room and spaces should be:
- Habitable room - 2.75m
- Kitchen - 2.6m
- Bath/ Water closet - 2.2m
- Corridors - 2.1m
In the case of the sloping roof, the average height of roofs for habitable rooms shall be 2.75m and the minimum height at eaves shall be 2.1m.
C.Thickness based on fire life and safety:
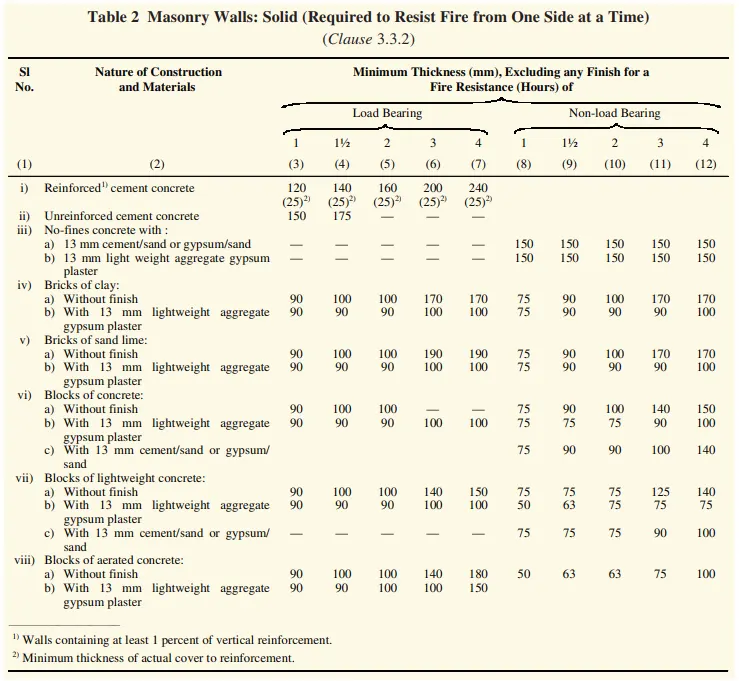
The thickness for the masonry wall is given in table 2 of the fire and life safety section of NBC 2005:
D. Passageway requirements:
As per NBC 2005, table 1:
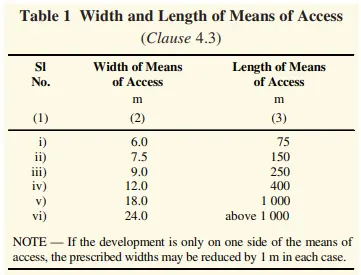
Hence, it follows NBC guidelines.
3) Using the structural model, include the following components based on the type of structure selected
a. Foundation – Isolated / Wall/Matt Foundation
b. Columns
c. Beams Connected to Columns
d. Roof Framing/ Truss
e. Floor / Decks
f. Floor Openings for Elevators and Stairs
Ans:
AIM: To create the structural model of the office building with the required specifications.
INTRODUCTION: While starting the model of the building, First we need to model the structural model according to the site, load, and seismic conditions.
In this office building we should model the following elements:
a. Foundation – Isolated / Wall/Matt Foundation
b. Columns
c. Beams Connected to Columns
d. Roof Framing/ Truss
e. Floor / Decks
f. Floor Openings for Elevators and Stairs.
And then we need to collaborate with an architectural model to model the architectural elements:
PROCEDURE:
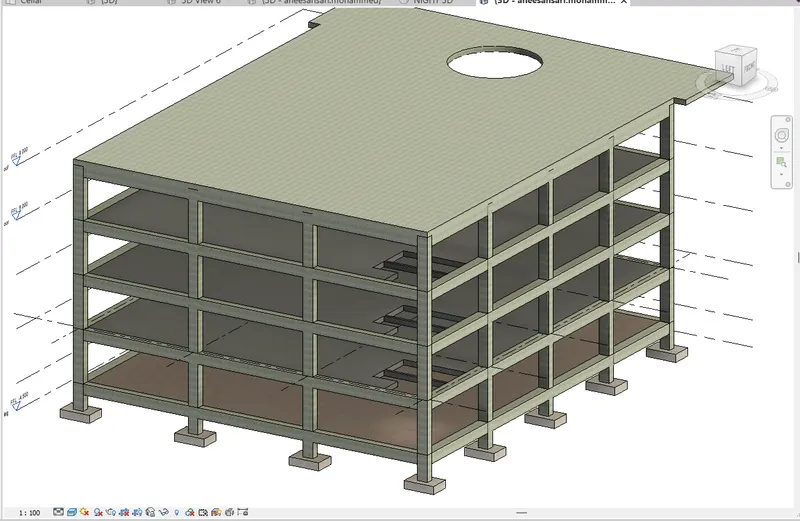
First, create the required levels with appropriate heights and depts.
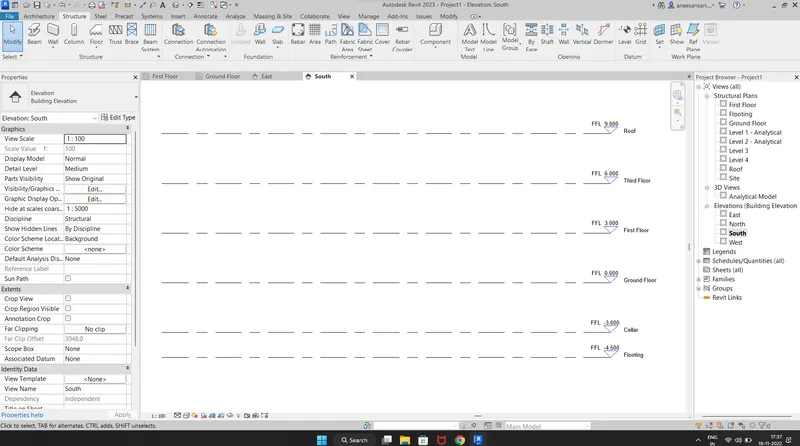
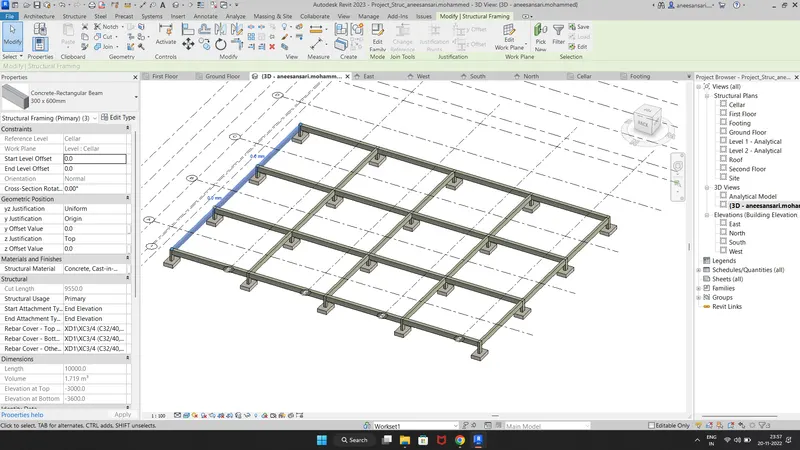
Create required footings and footing columns.
And then create plinth beams by joining all the columns.
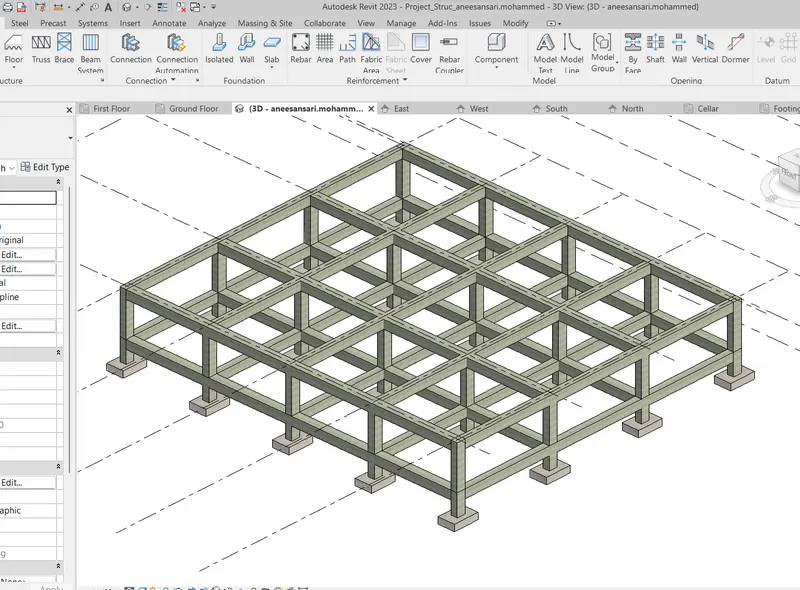
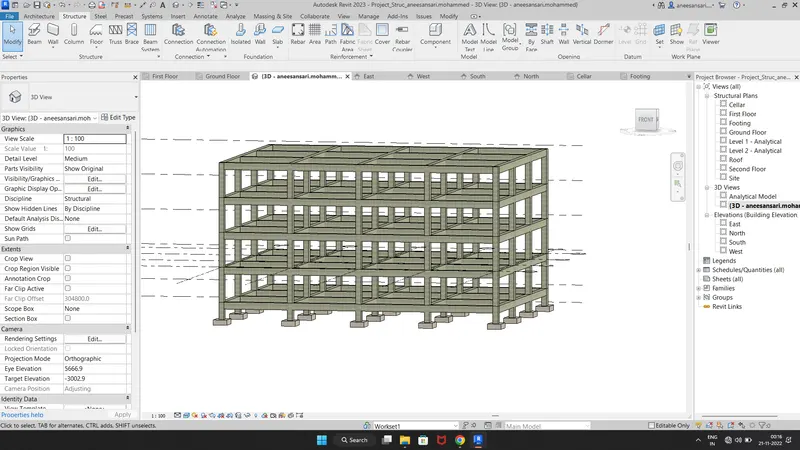
Copy all the footings and columns upto roof level:
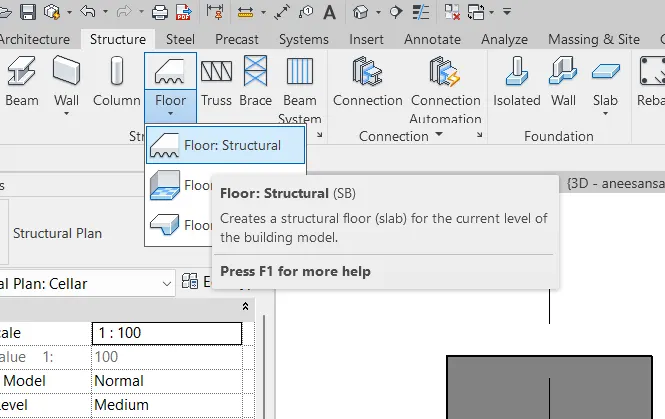
Add slab to the model with appropriate thickness and Height offset
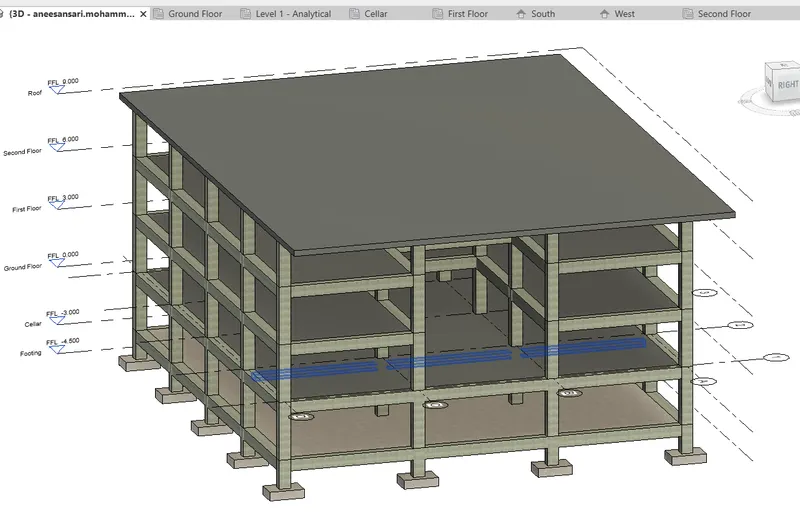
The framed structure is ready,
Remove the unnecessary beams according to the architectural model.
And then leave gaps ( open ducts ) For stairs and lift pits.
RESULT:
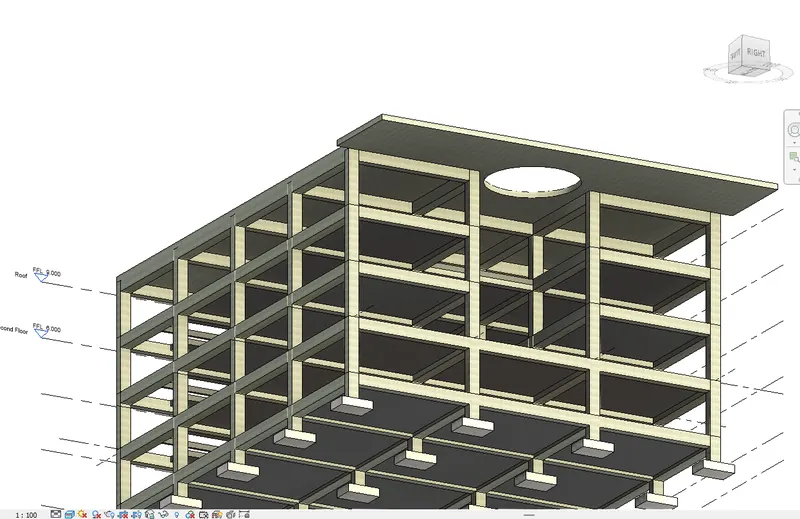
LIFT PITS AND STAIRS SHAFTS:
4) Using the architectural model, include the following components based on the type of structure selected
a. Wall Layout with appropriate material and finishing
b. Exterior façade with fancy finish
c. Interior partition walls to size rooms
d. Components to add details to a room ( Desk, Chair, Lighting, Plumbing fixtures)
e. Add components such as stairs Elevators
f. Have at least one side of the building with curtain walls and glass panels
g. Include interior and exterior lighting fixtures
h. Place proper topographic components from outside ( Trees, Parking, Plants) to add details to the model
Ans:
AIM: To create the Architectural model of the above structural model and to add all the required elements for aesthetic finishing:
INTRODUCTION: Architectural model plays a vital role in presenting the project. In this, we should show all the elements which should be functioned by the clients and aesthetic elements which give beautiful look to the structure. For that purpose, we should add the following elements to the building which we have linked from the structural model by collaboration.
a. Wall Layout with appropriate material and finishing
b. Exterior façade with fancy finish
c. Interior partition walls to size rooms
d. Components to add details to a room ( Desk, Chair, Lighting, Plumbing fixtures)
e. Add components such as stairs Elevators
f. Have at least one side of the building with curtain walls and glass panels
g. Include interior and exterior lighting fixtures
h. Place proper topographic components from outside ( Trees, Parking, Plants) to add details to the model
PROCEDURE:
For the architectural model, we need to import, download and edit the required elements for a better look.
First, import the structural model and design wall to that model with the desired material wall in the required thickness.
And then for a fancy look, design different walls on different floors.
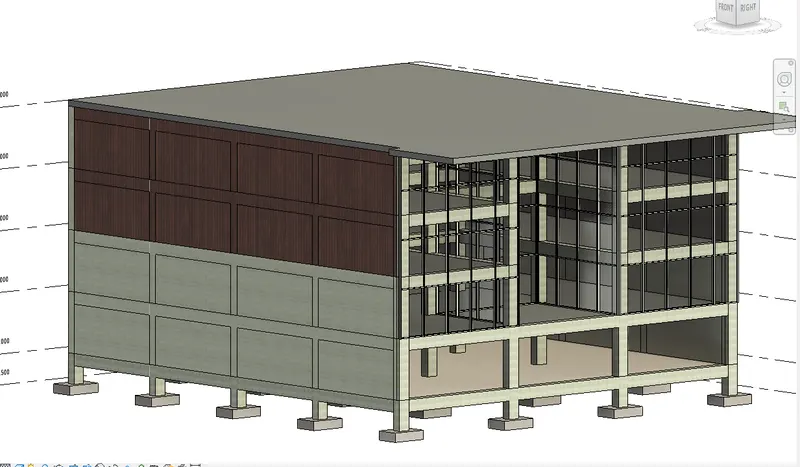
Design interior partition walls with less thickness and other materials.
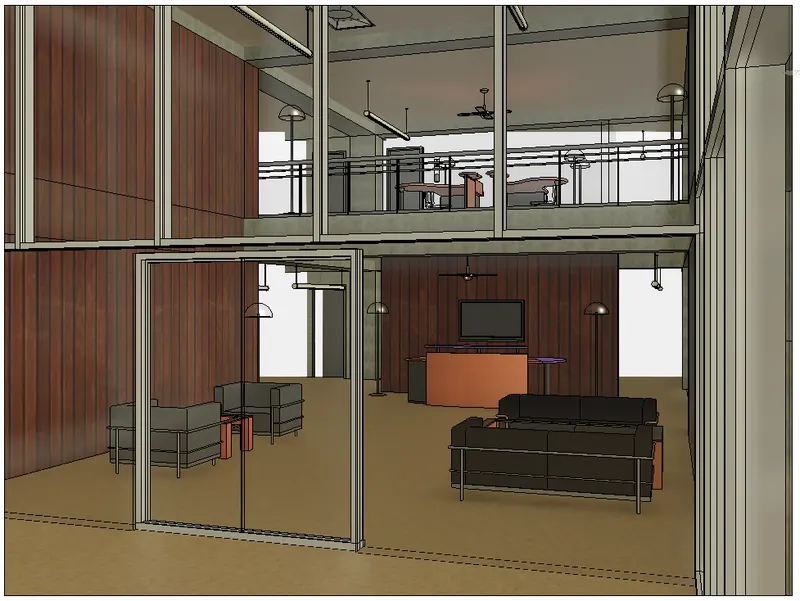
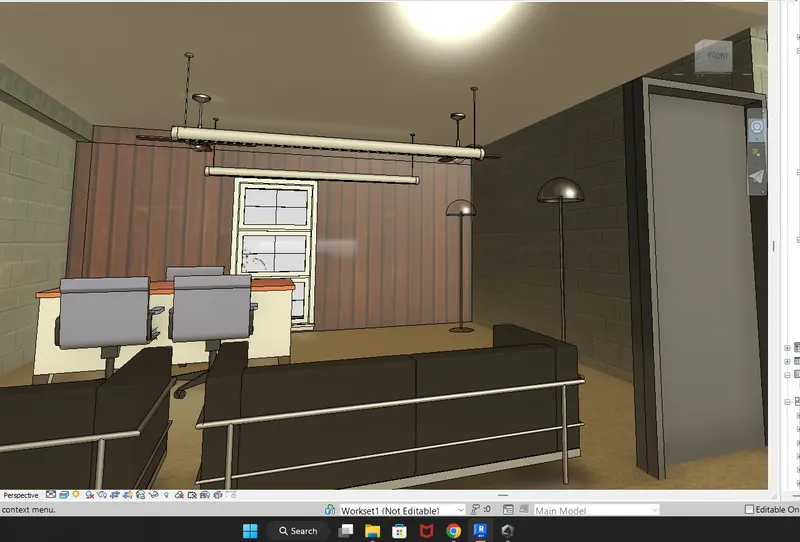
Add chairs, lights, and plumbing fixtures using load Autodesk family
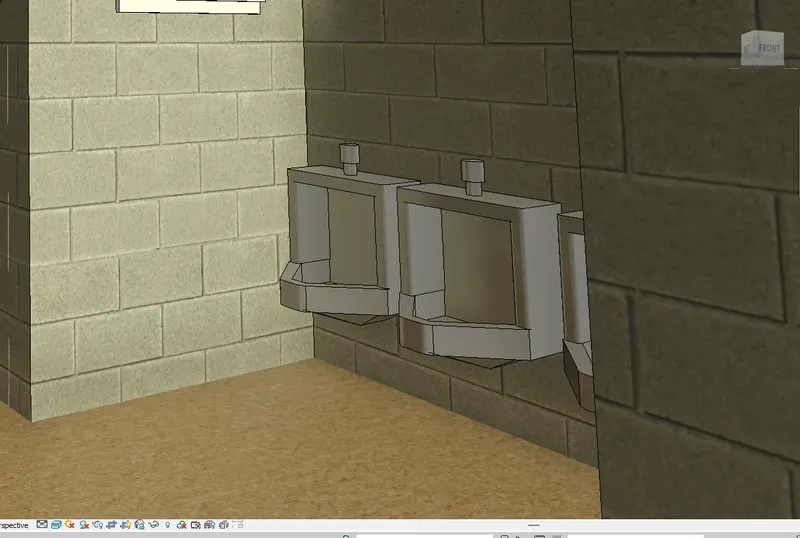
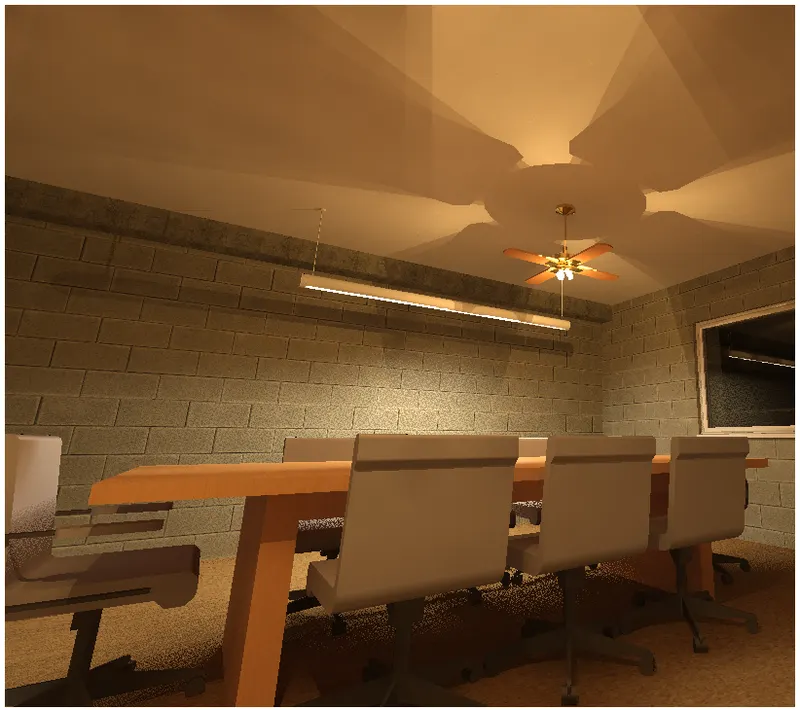
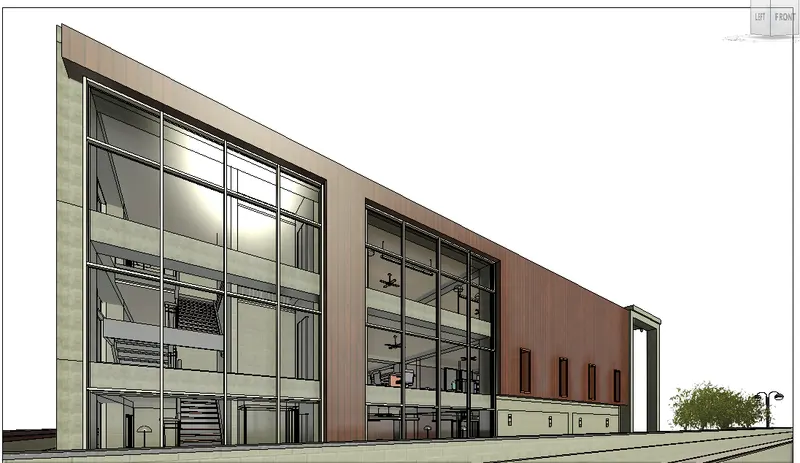
Add stairs and an elevator to the building where the shafts are open for them in the structural model:
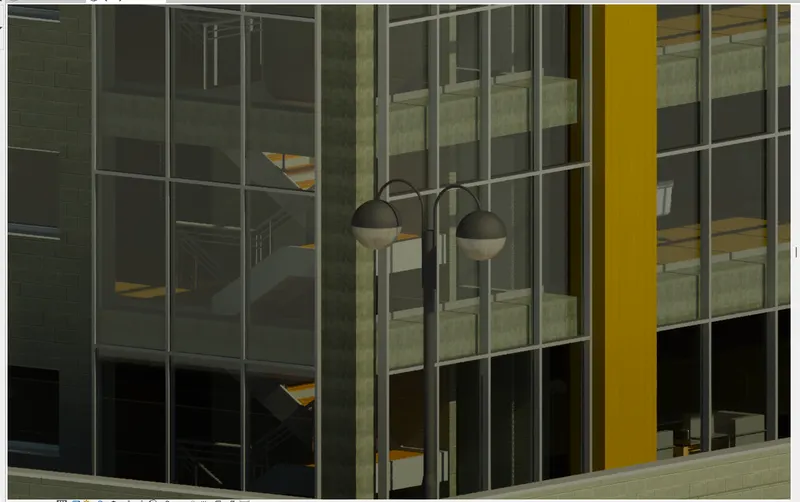
Add a curtain wall to the front side of the building.
And Include the topographic elements line plants, parking, and land to the building.
Result:
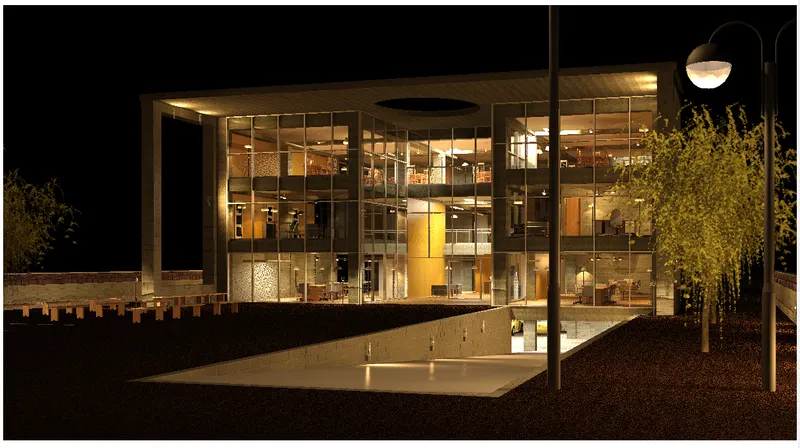
Finished model of an office building
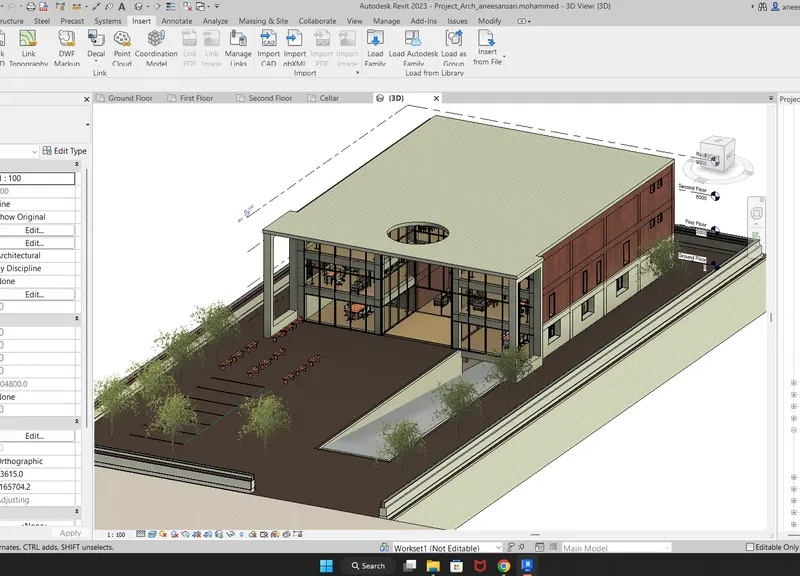
Night view
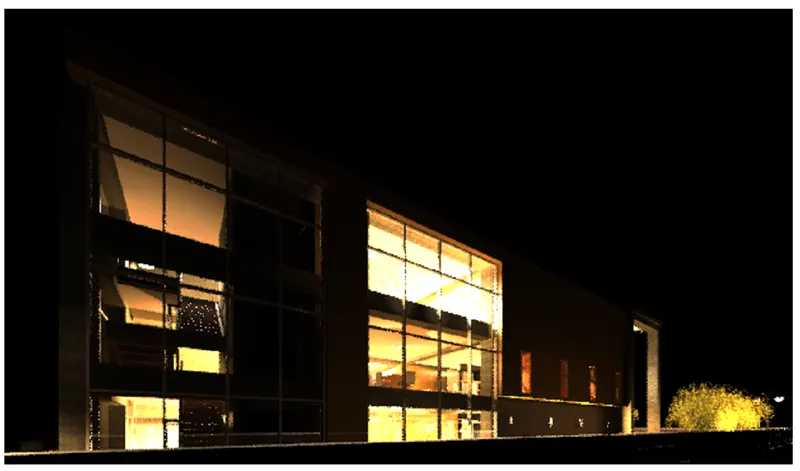
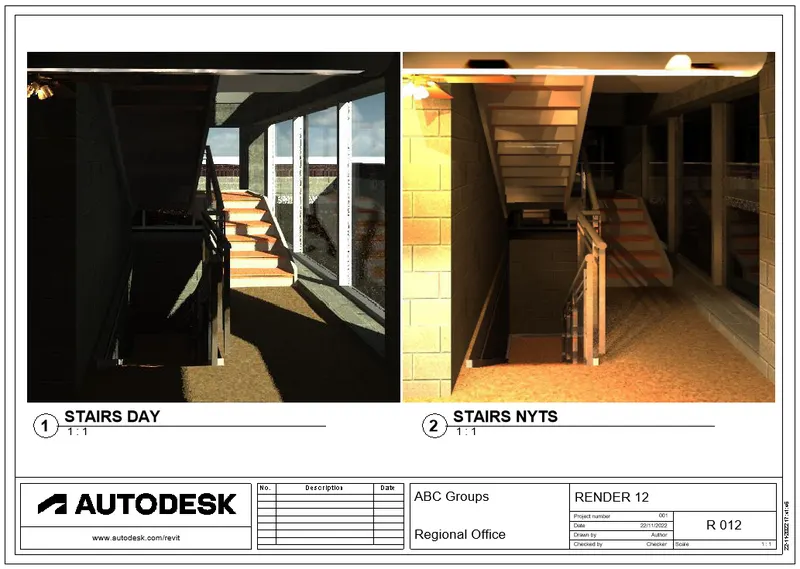
Stairs and lift
5) Provide a set of drawings in an architectural and structural model to list the following details with categories and appropriate sheet templates included
a. Floor Plans with Annotations
b. Elevations
c. Sections
Ans:
AIM: To provide the set of drawings in the architectural and structural models on the sheets.
INTRODUCTION: After completion of modelling, the First thing we need to do is provide the Sheets to the client.
Initially, we need to provide the sheets of:
a. Floor Plans with Annotations
b. Elevations
c. Sections
PROCEDURE:
For Structural Model:
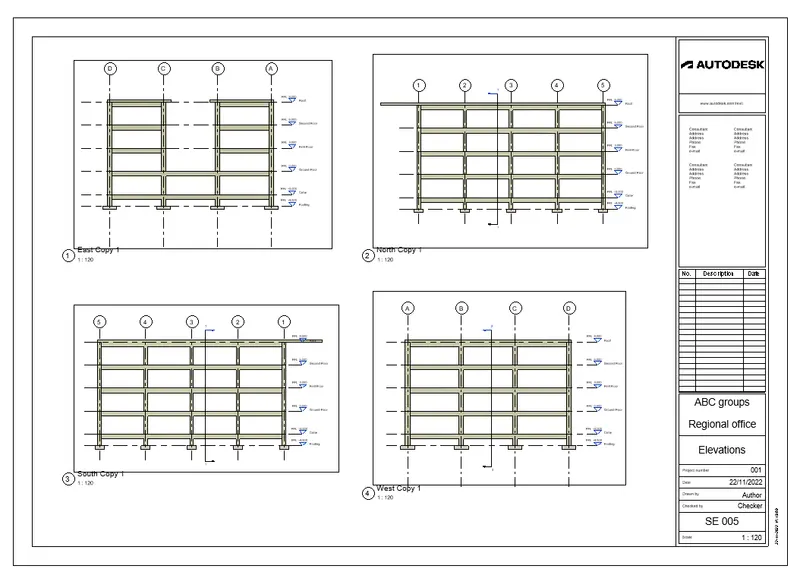
First, delete the elevation which we have and give new elevations to make the view fit in the Sheet.
And then go to sheets, select the appropriate sheet then, and fit the Floor plans of structural plans in it: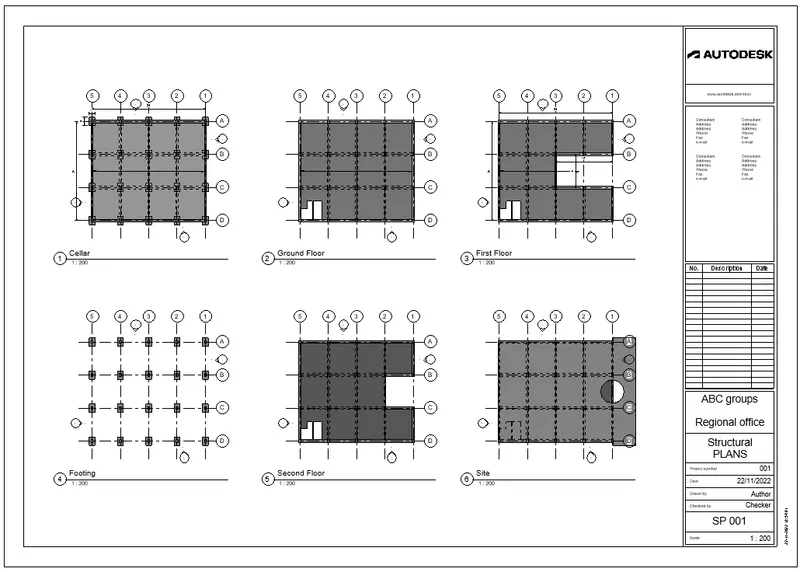
And then go to new sheet and add elevation plans:
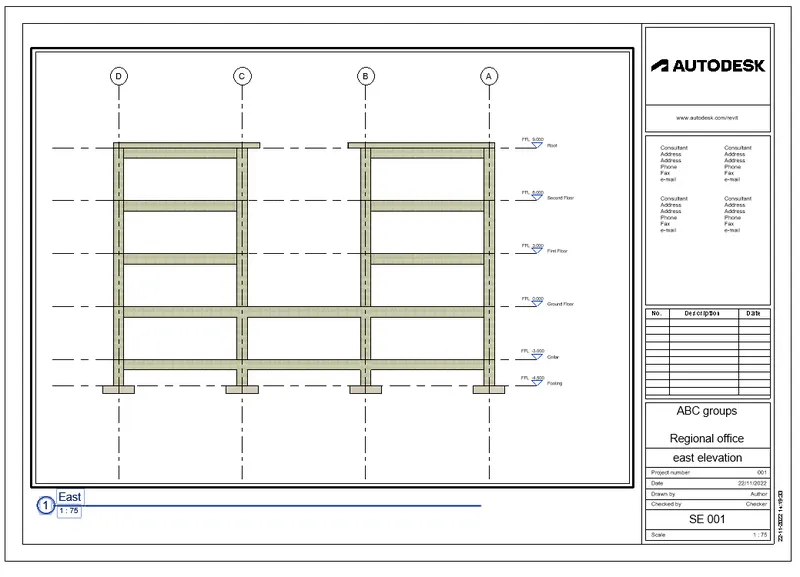
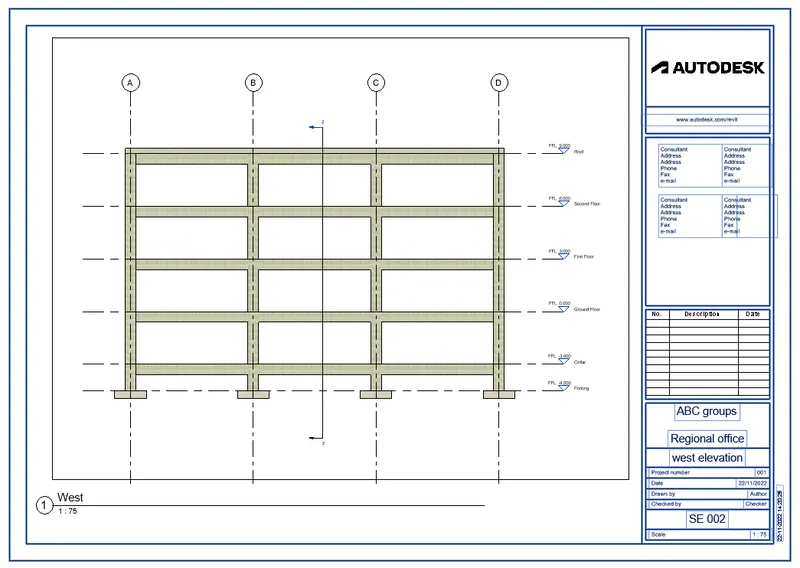
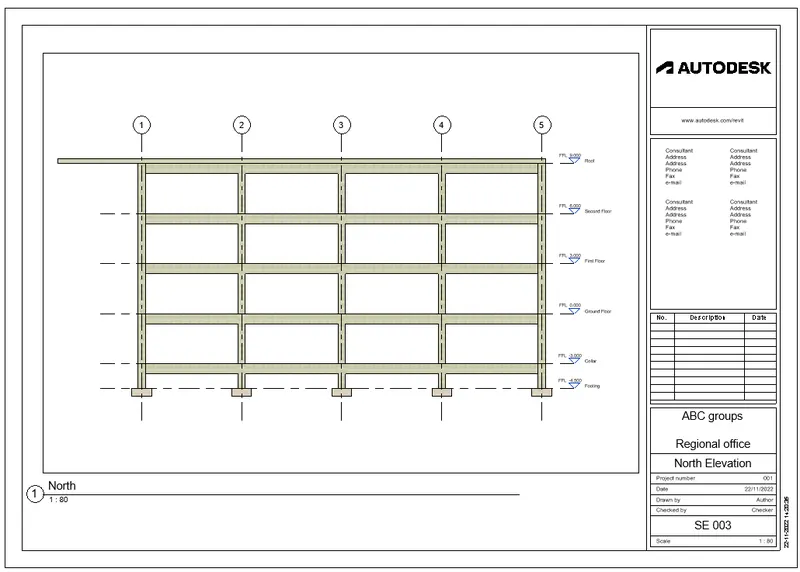
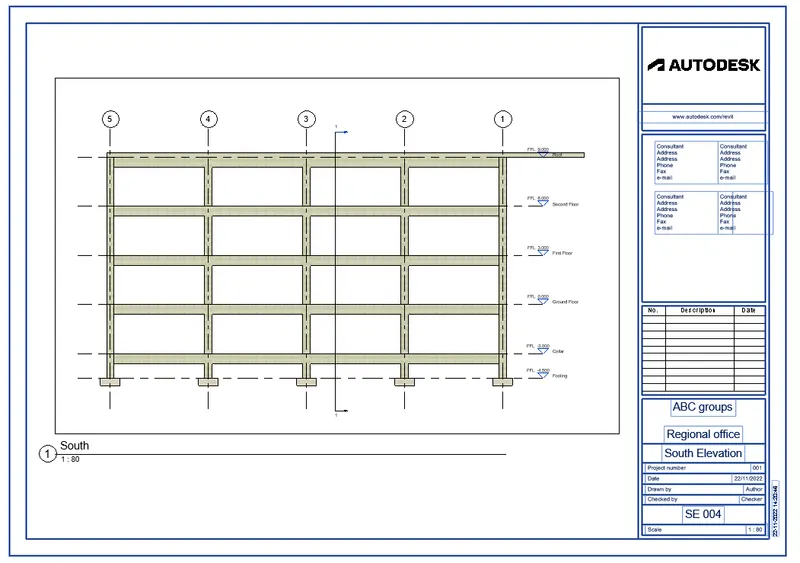
Draw the sections in between the structure to plot sectional sheets:
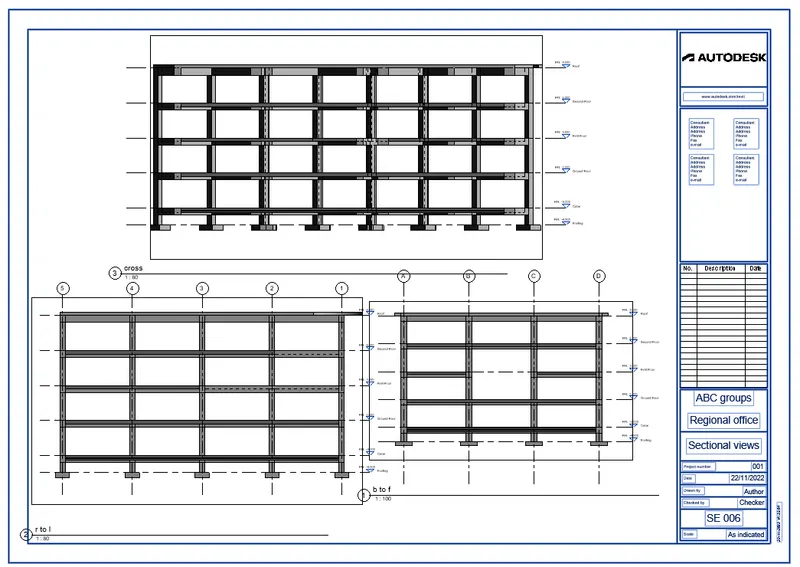
RESULT:
For Architectural model:
Go to Architectural model and Plot sheets for the floor plans:
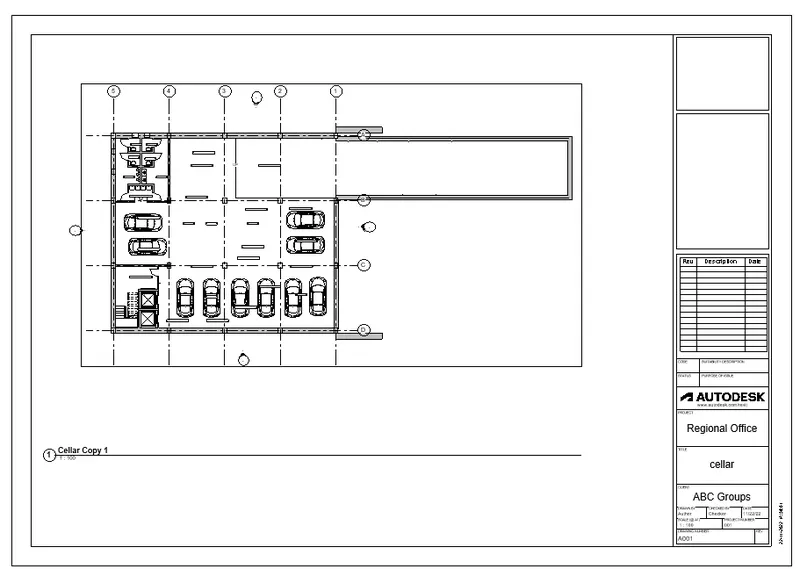
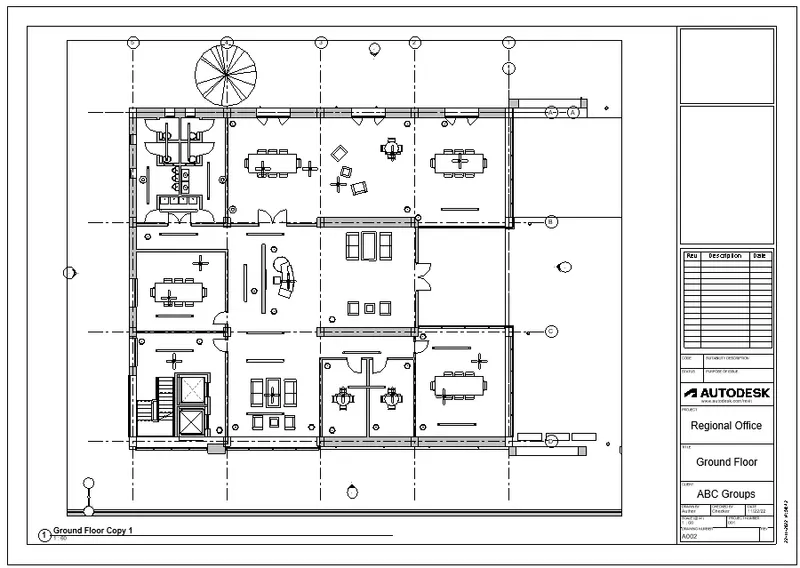
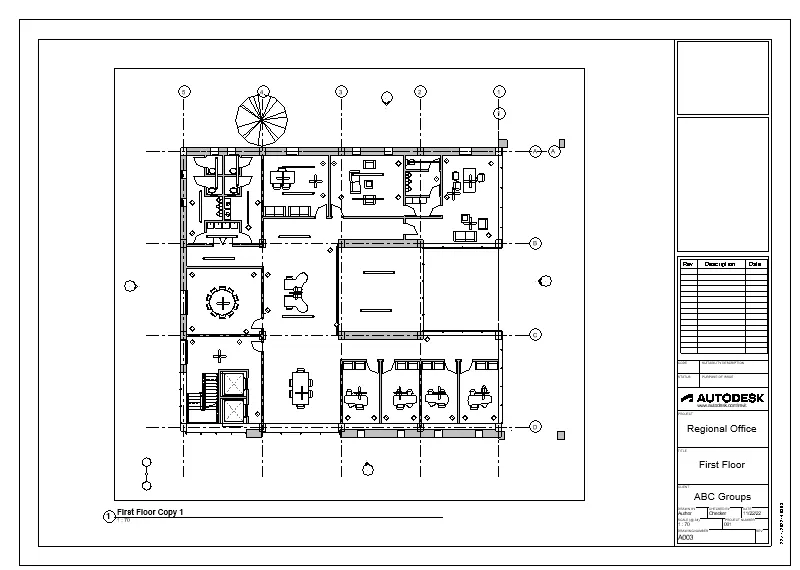
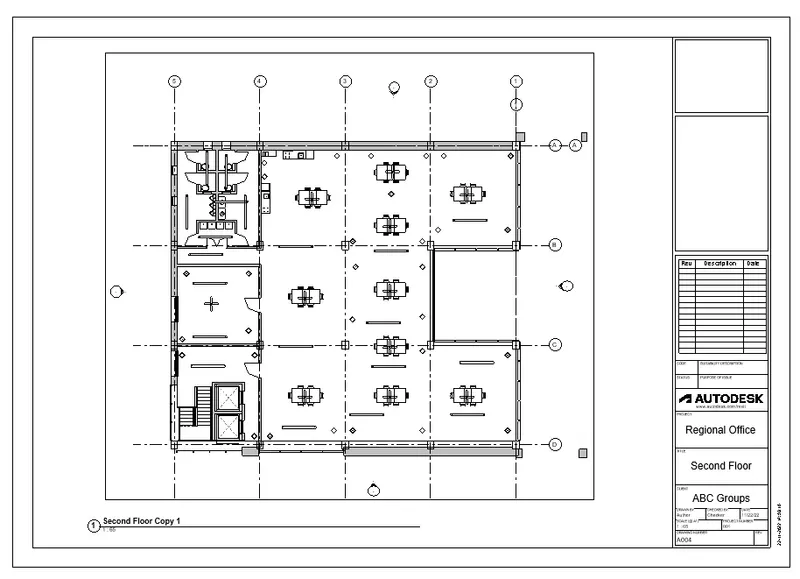
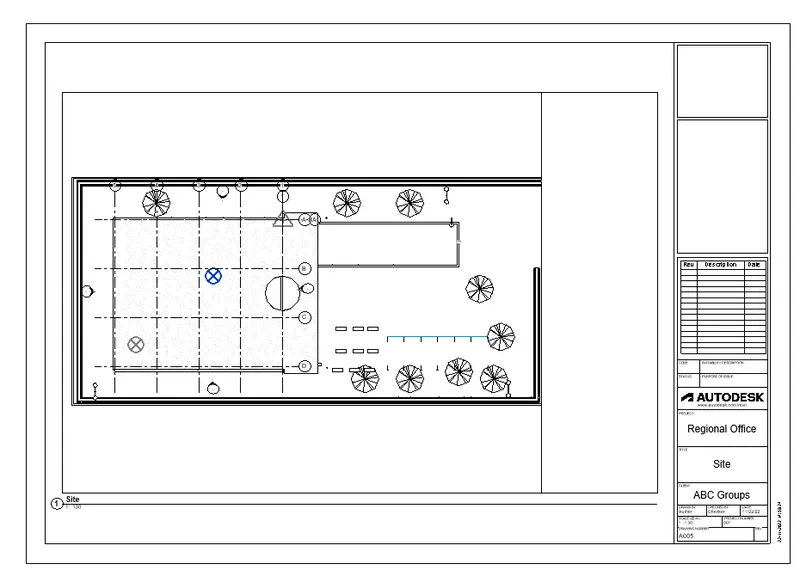
And Now, Add new elevations and edit them to plot on the sheet:
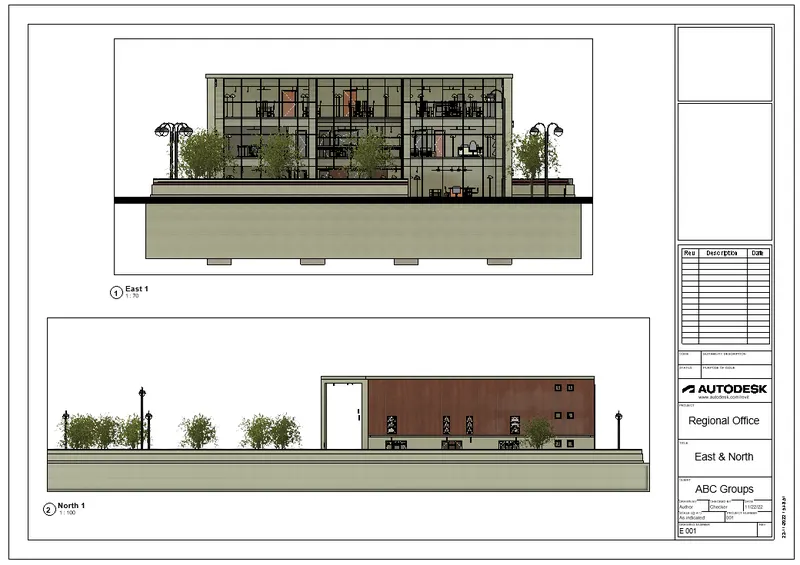
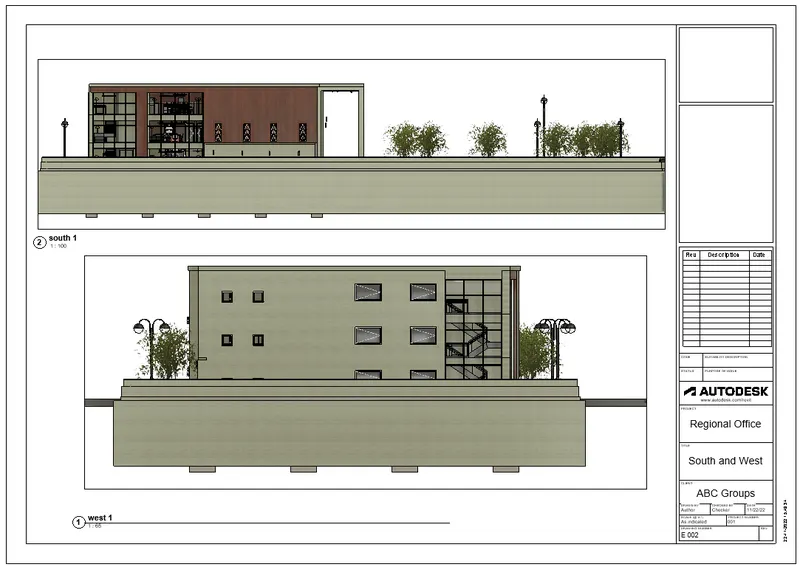
And In the end, Add some Sectional Views to the sheet.
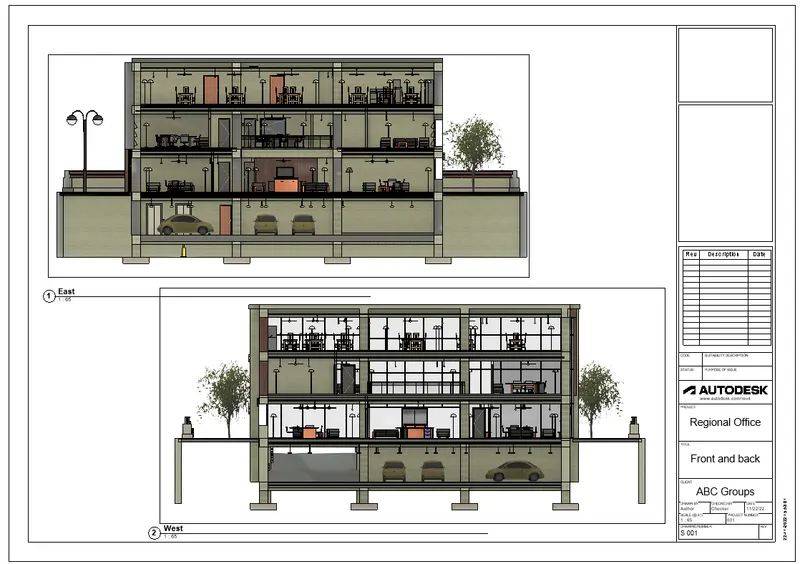
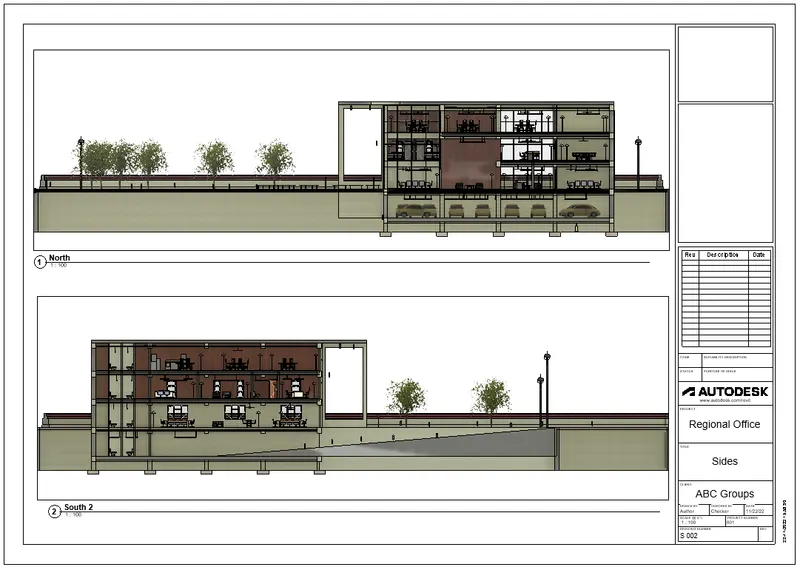
6) Using the Rendering settings, Render images of the 3D model produced and include the rendered images in the drawing sheets
a. Rendering from interior rooms
b. Rendering from out showing topographic features
c. Rendering through structural framing
Ans:
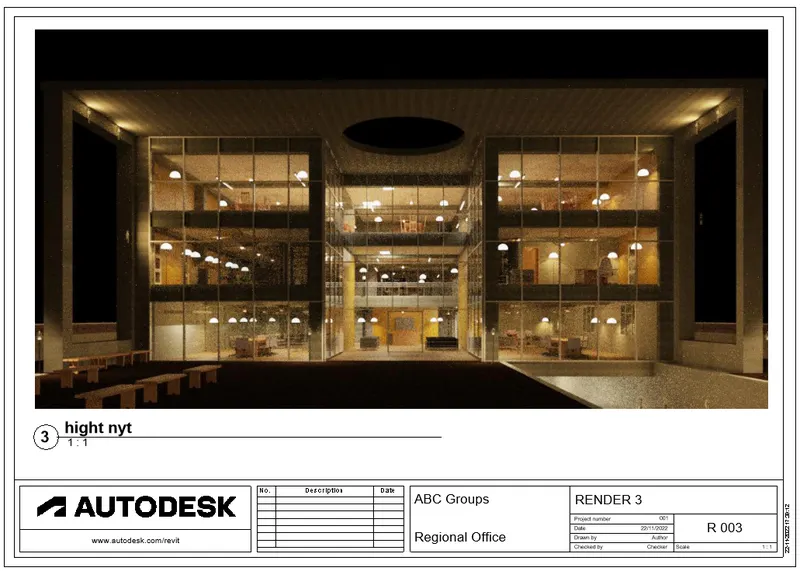
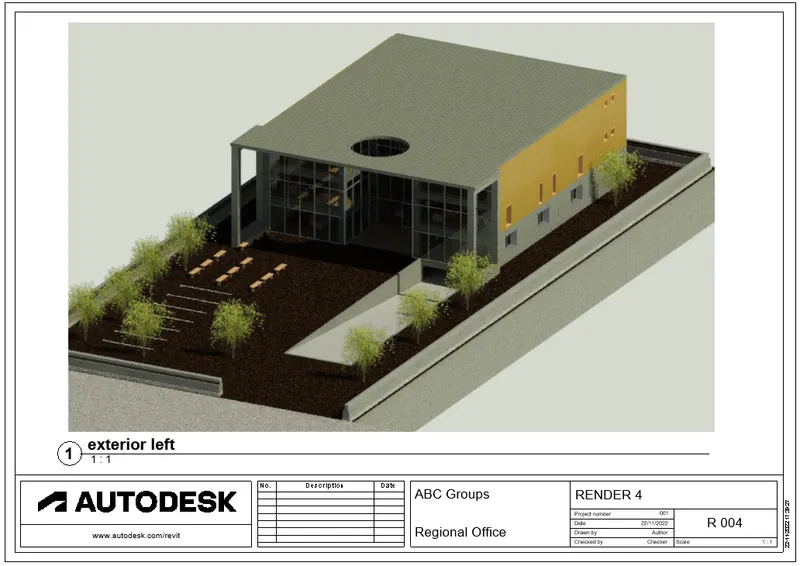
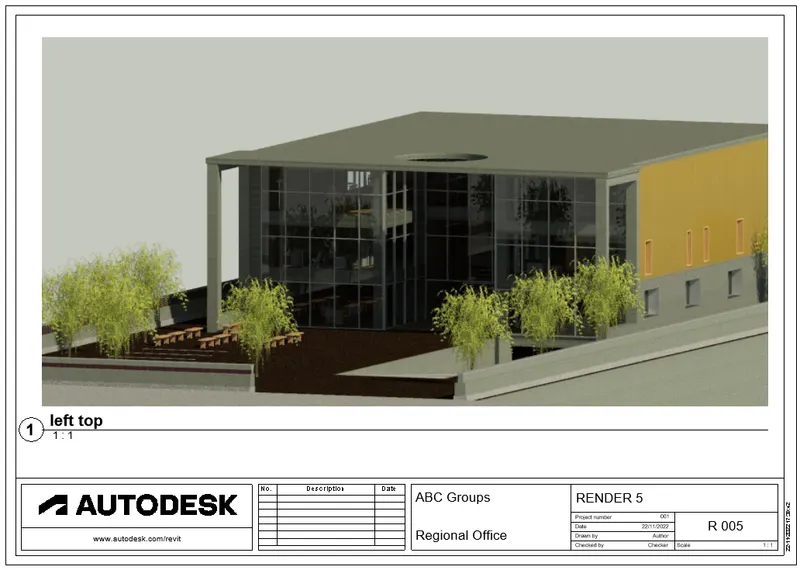
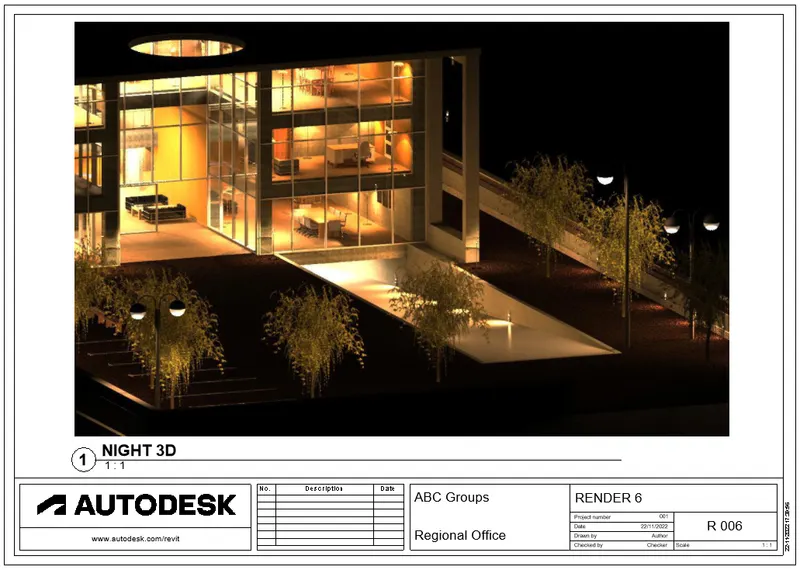
AIM: To create the sheets of rendered views of the Office building.
INTRODUCTION: The rendering is the final stage and face of the project. In this, we are going to show the Real lift scenarios of the building with natural and artificial lights interior and exterior.
OBJECTIVES:
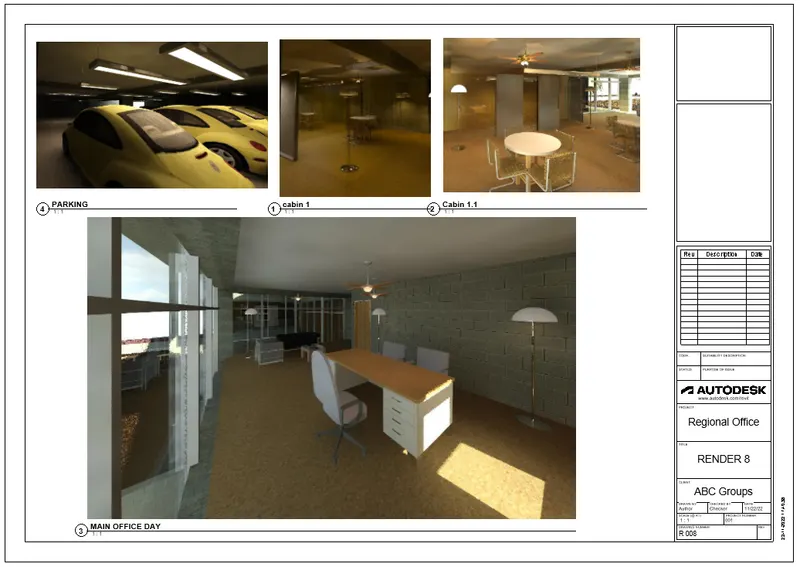
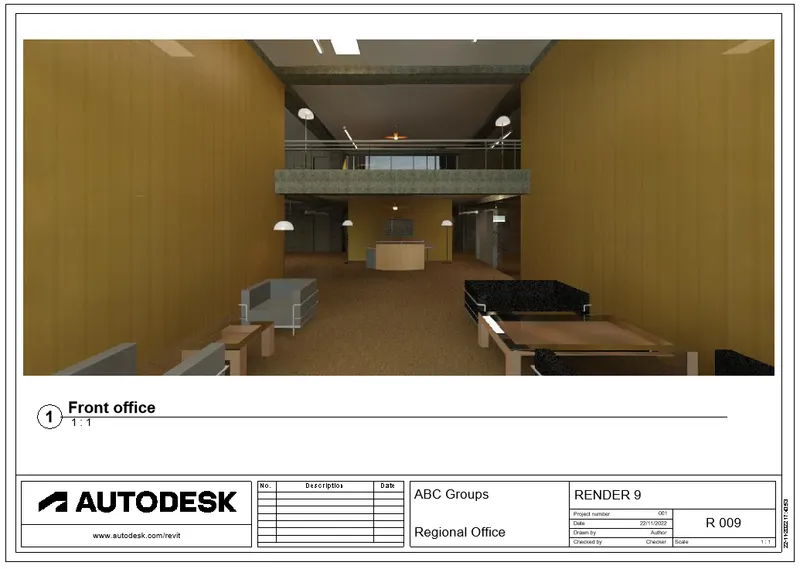
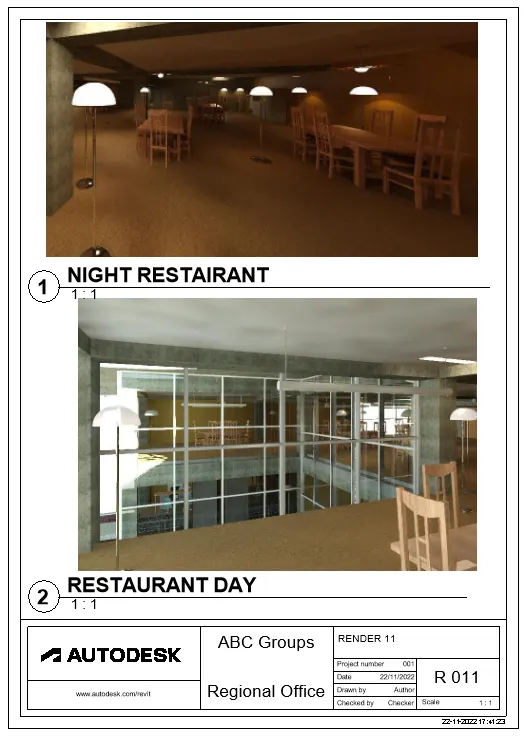
a. Rendering from interior rooms
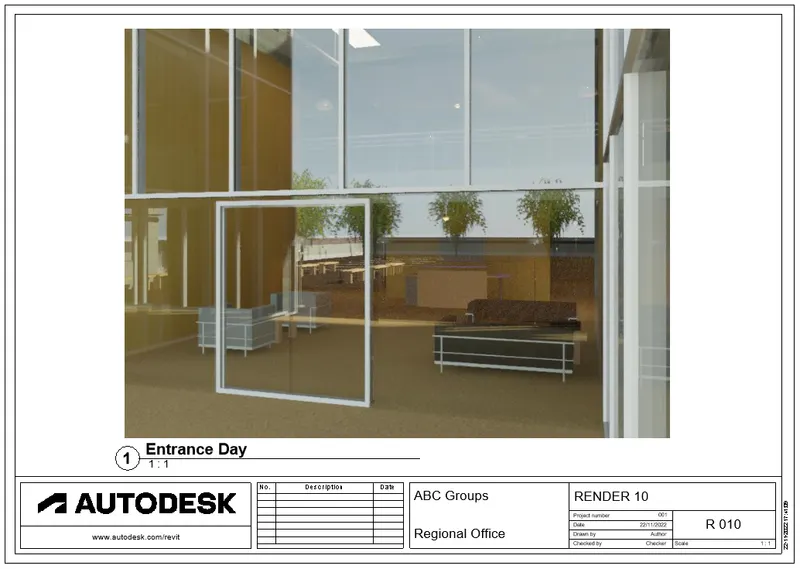
b. Rendering from out showing topographic features
c. Rendering through structural framing
PROCEDURE:
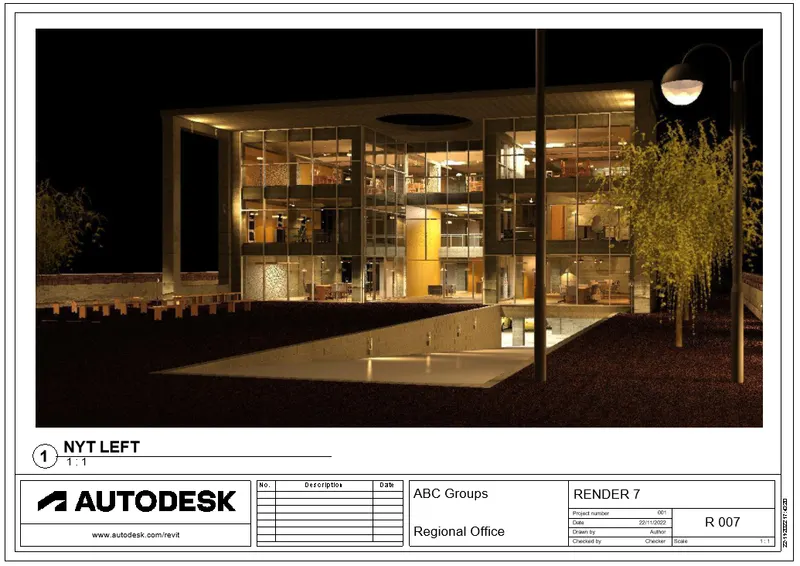
For interior and exterior rendering, Place the cameras in desired directions of floor plans and render it using the render option in the View tab.
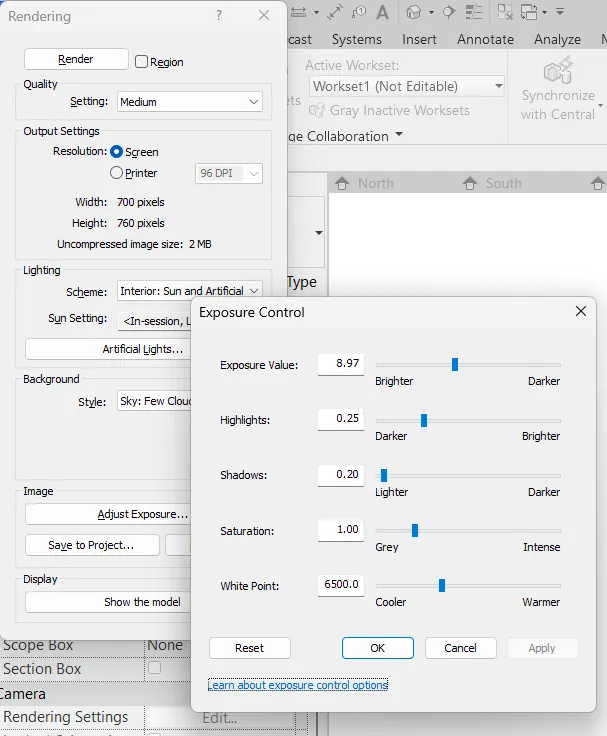
Adjust render settings after rendering:
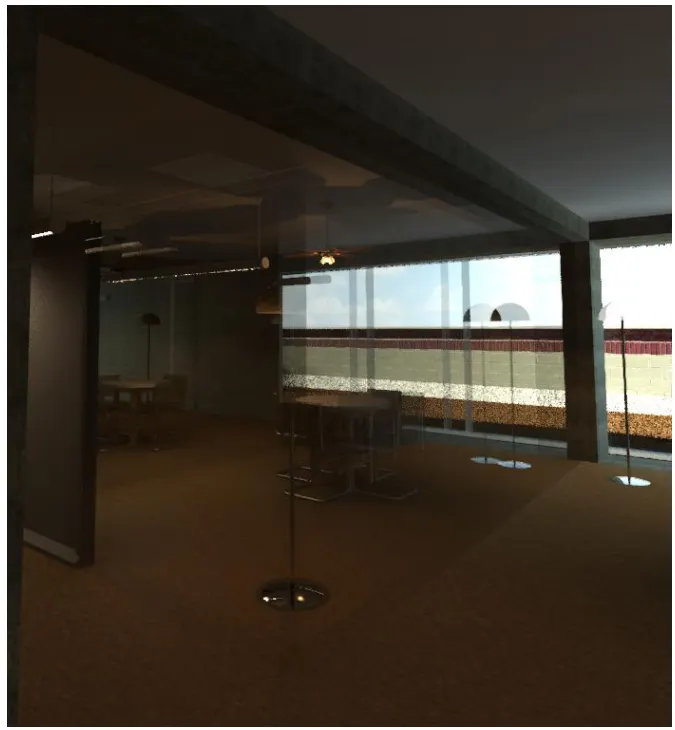
And render it with better lighting:
And then place the camera at important corners and then navigate them to the appropriate view.
Then go to sheets and plot them on sheets
RESULT:
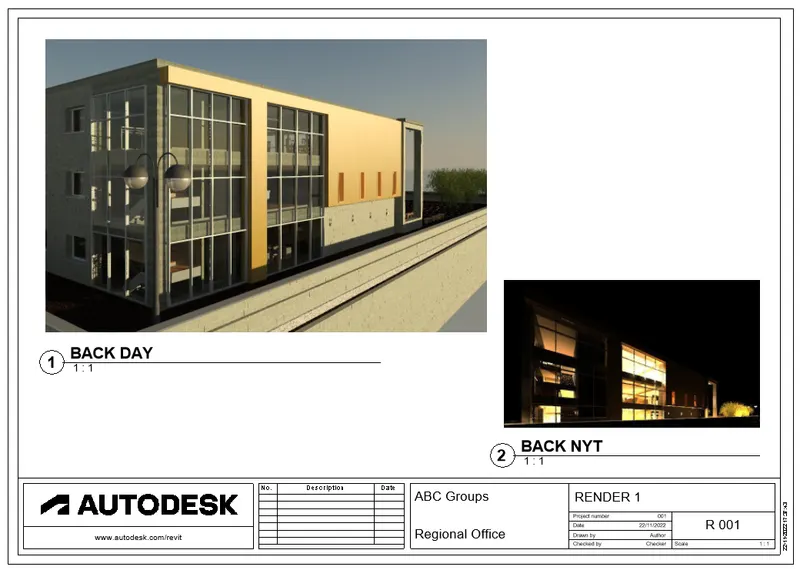
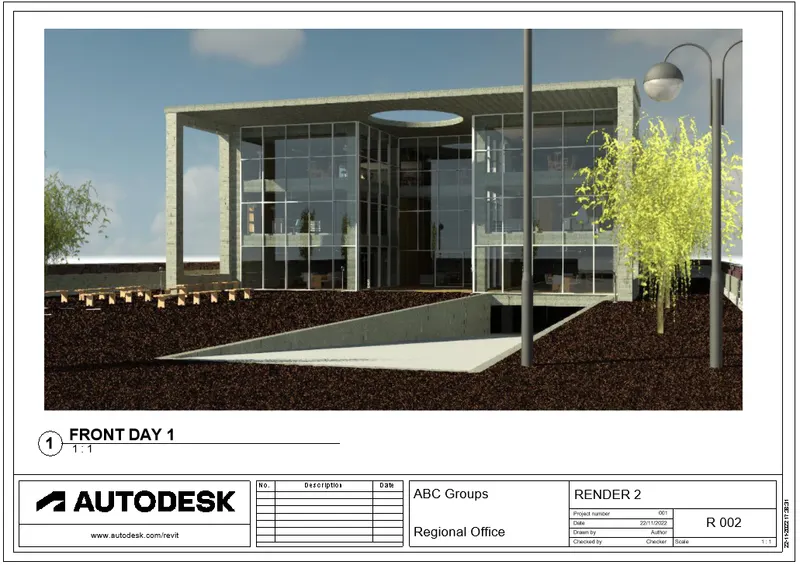
ARCHITECTURAL RENDERS:
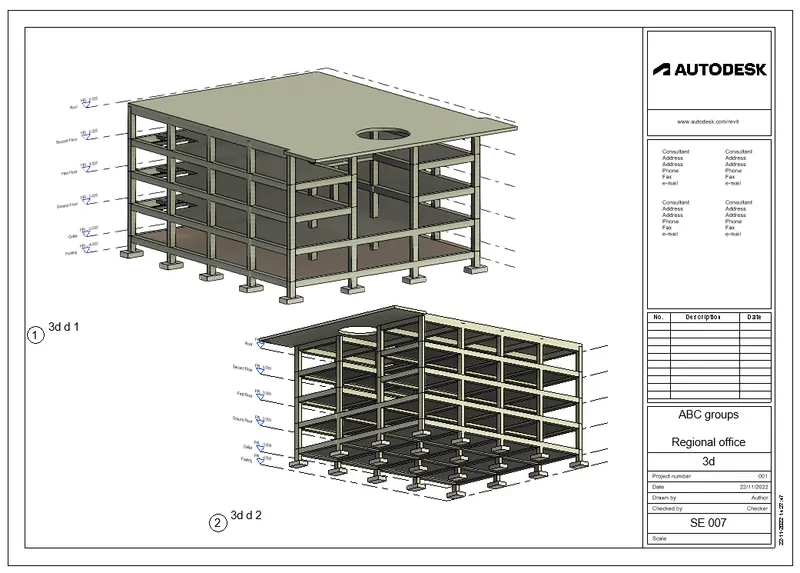
Structural Renders:
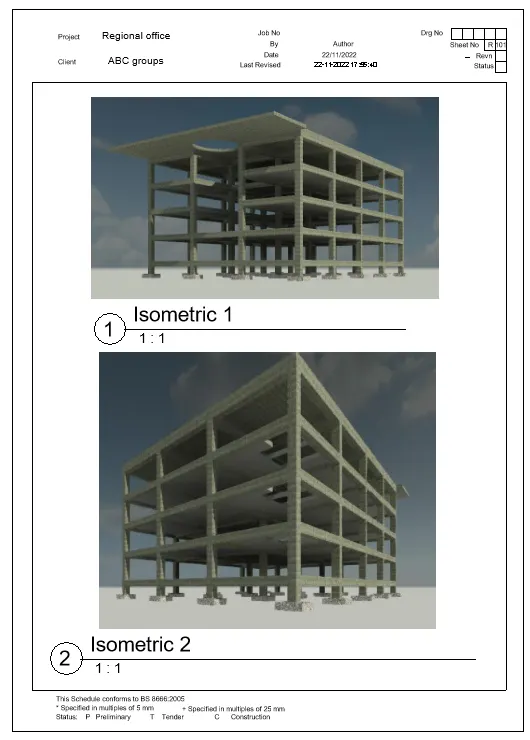
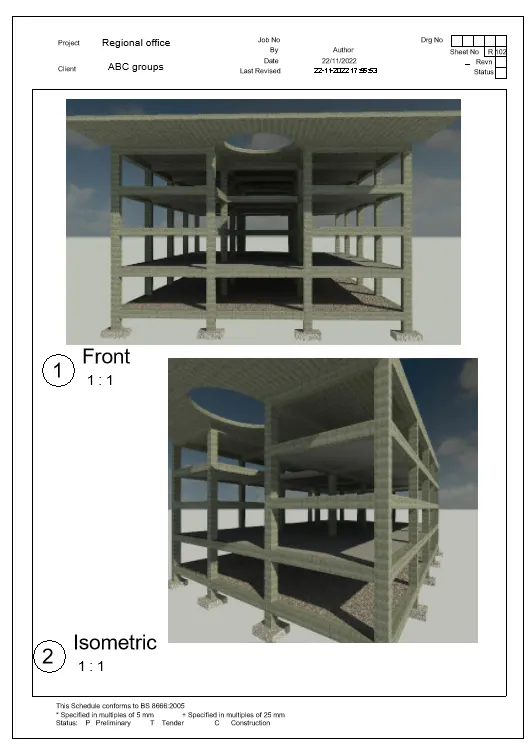
7) Print the set of drawing sheets created and submit the drawings from the architecture and structure model
Ans:
AIM: To print the set of Drawing sheets created and submit them.
INTRODUCTION: While submitting a project to the client, we cannot give the REVIT file to them as an output. Instead, we will give Physical sheets or PDFs to them for their reference.
So that we need to print the required sheets in REVIT.
PROCEDURE:
- Go to sheets Created.
- We can see the print option in the file menu.
- Click on print and give the appropriate Size of the paper and give the name of the file.
RESULT:
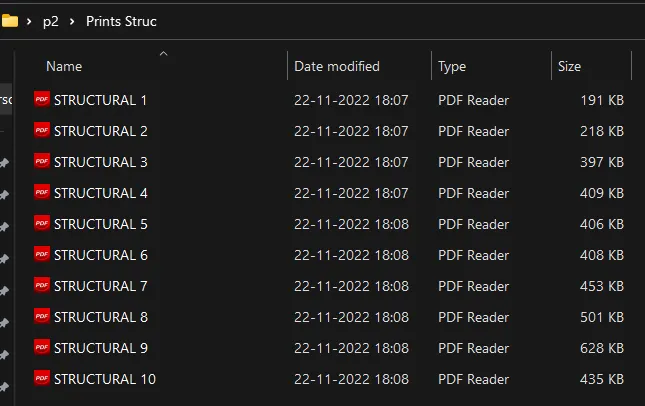
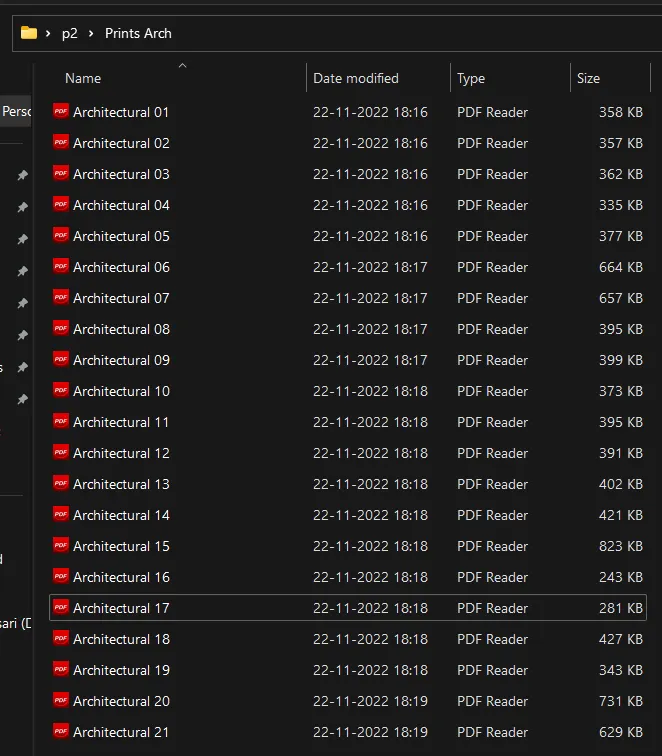
The Sheets are printed and saved in PDF format: