Creating Architectural and Structural model with 3D rendering using REVIT
13/07/21
Answer
1) Select the type of structure you want to build from one of the three below:
a. Multi-Unit Residential Apartment
b. Office Buildings
c. School
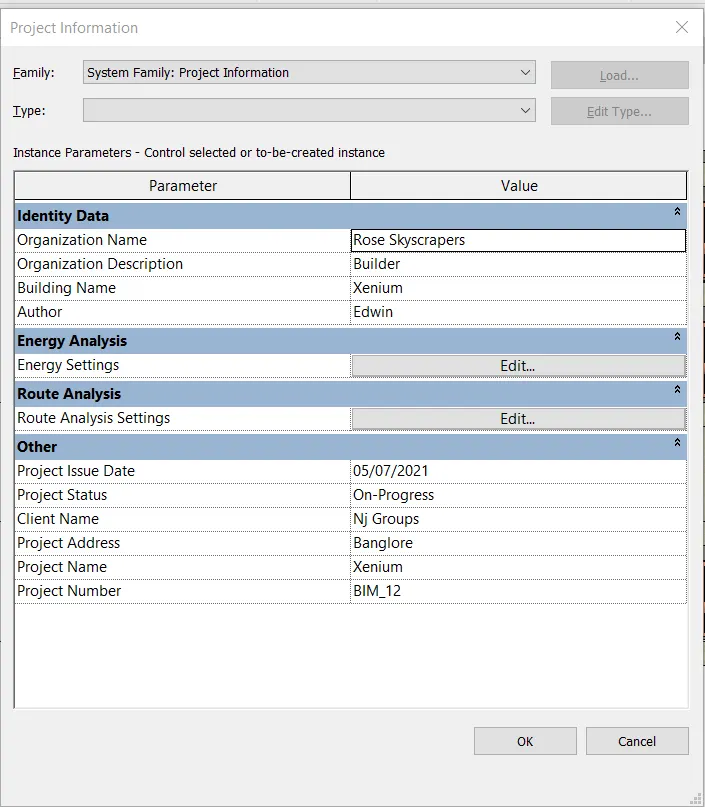
B. Office Building, as per the choice.
Commercial buildings are buildings that are used for commercial purposes and include office buildings, warehouses, and retail buildings
(e.g. convenience stores, 'big box ' stores, and shopping malls).
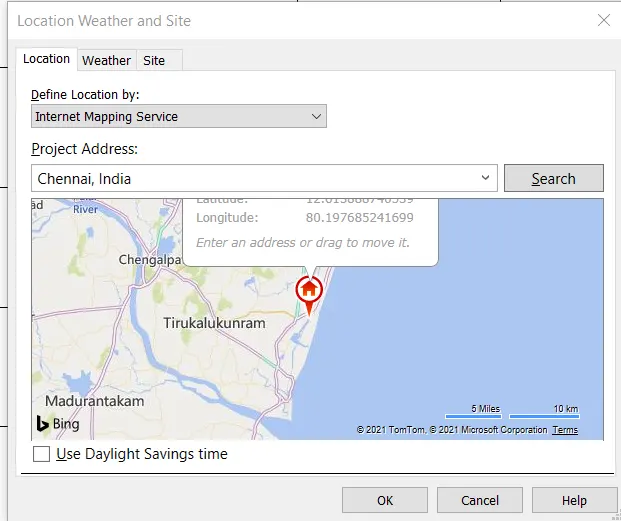
2) Assume reasonable assumptions for geographic and location details for your project modeling. Based on assumptions and type of structure selected identify the modeling requirements from NBC.
Assumptions for geographic and location details for your project modeling
- Floor to floor height -10'
- PathWay-30'
- Plan, Section, Elevation- For the approval drawing
- Provided a GFC(good for construction) drawing
- The concrete mix design for the commercial was Minimum is M30
- The structure selected identifies the modeling requirements from NBC.
3) Using the structural model, include the following components based on the type of structure selected
Steps to follow
- open>structural template
- and make the level adjustment as per the plan
- Structural menu>datum tab>levels
- And make the format for the grids
- Structural menu>datum tab>grids
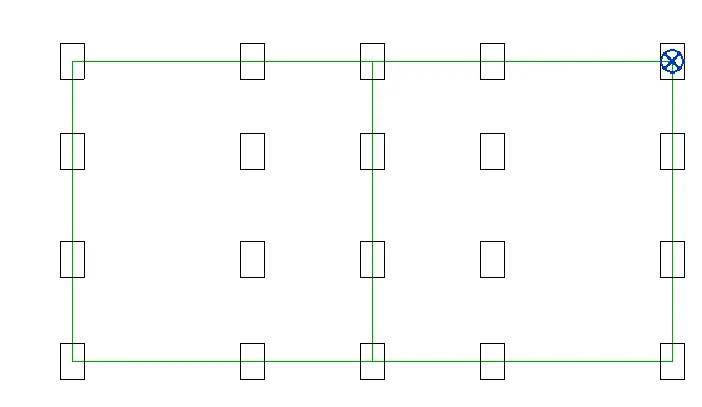
a. Foundation – Isolated / Wall/Matt Foundation
- After all, setup is done and ready for the project
- Structural menu>foundation tab>isolated option
- as per the plan, place all the isolated footing on the arranged grid.
b. Columns
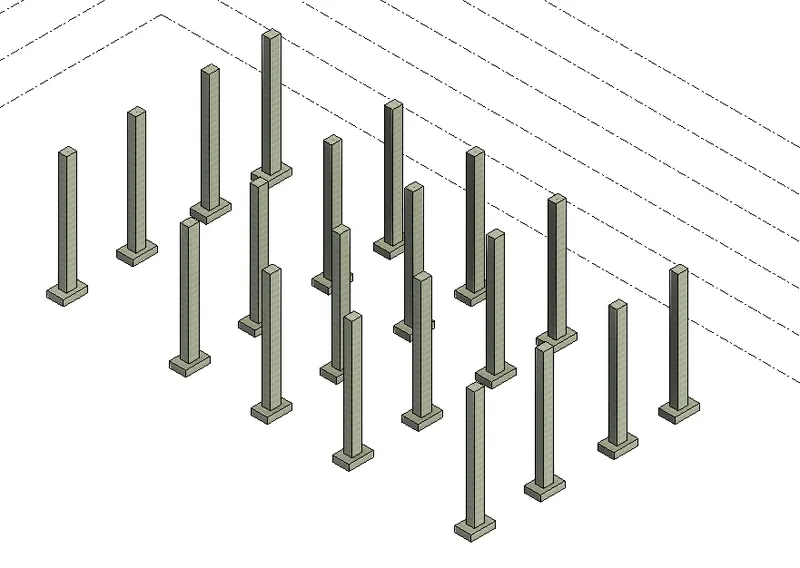
- after the foundation is fixed in the required grids
- we want to place the columns in the right positions
- Structural menu>structure tab> column
- incase of different object,insert menu>load family> columns
c. Beams Connected to Columns
- after the column is fixed in the allocated positions.
- we want to plan the beam in the required position.
- Structural menu>structure tab> column
- incase of different object,insert menu>load family> columns
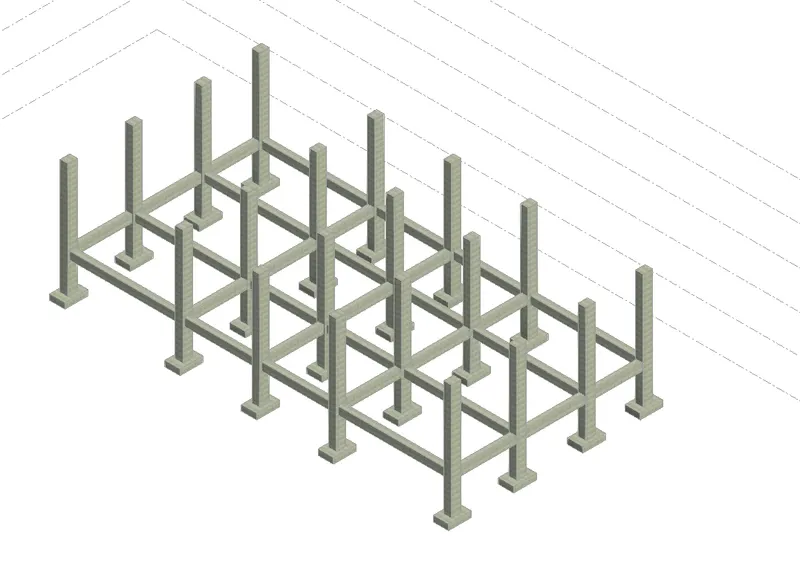
d. Roof Framing/ Truss
- after placing the beam in the structural file
- next to place the roof in the top of the building
- Architectural menu>built tab> roof
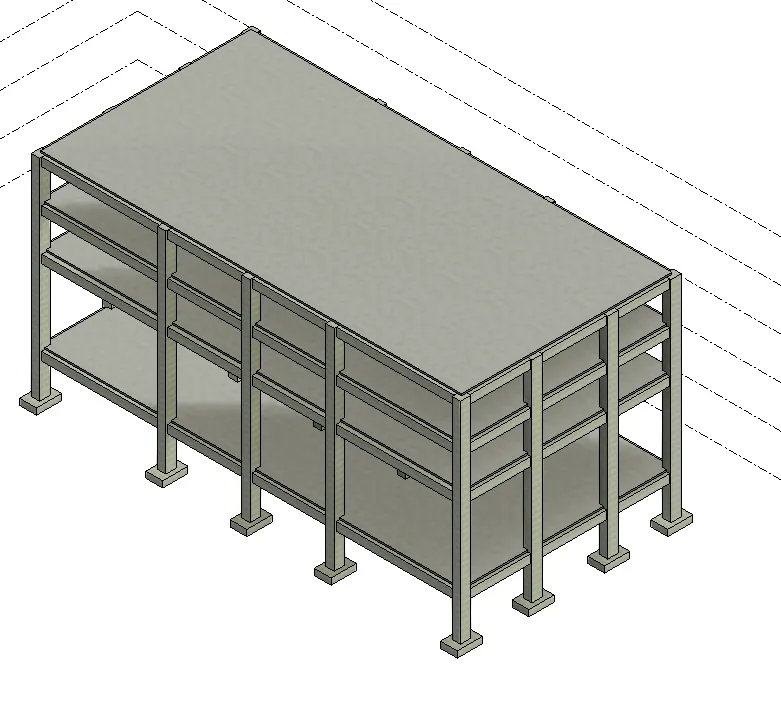
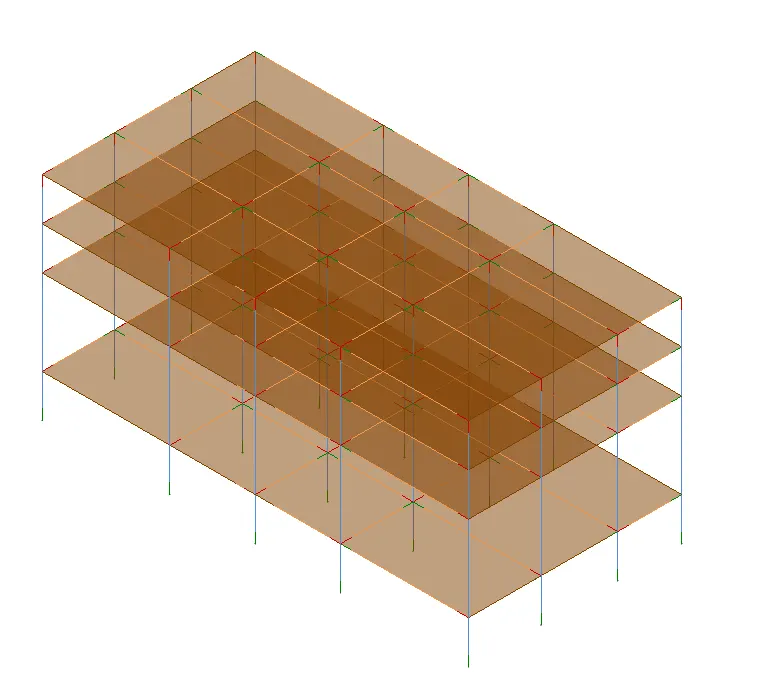
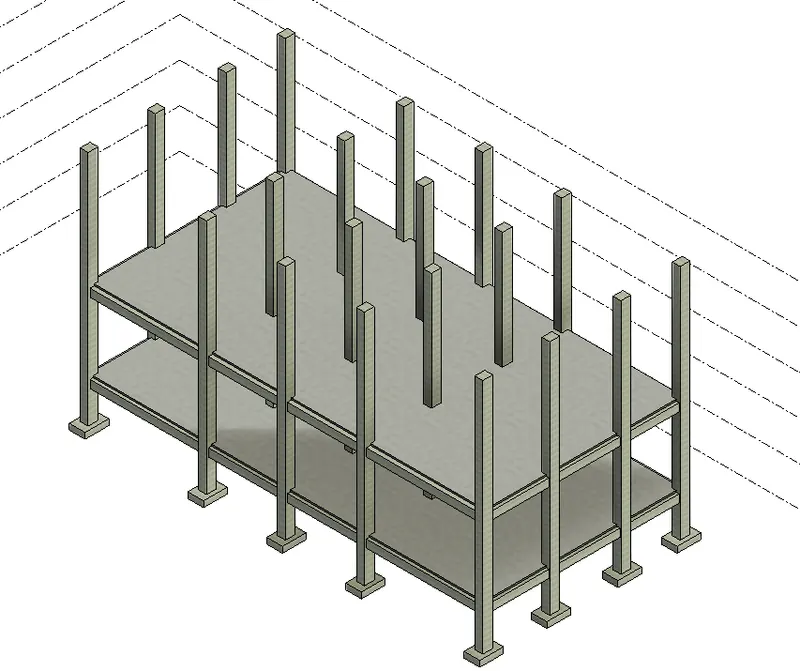
e. Floor / Decks
- after the placing of the roof, the next step is to provide the floor in the different levels.
- the floor will be the structural member which helps in the place of all required items on the surface.
- Structural menu>structure tab> floor
- The floor wants to be at the top of the beam not inside the beam.
f. Floor Openings for Elevators and Stairs
- end of the structural file is the opening for the stairs and the elevators.
- Structural menu>opening tab> shaft
- proper landing and the railing should be located.
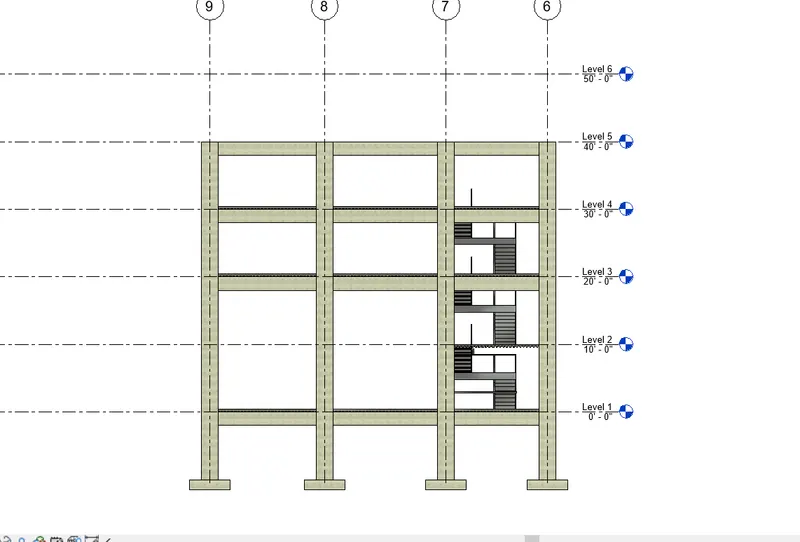
4) Using the architectural model, include the following components based on the type of structure selected
a. Wall Layout with appropriate material and finishing
- all walls should be provided in the required size and the shape of the beam.
- all walls should be in the grid position
- Architectural menu>built tab>Walls
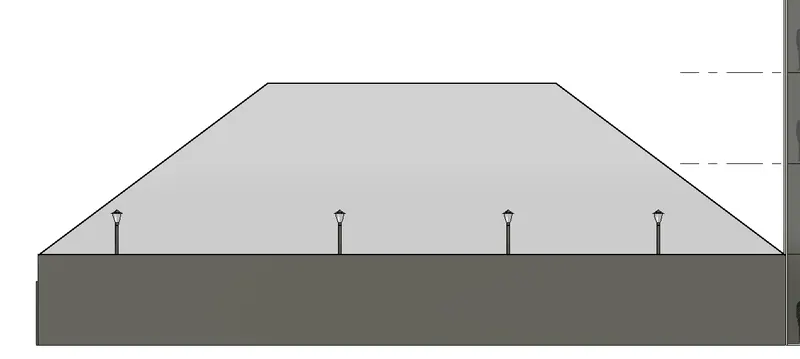
b. Exterior facade with fancy finish
- we can provide exterior wall as the glass finished
- and made of the curtain option
- Architectural menu>built tab>curtain option
- and made of the mullion option
- Architectural menu>built tab>mullion option
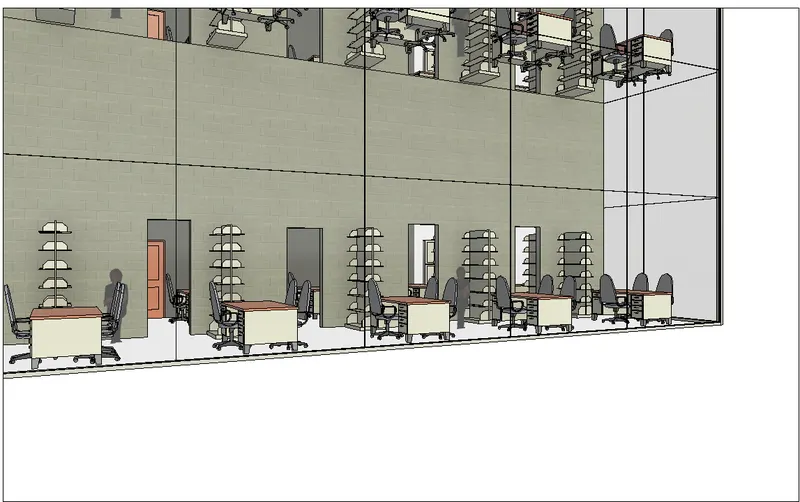
c. Interior partition walls to size rooms
- we are providing the interior partition wall as a 4'' generic wall
- Architectural menu>built tab>Walls
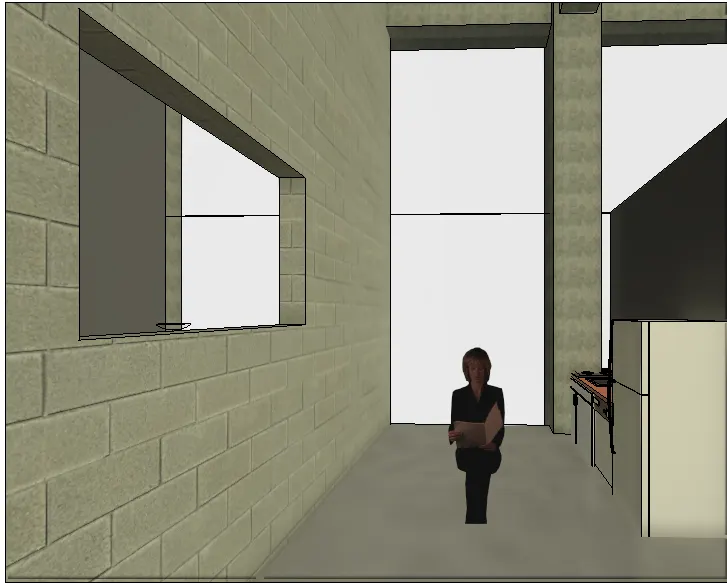
d. Components to add details to a room ( Desk, Chair, Lighting, Plumbing fixtures)
- all items are added to the architectural file.
- Component>place a component>load family
- Component>place a component>Desk
- Component>place a component>Chair
- Component>place a component>Lighting
- Component>place a component>Plumbing fixtures
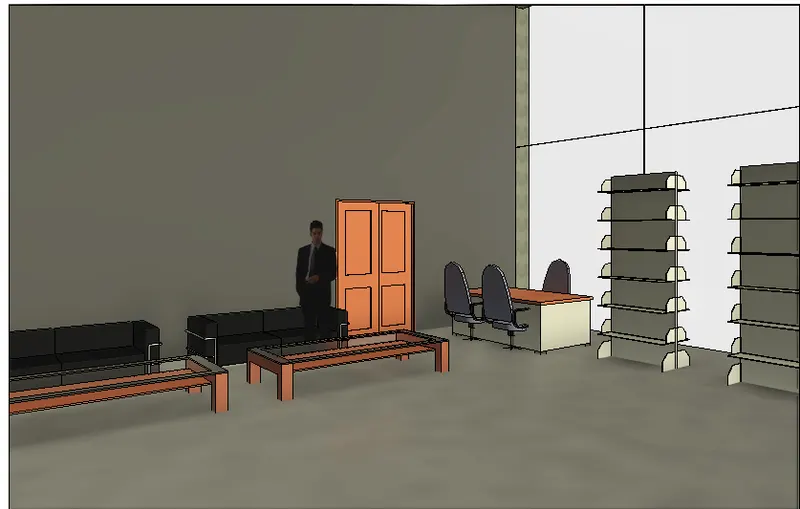
e. Add components such as stairs Elevators
- Architectural menu>circulation tab>stair
- Architectural menu>built tab>Walls
- end of the structural file is the opening for the stairs and the elevators.
- proper landing and the railing should be located.
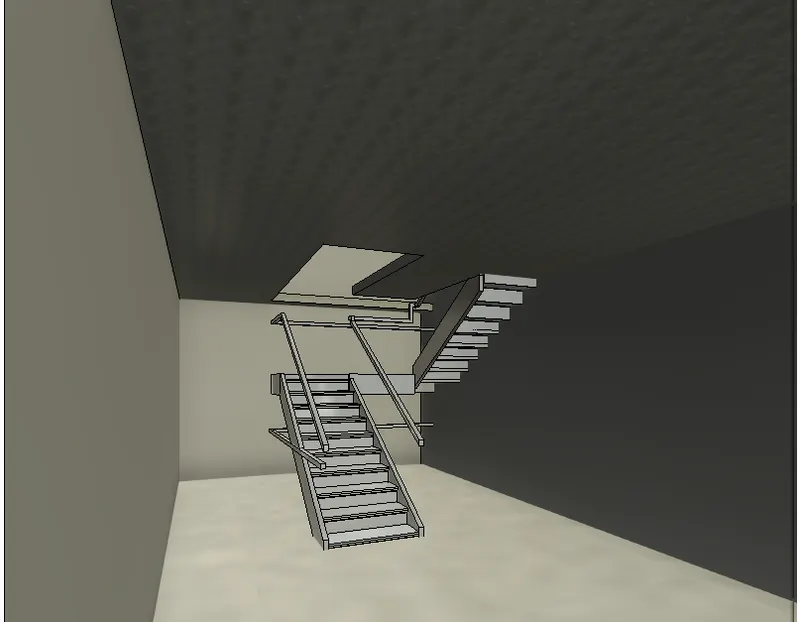
f. Have at least one side of the building with curtain walls and glass panels
- we can provide exterior wall as the glass finished
- and made of the curtain option
- Architectural menu>built tab>curtain option
- and made of the mullion option
- Architectural menu>built tab>mullion option
g. Include interior and exterior lighting fixtures
- Component>place a component>interior lighting fixtures
- Component>place a component>exterior lighting fixtures
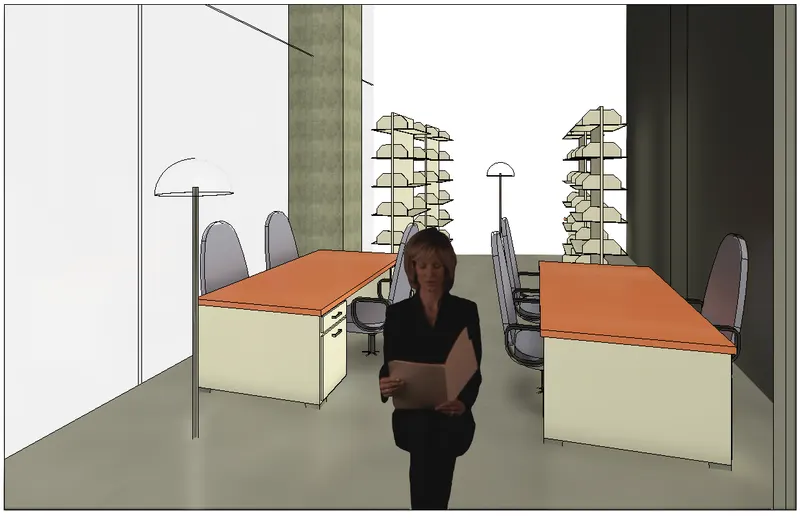
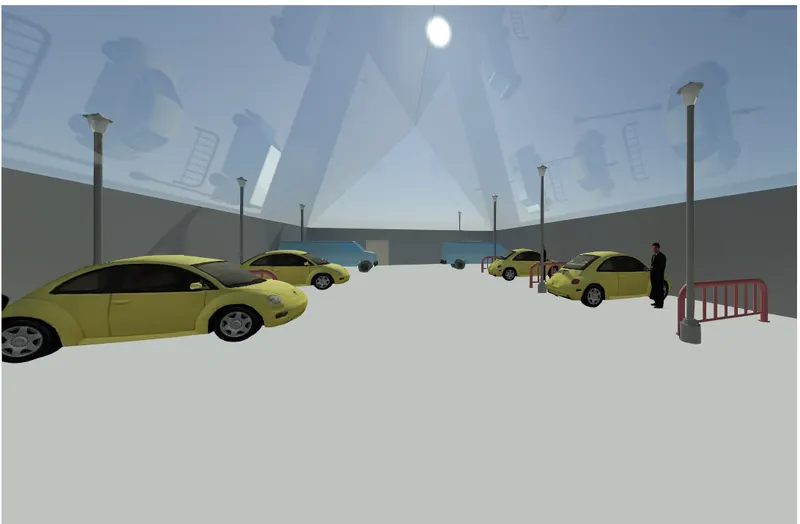
h. Place proper topographic components from outside ( Trees, Parking, Plants) to add details to the model
- place all required components on the fields.
- all others are noted and added in the field.
5) Provide a set of drawings in an architectural and structural model to list the following details with categories and appropriate sheet templates included
Setting the sheet
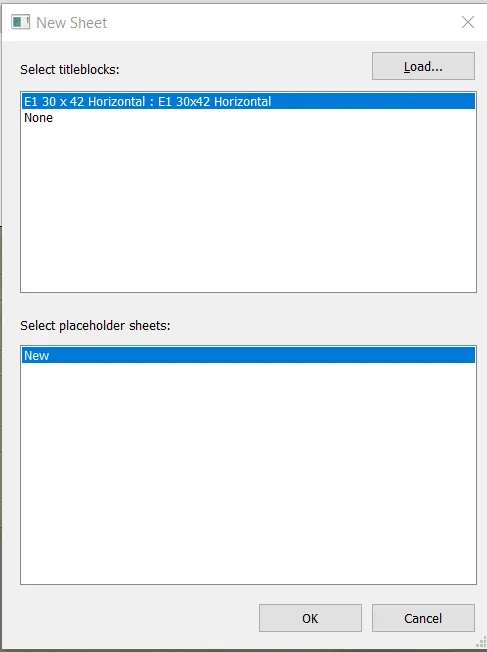
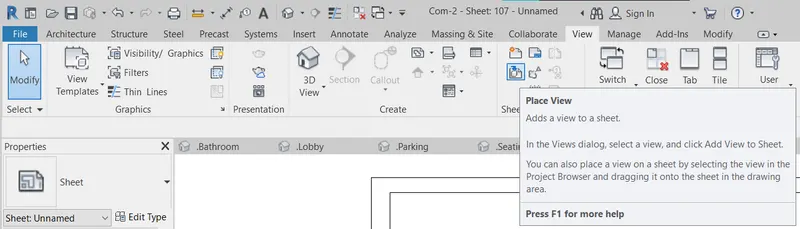
View menu>sheet composition>place view option
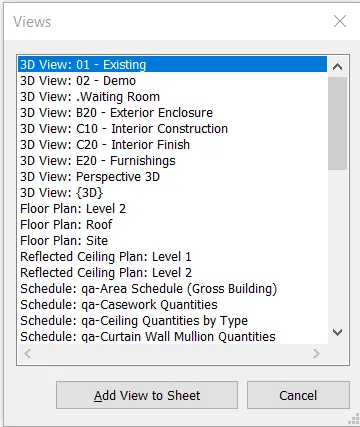
a view dialog box will open
make the required view in the sheet
a. Floor Plans with Annotations
- first, insert the floor plan on the sheet
- and also room tag is inserted and make the viewport dialog box to edit the specification
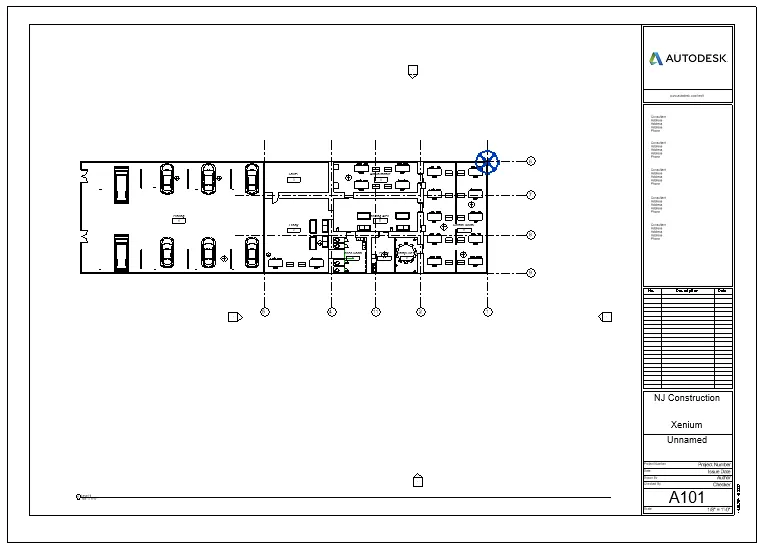
b. Elevations
Secondly, insert the elevation on the sheet
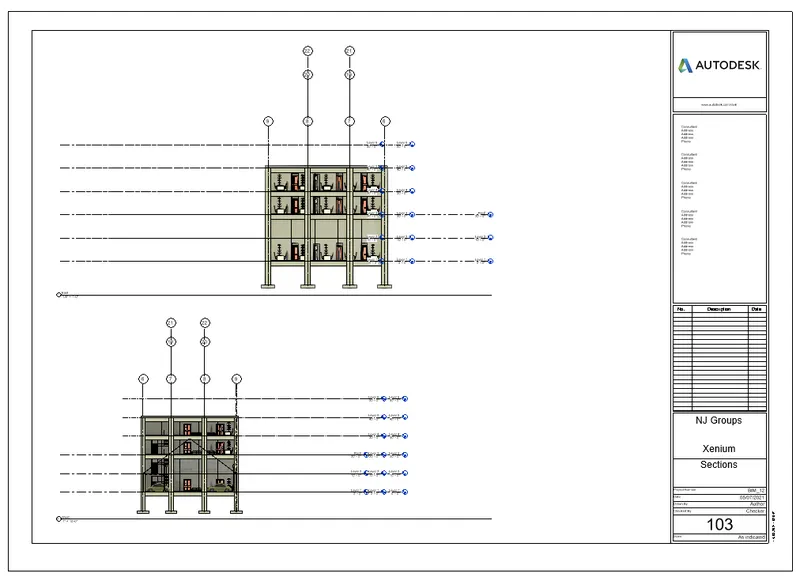
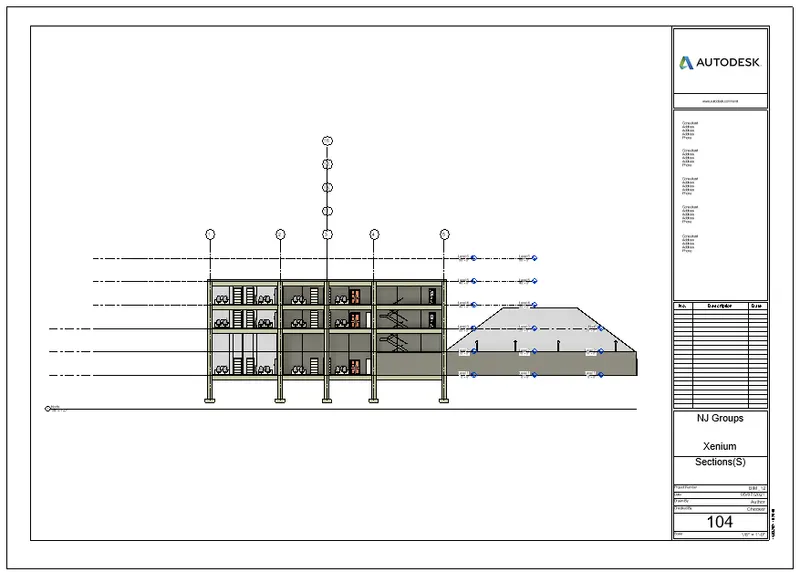
c. Sections
thirdly, insert the section on the sheet
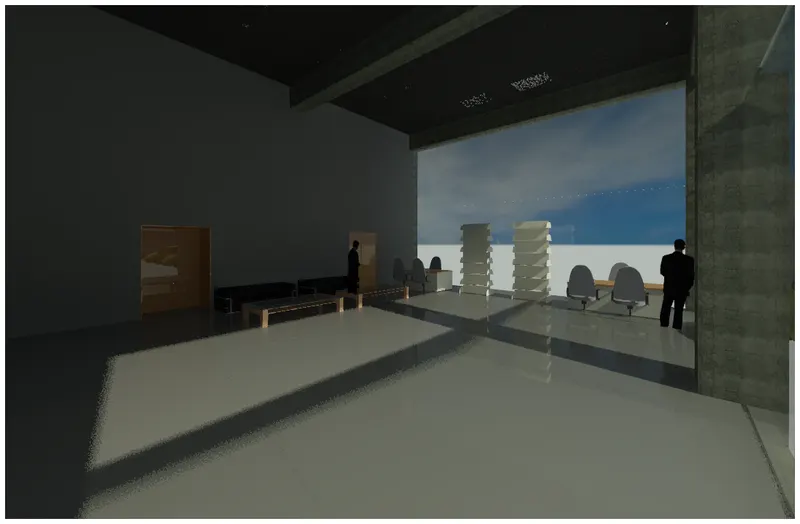
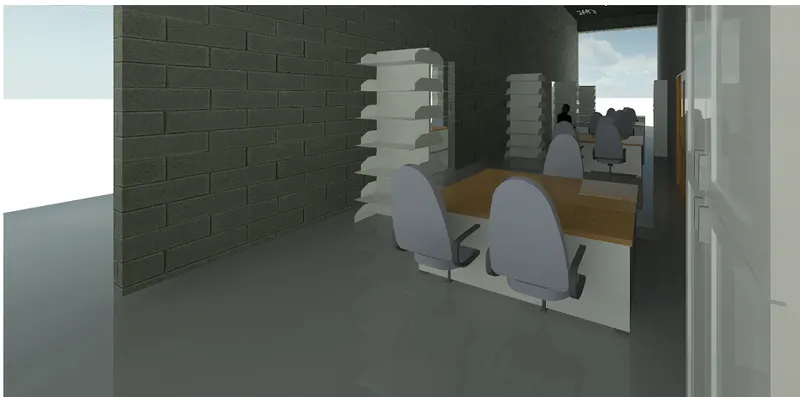
6) Using the Rendering settings, Render images of the 3D model produced and include the rendered images in the drawing sheets
a. Rendering from interior rooms
b. Rendering from out showing topographic features
c. Rendering through structural framing
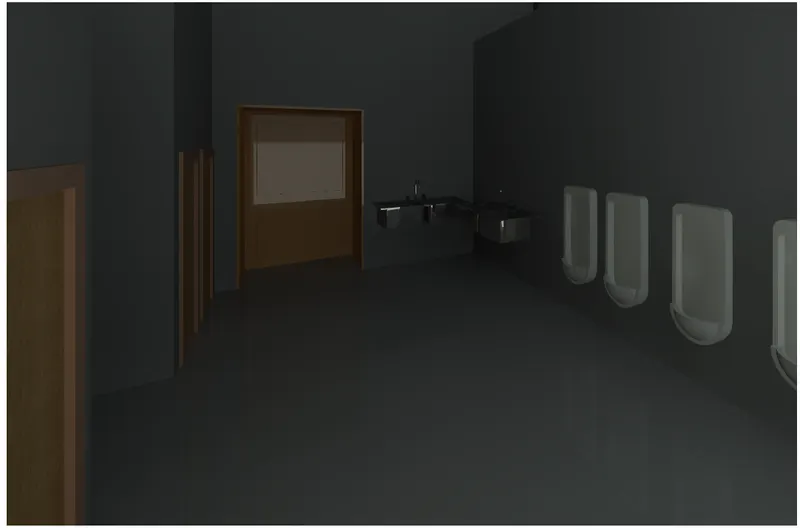
7) Print the set of drawing sheets created and submit the drawings from the architecture and structure model
done by the printer