Creating a Wardrobe detailed drawing, Floor Plan, Kitchen Layout and Column Detail using AutoCad
C1
AIM: To draw the elevation and details of a wardrobe
PROCEDURE:
STEP 1:
- In command prompt type UNITS, set to decimal, precision = 0, insertion scale = millimetres
- In command prompt type LIMAX and LIMITS set to desired
- In command prompt type ZOOM, All and enter
STEP 2:
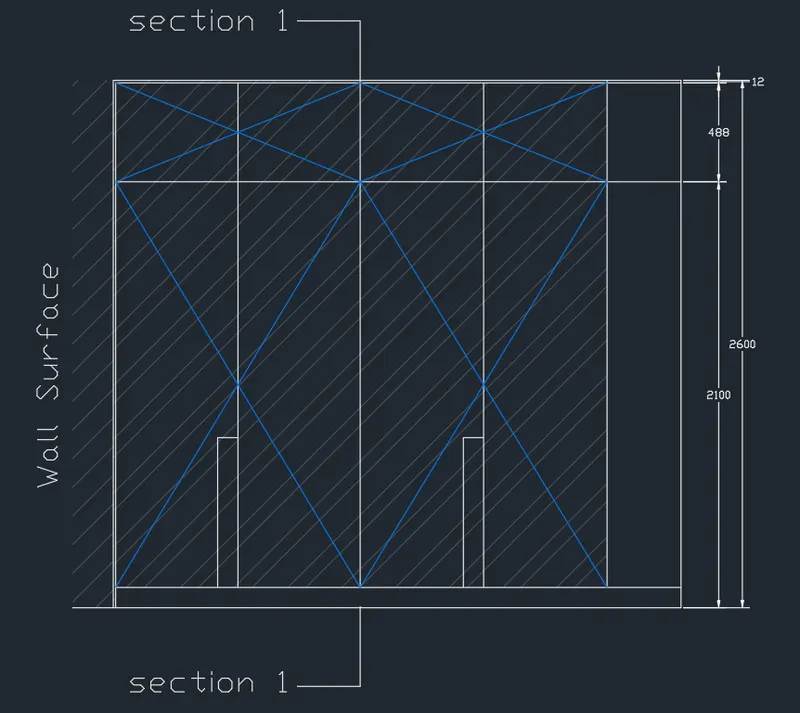
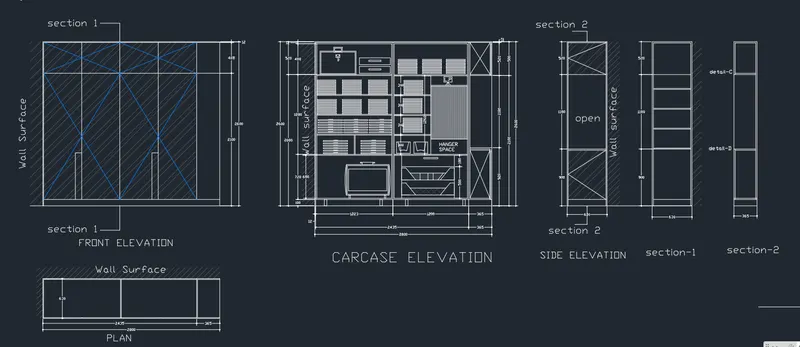
FRONT ELEVATION
- In command prompt type REC, assign length, width as 2800,2600
- In command prompt type EXPLODE, explode the rectangle so that we can work on individual segments
- In command prompt type OFFSET, specify distance as 12 and offset from top to bottom direction
- In command prompt type OFFSET, specify distance as 12 and offset from left to right direction
- In command prompt type OFFSET, specify distance as 488 and offset from top to bottom direction
- In command prompt type OFFSET, specify distance as 100 and offset from bottom to top direction
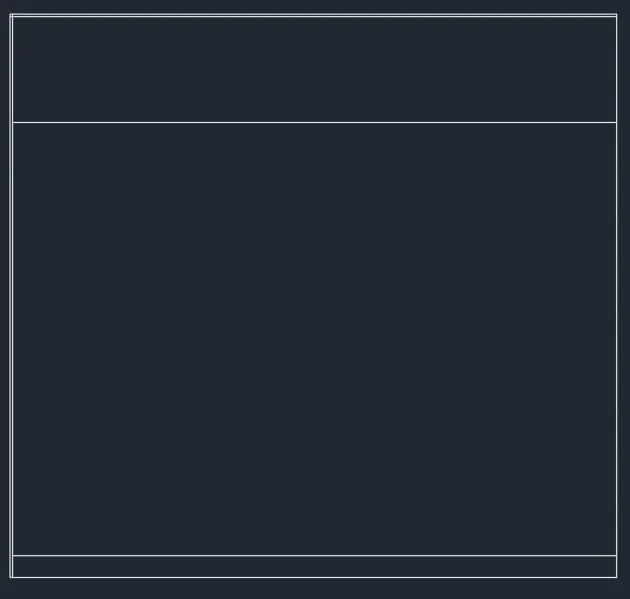
- In command prompt type EXPLODE, explode the rectangle so the individual segments can be offset
- In command prompt type OFFSET, specify distance as 608.75 and offset from left to right in 4 multiples
- In command prompt type HATCH, hatch the required area and also use transparency as required
- In command prompt type LINE, used as required
- In command prompt type DIMLINEAR, dimensions are assigned
- In command prompt type TEXT and QLEADER, text and leader is assigned
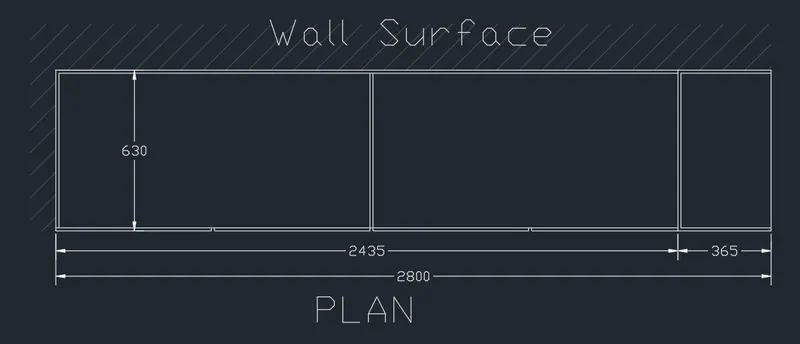
STEP 3: PLAN
- In command prompt type REC, specify length,width as 2800,630
- By using TEXT, OFFSET, DIMLINEAR and HATCH plan is created
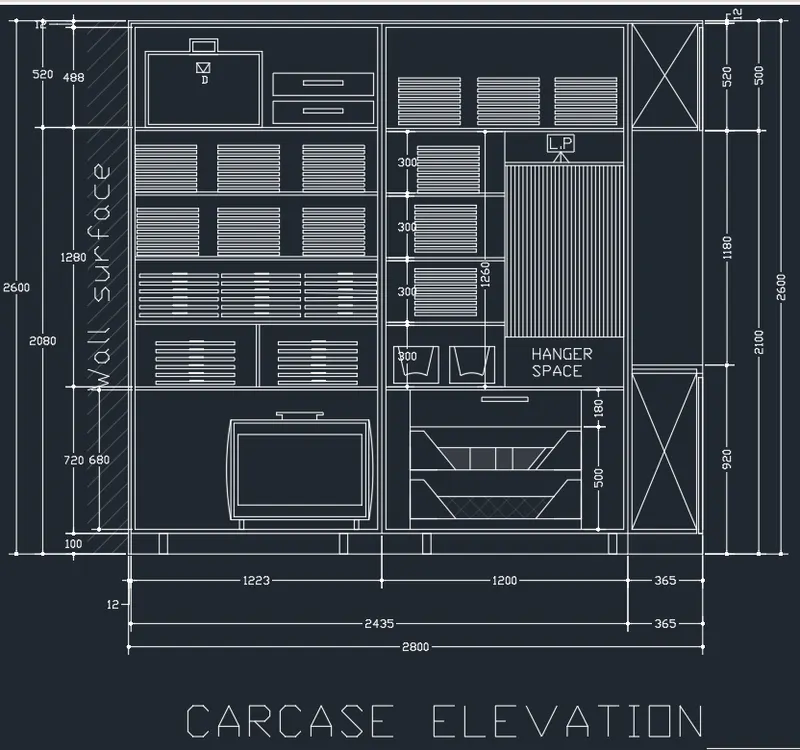
STEP 4: CAR CASE ELEVATION
- By using LINE, REC, TRIM, OFFSET, HATCH, COPY, MOVE and DIMLINEAR are used as were required to draw desired diagram
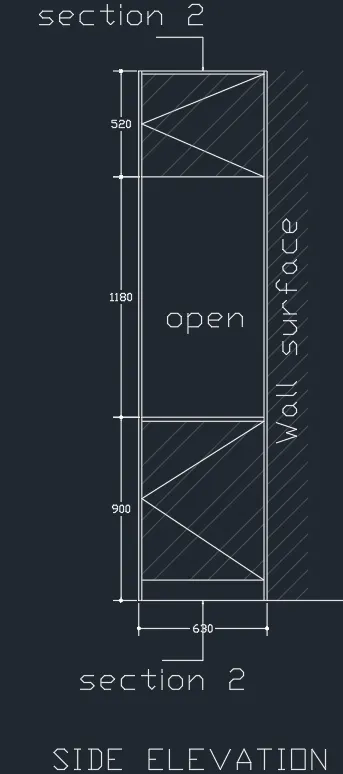
STEP 5: SIDE ELEVATION
- By using REC, OFFSET, TRIM, HATCH, TEXT, QLEADER and DIMLINEAR Side elevation is prepared
RESULT:
C2
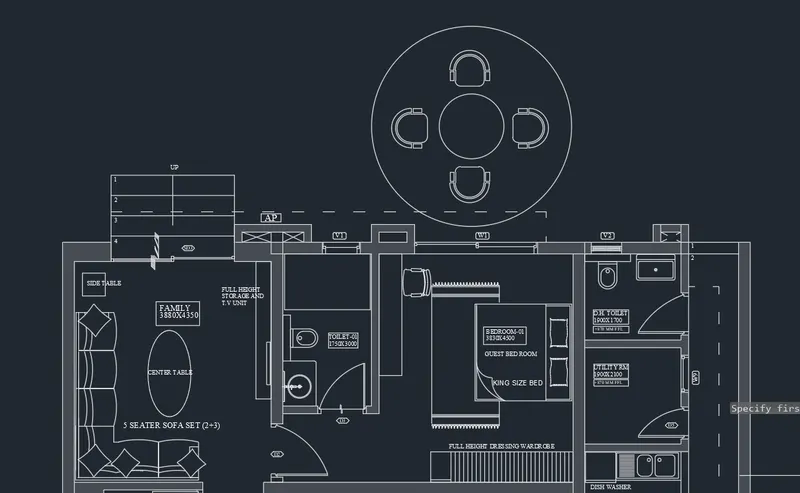
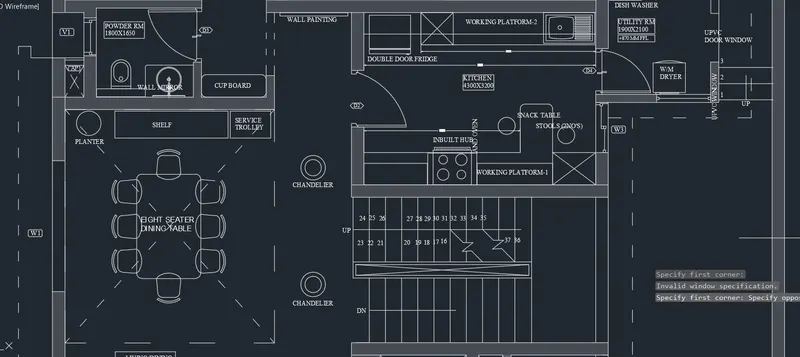
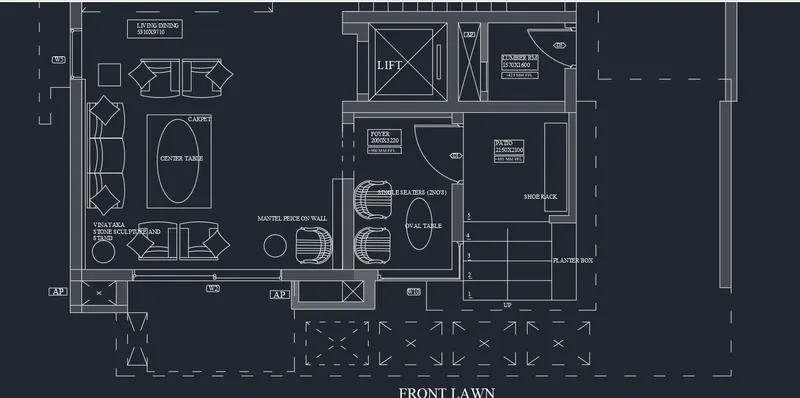
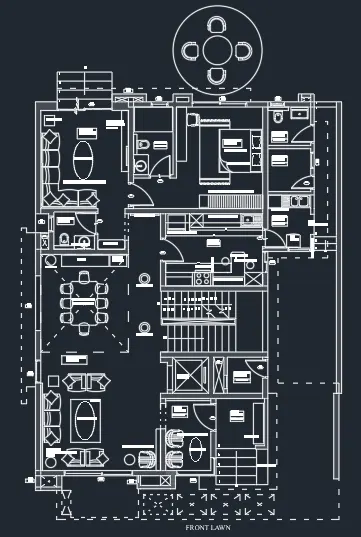
AIM: To draw the given floor plan
PROCEDURE:
STEP 1:
- In command prompt type UNITS, set to decimal, precision = 0, insertion scale = millimetres
- In command prompt type LIMAX and LIMITS set to desired
- In command prompt type ZOOM, All and enter
STEP 2:
- In command prompt type XL, assign desired horizontal and vertical lines by OFFSET command
- Using commands like ARC, TRIM, LINE doors are created
STEP 3:
- By using commands like DIML, DT, LT AND LW dimensions and text are created
- In command prompt type ADC, desired Block is used as where ever requried
STEP 4:
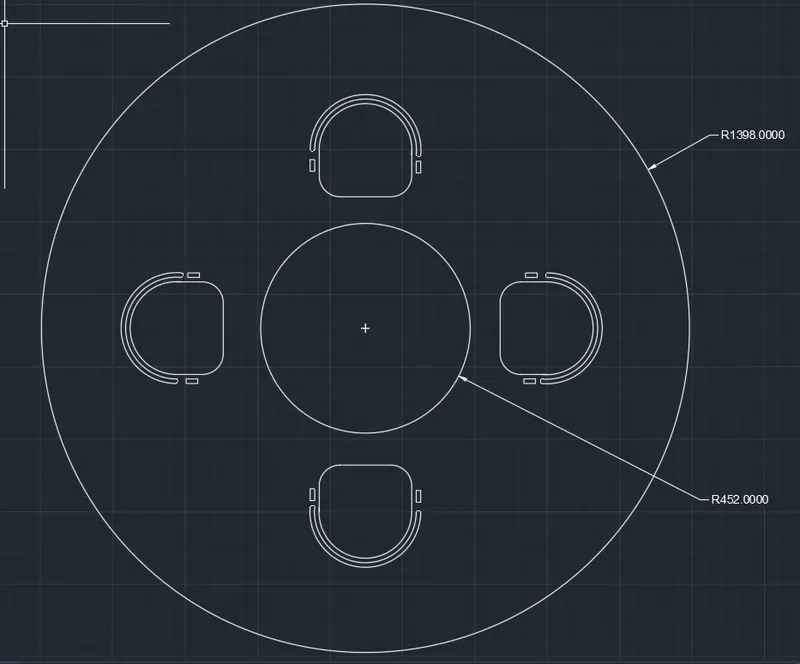
Circles
- In command prompt type CIRCLE, specify centre anywhere and assign radius as 452
- In command prompt type CIRCLE, specify centre from previous circle centre and assign radius as 1398
CHAIRS
- In command prompt type CIRCLE, specify centre anywhere and assign radius as requried
- In command prompt type REC, specify point with reference to the centre imaginary line of circle and assign from middle chord of circle to bottom of circle like as shown below
- In command prompt type TRIM, trim the middle chord of circle and bottom semicircle after trimming unwanted lines the object looks like below
- In command prompt type OFFSET, specify the offset distance as per required and done twice as appeared in below diagram
- In command prompt type Fillet, specify the lines and radius as 90
- From the modify ribbon under fillet, blend curve option is selected and blend of offset curves done and final output is below
- In command prompt type REC, specify point below the blend curve and make rectangle that looks like handles as shown below on both side
- Desired chair is drawn clearly below
SEATING ARRANGEMENT
- The chair is copied into required numbers and placed with the help of commands move, copy and rotate.
RESULT:
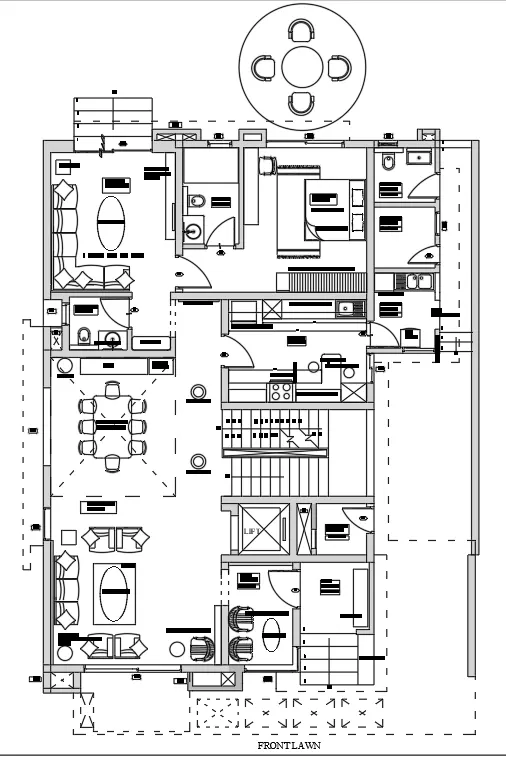
C3
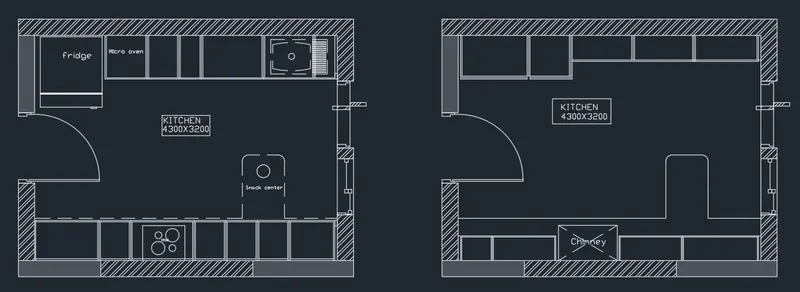
AIM: To Create the Kitchen Layout as shown in the Figure below. Also, use proper dimension techniques to dimension the kitchen layout. Also, insert text wherever required. All dimensions are in mm.
PROCEDURE:
STEP 1:
- In command prompt type UNITS, set to decimal, precision = 0, insertion scale = millimetres
- In command prompt type LIMAX and LIMITS set to desired
- In command prompt type ZOOM, All and enter
STEP 2:
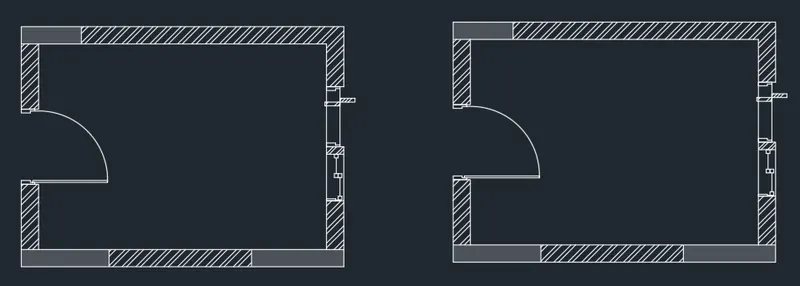
- In command prompt type REC, specify point and assign dimensions as length, width as 4300,3200
- In command prompt type OFFSET, specify distance as 230 and offset the rectangle
- In command prompt type LINE, assign required lines at corners
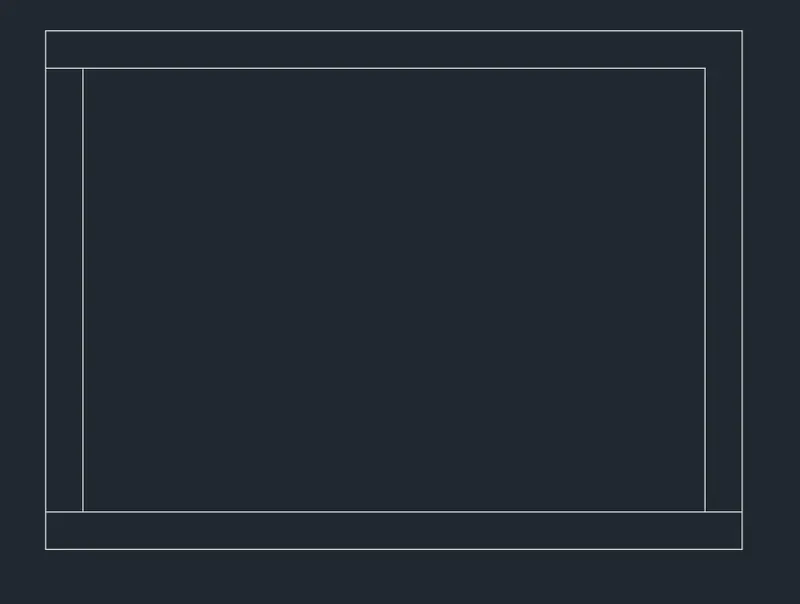
STEP 3:
- By using LINE, REC, ARC and TRIM commands door is created as per requried
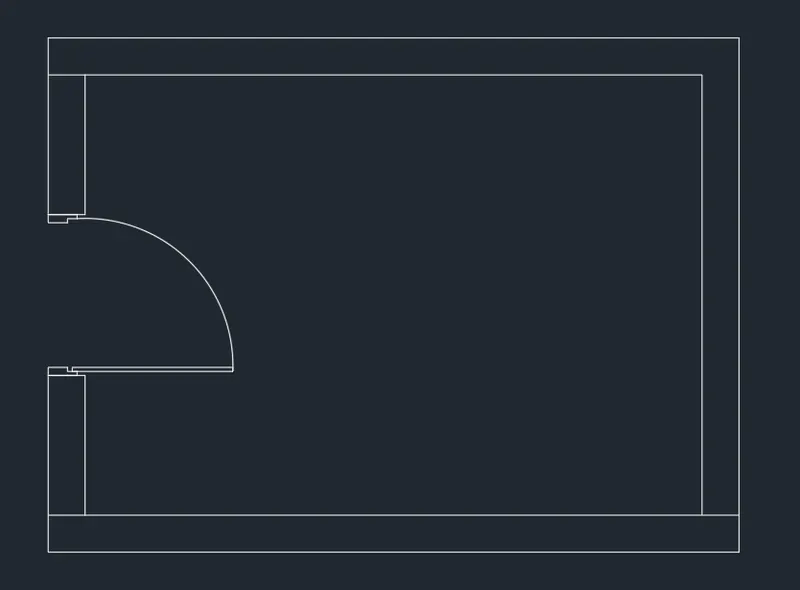
STEP 4:
- In command prompt type HATCH, select the required hatch and assign in diagram
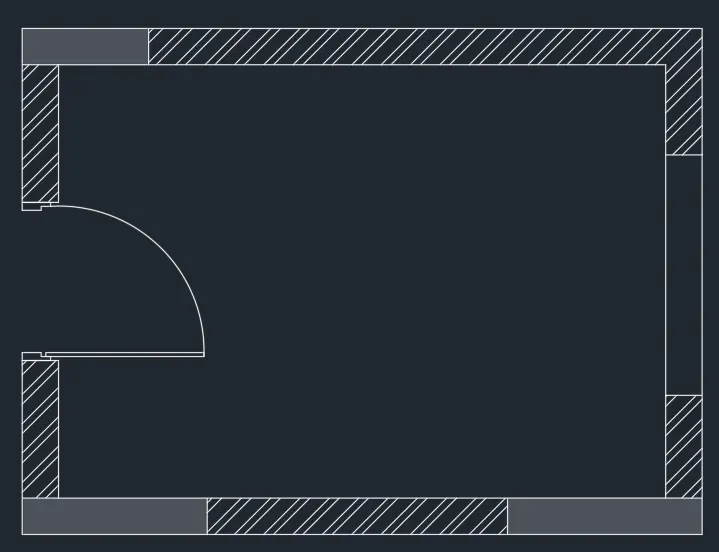
STEP 5:
- By using REC, LINE and TRIM commands the windows are created
- In command prompt type COPY, select the diagram and make a copy of it.
STEP 6:
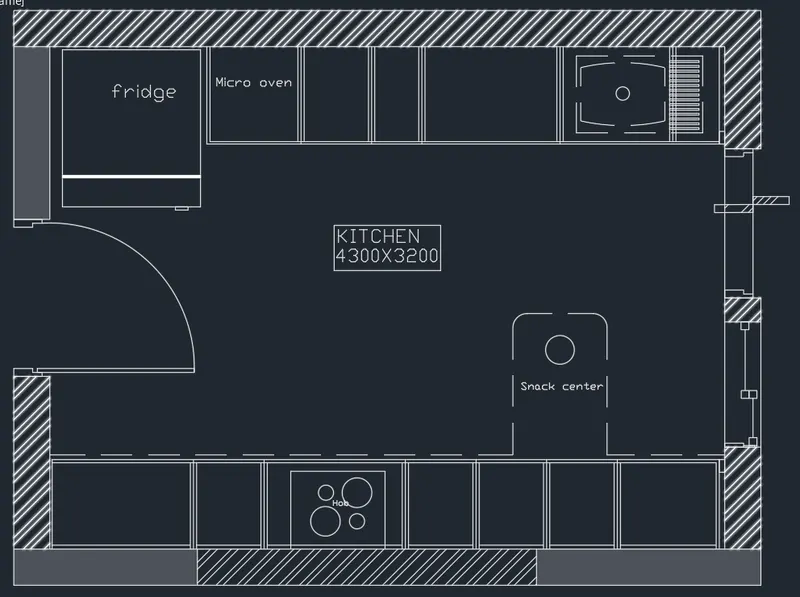
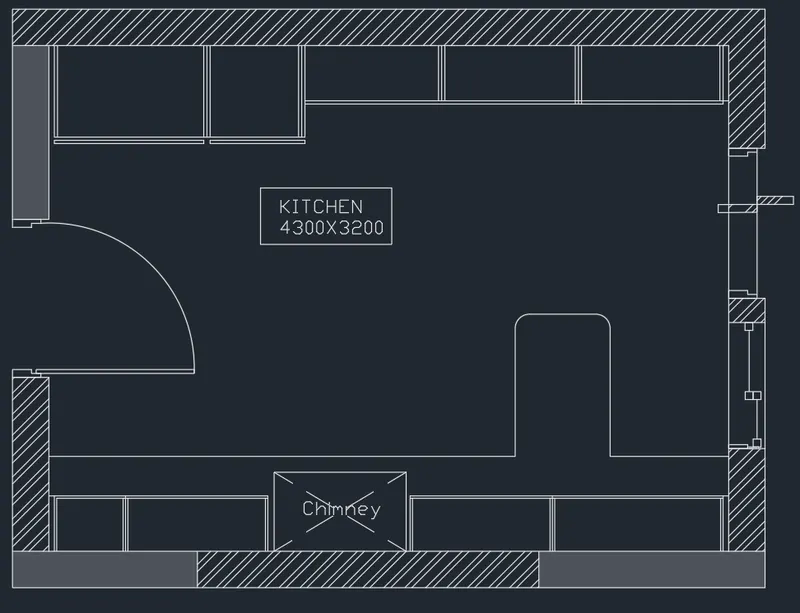
- By using LINE, REC, TRIM, OFFSET, FILLET and TEXT commands assigned to diagram
STEP 7:
- By using DIMLINEAR, DIMCONT, CIRCLE, TEXT and LT are assigned to get desired diagram
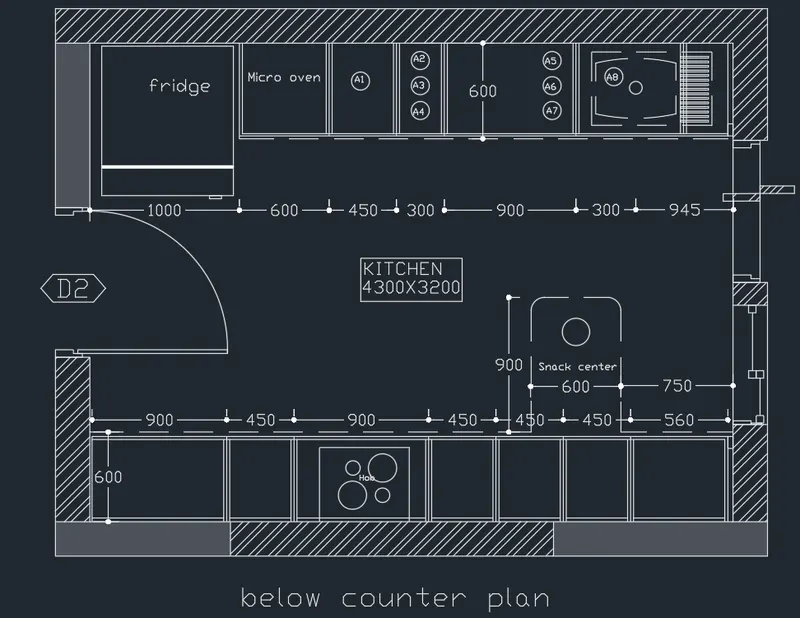
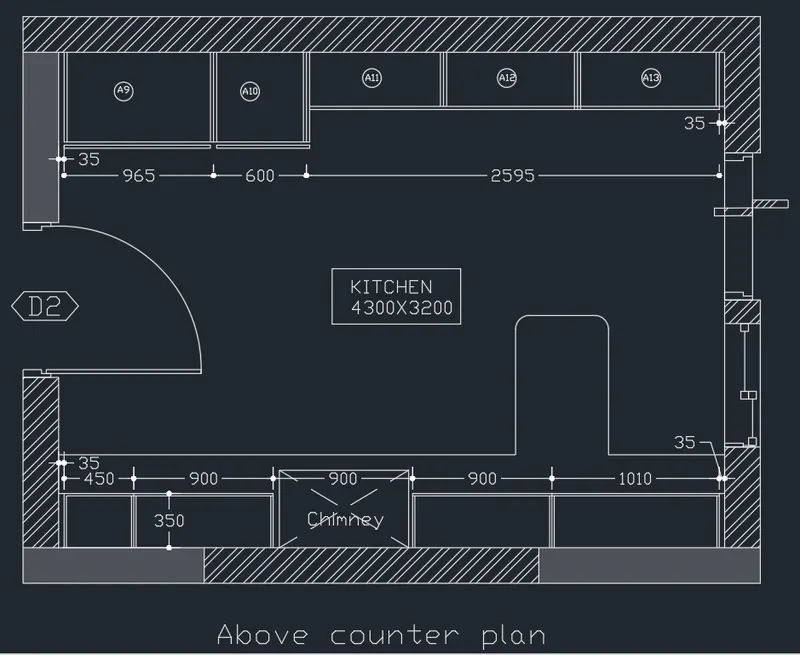
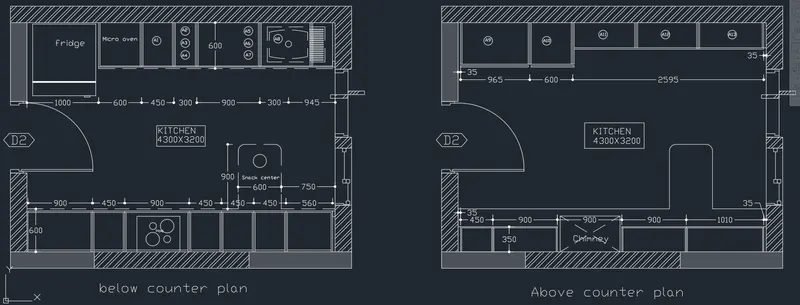
RESULT:
C4
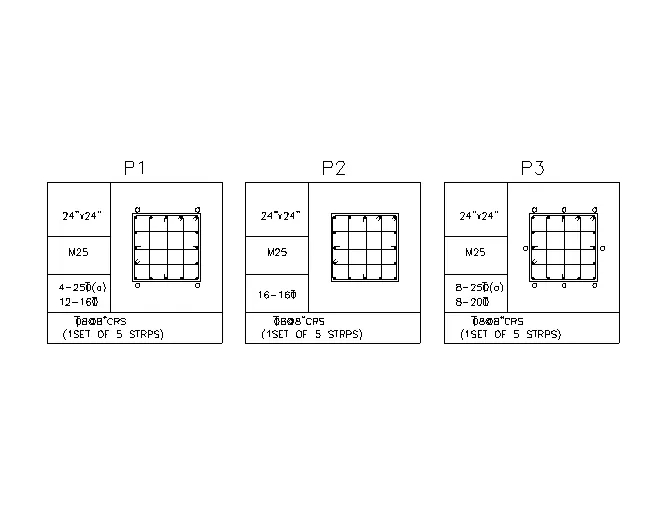
AIM: TO Sketch the column details as shown in Figure
PROCEDURE:
STEP 1:
- In command prompt type UNITS, set to decimal, precision = 0, insertion scale = millimetres
- In command prompt type LIMAX and LIMITS set to desired
- In command prompt type ZOOM, All and enter
STEP 2:
- By using REC and LINE commands the below tables are drawn
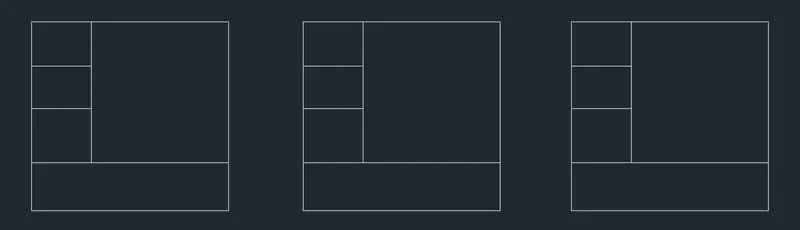
STEP 3:
- By using TEXT and TEXTEDIT commands the text is assigned
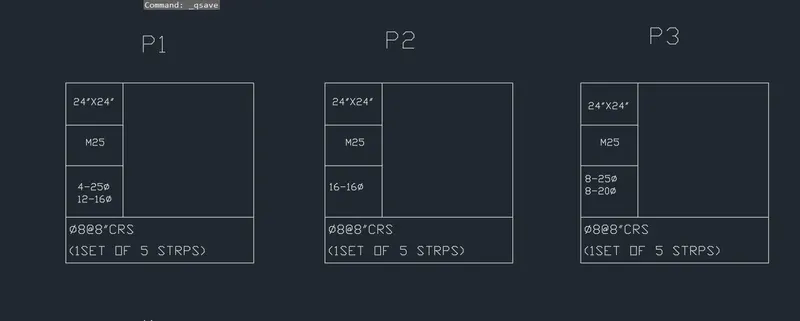
STEP 4:
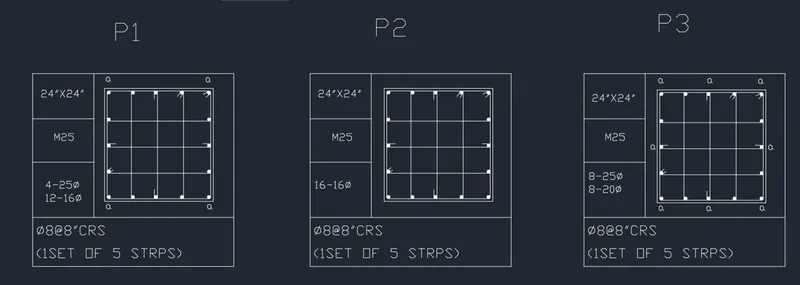
- In command prompt type REC, create desired rectangle
- In command prompt type OFFSET, specify distance as 0.3 and create offset of rectangle
- In command prompt type FILLET, select radius as 0.2 and assign at corners of internal rectangle
- In command prompt type LINE, specify point from end and draw horizontal and vertical
- In command prompt type OFFSET, specify distance as required and offset the horizontal and vertical lines as required numbers
- In command prompt type CIRCLE, specify point and centre and create the circles as required and assign as shown in given figure
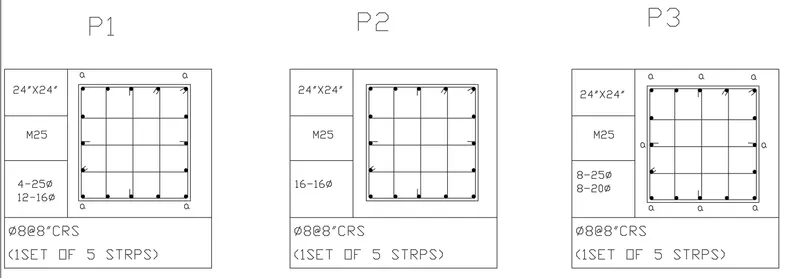
RESULT:
From Layout 2
C5
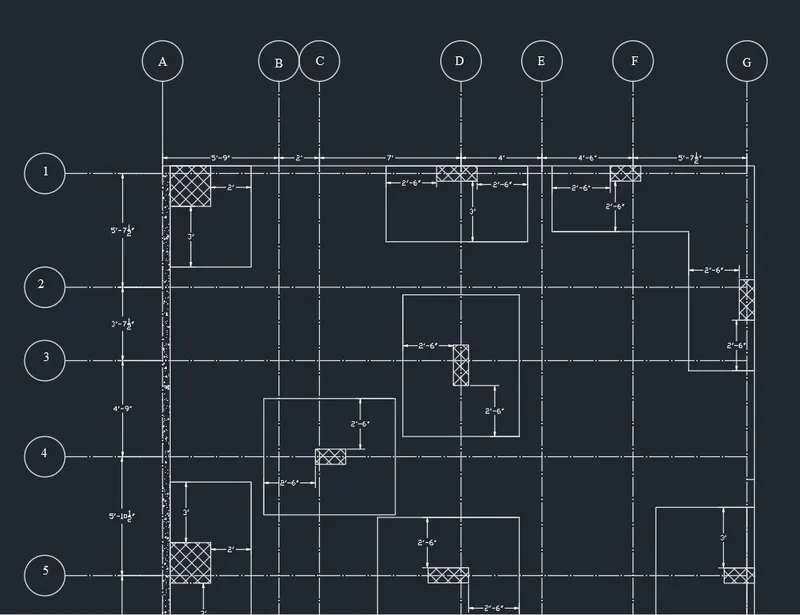
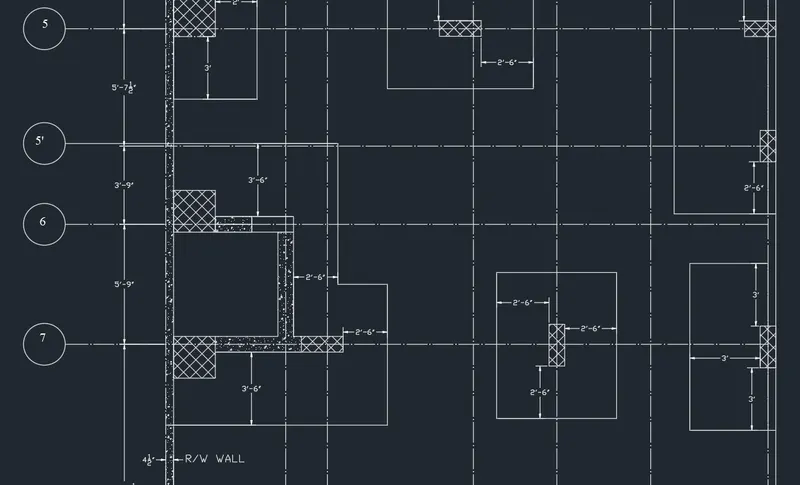
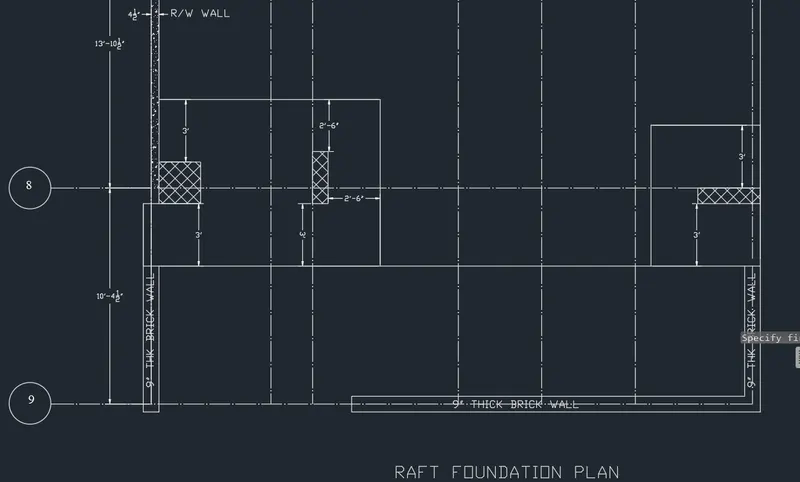
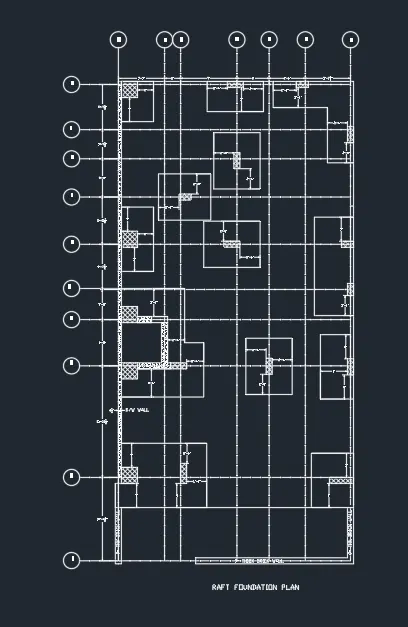
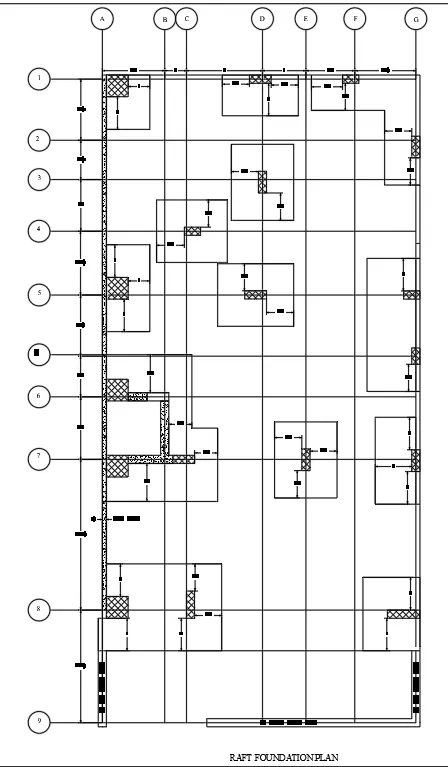
AIM: To draw the Raft Layout
PROCEDURE:
STEP 1:
- In command prompt type UNITS, set to Architectural, precision = 0'-0 1/2", insertion scale = inches
- In command prompt type LIMAX and LIMITS set to desired
- In command prompt type ZOOM, All and enter
STEP 2:
- In command prompt type REC, assign the rectangle
- In command prompt type XL, offset the horizontal and vertical lines as desired
- In command prompt type LT, select load and assign ACAD-ISO04W100, so we get ISO long-dash dot line for the dimension
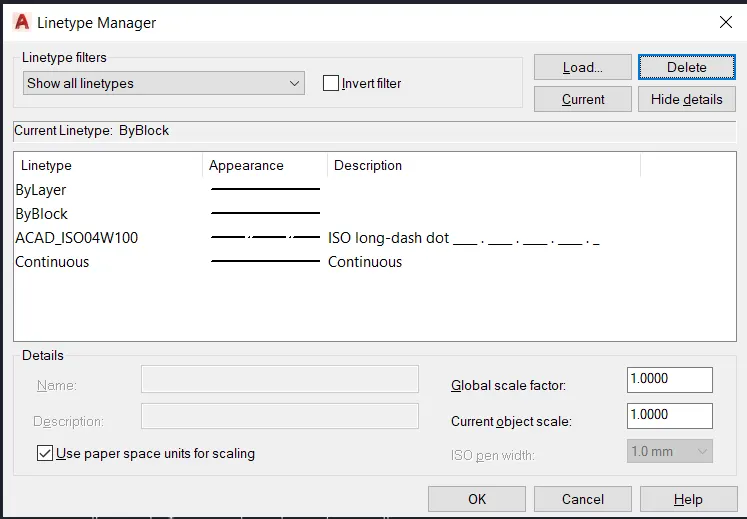
- Assign the long-dash dot lines in grid manner
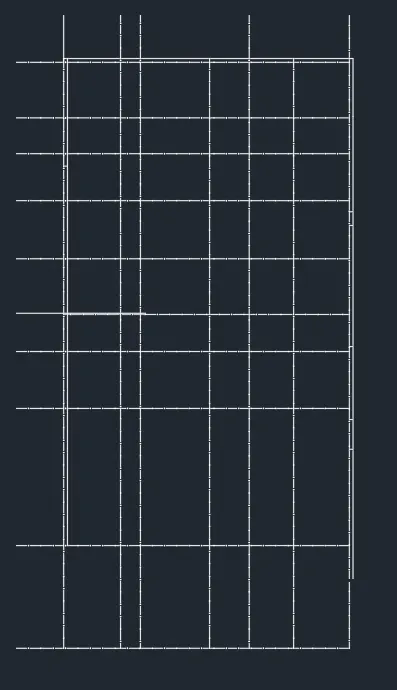
- Using DIML cmd dimensions are created
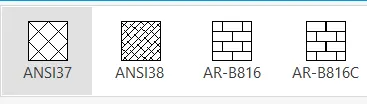
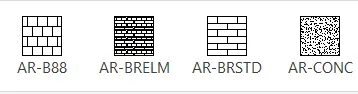
- Using HATCH cmd select AR-CONC for 4.5" R/W wall & ANS137 for column
RESULT: