Creating a Residence Layout, Seating plan, Toilet and Utility room plan using AutoCad
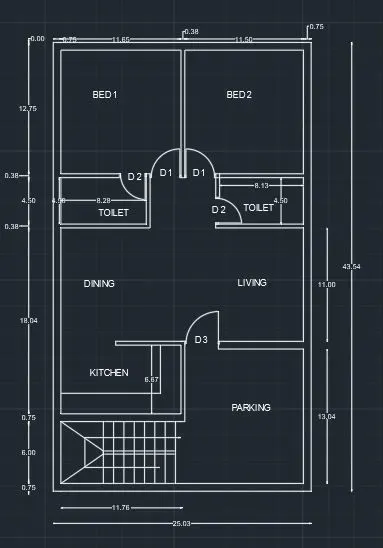
1) Aim : To sketch the given layout with appropriate dimensions
procedure :-
- convert all the dimensions into feet befor estarting to draw.
- start a new drawing in autocad and select the units as feet
- switch on ortho mode and start drawing the layout according to the dimensions.Make use of offset option for drawing.
- draw 3 seperate doors of different size as mentioned and make them into a block.dynamic block can also be use dfor D1 and D2 .
- trim the unnecessary lines and start dimensioning (use dimcontinue while dimensioning)
- use text option while writing the texts
- the resulting figure is as shown below
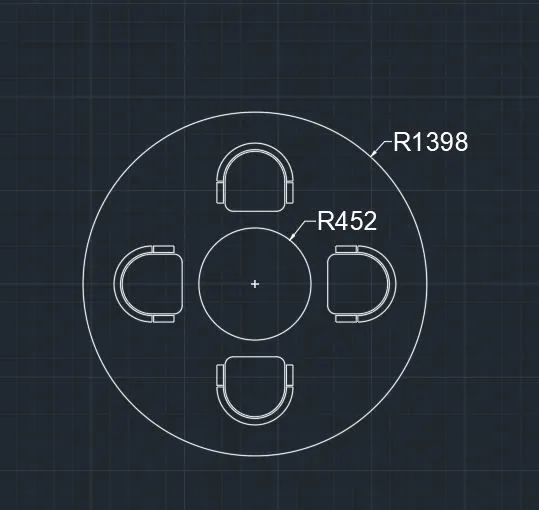
2) Aim :- To sketch the seating plan for an outdoor canopy.
procedure :-
- start a new page in autocad with unit in mm
- draw two circles of radius 453mm and 1389mm with the same central point
- draw a rectangle of suitable dimension and fillet the bottom two corners of the rectangle.
- draw a circle with the centre at the centre of the top line of the rectangle and trim off its uneccesary parts
- offset the semicircle part and the sides of the rectangle as shown in the figure an dtrim unecccesary parts
- make this figure into a block and then place it iin between the two circles drawn earlier.
- take array option and polar array and make 4 items of it .
- the resulting figure is as shown below.
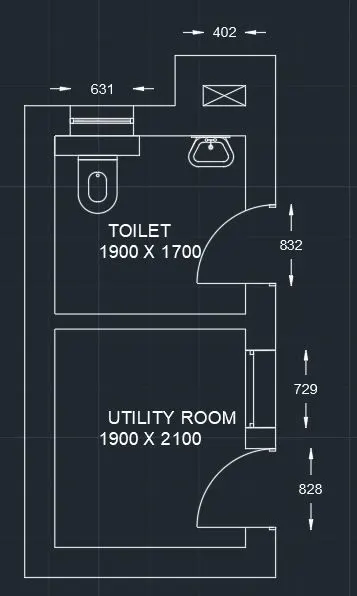
3) Aim :- To sketch the part plan for the toilers and utilities room. Consider the outer wall thickness as 300mm and inner wall thickness as 150mm
procedure:
- start a new drawing in autocad and select the units as mm
- switch on ortho mode and start drawing the layout according to the dimensions.Make use of offset option for drawing.
- draw doors and windows according to the gievn dimensions and make them into blocks
- draw toilet and wash basin using rectangle, circle fillet and trim tools
- trim the unnecessary lines and start dimensioning (use dimcontinue while dimensioning)
- use text option while writing the texts
- the resulting figure is as shown below