Creating a Residence Layout, Seating plan, Toilet and Utility room plan using AutoCad
AIM : Creating a Residence Layout, Seating plan, Toilet and Utility room plan using AutoCad
Challage
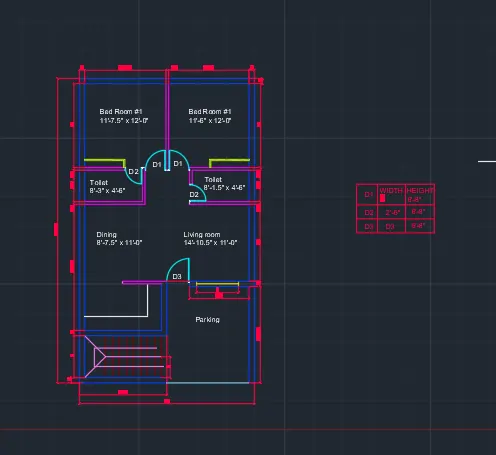
1. Residence Plan:
Sketch the layout of a residence as shown in the Figure 1. Consider all dimensions as reference to sketch the unit plan. Also the text in the layout are only for reference. Assume the missing dimensions. Also, refer the schedule for size of the doors.
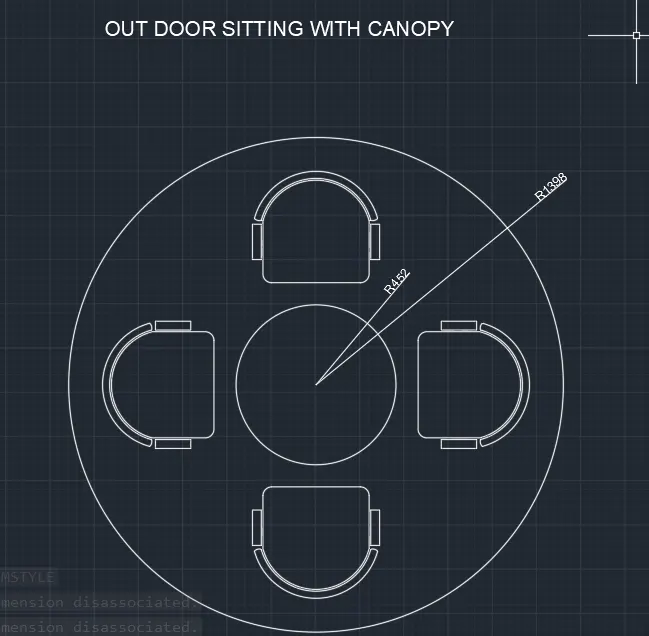
2. Sketch the seating plan for an outdoor canopy. Assume the dimensions for the seating. Also, consider the dimensions in mm.
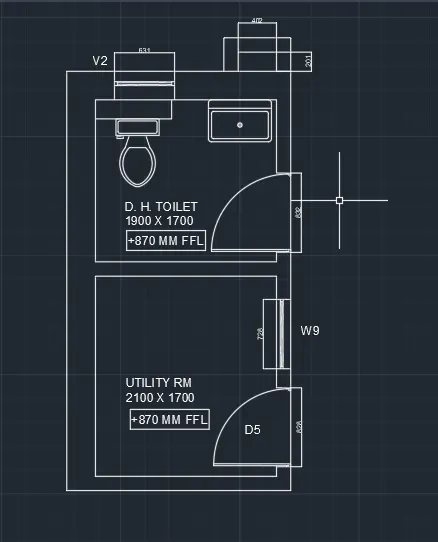
3. Sketch the part plan for the toilers and utilities room. Consider the outer wall thickness as 300mm and inner wall thickness as 150mm. Also, assume the missing dimension, Texts, dimensions, and hatches are only for references. Also, symbols for toilets and w/c are also for references.
INTRODUCTION :
- Drawing a residence layout, Seating Plan, Toilet and utilitiy room plan in Autocad.
- Draw the plan as seperate individual layers.
- Using the various commands Like Construction lines, Line, Offset, Trim, Fillet and Arc and Circle
- And mention the Room Dimensions and Text to know the rooms and all.
PROCEDURE :
Challange-1
Step-1
- Open the new Autocad file
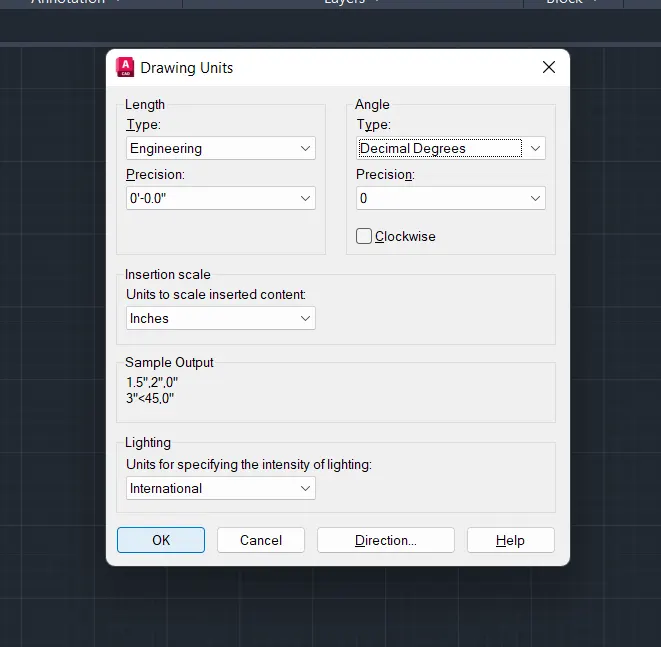
- Use the unit commands by using UN enter
- After a dilaog box open anf change the type Decimal to Engineering and precision as 0'-00" and inserition scale to Inches
- And click on Ok
Step-2
- Set the limits to the drawing area
- Use the command Limts enter
- Specify the first coner is 0',0' and enter
- Sepcify the last corner is 100',100' and enter
- Z enter to zoom the drawing area
- A enter to see the all drawing area.
Step-3
- Use the Construction line by using XL enter and V enter for vertical line and place the any point in drawing area.
- Use the Construction line by using XL enter and H enter for Horizontal line and place the any point in drawing area.
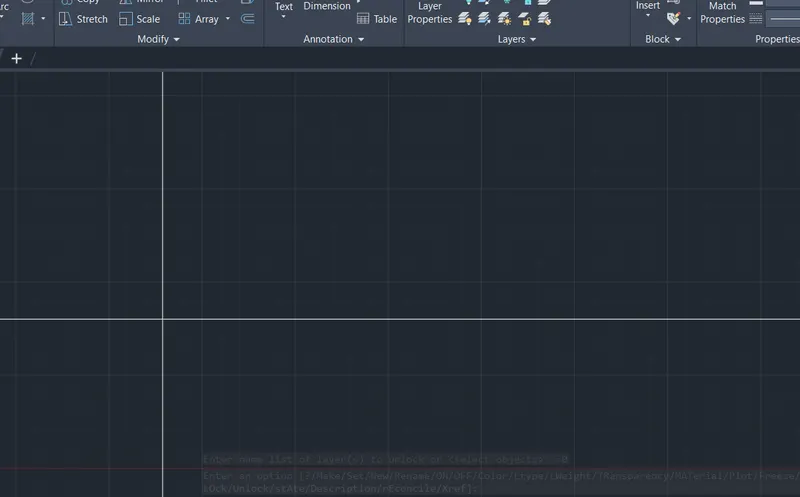
Step-4
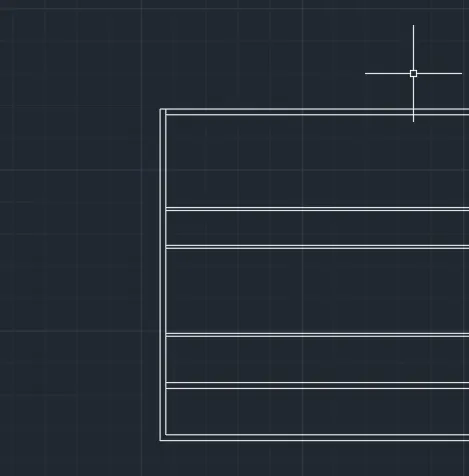
- Use the offset command by using O enter and on Ortho(F8) select the horizontal line and specify the second point towards N Direction at a distance of 9" and enter
- And use the same command select the vertical line and specify the second point towards E Direction at a distance of 9" and enter
- And the trim the unwanted lines and use the filled command to connect the both inside lines
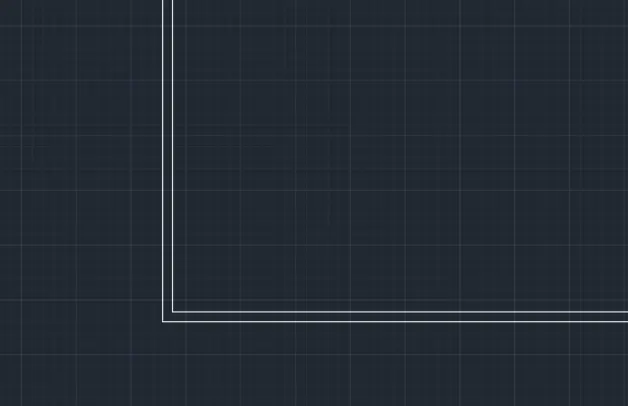
- Again use the O enter and select the inside line and offset of 6' enter towards N direction
- select the that 6' offset line and offset to 9" towards N direction.
- Use in offset command and with 9" offset line and do offset to wards N direction 6'8" and enter
- And the enter the another distance 4.5" and selct that 6'8" offset line and do offset towards N direction and enter
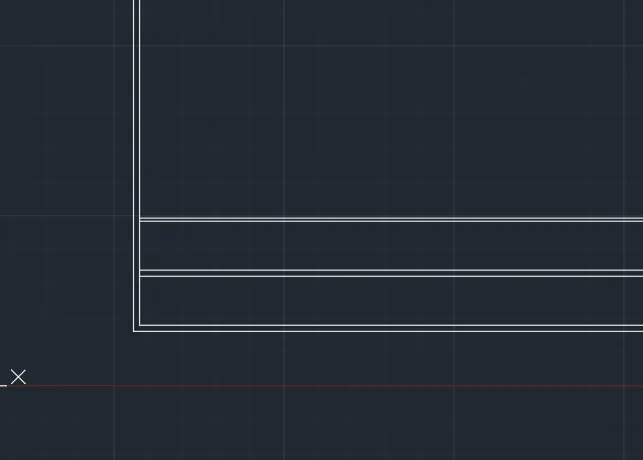
- And the enter the another distance 11' and selct that 4.5" offset line and do offset towards N direction and enter
- And the enter the another distance 4.5" and selct that 4'6" offset line and do offset towards N direction and enter
- And the enter the another distance 4'6" and selct that 4.5" offset line and do offset towards N direction and enter
- And the enter the another distance 4.5" and selct that 12' offset line and do offset towards N direction and enter
- And the enter the another distance 12' and selct that 9" offset line and do offset towards N direction and enter
- And close the offset command by using escape.
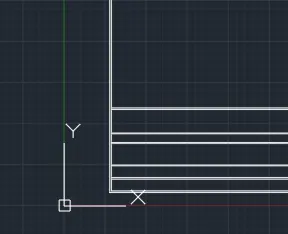
- Use the trim command by using TR double enter and delete the inside vertical line.
- And use the Fillet command by using F enter selct the last offseted 9" line and outside vertical line and no radius enter
Step-5
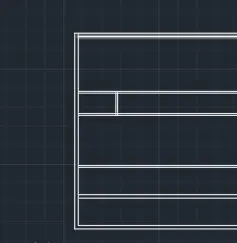
- Again use the Offset command by using O enter
- And select the vertical inside line and do offset at a distance of 8'3" towards E direction and enter
- And do offset to 8'3" line to 4.5" towards E direction
- And close the offset command by using escape
- Use the trim commanf by using TR double enter and trim the unwanted lines and enter
- Again use the Offset command by using O enter
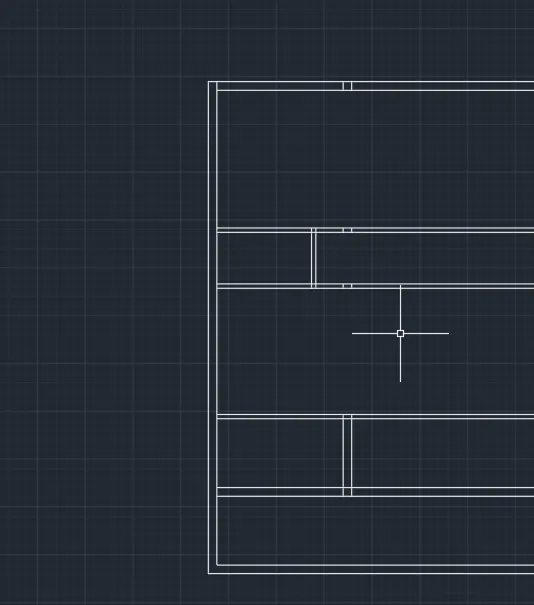
- And select the vertical inside line and do offset at a distance of 11' towards E direction and enter
- Ans Select the 11' offset line and again do offset to 9" towards E direction
- Use Trim command by using Tr double enter and trim the unwanted lines and enter
- Again use the Offset command by using O enter
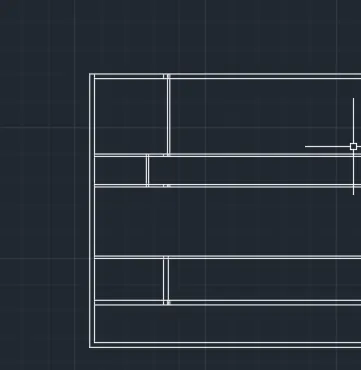
- And select the vertical inside line and do offset at a distance of 11'7.5" towards E direction and enter
- Ans Select the 11'7.5" offset line and again do offset to 4.5" towards E direction and close the offset commad
- Use Trim command by using Tr double enter and trim the unwanted lines and enter
- Again use the Offset command by using O enter
- And select the vertical inside line and do offset at a distance of 15' towards E direction and enter
- Ans Select the 15" offset line and again do offset to 4.5" towards E direction and close the offset command
- Use Trim command by using Tr double enter and trim the unwanted lines and enter
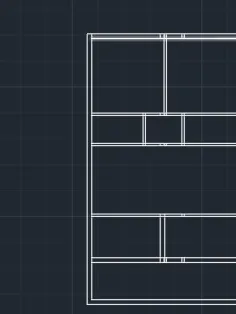
- Again use the Offset command by using O enter
- And select the vertical inside line and do offset at a distance of 23'6" towards E direction and enter
- And Select the 23'6" offset line and again do offset to " towards E direction and close the offset command
- Use Trim command by using Tr double enter and trim the unwanted lines and enter
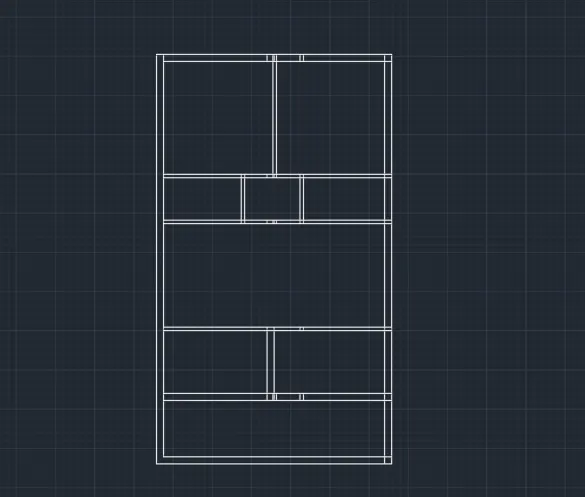
- Use the Trim command by using TR double enter and trim the lines in exterior wall and unwanted lines
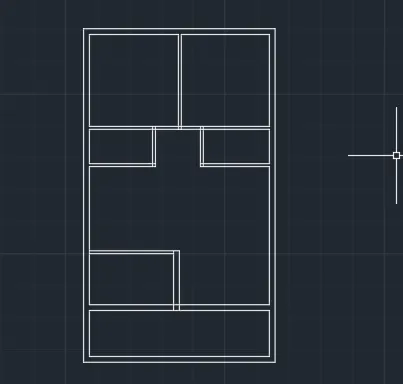
- Use the offset command by using O enter
- And do offset to the exterior wall of kitchen to offset of 6'4" towards W direction and close the command
- Use the trim command by using TR double enter and triming the unwanted lines and close the command
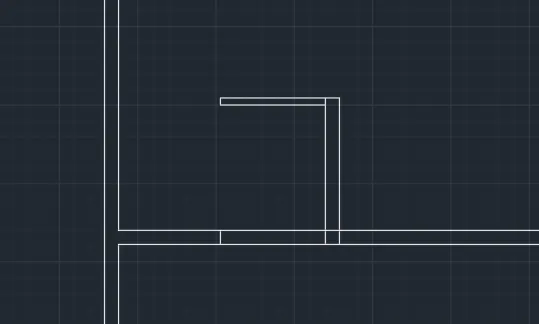
- Use the offset command by using O enter
- And do offset to the exterior wall of kitchen to offset of 3'3" towards E direction
- And do offset to the bed room 1 bathroom interior wall to offset of 2'6" towards W direction
- And do offset to the comman bathroom interior wall to offset of 2'6" towards N direction and close the command
- Use the trim command by using TR double enter and triming the unwanted lines and close the command
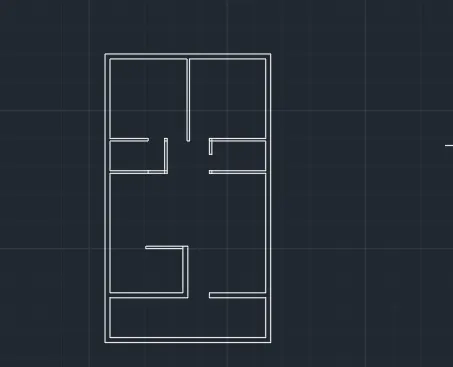
- Use the offset command by using O enter
- And do offset to the Stair case wall inner face to offset of 3' towards E direction and enter
- And do offset to the 3' line with 1' and selecte the M enter and it ask the number of entris and mention 8 enter so 8 lines form with the distance of 1' towards E direction and enter
- Use the object snap option use the cursor to the mid point to the stair case interior line
- Use the line command by using l enter and start from the mid point of the stair case interior line towards E direction with a distance of 11' and enter
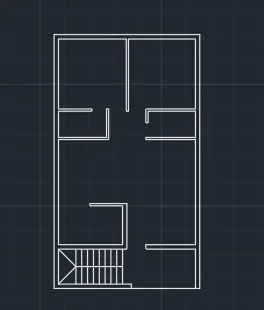
- Use the rectangle command by using rect enter
- Specify the first point as SE corner point of the bedroom with a distance of 5'7", 1' and enter and close the command
- Use the Explode command by exploding the rectangle command and enter
- Use the offset command by using O enter select the top line of the rectangle command by and do offset of 2" and enter
- Use the offset command by using O enter select the Right line of the rectangle command by and do offset of 2" and enter and close the command
- Select the rectangle command by using and do mirror take the refernece line center of interior line and towards the N direction
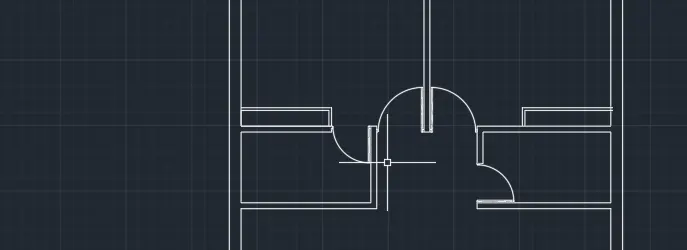
- Use the offset command by using O enter select the interior line of Kitchen area
- And to offset of 2' Towards N direction and again select the Right side Vertical line and do offset of 2" towards W direction and use the fillet option and select the both lines to remove unwanted lines
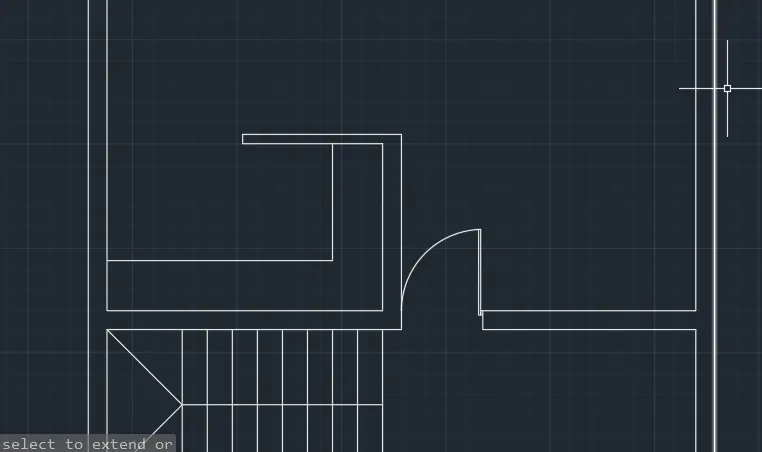
Step-6
- So we need to fix the doors for main enterance is D3 and bedroom enterance is D1 and bathroom enterance is D2
- First we are doing the Main enterance door
- Use the line command by using L enter select the first point corner point of the exterior wall of enterance
- Draw a line towards W direction with 1" and N direction with 2" and E direction 1" to create the door support ingh and close the command by using Escape
- Use the line command and draw a line for the first ingh point towards N direction with distance of 3' and enter
- Use the offset command by using o enter do offset with a distance of 1" and enter and close the command by using escape
- Use the circle command by using c enter selcet the first point as end point of the offset line and draw circle towards W direction of the outer face of the Kitchen room and close the command by using C enter
- Use the Trim command by using TR double enter
- Trim the remaining unwanted lines
- And do asual for all doors lines
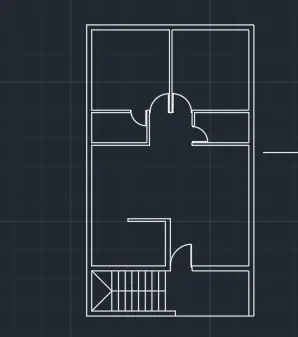
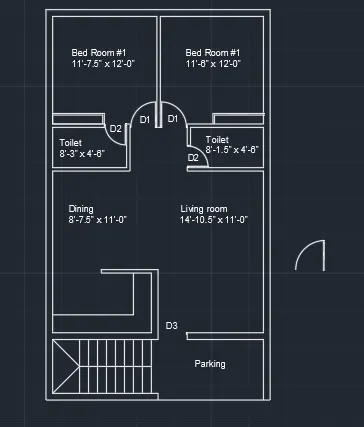
- Use the text by selecting the multiline test in the ribbon
- Select the area to mentiom the text with the text area and enter
- Write the text by using "LIVING ROOM" and its dimensions and close the command
- Wheather it displayed small so we have to use the scale command to scale the object and enter
- So copy the text by using CO enter
- Place the areas we need to enter the text as required area and after we can edit that test by double clicking that text
- I Did a mistake near Main enterance so i just changing that
- So use the Move command by using M enter
- And select the object main enterance door D1 enter and move and place at another loaction in drawing area and enter
- Draw a refernce line from the outer line of the kitchen area at a distance of 3' and enter
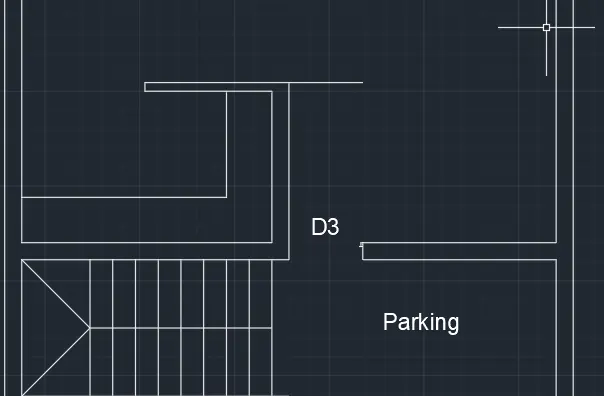
- Use the streath command by usind S enter and the objets as shown in figure
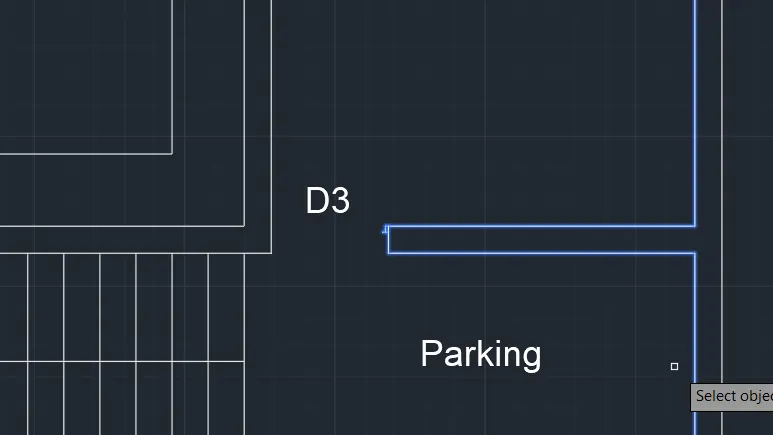
- And click enter
- And select the base point as shown in figure
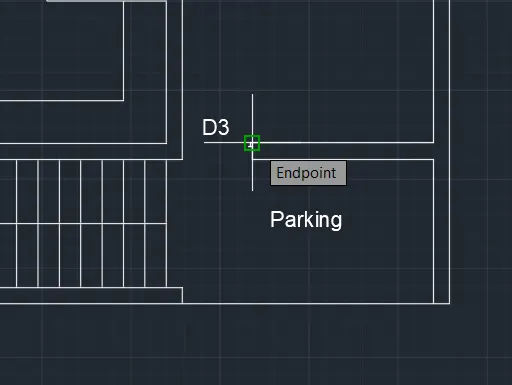
- And streach towards the reference line drawn
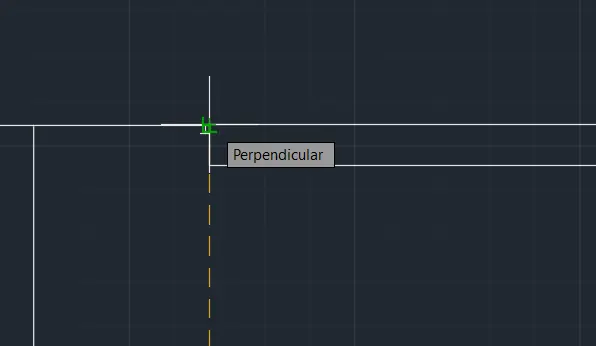
- And erase the reference line by using E command
- Fix the main door D1 by using move command M enter
- And select the base point as usual and place it and close the command
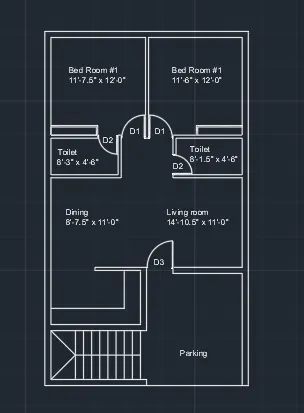
Step-7
- Use the layers to seperate the Exterior walls lines, Interior wall lines, Text, Doors, Staircase
- So i am using Text- Default layer
- For Exterior walls - 160
- For interior walls - 210
- For dimentions - 240
- For Staircase - 14
- For Doors -130
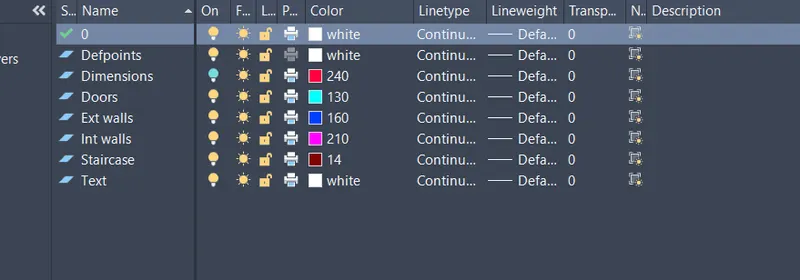
- Assing ther layer properties as individual
- Select the all exterior walls by using cursor as shown in fig
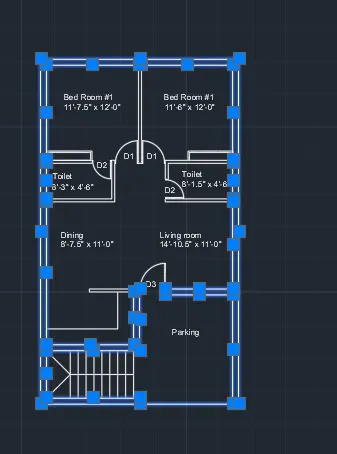
- Change their properties by selecting the exterior walls in ribbon- Layers
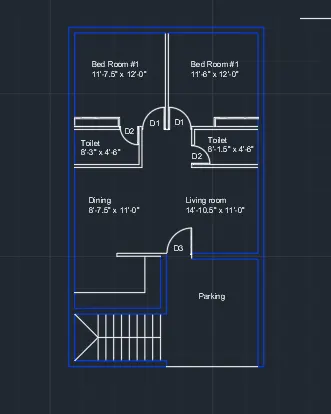
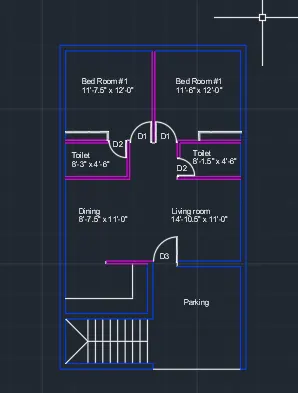
- Now select the all interior walls by using cursor
- And change the layer property
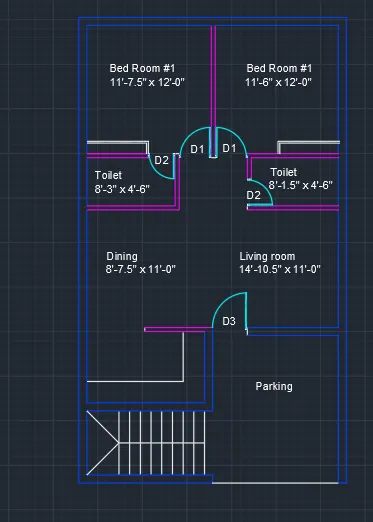
- Now select the all Doors by using cursor
- And change the layer property
- Now select the all Staircase by using cursor
- And change the layer property
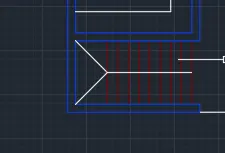
- Now select the all Staircase by using cursor
- And change the layer property
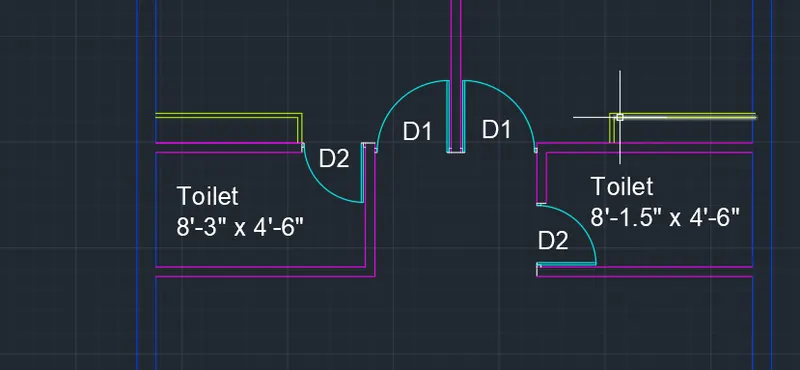
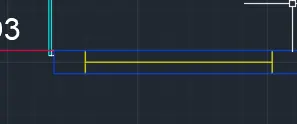
- Add a new layer Window with layer number is 50
- Use the current layer and do offset of the distance of 1' from the maindoor wall and enter
- And do offset again for that line with a distance of 6' and enter
- Use the Line command by using L enter
- Take the start point as mid point of the 1' offset line and enter ald draw a line towards 6' and enter
Challange-2
- Open the new autocad file
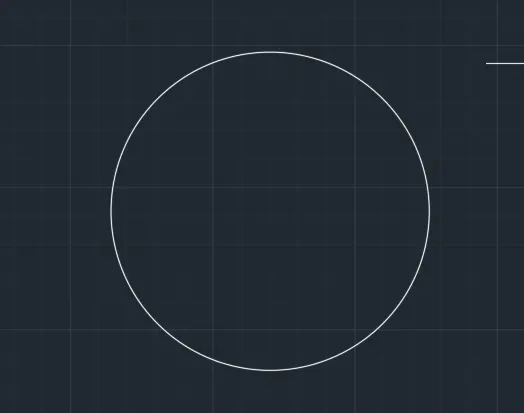
- Use the circle command by using C enter
- With the radius of 1398 and enter
- Again use the circle command by using C enter
- Specify the first point as center point of the exsisting circle
- With a radius of 452 and enter
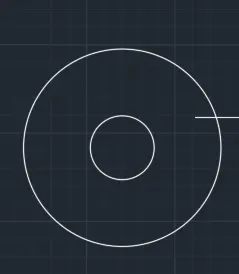
- Draw a refernce line by using line command
- Take the top tangent of the inner circle by and draw line towards the N direction with a distance of 125 and enter
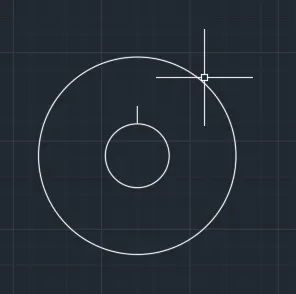
- Use the rectangle command by using REC enter
- And draw a rectangle in the drawing area with dimension of (400,450) and enter
- And explode the rectangle vy selecting and use the command X Enter
- Use the fillet command by using F enter
- and do fillet of SW corner and SE corner with radius of 50 and enter
- Use the ARC command Start end radius
- Specify the first point as NE corner point of the circle and
- Sepcify the second point as NW croner point and with a radius of 310 and enter
- And use the offset command by using o enter
- Select the arc and do offset towards the outer face with a disce of 10 enter
- And again do offset at a distance of 50 and enter
- Use the arc command again close the both sides of the offset lines and enter with radius of 40 and enter
- Use the Rectangle command by using REC enter
- And draw a rectangle at a (50,200) and enter and mirror the object through the mid point of the bottom lines and towards N direction and enter
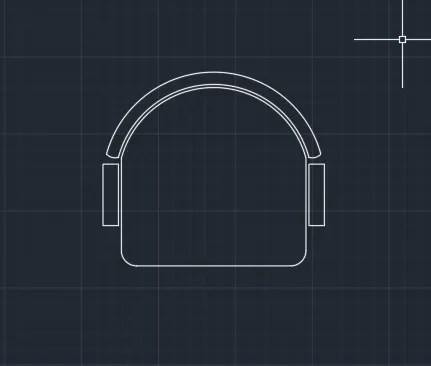
- Use the more commmad by using M enter
- Seclect the refernce point as bootom line mid point and and move to the refernce line drawed ithe circle and enter
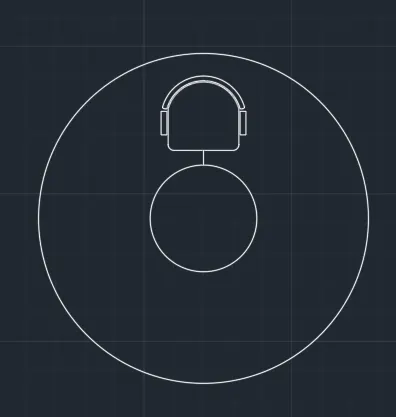
- And Erase the refernce line by using E enter
- And again select the chair drawing and use roate command
- Ro enter select the center point of the circle and c enter
- Copy towards the 180 enter
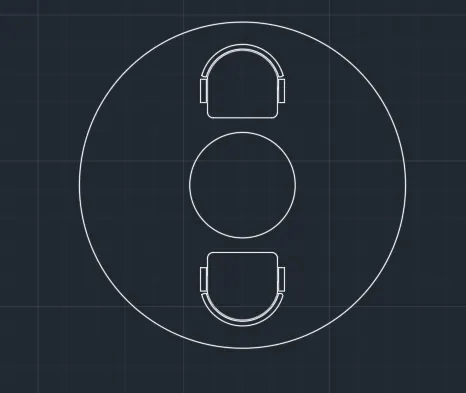
- And again select the chair drawing and use roate command
- Ro enter select the center point of the circle and c enter
- Copy towards the 90 enter
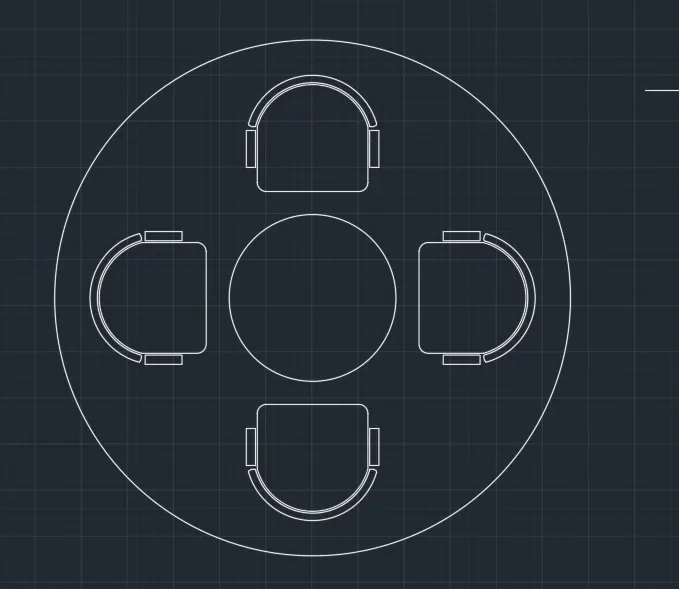
Challange-3
Step-1
- Draw the Construction lines XL enter Horizontal and vertical enter
- Use the offset command by using O enter
- And do offset to the horizontal lines towards the E direction with a distance of 300mm outer wall
- And again do offset to the verical line towards the N direction with a distance of 150mm inner wall and enter
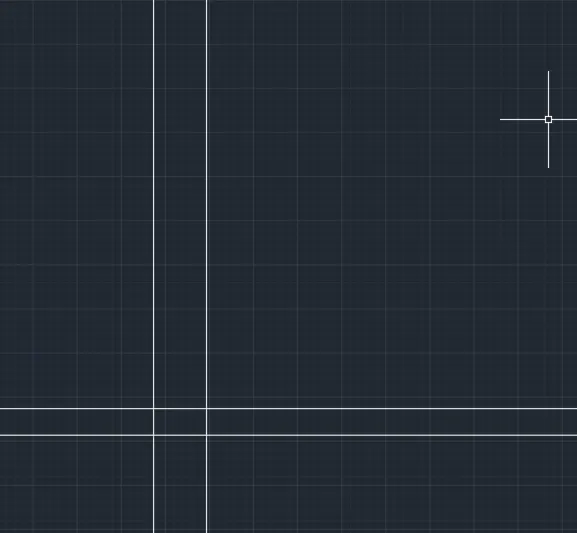
- Again do the offset to the offseted horizontal line towards the E direction with a distance of 1900mm
- Again do the offset to the offseted 1900 line towards the E direction with a distance of 150mm
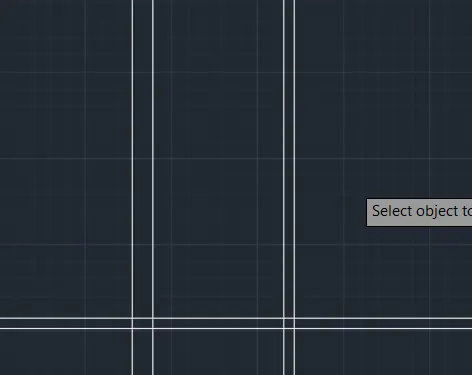
- Again do the offset to the offseted vertical line towards the N direction with a distance of 2100mm
- Again do the offset to the offseted 2100 line towards the N direction with a distance of 150mm
- Again do the offset to the offseted 150 line towards the N direction with a distance of 1700mm
- Again do the offset to the offseted 1700 line towards the N direction with a distance of 300mm and close the command
- Use the Trim command by using TR double enter
- Trim the unwanted lines and close the commands
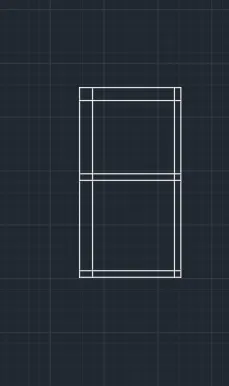
- Use the offset command by using O enter
- Select the 150 mm offseted line and do offset at a distance of 100mm
- And again do the offset at a distance of 828 enter
- And the trim the unwanted lines bu using TR double enter
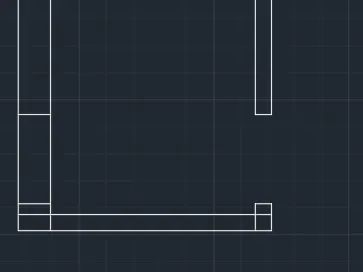
- Use the offset command by using O enter with door wall with a distance of 200
- And again do offset from the 200 line at a distance of 758 and enter
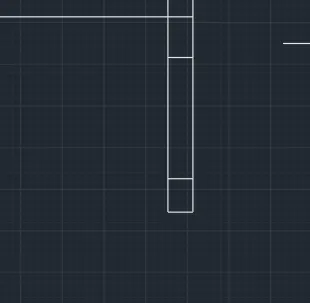
- Use the offset command by using O enter
- Select the 150 mm offseted line and do offset at a distance of 100mm
- And again do the offset at a distance of 832 enter
- And the trim the unwanted lines bu using TR double enter
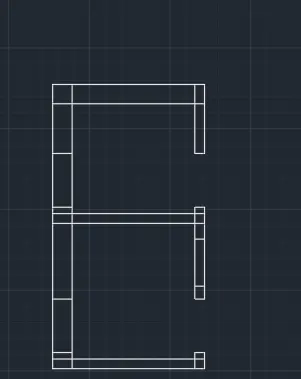
- Draw the lines for the both doors and enter by using line command and enter
- To close the door lines
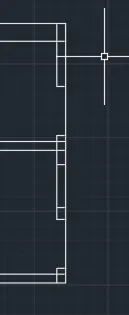
- Use the line command by using L enter
- Slect the first point as corner of the door ingh lin line and draw line towards N directionat a distance of 30
- Select the second point as 20 towards the W direction
- Select the third point as 20 towards the S direction
- Select the fourth point as towars the W direction at a distace of 30
- Select the fifth point as towards the S direction at distance of 10 And enter
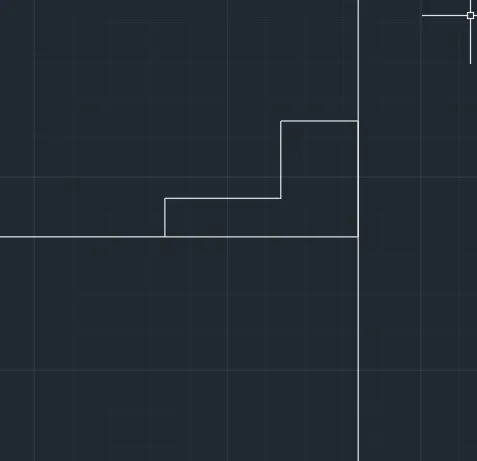
- Select the lines top shown in the fig by using partially selected
- And use the mirror commanf by using Mi enter
- Slect the center of the line and drag towards the W direction and enter
- Click on no
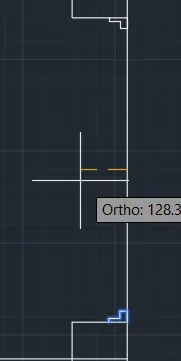
- Slect the liness again and use the copy command by using Co enter
- and specify the cornor point of the door amd copy towards the 2 nd door coner and enter
- And use the mirror commanf by using Mi enter
- Slect the center of the line and drag towards the W direction and enter
- Click on no
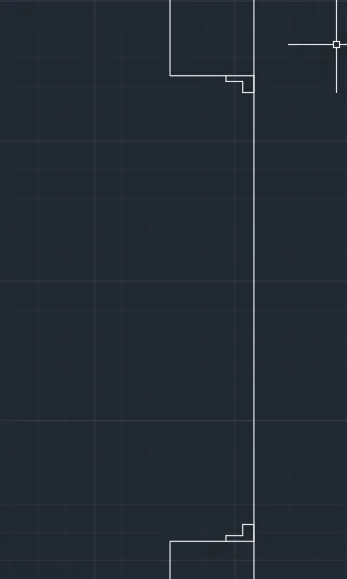
- Use the line command by using L enter
- Specify the first point as the inside corner point of the ingh and draw a line towards the W direction with a disatance of 788 and enter
- and Use the offset command by usong O enter and select the 788 line and offset to that line towwards N direction and enter with a distance of 20 and close the command
- Draw a circle by uisng C enter select the first point as croner ingh of the point and draw a circle towards the another corner ingh and enter and close the command.
- Use the trim command by using TR double enter and trim the unwanted lines
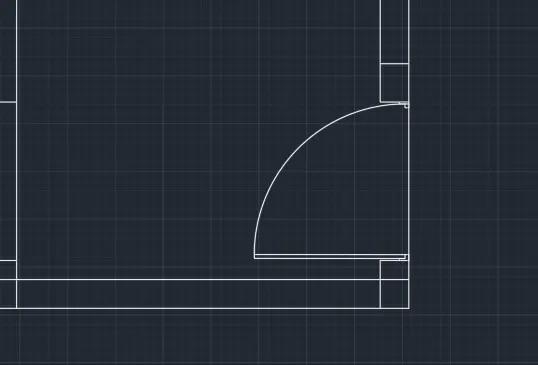
- Use the line command by using L enter
- Specify the first point as the dh toilet inside corner point of the ingh and draw a line towards the W direction with a disatance of 812 and enter
- and Use the offset command by usong O enter and select the 812 line and offset to that line towwards N direction and enter with a distance of 20 and close the command
- Draw a circle by uisng C enter select the first point as croner ingh of the point and draw a circle towards the another corner ingh and enter and close the command.
- Use the trim command by using TR double enter and trim the unwanted lines
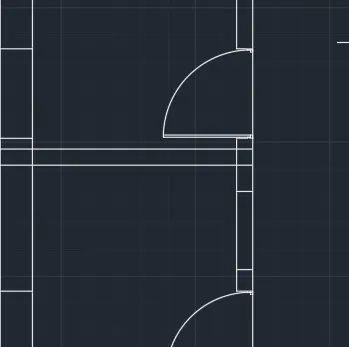
- Again do the offset to the offseted horizontal line towards the E direction with a distance of 200mm
- Again do the offset to the offseted 200 line towards the E direction with a distance of 631mm and enter close the command
- Use the trim command by using TR Double enter
- Remove the unwanted lines and close the command
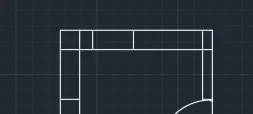
- Use the offset command by usinf O enter
- Select the first offset point as exterior of DH Toilet and do offset at a distance of 150 and enter
- Select that offseted line and again do offset at a distance of 10 towards the N direction
- Select that offseted line and again do offset at a distance of 20 towards the N direction
- Select that offseted line and again do offset at a distance of 10 towards the N direction and close the command
- Use the trim command by using tr double and remove the unwanted lines
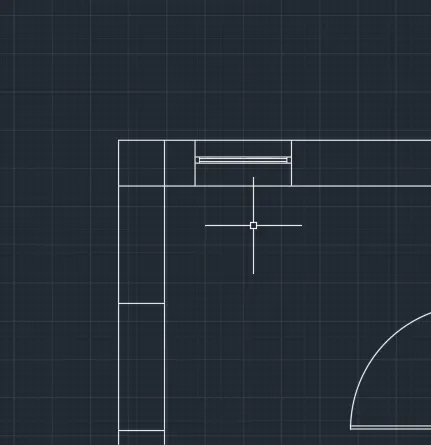
- Use the offset command by usinf O enter
- Select the first offset point as interior of Utility RM and do offset at a distance of 40 and enter
- Select that offseted line and again do offset at a distance of 10 towards the E direction
- Select that offseted line and again do offset at a distance of 20 towards the E direction
- Select that offseted line and again do offset at a distance of 10 towards the E direction and close the command
- Use the trim command by using tr double and remove the unwanted lines
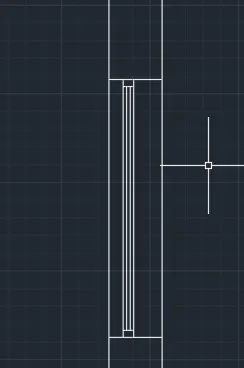
- Use the offset command by using O enter
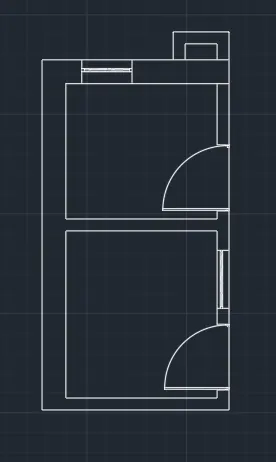
- Select the First outer line of exterior wall to DH toilet room and do offset towards the N direction with a distance of 150 and enter
- And again do offset to that line towards the N direction at a distance of 150 and enter
- Draw a line by using line command L enter
- Select the first point as End point of the refernce line and draw linw towards the S direction with a distance of 300 and enter and close the command
- Use the offset command by using O enter and do offset to the line 300 mm line towards the Wdirection with distance of 150 and enter
- And again do the offset to the offseted line with a distance of 150 mm line towards the W direction and enter
- And again do the offset to the offseted line with a distance of 402 mm line towards the W direction and enter
- And again do the offset to the offseted line with a distance of 150 mm line towards the W direction and enter
- Use the fillet command to reomve the unwanted lines and enter
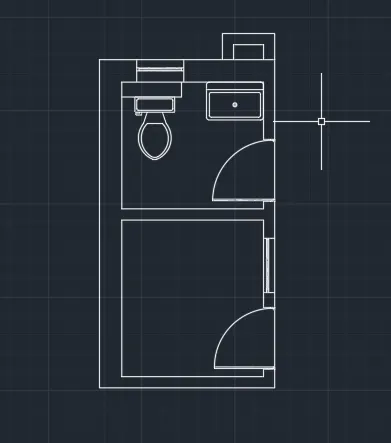
- Use the DC enter to import the need design to fasten the drawing
- and place to the required area and enter
RESULT: