Creating a Residence Layout, Seating plan, Toilet and Utility room plan using AutoCad
1. Residence Plan:
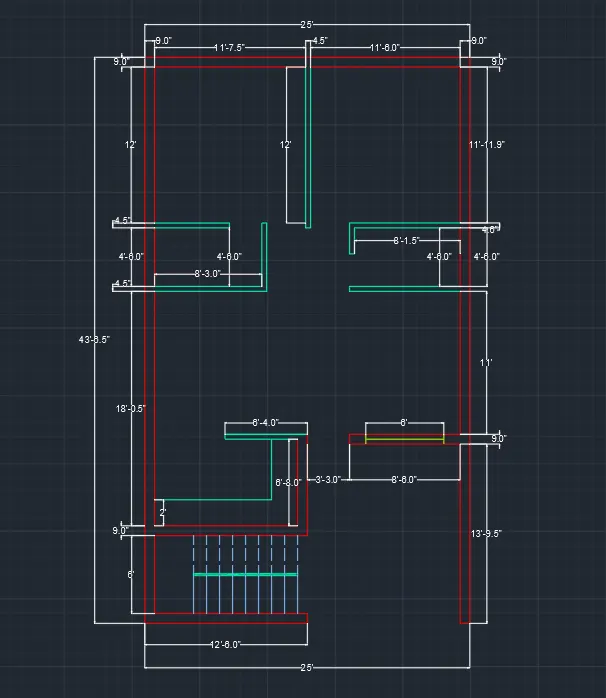
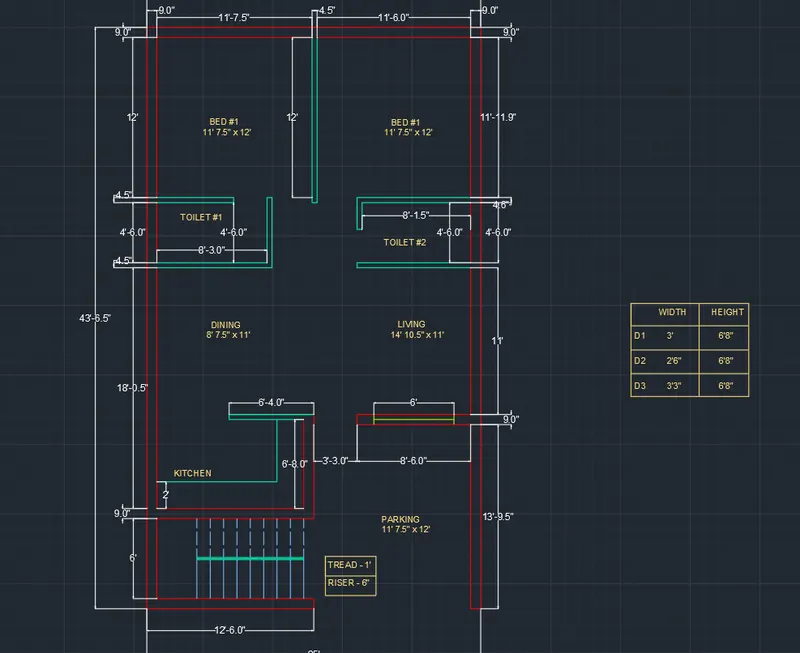
Sketch the layout of a residence as shown in the Figure 1. Consider all dimensions as reference to sketch the unit plan. Also the text in the layout are only for reference. Assume the missing dimensions. Also, refer the schedule for size of the doors.
Sketch 1:
Step 1: Open AutoCAD, create a new workspace and add the unit as inches.
Step 2: Then create new layers for Doors, windows, etc... using Layer properties.
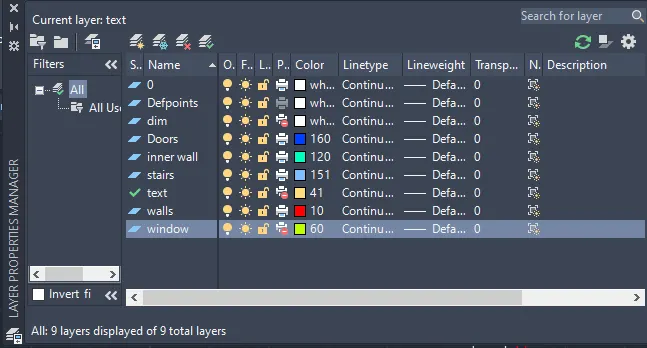
Step 3: Using the line command draw the walls using the required dimensions.
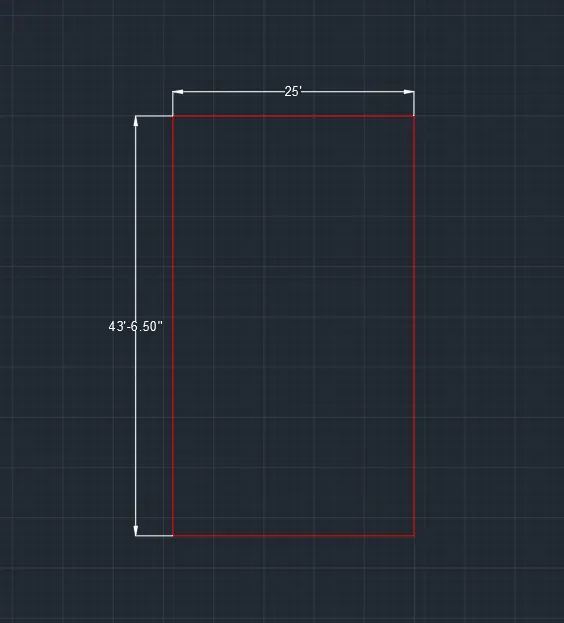
Step 4: For outer walls use 9" thickness and for inner walls use 4.5".
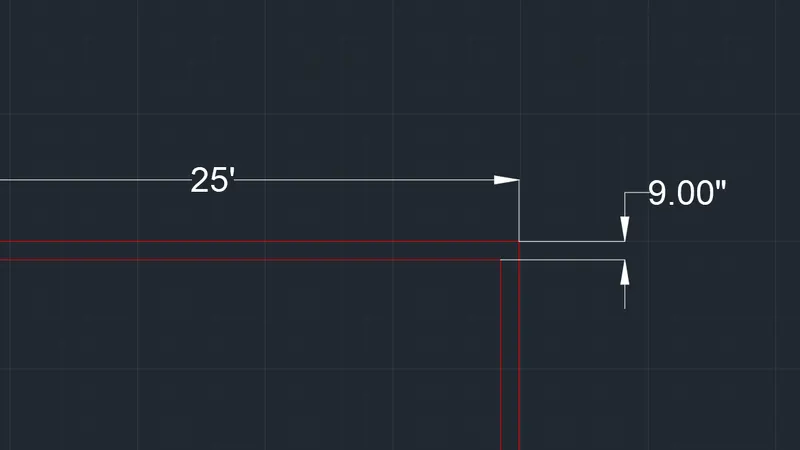
Step 5: Draw the rooms using inner walls.
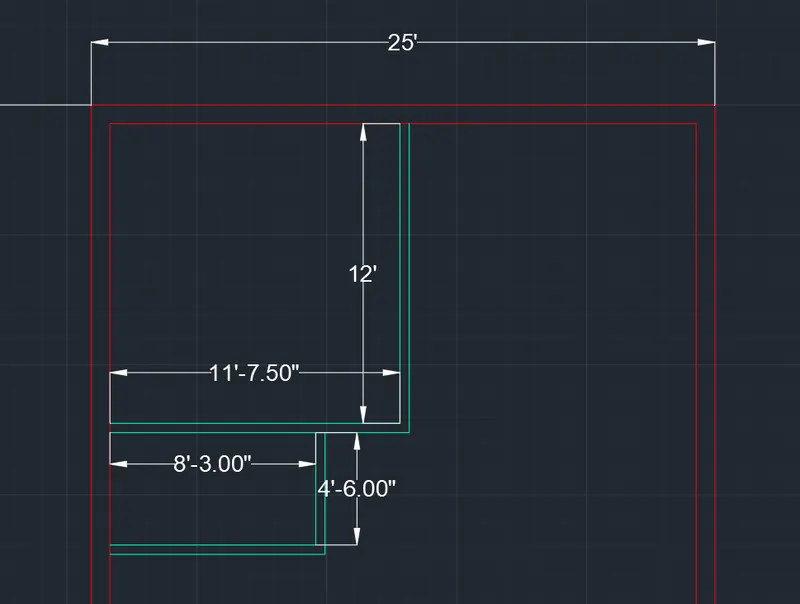
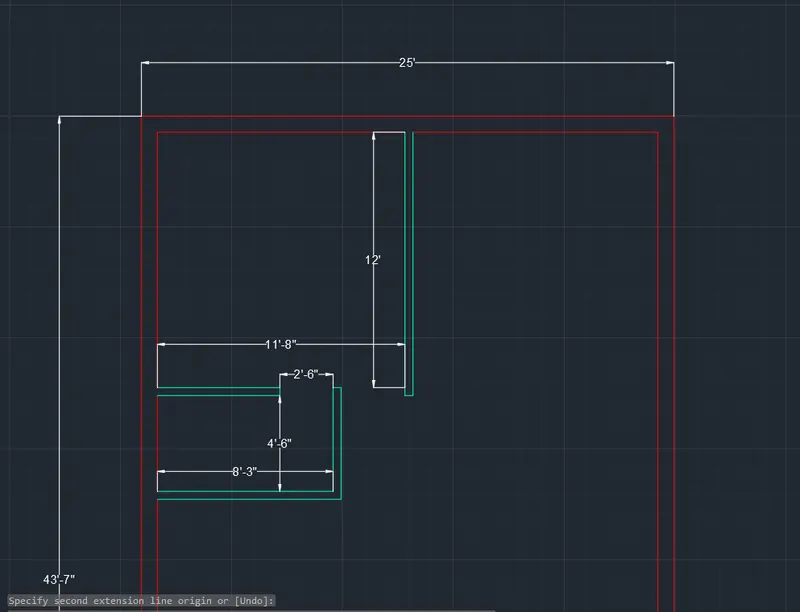
Step 6 : Sketch the windows
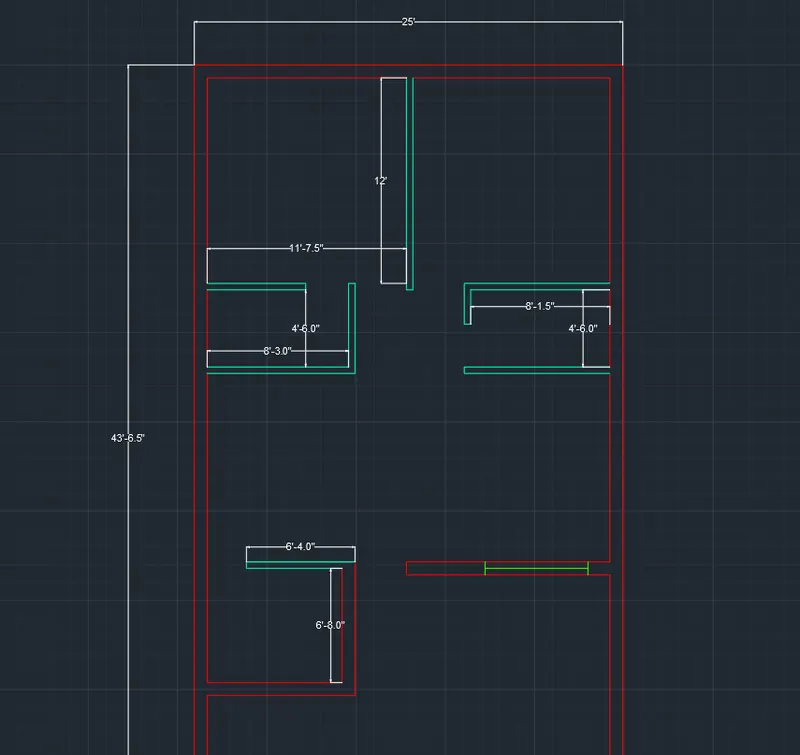
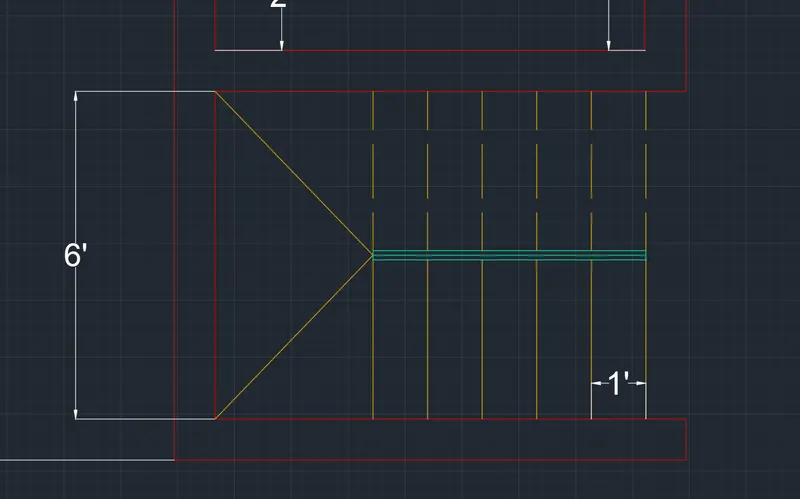
Step 7: For sketching, stairs draw a line between the space using the midpoint.
Step 8: create the offset of 1" to both sides.
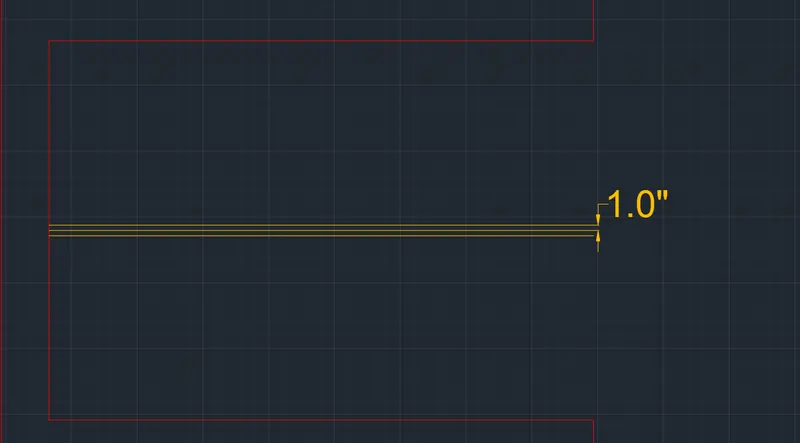
Step 9: Create a line and offset it to 1' for the stairs which connect the top side using dotted lines using the properties.
Step 10: Mark all the dimensions in the drawing.
Step 11: Using single-line text, add in the required texts in the drawing.
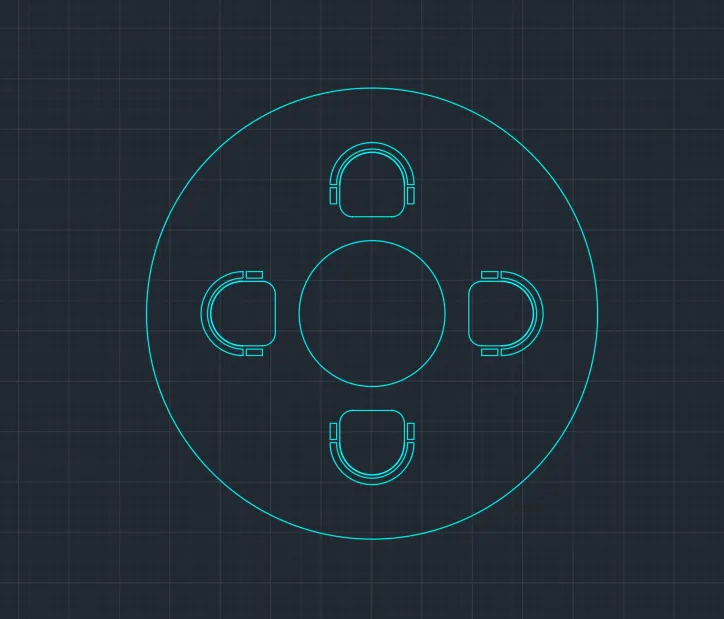
2. Sketch the seating plan for an outdoor canopy. Assume the dimensions for the seating. Also, consider the dimensions in mm.
Sketch 2:
Step 1: Open AutoCAD, create a new workspace, and add the unit as mm.
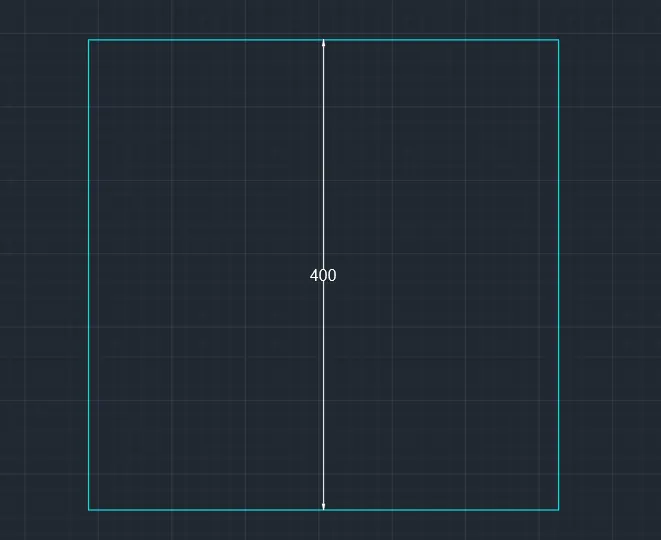
Step 2: Draw a square of 400mm x 400mm
Step 3: Draw a circle of dia 400
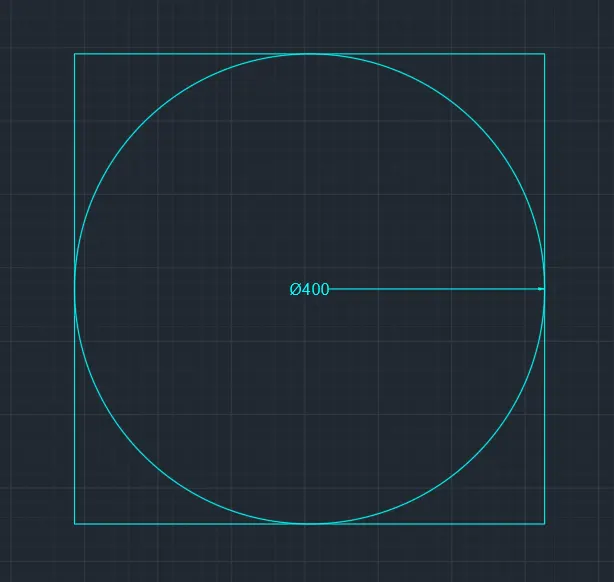
Step 4: Trim the top side of the square and bottom side of the circle.
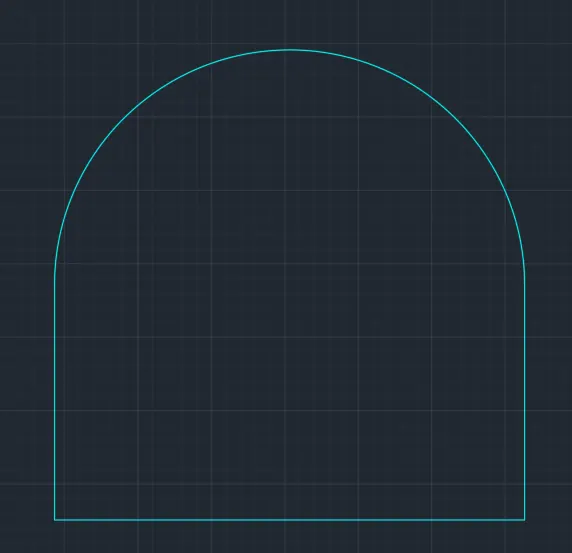
Step 5: Use offset to create two outer circles.
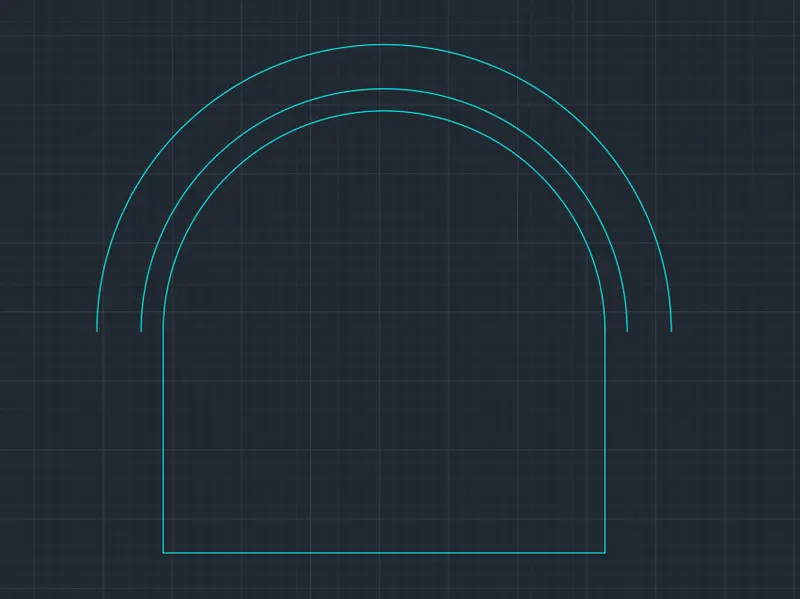
Step 6: Offset distance are 20mm and 40mm
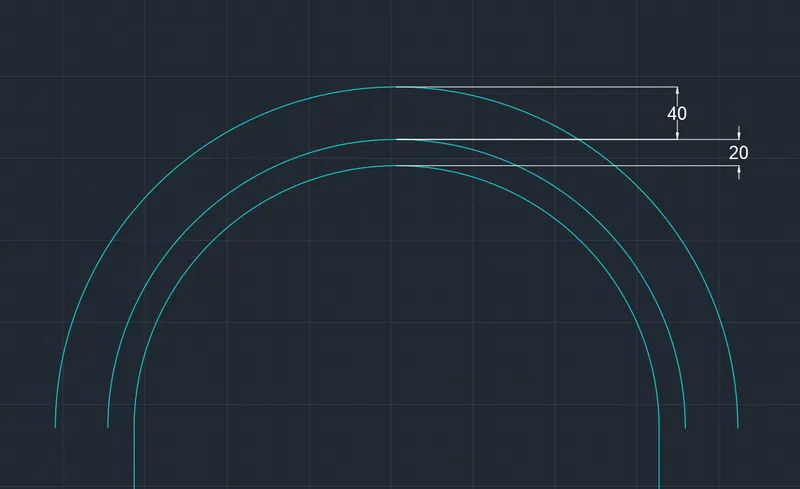
Step 7: For both ends add in a rectangle of 100mm x 40mm.
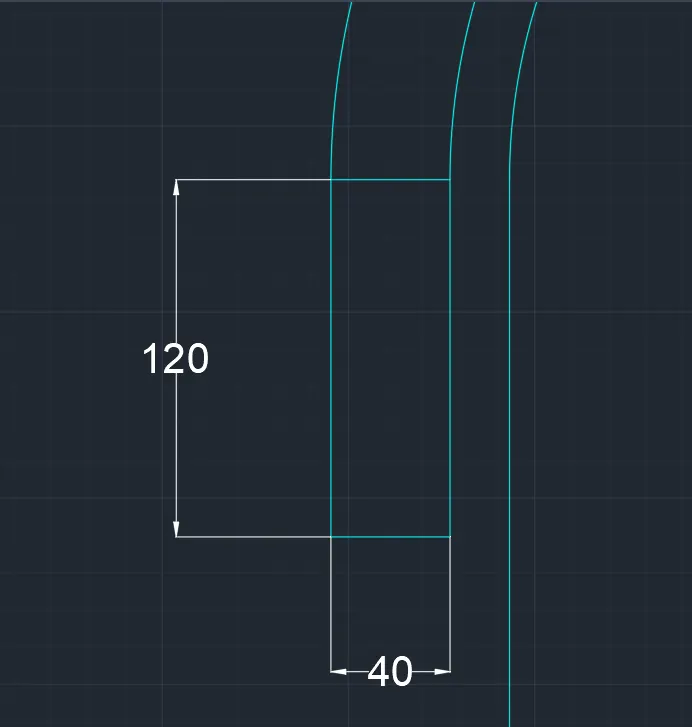
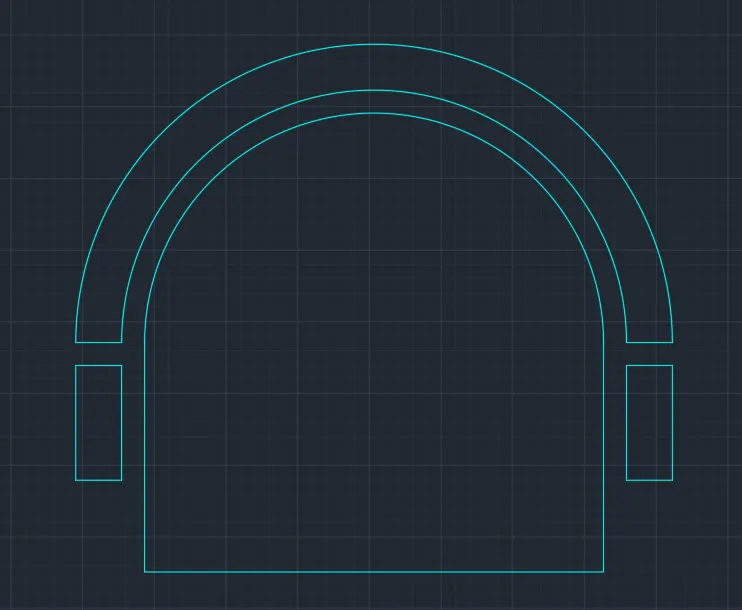
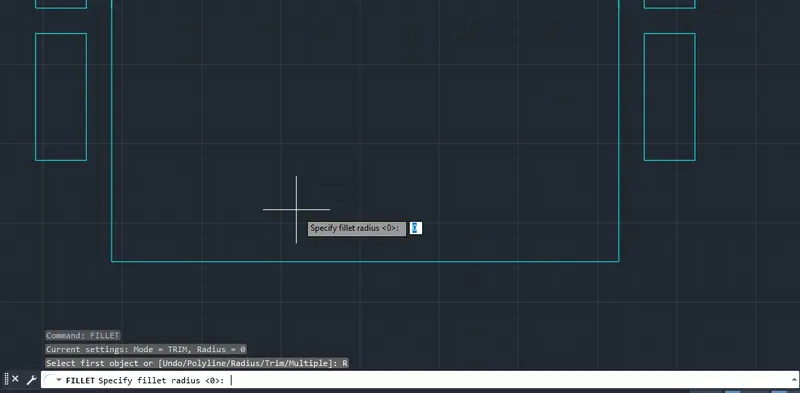
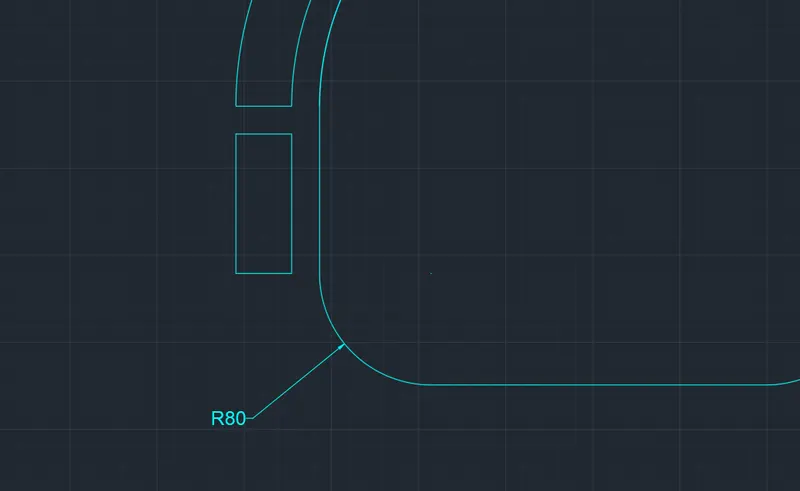
Step 8: Using the Fillet command select Radius and enter the radius as 80mm.

Step 9: Draw two circles with a Radius of 452mm and 1398 using the center of the chair.
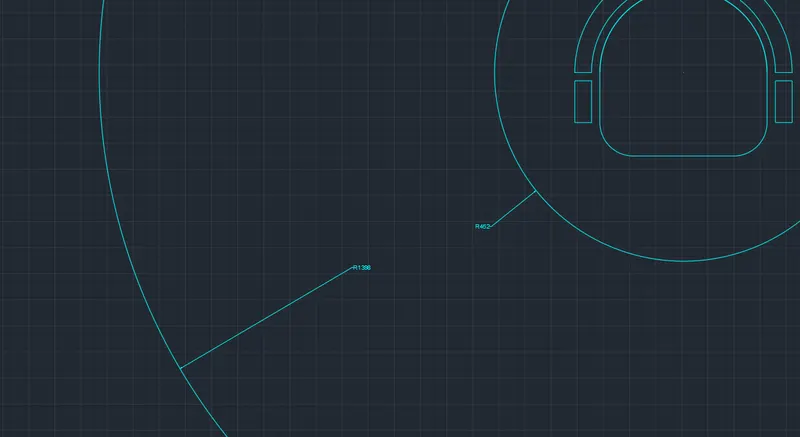
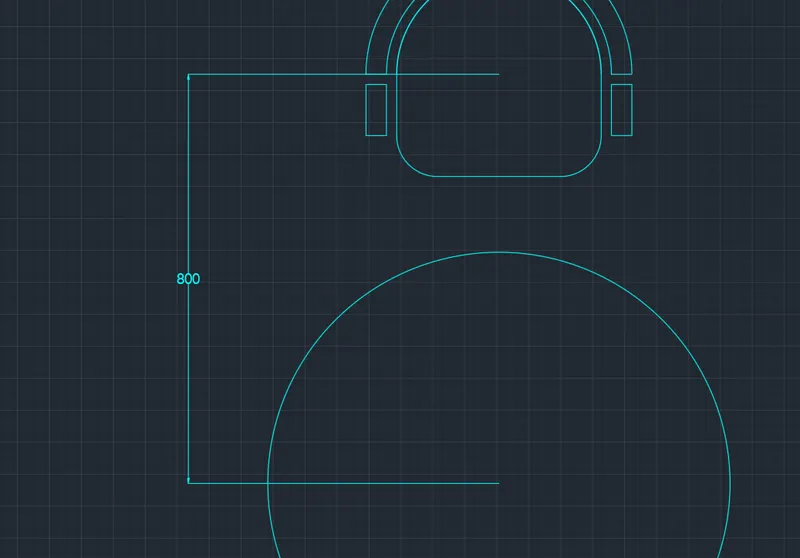
Step 10: Move the seating 800mm away from the center.
Step 11: Use the Array command and select polar array then add in the number of items as 4.
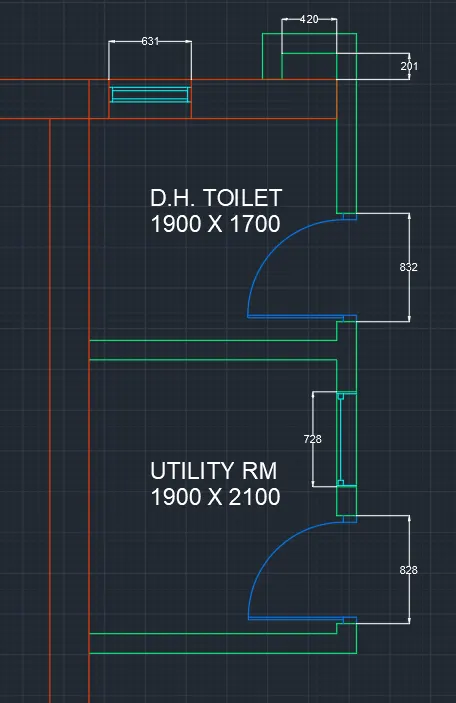
3. Sketch the part plan for the toilers and utilities room. Consider the outer wall thickness as 300mm and inner wall thickness as 150mm. Also, assume the missing dimension, Texts, dimensions, and hatches are only for references. Also, symbols for toilets and w/c are also for references.
Sketch 3:
Step 1: Open AutoCAD, create a new workspace, and add the unit as mm.
Step 2: Sketch the boundaries for the rooms and use 300mm for outer walls and 150mm for inner wall thickness.
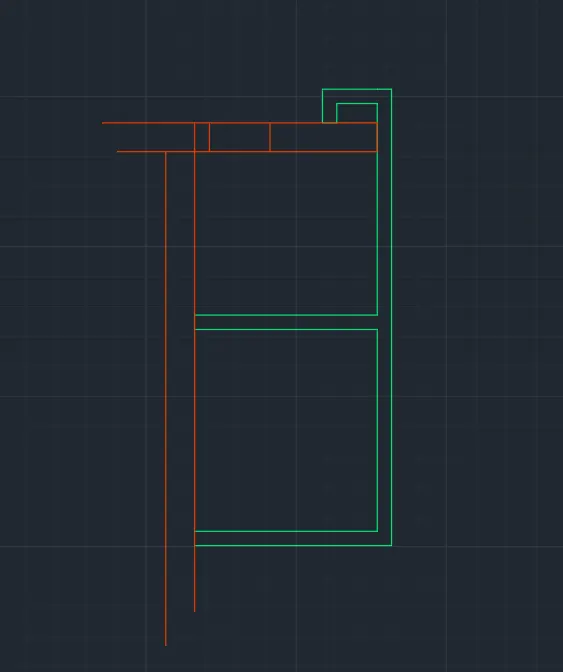
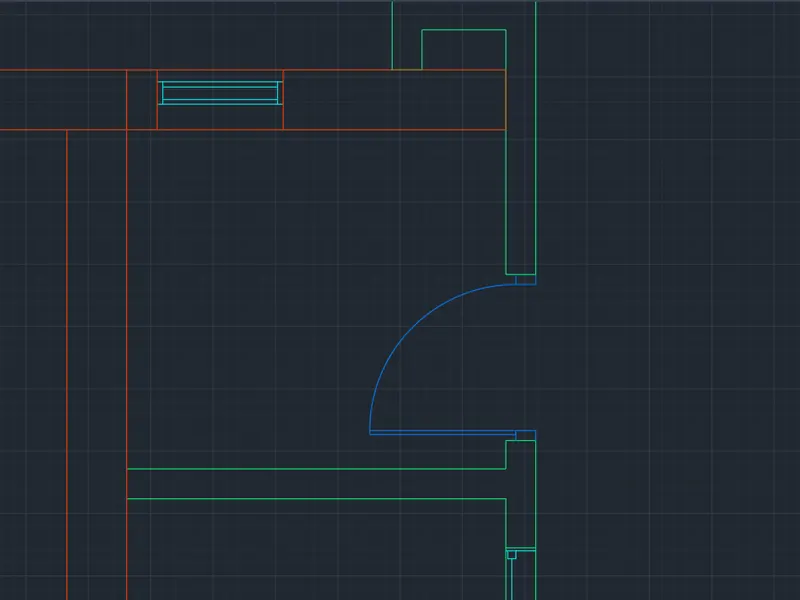
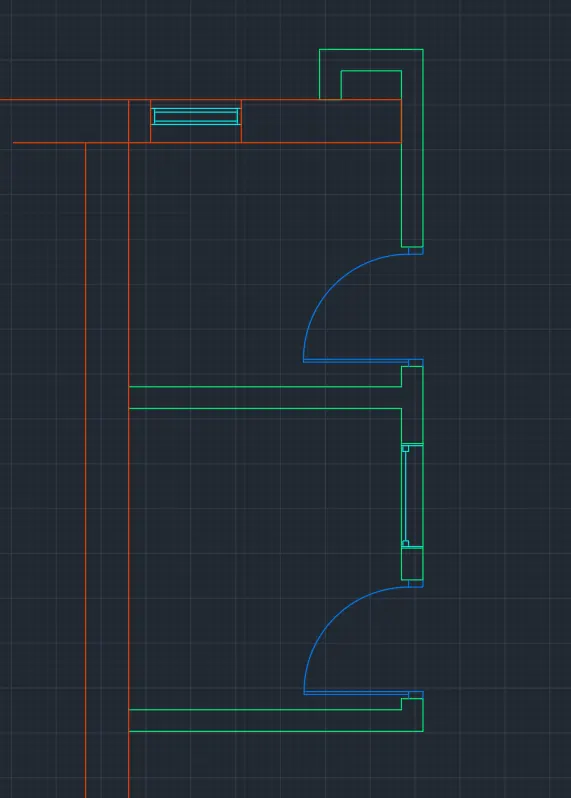
Step 3: Sketch the ventilation for the toilet.
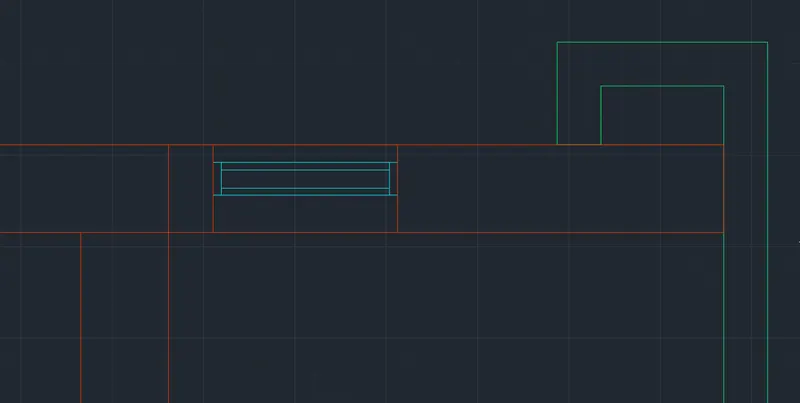
Step 4: Cut the required distance for doors.
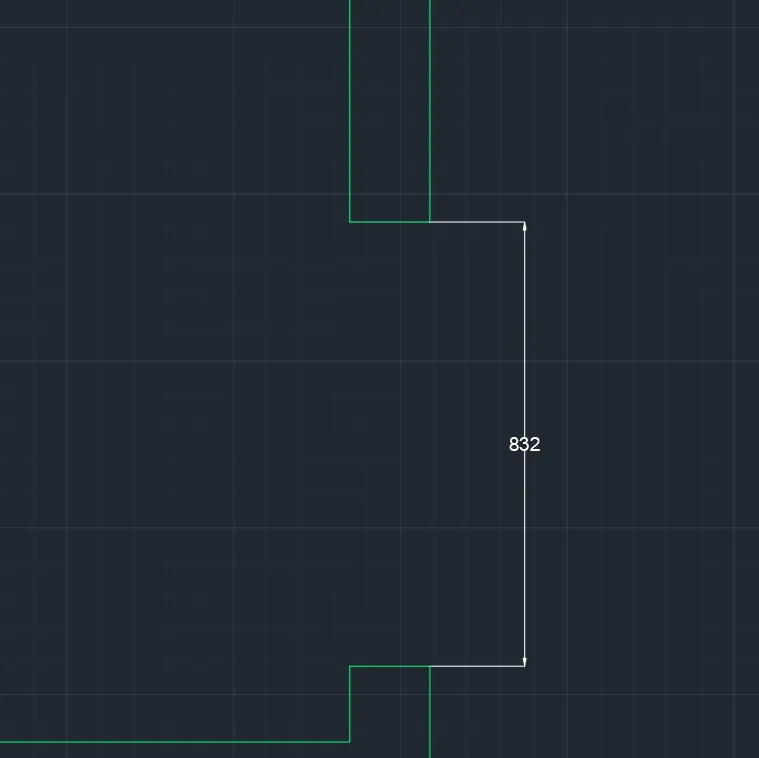
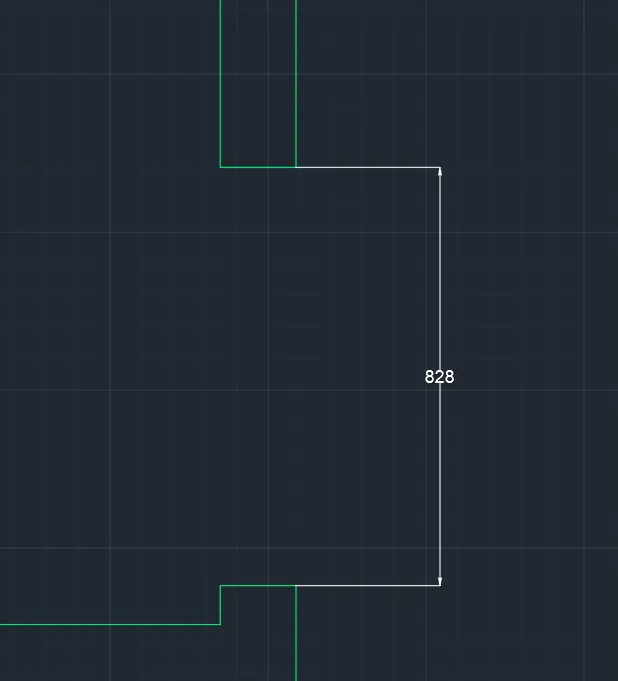
Step 5: Add in the windows.
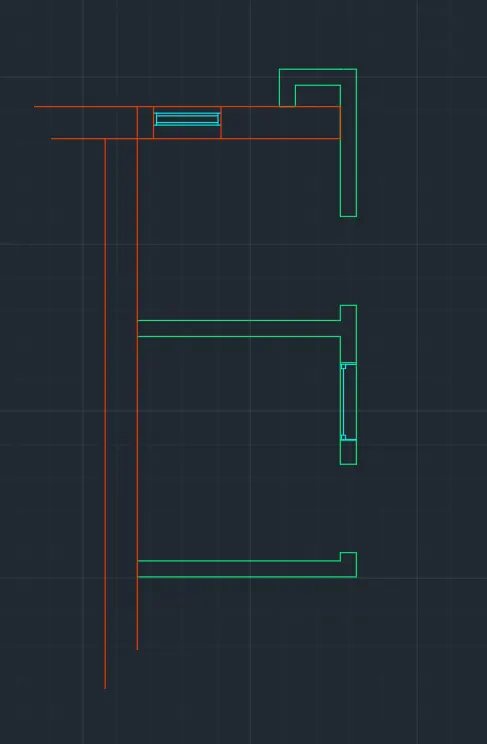
Step 6: Draw doors.
Step 7: Mark all the dimensions in the drawing.