Creating a Residence Layout, Seating plan, Toilet and Utility room plan using AutoCad
1. Residence Plan:
AIM:
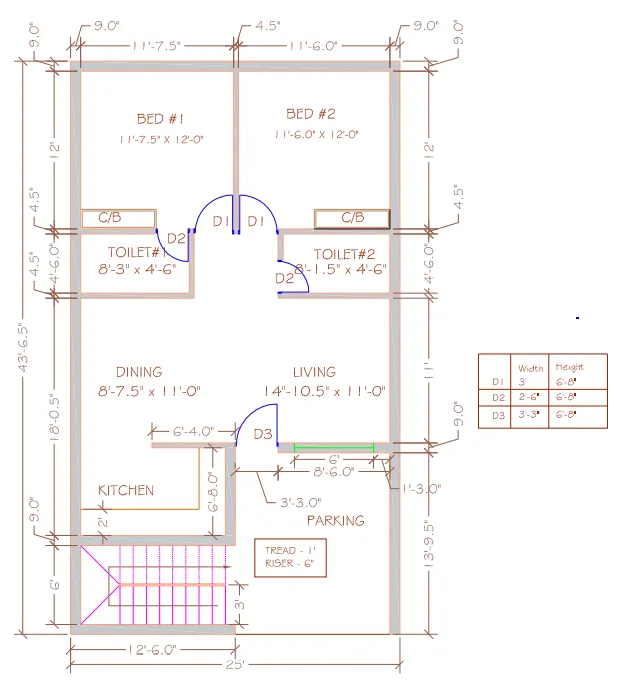
Sketch the layout of a residence as shown in the Figure. Consider all dimensions as reference to sketch the unit plan. Also the text in the layout are only for reference. Assume the missing dimensions. Also, refer the schedule for size of the doors.
INTRODUCTION:
Draw the below diagram using XL, ARC, TR, EX, F, OFFSET, etc.,
PROCEDURE:
- Open AutoCAD application and Open a New Sheet.
- Using UNIT command set the unit as Engineering and Inches.
- Use XLINE command and draw a XLINE in Horizontal direction and Vertical direction.
- Then Use OFFSET command and use 9" for Exterior wall and 4.5" for Interior walls.
- Then Use the FILLET command for the corners.
- Then use TRIM command and trim the unwanted lines.
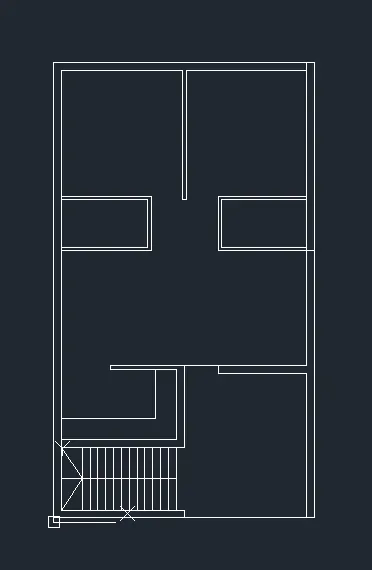
- The Stairs are 11' X 6'
- The Kitchen is 11' X 6'8".
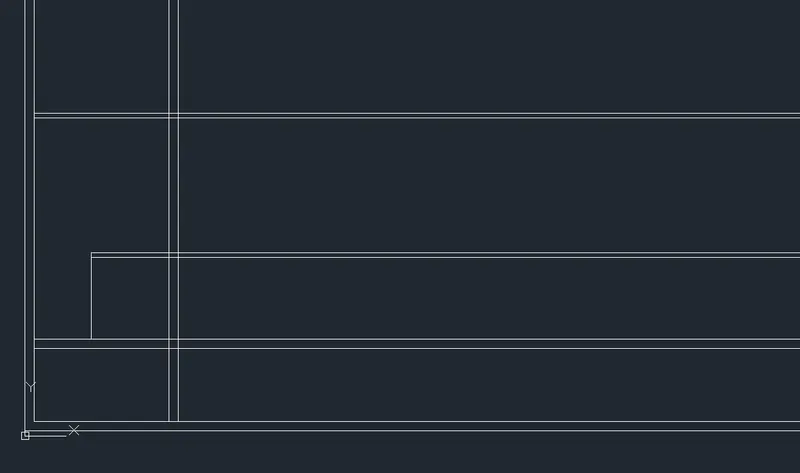
- Now draw the diagram as shown in the above Diagram using XL and OFFSET command.
- The Toilet 1 is 8'3" X 4'6".
- The Bedroom 1 is 11'7.5" X 12'.
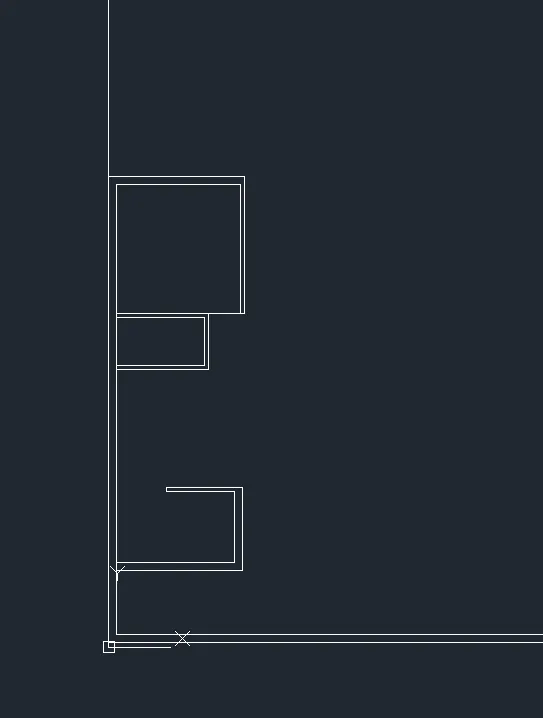
- The Bedroom 2 is 11'6" X 12'.
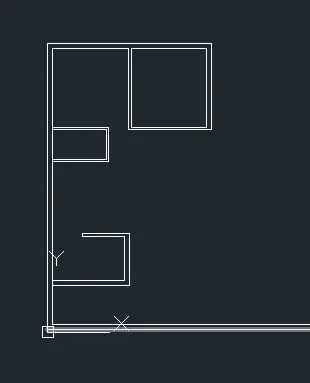
- The Toilet 2 is 8'1.5" X 4'6".
- The Living Room is 14'10.5" X 11'.
- The remaining area is Parking.
- The Kitchen Slab is 2'.
- The Door 1 is 3' X3'.
- It is drawn using the ARC and LINE command.
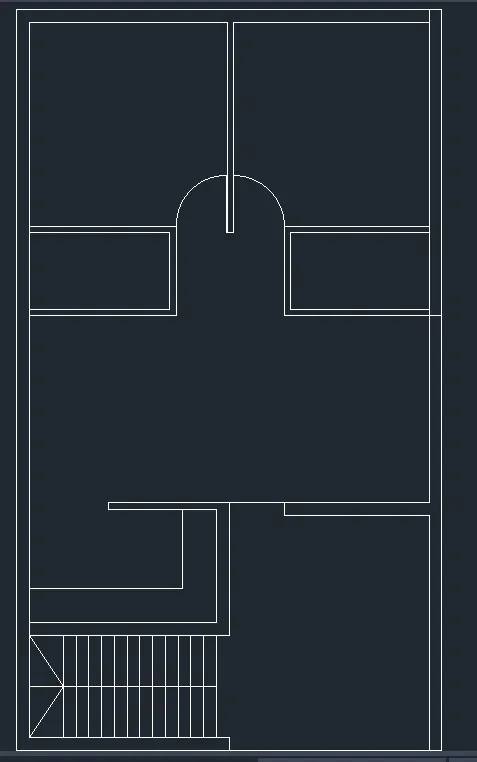
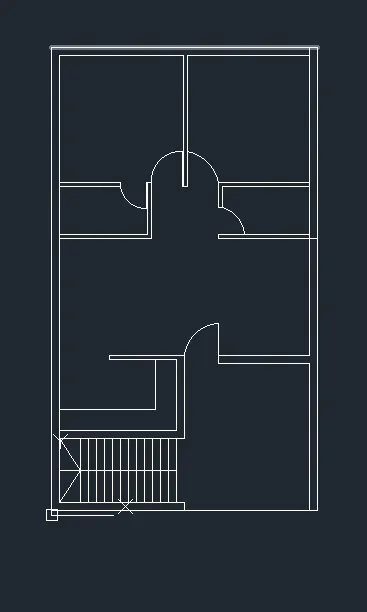
- Door 2 is 3' X 2.5'.
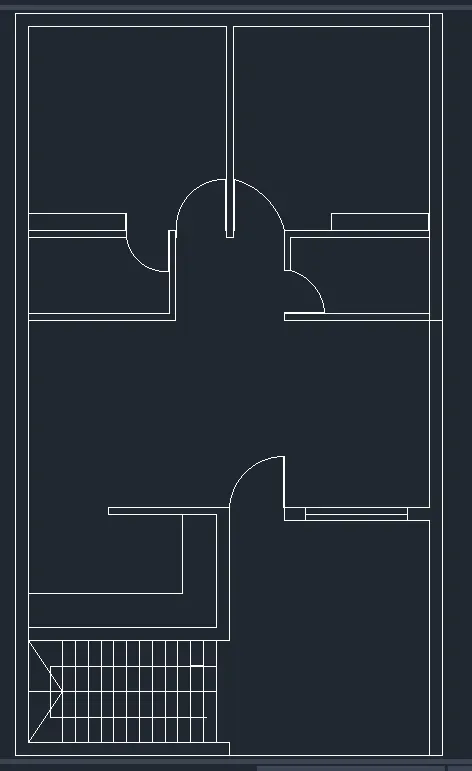
- And Door 3 is 3' X 3'.
- The Window is 6'.
- Now use LAYER command and create layers for the structures we used as shown in the below picture.
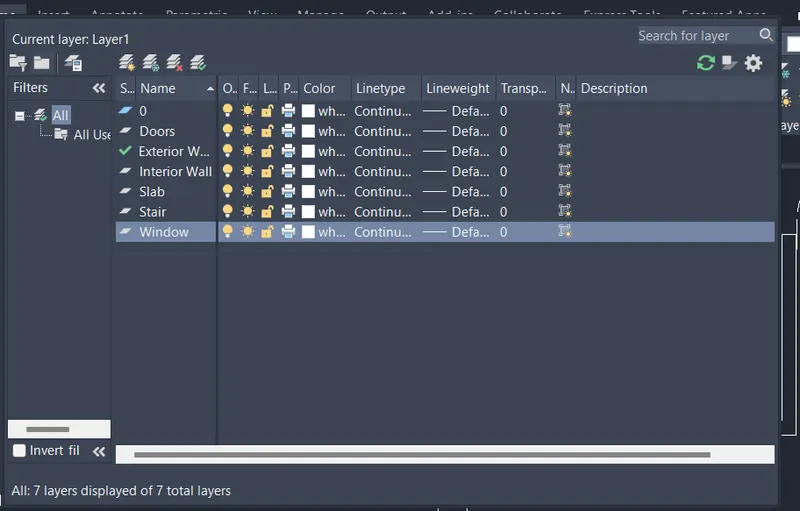
- Give colors to the layers as for Exterior wall 10, Interior wall 50, Doors 160, Slab 135, Stair 100, Window 221.
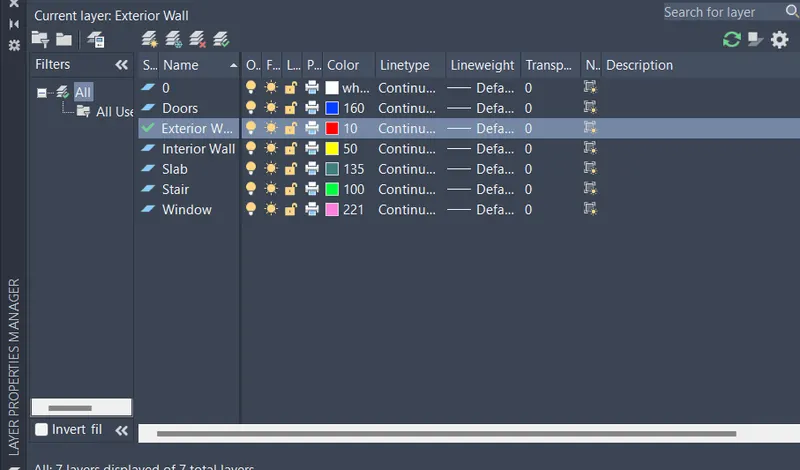
- Apply it to the Structures and Save the Diagram.
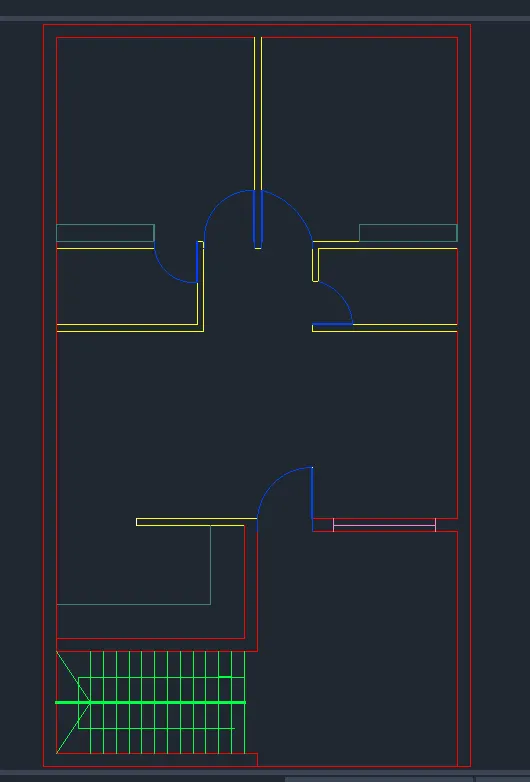
RESULT:
2. OUTDOOR SEATING WITH CANOPY
AIM:
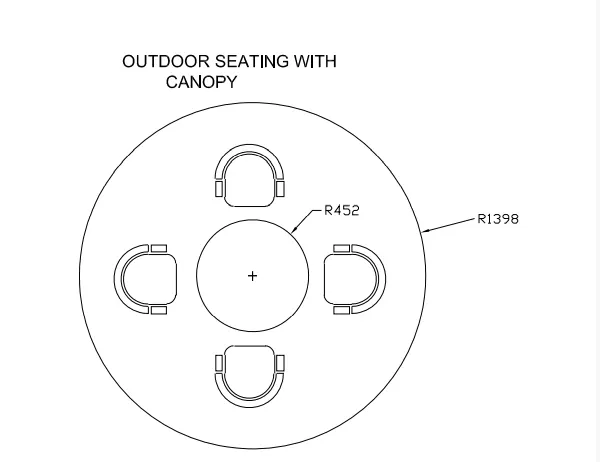
Sketch the seating plan for an outdoor canopy. Assume the dimensions for the seating. Also, consider the dimensions in mm.
INTRODUCTION:
Draw the below diagram using Circle and Arc command and assume the dimensions.
PROCEDURE:
- Open AutoCAD application and Open a New Sheet.
- Using UNIT command set the unit as Decimal and Millimeters.
- Use Circle command and draw a circle at radius of 1398 mm.
- Then at center draw an another circle at radius of 452 mm.
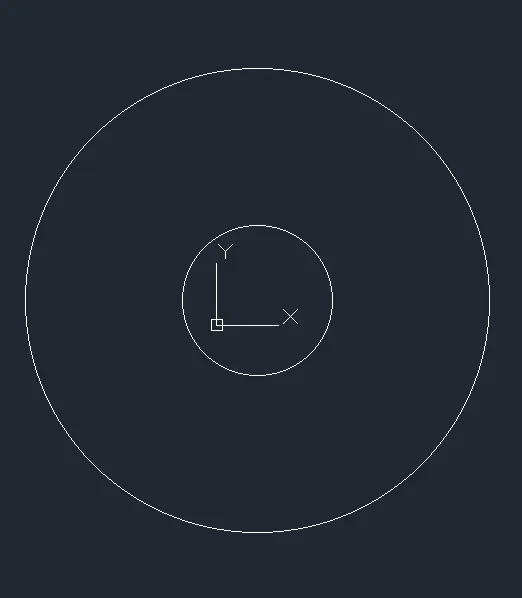
- Then use Circle command again and seperately draw a circle at radius of 200mm.
- Then use offset command and offset it for 10 and 30 mm.
- Then draw a line shown in the figure below and for the corners use Fillet command and fillet it for 20mm radius.
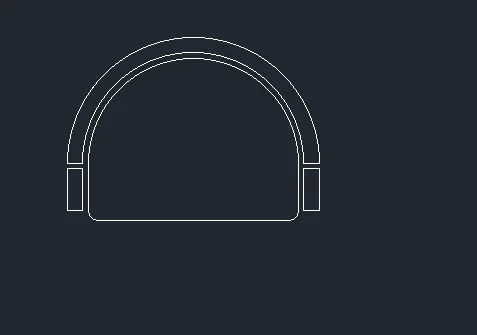
- Then offset the circle which is R452 and offset it for 50 mm.
- And then use COPY command and place the seperately drew diagram in the circle.
- Then use RO command and rotate it for the 90, 180, 0 and 270 angles and place it on the circle.
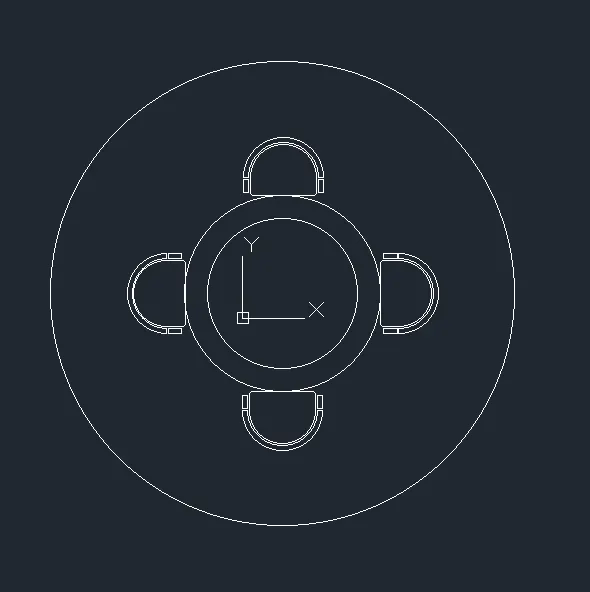
- Then Delete the Excess circle and save the diagram.
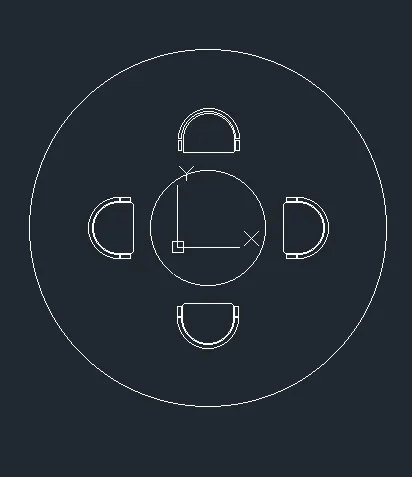
RESULT:
3. TOILET AND UTILITIES ROOM
AIM:
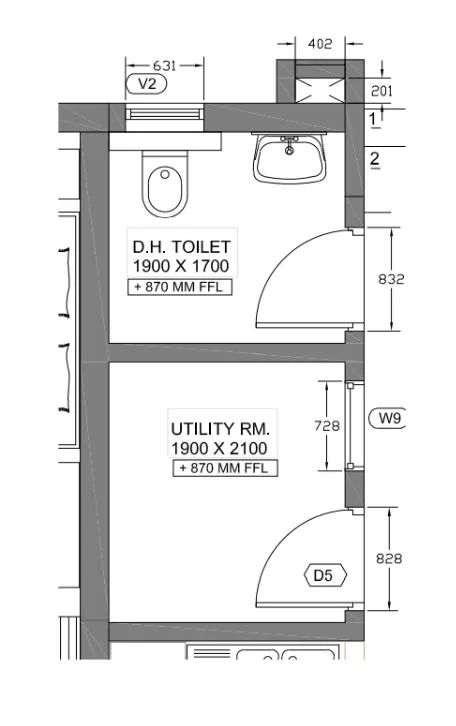
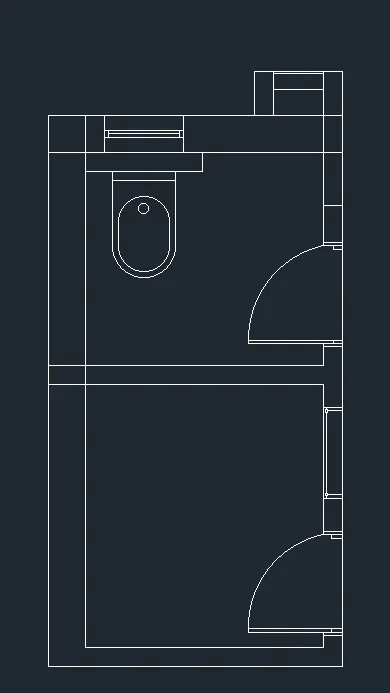
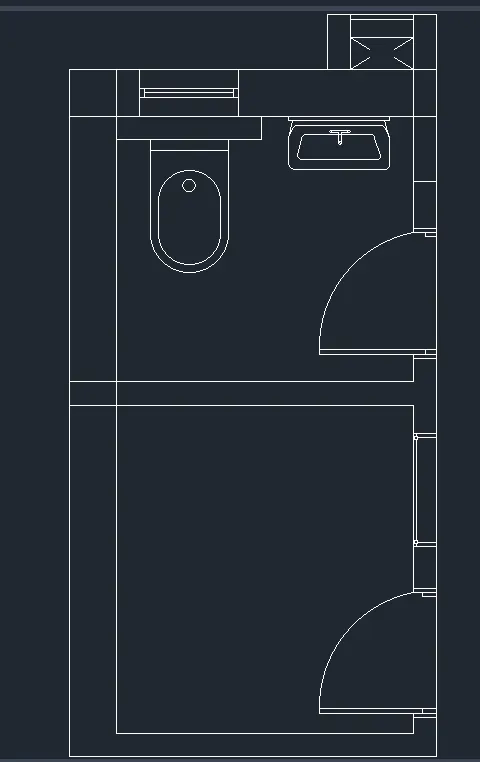
Sketch the part plan for the toilets and utilities room. Consider the outer wall thickness as 300mm and inner wall thickness as 150mm. Also, assume the missing dimension, Texts, dimensions, and hatches are only for references. Also, symbols for toilets and w/c are also for references.
INTRODUCTION:
Draw the below diagram using XL, Circle, Fillet and Arc and Line commands.
PROCEDURE:
- Open AutoCAD application and Open a New Sheet.
- Using UNIT command set the unit as Decimal and Millimeters.
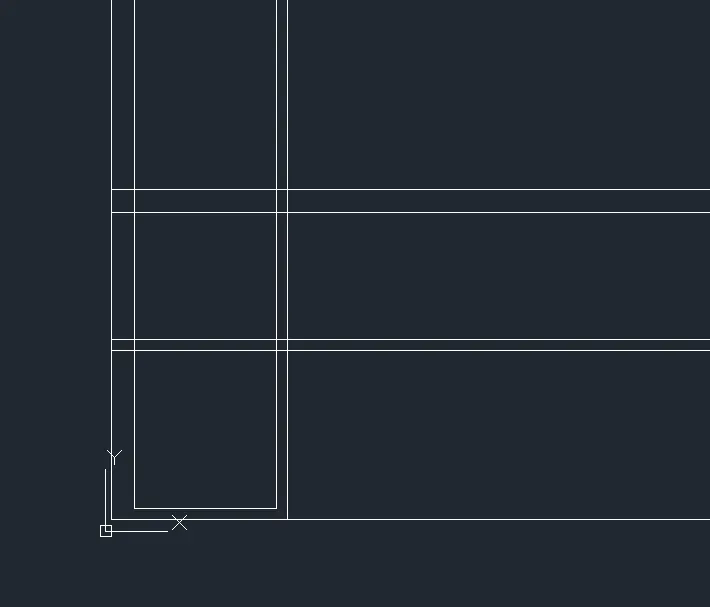
- Draw a XLINE in Horizontal and Vertical Direction.
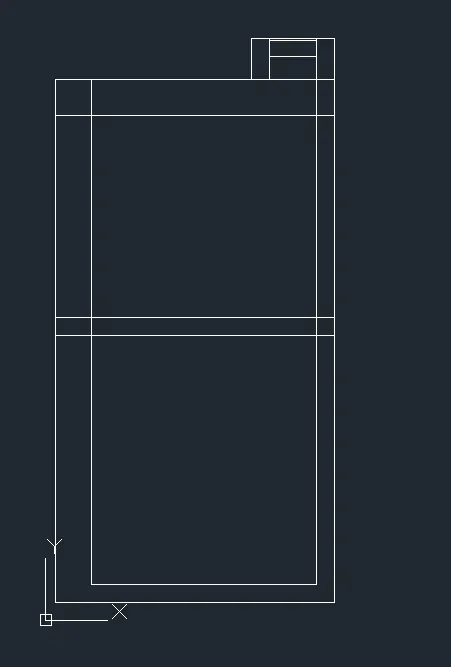
- Then Draw an Utility room at 1900 X 2100 mm using Offset Command.
- The Exterior wall Dimension is 300 mm and Interior wall dimension is 150 mm.
- Then Draw a Toilet room at 1900 X 1700 mm.
- Then draw the upper portion at dimension of 201 X 402 mm.
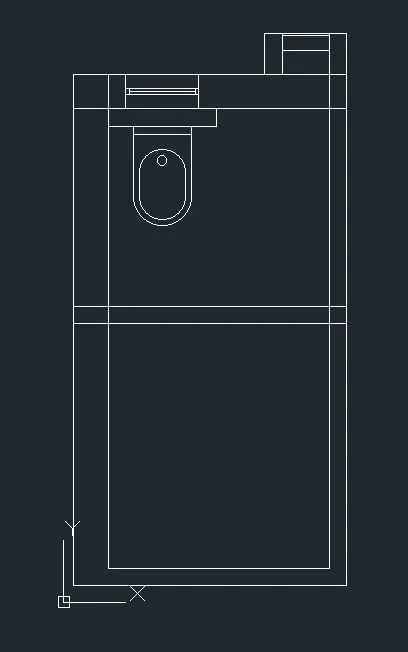
- Then draw the Window at 631 mm.
- And draw the Toilet Using Circle, Line and Fillet command with assumed dimension.
- Then draw the Utility room door at 828 mm.
- Then draw the Toilet room door at 836 mm.
- Then Draw the Sink at assumed dimensions using Fillet and circle command and Line command.
RESULT: