Creating a Residence Layout, Seating plan, Toilet and Utility room plan using AutoCad
1. Residence Plan:-
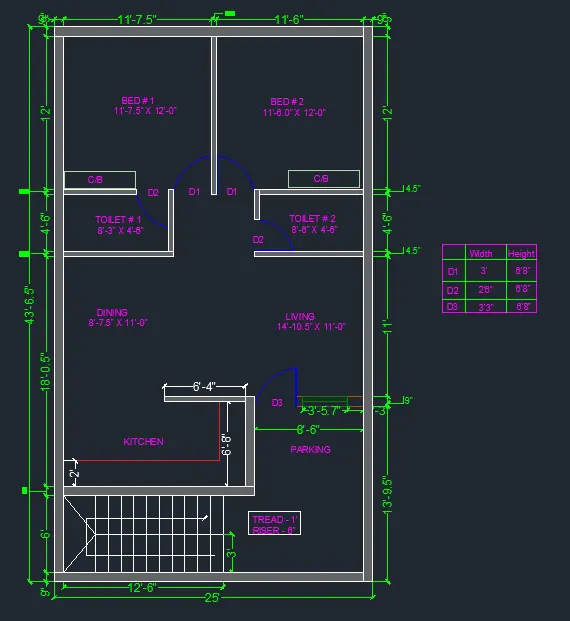
Aim:- To sketch the residential building as shown in the attachment by using Autocad software.
Introduction: The given drawings in the attachement are designed using commands in the Autocad.
Procedure:
- To start the drawing, first we have to set the limits by choosing Units and have to set the units to Inches.
- Then choose the command limmax, if u type limmax then default units will be there.
- Now set the units to 100' in X-direction and 100' in Y-direction.
- First take the point along X-direction first line at a distance of 25' and 43'6.5" towards Y-direction.
- Now close the lines using line command. and now do the offset for the outer wall at a distance of 9".
- Again take the offset at a distance of 6' and draw the line.
- Now by using offset command, take the line and draw the lines as shown in the given attachment by using offset command.
- Now take the kitchen portion in the drawing and draw the line using line command.
-
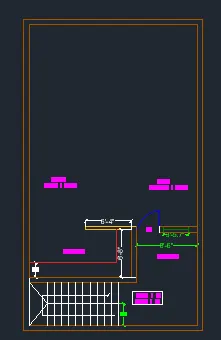
- And then show the inner wall portion to 4.5" wall outside to the dimension wall without disturbing room dimension.
- In the other side of the room portion, show as living and trim the line portion to the door as given in the attachement.
- Now to the outer wall, draw the window by using line command and mark the portion for the window with the given dimensions.
- To the upper portion of the kitchen show the remaining area as dining portion.
- Now from the dining portion, draw the line at a distance of 8'3" along the x-direction as Toilet -
- And do the offset at a vertical distance as given in the attachment, and mention the door portion as D2.
- To that toilet wall, remainig portion to be the bed room portion with an attached toilet.
- Mark the door portion to the bed room and trim the area as in the given dimensions as D1.
- To the other portion, by using offset command remaining portion mark as Bed room-2.
-
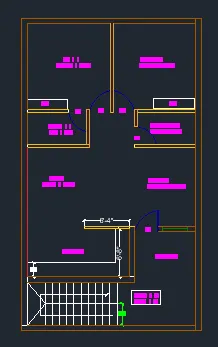
- From the wall using offset command, draw the toilet wall line and show the door portions as shown in the attached drawing.
- Now the inside portion of the drawing is done and now all the lines should be separately mark in the layer.
- By arranging in the layers we can easily identify the name of the area and in different colour.
- By using Layer option, Create new layer as used the portions in the drawing like outerwall, Inner wall, doors, Text, windows, Dimensions.
- For the creating new layer, we have to select same type of the line portion like all the outer wall should be in outer wall layer.
- For this layer, we can choose different colour, line type, and we can lock, freeze whenever we require.
- In the same way, we have to create for all types of portions which we are used in the drawing.
- After craeting the layers, we have to select the lines and show them in layer option in which it belongs to.
- Finally by using the layers, we have to show all areas in the layer option.
- Next for the outer wall portion, hatch should be done to show separately for the inner wall portion as shown in the below drawing.
-
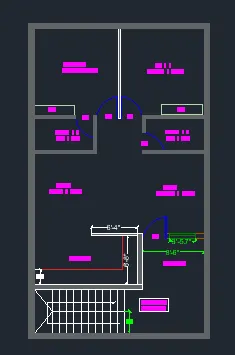
- Now by using dimension command, show all the dimensions outside to the outer wall portion as shown in the drawing.
- Also you have to show the separate dimension for doors because we didn't use same door dimensions for all the rooms.
- So we have to show separately all the door dimensions.
- In the same way we have used only one window in the drawing, if we used different windows and ventilators, you have to mention them clearly.
Result:-
2.
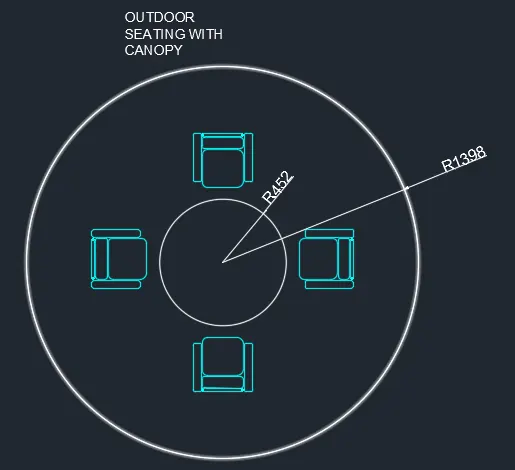
Aim: To sketch the outdoor seating with canopy as shown in the attachment by using Autocad software.
Introduction: The given drawings in the attachement are designed using commands in the Autocad.
Procedure:
- To start the drawing, first we have to set the limits by choosing Units and have to set the units to millimeters.
- Then choose the command limmax, if u type limmax then default units will be there.
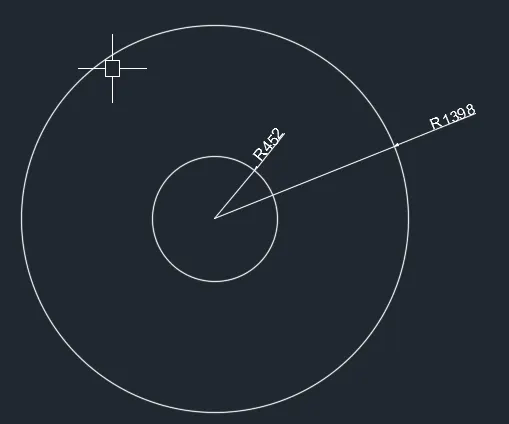
- First take the circle command, and draw 2 circles with radius 452 and draw the another circle using radius 1398.
-
- Now draw the chair by using line command, draw the reference chair.
- Then take the chair drawing, and arrange the chair in the inside circle as shown in the figure.
- Do the mirror to the other side of the small circle and place the chair.
- In the same way, copy the chair to the top and bottom of the circle in the 4 ways.
- Finally, mention the dimensions to the circles.
Result:-
3.
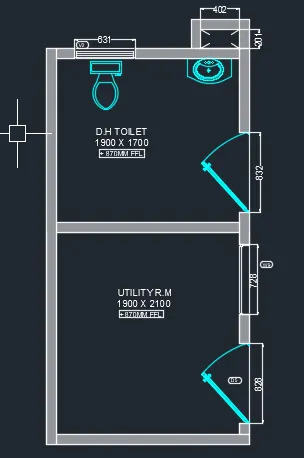
Aim: To Sketch the part plan for the toilers and utilities room as shown in the attachment by using Autocad software.
Introduction: The given drawings in the attachement are designed using commands in the Autocad.
Procedure:
- To start the drawing, first we have to set the limits by choosing Units and have to set the units to millimeters.
- Then choose the command limmax, if you type limmax then default units will be there.
- First take the toilet room dimensions because there is no outside dimensions. So we have to take inside room dimensions.
- Take the first room dimensions and draw the rectangle using line command.
- Then from that take outer wall thickness and do offset with the distance by assuming as shown in below drawing.
- Now take the door dimensions given in the attachement and mention the door by using trim command.
- Take the door direction and draw the door portion towards wall side and mention the dimensions.
-
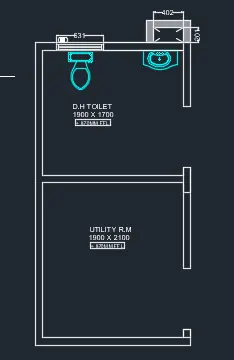
- Now at the top of the wall mention the ventilator for toilet with the given dimensions.
- By the same procedure, we have to draw the another room utility room with the given dimensions.
- Take the offset command, and do offset to the toilet room line and draw the line by using given room dimensions.
- Now draw the outer portion of the wall, and close the line.
- Then by using trim command, mention the door portion as shown in the attachment by door dimensions.
- From the door portion, by assuming some gap between door and window, take another line and show the window portion.
- Now give the room names and to the doors and windows.
- Finally mention the dimensions to given portions as shown in the attachment.
Result:-