Creating a Residence Layout, Seating plan, Toilet and Utility room plan using AutoCad
ANS :1
1. Resident Plan:
Step 1: To draw the the plan the units are in inches so that select the "Engineering or Architectural template"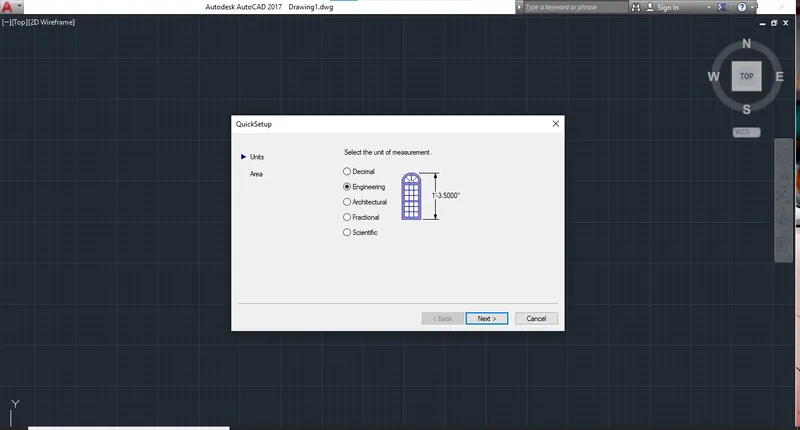
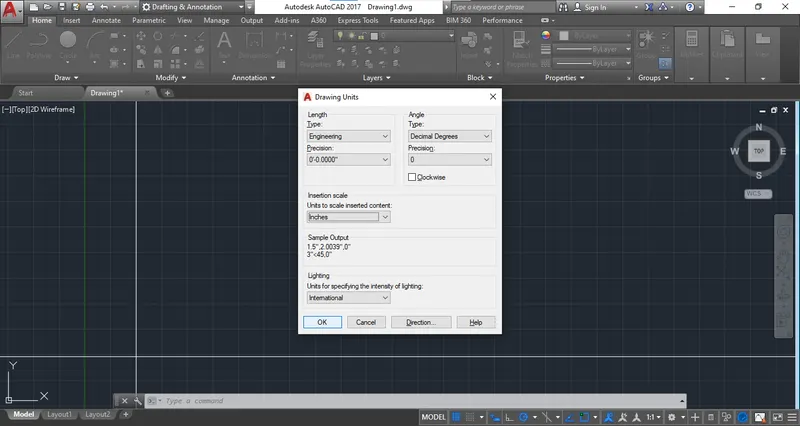
Step 2: Then Go to Units and select Type as "Engineering" & units as "Inches".
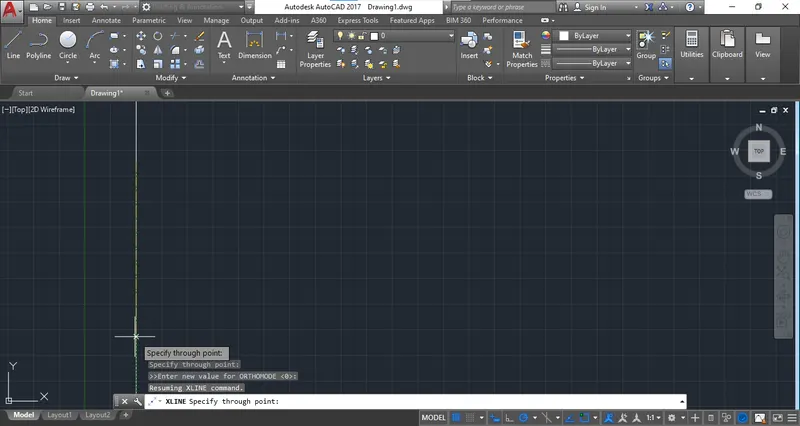
Step 3: Select the "XLINE" Command.
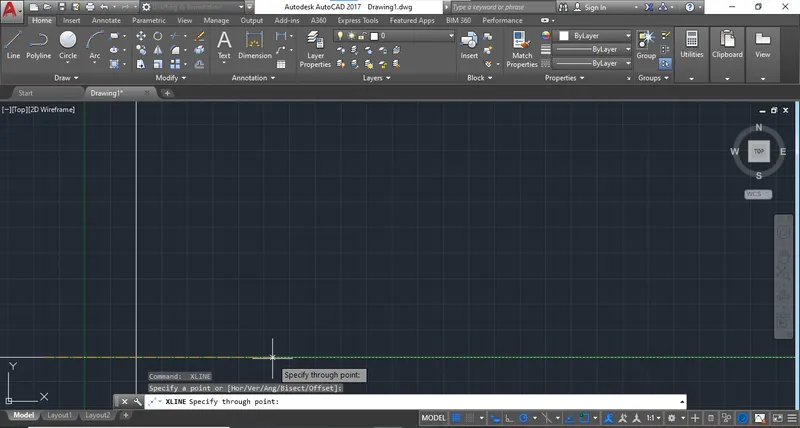
Step 4: Draw the parallel line to X & Y Direction.
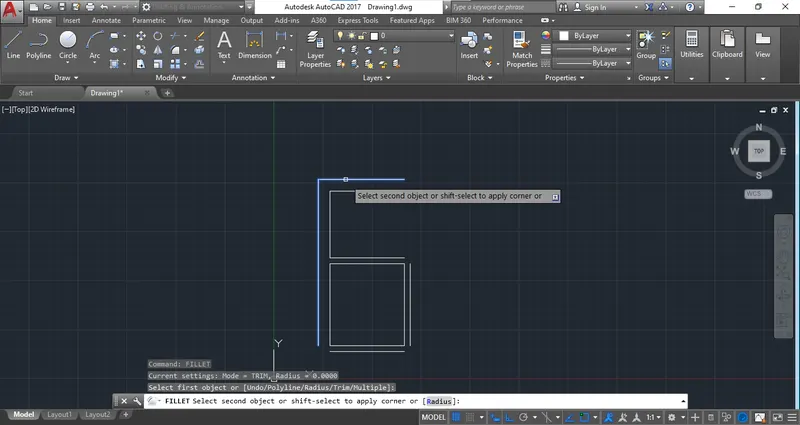
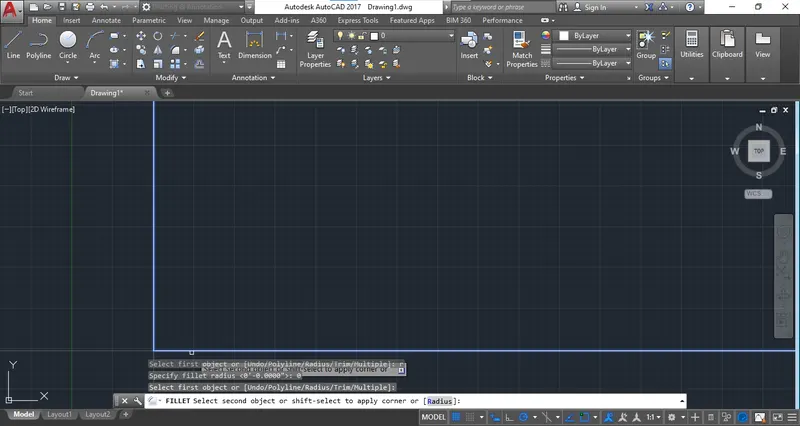
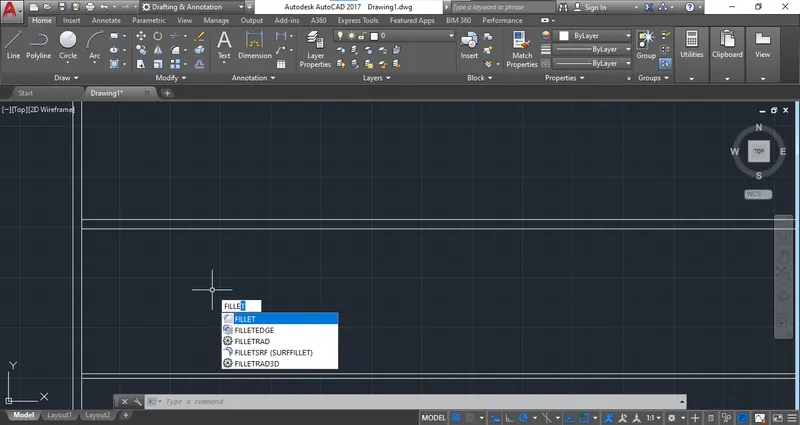
Step 5: Use the "FILLET" option with "0" Radius & cut the extra portion.
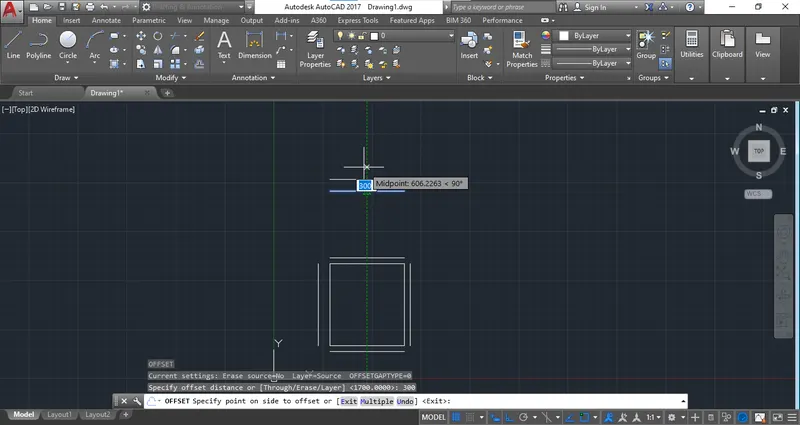
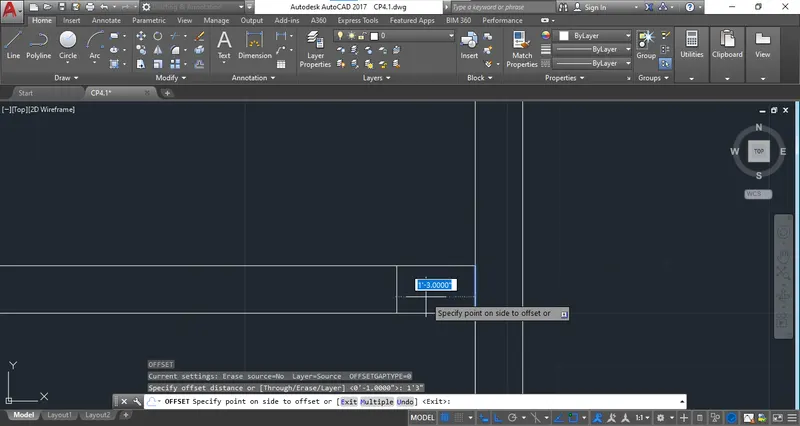
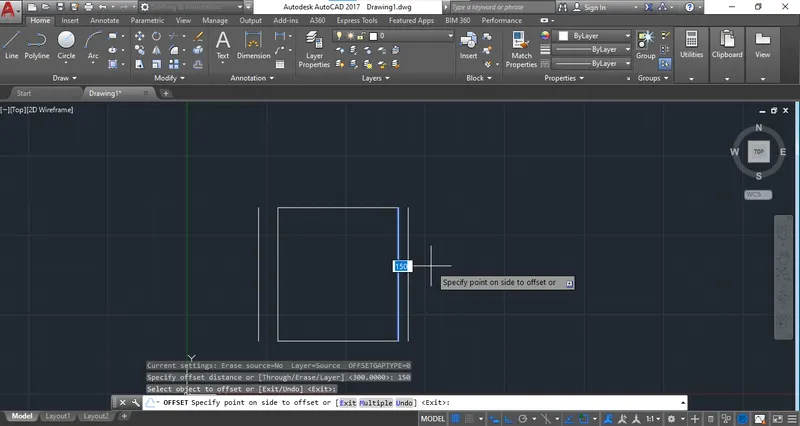
Step 6: Select the "OFFSET" command to draw the line for inner wall refference.
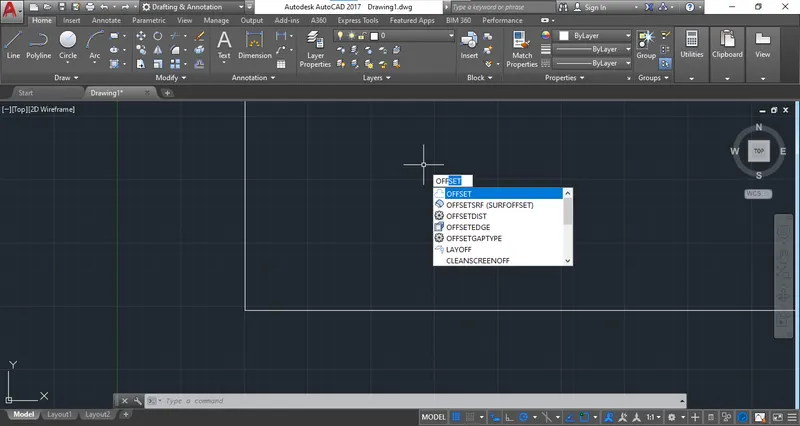
Step 7: Make offset & cut extra command by fillet.
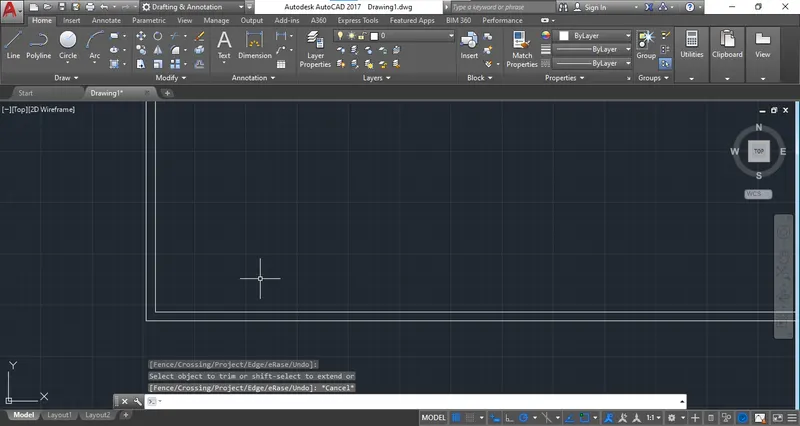
Step 8: Create a offset for inner walls.
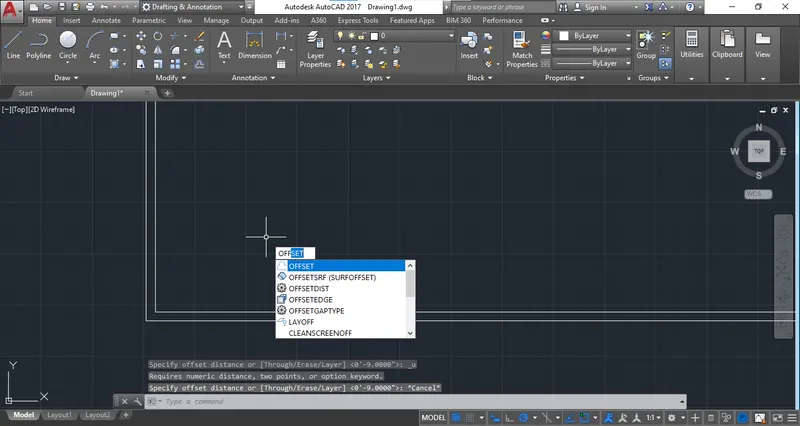
Step 9: Create the wall by making offset from room dimensions.
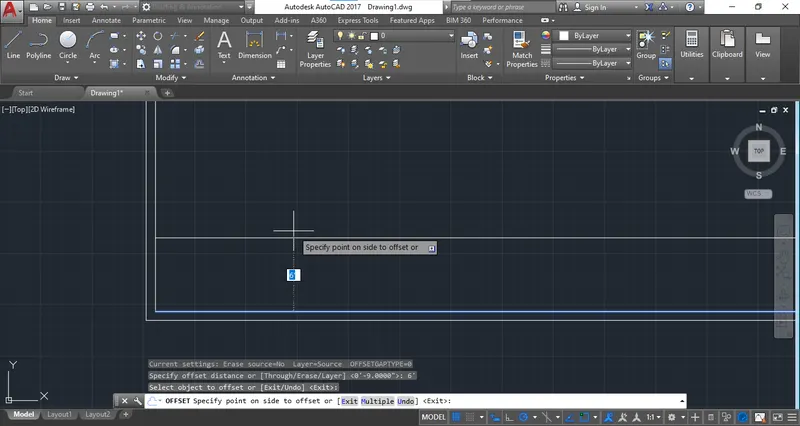
Step 10: Create offsets for other as per the room dimensions.
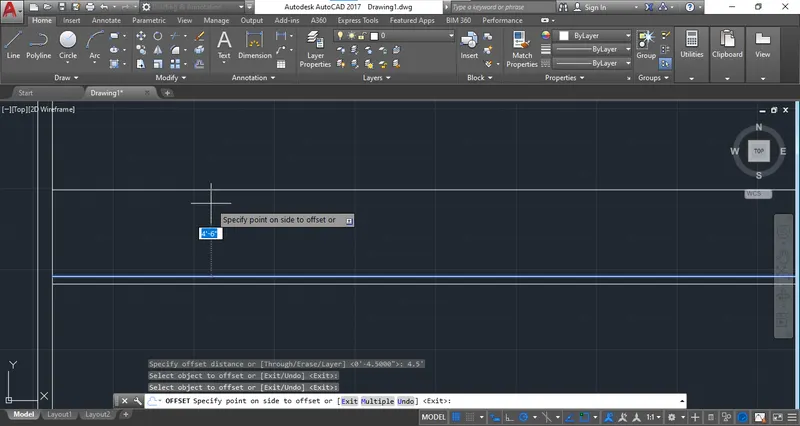
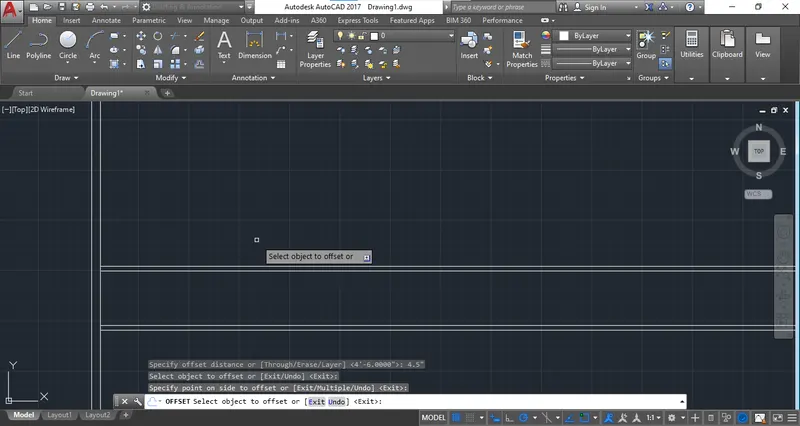
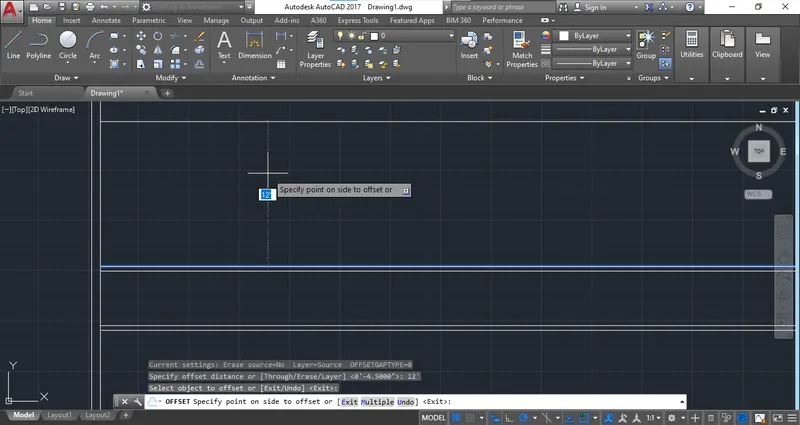
Step 11: Use the fillet oprion and cut the extra portion.
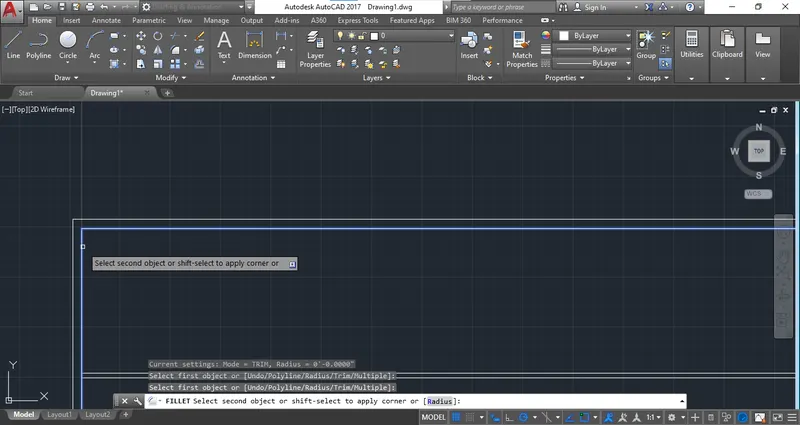
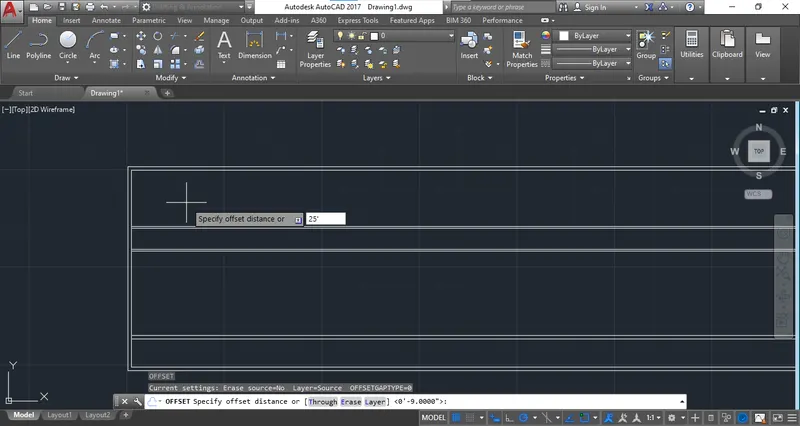
Step 12: The second boundry will be get then make a offset of 25' to get Right side boundary.
Step 13: Use the "TRIM" tool and cut all the extra portion all boundary lines of model will be get.
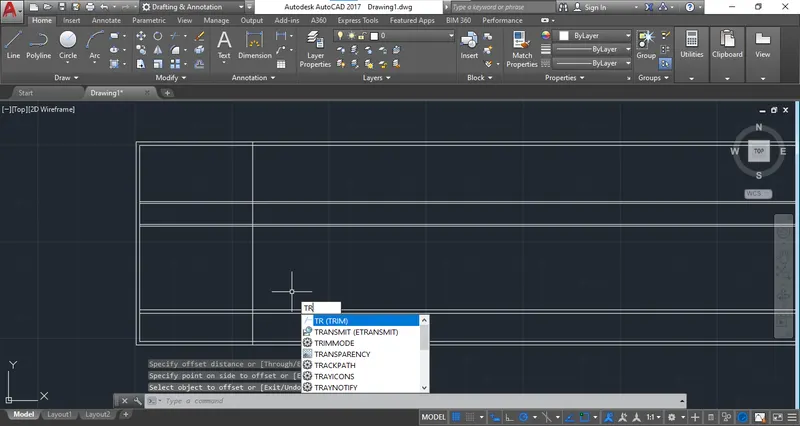
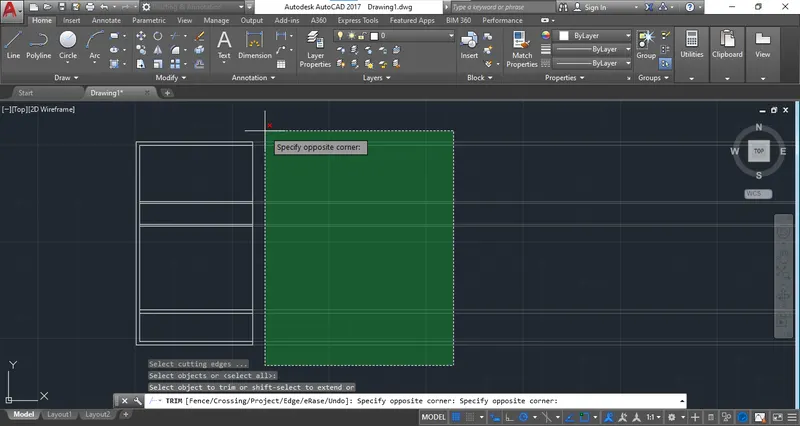
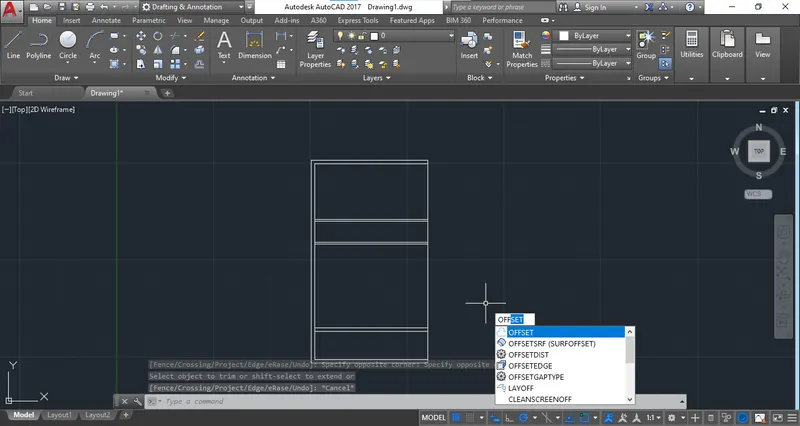
Step 14: Create offset 9" will give the outer wall.
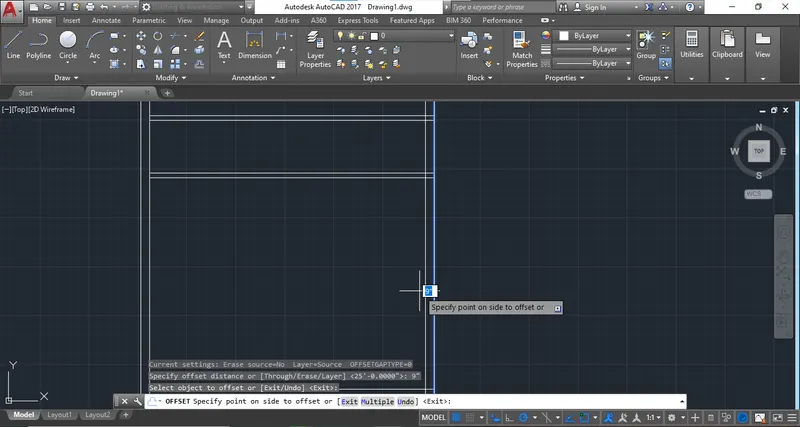
Step 15 : Create the offset for all walls.
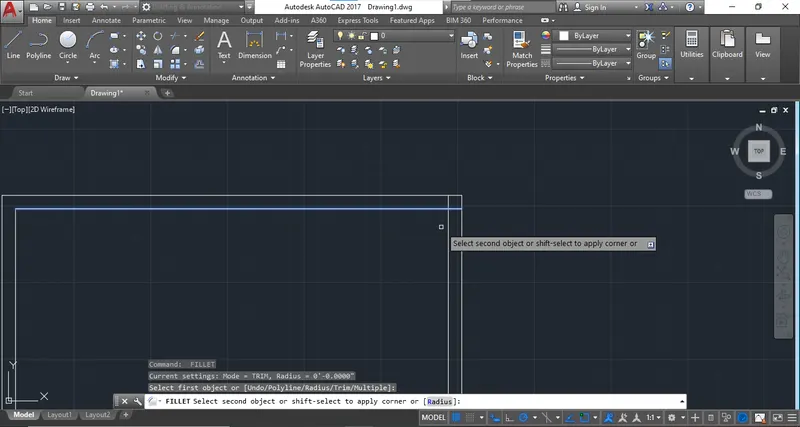
Step 16: Now create the inner wall or partition wall.
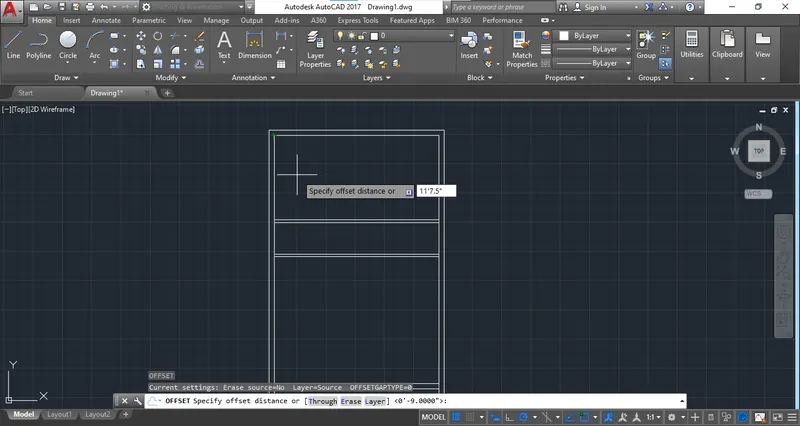
Step 17: As per the distance of room or dimension given create offset.
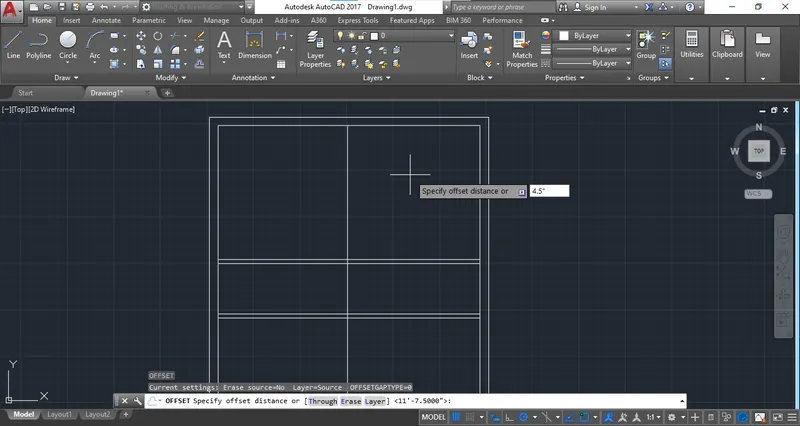
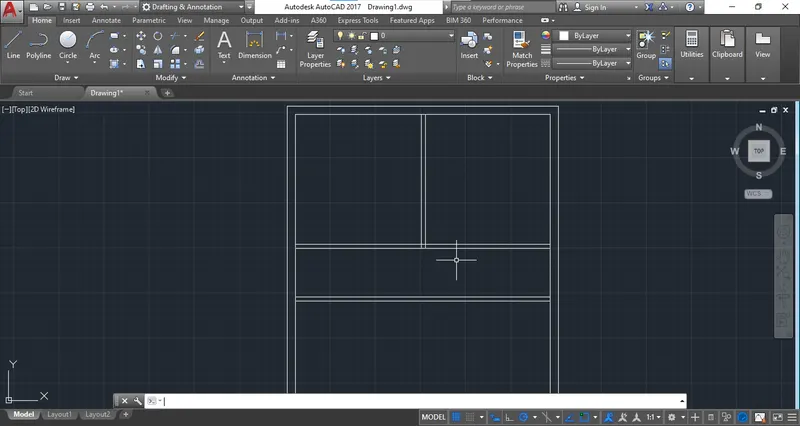
Step 18 : Create a offset for a bathroom & create a walls for bathroom.
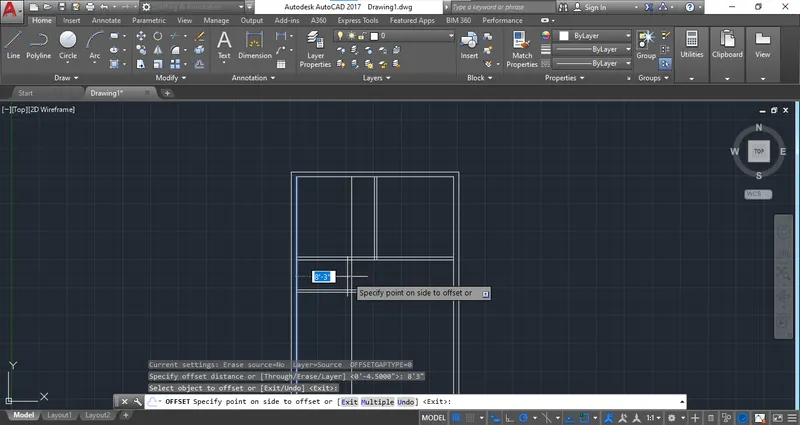
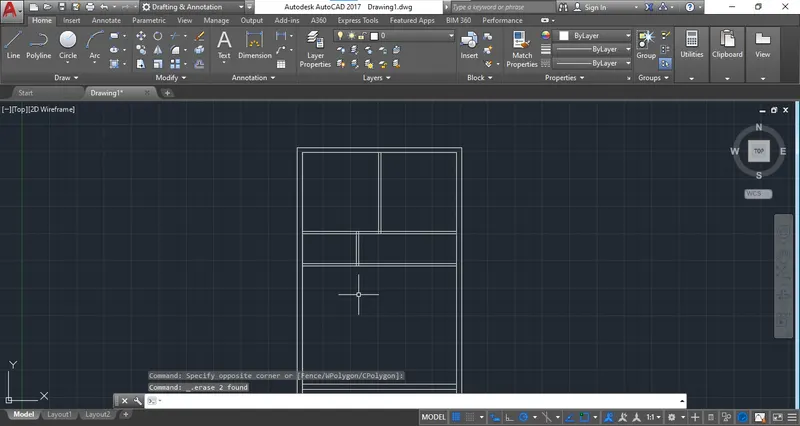
Step 19: Create the same walls for bathroom in right side.
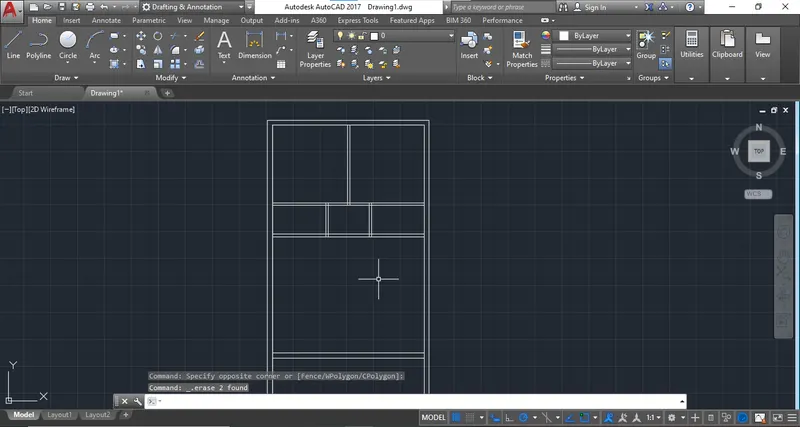
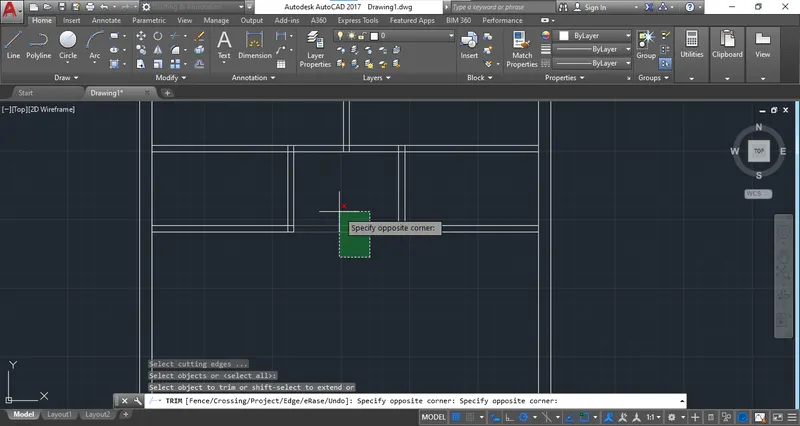
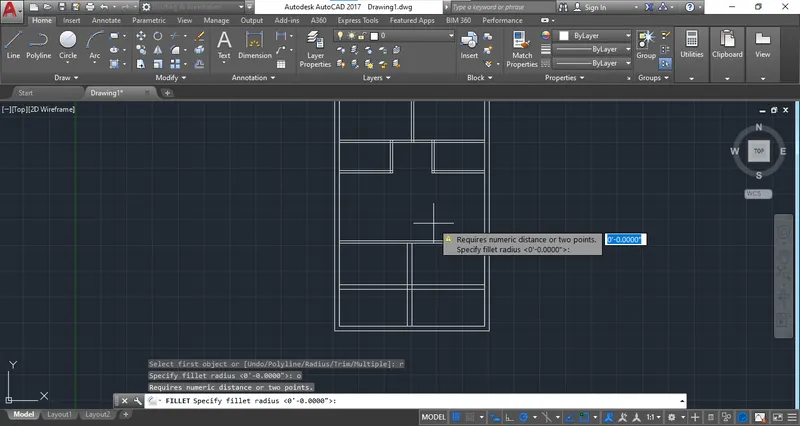
Step 20: Create a area for staircase & parking.
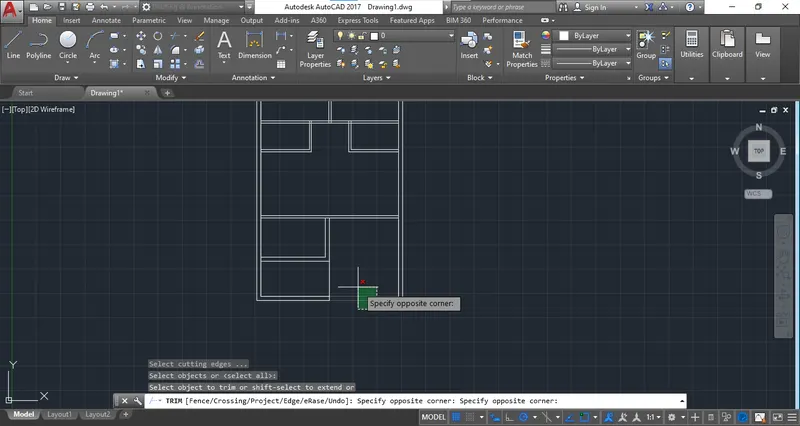
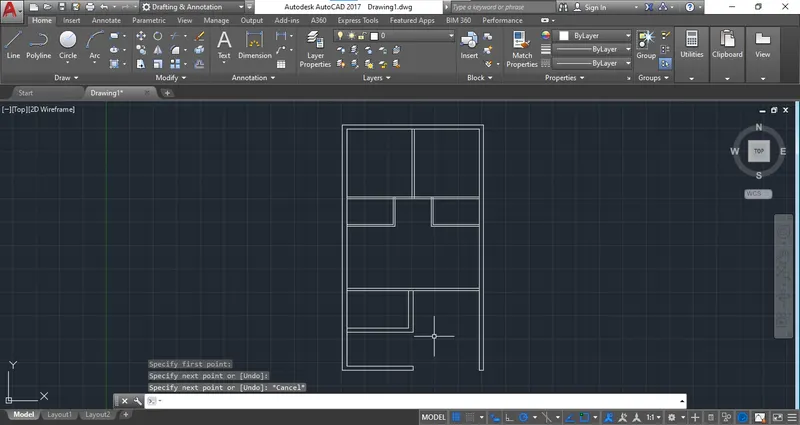
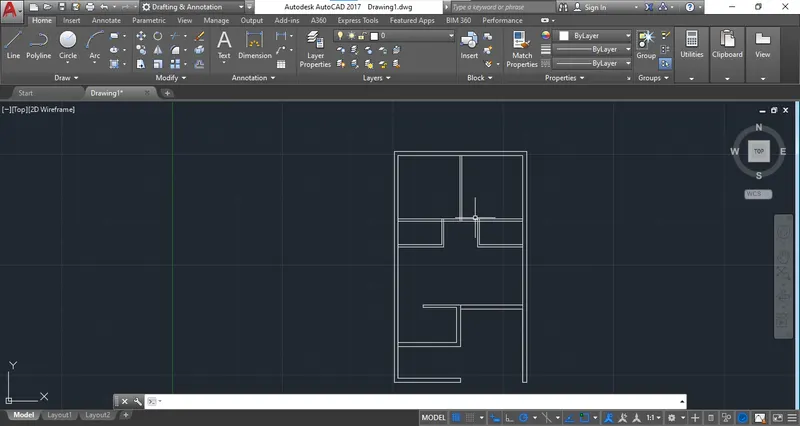
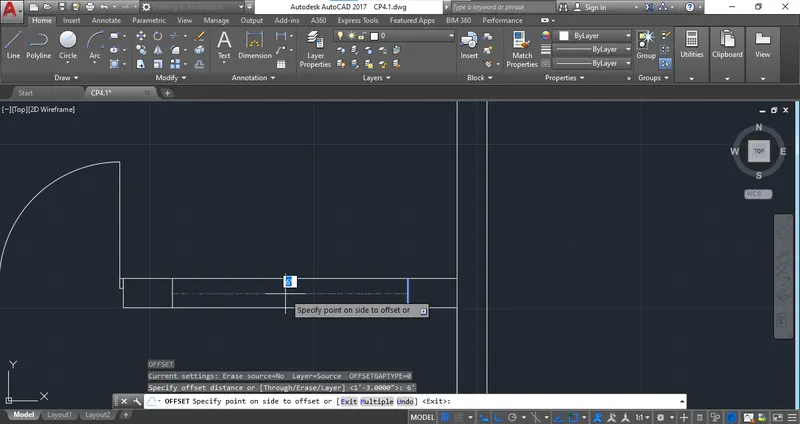
Step 21: Create a offset for door.
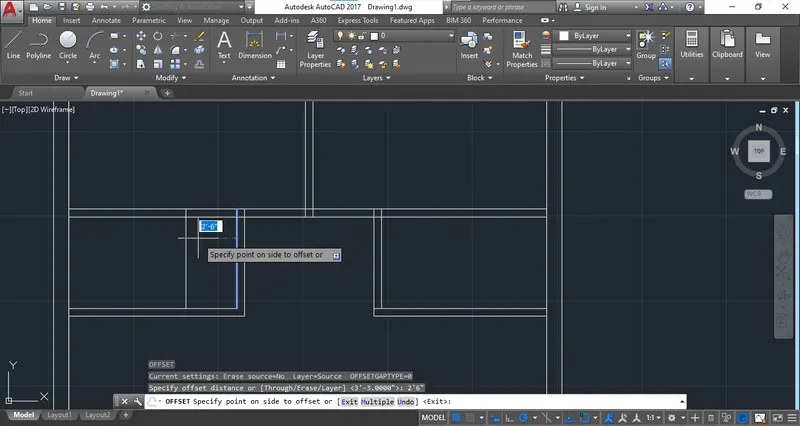
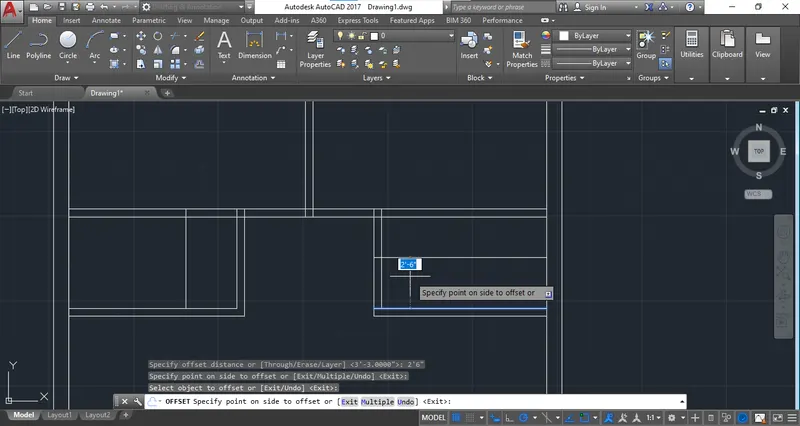
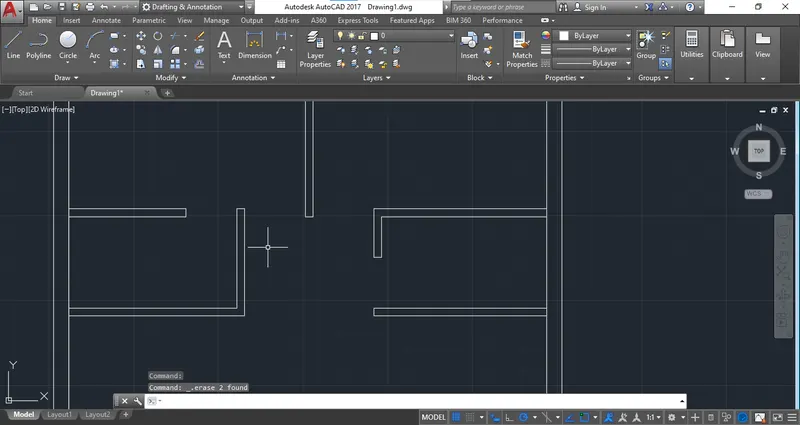
Step 21: Repeat the process and create all door opening.
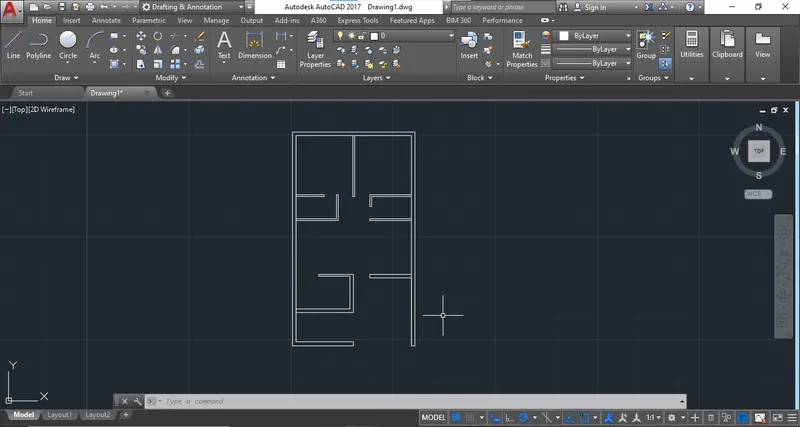
Step 22: Create staircase centre wall.
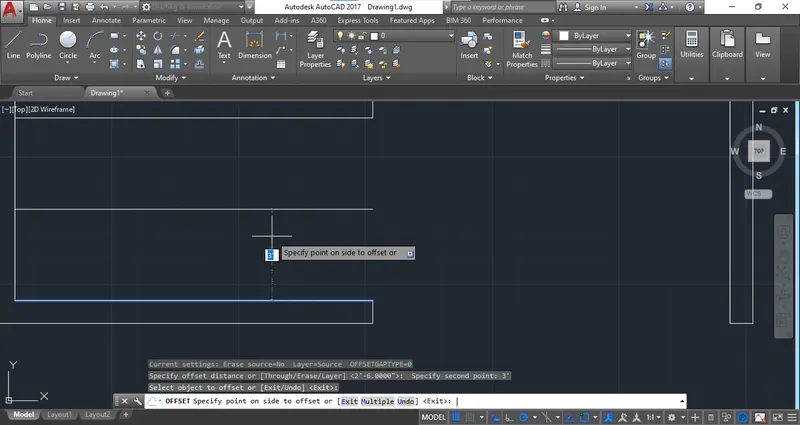
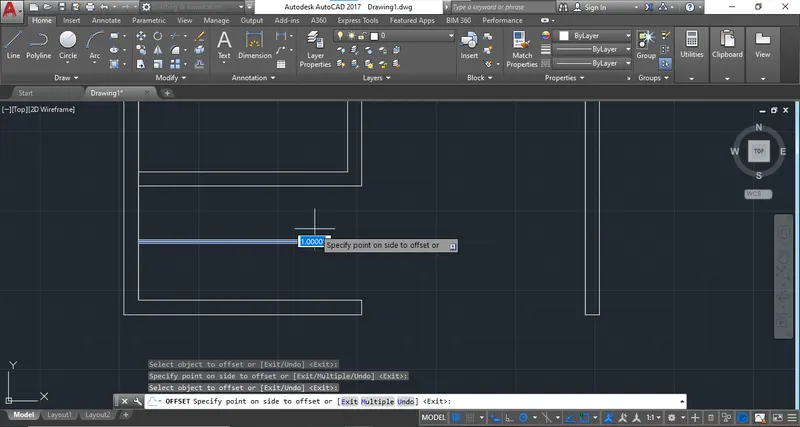
Step 23: Create tread by using offset command of 1'
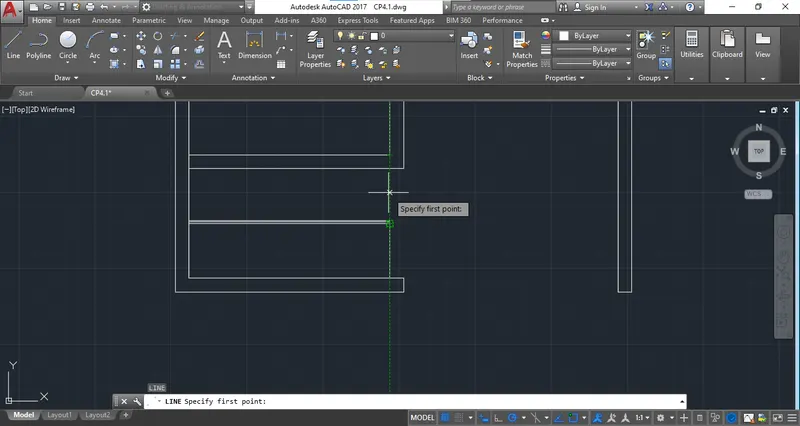
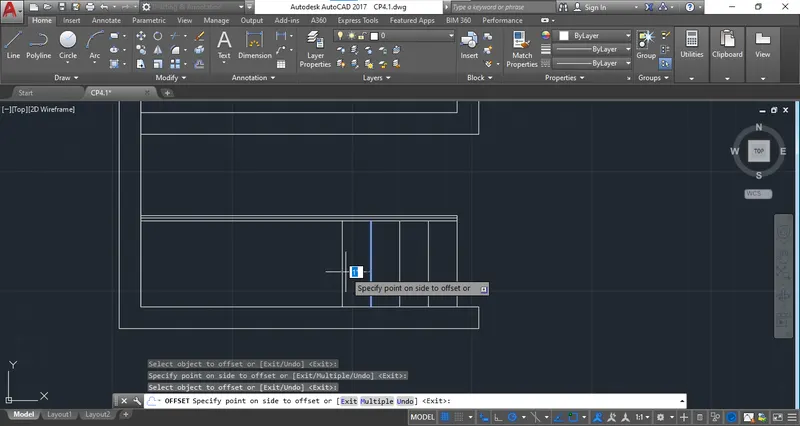
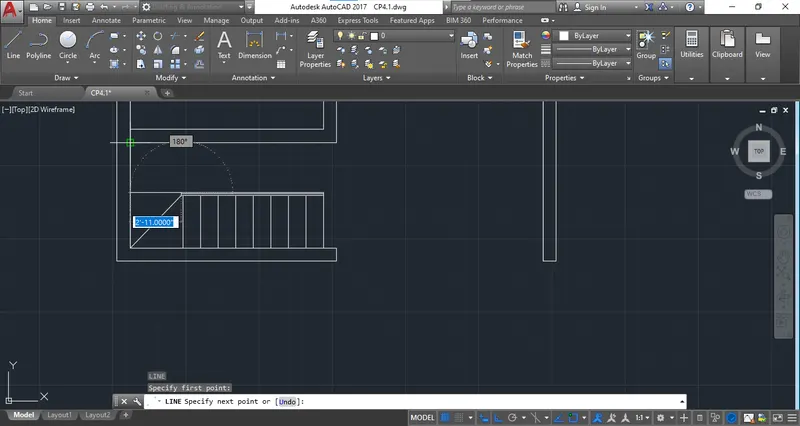
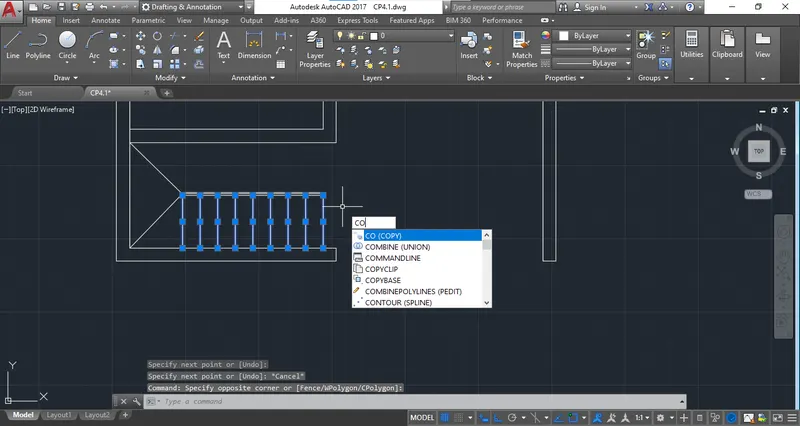
Step 24 : Copy lower part on upper part.
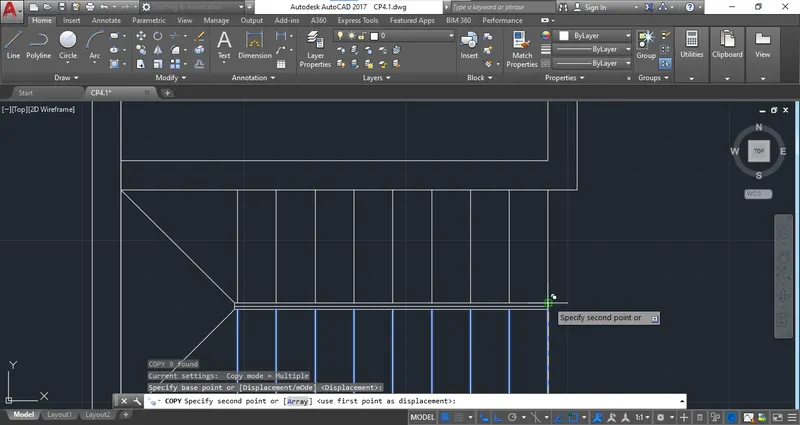
Step 25 : Create kitchen ota.
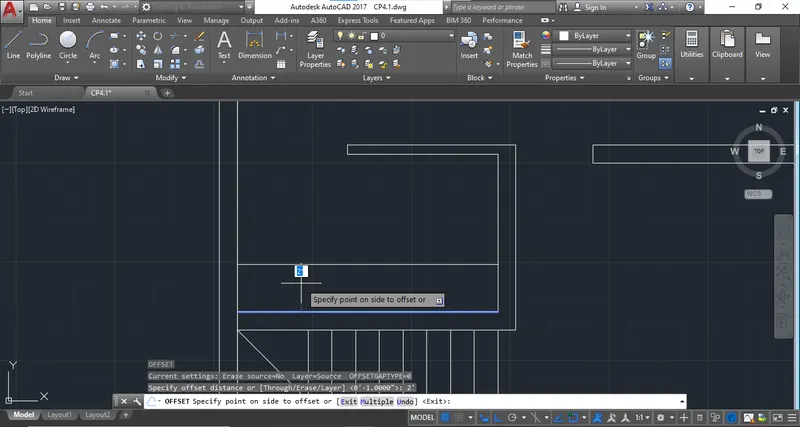
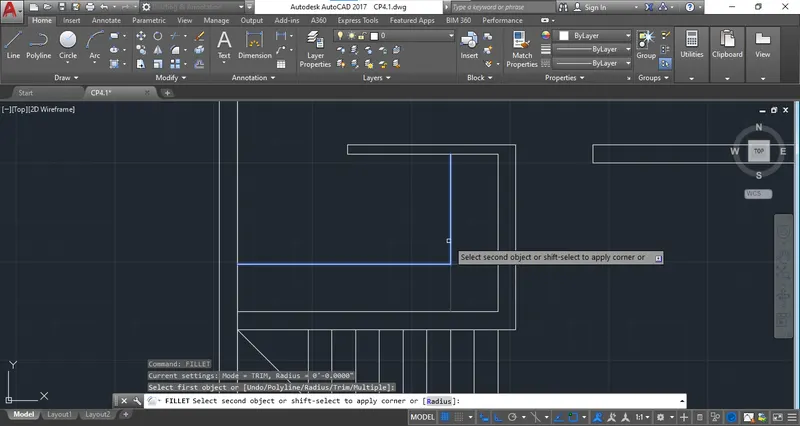
Step 26: Draw rectangle to create C/B in Bed room.
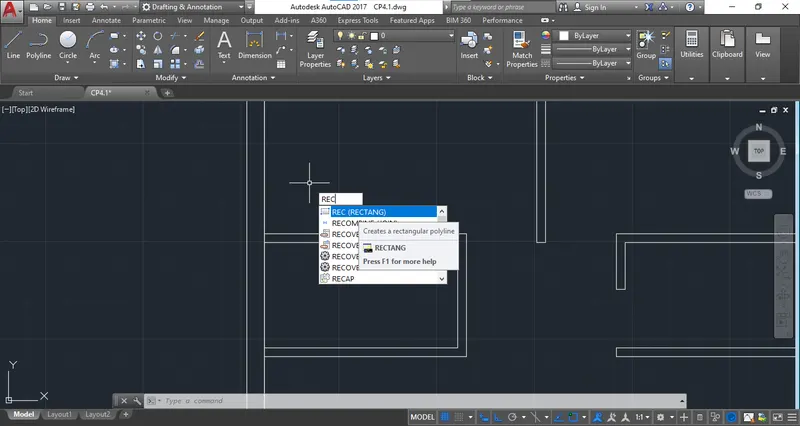
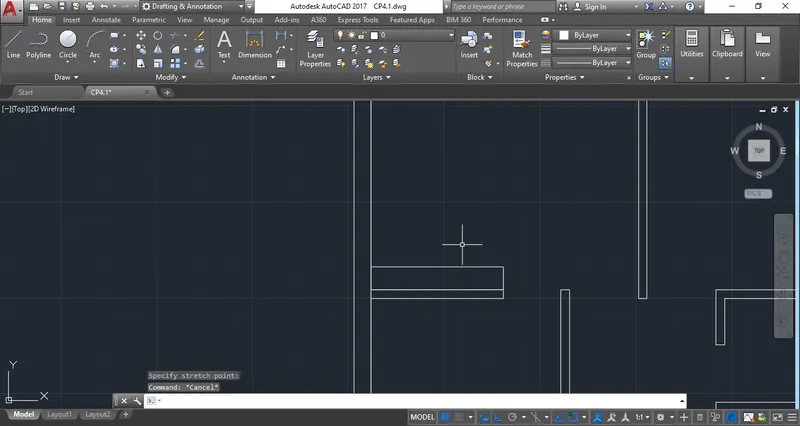
Step 27: Create offset to draw inner part of C/B
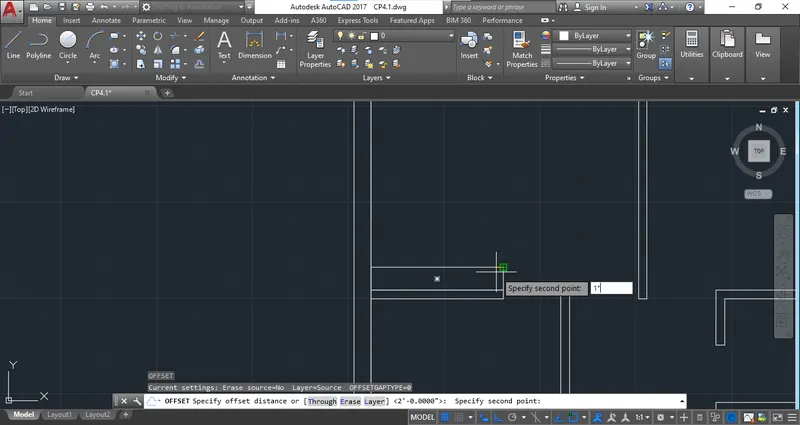
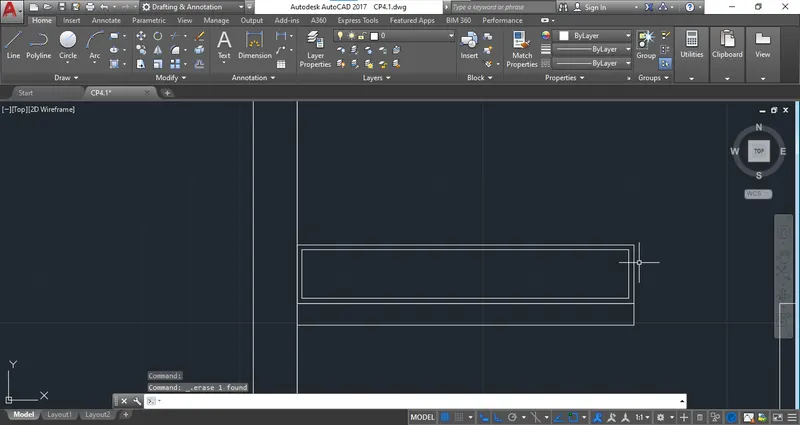
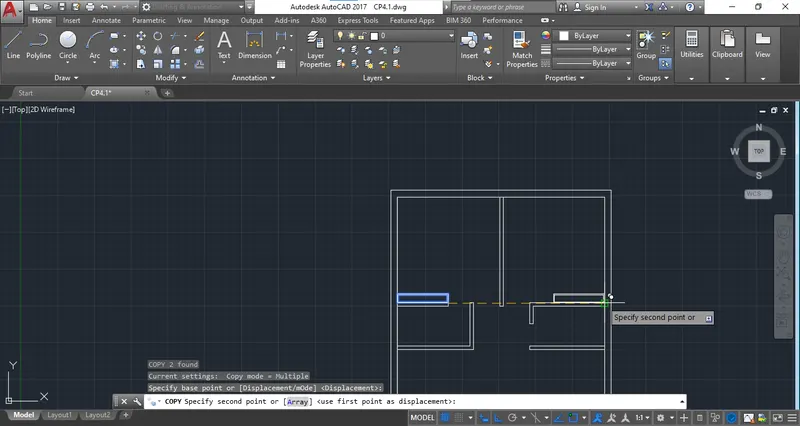
Step 28: Copy the C/B in other bed room.
Step 29 : All the components are created now start to draw door frame.
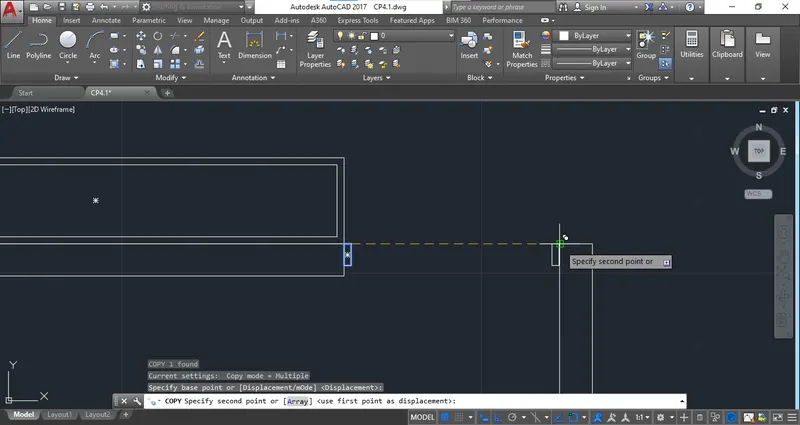
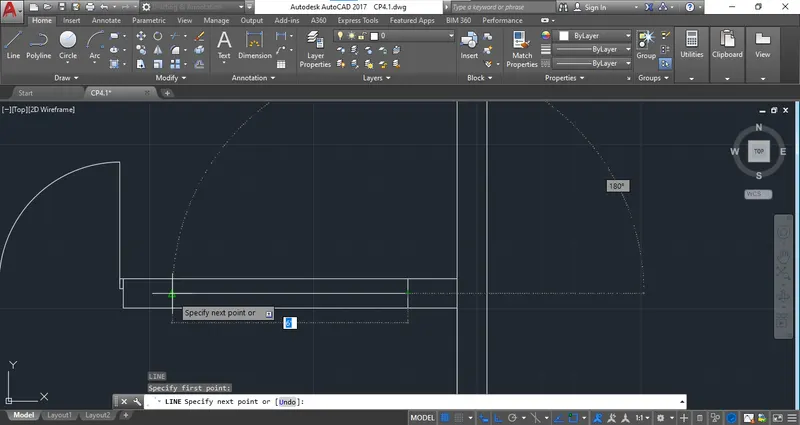
Step 30: Draw the line for door create an arc for opening of door.
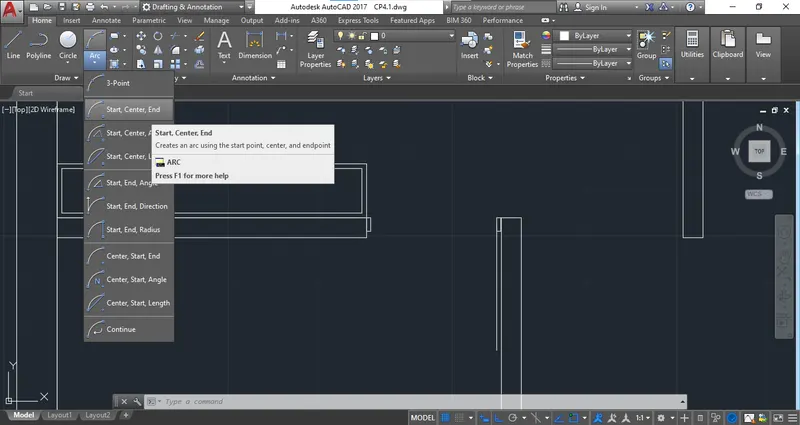
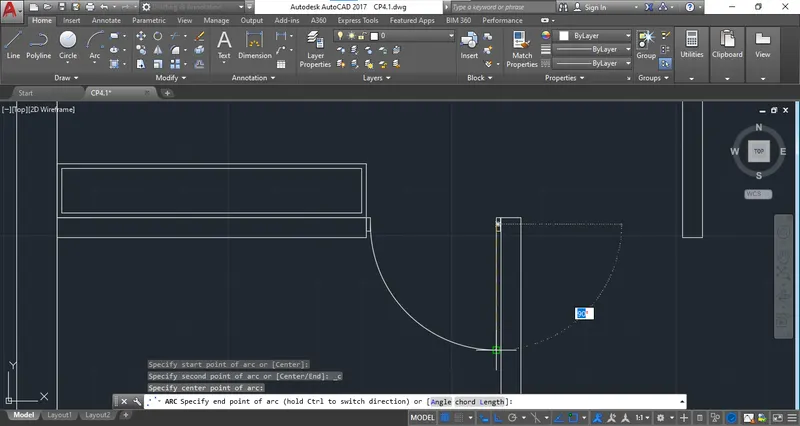
Step 31: Repeat the same process for doors create the all doors with opening.
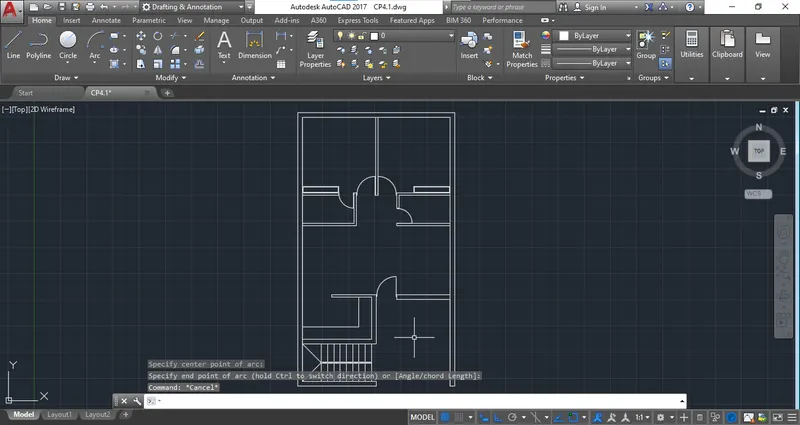
Step 32: Draw the window.
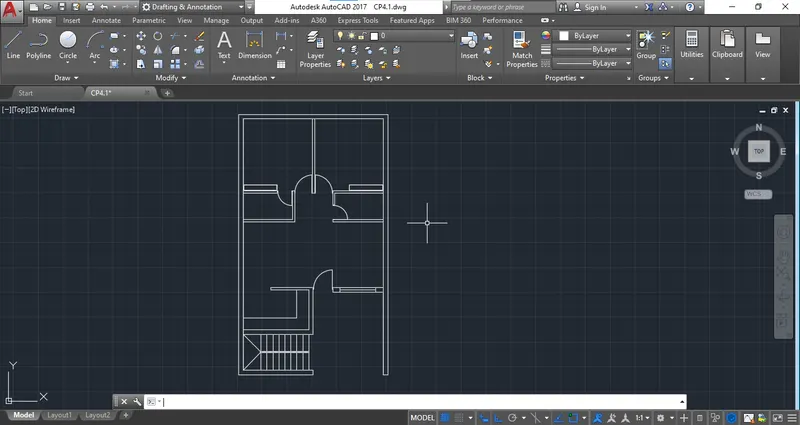
Step 33: Geometry of model is created now. Create a layer now.
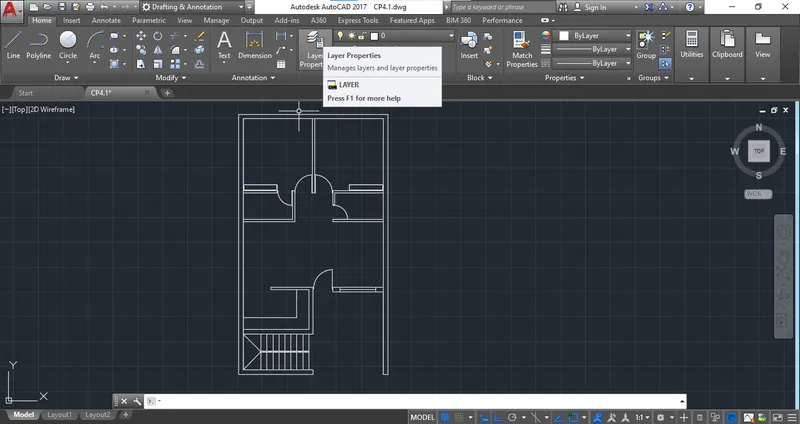
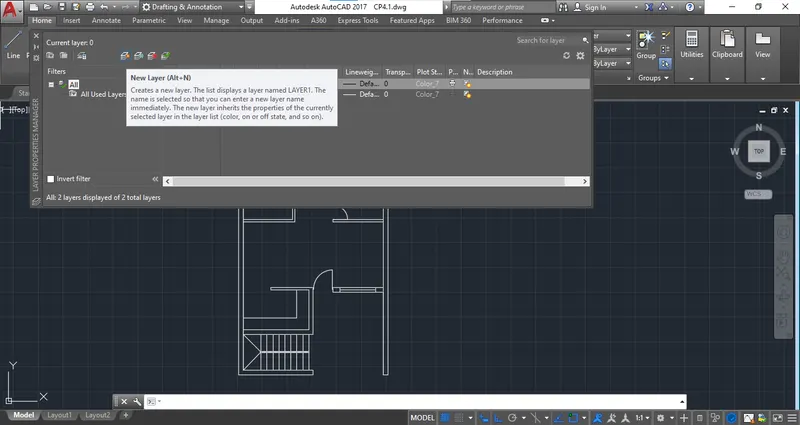
Step 34 : Create different layer with different colour to highlight every part.
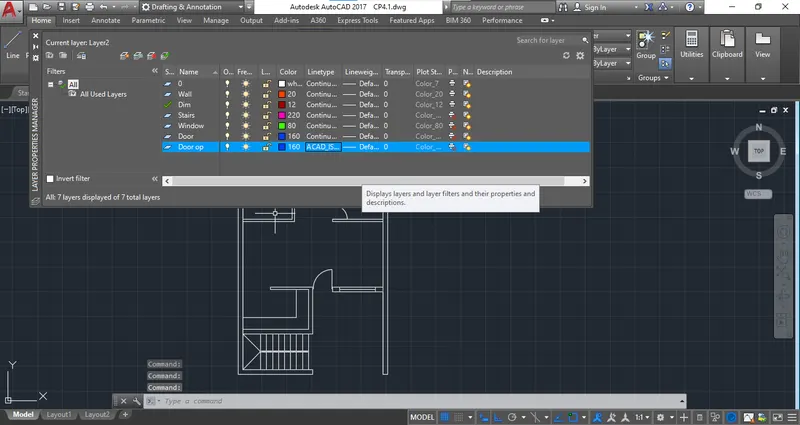
Step 35 : select all the wall members and provide the created wall layer.
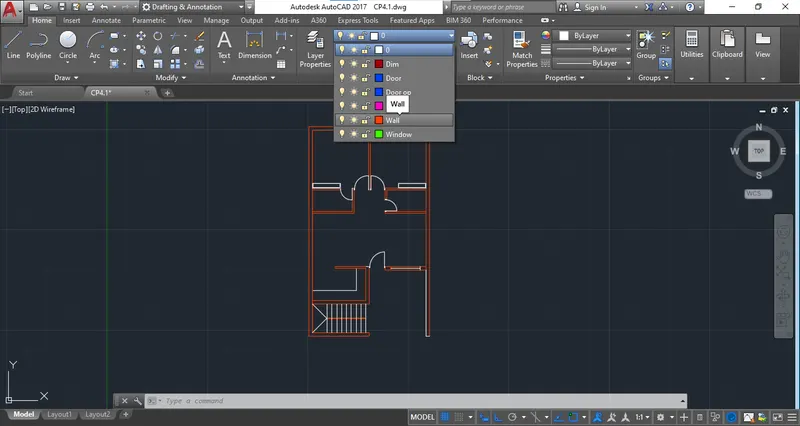
Step 36 : Repeat the process for all components.
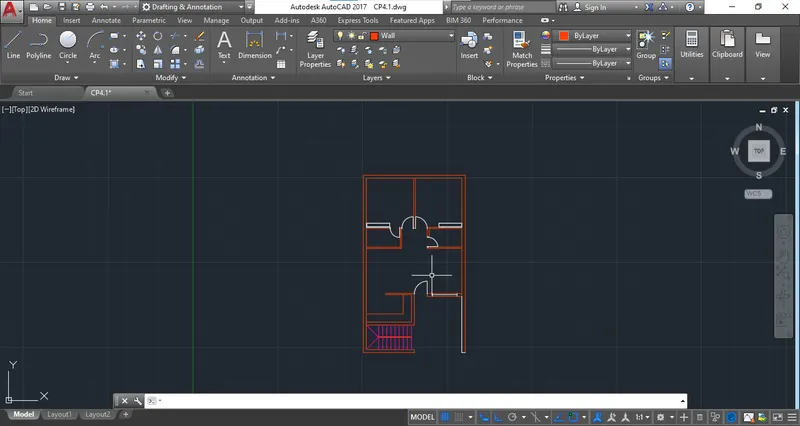
Step 37 : After providing the layers provide all the dimensions.
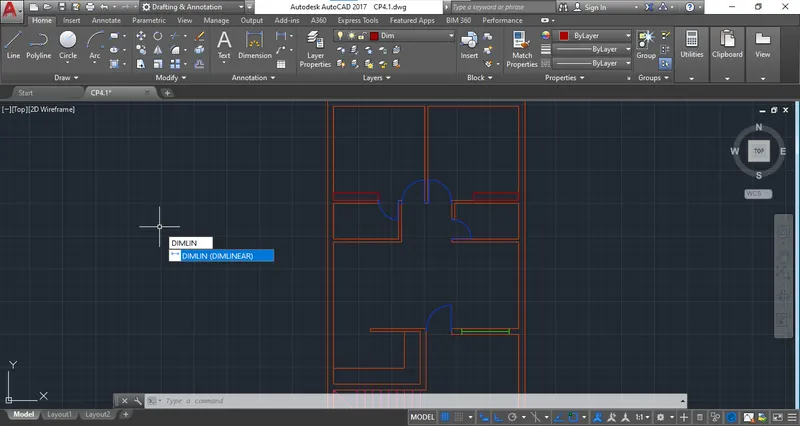
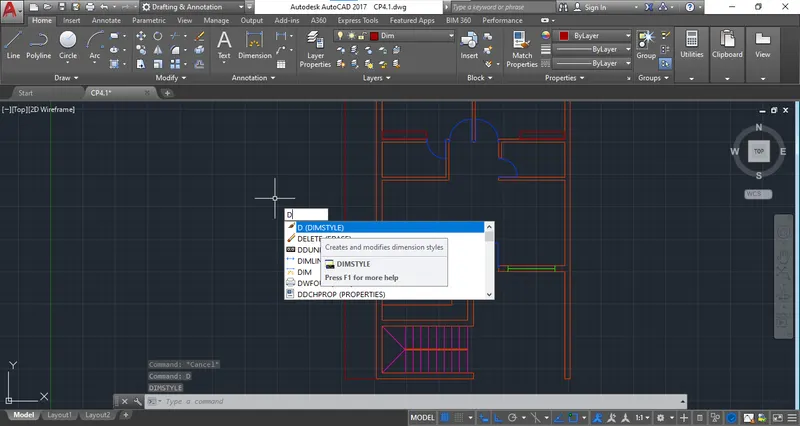
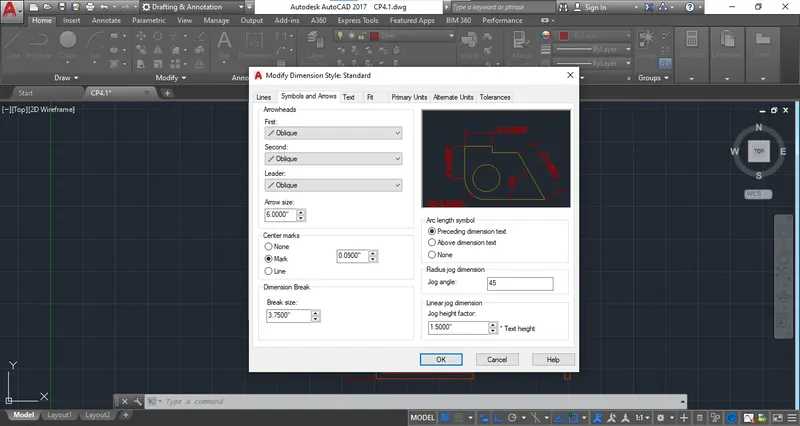
Step 38: Change the dimension style and text.
Step 39: Provide all dimension as shown in figure.
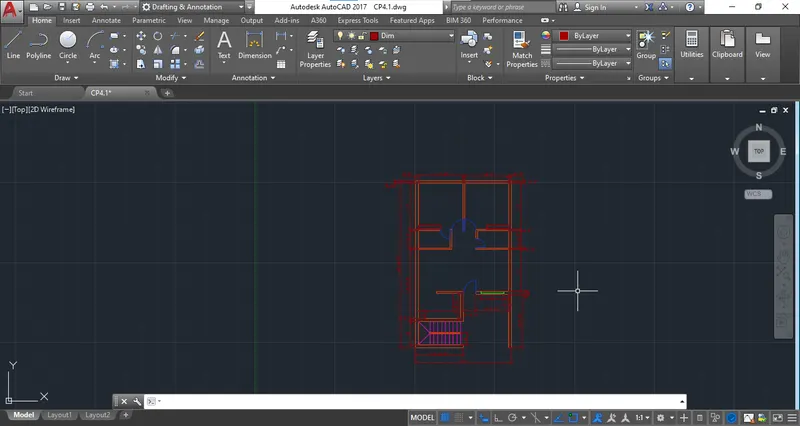
Step 40: Add text
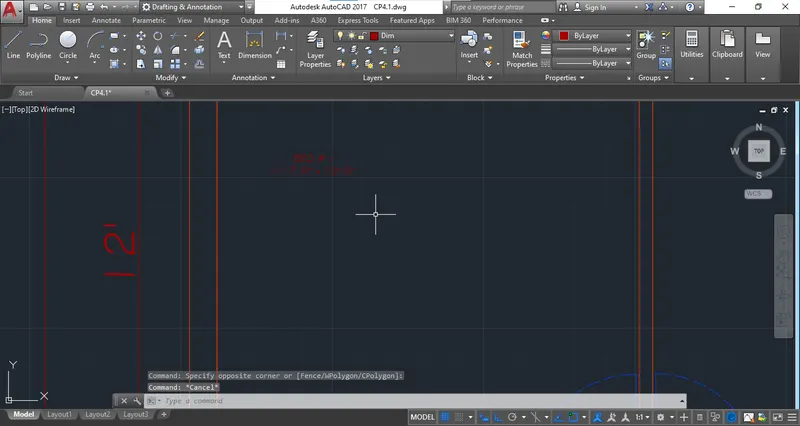
Step 41: The text size is small. Increase the size by Using "SCALE" Command. Create proper size Text.
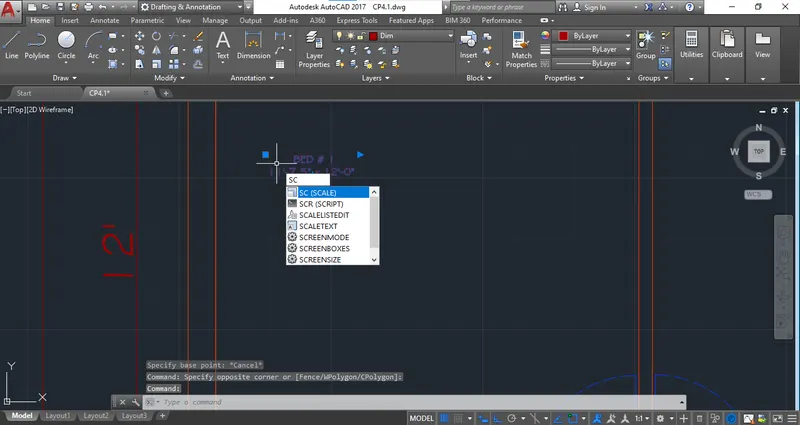
Step 42 : Copy text box in all rooms and edit.
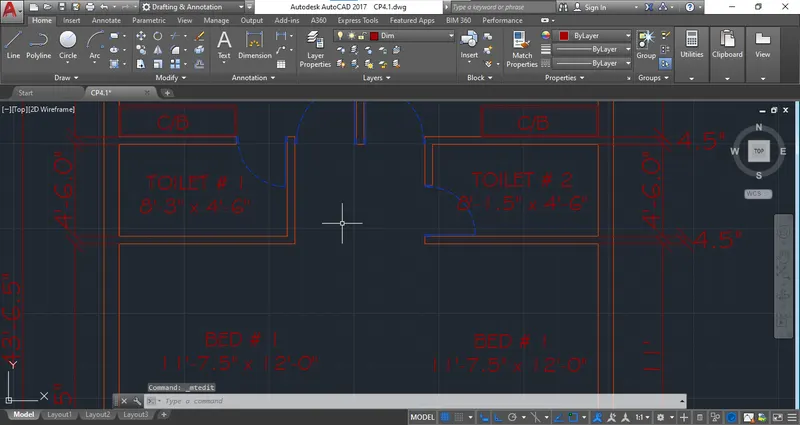
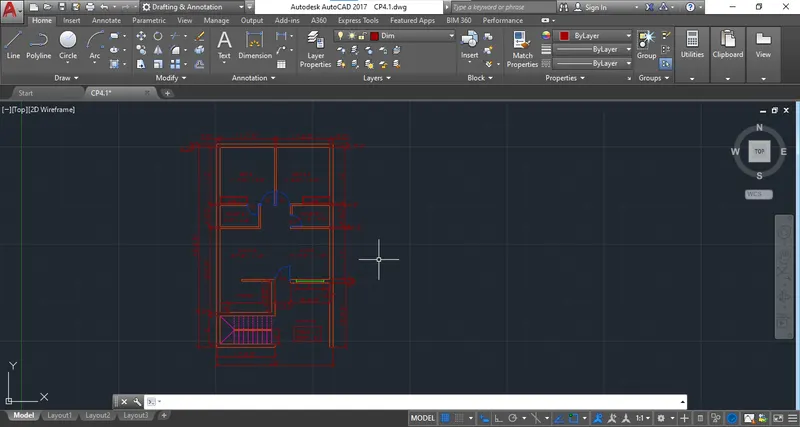
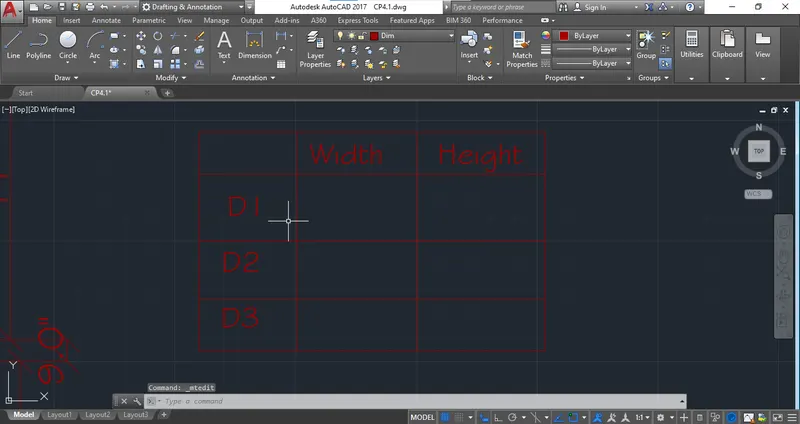
Step 43: Create schedule of Opening
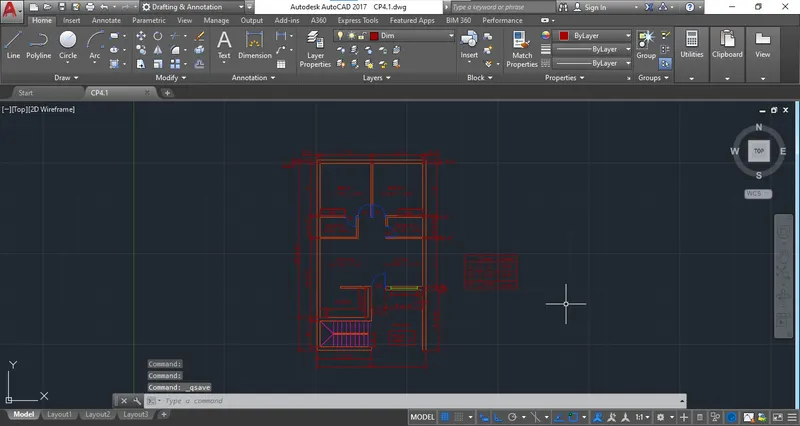
ANS 2
OUTDOOR SEATING WITH CONOPY
Step 1: Start a drawing with decimal template and decimal units.
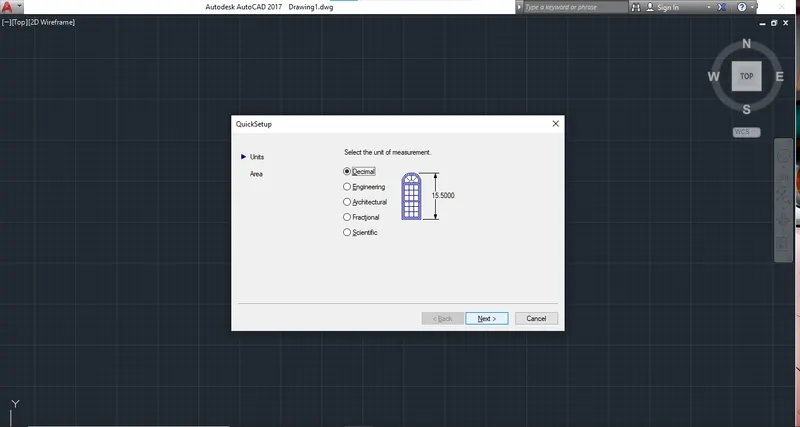
Step 2: USe the Circle command.
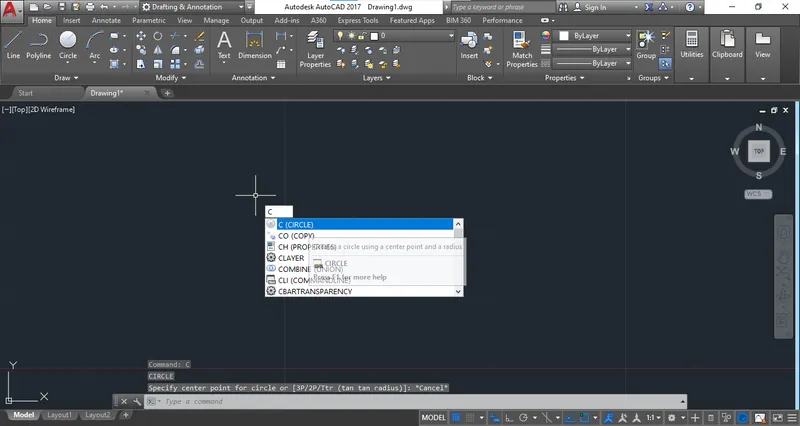
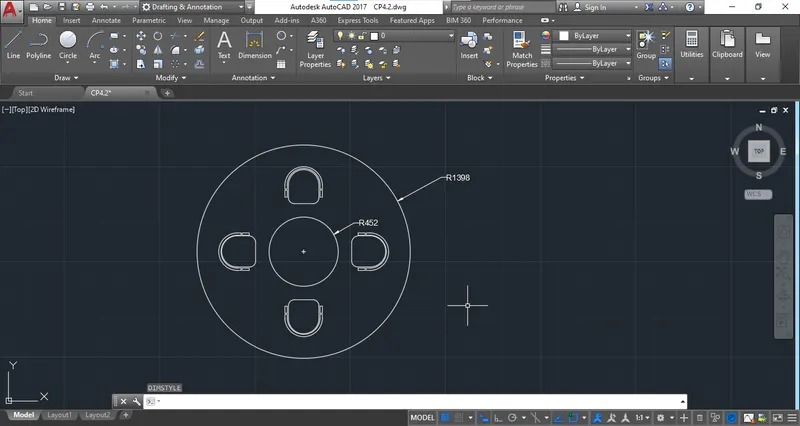
Step 3: Draw a circle of radius "452" at random centre point.
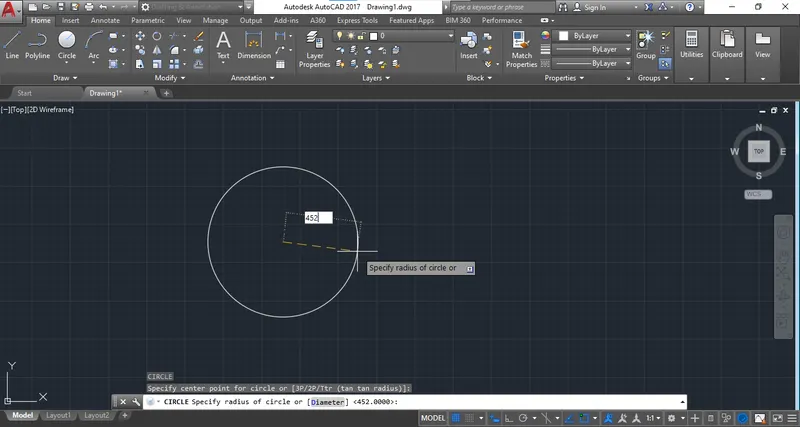
Step 4: Create another circle with radius "1398" at same point
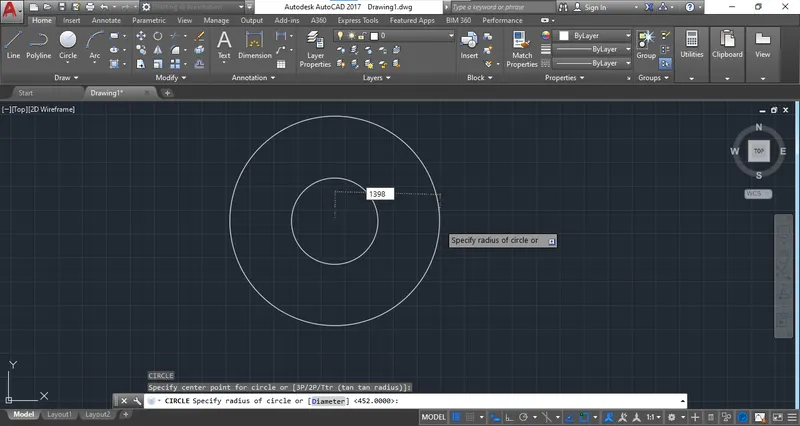
Step 5: to create a chair draw a rectangle with random dimension.
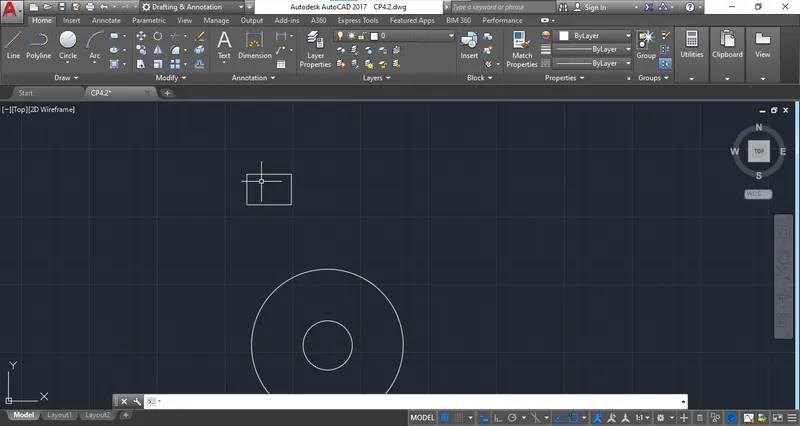
Step 6: Use "FILEET" command and drawcurved portion at the bottom of the rectangle.
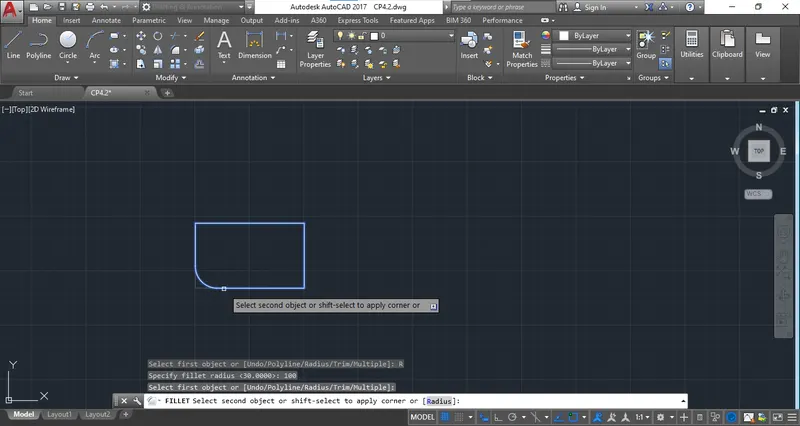
Step 7: Use the arc command and draw the circular portion at top of the rectangle
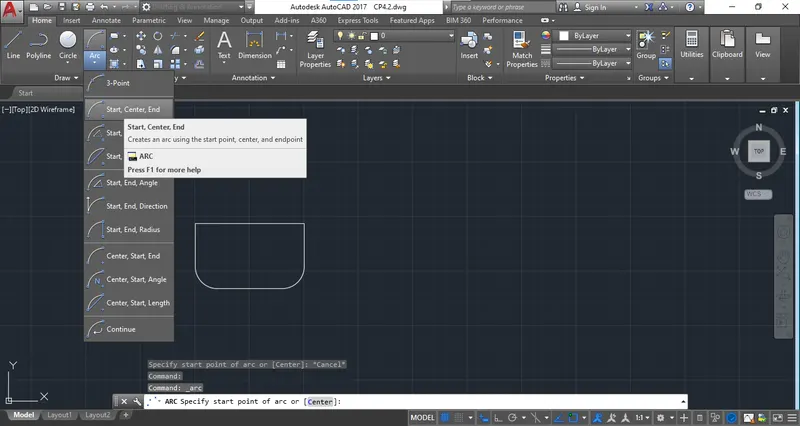
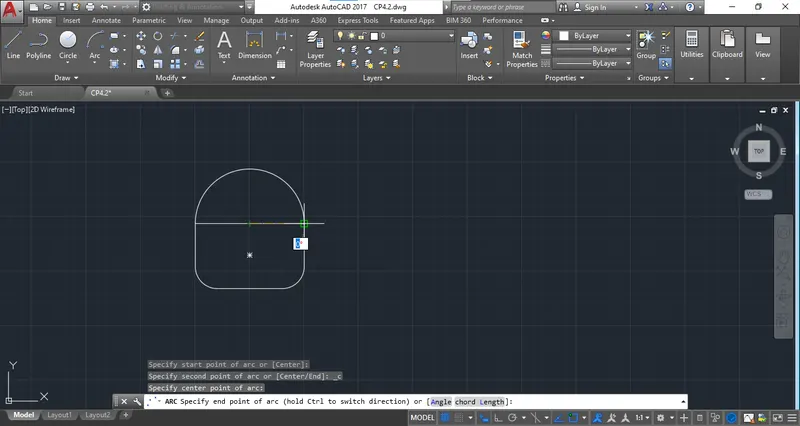
Step 8: Create offset for handle of chair
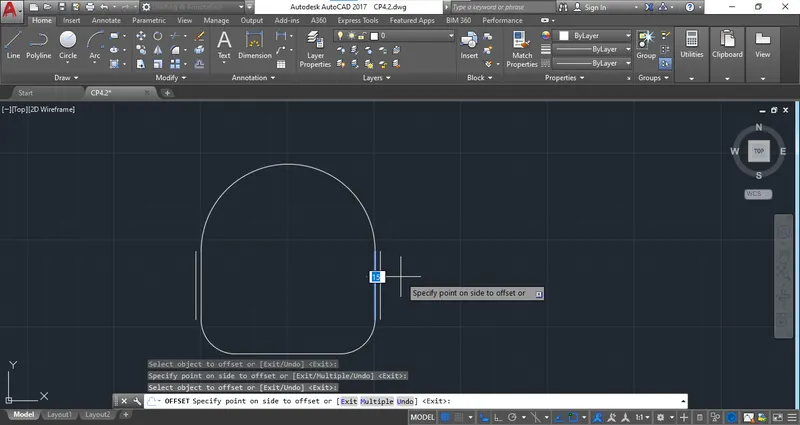
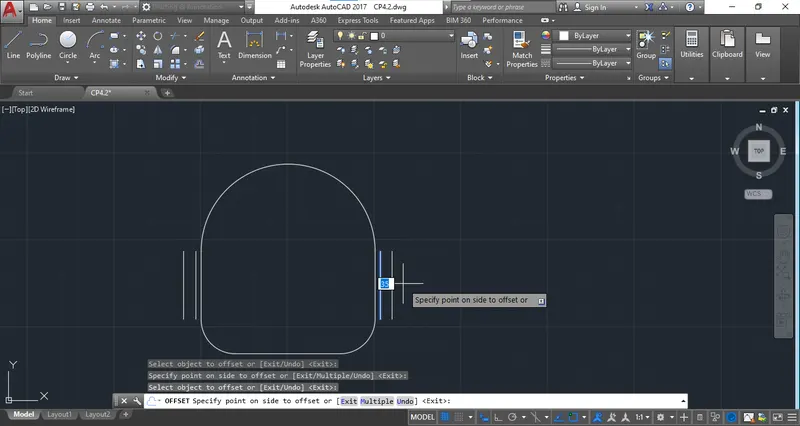
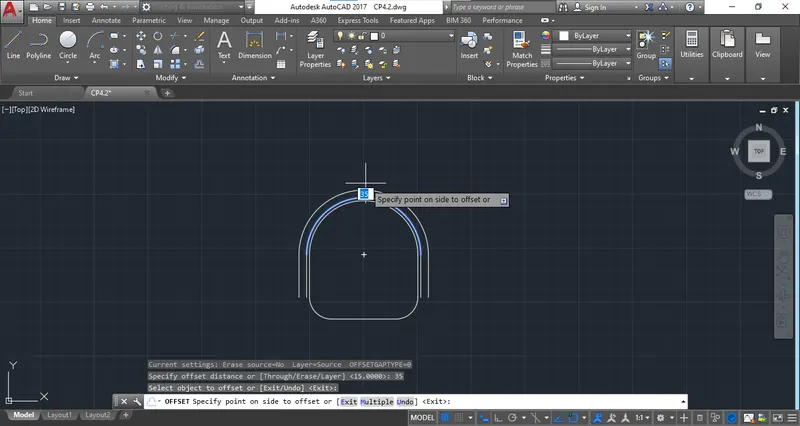
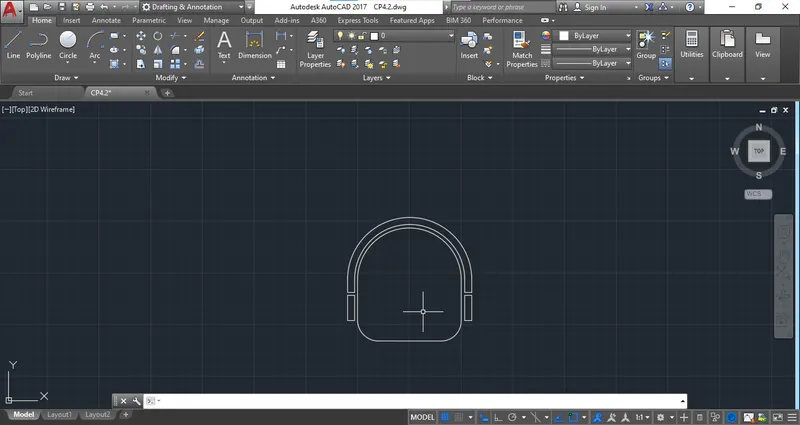
Step 9: Copy the chair in circle and use scale command to resize object.
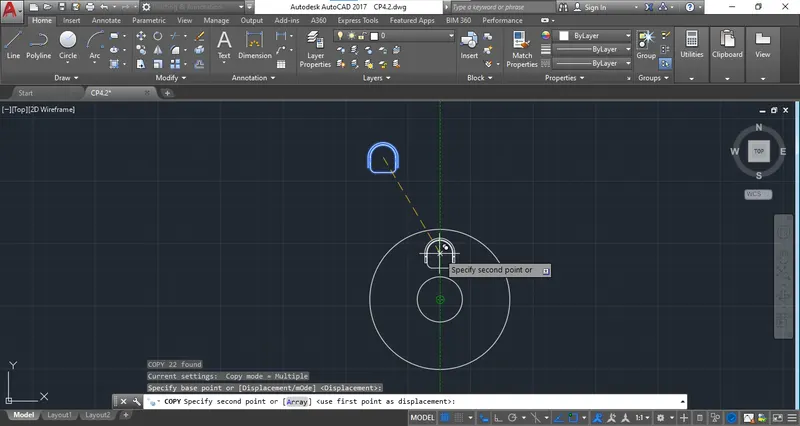
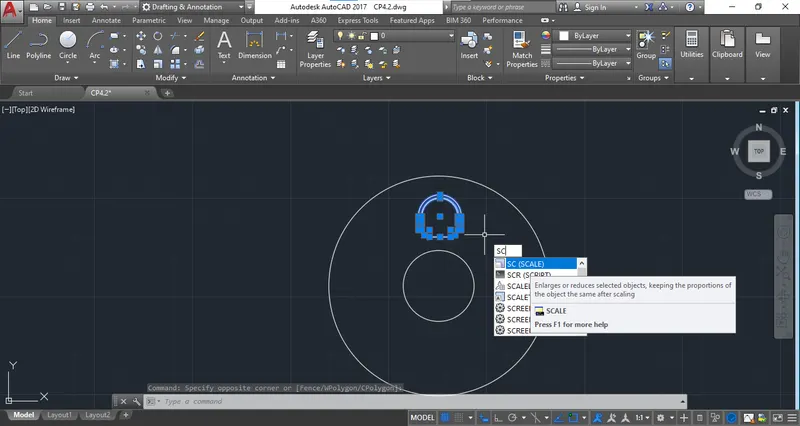
Step 10: Use array command to create multiple objects
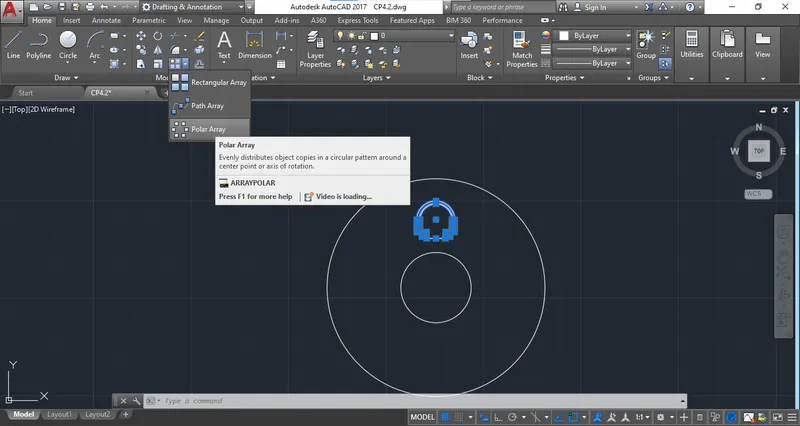
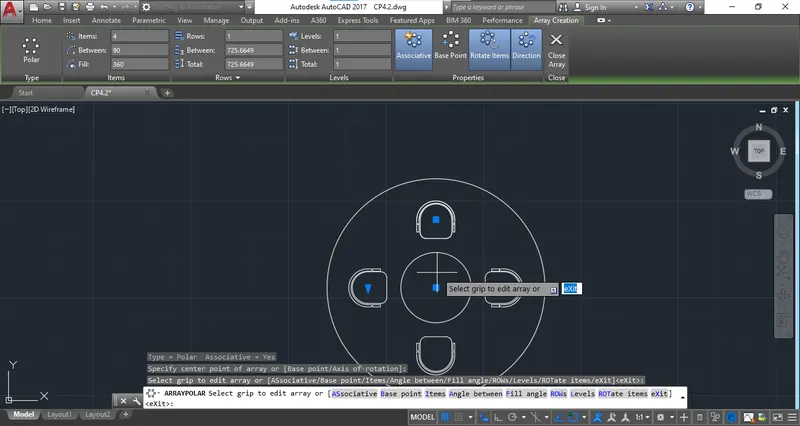
Step 11: Provide all the dimension
ANS 3
Step 1: Select the Decimal template & Decimal unit.
Step 2: Use the "LINE" command & draw line at random point.
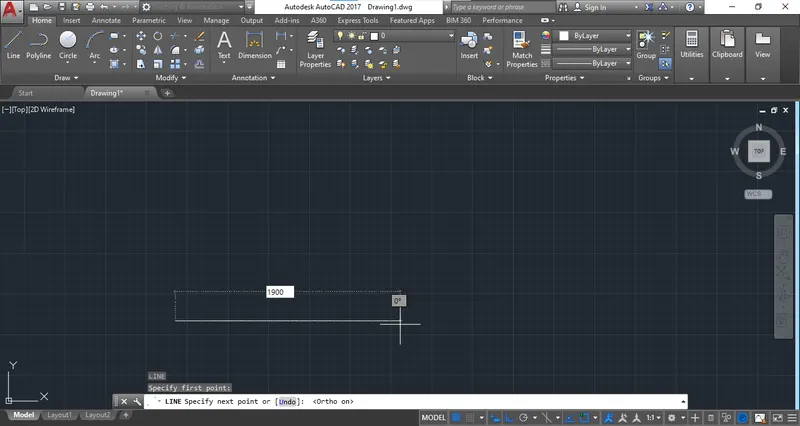
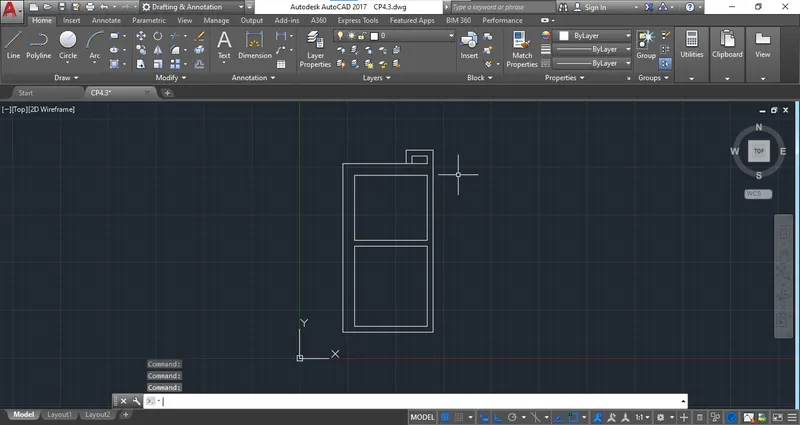
Step 3: start to draw with inner walls boundary.
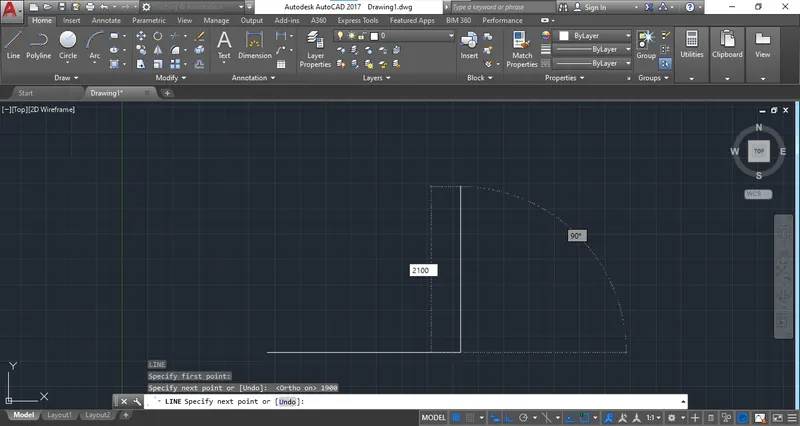
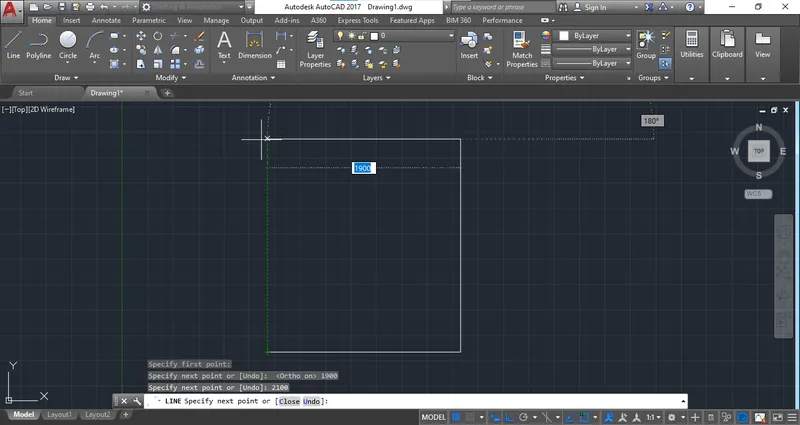
Step 4: Create a boundary for outer wall.
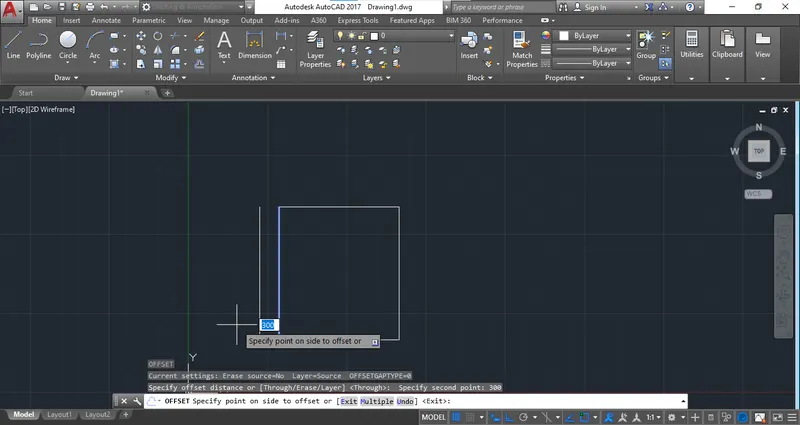
STep 5: Repeat the process and create the upper part.